Home>Gardening & Outdoor>Outdoor Structures>How To Build A Pitched Roof Pergola
Outdoor Structures
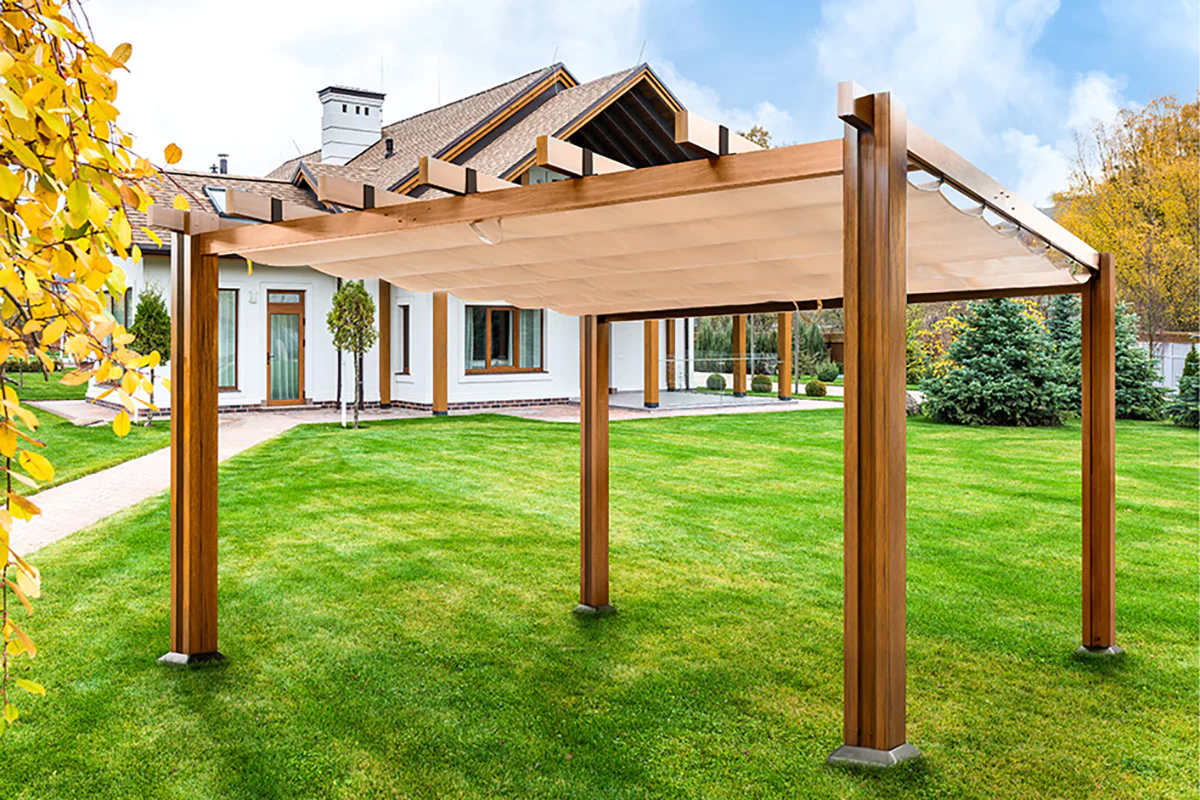
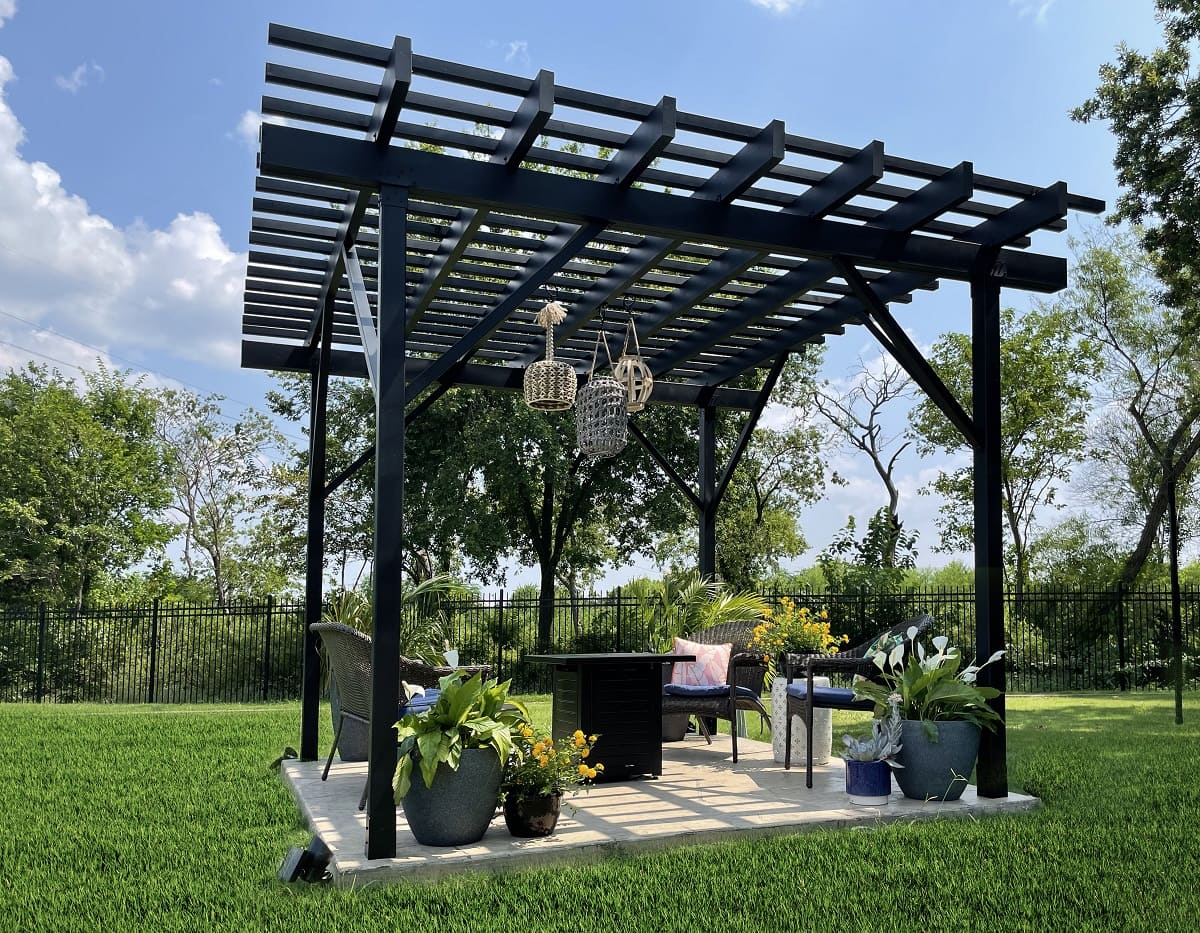
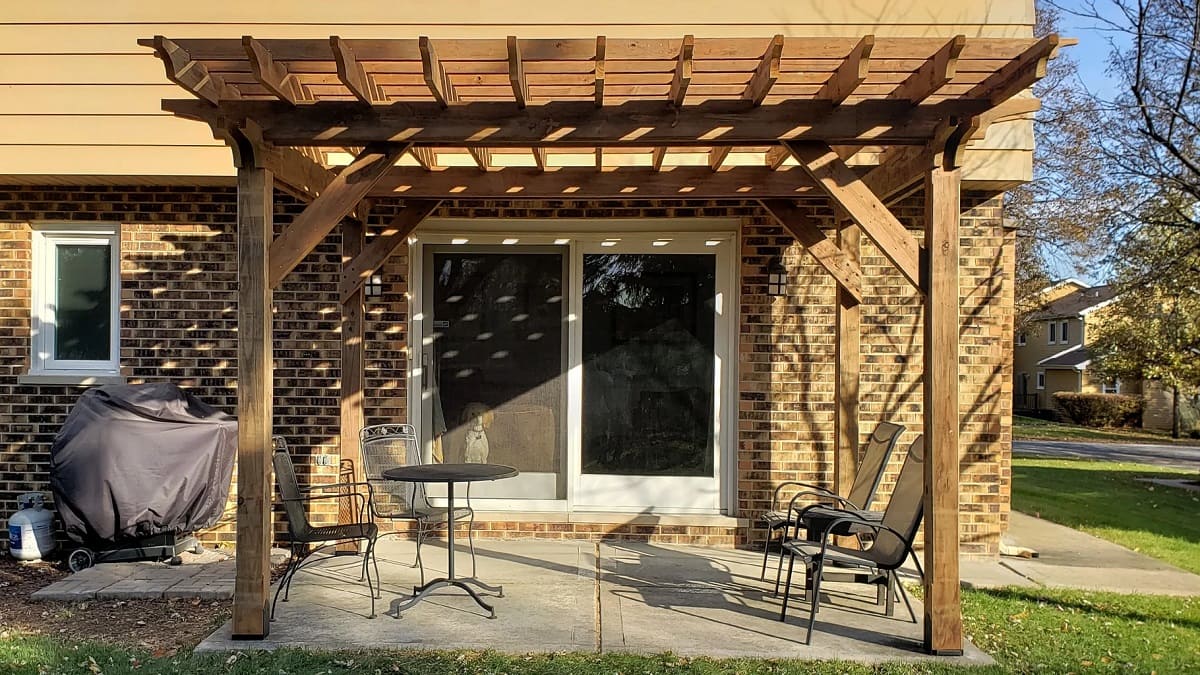
How To Build A Pitched Roof Pergola
Modified: May 6, 2024
Learn how to build a beautiful pitched roof pergola for your outdoor space with our expert tips and guidance. Create a stunning outdoor structure that enhances your home.
(Many of the links in this article redirect to a specific reviewed product. Your purchase of these products through affiliate links helps to generate commission for Storables.com, at no extra cost. Learn more)
Introduction
So, you've decided to enhance your outdoor space and create a charming, functional, and inviting area. Building a pitched roof pergola is an excellent way to achieve this goal. A pitched roof pergola not only adds aesthetic appeal to your outdoor space but also provides protection from the elements, allowing you to enjoy the outdoors in comfort and style.
Imagine lounging beneath the dappled sunlight, enjoying a cup of coffee on a crisp morning or hosting a delightful al fresco dinner with friends and family. A pitched roof pergola can make these dreams a reality by providing a versatile and elegant extension of your living space.
In this guide, we'll walk you through the process of building a pitched roof pergola, from planning and design to the finishing touches. Whether you're a seasoned DIY enthusiast or a novice looking to embark on your first outdoor construction project, this comprehensive resource will equip you with the knowledge and confidence to bring your vision to life.
Before we dive into the nitty-gritty details of construction, it's essential to emphasize the importance of safety. When working on any construction project, especially one involving heavy materials and elevated structures, safety should always be the top priority. Be sure to familiarize yourself with local building codes and regulations, and consider enlisting the help of a professional if you're unsure about any aspect of the project.
Now, let's gather our materials and tools, roll up our sleeves, and embark on this exciting journey of creating a stunning pitched roof pergola that will elevate your outdoor living experience.
Key Takeaways:
- Building a pitched roof pergola enhances outdoor spaces, providing shelter and style for enjoyable gatherings and relaxation. Safety, planning, and attention to detail are crucial for a successful construction project.
- From setting the posts to adding the finishing touches, creating a pitched roof pergola is a rewarding journey that adds value and personal flair to outdoor living spaces. Embrace creativity and maintenance for lasting enjoyment.
Read more: How To Build A Pergola Roof
Materials and Tools Needed
Before you begin the construction of your pitched roof pergola, it’s crucial to gather all the necessary materials and tools. Ensuring that you have everything on hand will streamline the building process and minimize interruptions. Here’s a comprehensive list to guide you through the preparation phase:
Materials:
- Pressure-treated lumber for posts, beams, and rafters
- Galvanized carriage bolts, nuts, and washers
- Cement mix or post concrete
- Roofing materials such as metal sheets, shingles, or polycarbonate panels
- Joist hangers and hurricane ties for additional structural support
- Decorative post caps and trim
- Exterior-grade screws
- Wood sealer or stain for protection against the elements
- Gravel or crushed stone for the post footings
- Anchor brackets for securing the posts to concrete footings
- Paint or primer (if desired for finishing touches)
Tools:
- Measuring tape and level
- Post hole digger or auger
- Circular saw and miter saw for cutting lumber to size
- Drill with various drill bits
- Adjustable wrench and socket set
- Shovel and mixing tub for cement
- Ladder or scaffolding for elevated work
- Roofing nailer or hammer and nails (depending on the roofing material)
- Paintbrushes and rollers for applying wood sealer or stain
- Protective gear including gloves, safety goggles, and a dust mask
By ensuring that you have all the required materials and tools ready, you’ll be well-prepared to proceed with the construction process smoothly. With everything in place, it’s time to move on to the next crucial phase: planning and design.
Planning and Design
Embarking on the construction of a pitched roof pergola necessitates careful planning and thoughtful design. Before swinging the first hammer, take the time to consider the following aspects to ensure that your pergola complements your outdoor space and meets your functional needs:
Read more: How To Build A Louvered Pergola Roof
Location and Size:
Choose the ideal location for your pergola, considering factors such as sun exposure, proximity to the house, and views. Determine the size of the pergola based on the available space and how you intend to use it. Whether it’s for dining, lounging, or hosting gatherings, the size should accommodate your envisioned activities.
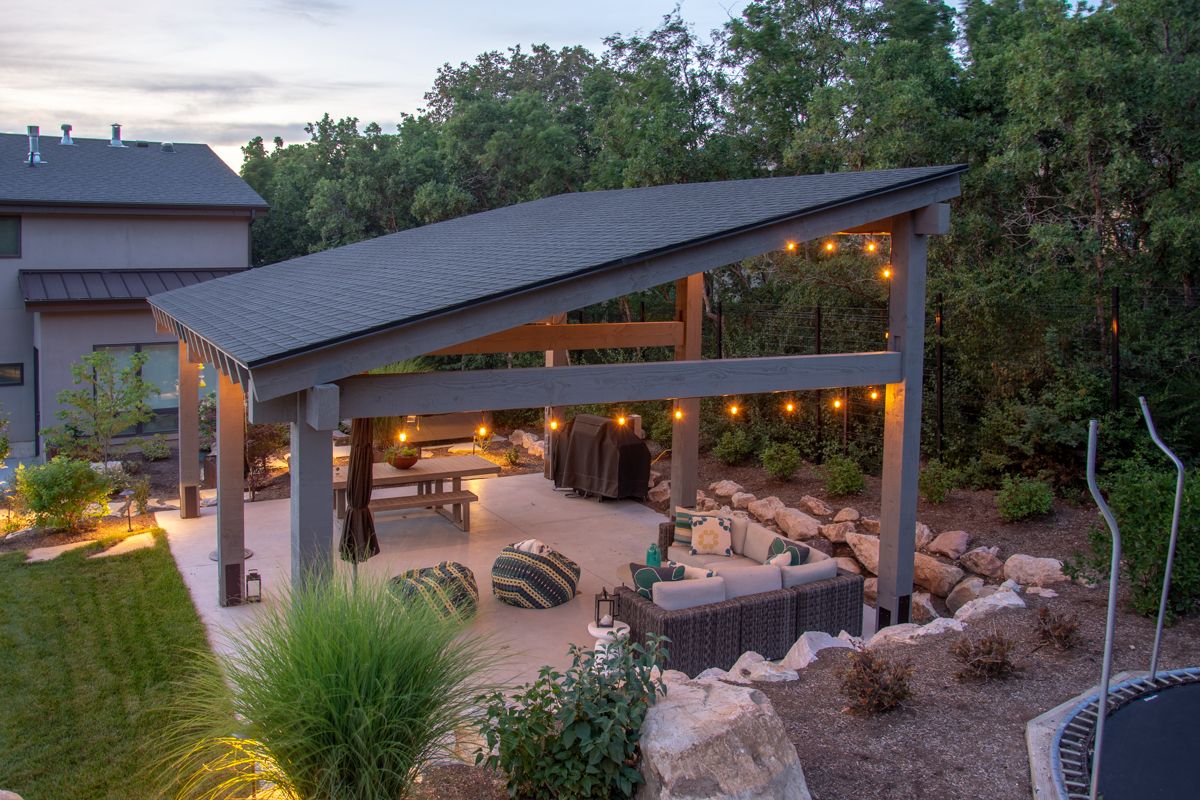
Roof Pitch and Overhang:
The pitch of the roof not only affects the pergola’s aesthetics but also plays a role in shedding rain and snow. Consider the climate in your area when determining the appropriate pitch. Additionally, plan for an overhang to provide extra shade and protection from the elements.
Materials and Style:
Select materials that harmonize with your home’s exterior and landscape. Whether you prefer the rustic charm of wood, the sleekness of metal, or the modern appeal of polycarbonate, choose materials that align with your style preferences and maintenance expectations.
Permits and Regulations:
Check local building codes and regulations to ascertain if permits are required for constructing a pergola. Compliance with these regulations is crucial to avoid potential issues in the future.
Read more: How To Determine Pitch Of Roof
Design Considerations:
Integrate design elements such as decorative end cuts on beams and rafters, latticework for additional shade, or built-in planters to infuse personality into your pergola. These details can elevate the visual appeal and functionality of the structure.
Once you’ve meticulously planned and designed your pitched roof pergola, complete with detailed measurements and a clear vision, you’re ready to move on to the next phase: setting the posts. This pivotal step sets the foundation for the entire structure, bringing you one step closer to enjoying your splendid outdoor retreat.
Setting the Posts
Setting the posts is a critical phase in the construction of your pitched roof pergola. The stability and longevity of the entire structure hinge on the proper installation of the posts. Follow these steps to ensure a solid foundation for your pergola:
Marking and Digging:
Begin by marking the locations for the posts according to your design and layout. Use a post hole digger or auger to excavate holes for the posts. The depth of the holes should adhere to local building codes and accommodate the length of the posts that will be set in concrete.
Post Placement and Alignment:
Place the posts in the holes, ensuring they are level and aligned according to your design. Temporary bracing can help maintain the position of the posts during the next steps of the installation process.
Read more: What Is A Good Pitch For A Shed Roof
Adding Concrete:
Fill the holes with concrete, ensuring that the posts remain in position and plumb. Use a level to check the vertical alignment of each post. Allow the concrete to cure as per the manufacturer’s instructions, providing ample time for it to set firmly.
Attaching Anchor Brackets:
If your pergola will be secured to concrete footings, attach anchor brackets to the cured concrete. These brackets will provide a secure connection point for the posts, offering stability and resistance to uplift forces.
Once the posts are firmly set and the concrete has cured, the foundation of your pitched roof pergola is in place. The next phase involves the installation of beams and rafters, transforming the posts into the framework that will support the roof structure and define the character of your outdoor retreat.
Installing the Beams and Rafters
With the posts securely set, it’s time to proceed with installing the beams and rafters, a pivotal stage that shapes the framework of your pitched roof pergola. Follow these steps to bring your pergola one step closer to completion:
Measuring and Cutting:
Begin by measuring and cutting the beams to the specified lengths, ensuring precise and uniform dimensions. The number of beams will depend on the size and design of your pergola, with some configurations featuring decorative end cuts for added visual appeal.
Read more: How To Attach A Pergola To A Roof
Attaching Beams to Posts:
Position the beams on top of the posts, ensuring they are level and evenly spaced. Secure the beams to the posts using galvanized carriage bolts, nuts, and washers, creating a sturdy connection that forms the horizontal framework of the pergola.
Adding Rafters:
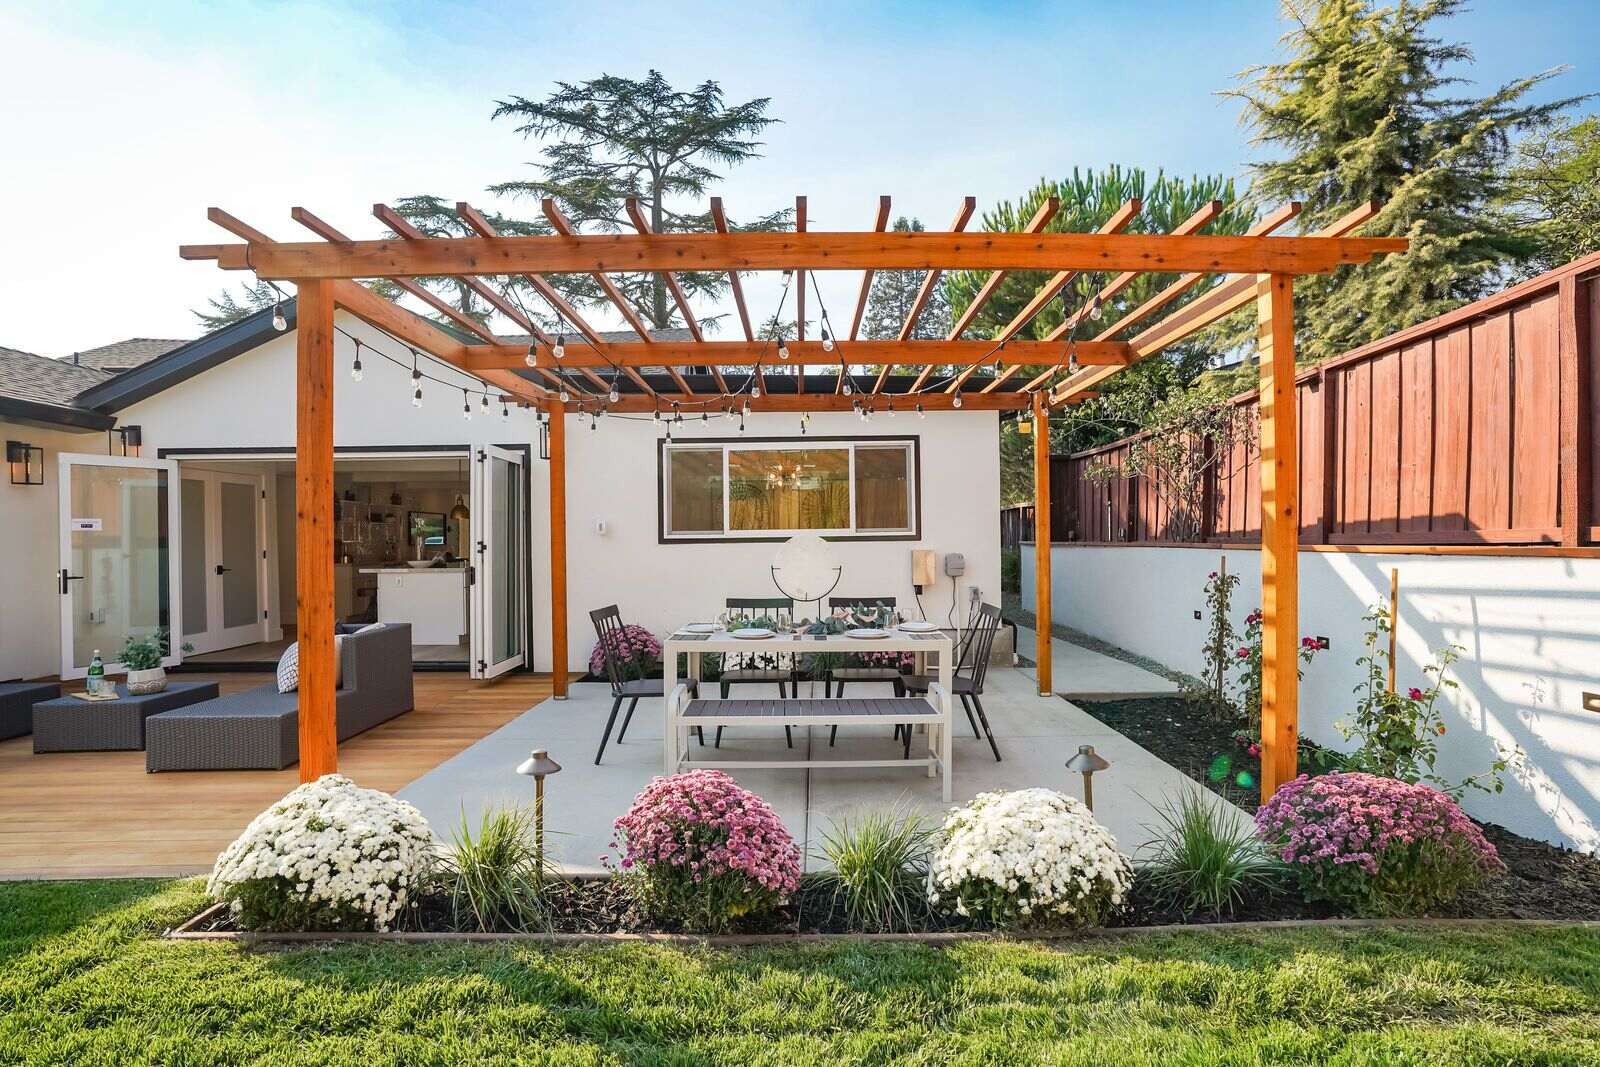
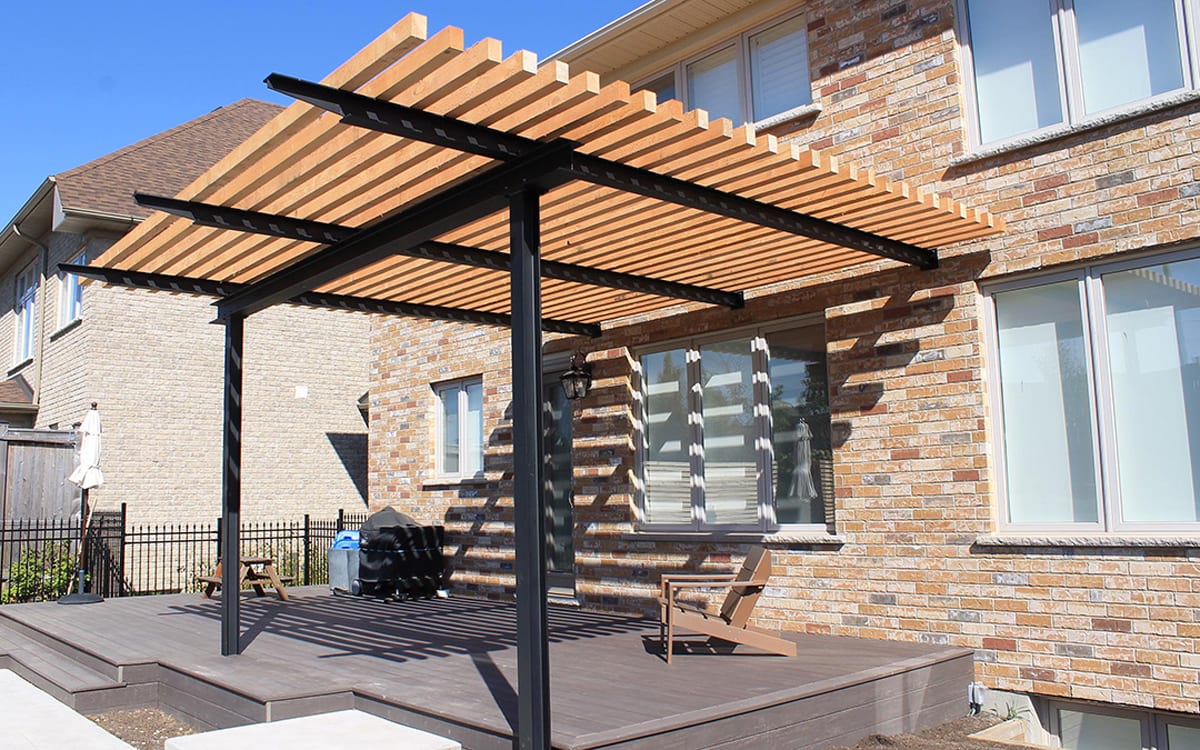
Once the beams are in place, it’s time to add the rafters that will run perpendicular to the beams, providing the structure for the roof. Depending on the design, the rafters can be evenly spaced or positioned closer together for additional shade and a more intricate aesthetic.
Structural Support:
Utilize joist hangers and hurricane ties to reinforce the connections between the beams and rafters, enhancing the structural integrity of the framework. These elements provide additional support, particularly in areas prone to high winds or inclement weather.
Customization and Finishing Touches:
Consider incorporating design elements such as decorative end cuts on the rafters or additional trim to infuse personality into your pergola. These details can elevate the visual appeal and create a customized look that complements your outdoor space.
With the beams and rafters securely in place, your pitched roof pergola begins to take shape, offering a glimpse of the inviting outdoor sanctuary it will soon become. The next phase involves adding the roofing, which not only provides protection from the elements but also contributes to the overall aesthetic and functionality of the structure.
Read more: How To Put A Roof On A Pergola
Adding the Roofing
As you progress with the construction of your pitched roof pergola, the addition of roofing marks a significant milestone, transforming the framework into a sheltered and inviting outdoor space. Here’s a guide to adding the roofing to your pergola:
Selection of Roofing Material:
Choose a roofing material that aligns with your aesthetic preferences, climate considerations, and maintenance requirements. Options include metal sheets for a rustic appeal, shingles for a classic look, or polycarbonate panels for a modern and lightweight alternative.
Installation Process:
Begin by installing the roofing material of your choice, ensuring that it provides adequate coverage and protection from the elements. Secure the roofing material according to the manufacturer’s guidelines, whether it involves fastening metal sheets, nailing shingles, or securing polycarbonate panels.
Weatherproofing and Sealing:
Implement measures to weatherproof the roofing, such as applying sealant or flashing to areas prone to water infiltration. Proper sealing and protection against potential leaks are essential for ensuring the longevity and functionality of the roofing system.
Read more: How To Put A Metal Roof On A Pergola
Integration with the Framework:
Integrate the roofing seamlessly with the existing framework, ensuring a snug fit and secure attachment to the beams and rafters. This cohesive integration not only enhances the structural integrity but also contributes to the overall visual appeal of the pergola.
Enhancements and Personalization:
Consider additional enhancements such as installing gutters and downspouts to manage water runoff effectively, particularly if your pergola is positioned in an area susceptible to heavy rainfall. These elements contribute to the functionality and maintenance of your outdoor structure.
With the roofing in place, your pitched roof pergola evolves into a sheltered oasis, ready to provide a welcoming and protected outdoor space for relaxation, entertainment, and enjoyment. The final phase involves adding finishing touches that will complete the transformation of your pergola into a captivating and functional extension of your home.
Finishing Touches
As you near the completion of your pitched roof pergola, it’s time to focus on the finishing touches that will elevate its aesthetics, functionality, and overall appeal. Consider the following elements to add the perfect finishing touches to your outdoor sanctuary:
Staining or Painting:
Apply a coat of wood stain or exterior paint to enhance the visual appeal of your pergola while providing protection against the elements. Choose a finish that complements the existing color scheme of your outdoor space and aligns with your personal style preferences.
Read more: What Is A Pergola With A Roof Called?
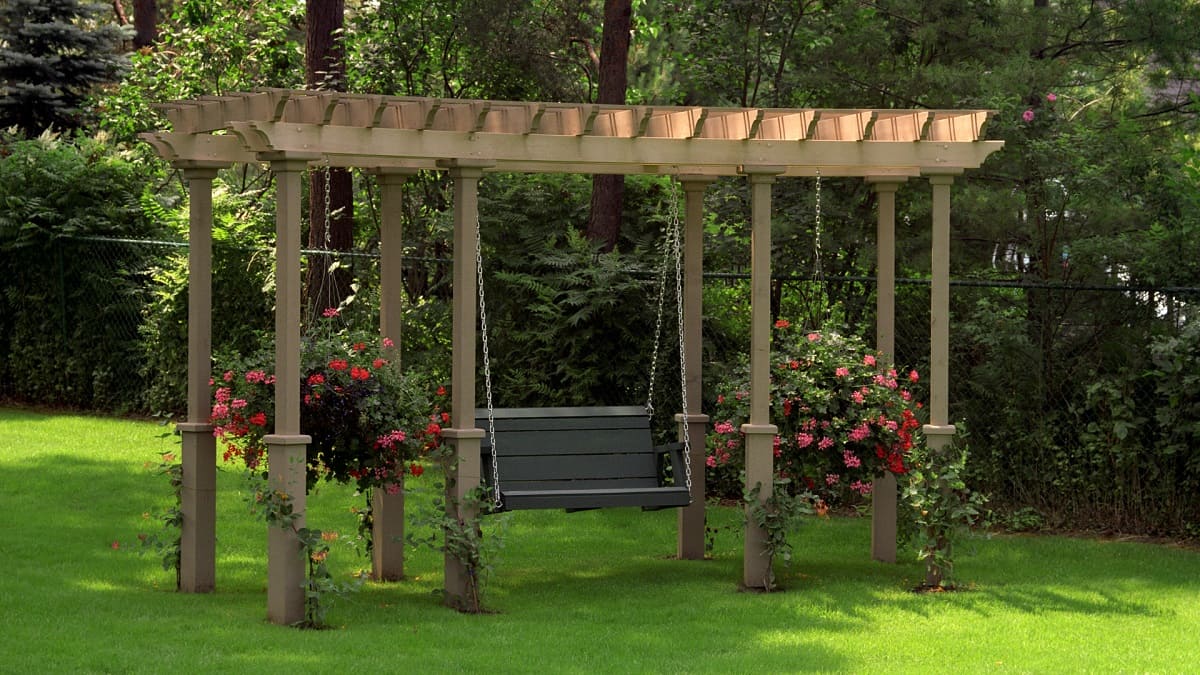
Decorative Elements:
Infuse personality into your pergola by incorporating decorative elements such as hanging plants, outdoor lighting fixtures, or ornamental accents. These details add character and charm, creating an inviting atmosphere for relaxation and entertainment.
Furniture and Accessories:
Select outdoor furniture and accessories that complement the style and purpose of your pergola. Whether it’s cozy seating for lounging or a dining set for al fresco meals, the right furniture and accessories can transform your pergola into a functional and inviting outdoor living space.
Shade Solutions:
Consider integrating shade solutions such as retractable canopies, outdoor curtains, or climbing plants to provide additional shade and privacy. These features enhance the versatility of your pergola, allowing you to adapt to varying weather conditions and personal preferences.
Maintenance and Care:
Establish a maintenance routine to preserve the beauty and integrity of your pergola. Regular cleaning, inspection of structural components, and seasonal maintenance of roofing materials contribute to the longevity and performance of your outdoor structure.
With the finishing touches in place, your pitched roof pergola is ready to serve as a captivating and functional extension of your outdoor living space. Whether it’s a tranquil retreat for solitary relaxation or a welcoming venue for gatherings and celebrations, your pergola is poised to enhance your outdoor lifestyle in myriad ways.
Read more: How To Build A Lean-To Pergola
Conclusion
Building a pitched roof pergola is a rewarding endeavor that adds beauty, functionality, and value to your outdoor environment. As you’ve journeyed through the process of planning, constructing, and adding the finishing touches to your pergola, you’ve not only created a stunning structure but also a space that embodies your personal style and enhances your outdoor lifestyle.
From the foundational phase of setting the posts to the crowning moment of adding the roofing, each step has contributed to the transformation of your outdoor space into a welcoming and versatile retreat. Your pitched roof pergola stands as a testament to your creativity, craftsmanship, and dedication to creating an enchanting outdoor sanctuary.
As you bask in the beauty of your completed pergola, take pride in the knowledge that you’ve crafted a space where cherished memories will be made, whether it’s savoring quiet moments of solitude, hosting joyful gatherings with loved ones, or simply reveling in the splendor of nature.
Embrace the opportunity to customize your pergola with personalized touches, from decorative elements to carefully selected furnishings, to create a space that reflects your unique vision and serves as an extension of your home and lifestyle.
With proper maintenance and care, your pitched roof pergola will continue to enrich your outdoor living experience for years to come, providing a haven of comfort, beauty, and functionality in every season.
As you embark on this exciting journey of creating your pitched roof pergola, remember that the process is as enriching as the end result. Embrace the opportunity to immerse yourself in the craftsmanship, creativity, and joy of bringing your vision to life, and relish the countless moments of relaxation and enjoyment that await in your splendid outdoor retreat.
Now that you've mastered building a pitched roof pergola, why not spruce up that new outdoor area? Our guide on colorful deck enhancements will show you how to transform your deck into a vibrant hub for gatherings. If you're feeling crafty, our insights on benefits of DIY projects might just spark your next project, offering satisfaction and personal flair to your home creations. For those seeking a snug nook, delve into our tips on creating cozy garden structures, perfect for crafting a serene escape in your backyard.
Frequently Asked Questions about How To Build A Pitched Roof Pergola
Was this page helpful?
At Storables.com, we guarantee accurate and reliable information. Our content, validated by Expert Board Contributors, is crafted following stringent Editorial Policies. We're committed to providing you with well-researched, expert-backed insights for all your informational needs.
0 thoughts on “How To Build A Pitched Roof Pergola”