Articles
How To Use A Miter Saw Protractor
Modified: October 18, 2024
Learn how to effectively use a miter saw protractor with these informative articles. Master the art of precise angle measurements for your woodworking projects.
(Many of the links in this article redirect to a specific reviewed product. Your purchase of these products through affiliate links helps to generate commission for Storables.com, at no extra cost. Learn more)
Introduction
Using a miter saw protractor is an essential skill for any woodworker or DIY enthusiast. Whether you are working on a simple home improvement project or a complex woodworking endeavor, understanding how to use a miter saw protractor can make a significant difference in achieving precise and accurate cuts.
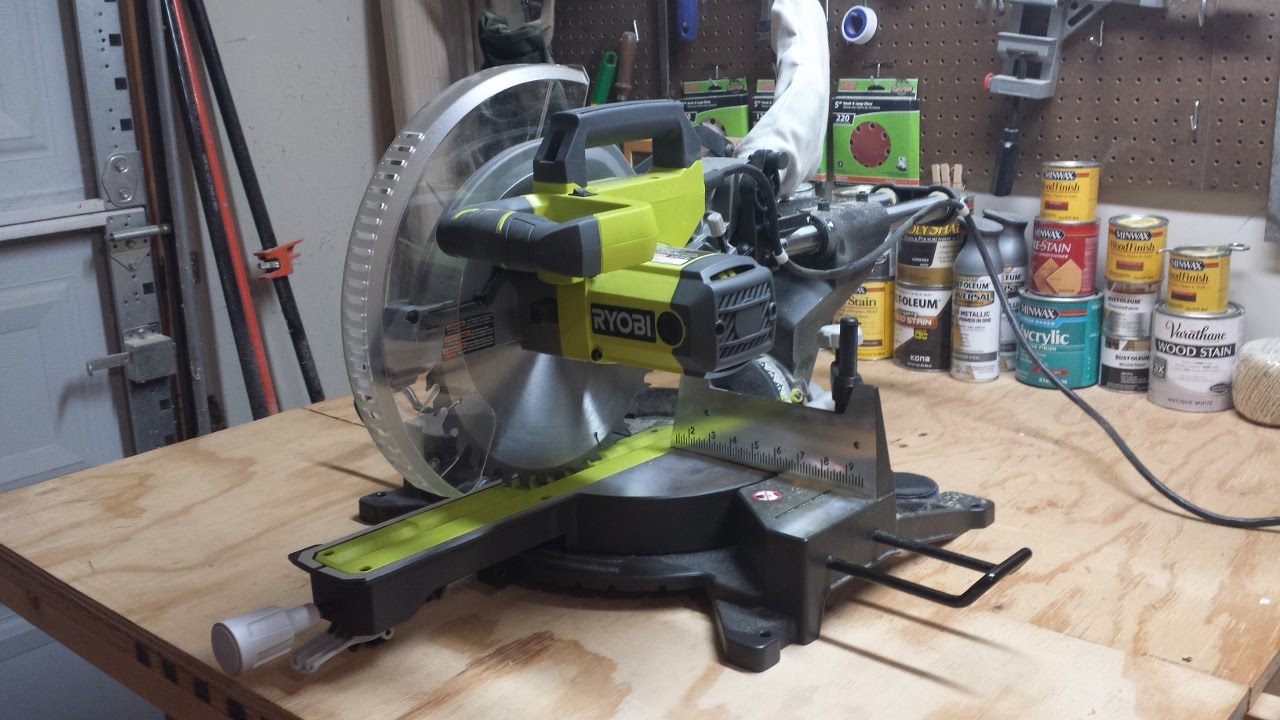
A miter saw protractor, also known as a miter gauge or angle finder, is a tool specifically designed to measure and mark angles for miter cuts. It is commonly used in conjunction with a miter saw, a power tool that allows you to make angled cuts with precision. By using a miter saw protractor correctly, you can ensure that your cuts are delivered at the desired angle, resulting in seamless joints and professional-looking finishes.
In this article, we will guide you through the step-by-step process of using a miter saw protractor effectively. Whether you are a beginner or have some experience with woodworking tools, this comprehensive guide will help you master the art of using a miter saw protractor like a pro.
So, let’s dive in and learn how to maximize the potential of this indispensable tool.
Key Takeaways:
- Master the art of using a miter saw protractor to achieve precise and professional cuts, elevating your woodworking projects to a new level of accuracy and craftsmanship.
- Familiarize yourself with the miter saw protractor’s components, set up your miter saw for accuracy, and make precise cuts with confidence, ensuring seamless joints and professional finishes.
Read more: How To Use A Miter Saw
Understanding the Miter Saw Protractor
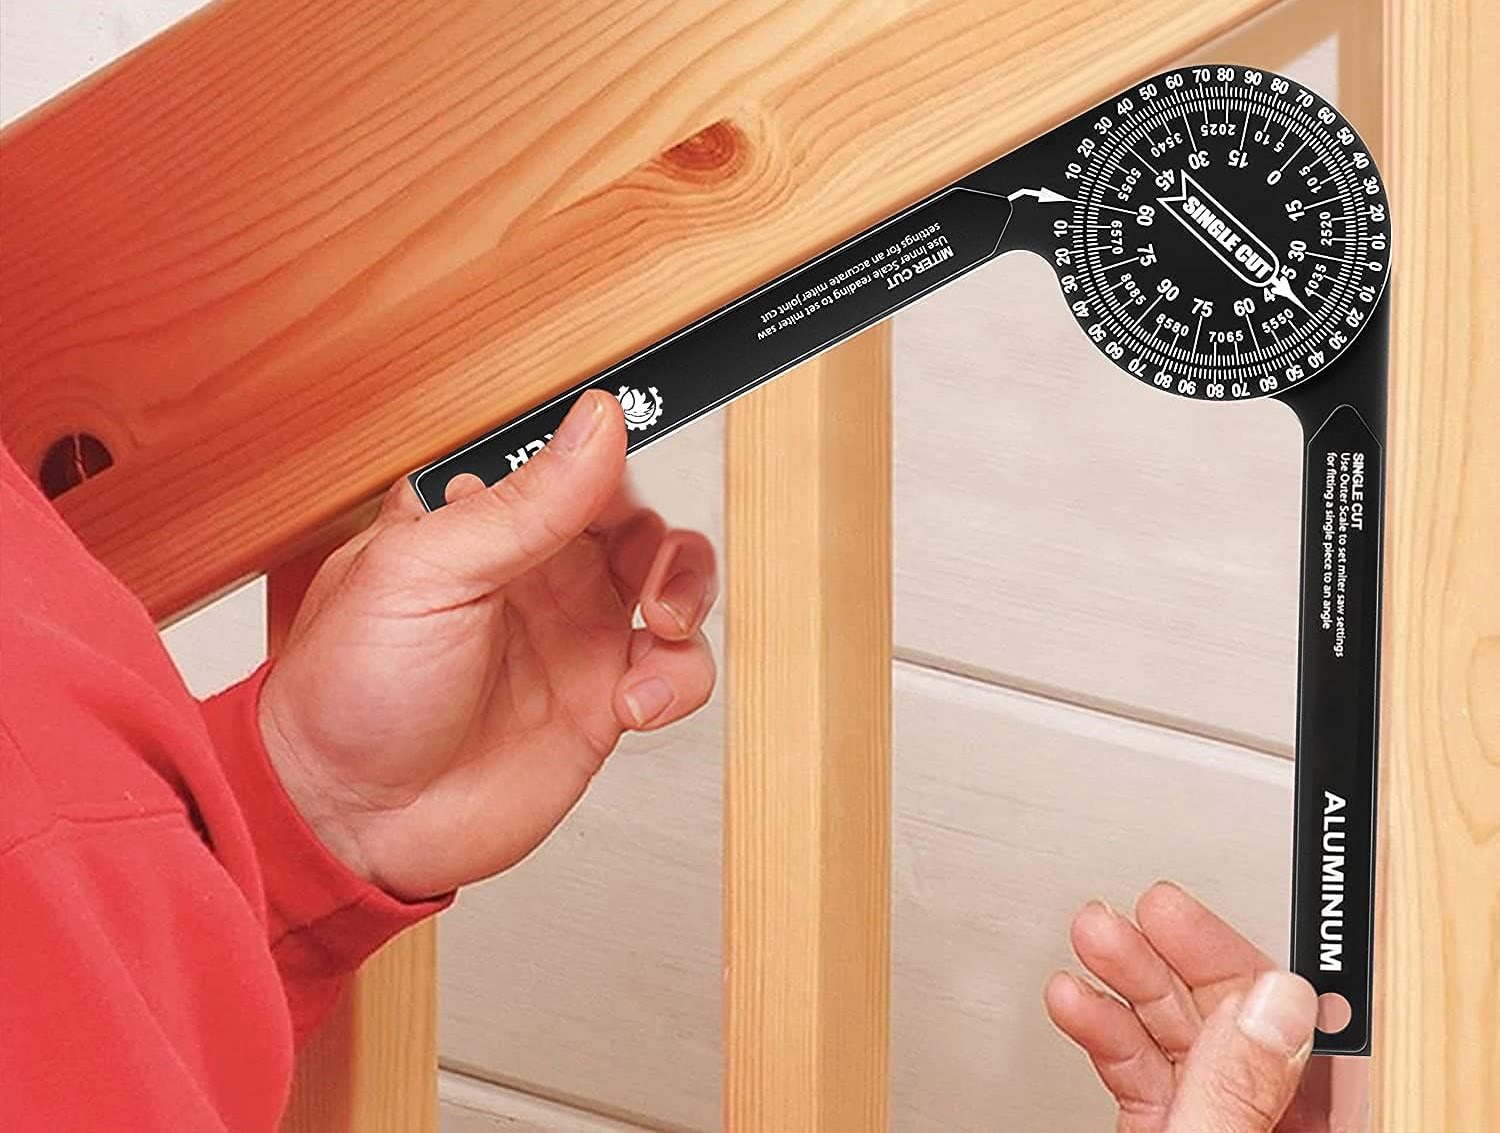
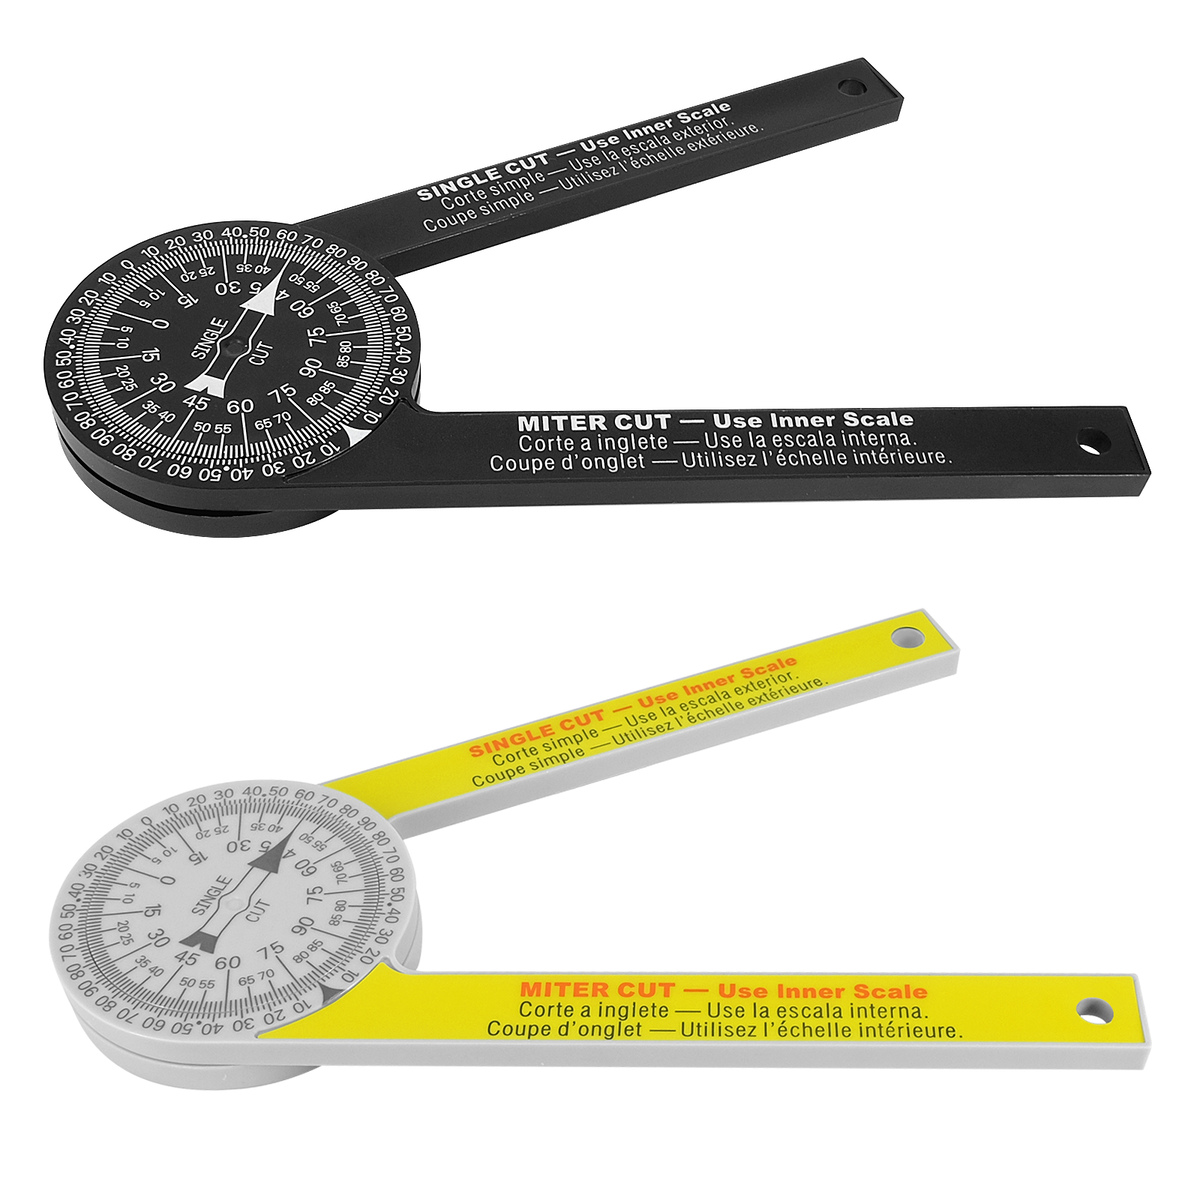
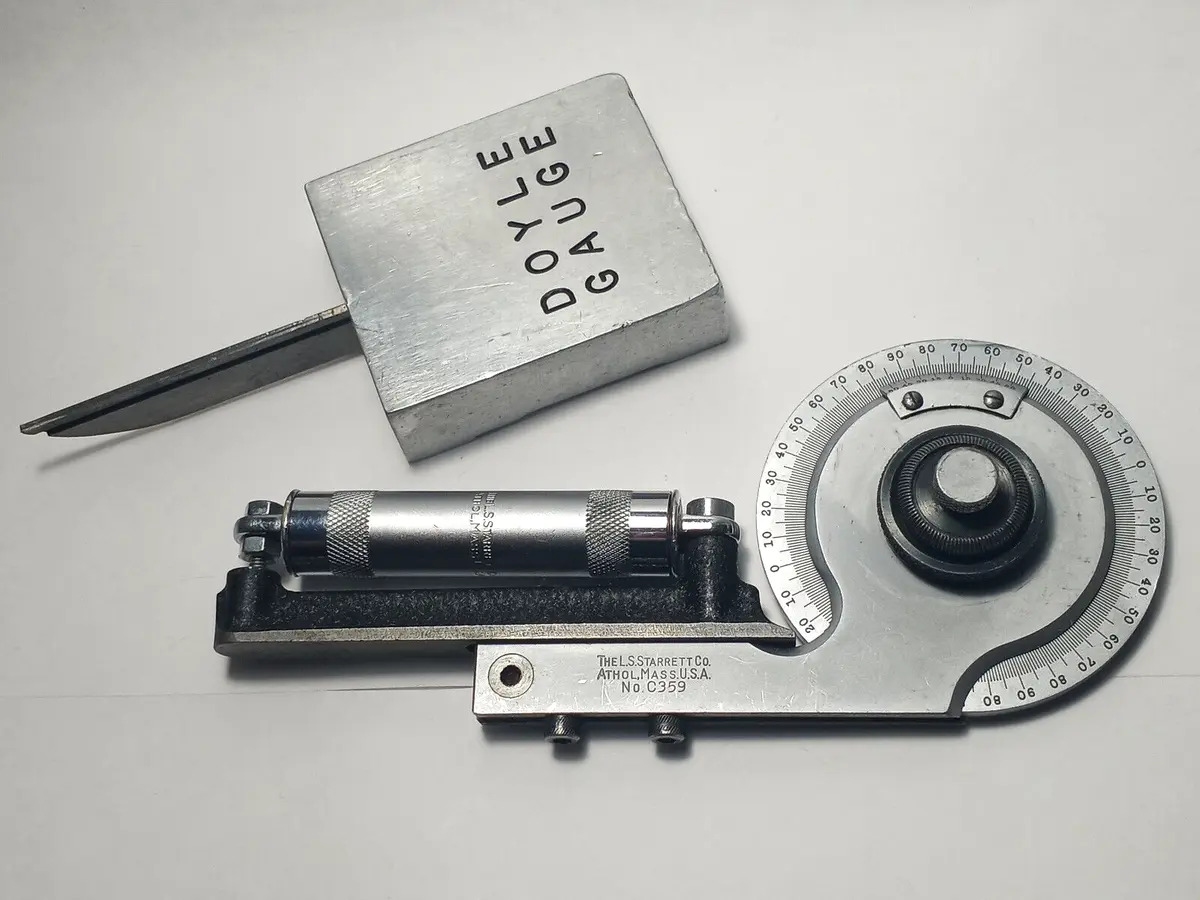
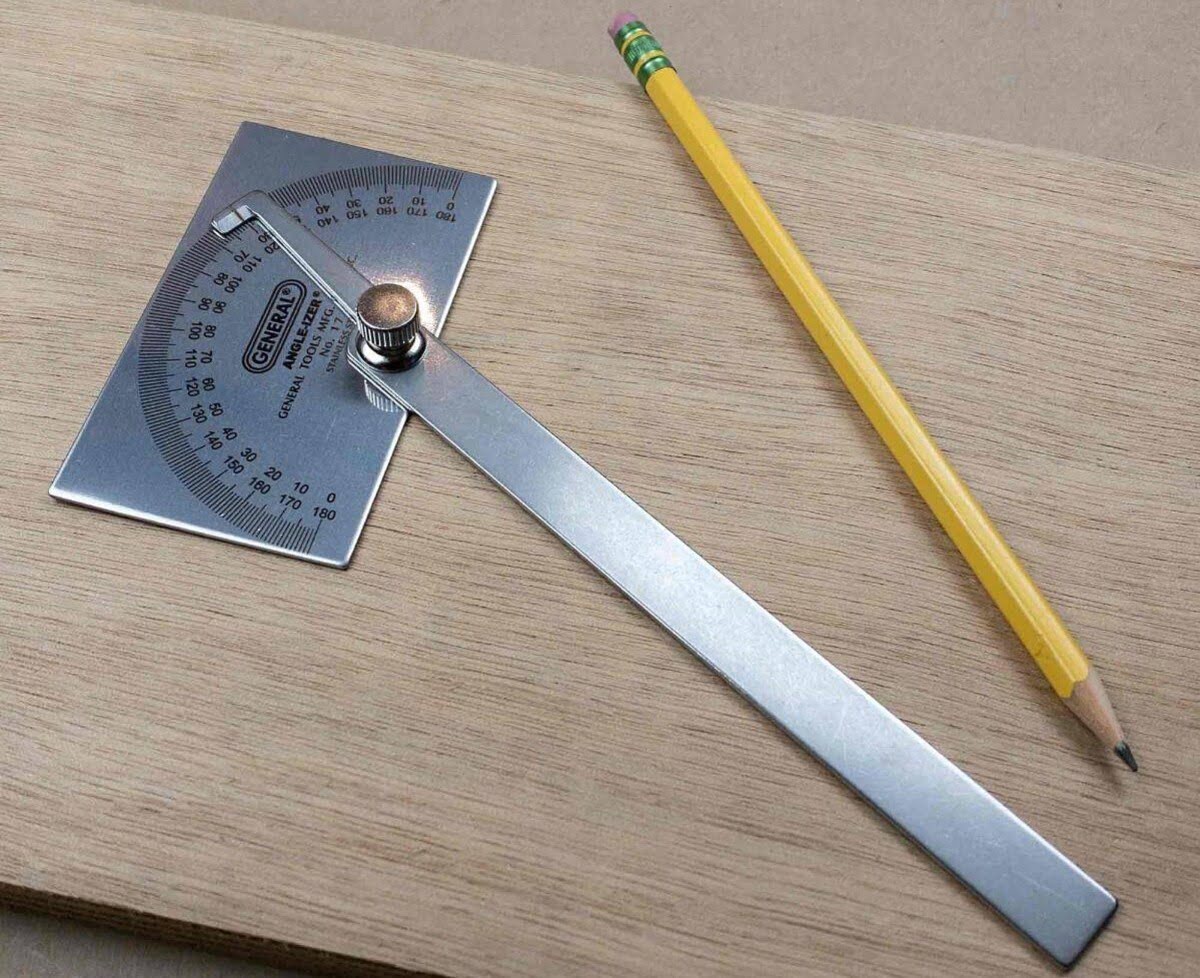
Before we jump into using the miter saw protractor, it’s important to understand its construction and how it works. The miter saw protractor is typically a metal or plastic tool with a pivoting arm and a scale of angle measurements.
The pivoting arm allows you to adjust the angle, while the scale provides precise measurements for various angles. The most common angles you’ll come across are 45 degrees, 90 degrees, and 22.5 degrees, but many miter saw protractors offer a wider range of angle options to accommodate different cutting needs.
One important feature of the miter saw protractor is the locking mechanism that holds the arm in place once you’ve set the desired angle. This ensures that the angle remains consistent throughout your cutting process. Additionally, some miter saw protractors come with a vernier scale, allowing for even more precise adjustments.
Understanding the measurements on the protractor is crucial. The scale is usually marked in degrees, and each degree is further divided into smaller increments, such as half-degrees or quarter-degrees. These divisions enable you to set more precise angles for intricate woodworking projects.
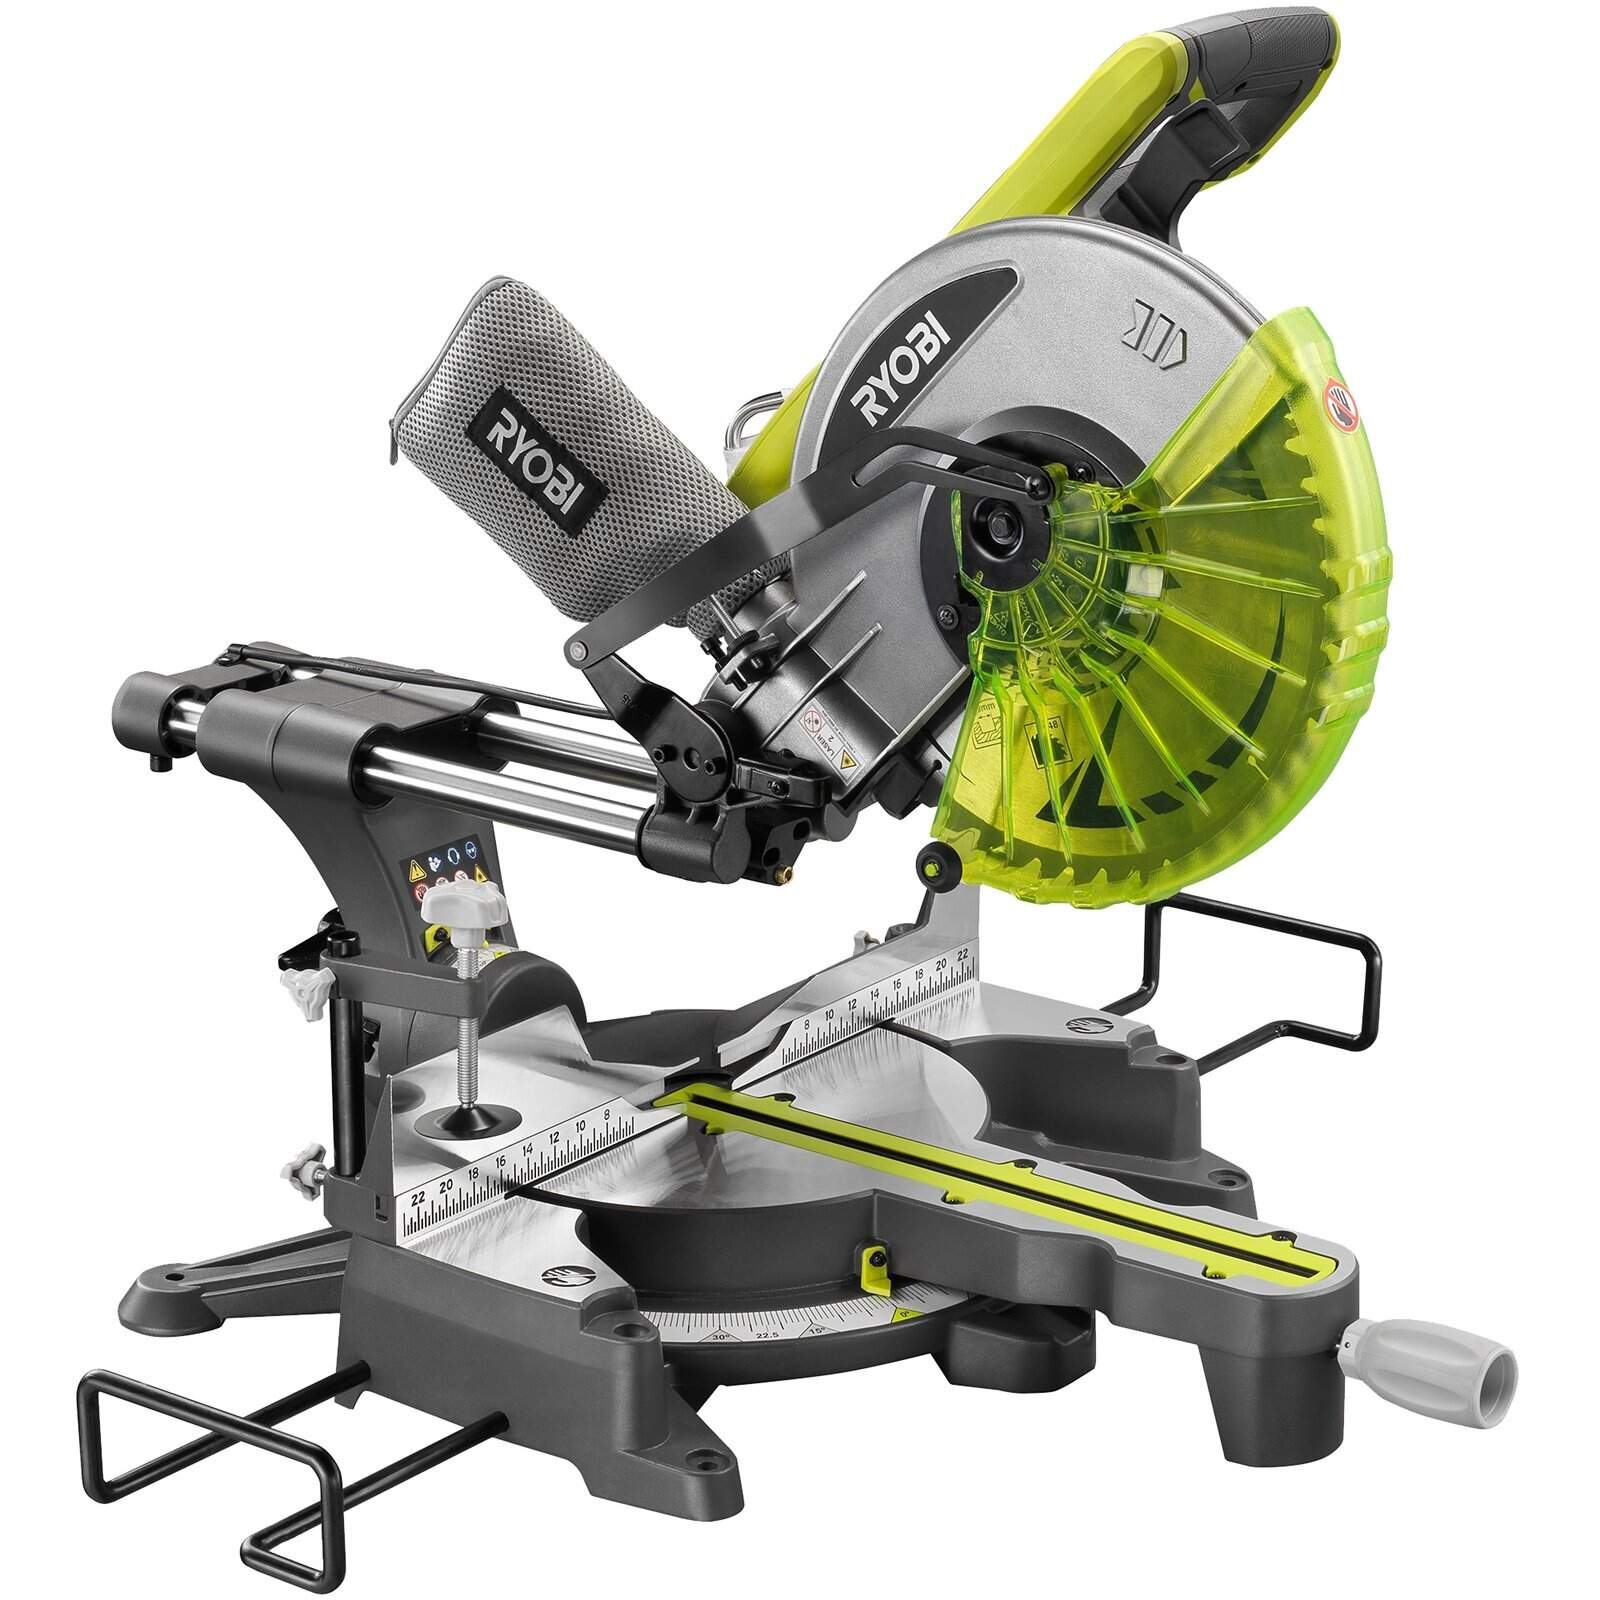
It’s worth mentioning that not all miter saws come with a built-in protractor. In this case, you can purchase a standalone miter saw protractor that can be attached to your miter saw’s fence or worktable.
Now that you have a good grasp of what a miter saw protractor is and how it functions, let’s move on to the step-by-step process of using it effectively.
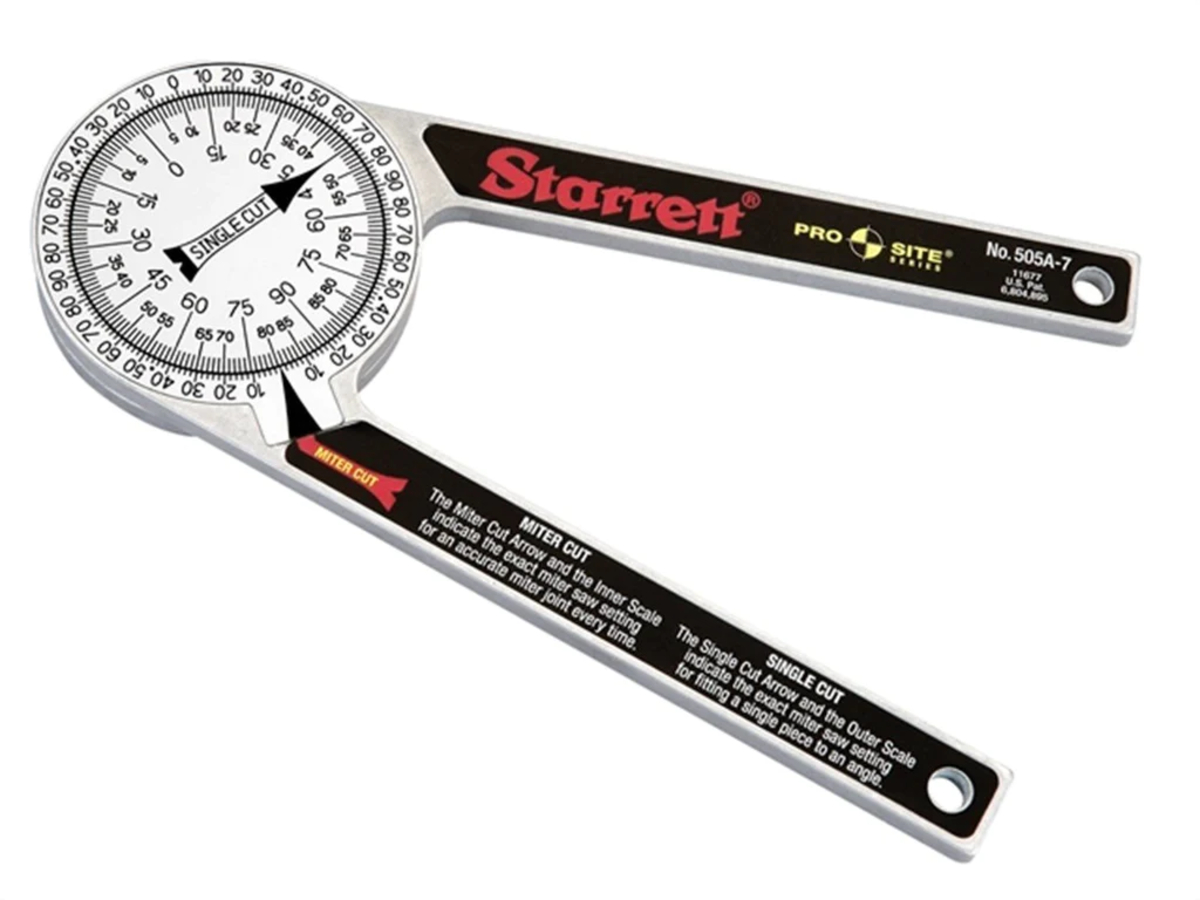
Step 1: Familiarizing Yourself with the Miter Saw Protractor
Before using the miter saw protractor, it’s essential to familiarize yourself with its various components and features. This will help you navigate the tool with ease and accuracy.
Start by examining the scale on the miter saw protractor. Look for the degree markings and pay attention to any additional division lines or smaller increments. Understanding these markings will allow you to set precise angles for your cuts.
Next, locate the lock or clamp mechanism on the protractor. This is the part that secures the arm in place once you’ve set the desired angle. Take some time to understand how to unlock and lock the arm properly to ensure stability during your cutting tasks.
If your miter saw protractor has a vernier scale, familiarize yourself with its usage as well. The vernier scale provides even finer adjustments for more accurate angles. Get comfortable with how to read and align the vernier scale with the main scale to achieve the desired angle.
Additionally, take note of any reference lines or markings on the protractor that can aid in aligning the tool correctly. These markings can include indicators for the 45-degree angle or a zero reference point to align the protractor with the miter saw’s blade.
Lastly, ensure that the miter saw protractor is clean and in good working condition. Remove any dust or debris that may hinder its movement or accuracy. If you notice any damage or significant wear and tear, consider replacing the protractor for optimal performance.
By familiarizing yourself with the miter saw protractor’s components, markings, and usage, you will be better equipped to use the tool effectively in the next steps.
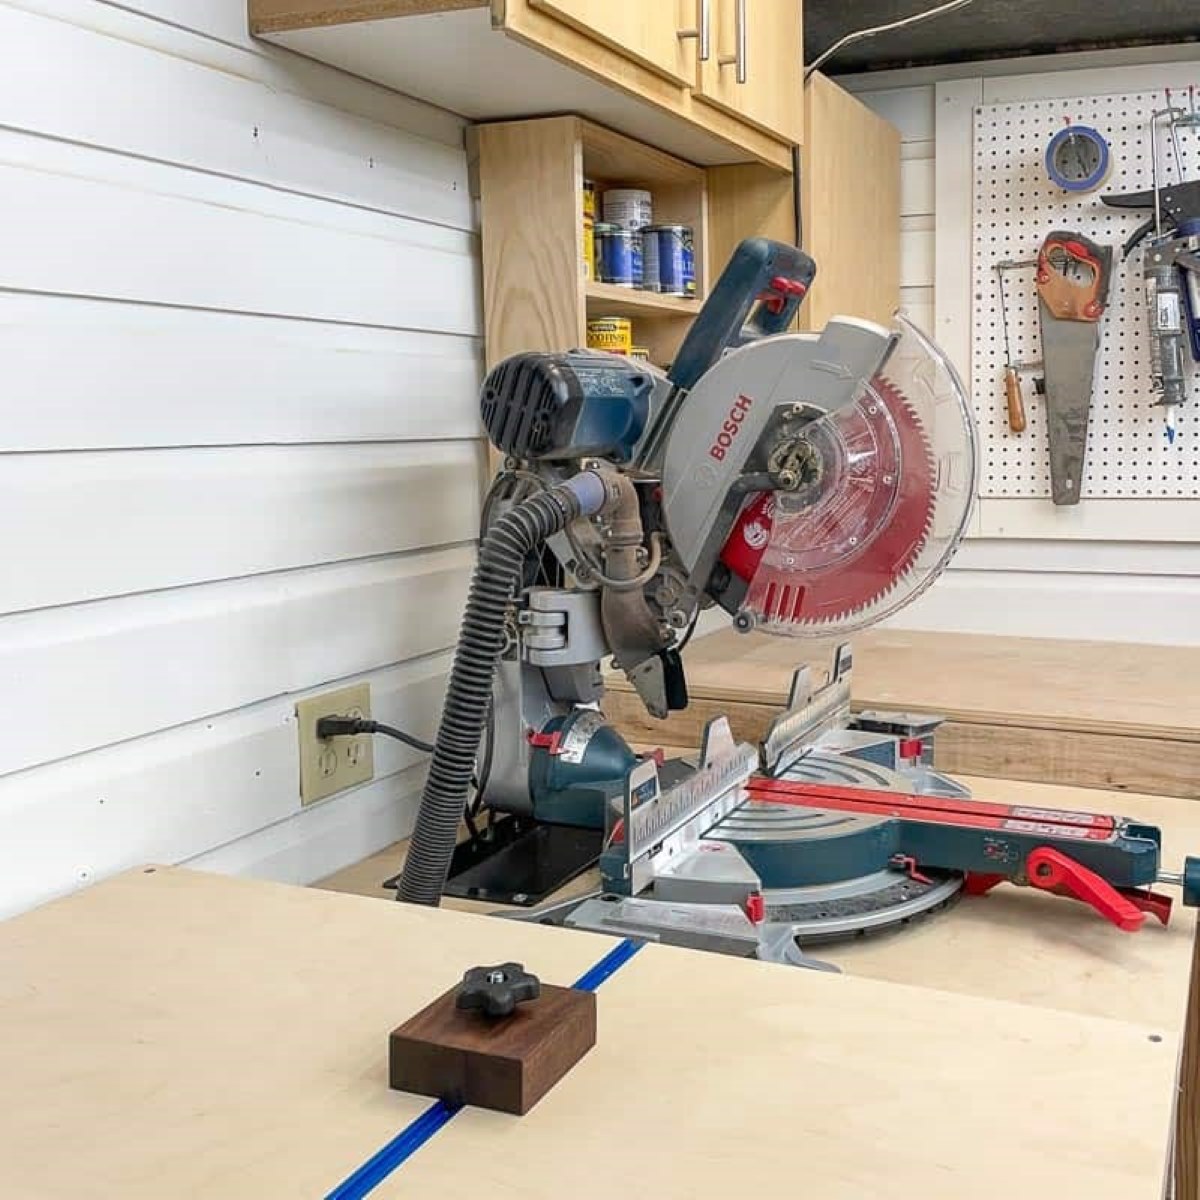
Step 2: Setting up the Miter Saw
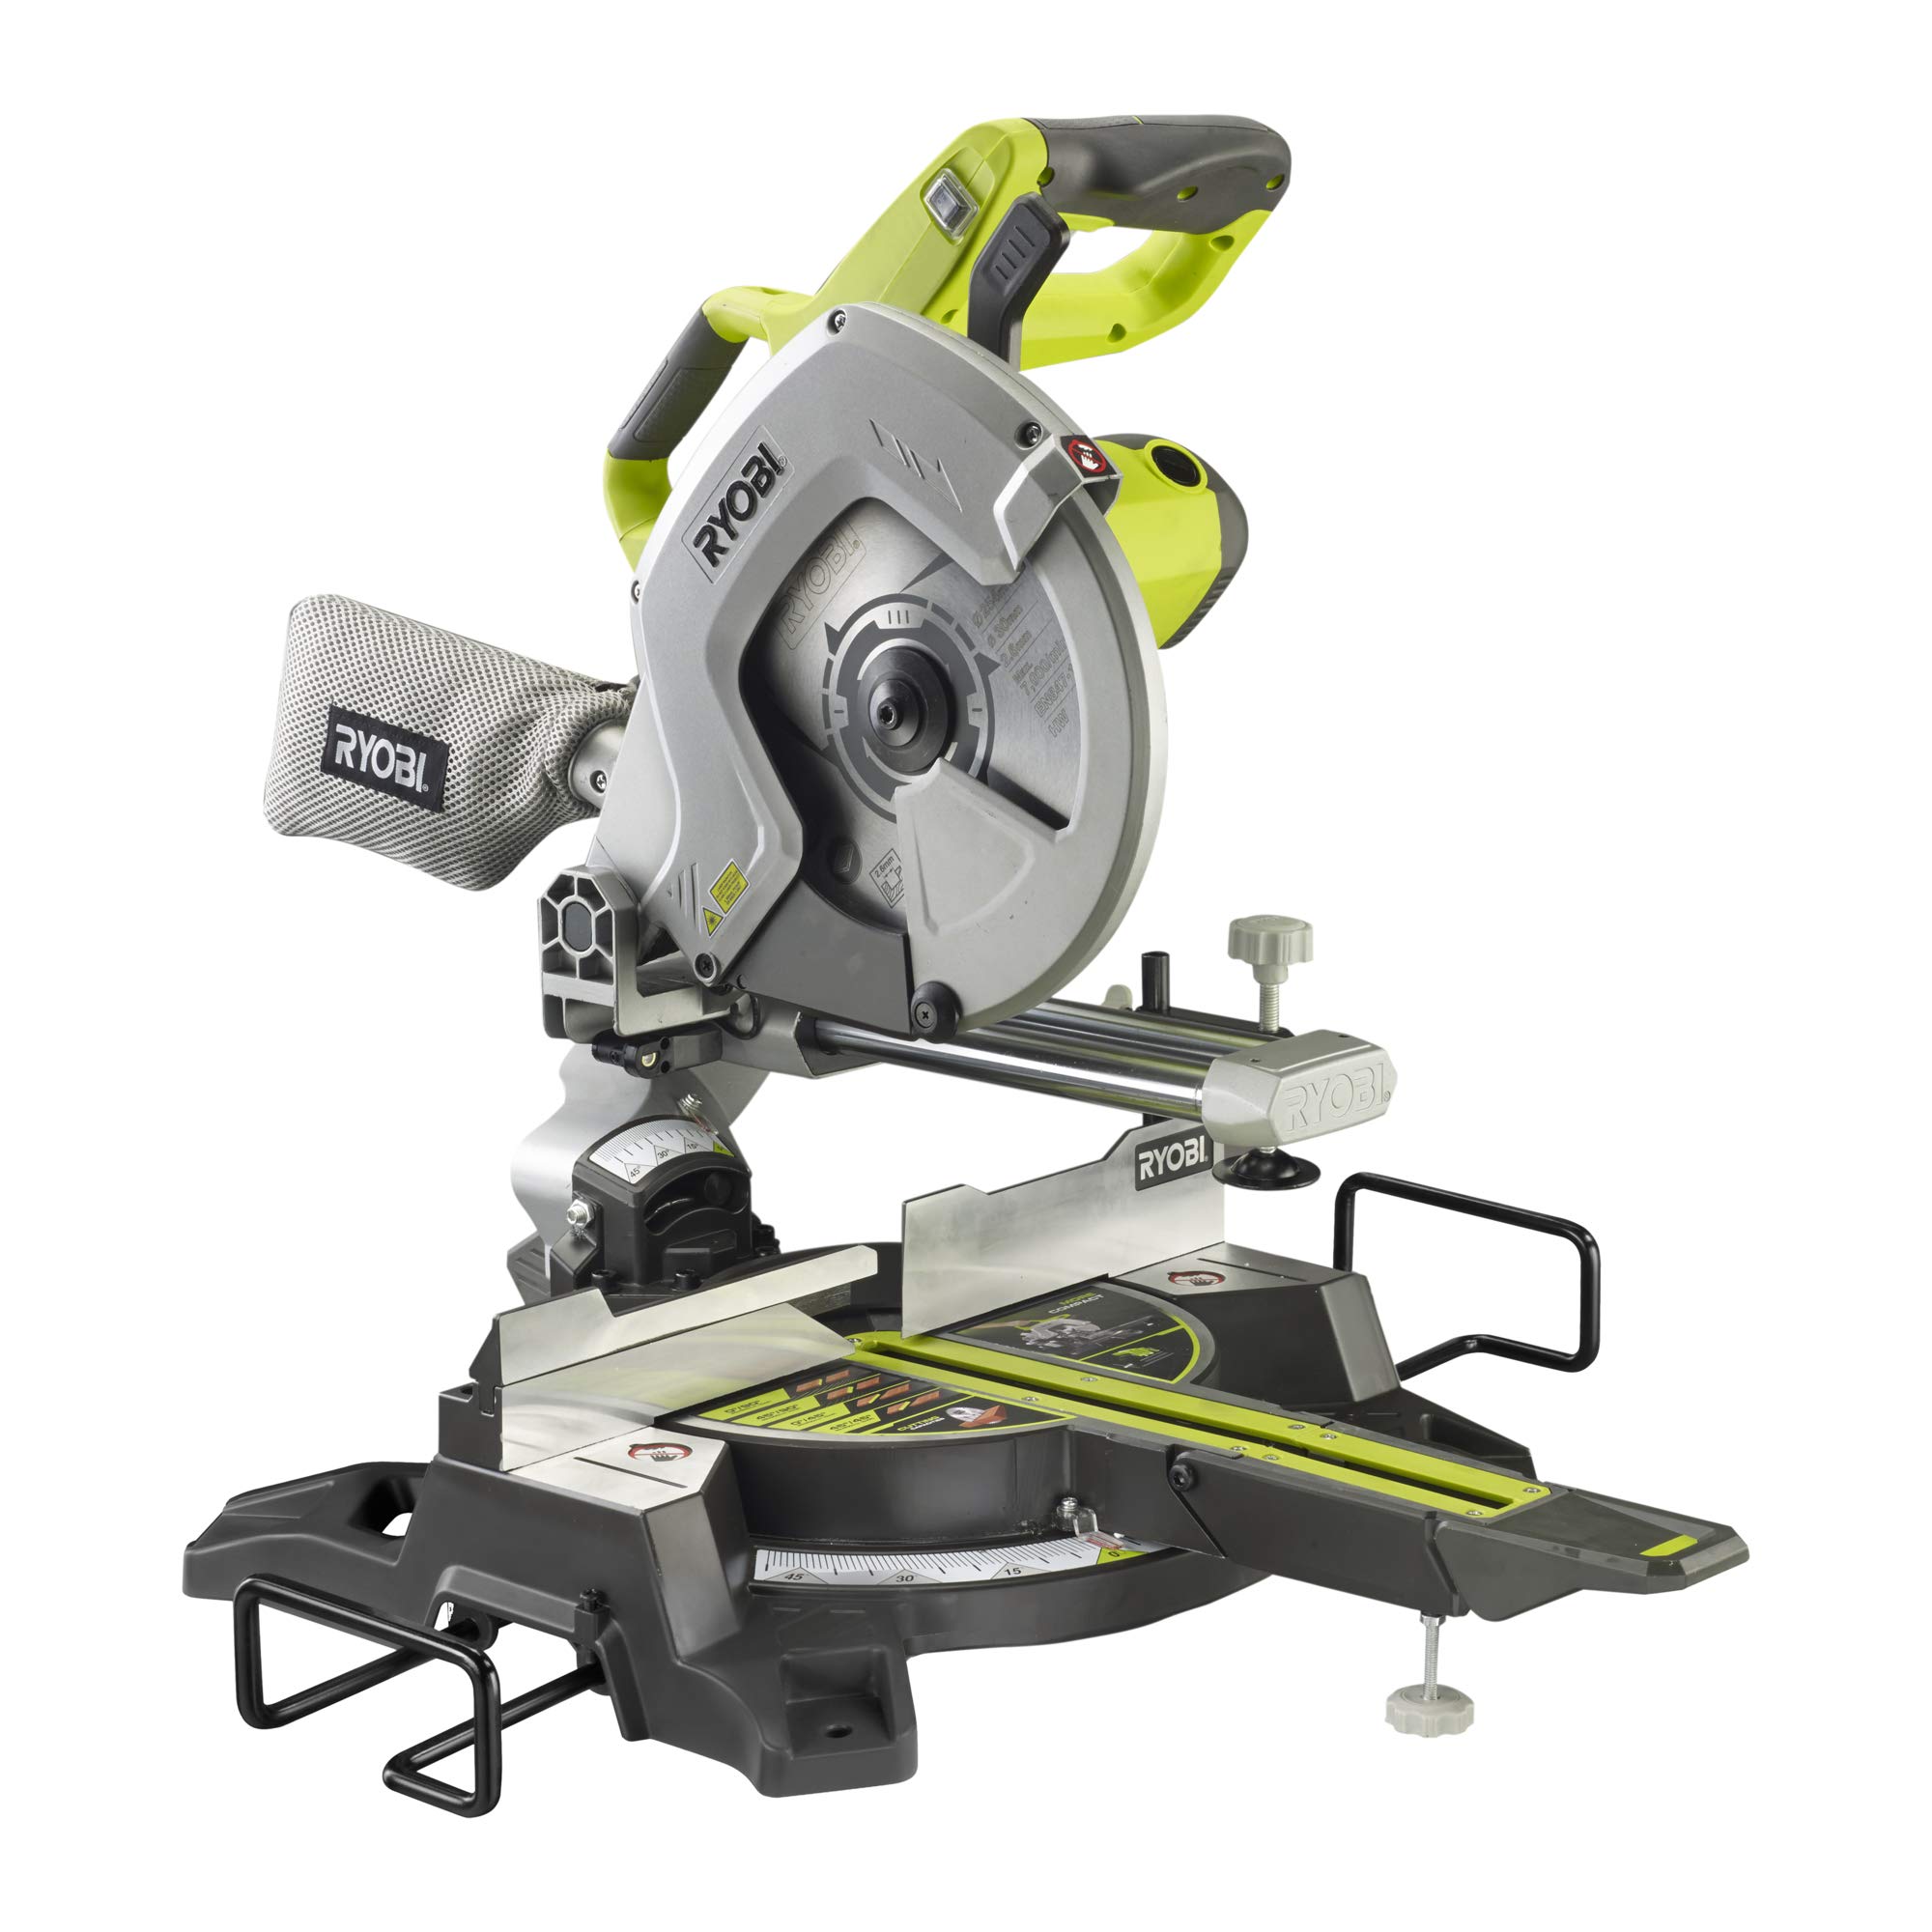
Now that you’re familiar with the miter saw protractor, it’s time to set up your miter saw for accurate and precise cuts. Proper setup ensures that your cuts align with the desired angles set on the protractor.
First, ensure that your miter saw is placed on a stable and level surface. This will prevent any wobbling or instability that could affect the accuracy of your cuts. Use a level to check and adjust the miter saw’s position as needed.
Next, align the blade of the miter saw parallel to the fence or the cutting surface. Use a combination square or a straightedge to verify the alignment. Adjust the miter saw accordingly to achieve a perfect parallel alignment.
Double-check that the blade is securely fastened and tightened in place. Loose or improperly tightened blades can cause inaccurate cuts and pose a safety hazard.
Take the time to ensure that the miter saw’s bevel angle adjustment is properly set to zero, especially if you’re working on straight cuts. This will guarantee that the blade is perpendicular to the table, resulting in precise 90-degree cuts.
Finally, make sure that the miter saw’s fence is properly aligned with the blade. This ensures that the stock material is held securely and accurately while making cuts. Adjust the fence as needed to achieve perfect alignment.
By properly setting up your miter saw, you lay the foundation for accurate and precise cuts. Take the necessary time and attention to ensure that every component of the miter saw is aligned and adjusted correctly before proceeding to the next step.
When using a miter saw protractor, always ensure that the angle is locked in place before making any cuts. This will help ensure accuracy and safety.
Step 3: Aligning the Protractor with the Desired Angle
Now that your miter saw is properly set up, it’s time to align the miter saw protractor with the desired angle for your cut.
Start by loosening the lock or clamp mechanism on the protractor. This allows the arm to move freely, making it easier to align with the desired angle.
Determine the angle you want to cut and closely examine the markings on the protractor. Locate the corresponding degree marking and any additional division lines that align with your desired angle.
Hold the stock material you’ll be cutting against the miter saw’s fence and position the miter saw protractor accordingly. Align the arm of the protractor with the desired angle marking or division line, while ensuring that the protractor’s reference point or other alignment markings are properly positioned.
Once you have the protractor aligned with the desired angle, tighten the lock or clamp mechanism to secure the arm in place. Give it a gentle pull or nudge to ensure that the protractor doesn’t move or shift when making the cut.
Take a moment to verify the alignment by visually inspecting the angle set on the protractor and comparing it to the angle you intend to cut. This double-check will help ensure that you’re on track for achieving accurate cuts.
Remember, precision is key when aligning the miter saw protractor with the desired angle. Take your time and make any necessary adjustments before moving on to the next step.
With the miter saw protractor properly aligned, you’re now ready to make accurate and precise cuts with your miter saw.
Read more: How To Use Starrett Miter Protractor
Step 4: Making Accurate Cuts with the Miter Saw Protractor
Now that your miter saw and protractor are properly set up and aligned, it’s time to make accurate cuts with confidence.
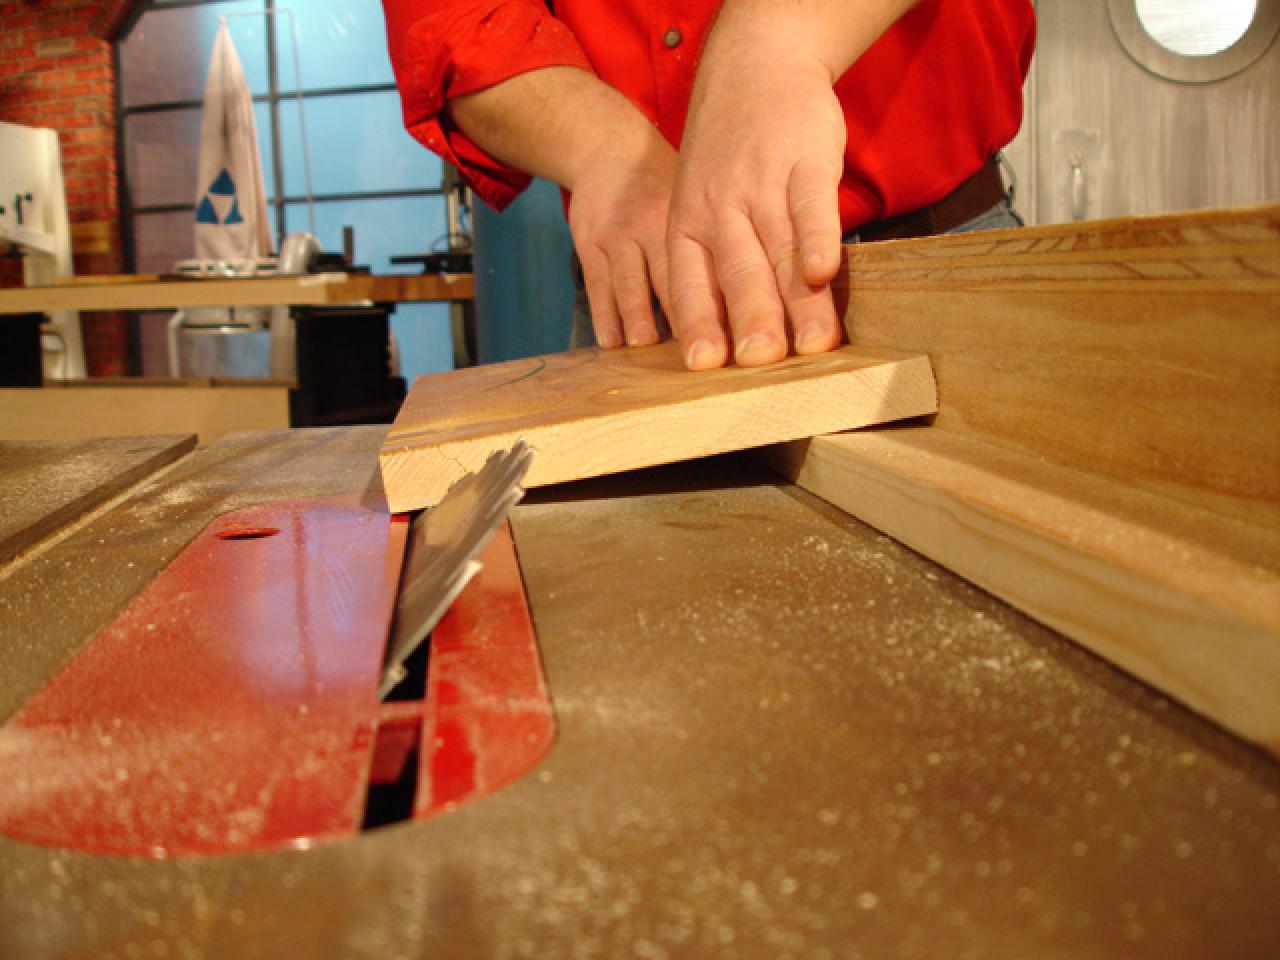
Start by positioning the stock material against the fence, ensuring it is securely held in place. Take note of the desired angle you’ve set on the miter saw protractor.
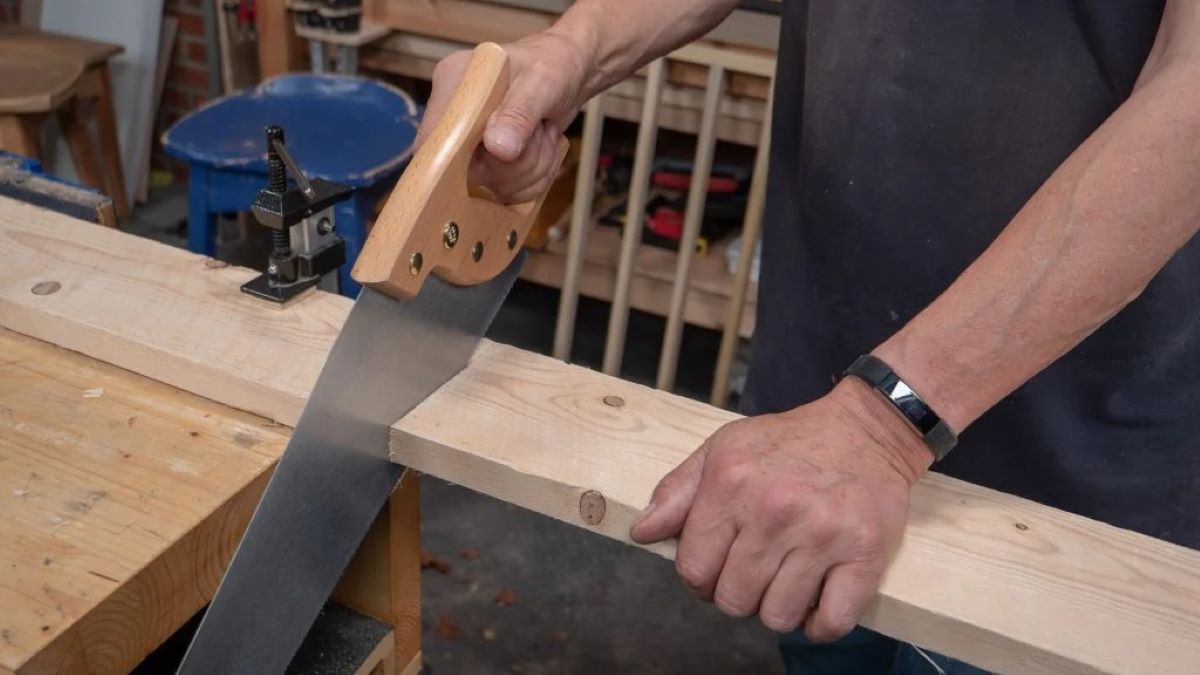
Slowly lower the miter saw blade, allowing it to make contact with the stock material at the desired cutting point. Keep a firm grip on the material as you make the cut, maintaining control and stability throughout the process.
Engage the miter saw’s motor and smoothly guide the blade through the stock material, maintaining a steady and controlled motion. Avoid rushing or forcing the blade, as this can lead to inaccuracies or messy cuts.
As you make the cut, keep an eye on the alignment of the miter saw protractor. Ensure that the arm remains securely locked in place and that the angle stays consistent as you complete the cut.
Once the cut is complete, carefully lift the blade out of the stock material and allow it to come to a complete stop before releasing the material from the grip of the fence. Inspect the cut to ensure it matches the intended angle and is clean and precise.
Repeat this process for each cut you need to make, adjusting the miter saw protractor as necessary for different angles.
Remember to always prioritize safety when operating a miter saw. Wear appropriate safety gear, such as safety glasses and ear protection, and keep your hands clear of the blade and cutting area at all times.
By following these steps and maintaining focus and precision, you’ll be able to make accurate cuts with the miter saw protractor, resulting in clean and professional-looking finishes for your woodworking projects.
Step 5: Double-checking the Angle and Adjustments
After making your cuts with the miter saw protractor, it’s crucial to double-check the angle and make any necessary adjustments to ensure accuracy and precision.
Start by visually inspecting the cuts you’ve made. Look for any discrepancies or inconsistencies in the angles. Measure the angles with a reliable measuring tool, such as a digital angle finder or a combination square, to verify their accuracy.
If you find that the angle of the cut does not match the desired angle set on the miter saw protractor, it’s time to make adjustments.
First, ensure that the miter saw protractor is still securely locked in place. If it has shifted or moved during the cutting process, release the lock or clamp mechanism and re-align it with the desired angle.
If the angle remains incorrect even after re-aligning the protractor, it could be due to other factors, such as a misaligned miter saw blade or an issue with the saw’s calibration. In this case, refer to your miter saw’s user manual for instructions on how to make adjustments or seek assistance from a professional.
Additionally, consider the quality and condition of your miter saw blades. Dull or damaged blades can affect the accuracy of your cuts. If necessary, replace the blade with a high-quality one suited for your specific cutting needs.
It’s also good practice to periodically check the calibration of your miter saw and protractor to ensure their accuracy. Calibration may be required over time due to wear or other external factors.
By double-checking the angle of your cuts and making any necessary adjustments, you can ensure that your woodworking projects meet the desired specifications and achieve the desired level of precision.
Remember, attention to detail and continuous monitoring are essential for producing high-quality work with the miter saw protractor.
Conclusion
Congratulations! You have completed the journey of mastering the art of using a miter saw protractor. By following the step-by-step process laid out in this article, you have learned how to effectively set up, align, and make accurate cuts using this essential woodworking tool.
A miter saw protractor is a valuable asset in any woodworker’s toolbox, enabling precise and clean cuts at various angles. It offers versatility and efficiency, allowing you to tackle a wide range of projects with confidence and precision.
Remember, familiarizing yourself with the miter saw protractor and understanding its components and features is the first step towards success. Properly setting up your miter saw and aligning the protractor with the desired angle are crucial for achieving accurate cuts.
Throughout the process, maintaining focus, double-checking angles, and making adjustments when necessary will ensure the best possible results. Safety should always be your priority, so don’t forget to wear the necessary protective gear and follow proper operating procedures.
By honing your skills in using the miter saw protractor, you can elevate your woodworking projects to a new level. From simple home improvement tasks to intricate woodworking creations, the miter saw protractor will empower you to achieve professional-looking finishes with precision and accuracy.
So, go ahead and unleash your creativity, armed with the knowledge and skills you’ve gained. Put your miter saw protractor to good use and embark on your next woodworking adventure with confidence!
Frequently Asked Questions about How To Use A Miter Saw Protractor
Was this page helpful?
At Storables.com, we guarantee accurate and reliable information. Our content, validated by Expert Board Contributors, is crafted following stringent Editorial Policies. We're committed to providing you with well-researched, expert-backed insights for all your informational needs.


0 thoughts on “How To Use A Miter Saw Protractor”