Articles
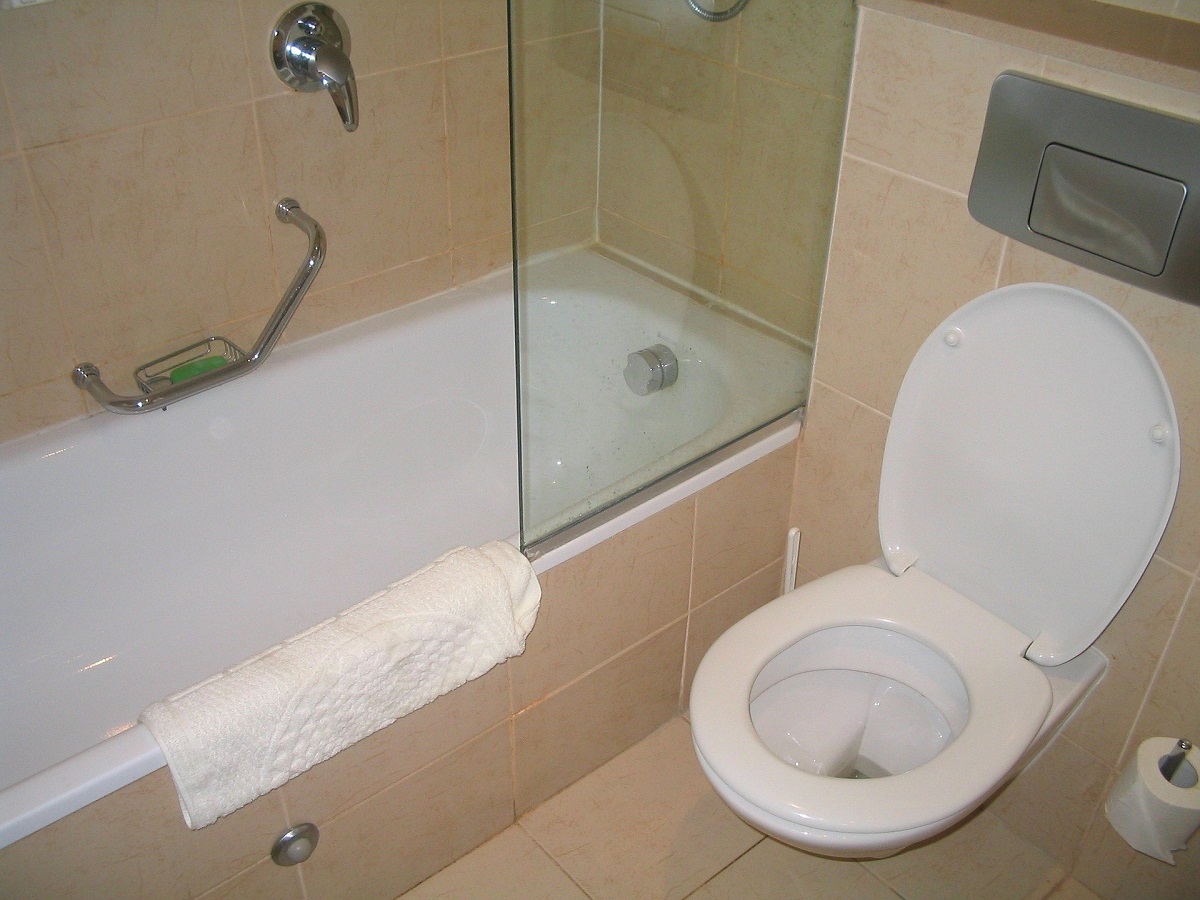
How To Fix A Slow Flushing Toilet
Modified: October 20, 2024
Learn effective methods to fix a slow flushing toilet with these informative articles. Simple solutions to improve your bathroom experience.
(Many of the links in this article redirect to a specific reviewed product. Your purchase of these products through affiliate links helps to generate commission for Storables.com, at no extra cost. Learn more)
Introduction
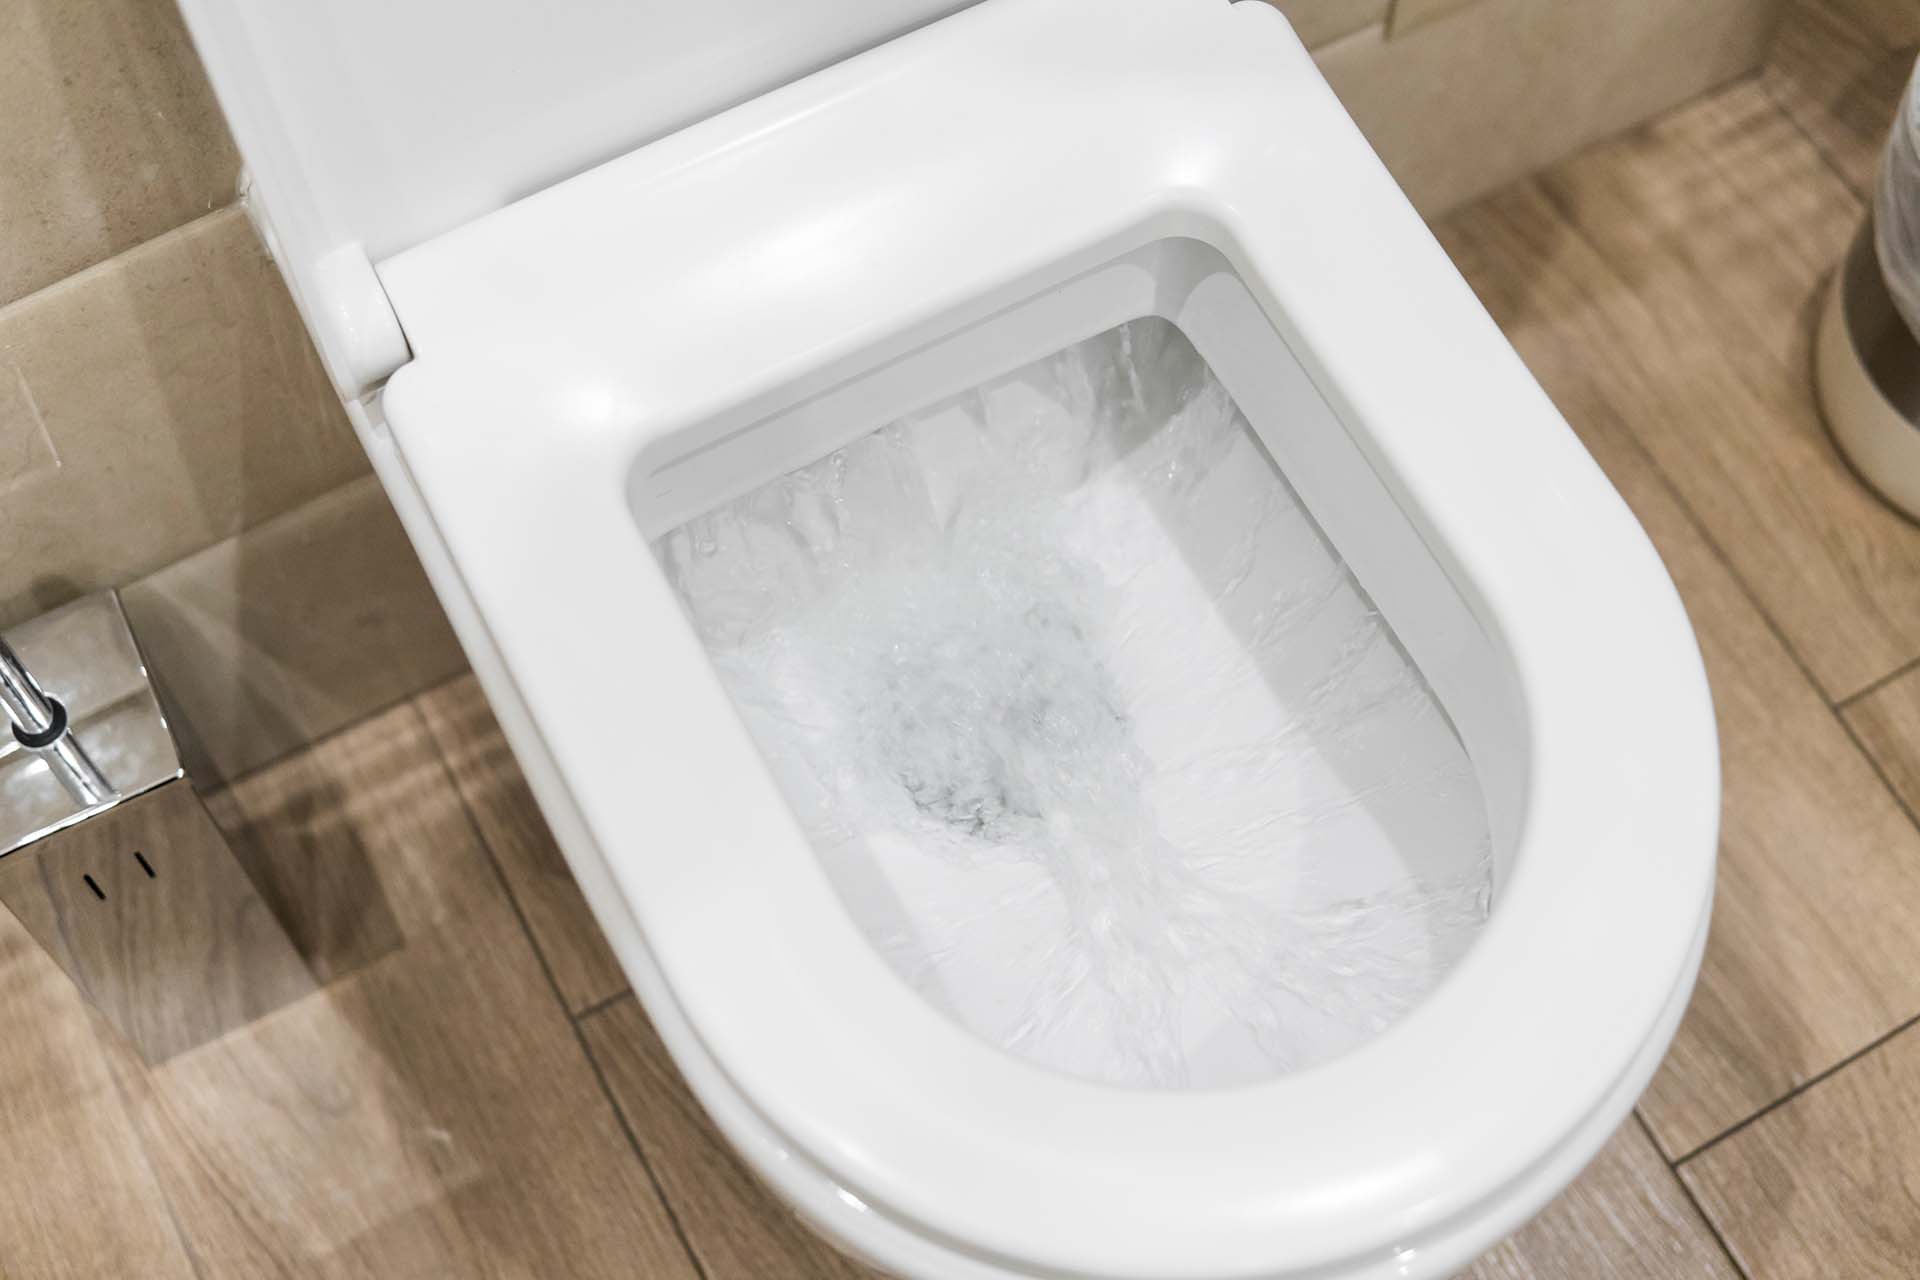
Having a slow flushing toilet can be incredibly frustrating. Not only does it waste time, but it can also lead to unpleasant odors and unsanitary conditions. Fortunately, in many cases, fixing a slow flushing toilet is a relatively simple task that can be done without the need for a plumber.
In this article, we will explore the common causes of slow flushing toilets and provide you with a step-by-step guide on how to fix them. Whether it’s a clog, a faulty flapper, or a problem with the water supply, we’ll help you identify the issue and take the necessary steps to get your toilet flushing efficiently again.
So, if you’re tired of waiting forever for your toilet to flush or dealing with frequent backups, let’s dive in and learn how to fix a slow flushing toilet.
Key Takeaways:
- Don’t let a slow flushing toilet ruin your day! From checking water levels to cleaning jets, this guide empowers you to troubleshoot and fix common issues, restoring your toilet’s efficiency without the need for a plumber.
- When DIY efforts fall short, consider professional help to tackle hidden blockages and complex repairs. A licensed plumber can provide expertise, save you time, and ensure your toilet functions flawlessly.
Read more: How To Fix A Slow Filling Toilet
Common Causes of Slow Flushing Toilets
Before we jump into the solutions, it’s essential to understand the common causes of slow flushing toilets. By identifying the root issue, you can effectively address the problem and restore the normal flushing function.
1. Clogs or Blockages: One of the most common reasons for a slow flushing toilet is a clog or blockage in the drain pipe. This can occur when excessive toilet paper, sanitary products, or foreign objects are flushed down the toilet. Over time, these build-ups can restrict the flow of water, resulting in a weak flush.
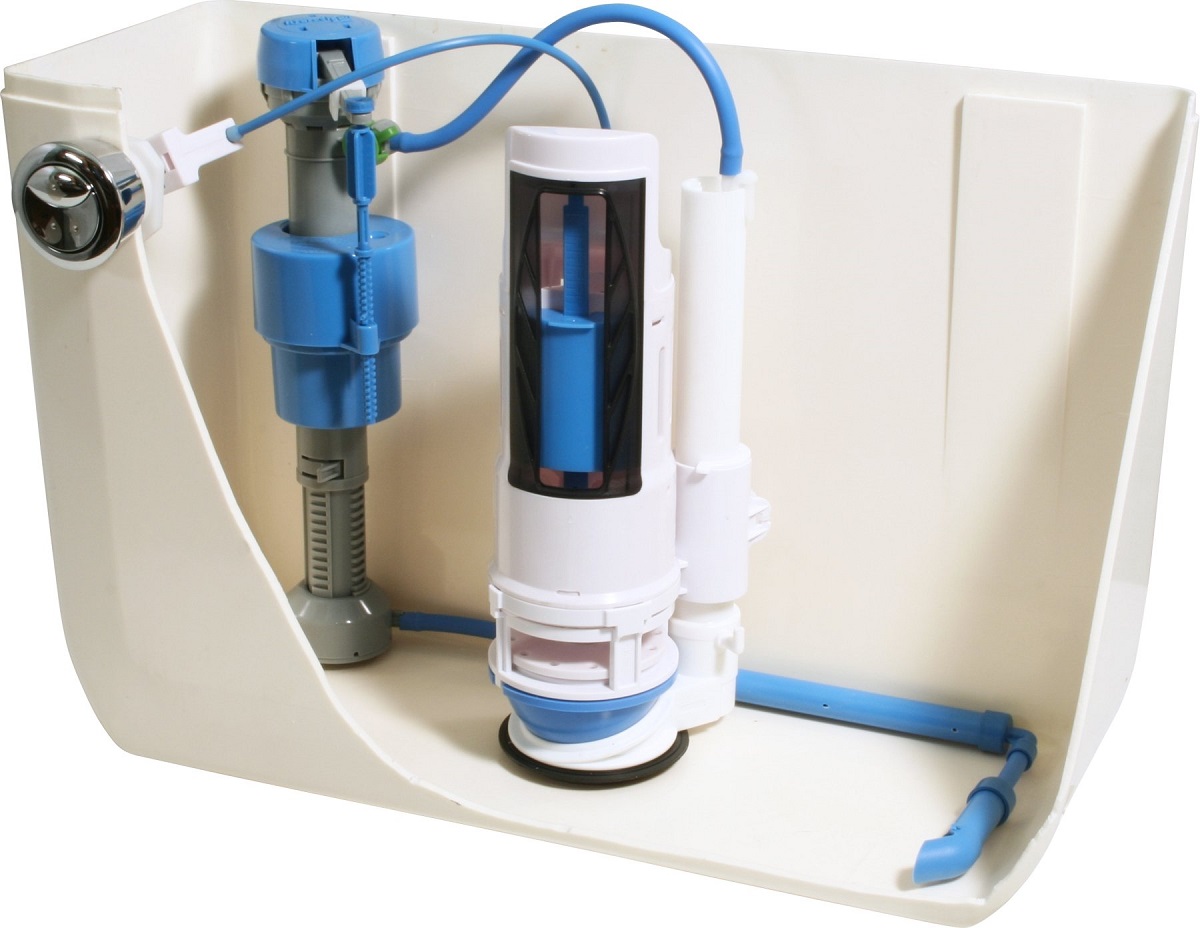
2. Low Water Level: If the water level in the toilet bowl is low, it can cause a weak flush. This can happen due to a faulty fill valve or an incorrect water level adjustment.
3. Faulty Flapper: The flapper is a rubber valve that controls the release of water from the tank into the bowl during flushing. If the flapper is worn out or not properly seated, it can result in incomplete or weak flushing.
4. Clogged Jets: Inside the toilet bowl, there are small holes called jets that help propel the water during flushing. If these jets become clogged with mineral deposits or debris, it can restrict the flow of water and lead to a weak flush.
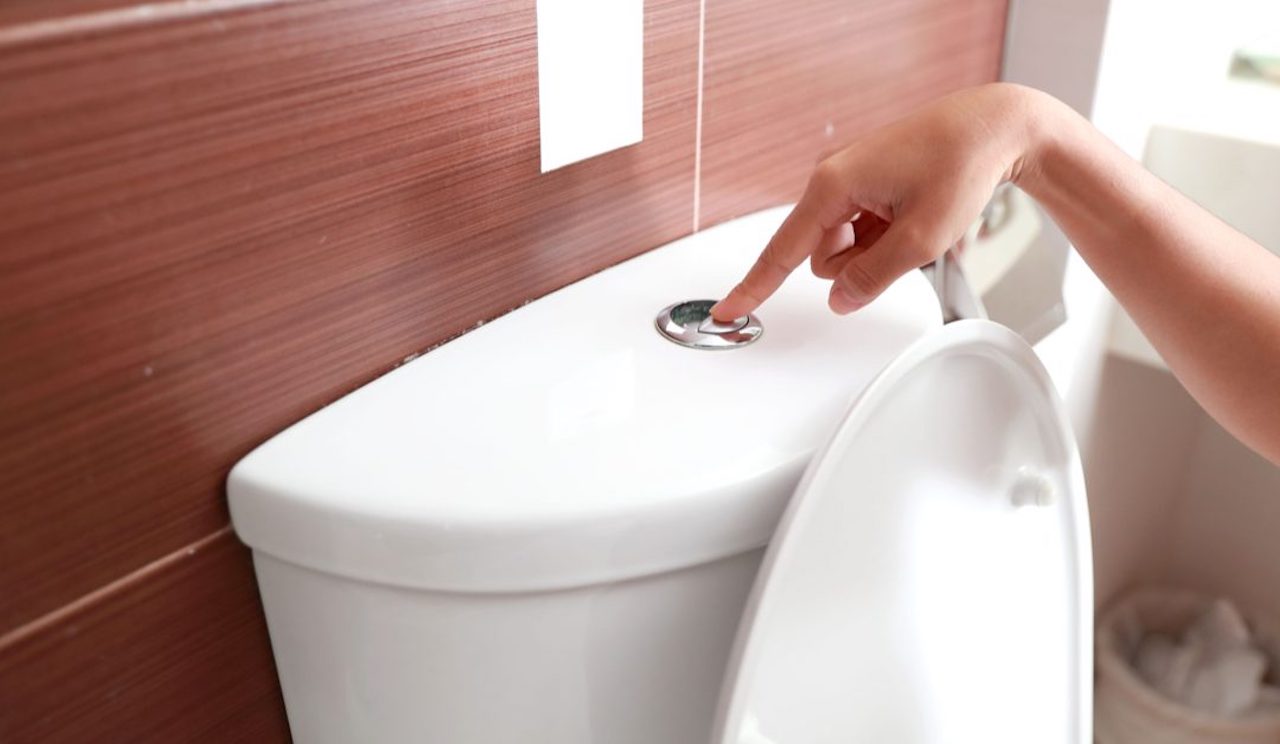
5. Malfunctioning Flush Valve: The flush valve is responsible for releasing water from the tank into the bowl when you flush. If the flush valve is faulty or damaged, it may not open fully, causing a weak flush.
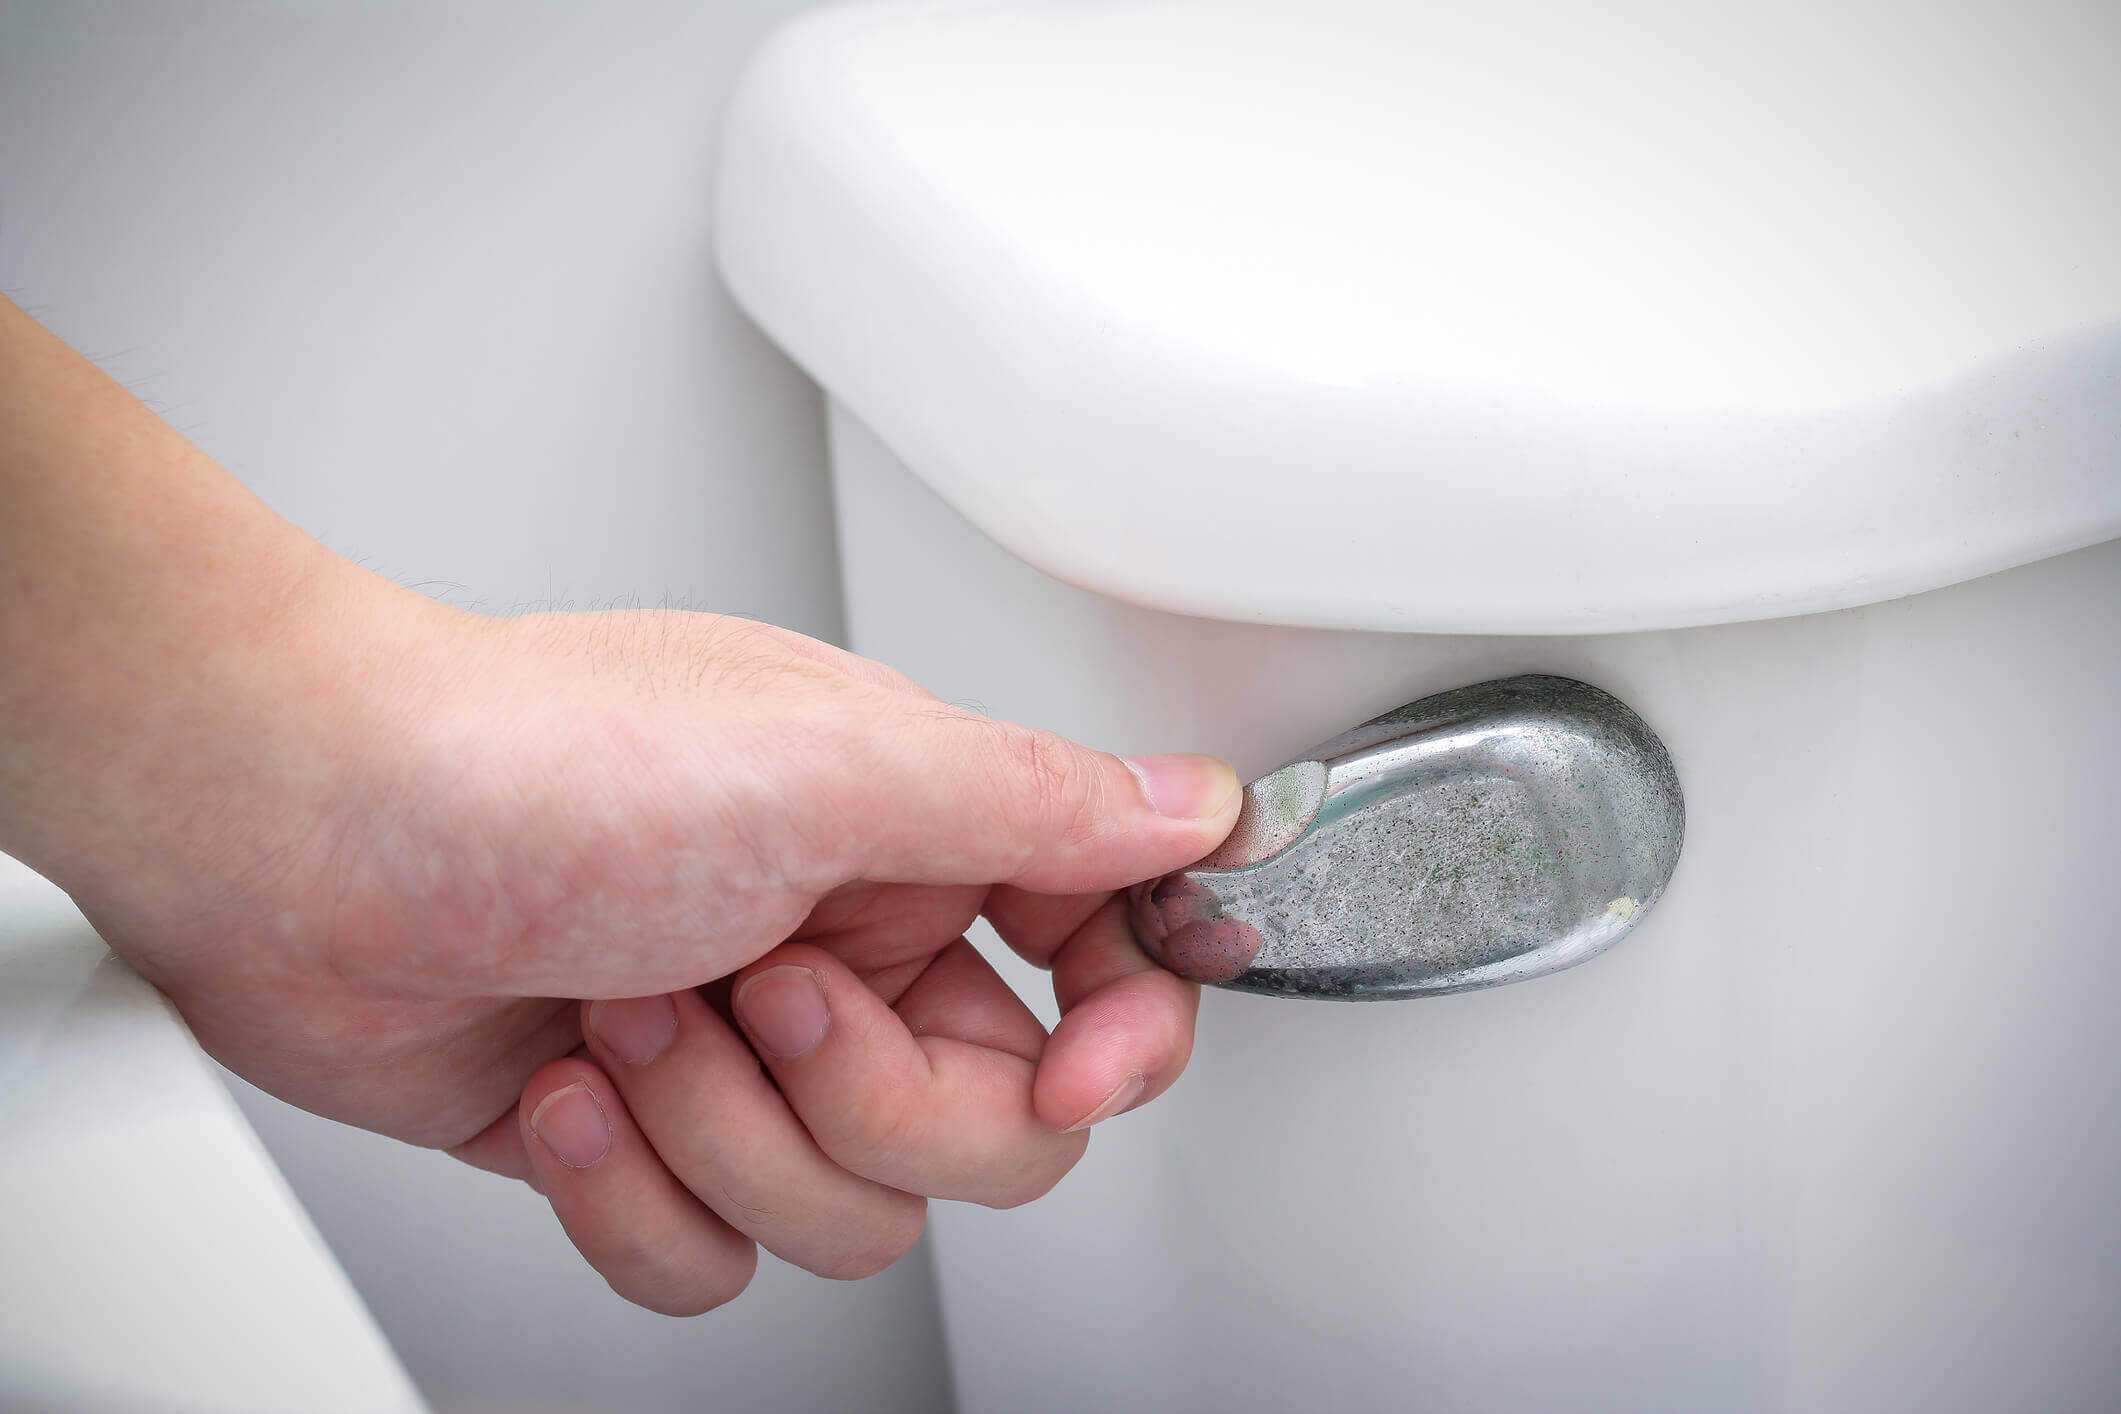
6. Trip Lever Issues: The trip lever is the mechanism that connects the handle to the flushing mechanism inside the tank. If the trip lever is misaligned, loose, or damaged, it can affect the flushing performance of the toilet.
7. Water Supply Issues: A slow flushing toilet can also be caused by a problem with the water supply. Insufficient water pressure or a partially closed water supply valve can hinder the flushing process.
By understanding these common causes, you’ll have a better idea of where to start when troubleshooting your slow flushing toilet. In the next section, we’ll discuss the tools and materials you’ll need to fix the issue.
Tools and Materials Needed
Before you embark on fixing your slow flushing toilet, gather the necessary tools and materials to ensure a smooth and efficient repair process. Here’s a list of items you’ll need:
- Plunger: A good-quality plunger is essential for clearing clogs and blockages in the toilet drain. Make sure you have one that creates a tight seal.
- Plumbing Snake: A plumbing snake, also known as a drain auger, is used for more stubborn clogs that cannot be resolved with a plunger. Opt for a snake with a flexible but sturdy cable.
- Adjustable Wrench: An adjustable wrench will come in handy for loosening and tightening bolts and nuts during the repair process.
- Bucket: Have a bucket or a large container ready to catch excess water when you’re working on the toilet.
- Gloves: It’s always a good idea to protect your hands with gloves, especially when dealing with potentially unsanitary conditions.
- Screwdriver: Keep a screwdriver handy for removing screws and accessing parts inside the tank.
- Rag or Towel: Have a rag or towel nearby to clean up any spills or drips during the repair.
- Vinegar or Descaling Solution: If your toilet jets are clogged with mineral deposits, having vinegar or a descaling solution on hand can help dissolve the build-up.
- Replacement Parts: Depending on the specific issue with your toilet, you may need to have replacement parts ready, such as a new flapper or a fill valve.
By gathering these tools and materials in advance, you’ll be well-prepared to tackle the repair process for your slow flushing toilet. In the following steps, we’ll guide you through each necessary procedure to fix the problem.
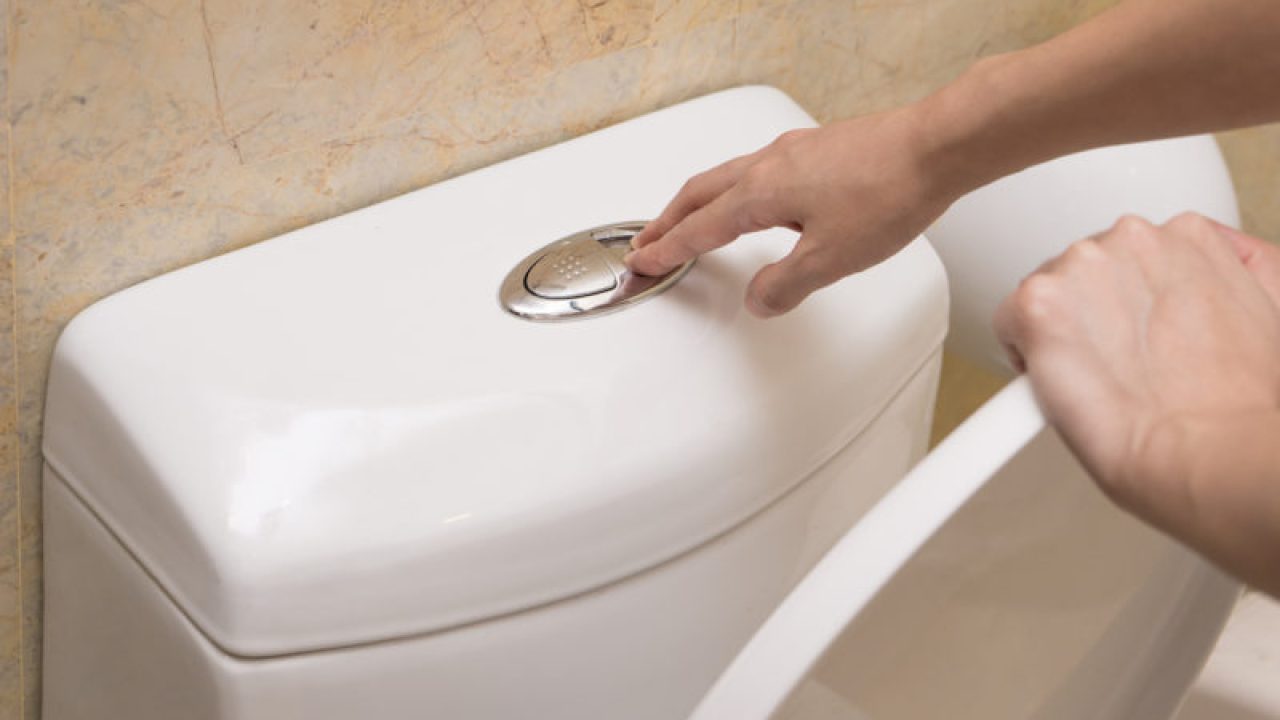
Step 1: Check the Water Level
The first step in troubleshooting a slow flushing toilet is to check the water level in the tank. If the water level is too low, it can result in a weak flush.
Here’s how you can check the water level:
- Remove the toilet tank lid.
- Observe the water level in the tank. It should be around 1 inch below the top of the overflow tube.
- If the water level is significantly lower than it should be, adjust it by raising the float or adjusting the fill valve.
- If your toilet has a ball float, you can bend the rod slightly upward to raise the water level. For newer toilets with a fill valve, locate the adjustment screw on top of the valve and turn it clockwise to increase the water level.
- Flush the toilet and check if the water level has improved. If not, proceed to the next step.
It’s important to note that adjusting the water level can differ based on the type of toilet and fill valve mechanism. Refer to the manufacturer’s instructions or consult a professional if you’re unsure about the process for your particular toilet model.
If adjusting the water level doesn’t resolve the issue, move on to the next step to check for any clogs or blockages in the toilet drain.
Step 2: Clear any Clogs or Blockages
If adjusting the water level didn’t resolve the problem, the next step is to check for clogs or blockages in the toilet drain. Build-ups of toilet paper, foreign objects, or debris can obstruct the flow of water and result in a slow flush.
Follow these steps to clear any clogs or blockages:
- Put on a pair of gloves to protect your hands.
- Insert a plunger into the toilet bowl, making sure it creates a firm seal.
- Gently push the plunger down and then pull it up in a rapid motion, creating a suction effect.
- Repeat this plunging motion several times, and then quickly remove the plunger to break the suction.
- Flush the toilet to see if the clog has been cleared. If not, proceed to the next step.
- If the plunger didn’t work, try using a plumbing snake. Insert the snake into the toilet drain and rotate it manually or operate it using the handle.
- Push the snake into the drain until you feel resistance, and then slowly twist it to break up the clog.
- Continue feeding the snake into the drain while twisting it until you encounter no more resistance.
- Once the clog has been cleared, flush the toilet to ensure the water flow is restored.
If you’re unable to clear the clog or blockage using a plunger or plumbing snake, it may be necessary to call a professional plumber for assistance. They have specialized tools and expertise to handle more stubborn clogs.
Once you’ve successfully cleared any clogs or blockages, move on to the next step to check the water supply for any issues.
Read more: How To Fix Slow Close Toilet Seat
Step 3: Check the Water Supply
If you’ve addressed any potential clogs or blockages and your toilet is still flushing slowly, the next step is to check the water supply. Issues with the water supply can hamper the flushing performance of your toilet.
Here’s how you can check the water supply:
- Locate the water supply valve behind or near the toilet.
- Ensure that the water supply valve is fully open. If it’s partially closed, it can restrict the water flow.
- If the valve appears to be fully open, close it and then reopen it a few times to help clear any sediment or debris that may be causing a blockage.
- Check the water pressure. Insufficient water pressure can result in a weak flush. Make sure the water pressure in your home is adequate for proper toilet flushing.
- If you’ve tried adjusting the water supply valve and the water pressure is normal, move on to the next step to inspect and adjust the flapper.
By ensuring that the water supply is unobstructed and the pressure is sufficient, you can eliminate any issues related to the water supply. If the problem persists, continue to the next step to address the flapper mechanism.
Check the water level in the tank and adjust the float to ensure it is at the proper level. Also, inspect the flapper for any damage or debris that may be causing a slow flush.
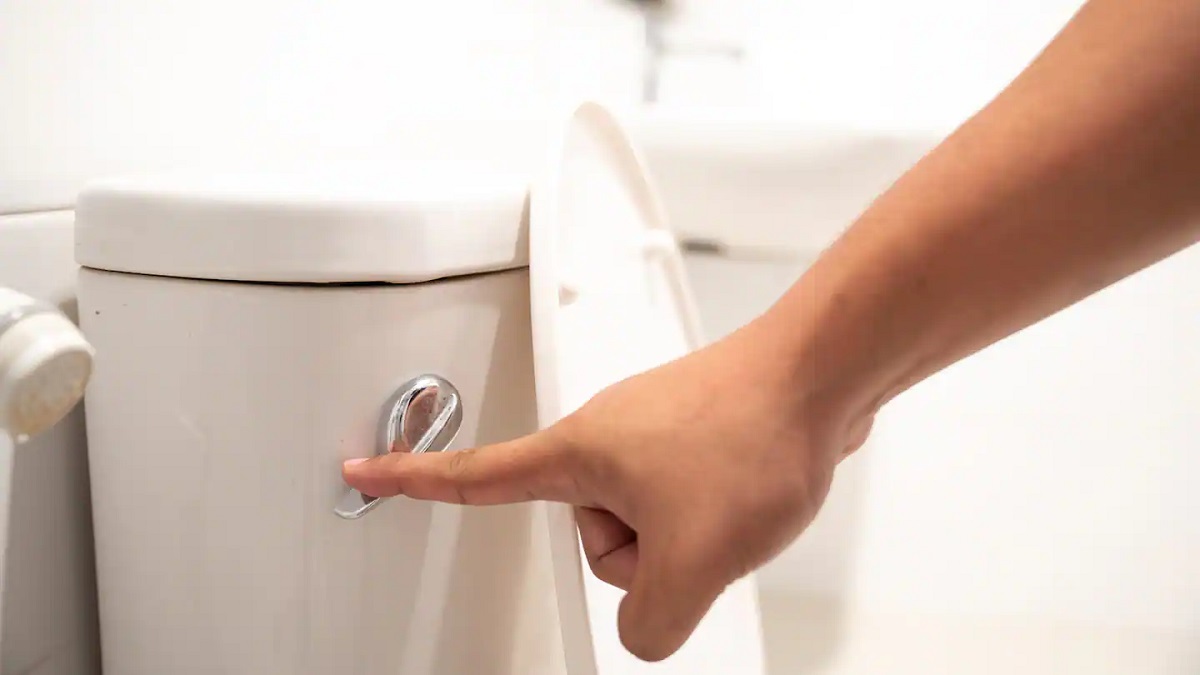
Step 4: Adjusting the Flapper
If you’ve ruled out clogs, blockages, and water supply issues, it’s time to inspect and adjust the flapper. The flapper is a rubber valve located at the bottom of the toilet tank that controls the flow of water into the bowl during flushing.
Follow these steps to adjust the flapper:
- Remove the toilet tank lid and locate the flapper.
- Inspect the flapper for any signs of wear, cracks, or misalignment. A worn-out or damaged flapper may not create a proper seal, resulting in a weak flush.
- If the flapper appears to be in good condition, check its alignment. It should sit directly over the flush valve without any obstructions.
- If the flapper is misaligned, adjust it by either bending the flapper chain or adjusting the chain’s length. The chain should have enough slack to allow the flapper to fully close but not too much that it becomes tangled or caught.
- After adjusting the flapper, flush the toilet and observe the flush. If the flush improves, you’ve successfully adjusted the flapper. However, if the problem continues, proceed to the next step.
- If the flapper appears to be worn or damaged, it’s advisable to replace it. Turn off the water supply to the toilet and remove the old flapper. Then, install a new flapper following the manufacturer’s instructions.
- Once the new flapper is installed, turn the water supply back on and flush the toilet to test the flush performance.
Adjusting or replacing the flapper can often resolve slow flushing issues. However, if the problem still persists, move on to the next step to inspect and clean the jets inside the toilet bowl.
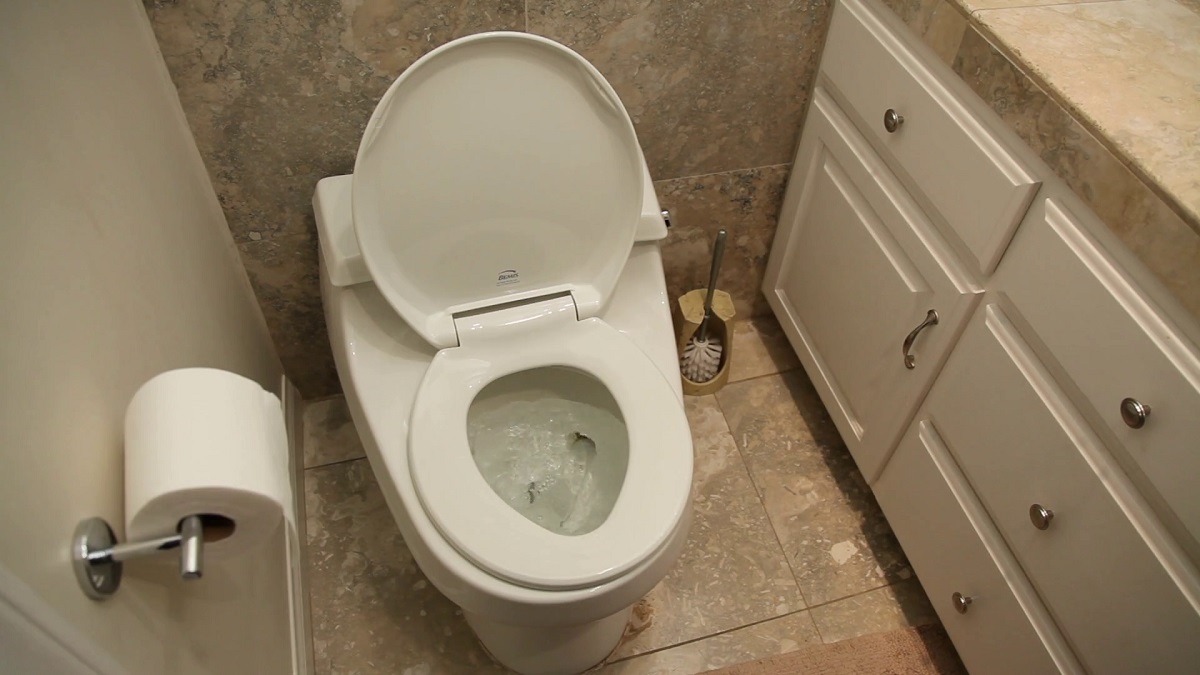
Step 5: Inspect and Clean the Jets
If adjusting or replacing the flapper didn’t solve the problem, the next step is to inspect and clean the jets inside the toilet bowl. The jets are small holes located under the rim of the bowl that help propel the water during flushing. If these jets are clogged with mineral deposits or debris, it can impede the flow of water and result in a weak flush.
Follow these steps to inspect and clean the jets:
- Put on a pair of gloves to protect your hands.
- Prepare a mixture of equal parts vinegar and water in a bucket or container.
- Dip a rag or a brush into the vinegar and water mixture.
- Gently scrub each jet underneath the rim of the toilet bowl to remove any mineral deposits or debris. Make sure to reach each jet thoroughly.
- Flush the toilet to rinse away any loosened deposits.
- Repeat the process if necessary, until the jets are clean and free from any obstructions.
- Once the jets are clean, flush the toilet again and observe if the flushing performance has improved.
Cleaning the jets can help restore proper water flow during flushing, resulting in a stronger and more efficient flush. If the problem persists, proceed to the next step to check the flush valve.
Step 6: Check the Flush Valve
If you’ve gone through the previous steps and your toilet is still experiencing slow flushing, it’s time to check the flush valve. The flush valve is responsible for releasing water from the tank into the bowl when the toilet is flushed. If the flush valve is faulty or damaged, it may not open fully, leading to a weak flush.
Follow these steps to check the flush valve:
- Turn off the water supply to the toilet.
- Remove the toilet tank lid and locate the flush valve.
- Inspect the flush valve for any visible signs of damage, such as cracks or debris.
- Clean the flush valve thoroughly to remove any mineral deposits or blockages that may be affecting its functionality.
- If the flush valve appears to be damaged beyond repair, you may need to replace it. Consult a professional or refer to the manufacturer’s instructions for guidance.
- If the flush valve is in good condition, ensure that it is properly aligned and seated. It should move freely without any obstructions.
- Turn on the water supply and flush the toilet to see if the flush valve operates smoothly and results in a stronger flush.
By checking the flush valve, you can address any potential issues that may be hindering the flushing performance of your toilet. If the problem persists, move on to the next step to inspect and potentially replace or adjust the trip lever.
Read more: How To Manually Flush A Toilet
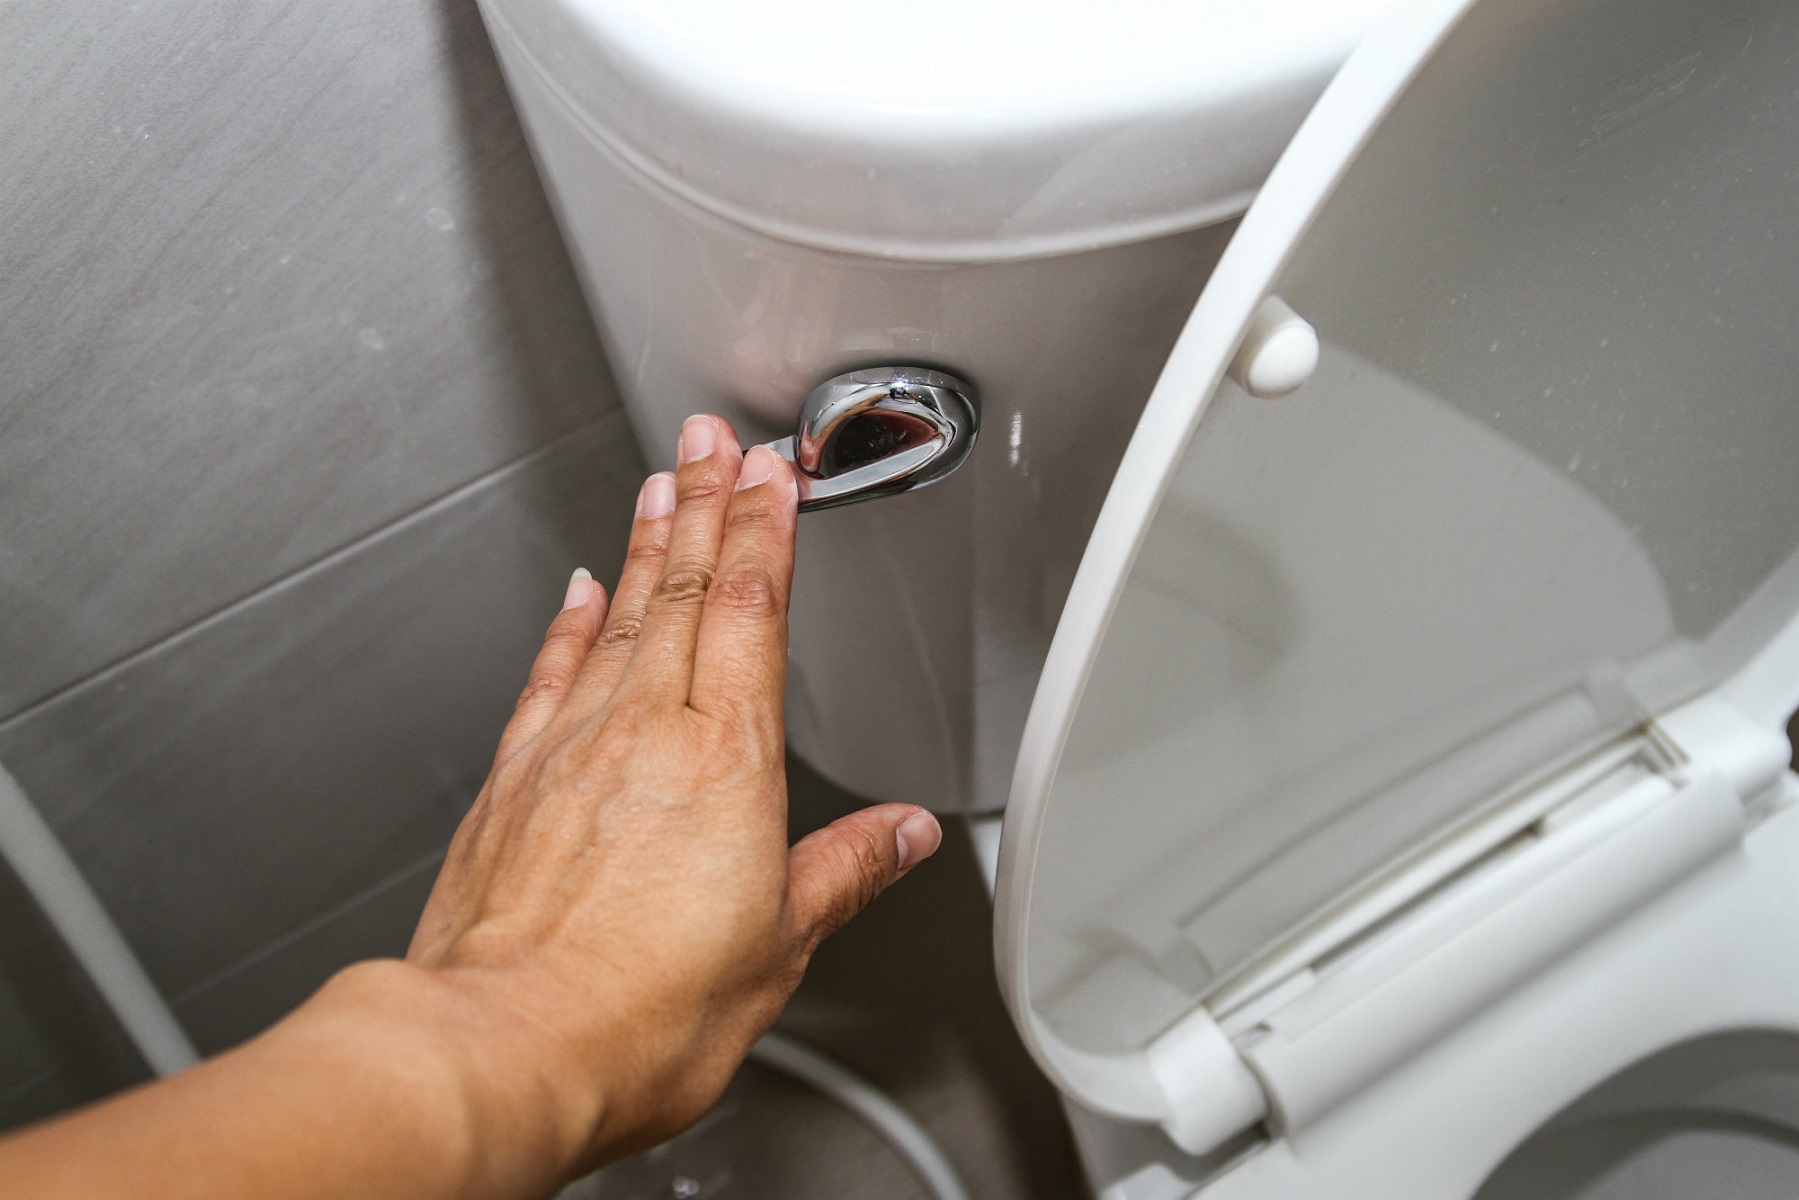
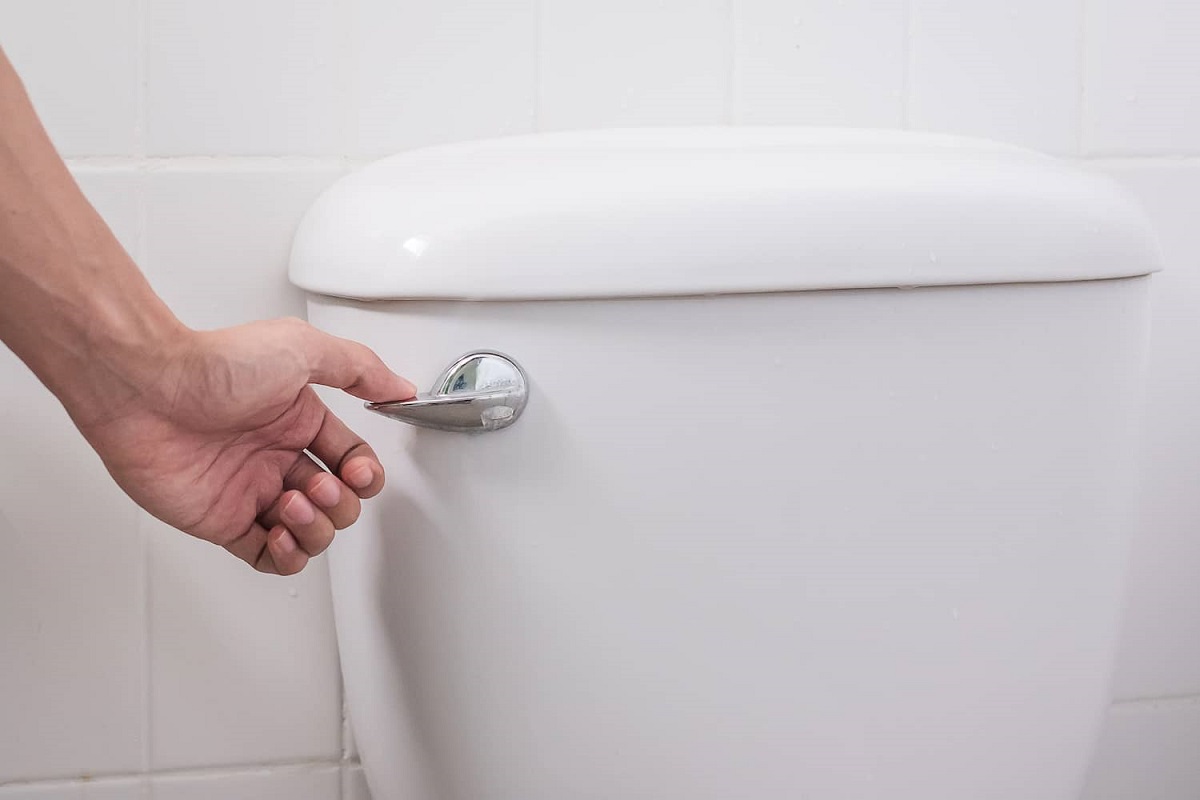
Step 7: Replace or Adjust the Trip Lever
If you’ve reached this step and your toilet is still not flushing properly, it’s time to inspect the trip lever. The trip lever is the mechanism inside the toilet tank that connects to the handle and activates the flushing mechanism. If the trip lever is misaligned, loose, or damaged, it can affect the flushing performance.
Follow these steps to replace or adjust the trip lever:
- Turn off the water supply to the toilet.
- Remove the toilet tank lid and locate the trip lever assembly.
- If the trip lever is loose or misaligned, tighten the mounting screws or nuts to secure it in the proper position.
- If the trip lever is damaged or broken, you may need to replace it. Remove the old trip lever and purchase a new one that matches your toilet model.
- Install the new trip lever according to the manufacturer’s instructions, ensuring it is properly aligned and operates smoothly.
- Turn on the water supply and flush the toilet to test the trip lever’s functionality. The toilet should now have a stronger and more efficient flush.
If adjusting or replacing the trip lever doesn’t resolve the slow flushing issue, it may be necessary to seek professional assistance in diagnosing and repairing the problem.
Remember, each toilet model may have specific instructions and mechanisms, so consult the manufacturer’s manual or consider hiring a plumber if you’re unsure about the trip lever adjustment or replacement process for your toilet.
If all else fails, move on to the final step of considering professional help.
Step 8: Consider Professional Help
If you have followed all the previous steps and your toilet is still experiencing slow flushing, it may be time to consider seeking professional help. A licensed plumber has the expertise and specialized equipment to diagnose and address more complex issues that may be causing the problem.
Here are a few reasons why it may be beneficial to seek professional assistance:
- Hidden Blockages: A professional plumber can use advanced techniques such as drain cameras to identify and locate hidden blockages that are causing the slow flushing.
- Complex Repairs: Some toilet issues require in-depth knowledge of plumbing systems and specialized tools. A professional plumber can efficiently diagnose and repair these complex problems.
- Warranty Concerns: If your toilet is still under warranty, attempting DIY repairs may void the warranty. Hiring a professional ensures that the repair process is handled correctly and maintains the warranty coverage.
- Time and Convenience: Hiring a plumber saves you the time and effort of troubleshooting and attempting multiple repairs. They can quickly assess and resolve the issue, saving you from ongoing frustration.
When choosing a plumber, ensure that they are licensed, insured, and have experience in toilet repairs. Ask for recommendations from family and friends or check online reviews to find a reputable professional in your area.
By considering professional help, you can have peace of mind knowing that your slow flushing toilet will be properly diagnosed and repaired by an expert in the field.
Remember, a well-maintained and properly functioning toilet is essential for your daily comfort and convenience, so don’t hesitate to reach out for professional assistance if needed.
Conclusion
A slow flushing toilet can be a frustrating and inconvenient problem to deal with. However, by following the steps outlined in this guide, you can troubleshoot and address the common causes of slow flushing.
Starting with checking the water level and adjusting it if necessary, you can ensure that the proper amount of water is available for a strong flush. Clearing any clogs or blockages in the toilet drain using a plunger or plumbing snake can also improve the flushing performance.
Checking the water supply and ensuring it is fully open and supplying sufficient water pressure to the toilet is essential. If the flapper is worn or misaligned, adjusting or replacing it can restore proper functioning.
Inspecting and cleaning the jets inside the toilet bowl can remove mineral deposits or debris that might be hindering the flow of water during flushing. Additionally, checking the flush valve and the trip lever for any damages or misalignment should be addressed.
If all else fails, it may be time to consider professional help from a licensed plumber. They have the expertise and specialized equipment to diagnose and fix more complex issues that may be causing the slow flushing.
In conclusion, with some patience and troubleshooting, you can likely solve the problem of a slow flushing toilet on your own. By identifying the issue and taking the appropriate steps, you can restore your toilet’s efficiency and ensure a hassle-free flushing experience.
Remember, regular maintenance and prompt repairs will help prevent future issues with your toilet, so continue to monitor and address any problems as they arise. Your clean and properly functioning toilet is essential for a comfortable and hygienic household.
Frequently Asked Questions about How To Fix A Slow Flushing Toilet
Was this page helpful?
At Storables.com, we guarantee accurate and reliable information. Our content, validated by Expert Board Contributors, is crafted following stringent Editorial Policies. We're committed to providing you with well-researched, expert-backed insights for all your informational needs.


0 thoughts on “How To Fix A Slow Flushing Toilet”