Home>Articles>How To Fix Blinds That Won’t Close All The Way
Articles
How To Fix Blinds That Won’t Close All The Way
Modified: August 28, 2024
Learn how to fix blinds that won't close all the way with our helpful articles. Find solutions for a variety of blind types and common issues.
(Many of the links in this article redirect to a specific reviewed product. Your purchase of these products through affiliate links helps to generate commission for Storables.com, at no extra cost. Learn more)
Introduction
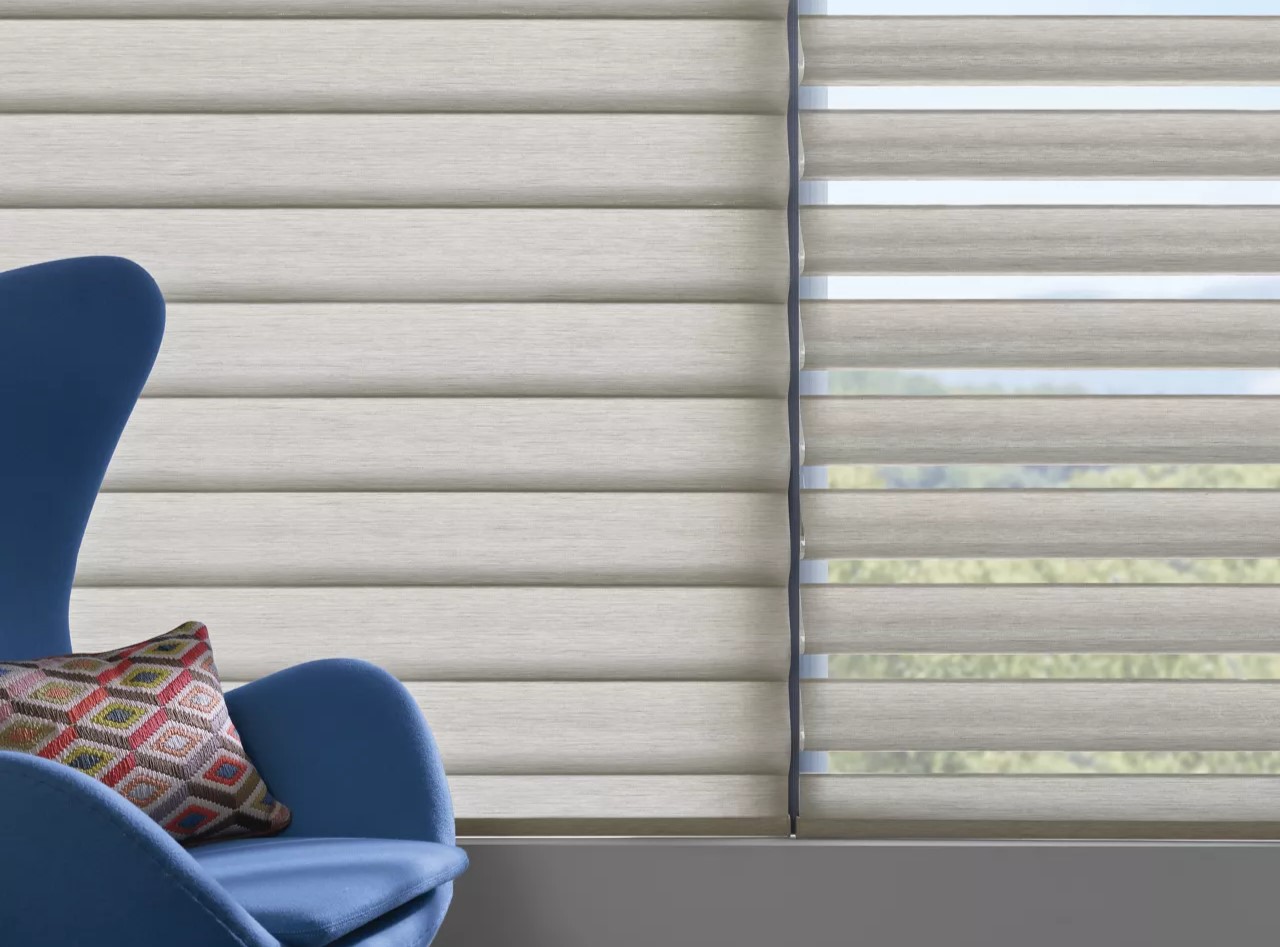
Blinds are a popular and practical window treatment option that allows you to control the amount of light and privacy in your home. However, one frustrating issue that can arise with blinds is when they won’t close all the way. This not only affects the functionality of the blinds but also compromises your privacy and can let in unwanted light.
If you’re facing this problem, don’t worry! There are several common reasons why blinds may not be closing properly, and in many cases, you can fix the issue yourself without the need for professional assistance. In this article, we will guide you through some troubleshooting steps to help you fix your blinds and get them closing properly again.
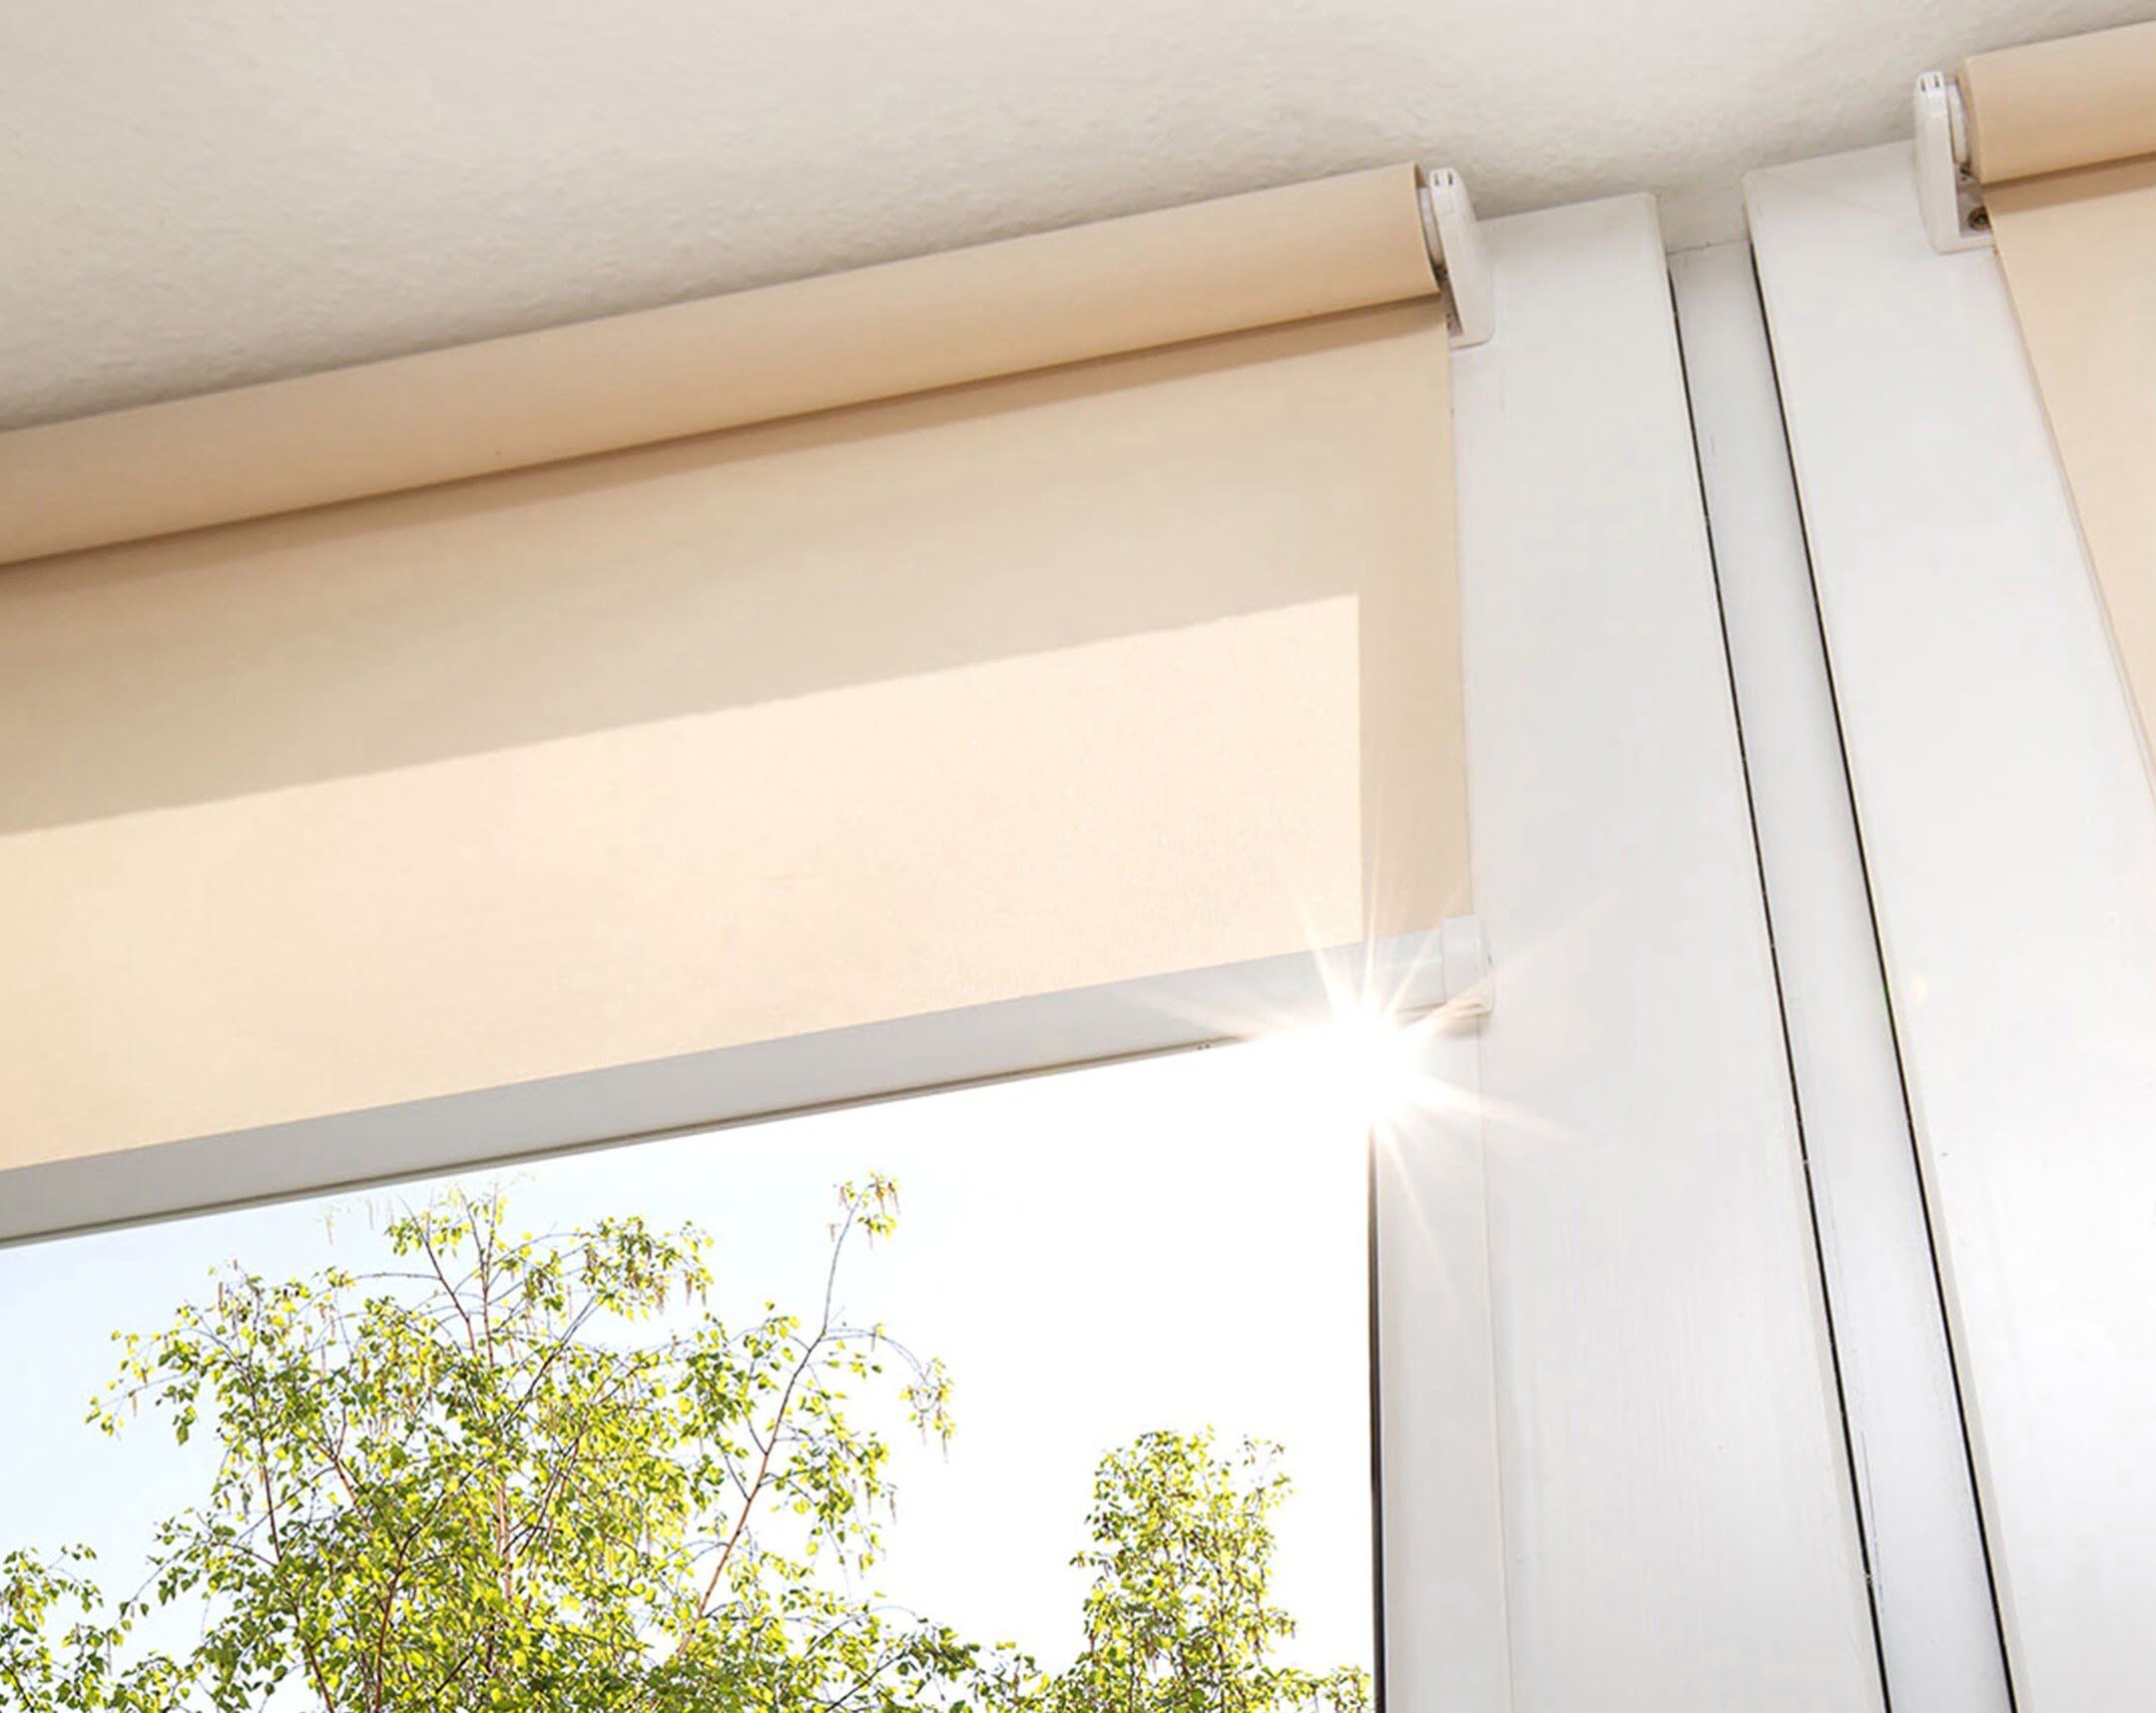
Before diving into the solution, it’s important to note that the specific steps may vary depending on the type of blinds you have (such as vertical blinds, horizontal blinds, or roller blinds) and the nature of the problem. It’s a good idea to consult the manufacturer’s instructions or seek professional help if you’re unsure about any aspect of the repair process.
Key Takeaways:
- Regular cleaning, adjusting the tilt mechanism, and replacing broken slats can help restore functionality to blinds that won’t close properly, ensuring optimal light control and privacy in your home.
- When DIY efforts fail, seeking professional help for complex blind issues can save time and ensure a long-lasting solution, especially for custom or warranty-covered blinds.
Read more: How Come My Toilet Wont Flush All The Way
Common Reasons for Blinds Not Closing
There can be several reasons why your blinds are not closing properly. Understanding these common issues can help you troubleshoot and resolve the problem effectively. Here are some of the most frequent culprits:
- Dust and Debris: Over time, dust, dirt, and debris can accumulate on the blinds’ slats and mechanism, leading to obstruction and difficulty in closing. Regular cleaning is essential to keep your blinds in optimal condition.
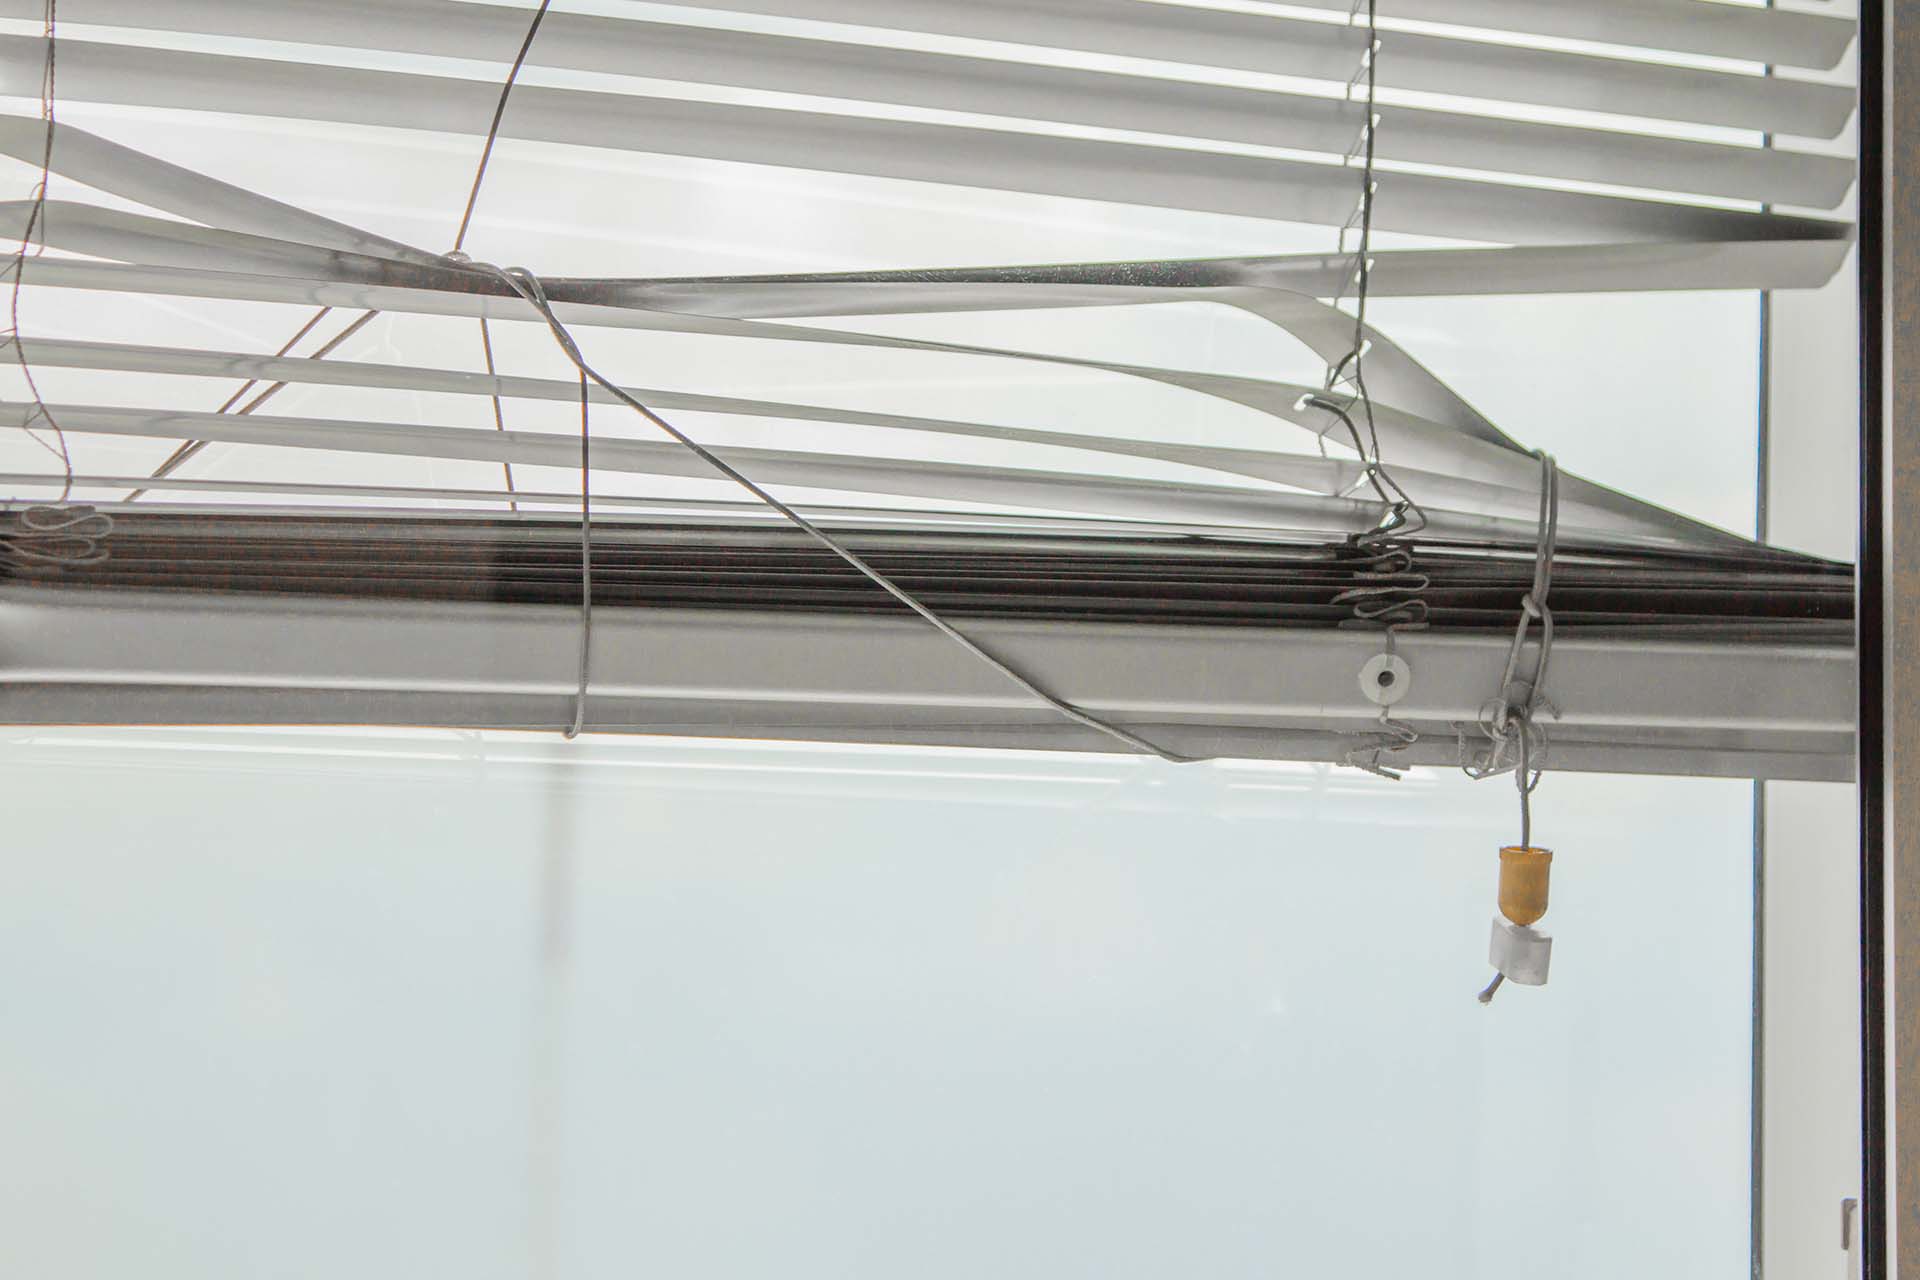
- Warped or Bent Slats: Moisture, heat, and heavy usage can cause the slats of your blinds to warp or bend, preventing them from closing uniformly. Inspecting the slats is crucial in identifying this issue.
- Malfunctioning Tilt Mechanism: The tilt mechanism is responsible for adjusting the angle of the slats. If it gets jammed, worn out, or broken, the blinds may not close properly. This issue can often be resolved through some adjustments or replacement parts.
- Broken or Missing Slats: If you have a few broken or missing slats, it can disrupt the overall functionality of the blinds. Replacing the damaged slats will help ensure smooth closing and optimal privacy.
- Sticky Slats or Mechanism: Over time, the slats and mechanism may get sticky or stiff due to the accumulation of dirt or lack of lubrication. This can hinder the smooth movement and proper closure of the blinds.
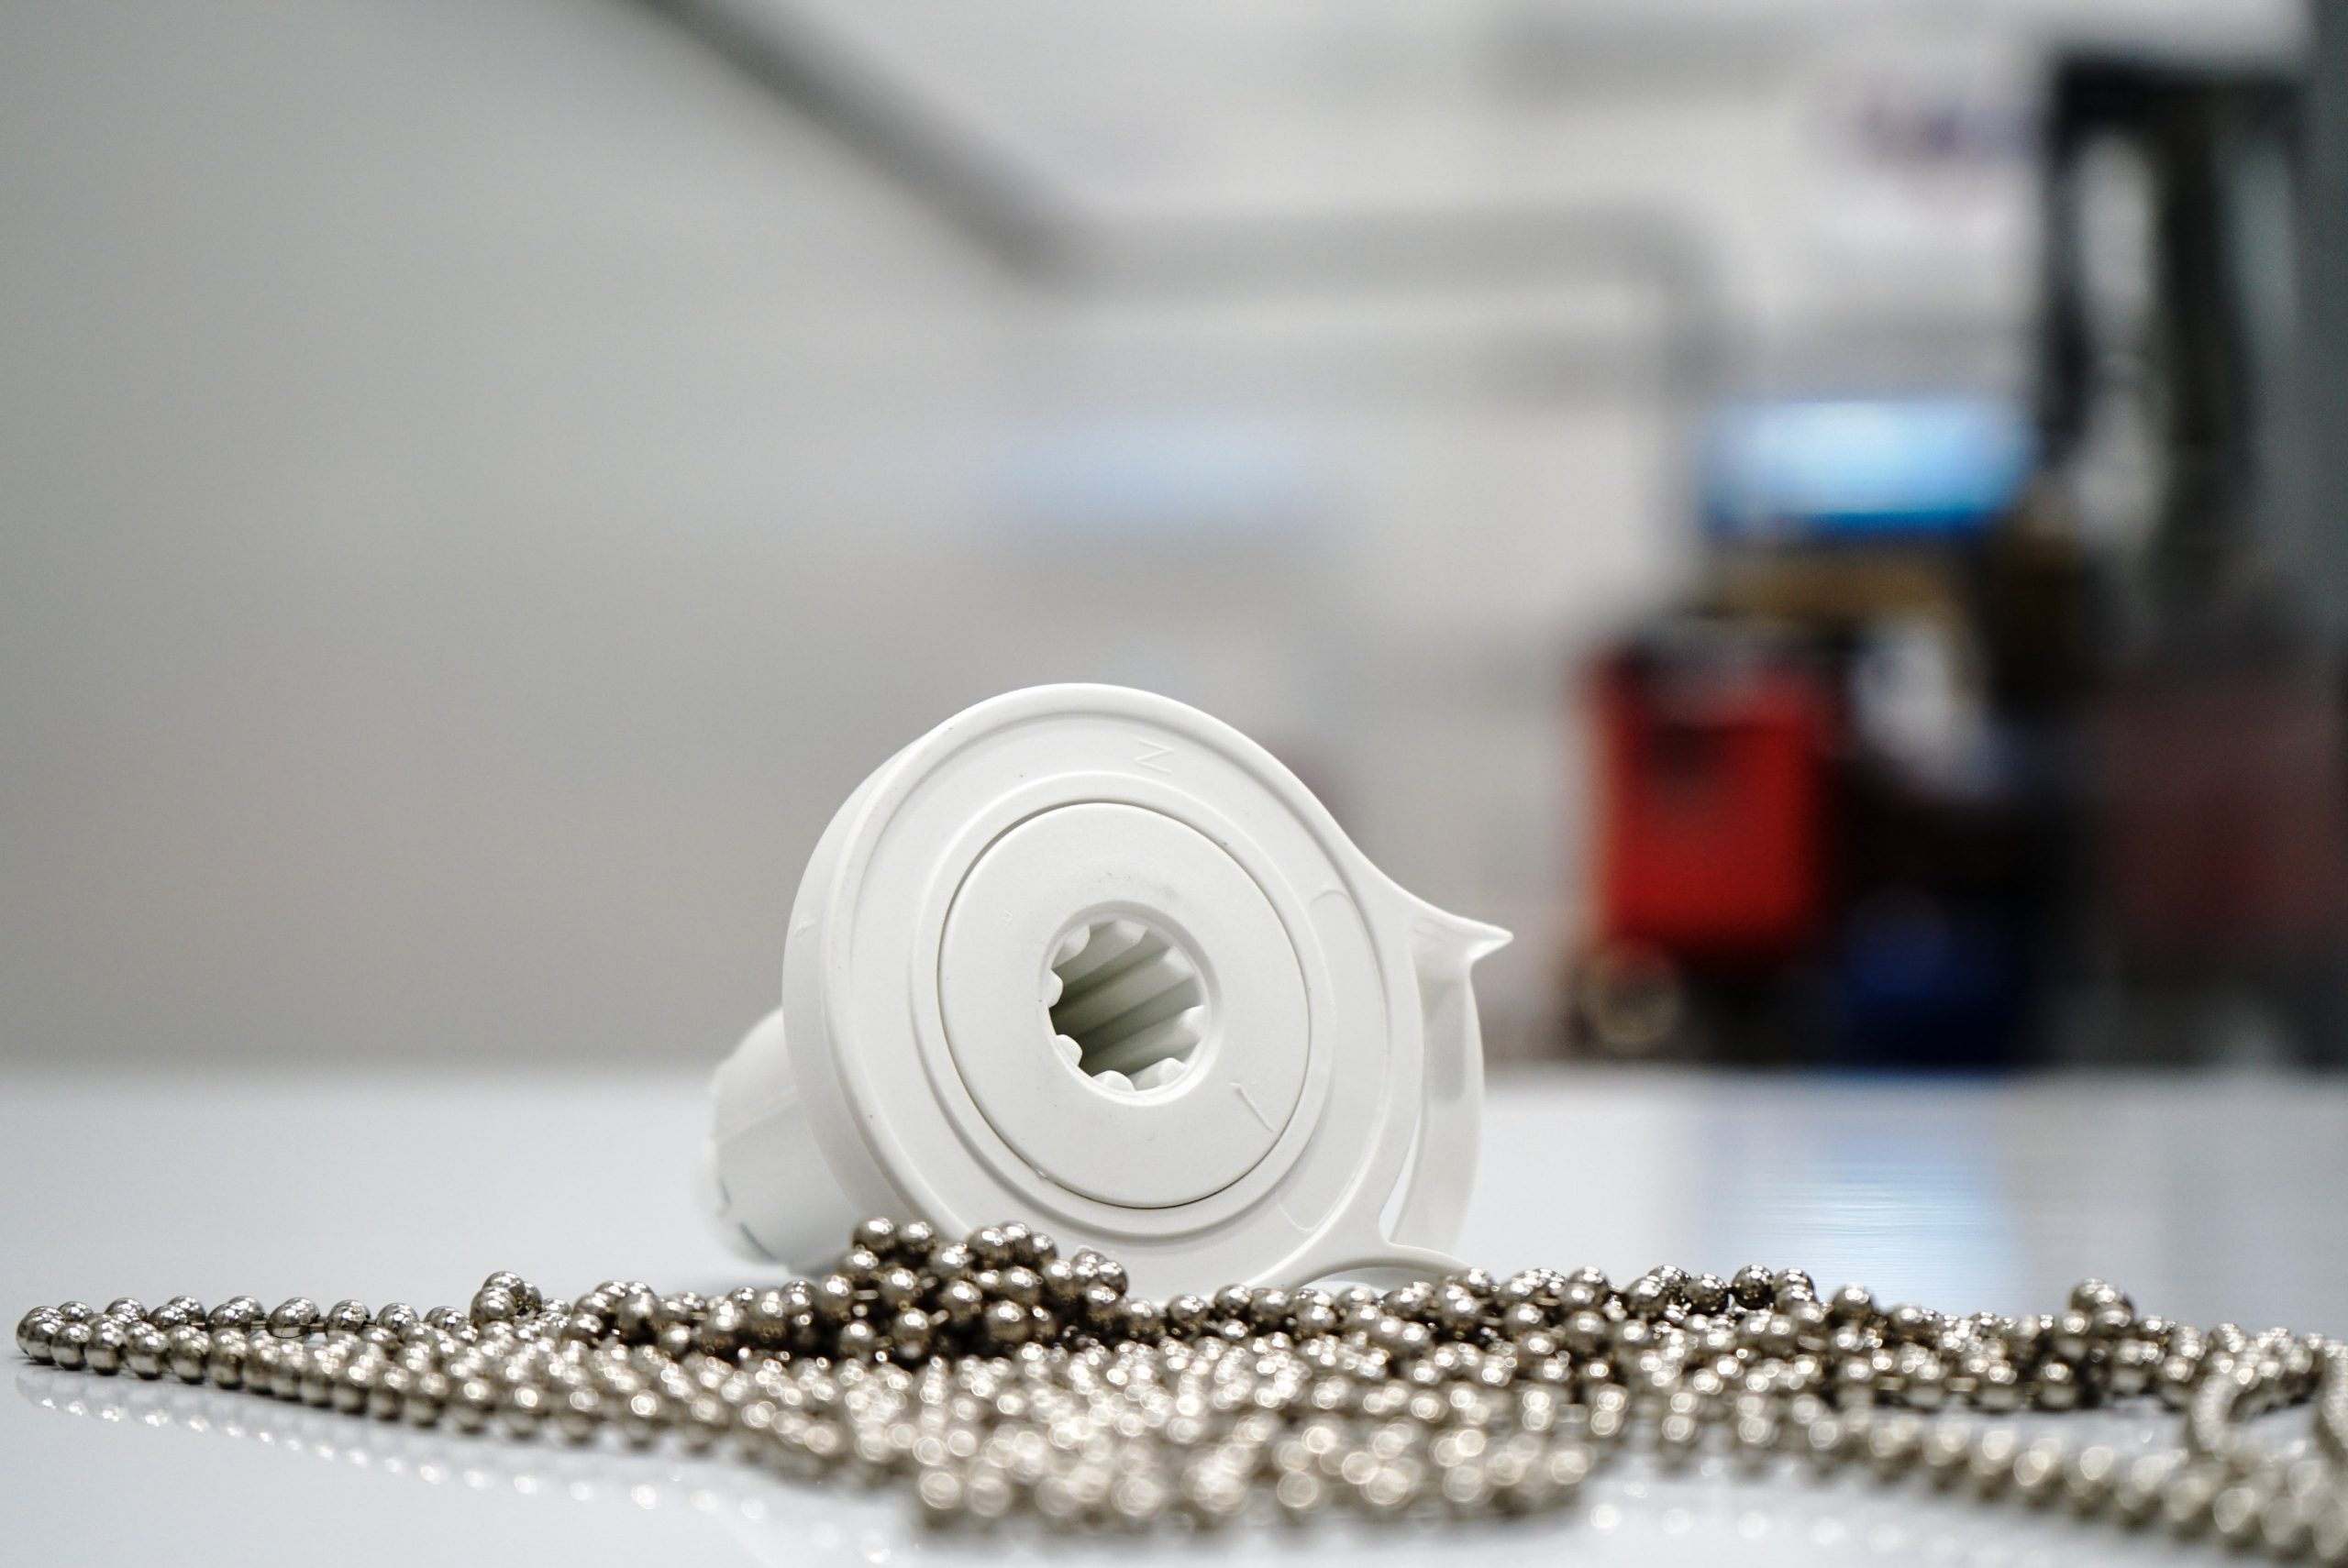
- Issues with the Cord or Chain: If the cord or chain used to operate the blinds is tangled, frayed, or broken, it can impede the closing mechanism. Replacing or repairing the cord or chain is often necessary to resolve this issue.
- Tension Problems: Blinds operate using a tension system that ensures the correct alignment and closing. If the tension is too loose or too tight, it can affect the closing action. Adjusting the tension may be required in such cases.
Identifying the specific problem with your blinds will help you determine the appropriate course of action. In the following sections, we will guide you through the necessary steps to fix your blinds and restore their proper functionality.
Tools and Materials Needed
Before you start fixing your blinds, it’s essential to gather the necessary tools and materials. Having everything prepared will ensure a smoother repair process. Here’s a list of the tools and materials you may need:
- Microfiber cloth or feather duster – for cleaning the blinds
- Mild detergent or cleaning solution – to remove stubborn stains or dirt
- Bucket of warm water – for cleaning the blinds
- Screwdriver – for adjusting or removing slats
- Spare slats – in case you need to replace damaged or missing ones
- Lubricant (such as silicone spray or dry lubricant) – for lubricating the slats and mechanism
- Needle-nose pliers – for repairing or adjusting cord or chain
- Cord or chain replacement – if the existing one is damaged beyond repair
- Tension tool or pliers – for adjusting tension
- Step ladder or stool – if you need to reach high windows
- Patience and attention to detail
Make sure to gather all the necessary tools and materials before you begin the repair process. This will save you time and allow for a more efficient and effective fix.
Step 1: Inspect the Blinds
The first step in fixing blinds that won’t close is to thoroughly inspect the blinds. Take a close look at the slats, mechanisms, cords or chains, and any other visible components.
Check for any obvious signs of dirt, dust, or debris on the slats. If you notice a buildup of grime, use a microfiber cloth or feather duster to gently clean the slats. For stubborn stains or dirt, you can dampen the cloth with a mild detergent or cleaning solution diluted in warm water. Avoid using abrasive cleaners that could damage the blinds.
Next, examine the tilt mechanism. Move the tilt wand or knob to see if the slats respond correctly. If the tilt mechanism is jammed or not working smoothly, you may need to adjust or replace it.
Inspect the cords or chains for any tangles, frays, or damage. These components are critical for the operation of the blinds, so ensure they are in good condition. If you notice any issues with the cords or chains, you may need to repair or replace them.
During the inspection, pay attention to any broken or missing slats. Damaged slats can disrupt the closing action of the blinds, so it’s important to replace them if necessary. Take note of the size and style of the existing slats to ensure a proper match when purchasing replacements.
By thoroughly inspecting the blinds, you can identify any visible issues that may be causing the problem. Once you have a clear understanding of the condition of your blinds, you can proceed with the appropriate troubleshooting steps to fix the closing problem.
Step 2: Clean the Blinds
One common reason why blinds may not close properly is the accumulation of dirt, dust, and grime. Cleaning the blinds thoroughly can often resolve this issue and restore their functionality. Here’s how you can clean your blinds:
- Close the blinds completely and secure them in place.
- Using a microfiber cloth or feather duster, gently remove any loose dust or debris from the slats.
- If the blinds are particularly dirty, you can dampen the cloth with a mild detergent or cleaning solution diluted in warm water.
- Starting from the top, wipe each slat individually, moving from left to right or vice versa. Make sure to clean both sides of the slats.
- In cases of stubborn stains or dirt, you may need to scrub gently with a soft brush or sponge. Avoid using abrasive cleaners that could damage the blinds.
- Rinse the cloth regularly and wring out excess water to prevent dripping.
- Once you’ve cleaned all the slats, use a dry microfiber cloth to remove any excess moisture and ensure they are completely dry.
- Finally, open the blinds and inspect them for any remaining dust or dirt. If necessary, use a handheld vacuum or a brush attachment to clean hard-to-reach areas.
Cleaning your blinds regularly will not only improve their appearance but also help maintain their functionality. By removing dirt and debris, you can ensure smooth movement and proper closure of the slats.
Note: Depending on the material of your blinds (such as wood, vinyl, or fabric), you may need to follow specific cleaning instructions provided by the manufacturer. Always refer to the recommended cleaning methods to avoid any potential damage to your blinds.
Read more: How To Close Window Blinds
Step 3: Adjust the Tilt Mechanism
If your blinds are not closing properly, the tilt mechanism may need to be adjusted. The tilt mechanism is responsible for adjusting the angle of the slats, allowing them to open and close. Here’s how you can adjust the tilt mechanism:
- Start by closing the blinds completely.
- Locate the tilt wand or knob, usually positioned on the side of the blinds.
- Use the tilt wand or knob to move the slats in both directions, opening and closing them a few times. This may help loosen any stuck or jammed parts and realign the mechanism.
- If the slats still don’t close properly, you may need to adjust the tension of the tilt mechanism. Look for a tension screw or adjustment mechanism near the tilt mechanism.
- Using a screwdriver, turn the tension screw or adjustment mechanism clockwise to tighten the tension or counterclockwise to loosen it. Make small adjustments at a time, testing the closing action after each adjustment.
- Continue adjusting the tension until the slats close evenly and smoothly.
- Once the desired level of tension is achieved, test the tilt mechanism by opening and closing the blinds a few times to ensure it is functioning properly.
If adjusting the tension does not resolve the issue, there may be a more significant problem with the tilt mechanism. In such cases, it is advisable to consult the manufacturer’s instructions or seek professional assistance for further troubleshooting.
By adjusting the tilt mechanism, you can ensure that the slats close properly and maintain their alignment. This step is crucial in restoring the functionality of your blinds and improving their overall performance.
Check the tilt mechanism and make sure it is not obstructed or damaged. Clean the mechanism and lubricate it with a silicone spray if necessary. If the problem persists, consider replacing the tilt mechanism.
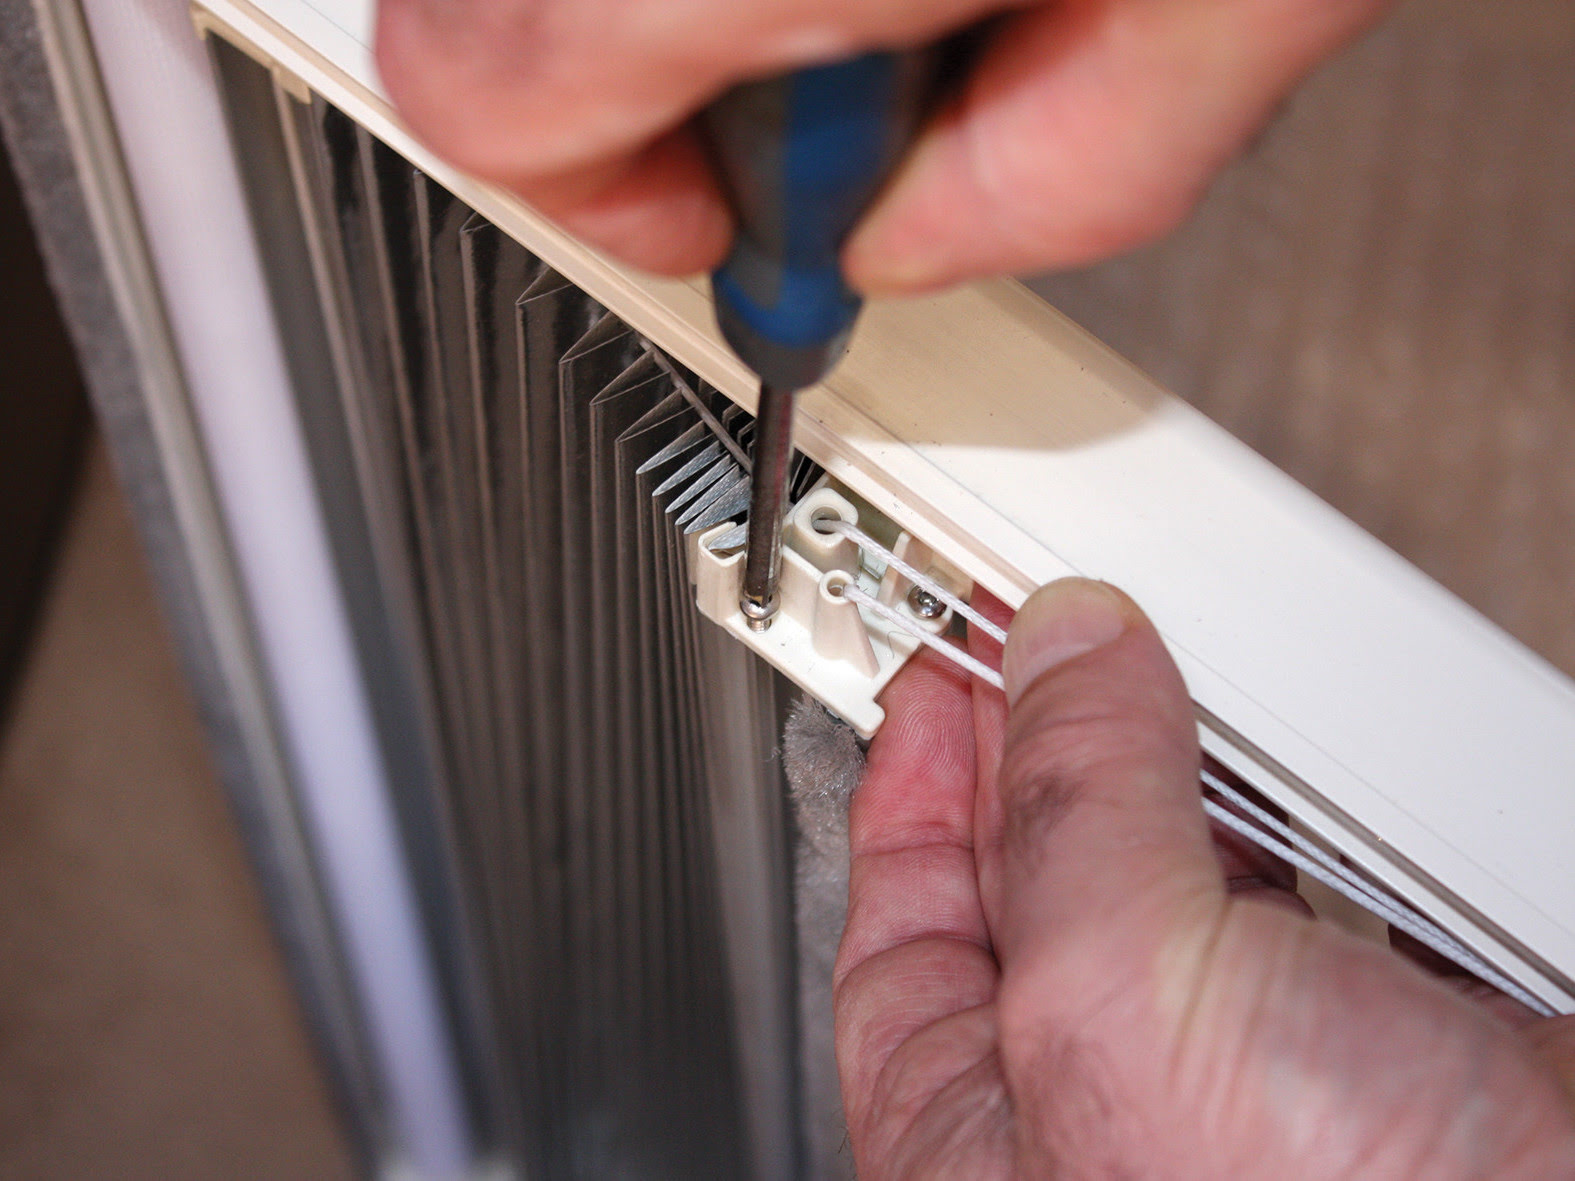
Step 4: Replace Broken Slats
If you notice any broken or missing slats during your inspection, it is important to replace them. Damaged slats can affect the overall functionality and appearance of your blinds. Here’s how you can replace broken slats:
- Carefully remove the blinds from the window or, if possible, detach the damaged slats from the blind mechanism.
- Measure the length and width of the existing slats to ensure you purchase the correct size and style as replacements.
- Visit a home improvement store or contact the manufacturer to acquire the appropriate replacement slats.
- Attach the replacement slat to the existing blinds by inserting the metal or plastic pins into the holes on the top and bottom of the slat. Often, the pins will easily snap into place.
- If necessary, trim the slats to fit the window using a pair of sharp scissors or a utility knife. Ensure the slats are the same length as the others to maintain a uniform appearance.
- Rehang the blinds or reattach the slats to the blind mechanism, making sure they are aligned correctly and can open and close smoothly.
- Test the blinds to ensure the replaced slats are working properly and closing uniformly with the rest of the blinds.
Replacing broken slats will help restore the functionality of your blinds and ensure a consistent and uniform appearance. It is important to select replacement slats that match the style, material, and color of the existing blinds for a seamless integration.
If you are unsure about the replacement process or encounter any difficulties, consult the manufacturer’s instructions or seek professional assistance. They can provide specific guidance based on the type and brand of your blinds.
Step 5: Lubricate the Slats and Mechanism
Lubricating the slats and mechanism of your blinds is essential to ensure smooth operation and prevent sticking or jamming. Over time, dust and dirt can accumulate, causing friction and hindering the proper closing action. Here’s how you can lubricate your blinds:
- Start by closing the blinds completely and securing them in place.
- Using a clean cloth or brush, remove any loose dust or debris from the slats and mechanism.
- Apply a small amount of lubricant, such as silicone spray or dry lubricant, to a cloth or directly onto the slats and mechanism.
- Gently rub the lubricant onto the slats, ensuring that it reaches all the moving parts of the mechanism.
- Open and close the blinds a few times to distribute the lubricant evenly and allow it to penetrate the mechanisms.
- If necessary, use a cloth to remove any excess lubricant and prevent it from dripping or collecting on the blinds.
It’s important to choose a lubricant that is safe for the material of your blinds. Silicone spray or dry lubricant is generally suitable for most types of blind mechanisms.
Lubricating your blinds on a regular basis, particularly in high-traffic areas or in environments prone to dust and humidity, will help maintain their functionality and extend their lifespan. By reducing friction and ensuring smooth movement, you can improve the closing action of the slats and enhance the overall performance of your blinds.
Remember to always follow the manufacturer’s guidelines for lubrication and avoid using excessive amounts of lubricant, which can attract more dirt and dust.
Step 6: Check the Cord or Chain
If your blinds are still not closing properly, it’s time to inspect the cord or chain. The cord or chain is responsible for the operation of the blinds, allowing them to be raised, lowered, and adjusted. Here’s how you can check the cord or chain:
- Close the blinds completely and secure them in place.
- Examine the cord or chain for any signs of tangles, knots, fraying, or damage. These issues can impede the smooth movement of the blinds.
- If you notice any tangles, gently untangle them using your fingers or a pair of needle-nose pliers. Be careful not to pull too hard, as this can cause further damage.
- If the cord or chain is frayed or damaged beyond repair, it will need to be replaced. Contact the manufacturer or a blinds specialist to obtain a suitable replacement.
- Ensure that the cord or chain is properly aligned and threaded through all necessary components, such as pulleys or eyelets.
- Test the blinds by operating the cord or chain, raising and lowering them to ensure they move smoothly without any obstructions or snags.
If you encounter any difficulties during this process or are unsure about the condition of the cord or chain, it’s best to consult the manufacturer’s instructions or seek professional assistance. They can provide expert guidance and ensure the safe and proper functioning of the blinds.
Remember, the cord or chain is an integral part of operating blinds, and any issues should be addressed promptly to prevent further damage and potential safety hazards.
Read more: How To Close Blinds Without String
Step 7: Adjust the Tension
If your blinds are still not closing properly, it may be due to incorrect tension. The tension plays a crucial role in ensuring the proper alignment and operation of the blinds. Here’s how you can adjust the tension:
- Carefully close the blinds completely and secure them in place.
- Locate the tension device or mechanism, usually positioned on one side of the blinds near the header.
- Using a tension tool or pliers, carefully turn the tension device clockwise to increase the tension or counterclockwise to decrease it. Make small adjustments at a time to find the optimal tension.
- Test the blinds by opening and closing them to see if the tension is appropriate. Properly adjusted tension should allow the blinds to close evenly and smoothly.
- Continue adjusting the tension until you achieve the desired closing action and uniform alignment of the slats.
It’s important to note that the specific method of adjusting the tension may vary depending on the type and model of your blinds. Refer to the manufacturer’s instructions for precise guidance, especially if your blinds have a different tension adjustment mechanism.
By adjusting the tension, you can ensure that the blinds close properly and maintain their alignment. Finding the right tension is crucial for maximizing the functionality and longevity of your blinds.
If despite your efforts, adjusting the tension doesn’t resolve the issue, consider consulting the manufacturer’s instructions or seeking professional assistance for further troubleshooting and repair.
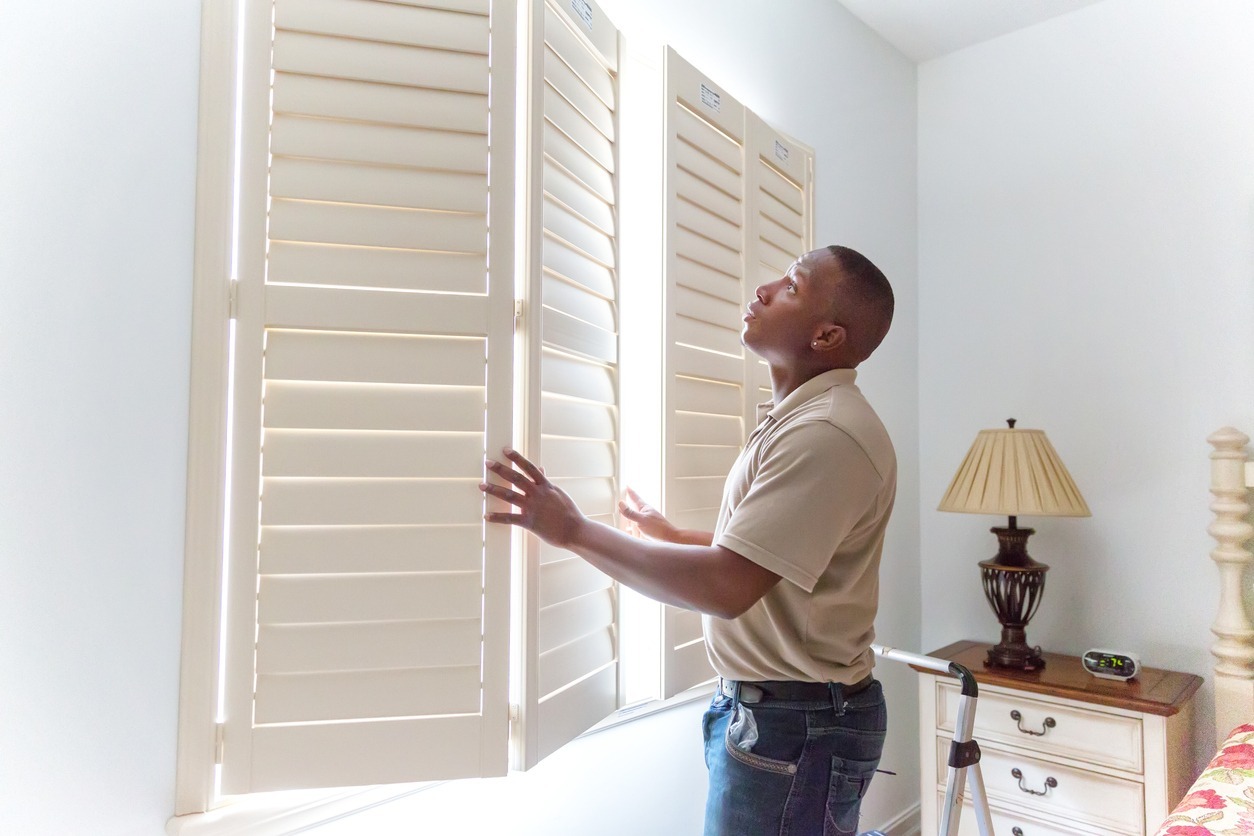
Step 8: Seek Professional Help
If you have followed all the previous steps and your blinds still won’t close properly, it may be time to seek professional assistance. Sometimes, complex issues may require specialized knowledge or tools to fix. Here’s when it’s a good idea to seek professional help:
- If you are unsure of the specific problem or how to fix it.
- If you have attempted all the troubleshooting steps but the issue persists.
- If the blinds are still under warranty, as attempting DIY repairs may void the warranty.
- If the blinds are custom-made or have unique features that require specialized expertise.
- If the blinds are old or damaged beyond what can be repaired at home.
- If you don’t have the required tools or skills to safely and effectively repair the blinds.
Professional blind repair services have the experience, knowledge, and tools to diagnose and fix complex issues. They can provide expert advice, identify underlying problems, and offer solutions tailored to your specific blinds.
When contacting a professional blind repair service, be sure to provide them with all relevant details about your blinds, including the type, brand, and the specific issue you are facing. This will help them accurately diagnose the problem and come prepared with the necessary tools and replacement parts.
Remember, seeking professional help can save you time, prevent further damage, and ensure a long-lasting solution for your blinds. Don’t hesitate to reach out to experts when needed!
Conclusion
Dealing with blinds that won’t close properly can be frustrating and inconvenient. However, by following the steps outlined in this guide, you can troubleshoot and fix many common issues that may be causing the problem. Taking the time to inspect, clean, adjust, and replace components as needed can help restore the functionality of your blinds and ensure they close properly.
Start by inspecting the blinds for any visible damage or obstructions. Cleaning the blinds regularly can also prevent dust and dirt buildup that may hinder their closing action. Adjusting the tilt mechanism, replacing broken slats, and lubricating the slats and mechanisms can all contribute to smoother operations. Checking and adjusting the tension, as well as inspecting and repairing the cord or chain, are also crucial steps.
However, if you have attempted all the steps and are still unable to resolve the issue, it may be time to seek professional help. Professionals have the expertise and specialized tools to diagnose and fix more complex problems, ensuring the optimal performance of your blinds.
Remember, the specific steps and techniques may vary depending on the type of blinds you have and the nature of the problem. Always refer to the manufacturer’s instructions or seek professional guidance if you are unsure of any aspect of the repair process.
By addressing any issues promptly and maintaining your blinds regularly, you can ensure their longevity and enjoy the benefits of a functional and aesthetically pleasing window treatment. So don’t let blinds that won’t close all the way get you down – equip yourself with the knowledge and tools to fix the problem and enjoy the privacy and light control that blinds are meant to provide.
Now that you've mastered fixing blinds that won't close, why not dive deeper into keeping your home in top shape? Next up, discover essential tips on routine upkeep with our guide on "What Home Maintenance Should I Do." From checking smoke detectors to cleaning gutters, this article ensures every nook and cranny of your sanctuary stays pristine. Don't miss out on mastering these crucial skills to maintain your home's charm and functionality!
Frequently Asked Questions about How To Fix Blinds That Won't Close All The Way
Was this page helpful?
At Storables.com, we guarantee accurate and reliable information. Our content, validated by Expert Board Contributors, is crafted following stringent Editorial Policies. We're committed to providing you with well-researched, expert-backed insights for all your informational needs.