Articles
How To Fix Pleated Blinds
Modified: August 28, 2024
Learn how to fix pleated blinds with these informative articles. Discover step-by-step instructions and expert tips to easily repair your blinds
(Many of the links in this article redirect to a specific reviewed product. Your purchase of these products through affiliate links helps to generate commission for Storables.com, at no extra cost. Learn more)
Introduction
When it comes to window treatments, pleated blinds have become a popular and versatile choice for many homeowners. They offer a sleek and modern look, while also providing privacy and light control. However, like any other home fixture, pleated blinds can encounter various issues over time, such as broken strings or cords, bent slats, or damaged brackets.
If you’re facing these problems with your pleated blinds, don’t fret! In this article, we’ll guide you through the process of fixing your pleated blinds, step by step. Whether you’re a DIY enthusiast or just looking to save some money on repairs, this guide will help you get your pleated blinds back in top shape.
Before we dive into the nitty-gritty details of fixing pleated blinds, let’s first take a closer look at what exactly pleated blinds are and what makes them a popular choice for window treatments.
Key Takeaways:
- Fixing pleated blinds is a manageable DIY task with the right tools and knowledge. Assess, remove, inspect, reattach, fix, replace, and maintain to restore functionality and appearance.
- Regular maintenance and prompt repairs can extend the lifespan of pleated blinds, ensuring they remain both functional and visually appealing. Prioritize safety and seek professional help when needed.
Read more: How To Fix Magnetic Blinds
Overview of Pleated Blinds
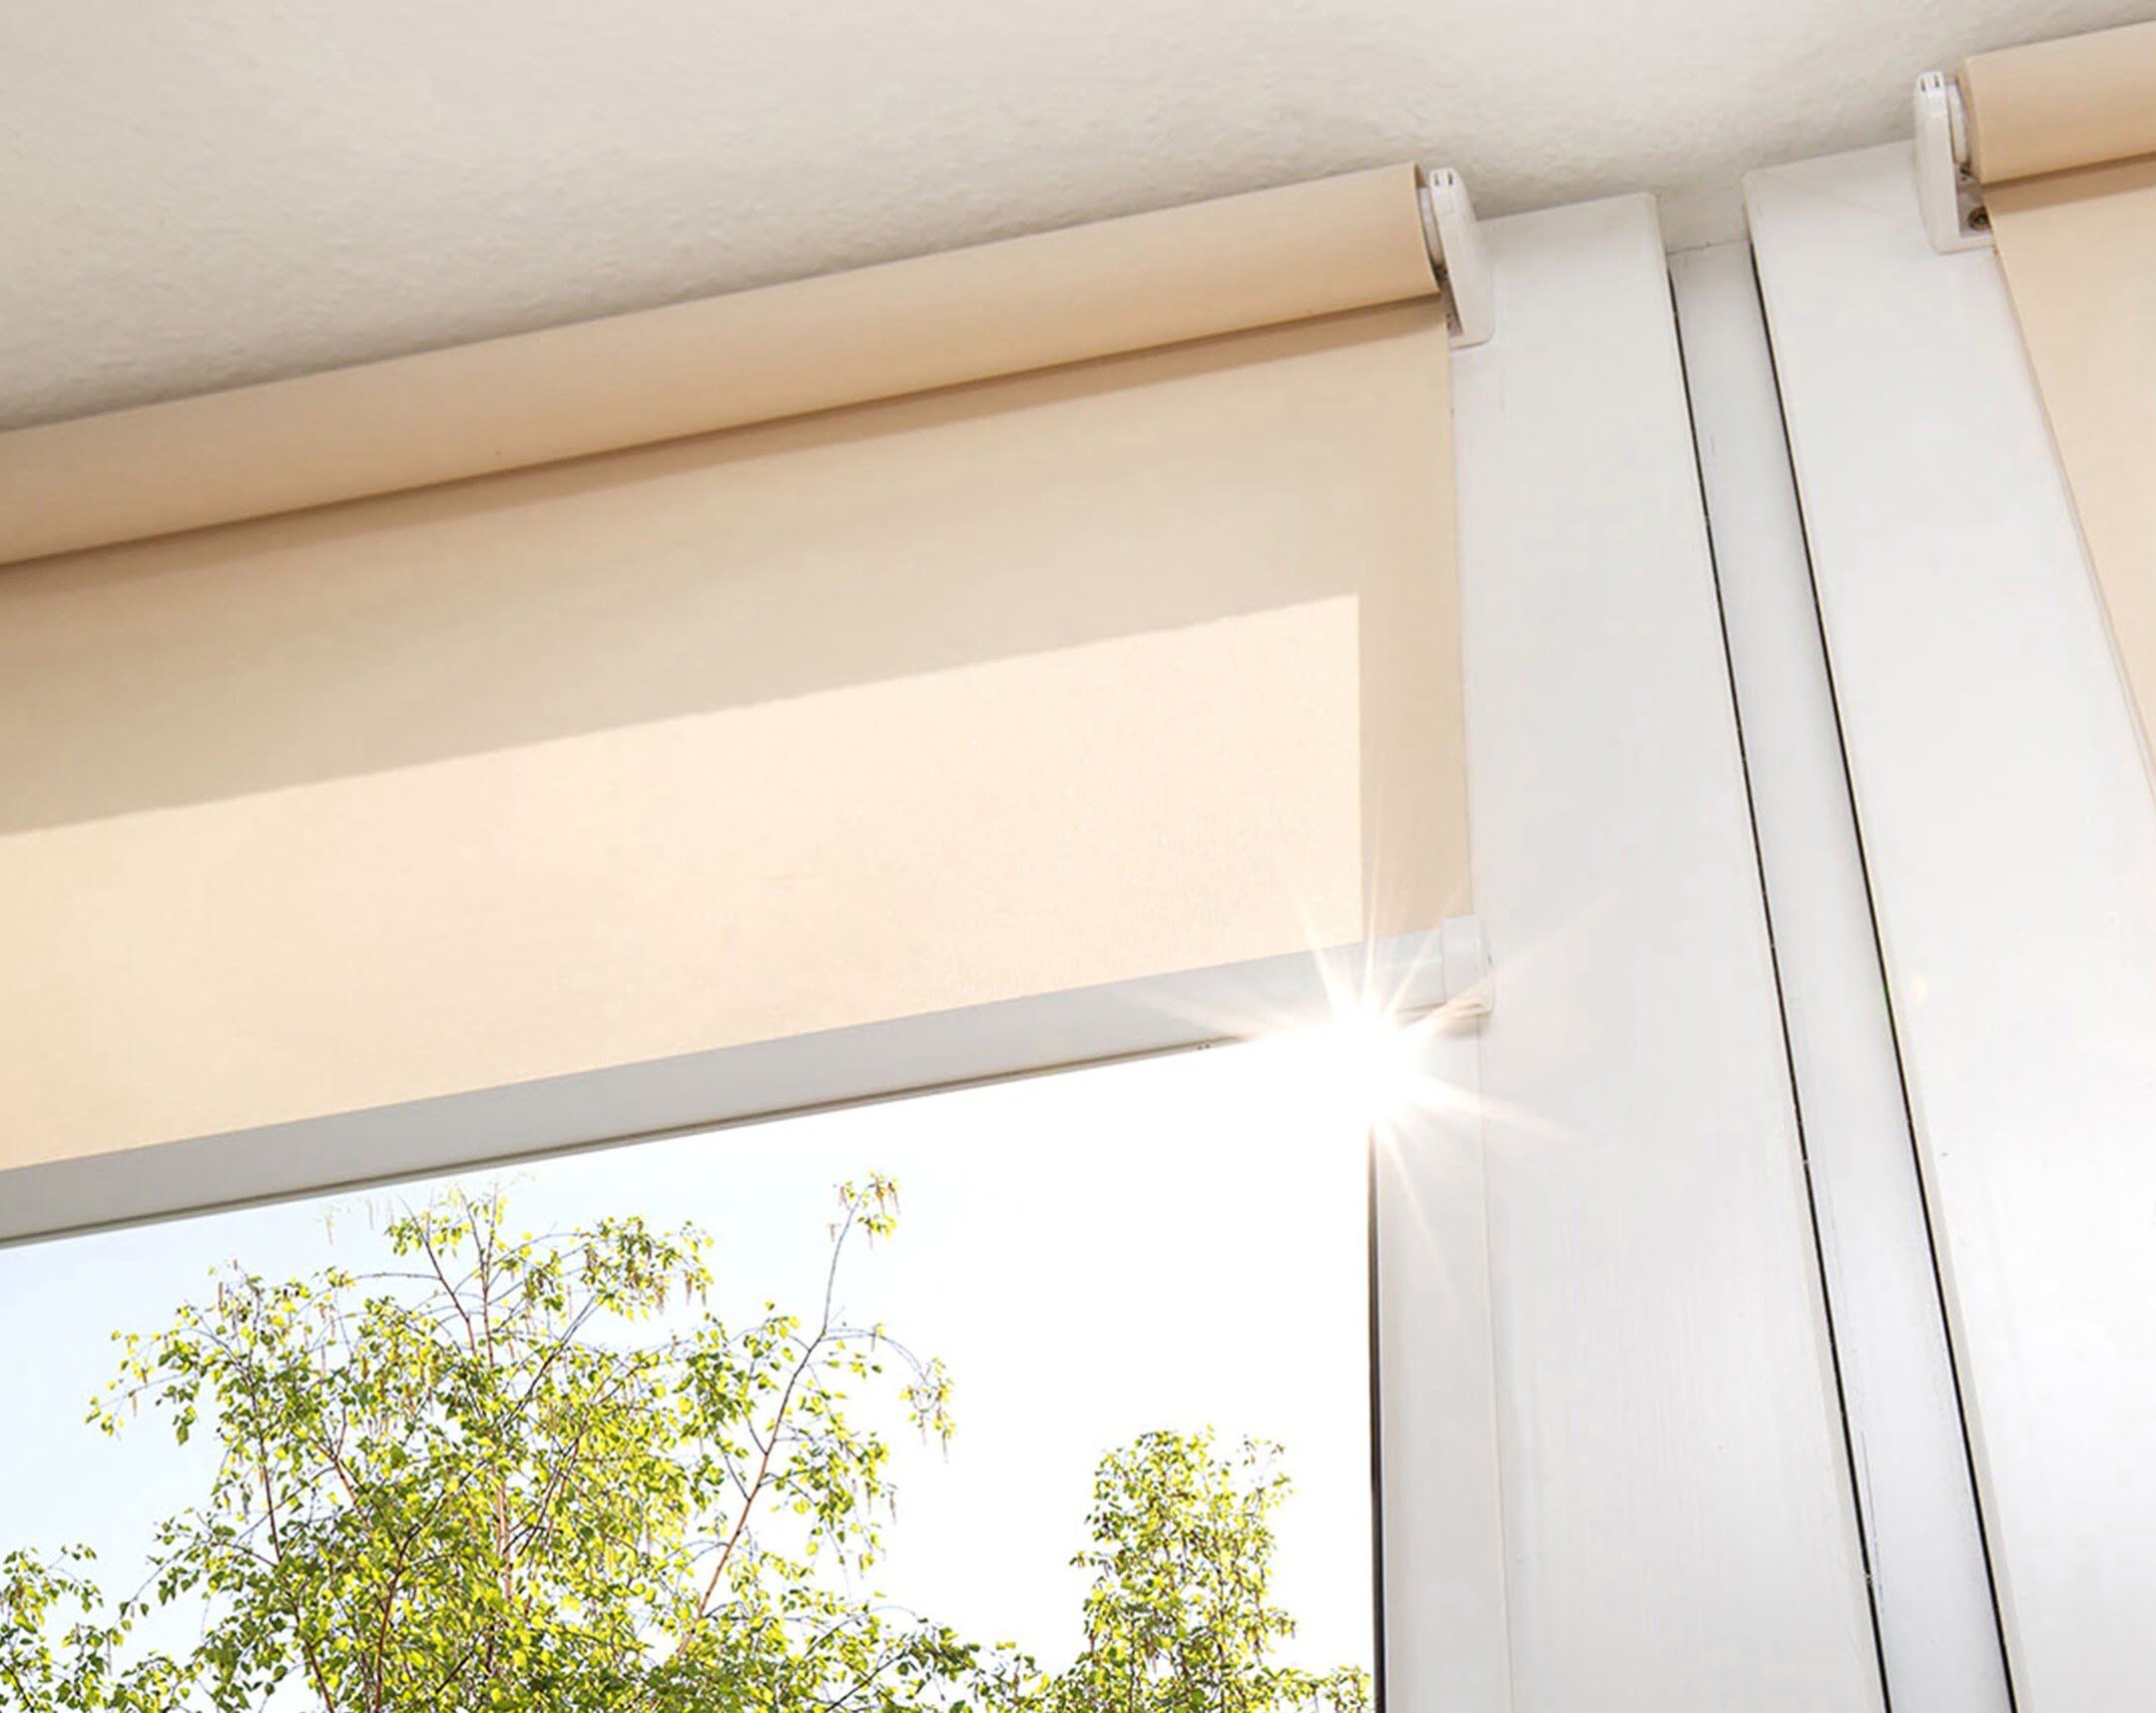
Pleated blinds are a type of window treatment characterized by their neat pleated fabric that folds up neatly when raised and extends down smoothly when lowered. They consist of a top rail, a bottom rail, and a series of interconnected strings or cords that allow for easy operation.
One of the reasons why pleated blinds have gained popularity is their versatility in terms of light control. With pleated blinds, you can adjust the amount of light entering a room by simply raising or lowering the blinds. When fully opened, the blinds neatly gather at the top, allowing for maximum sunlight to illuminate the space. When closed, they provide shade and privacy.
Pleated blinds are available in a wide range of fabrics, colors, and patterns, making it easy to find the perfect match for your interior decor. They can be seamlessly blended into any room, whether it’s a modern living room, a traditional bedroom, or even an office space.
In addition to their aesthetic appeal, pleated blinds are also known for their practicality. They are easy to clean and maintain, requiring only occasional dusting or light vacuuming to keep them in top condition. Furthermore, pleated blinds are well-suited for any window size or shape, including skylights, arched windows, and bay windows.
Now that we have a better understanding of what pleated blinds are and why they are a popular choice, let’s explore some common issues that may arise with these blinds and how to address them.
Common Issues with Pleated Blinds
Pleated blinds, like any other window treatment, can encounter a few problems over time. Here are some common issues you may come across:
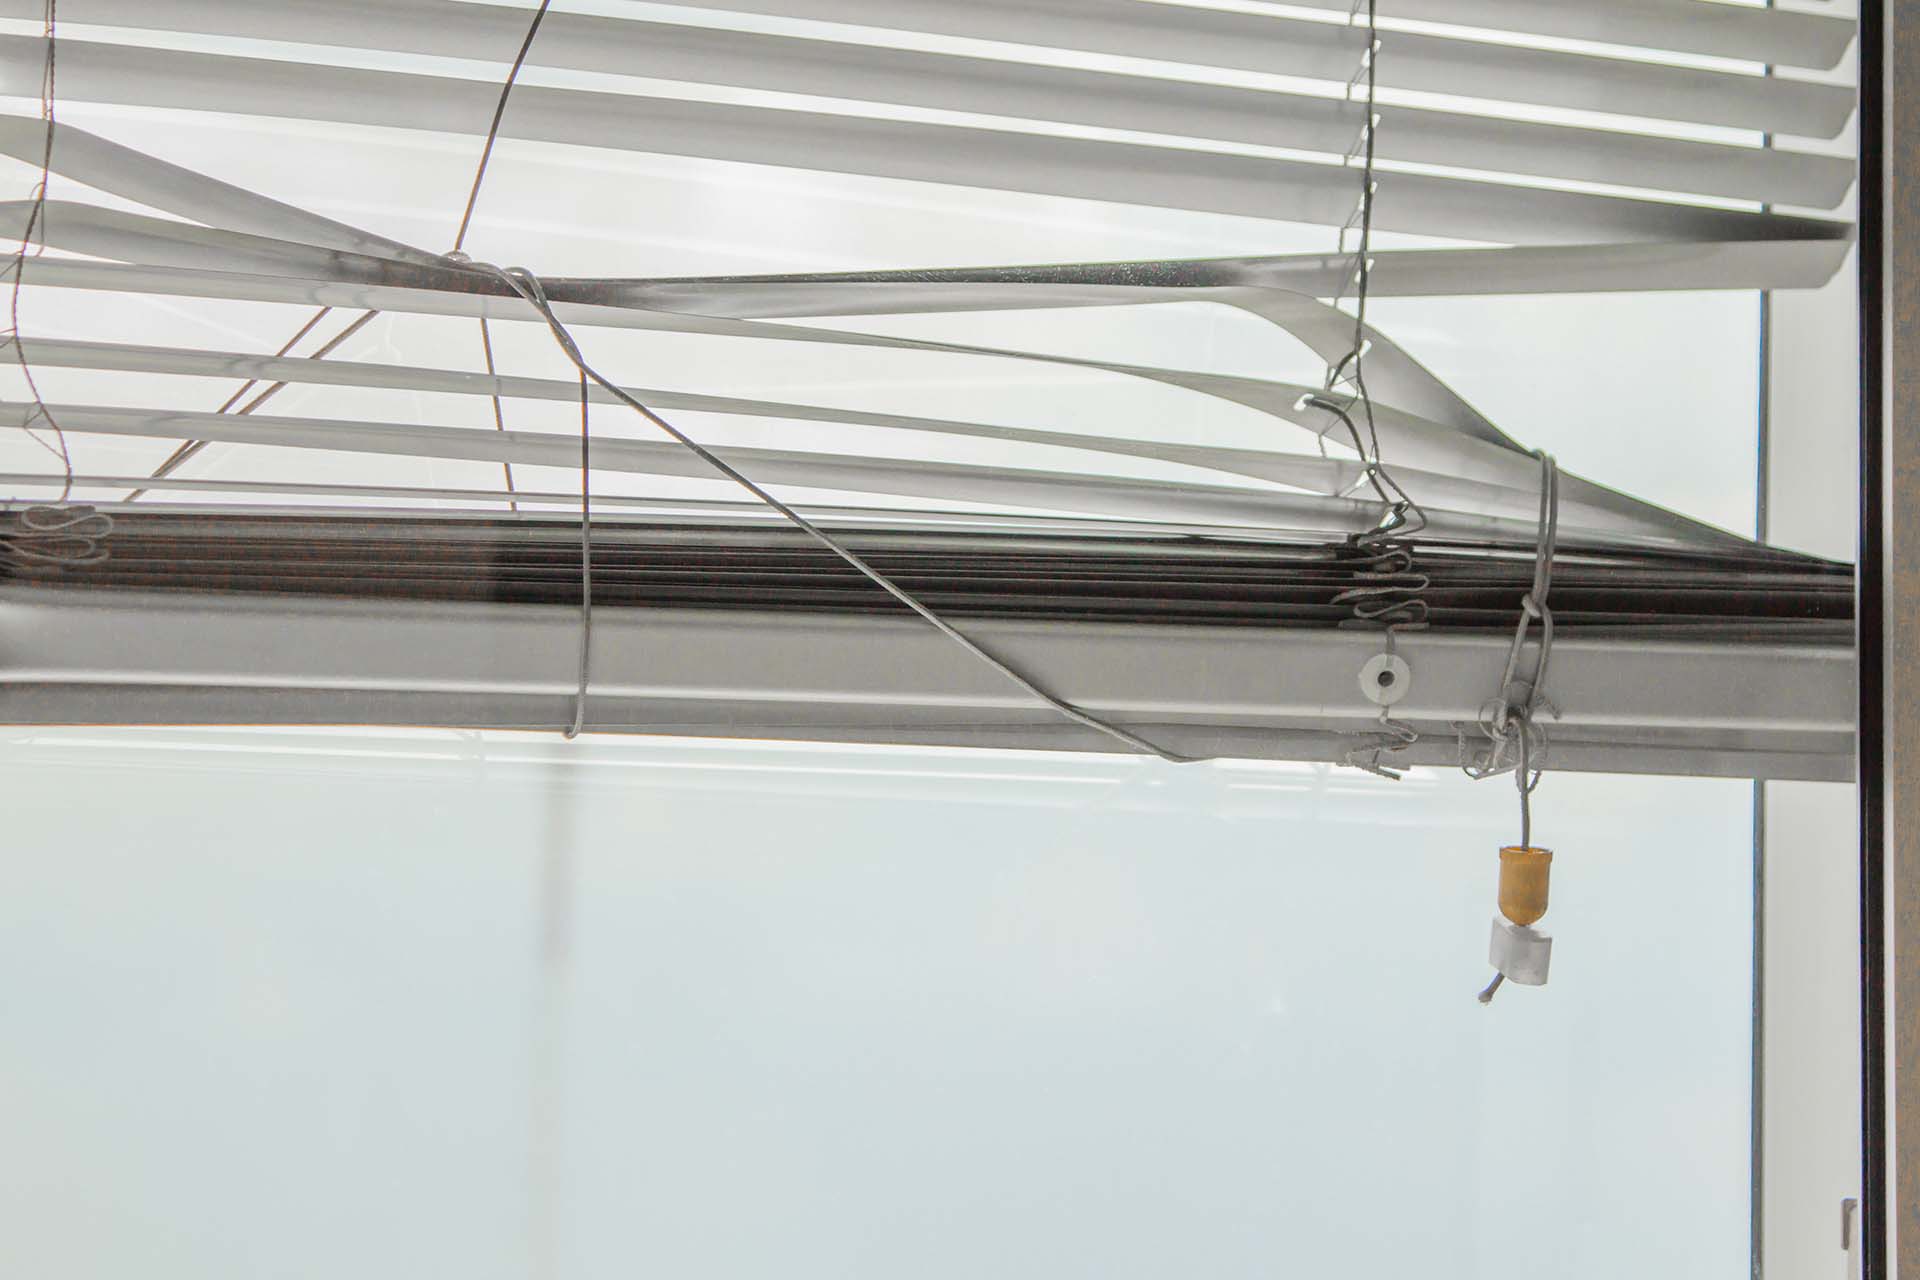
- Broken strings or cords: The strings or cords that hold the pleated blinds in place can sometimes snap or become tangled, making it difficult to operate the blinds smoothly.
- Bent or misaligned slats: If the pleated blinds have been accidentally mishandled or subjected to excessive force, the slats may become bent or misaligned, affecting their overall appearance and functionality.
- Damaged brackets or clips: The brackets or clips that secure the blinds to the window frame can become loose or damaged over time, causing the blinds to sag or detach from the frame.
- Stains or dirt accumulation: Pleated blinds can gather dust, dirt, or stains, especially if they are located in high-traffic areas or near windows that are frequently opened. This can affect their cleanliness and require regular maintenance.
While these issues may seem daunting at first, they are generally fixable with some basic tools and a little bit of patience. In the next section, we’ll discuss the tools and equipment you’ll need to address these common problems.
Tools and Equipment Needed
Before you start fixing your pleated blinds, it’s important to gather the necessary tools and equipment. Here are the items you’ll need:
- Screwdriver: A flathead screwdriver or a Phillips screwdriver will come in handy for removing screws and brackets.
- Pliers: Pliers will assist you in reattaching broken strings or cords and adjusting brackets.
- Scissors: You’ll need a pair of sharp scissors to trim any excess cord or fabric and to cut replacement strings.
- Tape measure: A tape measure will help you accurately measure and cut new strings, as well as ensure proper alignment of slats.
- Cleaning supplies: Depending on the material of your pleated blinds, you may need a feather duster, a microfiber cloth, or a mild cleaning solution to remove dust, stains, or dirt.
- Spare parts: If you’re dealing with more extensive repairs, it’s a good idea to have spare strings, cords, brackets, or clips on hand to replace worn or damaged components.
- Ladder or step stool (if necessary): If your windows are high or hard to reach, a secure ladder or a step stool will make it easier to access the blinds and carry out the repairs.
Having these tools readily available will allow you to tackle most common issues with pleated blinds. Now that we’re prepared, let’s move on to the step-by-step guide for fixing pleated blinds.
Step-by-Step Guide to Fixing Pleated Blinds
Now that you have the necessary tools and equipment, let’s walk through the process of fixing pleated blinds. Follow these steps to address common issues and get your blinds back in working order:
- Assess the Problem: Start by examining the blinds and identifying the specific issue. Determine if you need to repair broken strings or cords, fix bent slats, or replace damaged brackets or clips.
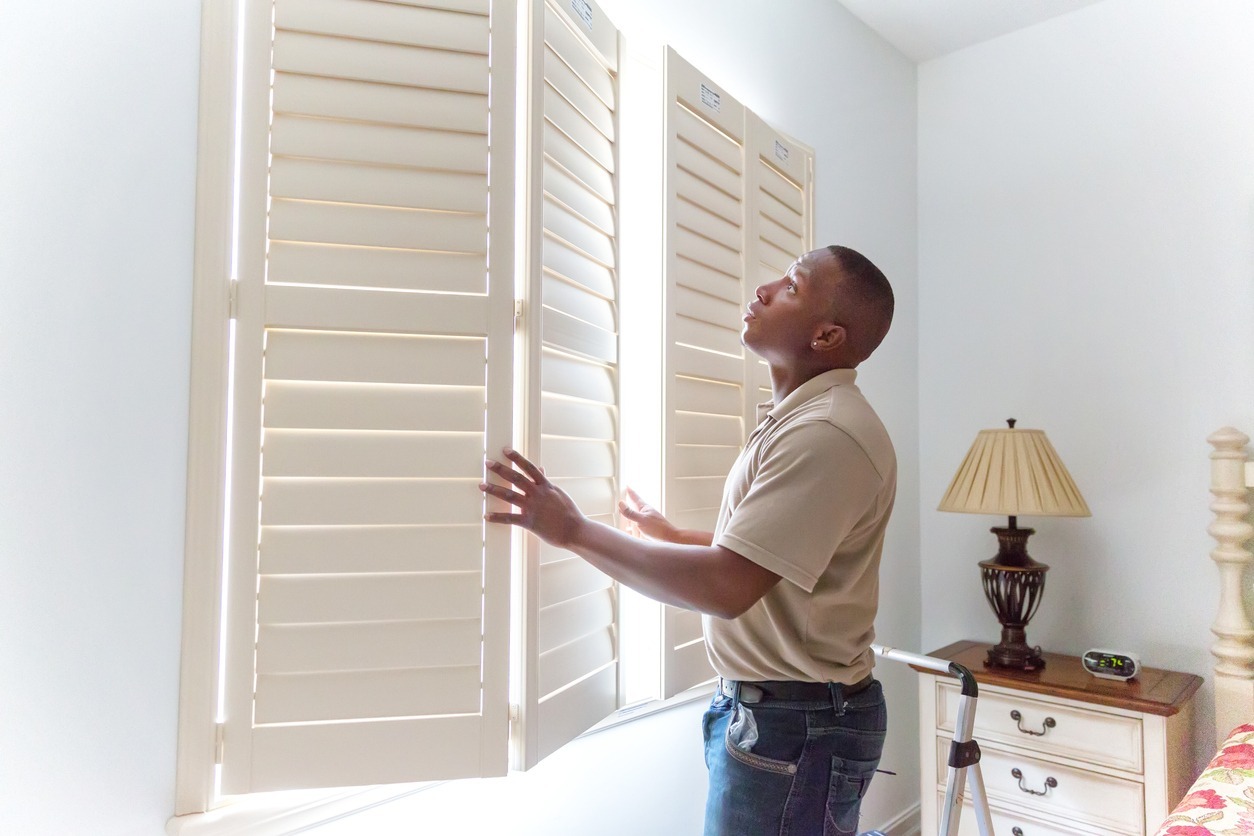
- Remove the Blinds from the Window: If the repairs require you to work on the blinds more easily, it’s best to remove them from the window. Gently unhook or unscrew the brackets that secure the blinds to the window frame and carefully lower the blinds.
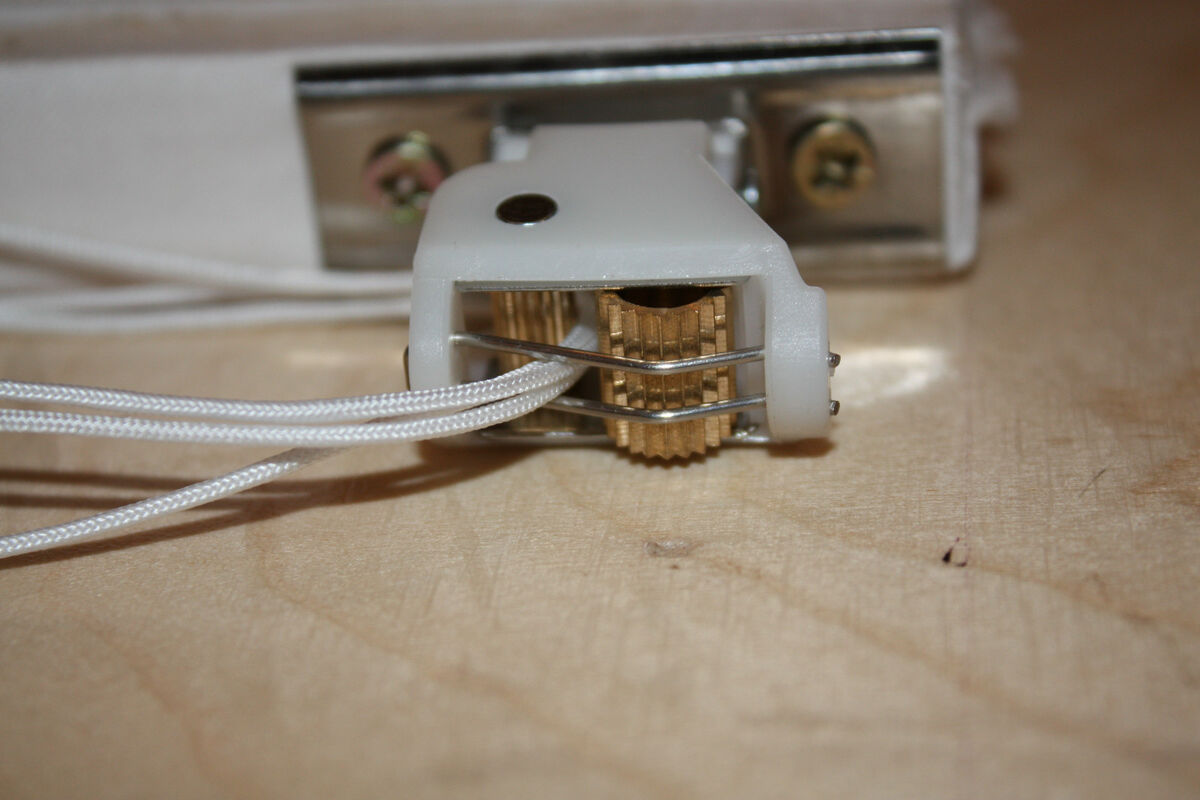
- Inspect and Reattach Broken Strings or Cords: If you’re dealing with broken strings or cords, carefully remove any necessary components such as end caps or retainers to access the broken area. Reattach the broken ends by either knotting them together or using pliers to secure them back in place.
- Fix Bent or Misaligned Slats: To fix bent or misaligned slats, take a gentle and steady approach. Use your hands or a pair of pliers to straighten the slats back into their original position. Adjust them as needed to ensure they are evenly aligned.
- Replace Damaged Brackets or Clips: If brackets or clips are damaged or broken, remove them carefully using a screwdriver. Replace them with new ones of the same size and type. Make sure they are securely fastened to the window frame.
- Clean and Maintain Pleated Blinds: Take this opportunity to clean your pleated blinds to keep them looking their best. Dust the blinds with a feather duster or gently wipe them down with a microfiber cloth. For stains or dirt, spot clean the affected areas with a mild cleaning solution.
Following these steps will help you address common issues with pleated blinds and restore their functionality and appearance. Remember to take your time and work carefully to avoid further damage to the blinds.
Once you have completed the necessary repairs and maintenance, it’s time to reinstall the blinds back onto the window frame. Carefully lift the blinds into place and securely attach them using the brackets or clips. Test the blinds to ensure they are operating smoothly.
By following this step-by-step guide, you can effectively fix common issues with pleated blinds and extend their lifespan. Remember to always prioritize safety and consult professional help if you’re unsure or dealing with complex repairs.
Read more: How To Fix Blinds In An Apartment
Assess the Problem
Before you embark on fixing your pleated blinds, it is crucial to assess the problem at hand. Take a close look at your blinds and determine the specific issue that needs to be addressed. Common problems you may encounter include broken strings or cords, bent or misaligned slats, or damaged brackets or clips.
Start by visually inspecting the blinds to identify any visible signs of damage. Look for any frayed or snapped strings, tangled cords, or bent slats. Additionally, check the brackets or clips that hold the blinds in place to see if they are loose, broken, or need replacement.
It is important to thoroughly examine the blinds to ensure you have a clear understanding of the problem before proceeding with the repair process. By accurately assessing the problem, you can gather the necessary tools, equipment, and replacement parts needed to fix the issue effectively.
If you are uncertain about the problem or unsure of how to proceed with the repairs, it is recommended to seek professional assistance. A knowledgeable and experienced individual can provide valuable guidance and ensure the appropriate steps are taken to rectify the issue.
Once you have assessed the problem and feel confident in proceeding, you can move on to the next step in fixing your pleated blinds: removing them from the window frame.
Note: Remember to exercise caution when handling blinds, especially if they are fragile or damaged. Take care to avoid any further damage during the assessment process.
When fixing pleated blinds, start by checking for any tangled cords or broken components. Clean the blinds and lubricate any moving parts to ensure smooth operation. If the blinds are still not functioning properly, consider seeking professional repair services.
Remove the Blinds from the Window
Now that you have assessed the problem with your pleated blinds, the next step is to remove them from the window. This will provide you with better access to work on the blinds and make the necessary repairs.
Here’s a step-by-step guide on how to remove pleated blinds from the window:
- Gather your tools: Before you begin, ensure that you have a flathead screwdriver or a Phillips screwdriver, depending on the type of screws used to secure the blinds to the window frame.
- Locate the mounting brackets: The mounting brackets are the hardware that holds the blinds in place. Look for them at the top of the window frame, typically on each end of the blinds.
- Remove any retaining screws: Some blinds may have retaining screws securing the blinds to the mounting brackets. Use your screwdriver to unscrew and remove these screws if they are present.
- Release the blinds from the brackets: Depending on the style of your pleated blinds, they may either slide out of the brackets or be released by pressing a release lever or tab. Follow the manufacturer’s instructions to safely release the blinds from the brackets.
- Lower the blinds carefully: Once released from the brackets, carefully lower the blinds to the desired position. Take care to avoid any damage to the blinds or injury to yourself during this process.
- Secure the blinds: Once the blinds are lowered, set them aside in a safe and clean area. You may want to place them on a flat surface or hang them on a sturdy rod or hook to keep them organized and prevent any tangling of the cords or strings.
By following these steps, you can easily remove your pleated blinds from the window, making it more convenient to work on them and address the specific issues you identified during the assessment process.
With the blinds successfully removed, you can now proceed to the next steps of the repair process, such as reattaching broken strings or cords, fixing bent slats, or replacing damaged brackets or clips.
Note: It is important to exercise caution when handling blinds, especially if they are large or heavy. Use proper lifting techniques and avoid placing excessive pressure on the blinds to prevent any damage or accidents.
Inspect and Reattach Broken Strings or Cords
Once you have removed the pleated blinds from the window, it’s time to inspect and address any broken or tangled strings or cords. This step is crucial as it ensures the smooth operation of the blinds once they are reinstalled.
Here’s a step-by-step guide on how to inspect and reattach broken strings or cords:
- Lay out the blinds: Lay the blinds flat on a clean and spacious surface, making sure all the strings or cords are accessible and not tangled.
- Locate the broken area: Carefully inspect the strings or cords to identify the point of breakage. Look for any frayed ends, knots, or obvious signs of detachment.
- Prepare the repair tools: Depending on the type of strings or cords used in your blinds, you may need a pair of pliers, scissors, or a replacement cord.
- Reattach the broken ends: If the strings or cords have snapped, you’ll need to reattach them together. Untangle any knots or tangles, then align the broken ends and securely knot them together.
- Secure the knot: Once the broken ends are knotted, use pliers to tighten and secure the knot. This ensures the connection is strong and the blinds will operate smoothly.
- Trim excess cord: Use scissors to trim any excess cord or fabric that may interfere with the movement of the blinds. Be cautious not to cut any necessary components or cords.
- Test the reattached strings or cords: Gently pull on the strings or cords to ensure they are securely reattached and allow the blinds to move up and down smoothly. Make any necessary adjustments if the blinds are not operating properly.
By following these steps, you can effectively inspect and reattach broken strings or cords on your pleated blinds. It’s important to take your time during this process and ensure the knots are secure and the blinds are moving smoothly.
If you are unable to reattach the broken strings or cords successfully, or if the damage is extensive, it may be necessary to replace the entire set of strings or cords. Consult the manufacturer’s instructions or seek professional assistance to ensure the proper replacement method.
Once you have reattached the broken strings or cords, you can move on to the next steps of the repair process, such as fixing bent slats or replacing damaged brackets or clips.
Fix Bent or Misaligned Slats
If you’ve noticed that the slats of your pleated blinds are bent or misaligned, it’s essential to address this issue to restore their appearance and functionality. Here’s a step-by-step guide on how to fix bent or misaligned slats:
- Lay out the blinds: Lay the blinds flat on a clean and spacious surface, ensuring that the slats are easily accessible.
- Identify the bent or misaligned slats: Take a close look at the slats and identify which ones are bent or not aligned properly. You may need to gently move them apart to see each individual slat clearly.
- Fix small bends: For slats with minor bends, use gentle pressure with your hands to straighten them. Carefully apply pressure on the bend, working from the center towards the edges, until the slat is straight and aligned.
- Fix larger bends: If a slat has a more significant bend that cannot be easily straightened by hand, you can use a heat source such as a hairdryer or a steam iron on a low heat setting. Hold the heat source a few inches away from the bent area and apply heat, moving it back and forth until the slat becomes pliable. Gently bend the slat in the opposite direction of the bend, and hold it in place until it cools down and retains its new shape.
- Realign misaligned slats: If some slats are out of alignment, gently manipulate them back into place using your hands. Ensure they are evenly spaced and aligned with the neighboring slats.
- Double-check alignment: Once you have fixed the bent or misaligned slats, double-check their alignment by running your fingers across them. Make any necessary adjustments to achieve a uniform and visually appealing look.
It’s important to handle the slats with care during this process to avoid causing any further damage. Take your time and work patiently to achieve the desired results.
If a slat is severely damaged and cannot be fixed, it may be necessary to replace it. Consider contacting the manufacturer or a specialist to inquire about obtaining replacement slats that match your existing blinds.
Once you have successfully fixed the bent or misaligned slats, you can proceed to the next steps of the repair process, such as replacing damaged brackets or clips or cleaning and maintaining your pleated blinds.
Read more: How To Fix Levolor Blinds
Replace Damaged Brackets or Clips
If you have identified that the brackets or clips holding your pleated blinds in place are damaged or broken, it’s crucial to replace them to ensure the blinds are securely installed. Here’s a step-by-step guide on how to replace damaged brackets or clips:
- Locate the damaged brackets or clips: Carefully inspect the window frame and identify the brackets or clips that are damaged or broken. Note their location and the type of fasteners used to secure them.
- Gather the replacement brackets or clips: Contact the manufacturer or a local supplier to obtain the correct replacement brackets or clips. Ensure that they are the same size and type as the ones you are replacing.
- Remove the damaged brackets or clips: Use a screwdriver to remove the screws or fasteners securing the damaged brackets or clips to the window frame. Keep the screws and fasteners aside, as you may need them for the installation of the new brackets or clips.
- Position the new brackets or clips: Align the new brackets or clips with the existing holes or markings on the window frame. Make sure they are level and properly positioned before proceeding.
- Secure the new brackets or clips: Insert the screws or fasteners through the holes in the new brackets or clips and into the corresponding holes in the window frame. Use a screwdriver to tighten them, ensuring a secure and tight fit.
- Test the stability: Once the new brackets or clips are securely fastened, test the stability of the blinds by gently pulling or adjusting them. Make sure they are firmly held in place and do not sag or detach from the window frame.
Properly installing new brackets or clips will ensure that your pleated blinds are securely attached to the window frame and operate smoothly. If you encounter any difficulties during the installation process, refer to the manufacturer’s instructions or consult a professional for guidance.
It’s important to note that the process of replacing brackets or clips may vary depending on the specific design and mechanism of your pleated blinds. Always follow the instructions provided by the manufacturer to ensure the proper installation of the new brackets or clips.
Once you have successfully replaced the damaged brackets or clips, you can proceed to the final steps of the repair process, such as cleaning and maintaining your pleated blinds to keep them in top condition.
Clean and Maintain Pleated Blinds
After addressing any issues with your pleated blinds and making necessary repairs, it’s important to clean and maintain them to keep them looking their best. Regular maintenance will extend the lifespan of your blinds and ensure their optimal performance. Here’s a step-by-step guide on how to clean and maintain pleated blinds:
- Dust the blinds: Start by dusting the blinds with a feather duster or a microfiber cloth. Move across each slat, removing any loose dust or debris.
- Vacuum the blinds: If there is a significant amount of dust or debris on the blinds, use the brush attachment of a vacuum cleaner to gently vacuum them. Start at the top and work your way down, giving each slat sufficient attention.
- Spot clean stains: If you notice any stains or spots on the blinds, mix a mild cleaning solution—such as warm water and gentle soap—and dampen a clean cloth with the solution. Gently dab the stained area, taking care not to saturate the fabric. Blot with a dry cloth to remove excess moisture.
- Avoid harsh chemicals: It’s important to avoid using harsh chemicals, abrasive cleaners, or excessive moisture when cleaning pleated blinds. These can damage the fabric or affect the functioning of the blinds. Stick to mild cleaning solutions and gentle cleaning methods.
- Inspect cords and strings: Regularly inspect the cords and strings of the blinds to ensure they are in good condition. Replace any frayed or damaged cords promptly to avoid further issues in the future.
- Adjust slats: Periodically check the alignment of the slats. If any slats have become misaligned, gently adjust them to ensure they are evenly spaced and properly aligned with the neighboring slats.
- Keep blinds dry: Moisture can cause damage to pleated blinds, so it’s important to keep them dry. Avoid spraying water or cleaning solutions directly onto the blinds, and ensure the blinds are fully dry before raising or closing them.
By following these steps, you can effectively clean and maintain your pleated blinds, keeping them in optimal condition for years to come. Regular maintenance will not only enhance their appearance but also promote their longevity and smooth operation.
It’s recommended to establish a regular cleaning schedule based on the level of dust, dirt, or exposure to stains in your environment. This will ensure that your pleated blinds remain clean and well-maintained at all times.
With your pleated blinds now clean, fixed, and properly maintained, you can reinstall them on the window frame and enjoy their functionality and aesthetic appeal.
Conclusion
Fixing pleated blinds doesn’t have to be a daunting task. With the right tools, knowledge, and a little bit of patience, you can tackle common issues and restore the functionality and appearance of your blinds. By following the step-by-step guide outlined in this article, you’ll be well-equipped to address problems such as broken strings or cords, bent or misaligned slats, and damaged brackets or clips.
Remember to assess the problem thoroughly, remove the blinds from the window if necessary, and inspect and reattach broken strings or cords. Take care to fix bent or misaligned slats and replace any damaged brackets or clips. Lastly, clean and maintain your pleated blinds regularly to keep them looking their best.
Throughout the repair process, it’s important to prioritize safety and exercise caution when handling the blinds. If you’re unsure about any step or if the repairs seem too complex, don’t hesitate to seek professional assistance. In some cases, it may also be necessary to consult the manufacturer for specific guidelines, especially when it comes to replacing parts or cords.
Maintaining pleated blinds ensures that they not only function properly but also enhance the overall aesthetics of your space. By keeping them clean, addressing any issues promptly, and conducting regular maintenance, you can prolong the lifespan of your pleated blinds and enjoy their benefits for years to come.
So, don’t let broken strings, bent slats, or damaged brackets undermine the functionality and beauty of your pleated blinds. Follow this comprehensive guide, take matters into your own hands, and restore your pleated blinds to their former glory.
Frequently Asked Questions about How To Fix Pleated Blinds
Was this page helpful?
At Storables.com, we guarantee accurate and reliable information. Our content, validated by Expert Board Contributors, is crafted following stringent Editorial Policies. We're committed to providing you with well-researched, expert-backed insights for all your informational needs.