Articles
How Come My Toilet Wont Flush All The Way
Modified: October 19, 2024
Having trouble with a toilet that won't flush properly? Read our informative articles to learn the most common reasons and how to fix them.
(Many of the links in this article redirect to a specific reviewed product. Your purchase of these products through affiliate links helps to generate commission for Storables.com, at no extra cost. Learn more)
Introduction
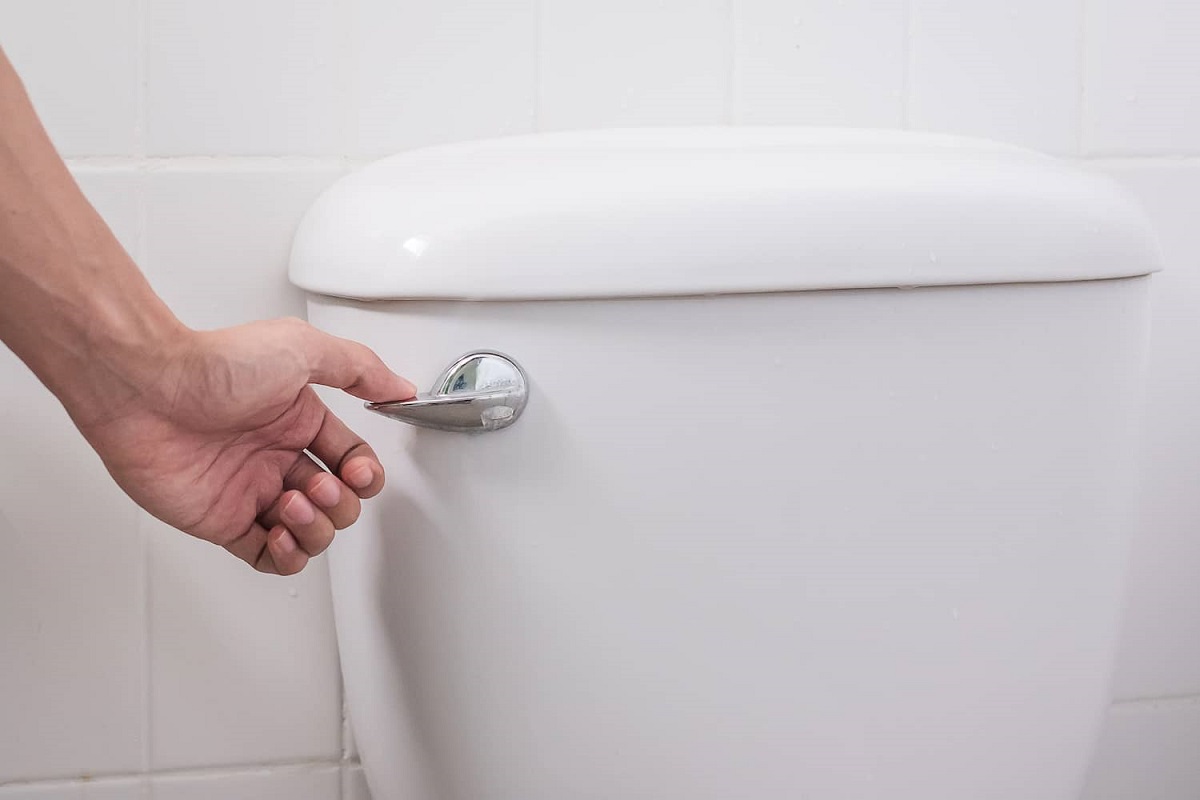
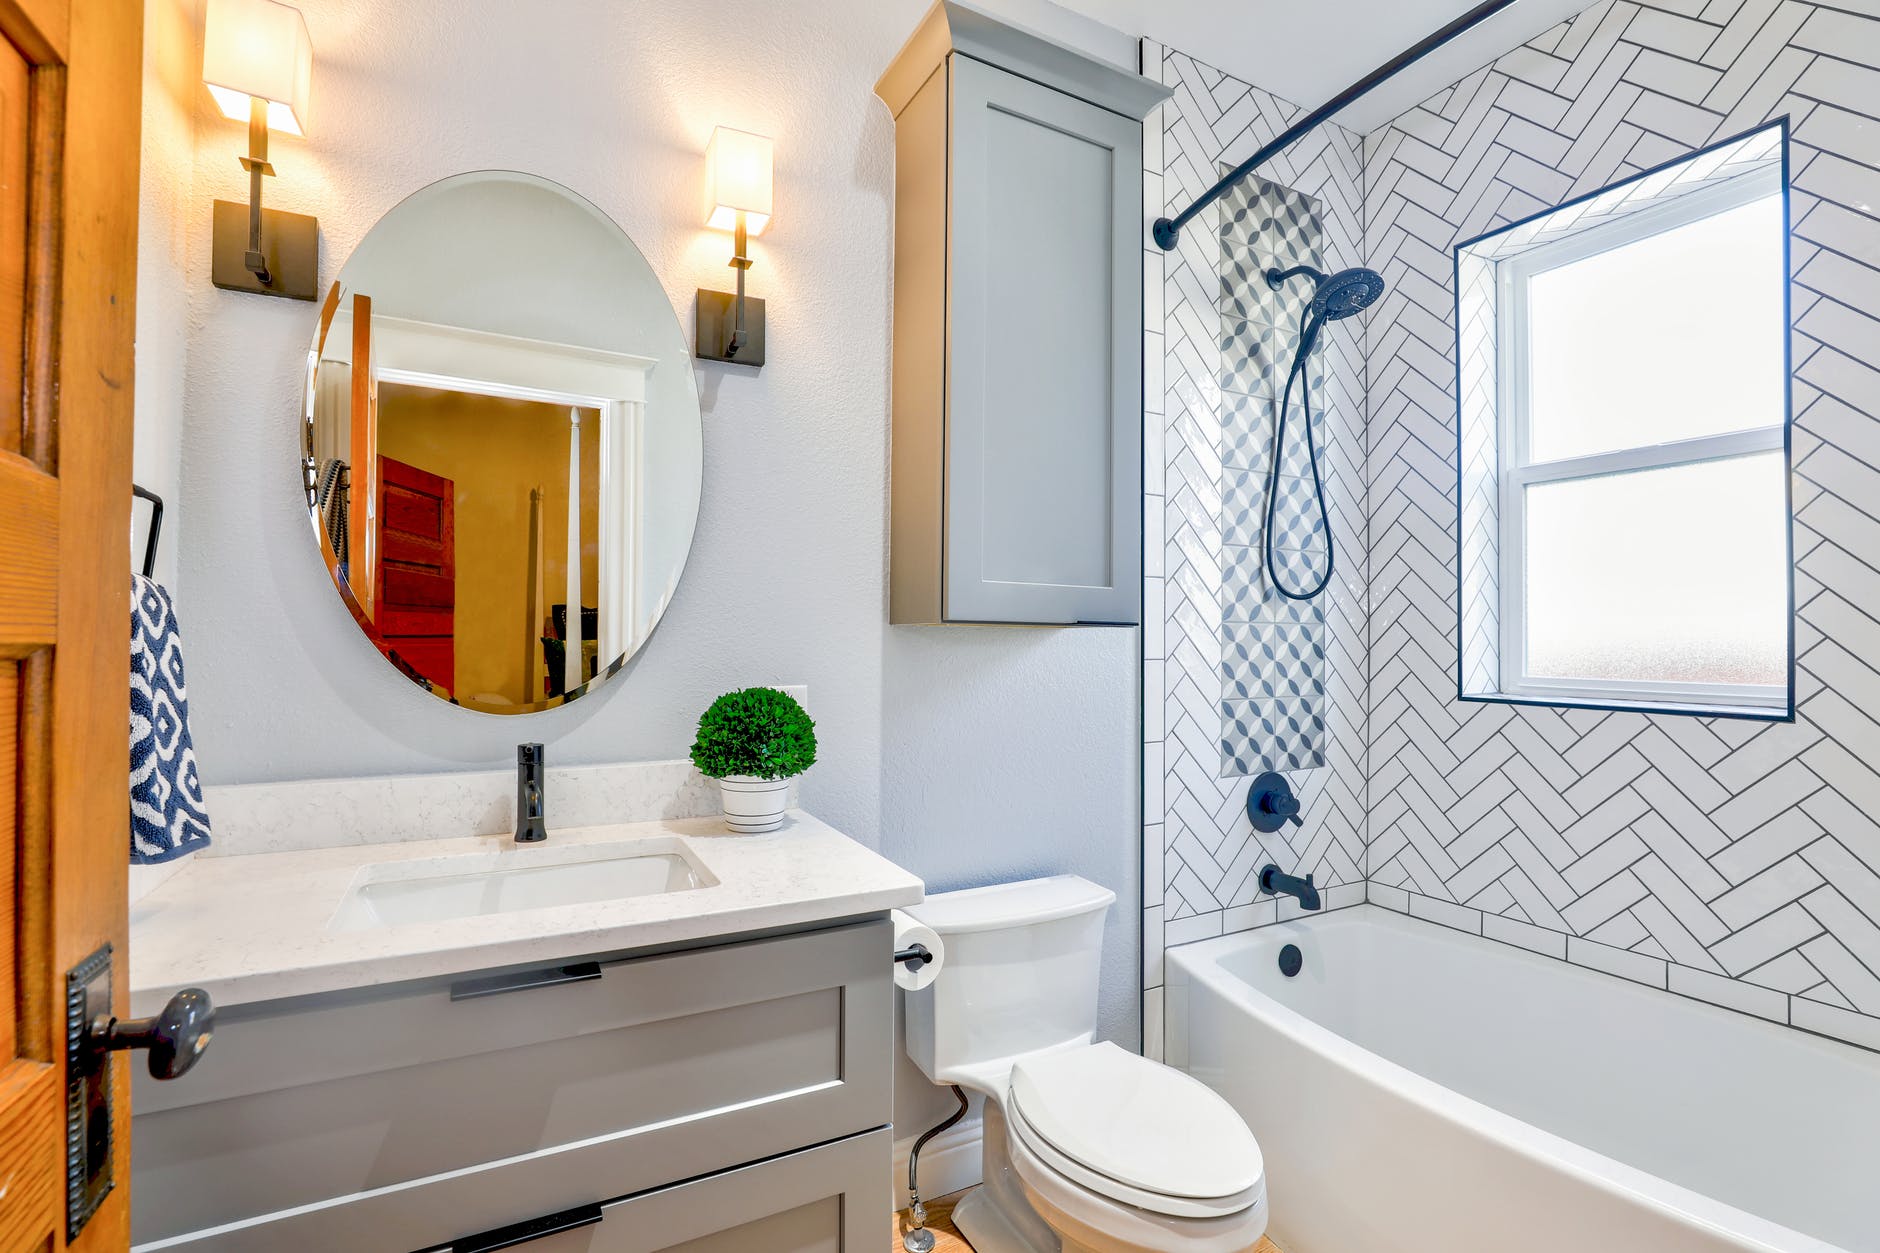
Having a properly functioning toilet is essential for any household. However, if you find yourself in a situation where your toilet won’t flush all the way, it can be quite frustrating. Not only is it inconvenient, but it can also lead to potential hygiene issues and water wastage. Understanding the common causes of incomplete flushing and knowing how to address them can help you resolve the issue quickly and efficiently.
In this article, we will explore the various reasons why your toilet might not be flushing all the way and provide you with strategies to fix the problem. From clogged toilet traps to faulty flappers and low water levels in the tank, we will cover it all. By the end, you’ll have the knowledge you need to restore your toilet’s flushing ability.
So, let’s dive in and discover the reasons behind an incomplete flush and how to correct it.
Key Takeaways:
- Don’t let a toilet that won’t flush all the way ruin your day. From clearing obstructions to adjusting water levels, DIY troubleshooting can restore your toilet’s flushing efficiency and save you from unnecessary frustration.
- When DIY methods fall short, don’t hesitate to call in the pros. Seeking professional help ensures accurate diagnosis and effective resolution of complex flushing issues, giving you peace of mind and a fully functional toilet.
Read more: Why Wont My Toilet Unclog
Common Causes of Incomplete Flushing
When your toilet fails to flush completely, there could be several underlying causes. Understanding these potential reasons can help you identify and resolve the issue more effectively. Let’s take a look at some of the most common causes:
- Clogged Toilet Trap: One of the primary culprits behind incomplete flushing is a clogged toilet trap. The trap is a curved pipe located beneath the toilet bowl that prevents sewer gases from entering your bathroom. Over time, this section can become clogged with debris, leading to water flow obstructions and ineffective flushing.
- Faulty Flapper: The flapper is a rubber valve located in the toilet tank that controls the release of water into the bowl during flushing. If the flapper is worn out or damaged, it may not allow enough water to flow quickly, resulting in an incomplete flush. A faulty flapper often manifests in a weak flush or a running toilet.
- Low Water Level in the Tank: The water level in the toilet tank plays a crucial role in achieving a proper flush. If the water level is too low, there may not be sufficient force and quantity of water to effectively clear the bowl. This can be caused by a malfunctioning fill valve or an improperly adjusted float.
- Partially Blocked Flush Holes: The flush holes, also known as rim holes or jet holes, are located under the rim of the toilet bowl and release water into the bowl during flushing. If these holes become clogged with mineral deposits, debris, or lime scale, it can restrict the water flow and lead to incomplete flushing.
- Improper Toilet Design: In some cases, the issue of incomplete flushing may be due to the toilet’s design. Certain models may have flaws or inefficient design elements that hinder proper water flow and flushing performance. This can result in repeated instances of incomplete flushing.
These are just a few of the common causes of incomplete flushing. It’s important to note that the solution to the problem will depend on the specific cause affecting your toilet. In the next section, we’ll explore strategies to address each cause and restore your toilet’s flushing efficiency.
Clogged Toilet Trap
A clogged toilet trap is one of the primary reasons why your toilet may not be flushing properly. The toilet trap is a curved pipe located beneath the toilet bowl that prevents foul odors from escaping the sewer system and entering your bathroom. Over time, this section can become clogged with debris, leading to water flow obstructions and ineffective flushing.
If you suspect a clogged toilet trap, you can attempt to clear it using a plunger. Start by applying petroleum jelly around the rim of the plunger to create a better seal. Place the plunger over the drain hole in the toilet bowl and gently push down, then pull up rapidly to create suction. Repeat this motion several times to dislodge the clog.
If the plunger doesn’t do the trick, you can try using a toilet auger or snake. Insert the auger into the drain hole and rotate the handle clockwise while applying gentle pressure. This helps to break up and remove the blockage in the trap. Be careful not to use excessive force, as this could damage the toilet bowl.
In more severe cases, where the clog is persistent and difficult to remove, you may need to call a professional plumber. They have specialized tools and expertise to handle stubborn toilet trap clogs effectively.
Remember, prevention is always better than cure. To avoid future clogs in the toilet trap, ensure that you dispose of waste materials properly. Avoid flushing excessive toilet paper, sanitary products, or other non-flushable items down the toilet. Additionally, regular cleaning and maintenance of your toilet can help prevent the accumulation of debris and minimize the risk of clogs.
By addressing a clogged toilet trap, you can restore proper water flow and ensure that your toilet flushes efficiently. However, if the issue persists or if you’re unsure about tackling the problem on your own, it’s always best to seek professional assistance to avoid potential damage to your plumbing system.
Faulty Flapper
A faulty flapper is another common culprit behind incomplete flushing in toilets. The flapper is a rubber valve located in the toilet tank that controls the release of water into the bowl during flushing. If the flapper is worn out or damaged, it may not allow enough water to flow quickly, resulting in an incomplete flush. This can often manifest as a weak flush or a running toilet.
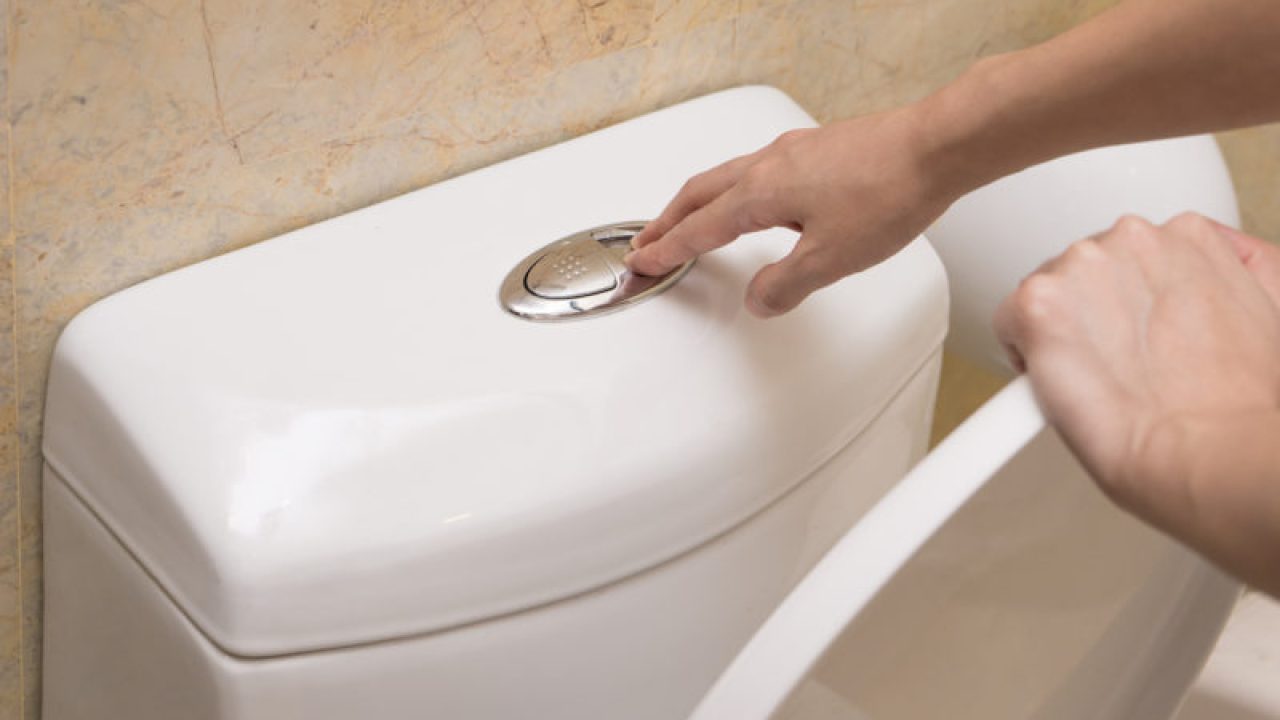
To check if your flapper is faulty, you can perform a simple test. Start by removing the lid of the toilet tank and flushing the toilet. Observe the flapper as the water drains from the tank. If the flapper doesn’t fully open or closes too quickly, it may be the cause of the incomplete flush. Additionally, inspect the flapper for any visible signs of wear or damage, such as cracks, tears, or hardening of the rubber.
If you determine that the flapper needs to be replaced, you can easily find a replacement at a hardware store. First, turn off the water supply to the toilet by shutting off the valve behind or below the toilet. Flush the toilet to empty the tank and remove any remaining water using a sponge or towel. Disconnect the old flapper from the flush valve and attach the new flapper according to the manufacturer’s instructions.
Additionally, it’s a good idea to clean the flapper seat and the flush valve opening before installing the new flapper. Mineral deposits or debris can accumulate on these surfaces over time, hindering the proper functioning of the flapper. Use a soft brush and vinegar or a mild cleaner to remove any buildup.
If replacing the flapper doesn’t resolve the issue, there may be other underlying problems, such as a faulty fill valve or an issue with the water pressure. In such cases, it’s advisable to call a professional plumber who can diagnose and repair the problem effectively.
Regular maintenance of the flapper can also help prevent future issues. Inspect it periodically for signs of wear and tear, and replace it as necessary. Additionally, avoid using harsh chemicals in the toilet tank that could deteriorate the flapper material.
Addressing a faulty flapper can restore proper water flow and ensure a complete flush. By replacing the damaged flapper or seeking professional help, you can resolve the issue and maintain a well-functioning toilet.
Low Water Level in the Tank
If you notice that your toilet isn’t flushing with enough force or that the water level in the bowl is lower than usual, a possible cause could be a low water level in the tank. The water level in the toilet tank plays a crucial role in achieving a proper flush. If the water level is too low, there may not be enough force and quantity of water to effectively clear the bowl.
One of the main reasons for low water level in the tank is a malfunctioning fill valve or an improperly adjusted float. The fill valve controls the flow of water into the tank, while the float adjusts the water level. If the fill valve is not working correctly or the float is set too low, the tank may not be filling up with enough water, resulting in an incomplete flush.
To address low water level in the tank, you can try a few troubleshooting steps. Start by locating the fill valve, which is usually situated on the left side of the tank. Adjust the float to ensure it is positioned at the correct level. The ideal water level is typically marked on the valve or indicated in the toilet manufacturer’s instructions.
If the float is set too low, gently bend the rod that connects the float to the fill valve, raising it slightly. This will allow more water to enter the tank during the filling process. Conversely, if the float is set too high, you can bend the rod downward to lower the water level in the tank.
Another potential issue could be a faulty fill valve. Over time, these valves can become worn out or clogged, leading to reduced water flow into the tank. If adjusting the float doesn’t resolve the low water level problem, you may need to replace the fill valve. It’s recommended to consult the toilet manufacturer’s instructions or seek professional help for the correct replacement procedure.
Regular maintenance of the fill valve and float can help prevent low water level issues. Inspect them periodically for any signs of damage or buildup. Clean the fill valve and surrounding components if you notice any debris or mineral deposits.
By addressing a low water level in the tank, you can ensure that your toilet is supplied with an adequate amount of water for a complete and efficient flush. Whether it requires adjusting the float, replacing the fill valve, or seeking professional assistance, restoring the proper water level will significantly improve the flushing performance of your toilet.
Read more: Why Wont My Toilet Fill Up With Water
Partially Blocked Flush Holes
If your toilet is experiencing incomplete flushing, another potential cause to consider is partially blocked flush holes. The flush holes, also known as rim holes or jet holes, are located under the rim of the toilet bowl. When you flush the toilet, water is released through these holes, creating a swirling action that helps clear waste from the bowl.
Over time, mineral deposits, debris, or lime scale can accumulate in the flush holes, restricting the water flow and resulting in an incomplete flush. This is particularly common in areas with hard water, where mineral buildup is more prevalent.
To address partially blocked flush holes, you can start by using a wire hanger or a thin, flexible brush to gently clean them. Wrap the end of the hanger or brush with a soft cloth to avoid scratching the porcelain. Insert it into the flush holes and carefully rotate or scrub to dislodge any deposits or obstructions.
If a wire hanger or brush doesn’t do the trick, you can try using a solution of vinegar and water to break down the mineral deposits. Mix equal parts of white vinegar and water in a spray bottle and generously spray the solution over the flush holes. Allow it to sit for a few minutes to dissolve the deposits, then scrub gently with a brush or hanger. Rinse thoroughly by flushing the toilet several times to remove any remaining residue.
In some cases, the buildup may be too stubborn to remove using DIY methods. If your attempts to clear the flush holes are unsuccessful, it’s recommended to seek professional assistance. A plumber will have access to specialized tools and equipment, such as high-pressure water jets, to thoroughly clean the flush holes and restore optimal flushing performance.
Prevention is key to avoiding future blockage of the flush holes. Regularly cleaning the toilet bowl and maintaining a cleaning routine specifically targeting the flush holes can help minimize the accumulation of mineral deposits and other debris. Using a toilet bowl cleaner specifically formulated to remove mineral buildup can also be effective.
By addressing partially blocked flush holes, you can ensure that water flows freely through the holes during flushing, resulting in a complete and effective flush. Regular maintenance and cleaning of the flush holes will help maintain optimal flushing performance and reduce the likelihood of incomplete flushing issues.
Improper Toilet Design
In some cases, the issue of incomplete flushing may stem from the toilet’s design itself. Certain toilet models may have flaws or inefficient design elements that hinder proper water flow and flushing performance. This can result in repeated instances of incomplete flushing.
One common design flaw is a low-flow toilet that doesn’t provide enough water volume or force for a thorough flush. Low-flow toilets are designed to conserve water by using less water per flush. While this is beneficial for water conservation, it can sometimes lead to incomplete flushing if the toilet isn’t designed or installed correctly.
In older or poorly designed toilets, the trapway (the passage where waste exits the toilet bowl) may be too narrow or have rough edges, causing waste to get stuck and interfere with proper flushing. Additionally, the bowl shape or the positioning of the flush holes may not optimize water flow, leading to ineffective flushing.
If you suspect that your toilet’s design is the reason behind incomplete flushing, there are a few things you can try to improve the situation. Firstly, consider upgrading to a newer model of toilet that is specifically designed to provide better flushing performance. Look for a toilet that is WaterSense certified, which indicates that it meets certain water efficiency and flushing performance standards.
If replacing the toilet is not an option, there are still some steps you can take to optimize the performance of your existing toilet. First, ensure that the water level in the tank is adjusted according to the manufacturer’s recommendations. This can sometimes improve the flushing ability of the toilet.
You can also try using a toilet plunger specifically designed for low-flow toilets. These plungers have a different shape and suction mechanism, which can help create a stronger force to dislodge any blockages or improve water flow.
If you’ve exhausted these options and the problem persists, it’s advisable to consult a professional plumber. They can assess the toilet’s design and suggest appropriate solutions or recommend a toilet replacement if necessary.
It’s worth noting that not all toilets with less efficient designs will result in incomplete flushing. Some older or unique toilet models may have quirks that you need to get accustomed to. However, if you find that your toilet consistently fails to flush adequately, despite your best efforts, consulting a professional will help address any design-related issues.
By recognizing and addressing an improper toilet design, you can take steps to improve flushing performance and ensure a more effective and efficient flush. Whether it involves upgrading to a newer model or seeking professional advice, resolving design-related issues can alleviate the problem of incomplete flushing.
Check the water level in the tank, ensure the flapper is sealing properly, and check for any clogs in the trap or drain line. If these don’t solve the issue, consider calling a plumber.
Strategies for Resolving Incomplete Flushing
Experiencing incomplete flushing in your toilet can be frustrating, but there are several strategies you can employ to resolve the issue. By understanding the common causes we discussed earlier and implementing the following strategies, you can restore your toilet’s flushing efficiency:
- Checking for Obstructions: Start by inspecting the toilet bowl for any visible obstructions. If you notice any foreign objects or debris, such as toys, toilet paper rolls, or excessive toilet paper, remove them to allow for proper water flow.
- Replacing the Flapper: A faulty flapper can hinder the proper release of water into the toilet bowl. If you’ve determined that the flapper needs replacement, follow the manufacturer’s instructions to install a new one. Ensure a tight seal to prevent water leakage and restore proper flushing action.
- Adjusting Water Level in the Tank: If you find that the water level in the toilet tank is too low, causing incomplete flushing, adjust the float or fill valve to achieve the recommended water level. This adjustment can vary based on your toilet’s manufacturer, so consult the instructions or seek professional guidance if needed.
- Clearing Flush Holes: Partially blocked flush holes can impede water flow and affect flushing performance. Use a wire hanger, brush, or a solution of vinegar and water to clean the flush holes and remove any mineral deposits or debris. This will ensure that water jets out freely during flushing.
- Seeking Professional Help: If your attempts to resolve the issue on your own are unsuccessful or you’re unsure about the cause of incomplete flushing, it’s wise to consult a professional plumber. They have the expertise and specialized tools to diagnose and address complex issues effectively.
Remember, prevention is always better than cure. To maintain optimal flushing performance, avoid flushing non-flushable items, limit the use of excessive toilet paper, and practice regular cleaning and maintenance of your toilet. These practices will help minimize the risk of clogs or obstructions that can lead to incomplete flushing.
By implementing these strategies, you can address the causes of incomplete flushing and restore the proper functioning of your toilet. Whether it involves DIY methods or seeking professional assistance, taking action will ensure a more efficient and reliable flushing experience.
Checking for Obstructions
One of the first steps to take when dealing with an incomplete flush in your toilet is to check for any obstructions. Foreign objects or debris in the toilet bowl can impede the flow of water and cause ineffective flushing. By clearing these obstructions, you can restore proper water flow and improve the flushing performance.
To check for obstructions, visually inspect the toilet bowl. Look for any visible objects that may have accidentally fallen into the bowl, such as toys, toilet paper rolls, or excessive amounts of toilet paper. If there are any obstructions, remove them carefully using gloves or a tool like tongs. Avoid flushing these objects as they can further block the toilet or damage the plumbing system.
In cases where the obstruction is not readily visible, you can use a toilet auger or snake. Insert the auger or snake into the toilet drain and carefully rotate or feed it through the pipe. This can help dislodge and remove any blockages that may be deeper in the drain and causing the incomplete flush.
If an obstruction is still not found, it may be necessary to inspect the drain vent or the toilet’s main drain. These components can sometimes become clogged with debris or stuck objects, causing flushing issues. If you’re uncomfortable or unsure about inspecting these areas, it’s recommended to seek professional assistance to avoid causing further damage.
Once any obstructions have been removed, it’s a good idea to run water into the toilet bowl and observe how it drains. If the water flows freely and the flush is now complete, you have likely resolved the issue. However, if the problem persists, it may be necessary to investigate other potential causes, such as a faulty flapper or low water level in the tank.
Prevention is key to avoiding future obstructions in the toilet bowl. Remind household members not to flush non-flushable items down the toilet, such as sanitary products, wet wipes, or paper towels. Additionally, limit the use of excessive amounts of toilet paper and ensure proper disposal of other waste materials.
By checking for and removing obstructions, you can eliminate one possible cause of incomplete flushing and improve the overall performance of your toilet. Remember to exercise caution and seek professional help if needed, particularly when dealing with more complex or inaccessible obstructions.
Read more: Why Wont My Washer Turn On
Replacing the Flapper
A faulty flapper is a common cause of incomplete flushing in toilets. The flapper is a rubber valve located in the toilet tank that controls the release of water into the bowl during flushing. If the flapper is worn out, damaged, or not sealing properly, it can disrupt the water flow and result in an incomplete flush or a running toilet. Replacing the flapper can help restore proper flushing and improve the overall performance of your toilet.
To determine if the flapper needs replacement, start by removing the lid of the toilet tank and flushing the toilet. Observe the flapper as the water drains from the tank. If the flapper doesn’t open fully, closes too quickly, or shows signs of wear such as cracks or tears, it’s a clear indication that it needs to be replaced.
To replace the flapper, begin by turning off the water supply to the toilet. Locate the shut-off valve typically located behind or below the toilet and turn it clockwise until it stops the water flow. Flush the toilet to empty the tank and remove any remaining water using a sponge or towel.
Next, detach the old flapper from the flush valve chain. The flush valve can usually be found in the center of the toilet tank. Disconnect the flapper from the chain and remove it from the flush valve. Take note of the type and size of the flapper to ensure you purchase the correct replacement at a hardware or plumbing supply store.
Install the new flapper by attaching it to the flush valve. Secure it in place according to the manufacturer’s instructions, ensuring a tight seal. Connect the flapper to the chain, ensuring that there is a minimal slack but not too tight. Adjust the chain length if necessary to achieve the correct tension.
Before turning on the water supply, inspect the flapper seat and the area around the flush valve opening. Clean any mineral deposits or debris that may have accumulated. Use a soft brush and a mild cleaner or vinegar to remove any buildup, as this can impact the flapper’s proper sealing and flushing ability.
Once everything is in place, turn on the water supply to the toilet by opening the shut-off valve. Give the toilet tank a few minutes to fill up, then test the flush by pushing the handle. Observe if the flapper opens fully and allows a sufficient amount of water to flow into the bowl. Adjust the chain length if necessary to ensure proper functioning.
If replacing the flapper doesn’t resolve the incomplete flushing issue, there may be other underlying problems, such as low water levels or clogged flush holes. In such cases, it’s recommended to consult a professional plumber who can diagnose and address the problem accurately.
Regular maintenance and inspection of the flapper are crucial to prevent future issues. Check the flapper periodically for wear and tear, and replace it as needed to maintain the proper functioning of your toilet.
By replacing a faulty flapper, you can restore the effective flushing action of your toilet and ensure complete, efficient flushing. Proper installation and routine maintenance will help extend the life and performance of the flapper, ensuring smooth operation for years to come.
Adjusting Water Level in the Tank
If your toilet is experiencing incomplete flushing, adjusting the water level in the tank can help improve its flushing performance. The water level in the toilet tank plays a pivotal role in achieving a proper flush. It affects the quantity and force of water released into the bowl during flushing. If the water level is too low, it can result in an inadequate flush.
To adjust the water level in the tank, follow these steps:
- Start by removing the tank lid and setting it aside in a safe place.
- Locate the fill valve, which is usually on the left side of the toilet tank. This valve controls the water supply to the tank.
- Depending on the type of fill valve, there may be ways to adjust the water level. Some fill valves have a float cup attached to an adjustable arm or a water level adjustment screw.
- If there is an adjustable arm, you can bend it downward slightly to lower the water level or upward to raise it. Be gentle when bending the arm and make small adjustments, testing the flush after each adjustment to ensure the desired water level is achieved.
- If there is a water level adjustment screw, turn it clockwise to raise the water level or counterclockwise to lower it. Again, make small adjustments and test the flush to determine the optimal water level.
It’s essential to adjust the water level carefully to avoid overfilling the tank, which can result in continuous running or water leakage. Aim to set the water level to the line specified by the toilet manufacturer or to a level where the water is about 1 inch below the top of the overflow tube.
Once you have adjusted the water level to your desired height, flush the toilet to ensure that the water fills up to the adjusted level and drains properly. Observe the flush to determine if the water flow is sufficient for a complete flush. If necessary, make further adjustments until the desired flushing performance is achieved.
It’s worth noting that the steps to adjust the water level may vary depending on the type of fill valve in your toilet. Consult the manufacturer’s instructions or seek professional assistance if you’re unsure about the process or encounter any difficulties.
Proper maintenance of the fill valve is essential to ensure optimal performance. Inspect the fill valve periodically for any signs of wear or damage, and clean it if there is any buildup of mineral deposits or debris. This will help maintain a proper water level and efficient flushing action.
By adjusting the water level in the tank, you can optimize the flushing performance of your toilet. Adequate water level ensures sufficient force and quantity of water for a complete flush, improving the overall functionality of your toilet.
Clearing Flush Holes
If your toilet is experiencing incomplete flushing, partially blocked flush holes could be the culprit. Flush holes, also known as rim holes or jet holes, are located under the rim of the toilet bowl. During flushing, water is released through these holes to create a swirling action that helps clear waste from the bowl. If these flush holes become partially blocked, it can restrict water flow and result in an incomplete flush.
To clear the flush holes and improve water flow, follow these steps:
- Start by shutting off the water supply to the toilet. You can usually find the shut-off valve behind or below the toilet tank. Turn the valve clockwise until the water flow stops.
- Flush the toilet to empty the tank and remove any remaining water using a sponge or towel. This step is crucial to prevent water spillage when working on the flush holes.
- Take a wire hanger or a thin, flexible brush and straighten it out, leaving a small hook at one end. This will serve as a tool to reach and clean the flush holes.
- Gently insert the hooked end of the wire hanger or brush into each flush hole under the rim of the toilet bowl. Rotate and scrub the brush or hanger to dislodge any debris or mineral deposits that may be blocking the holes. Avoid using excessive force to prevent damage to the porcelain.
- Alternatively, you can create a solution of vinegar and water. Fill a spray bottle with equal parts white vinegar and water. Spray the solution into each flush hole, making sure to saturate the area. Allow the vinegar solution to sit for a few minutes to dissolve any mineral deposits, then scrub the flush holes with the wire hanger or brush.
- Rinse the flush holes and the surrounding area thoroughly by flushing the toilet a few times. This will help remove any remaining debris or vinegar solution.
Regular maintenance of the flush holes is crucial to prevent future blockages. As part of your cleaning routine, consider using a toilet bowl cleaner specifically formulated to remove mineral deposits. Follow the instructions provided with the cleaner and focus on cleaning the flush holes.
If you have difficulty clearing the flush holes or suspect a more severe blockage, it’s advisable to consult a professional plumber. They have the tools and expertise to handle stubborn blockages effectively without causing damage to the toilet.
By clearing the flush holes, you can ensure that water jets out freely during flushing, resulting in a complete and effective flush. Regular maintenance and cleaning of the flush holes will help maintain optimal flushing performance and reduce the likelihood of incomplete flushing issues.
Seeking Professional Help
If you’ve exhausted DIY troubleshooting methods and your toilet continues to experience incomplete flushing, it may be time to seek professional help. A professional plumber has the knowledge, experience, and specialized tools to diagnose and resolve more complex issues that may be causing the problem.
Here are some reasons to consider seeking professional assistance:
- Persistent Incomplete Flushing: If your toilet consistently fails to flush properly despite your best efforts to resolve the issue, it’s a clear indication that there may be an underlying problem that requires professional attention. A plumber can assess the situation, identify the cause, and implement the necessary repairs or adjustments.
- Unsure of the Cause: If you’re uncertain about the cause of incomplete flushing or if you suspect multiple issues may be at play, it’s best to consult a professional plumber. They have the expertise to accurately assess the situation and diagnose any underlying problems that may be affecting your toilet’s flushing performance.
- Complex Plumbing Systems: If your home has a complex plumbing system or if your toilet is connected to other fixtures or drains that may be contributing to the incomplete flushing, it’s recommended to enlist the help of a professional plumber. They have the knowledge and experience to navigate complex plumbing setups and resolve issues effectively.
- Safety Concerns: If you’re uncomfortable working on your toilet or if there are safety concerns involved, such as if you suspect a blockage deep within the plumbing system, it’s essential to prioritize your safety and seek professional assistance. Plumbers are trained to handle potentially hazardous situations and can take the necessary precautions to ensure a safe and efficient resolution.
- Peace of Mind: Hiring a professional plumber not only ensures that the issue will be addressed correctly, but it also provides peace of mind. You can trust that the plumber will accurately diagnose the problem, offer a reliable solution, and provide guarantees or warranties for their work.
When selecting a professional plumber, consider their experience, reputation, and certifications. Look for plumbers who are licensed, insured, and have positive customer reviews. It’s also advisable to obtain multiple quotes to compare prices and services before making a decision.
By seeking professional help, you can save time, avoid potential damage or mishaps, and ultimately resolve the issue of incomplete flushing in your toilet effectively. Don’t hesitate to reach out to a professional plumber when needed to ensure the proper functioning of your toilet and maintain a hygienic and convenient bathroom experience.
Read more: Why Is My Toilet Overflowing When I Flush
Conclusion
Having a toilet that won’t flush all the way can be a frustrating experience. However, by understanding the common causes of incomplete flushing and implementing the appropriate strategies, you can resolve the issue and restore your toilet’s functionality.
In this article, we’ve explored several potential causes of incomplete flushing, including clogged toilet traps, faulty flappers, low water levels in the tank, partially blocked flush holes, and improper toilet design. We’ve also provided strategies to address each of these issues, such as clearing obstructions, replacing flappers, adjusting water levels in the tank, clearing flush holes, and seeking professional help.
Remember, prevention is key to avoiding future incomplete flushing problems. Dispose of waste materials properly, avoid flushing non-flushable items, limit the use of excessive toilet paper, and practice regular cleaning and maintenance of your toilet. These practices will help keep your toilet operating smoothly and minimize the risk of clogs and other issues.
If your efforts to resolve incomplete flushing on your own are unsuccessful or if you’re unsure about the cause, seeking professional help is always a viable option. Professional plumbers have the expertise and tools to diagnose and address complex issues effectively, ensuring that your toilet operates optimally.
By taking the necessary steps to address incomplete flushing, you can enjoy a properly functioning toilet that flushes efficiently and effectively. Whether it’s unclogging the toilet trap, replacing a faulty flapper, adjusting the water level, cleaning flush holes, or consulting a professional, the strategies outlined in this article will help you overcome the challenges of incomplete flushing and restore your peace of mind in the bathroom.
Frequently Asked Questions about How Come My Toilet Wont Flush All The Way
Was this page helpful?
At Storables.com, we guarantee accurate and reliable information. Our content, validated by Expert Board Contributors, is crafted following stringent Editorial Policies. We're committed to providing you with well-researched, expert-backed insights for all your informational needs.
0 thoughts on “How Come My Toilet Wont Flush All The Way”