Articles
How To Fix Blinds Chain
Modified: December 7, 2023
Learn how to fix blinds chain with our comprehensive articles. Find easy step-by-step instructions and troubleshooting tips to repair broken blinds chains.
(Many of the links in this article redirect to a specific reviewed product. Your purchase of these products through affiliate links helps to generate commission for Storables.com, at no extra cost. Learn more)
Introduction
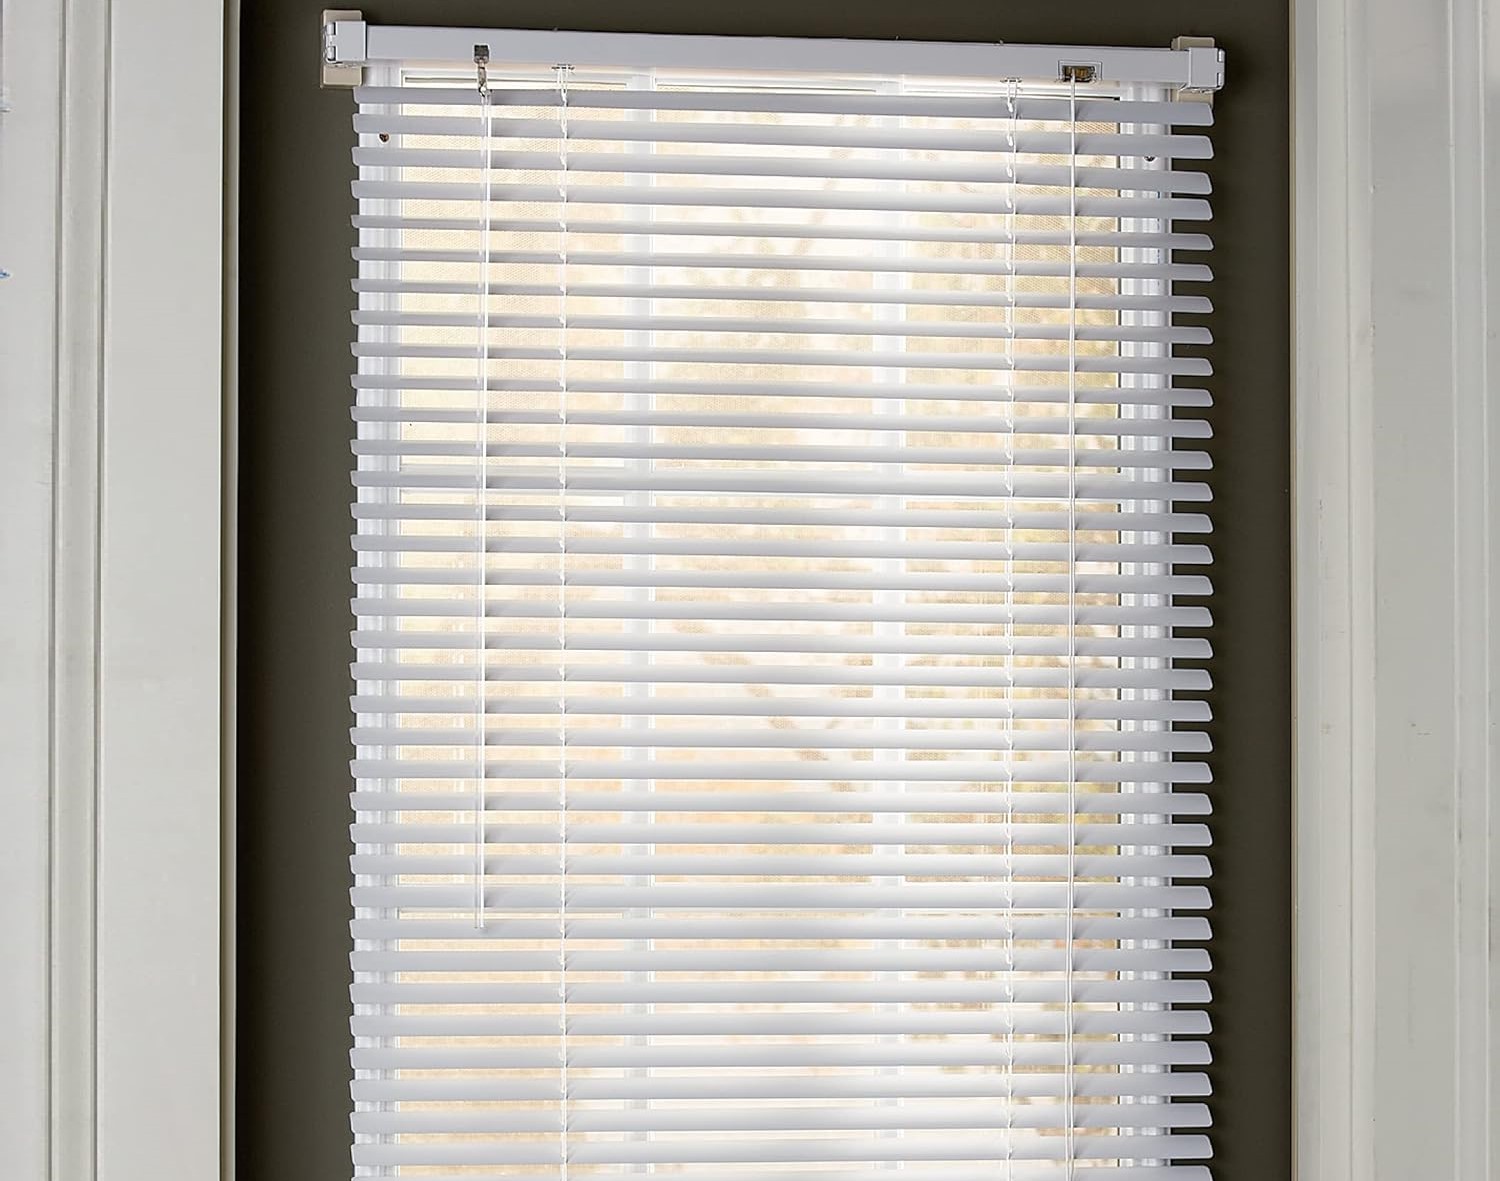
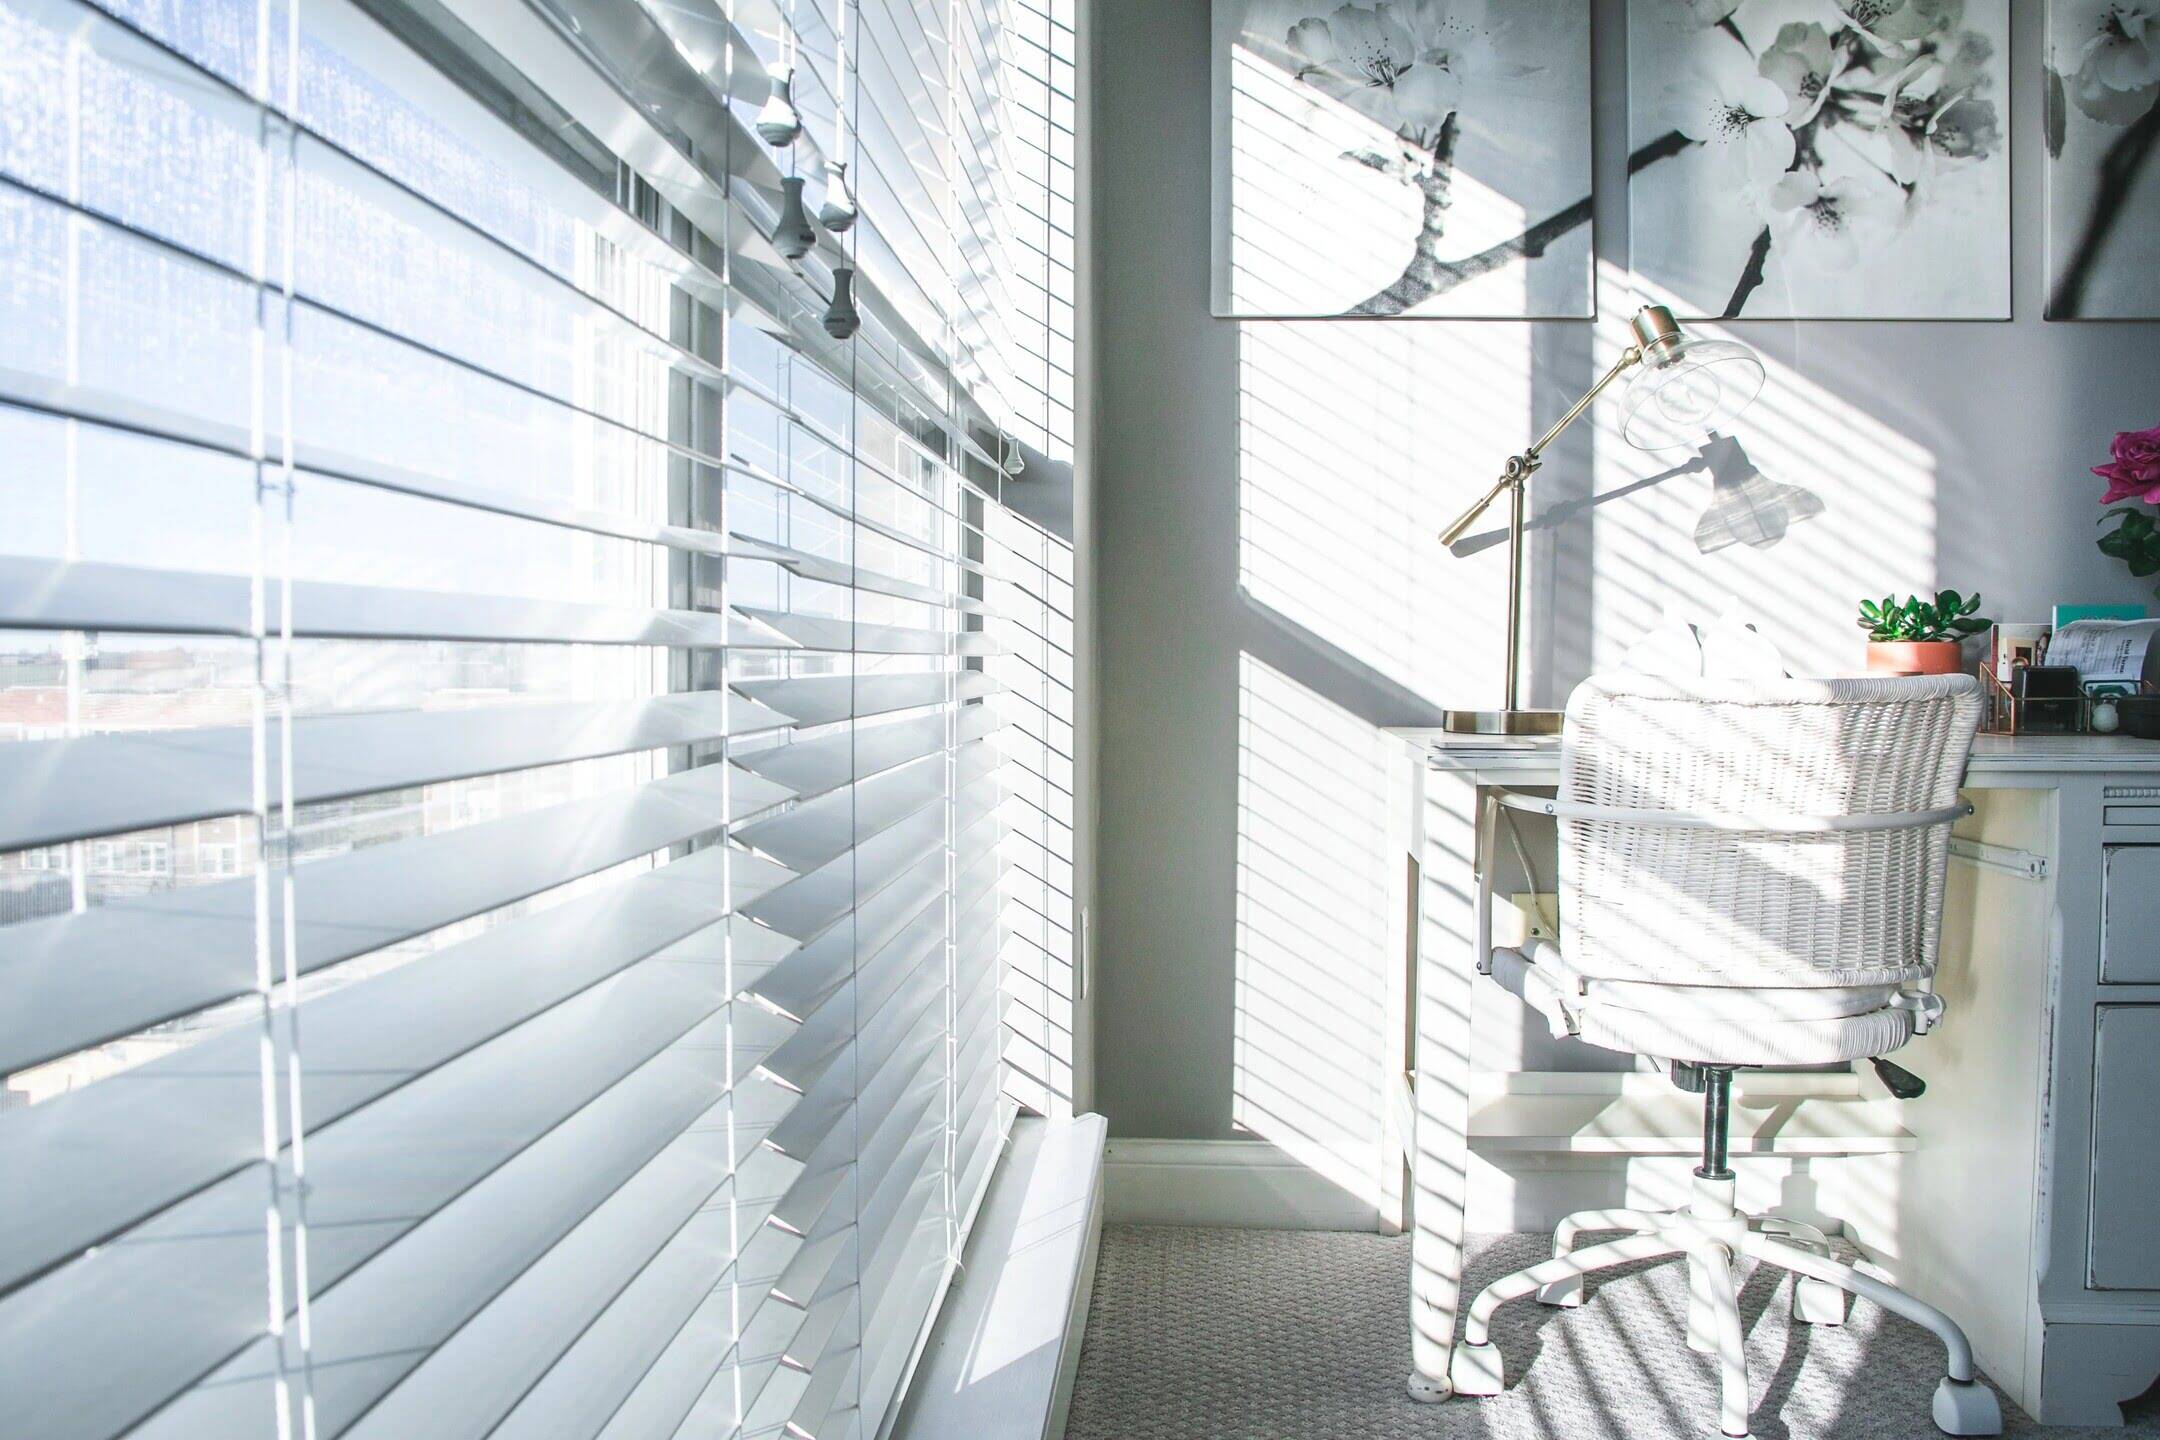
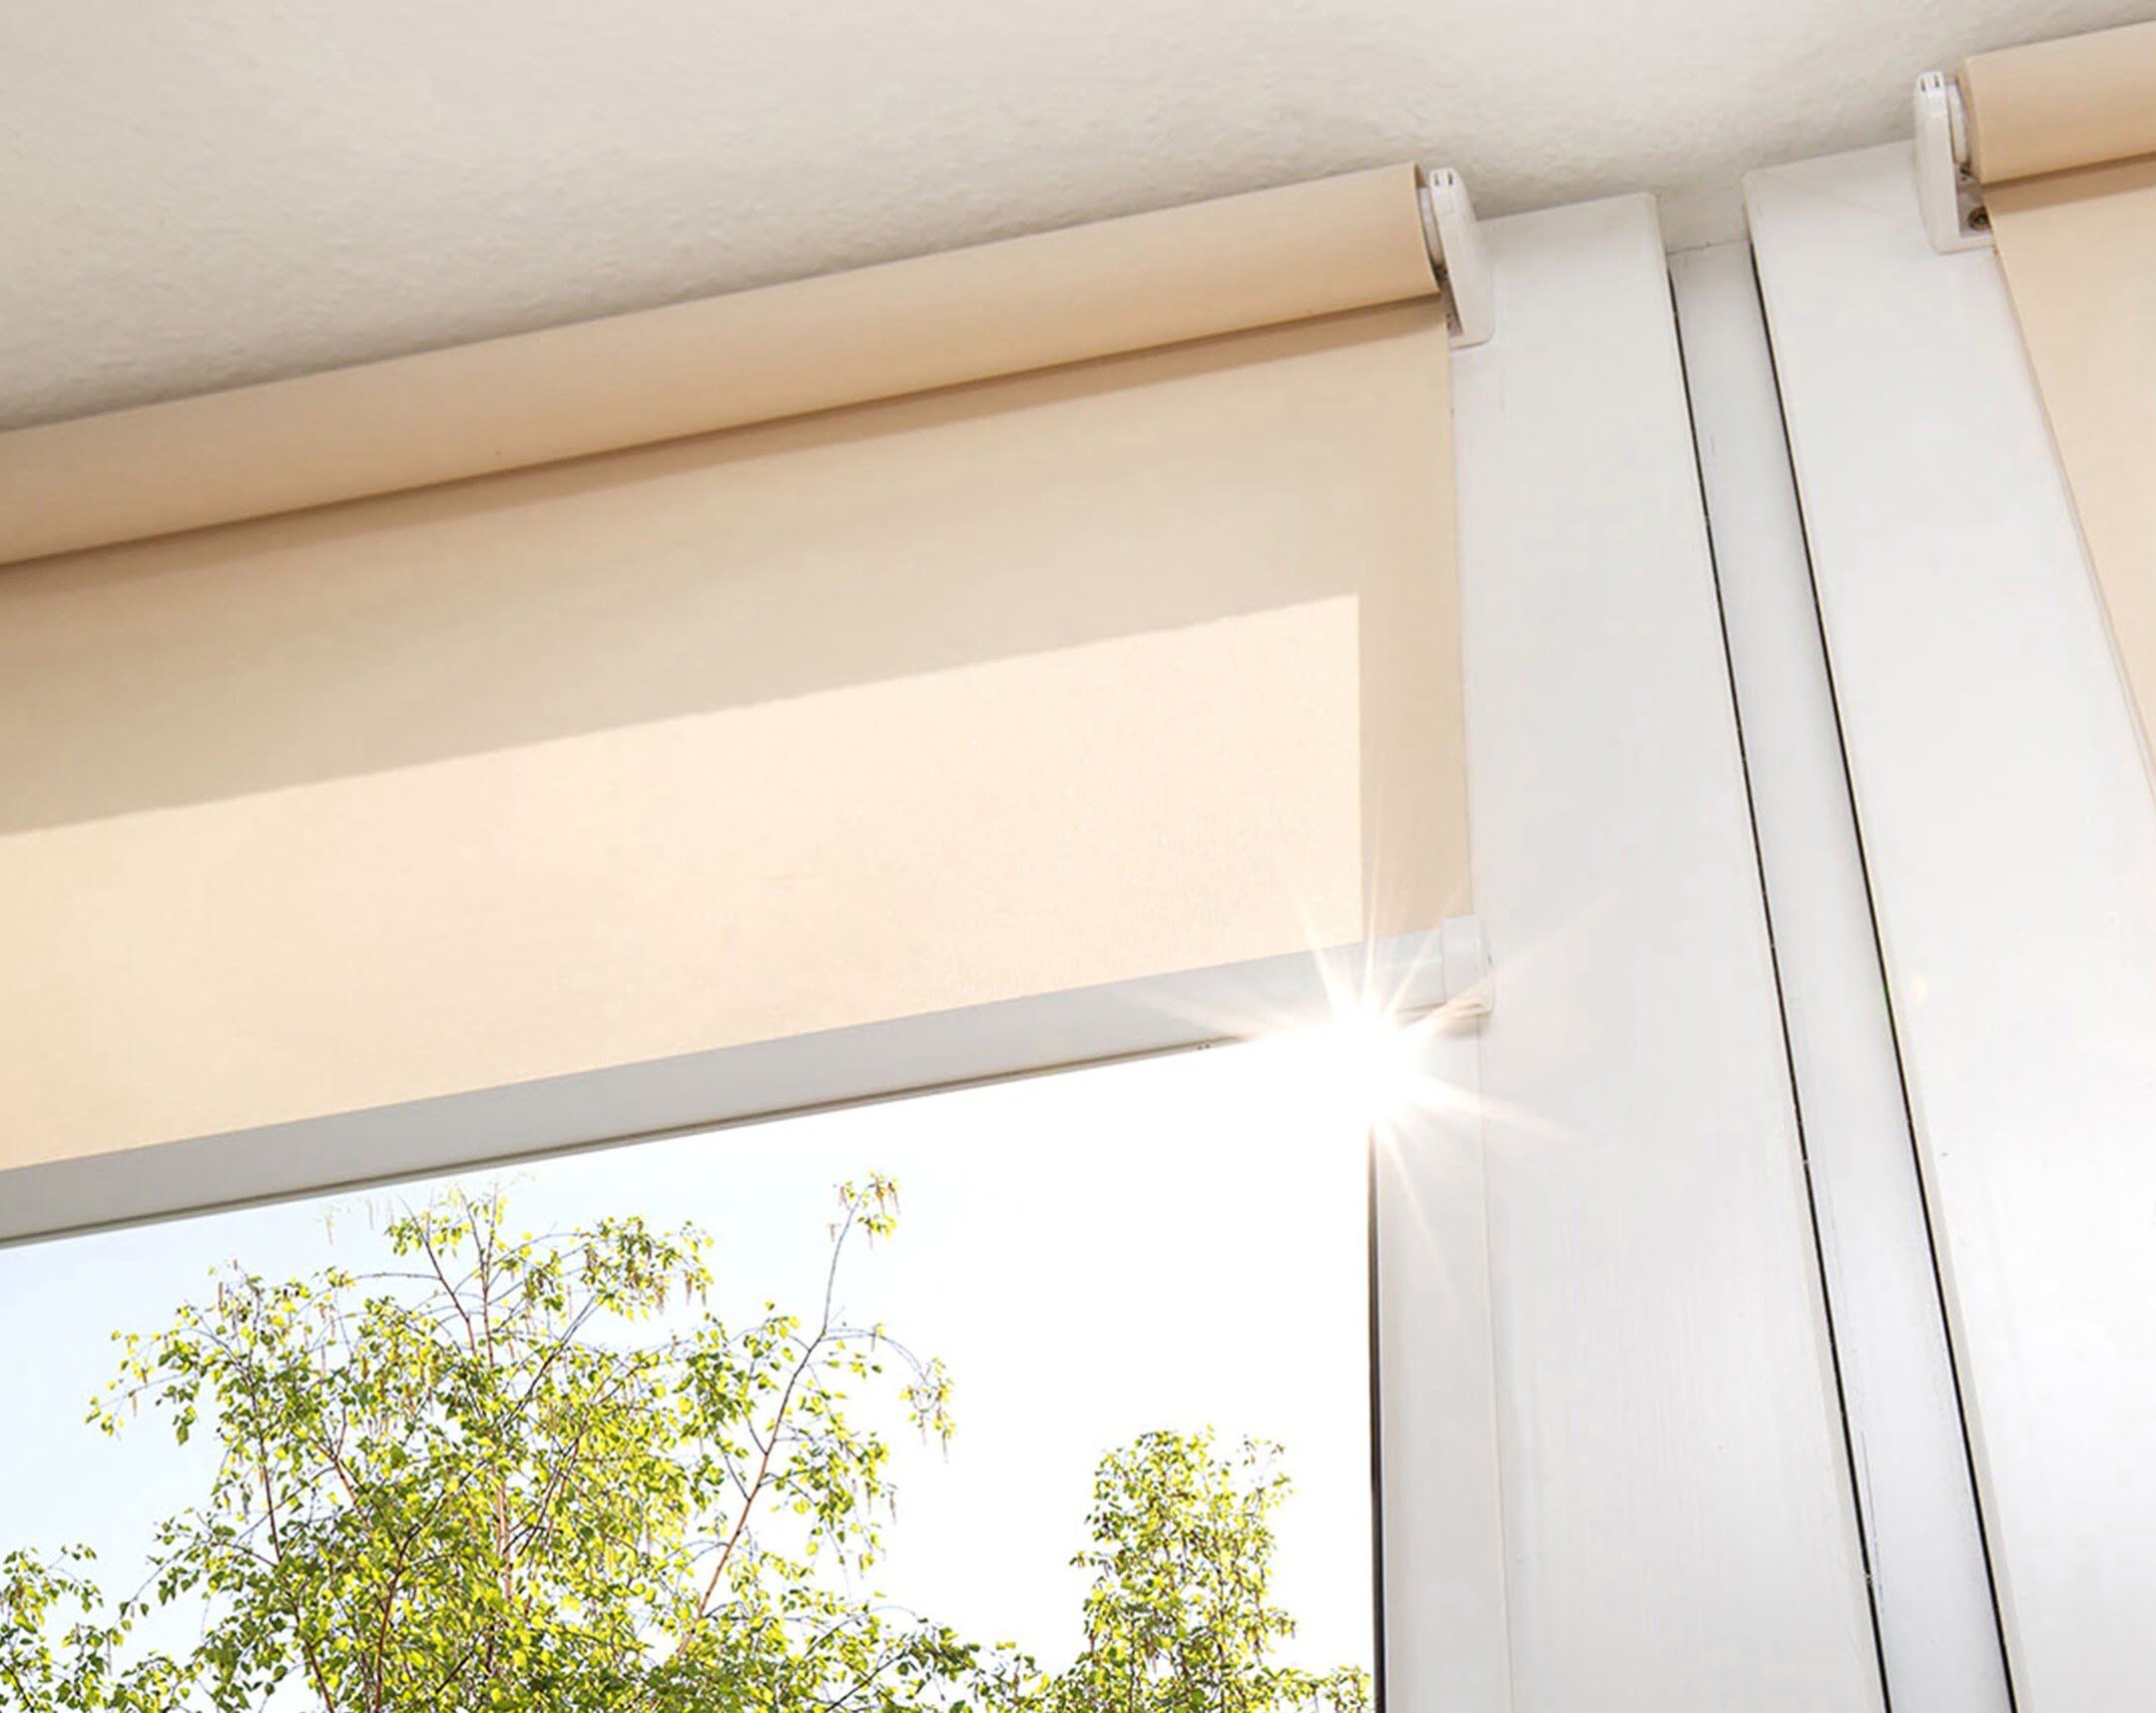
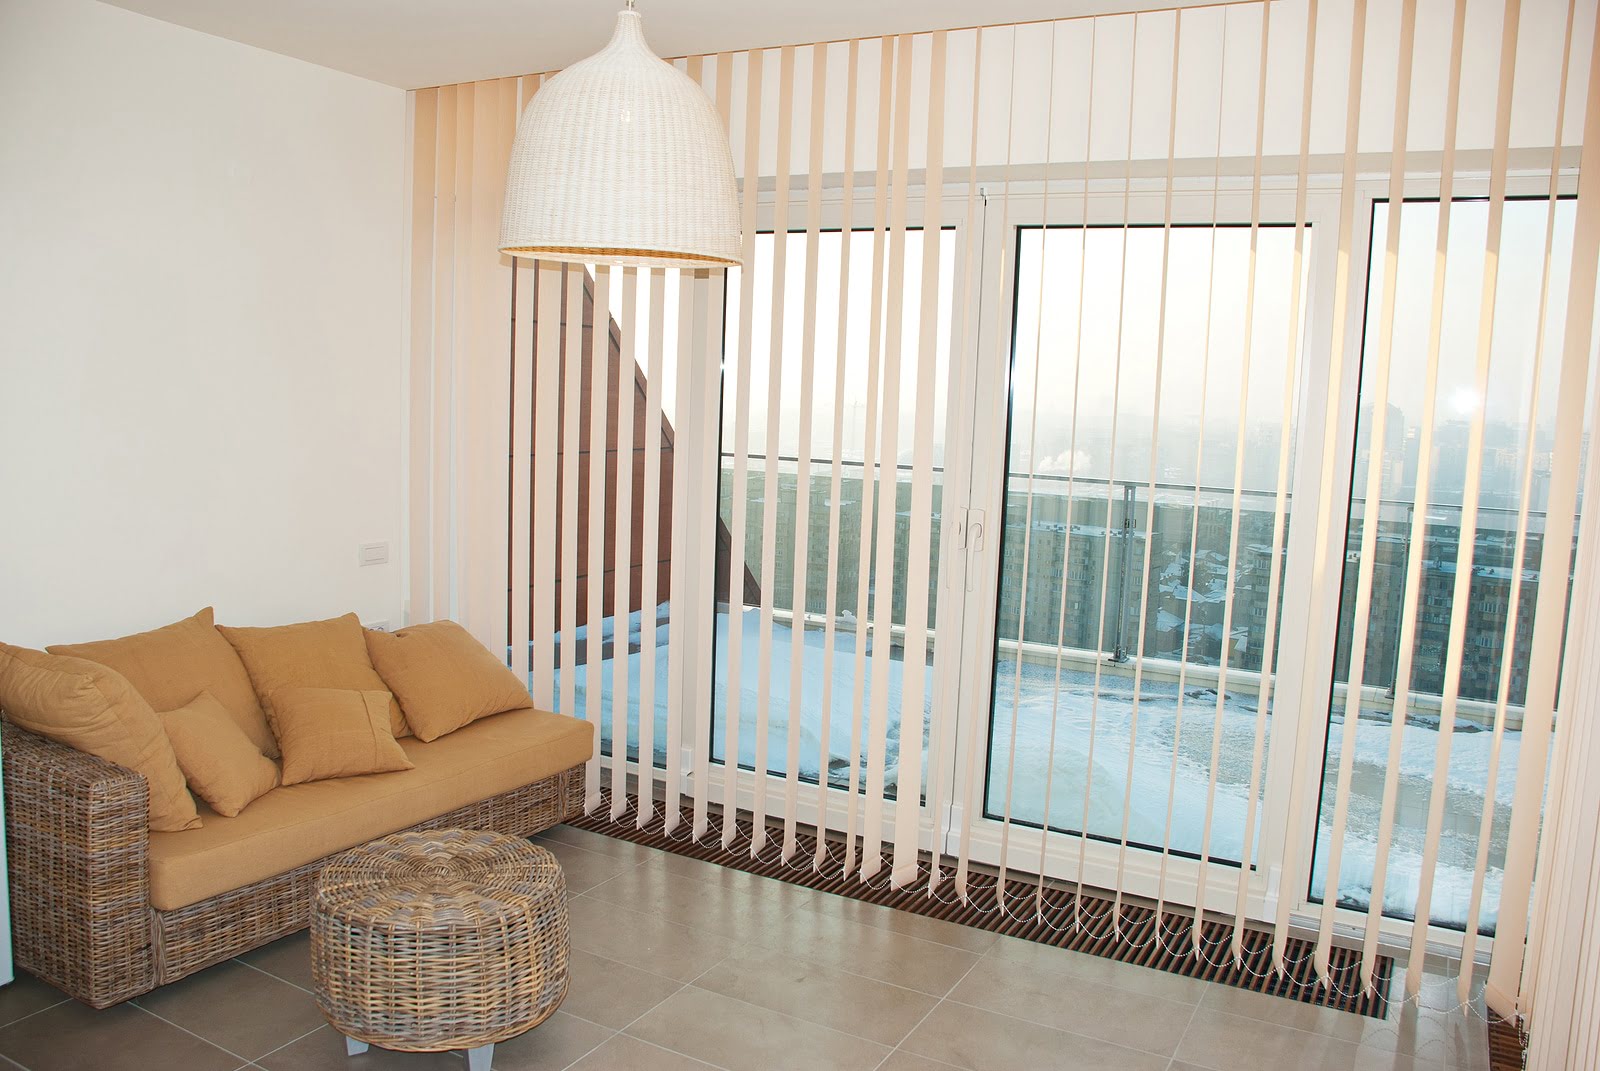
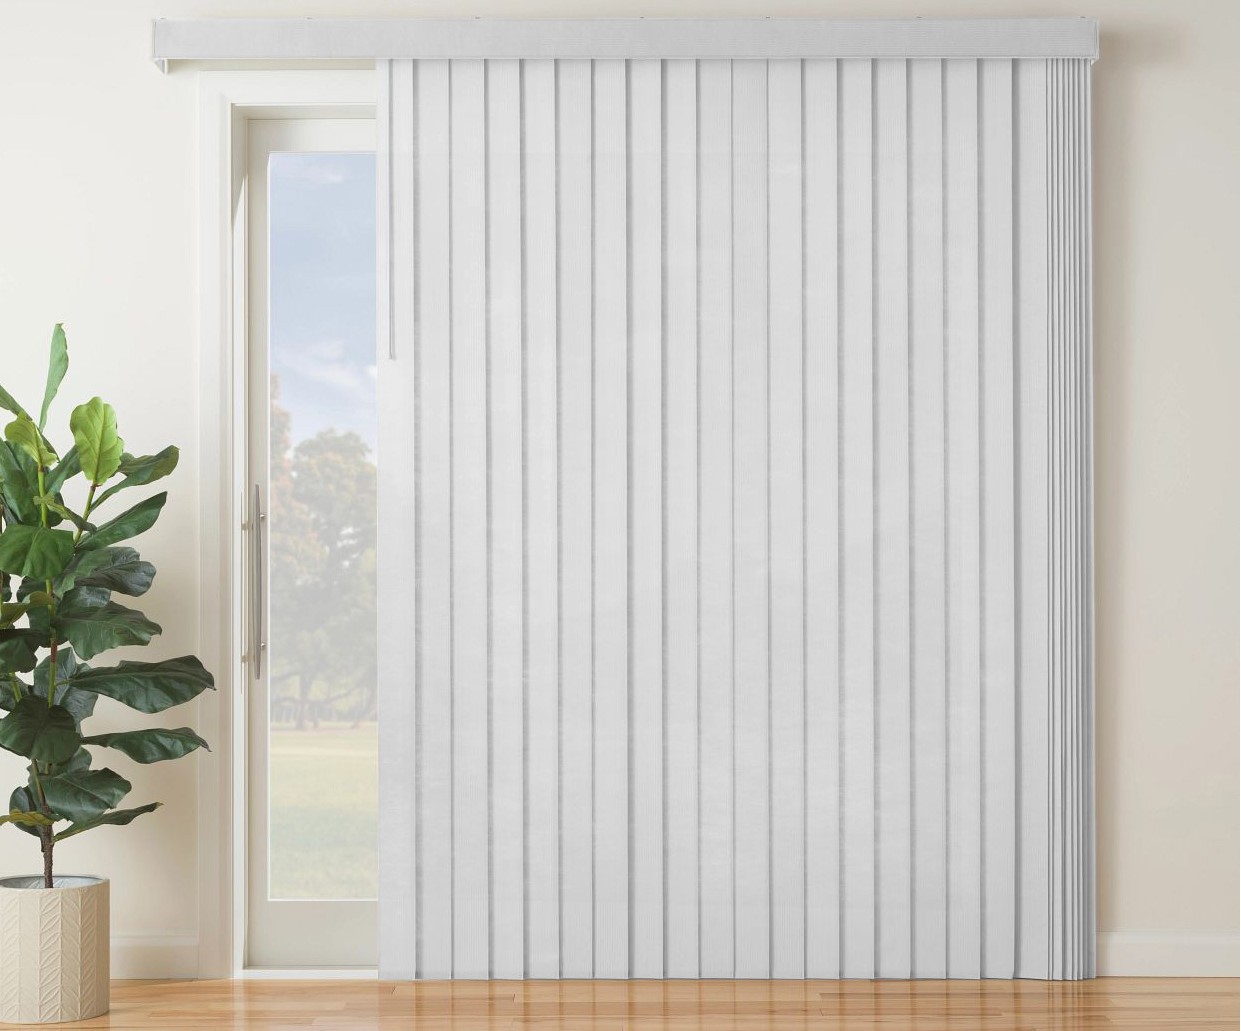
Blinds are a popular window covering option, providing privacy and control over sunlight in our homes. One common issue that homeowners face with blinds is a broken chain. A broken chain can make it difficult or even impossible to open or close the blinds, leaving you with a less functional window covering. However, fixing a blinds chain is a relatively simple task that you can do yourself with just a few tools and some basic know-how.
In this article, we will guide you through the steps to fix a blinds chain, helping you regain the functionality of your window coverings. You don’t need to be an expert or have any specialized skills – just a willingness to tackle the problem and a few common tools. So, let’s get started on restoring your blinds to their former glory!
Key Takeaways:
- Fixing a blinds chain is a simple DIY project that can restore functionality to your window coverings. Identify the issue, gather tools, and follow step-by-step instructions for a satisfying home improvement accomplishment.
- Troubleshooting common problems during the fixing process ensures optimal functionality and longevity for your blinds chain. Patience and attention to detail will help you overcome challenges and enjoy well-operating window coverings.
Read more: How To Fix Chain Link Fence
Step 1: Assess the problem – Identifying the issue with the blinds chain
Before you can fix a broken blinds chain, you need to identify the specific problem. Here are some common issues you may encounter:
- The chain is completely broken or disconnected: This usually happens when the chain has been pulled too hard or has become worn out over time.
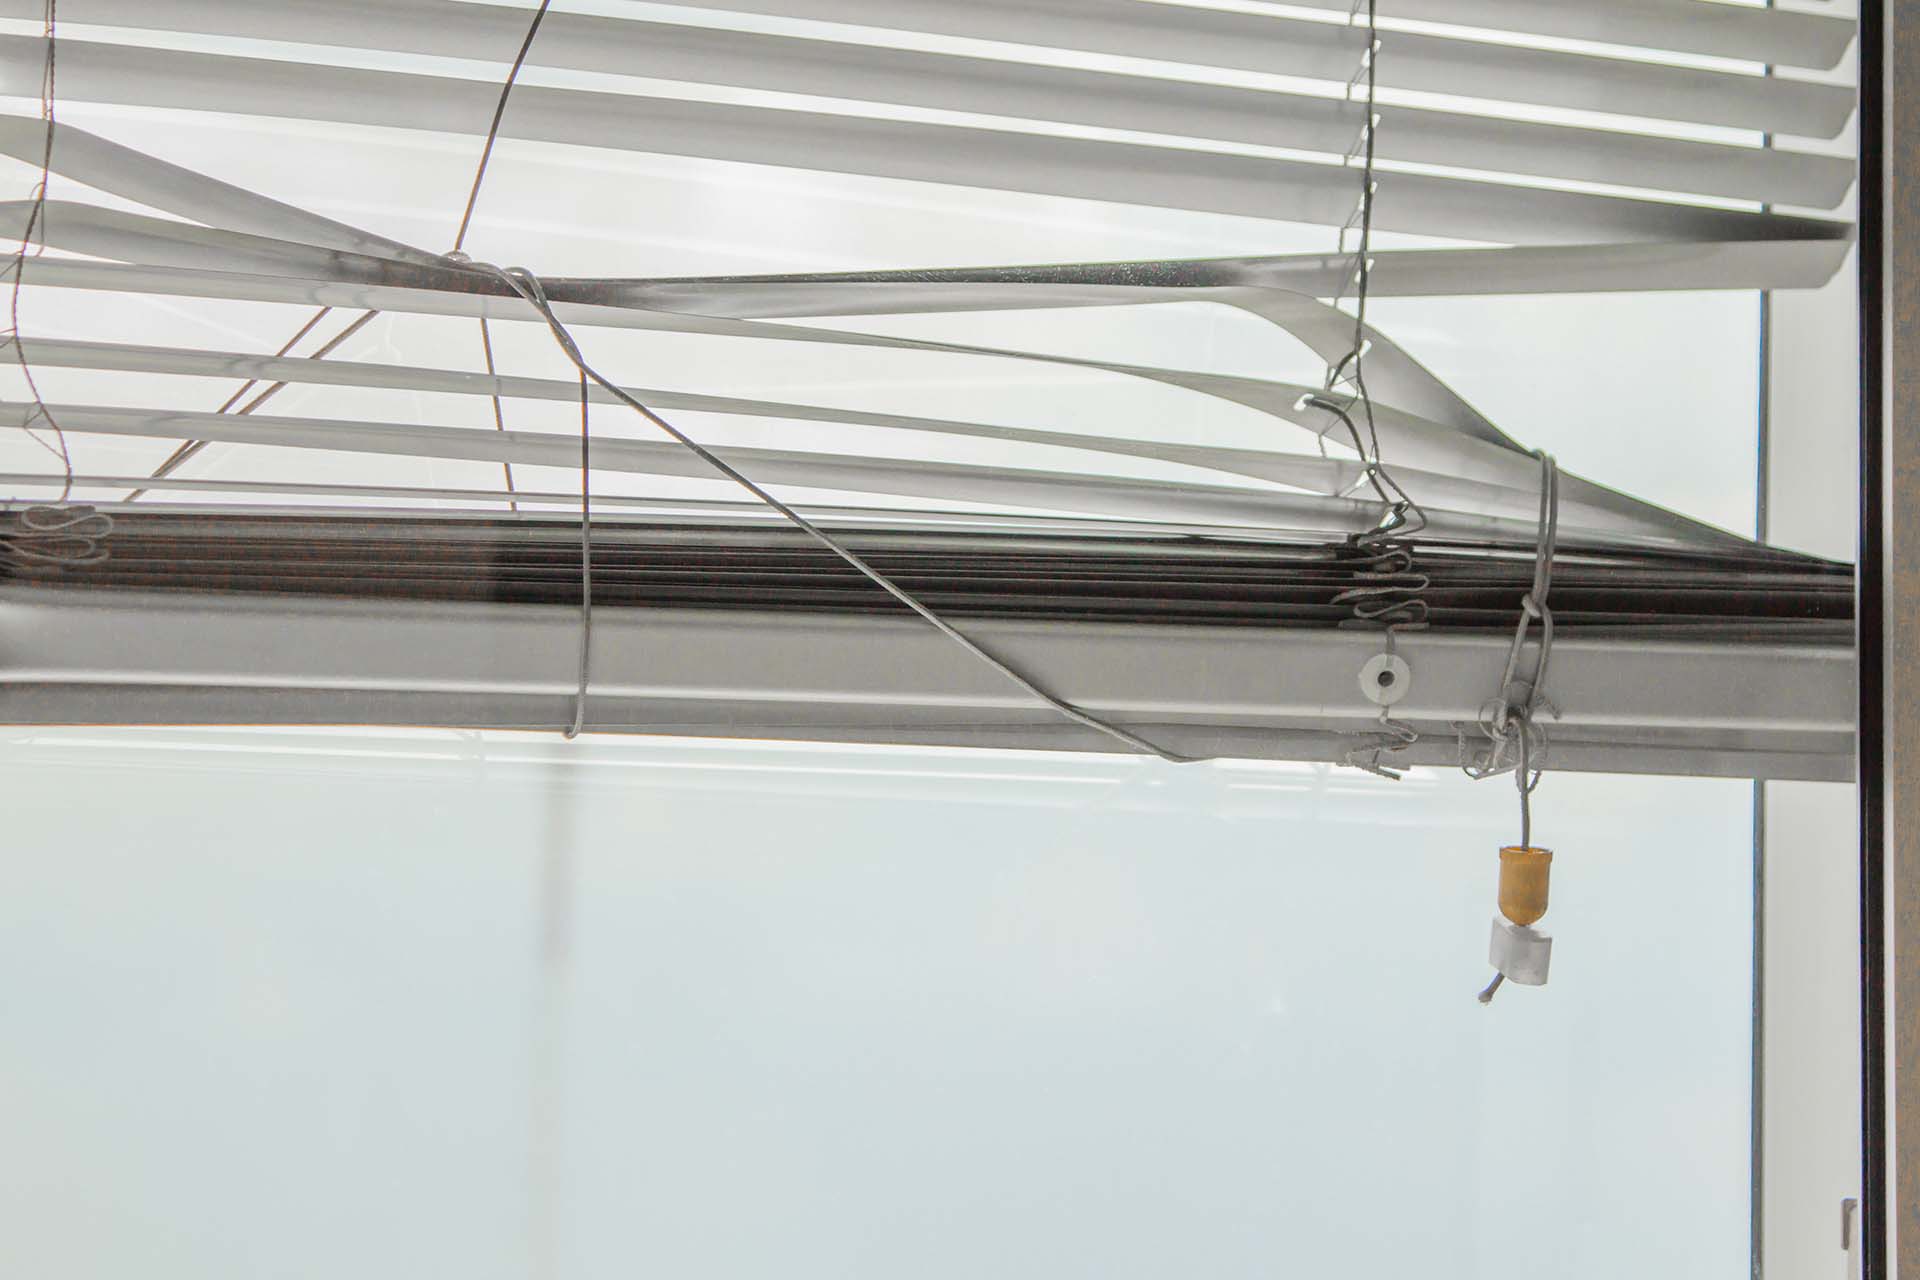
- The chain is tangled or jammed: Sometimes, the chain can get twisted or knotted, making it difficult to move the blinds up or down.
- The chain is stuck or not moving smoothly: If the chain is not gliding smoothly through the pulley system, it can be an issue with dirt, dust, or debris clogging the mechanism.
- The chain is missing a connector or buckle: In some cases, the chain may have come off a connector or buckle that attaches it to the blinds. This can prevent the chain from functioning properly.
By carefully examining the blinds chain, you can determine which of these issues you’re facing. Take a close look at the chain and its connection points to the blinds. If it’s a detachable chain, check if any connectors or buckles are missing or damaged.
Once you have identified the problem, you can proceed with the necessary steps to fix it. Determining the specific issue will also help you gather the appropriate tools and replacement materials.
Remember, each blinds chain design may vary slightly, so it’s essential to understand your specific blinds mechanism. If you’re unsure or have intricate blinds, do some research or contact the manufacturer for guidance.
Step 2: Gather necessary tools – List of tools required for fixing the blinds chain
Before you begin fixing the blinds chain, it’s important to gather the necessary tools. Here’s a list of tools you may need:
- Pliers: Pliers will come in handy for removing the old chain or making adjustments.
- Scissors: You’ll need scissors to cut the new chain to the appropriate length.
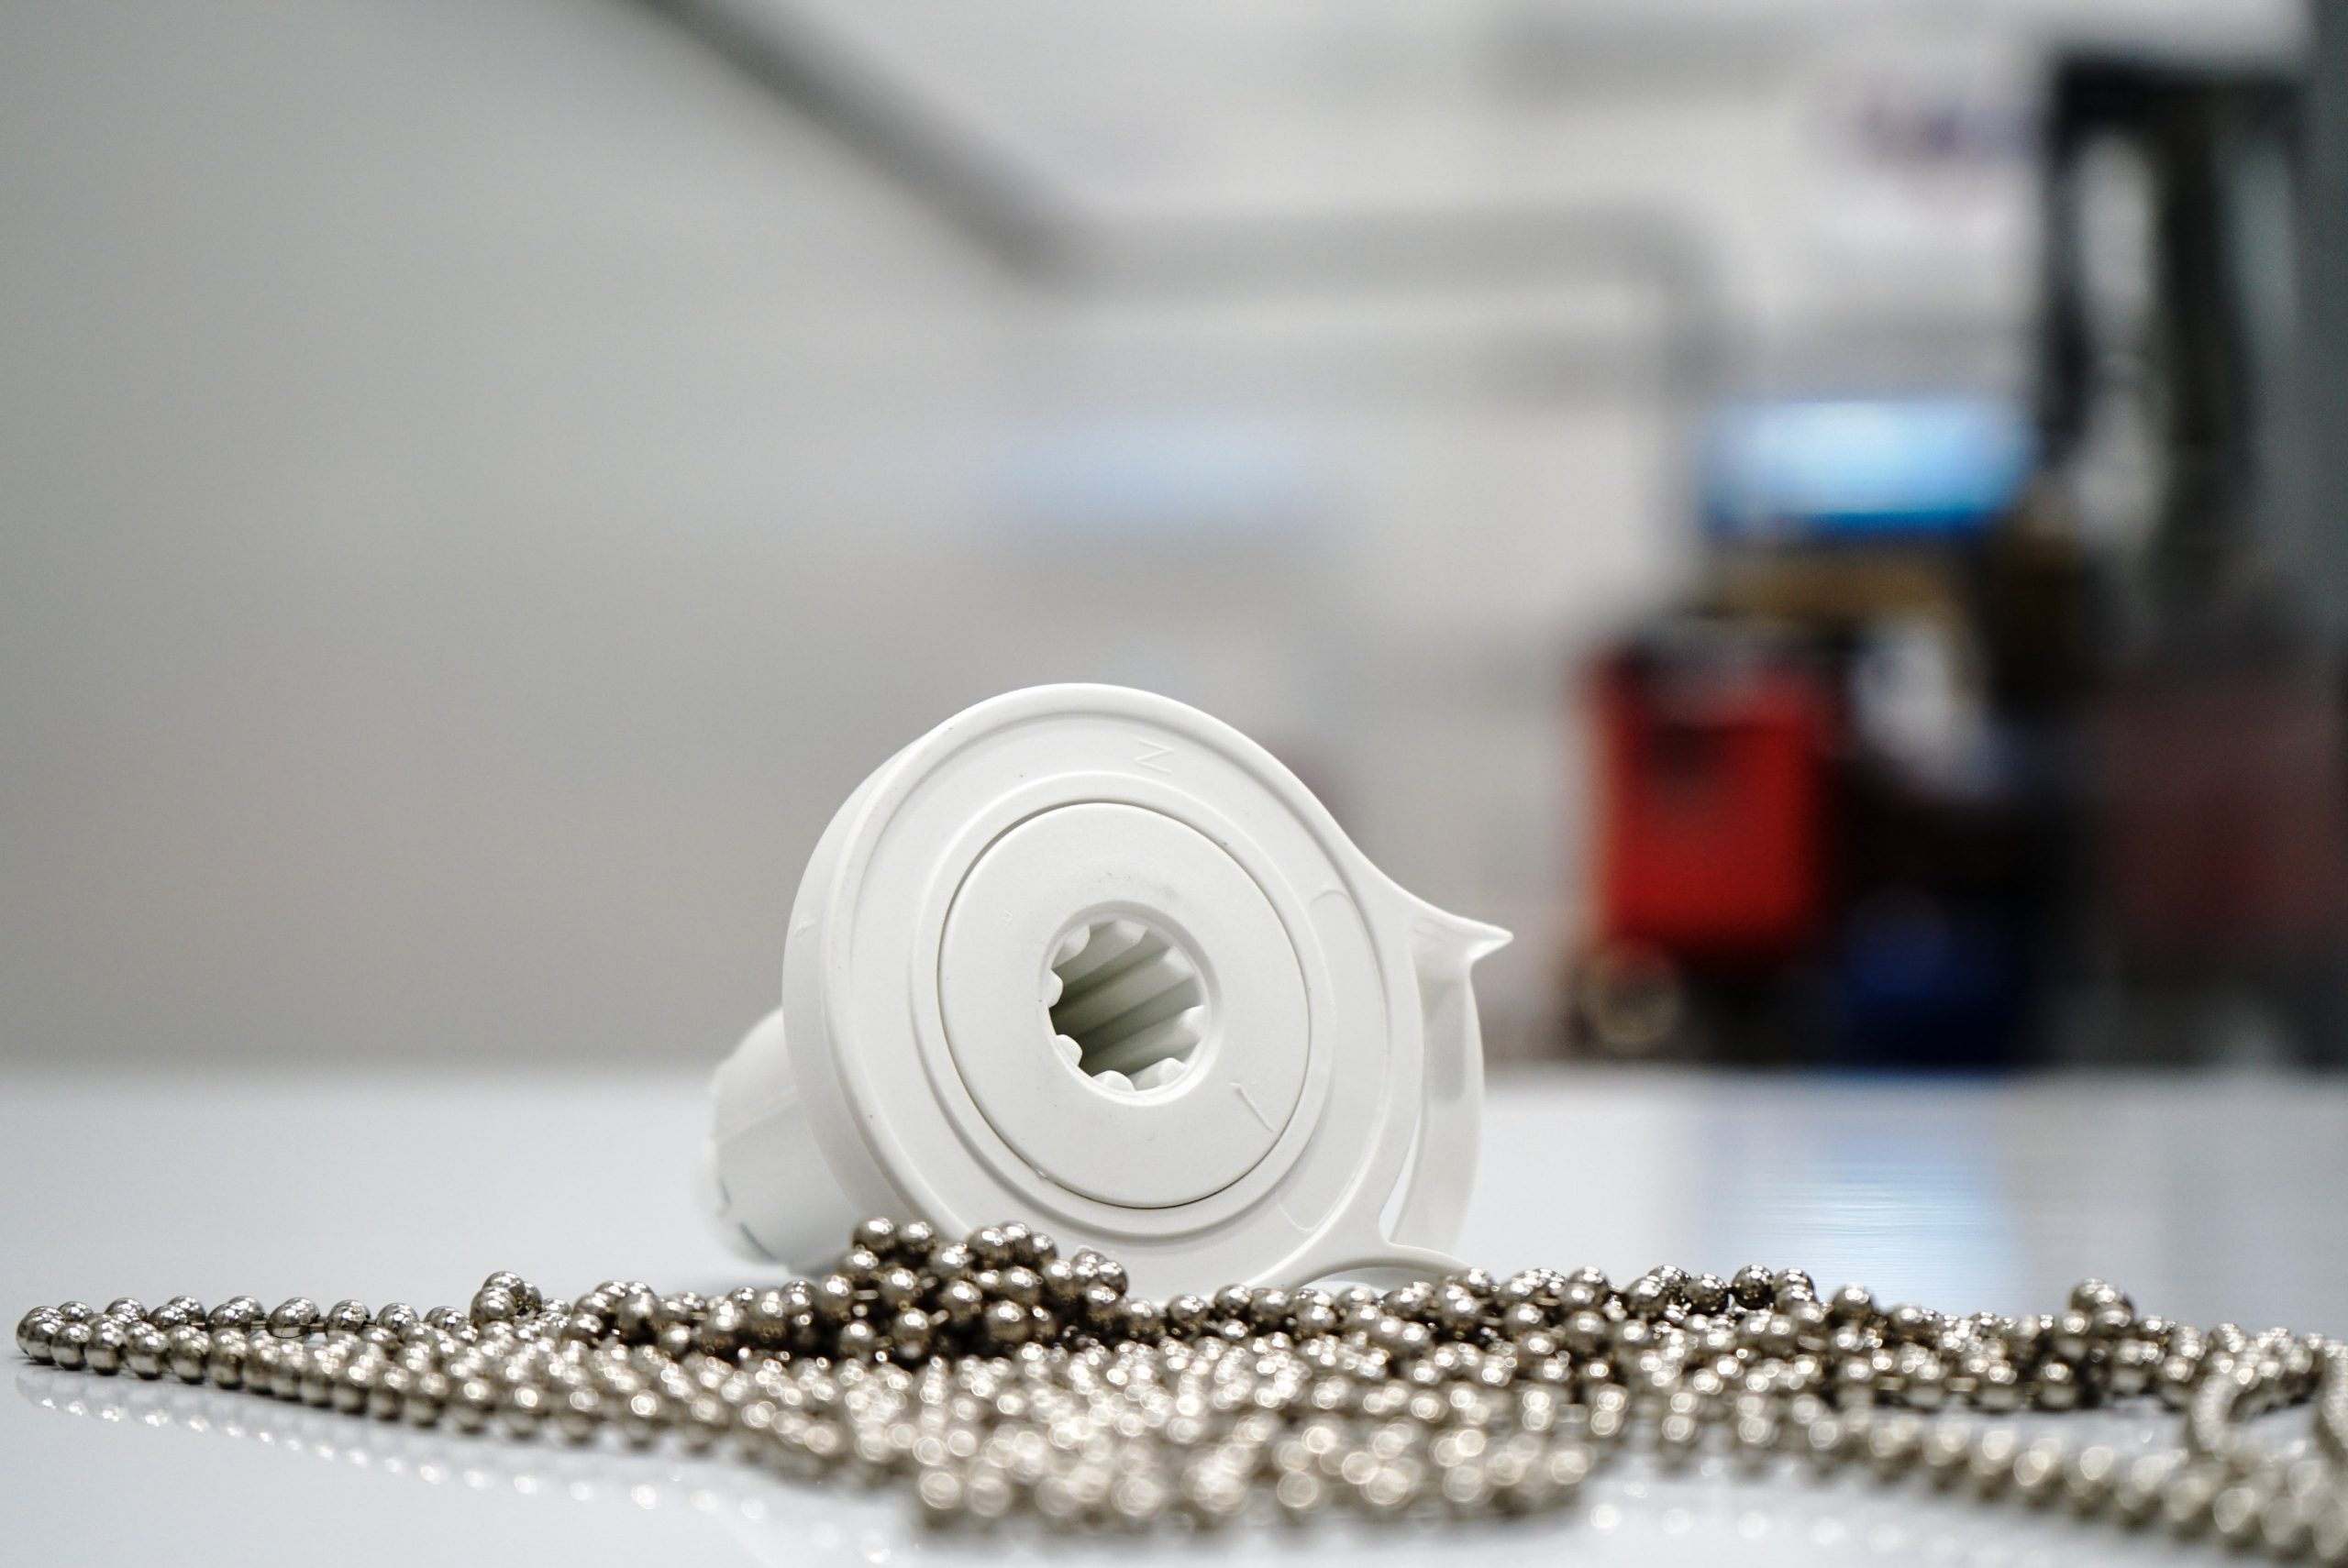
- Replacement chain: Depending on the type of blinds you have, you may need to purchase a specific size and style of replacement chain. Ensure that you measure the length of the old chain to get the correct size.
- Connectors or buckles (if necessary): If your blinds chain connects to the blinds using connectors or buckles, ensure you have extras on hand in case they are damaged or missing.
- Clean cloth or brush: A clean cloth or a small brush will be helpful for cleaning any dirt or debris from the pulley system.
- Step stool or ladder: Depending on the height of your blinds, you may need a step stool or ladder to reach the blinds safely.
Having these tools ready before you start the repair process will save you time and ensure a smoother fixing experience. It’s always a good idea to have extras of any small connectors or buckles, as they can be easily misplaced or damaged during the process.
Remember to work in a well-lit area and keep any small parts in a tray or container to avoid losing them. Additionally, take proper safety precautions, such as using a stable step stool or ladder, to prevent accidents while working on the blinds.
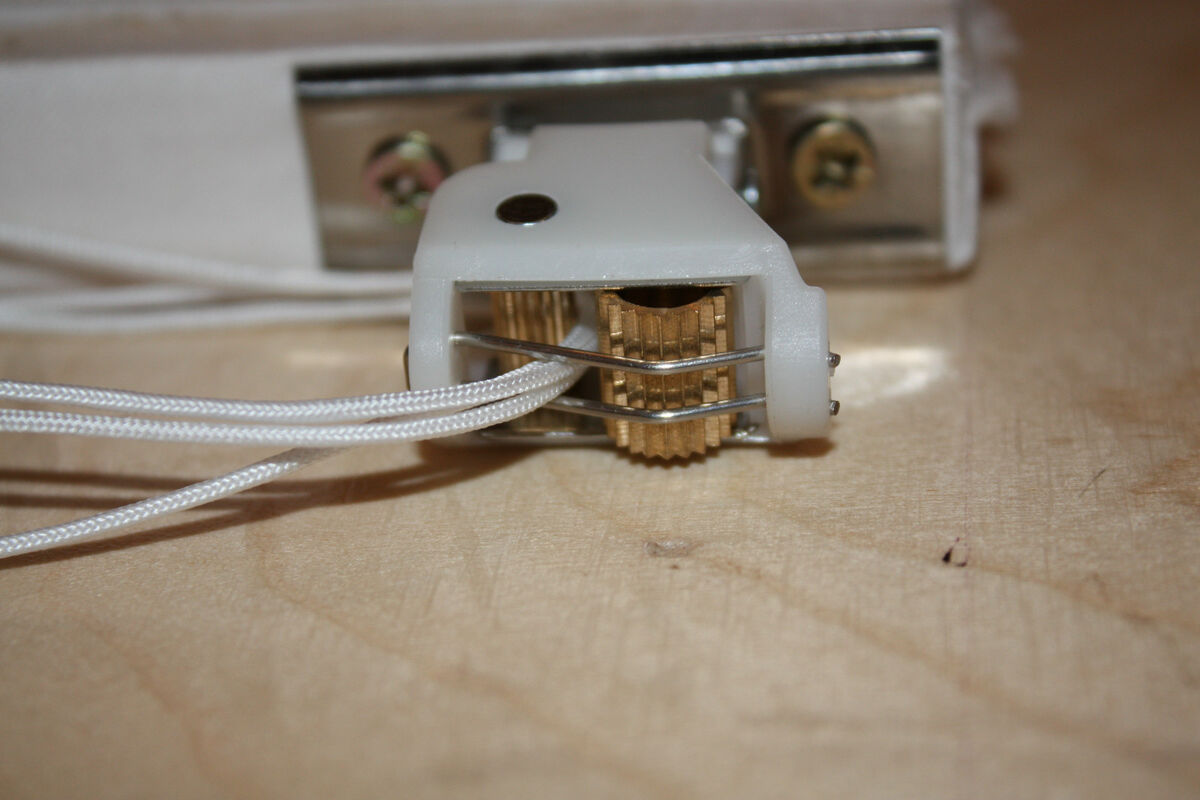
Step 3: Remove broken chain – Instructions to safely remove the old or damaged chain
Now that you have assessed the problem and gathered the necessary tools, it’s time to remove the broken chain from your blinds. Follow these steps to safely remove the old or damaged chain:
- Open the blinds fully: Pull the blinds open completely so that you have easy access to the chain mechanism.
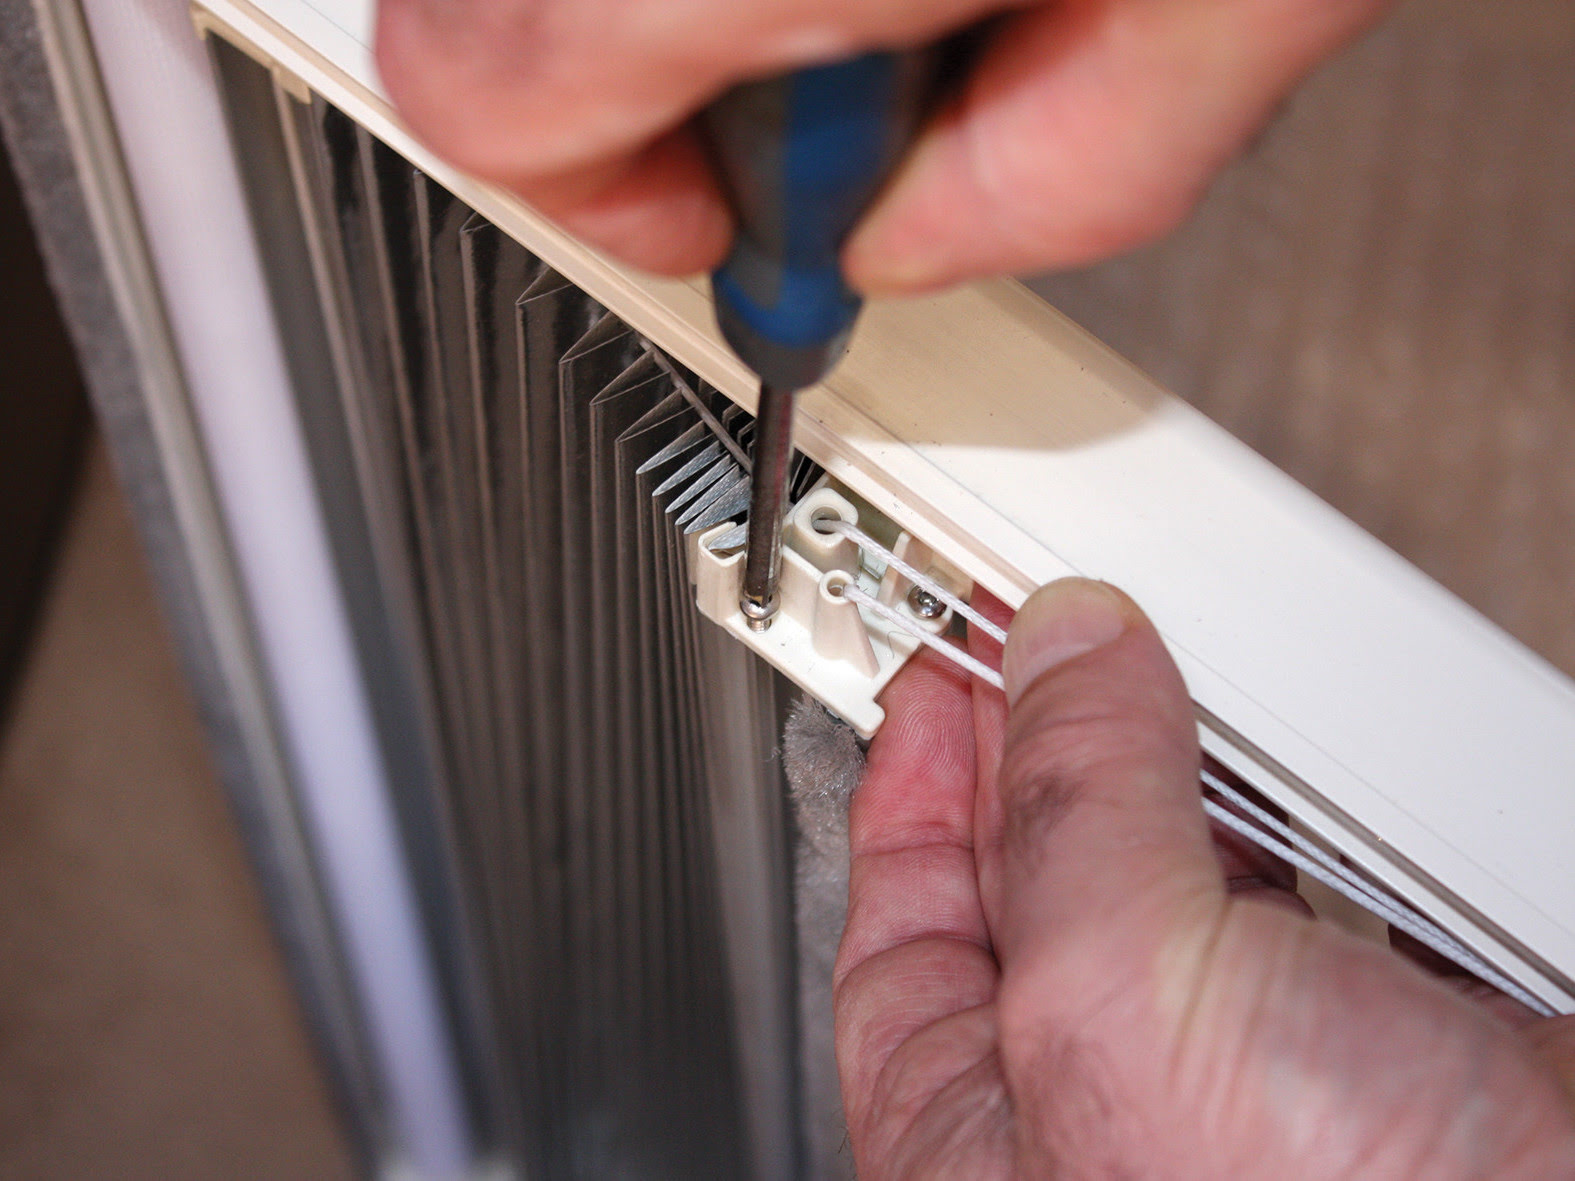
- Locate the connector or buckle: Look for the connector or buckle that attaches the chain to the blinds. It is usually located on the bottom rail of the blinds.
- Detach the chain: Use pliers or your fingers to carefully detach the chain from the connector or buckle. In some cases, you may need to unscrew or unclip the connector to free the chain.
- Inspect the chain: Once the chain is detached, examine it for any additional damage or wear. If it’s just a broken connector or buckle, you can simply replace those components. However, if the chain itself is damaged or frayed, you’ll need to replace it entirely.
- Remove any remaining chain links: If the chain is broken and still connected to other links, remove the excess chain by unhooking the links. Use pliers if necessary.
Be gentle while removing the chain, as excessive force can cause damage to the blinds or other components. If you are having difficulty loosening the connector or buckle, check for any screws or clips that need to be undone.
Once you have successfully removed the old or damaged chain, you can move on to the next step of purchasing a replacement chain.
Step 4: Purchase replacement chain – Tips on finding and buying an appropriate chain for your blinds
After removing the old or damaged chain, it’s time to purchase a replacement chain that matches the specifications of your blinds. Here are some tips to help you find and buy the right chain:
- Measure the length: Use a tape measure to determine the exact length of the old chain. This will ensure that you purchase a replacement chain of the correct size.
- Consider the material: Blinds chains can be made of various materials, including plastic, metal, or fabric. Take note of the material your old chain was made of and choose a replacement chain that matches or is similar in material.
- Check for compatibility: Some blinds chains have specific mechanisms or connectors that are designed to work with a particular type or brand of blinds. Check if there are any compatibility requirements and ensure that the replacement chain you choose is compatible with your blinds.
- Browse online or visit a local store: You can find replacement blinds chains either online or at a local window covering store. Browse through online marketplaces or visit a store that specializes in blinds and shades. Make sure to read product descriptions and customer reviews to ensure the quality and suitability of the replacement chain.
- Consider purchasing extra connectors or buckles: If your blinds chain relies on connectors or buckles to attach to the blinds, it’s a good idea to purchase extras. These small components can be easily lost or damaged, and having spares will come in handy in case you need them in the future.
- Take note of the color: Blinds chains come in various colors to match different blind styles. Choose a replacement chain that matches the color of your existing blinds to maintain a seamless aesthetic.
By following these tips, you can ensure that you find and buy an appropriate replacement chain that will work smoothly with your blinds. Remember to keep the measurements, material, compatibility, and color in mind when making your purchase.
Once you have acquired the replacement chain, you’re ready to move on to the next step of attaching the new chain to your blinds.
If the chain on your blinds is broken, you can easily fix it by replacing the chain with a new one. You can find replacement chains at your local hardware store or online. Simply remove the old chain and thread the new one through the blinds, making sure to secure it properly.
Read more: How To Fix The Pull Chain On A Ceiling Fan
Step 5: Attach new chain – Step-by-step guide on attaching the new chain to the blinds
Now that you have purchased a replacement chain, it’s time to attach it to your blinds. Follow these step-by-step instructions to properly install the new chain:
- Open the blinds: Ensure the blinds are fully open and accessible, allowing you to easily work on the chain mechanism.
- Thread the chain through the pulley system: Starting from the top, carefully thread the new chain through the pulley system of the blinds. Depending on the design of your blinds, you may need to guide the chain along specific paths or grooves.
- Connect the chain to the blinds: Once the chain is threaded through the pulley system, attach it to the connector or buckle on the bottom rail of the blinds. Make sure the chain is securely fastened and aligned with the blinds.
- Test the functionality: Gently pull on the chain to test the movement of the blinds. Ensure that the chain glides smoothly and the blinds open and close as expected. If there are any issues or resistance, double-check the installation to ensure it’s done correctly.
- Trim the excess chain (if necessary): If the new chain is longer than needed, use scissors to carefully trim the excess length. Leave a little extra length to allow for future adjustments if required.
It’s crucial to be patient and gentle while attaching the new chain, as rough handling can cause damage to the blinds or the chain mechanism. Take your time to ensure that the chain is properly aligned and securely attached.
If you encounter any difficulties during the installation process, refer to the manufacturer’s instructions or seek assistance from a professional. It’s better to get it done correctly to avoid any further complications.
Once you have successfully attached the new chain, move on to the next step of testing the functionality of your blinds.
Step 6: Test the functionality – Testing the blinds chain to ensure it is working properly
After attaching the new chain to your blinds, it’s essential to test its functionality to ensure that everything is working smoothly. Follow these steps to test the blinds chain:
- Close the blinds: Gently pull the chain in the direction that closes the blinds. The blinds should smoothly and evenly lower as you pull the chain.
- Open the blinds: Pull the chain in the opposite direction to open the blinds. Again, the blinds should raise steadily and evenly.
- Observe the movement: Pay attention to the movement of the blinds as you open and close them. The blinds should move without any dragging or resistance. If you notice any uneven movement or difficulties in operation, it may indicate an issue with the installation or the new chain.
- Check for tangles or snags: While testing the blinds, keep an eye out for any tangles or snags in the chain. If the chain encounters any obstacles or gets stuck, it may need adjustment or further examination.
- Listen for any unusual sounds: As you operate the blinds, listen for any unusual sounds like grinding, scraping, or clicking noises. Unusual sounds may suggest a problem with the chain or the blinds mechanism.
If the blinds chain is functioning properly and the blinds open and close smoothly, congratulations! You have successfully fixed the blinds chain. However, if you encounter any issues, it’s important to troubleshoot and address them promptly.
If you notice any problems with the functionality or encounter difficulties during the testing phase, consider reviewing the previous steps to make sure the chain is properly attached and aligned. You may also need to consult the manufacturer’s instructions or seek professional assistance if the issue persists.
Taking the time to thoroughly test the functionality of the blinds chain ensures that your window coverings are fully operational and will serve their purpose effectively.
Step 7: Troubleshooting – Common problems and solutions that may arise during the fixing process
During the process of fixing a blinds chain, you may encounter some common issues or challenges. Here are a few troubleshooting tips to help you overcome these problems:
- Chain won’t thread through the pulley system: If you’re having trouble threading the new chain through the pulley system, check for any obstructions such as dirt, debris, or knots. Use a clean cloth or a small brush to carefully remove any blockages. If the pulley system is damaged or malfunctioning, you may need to consult a professional for repair.
- Chain is still tangled or jammed: If the new chain is still tangled or jammed after installation, carefully inspect the pulley system and guide the chain along the correct path. If necessary, remove the chain and untangle any knots or twists before reattaching it.
- Chain slips out of the connector or buckle: If the chain easily comes off the connector or buckle, ensure that it is securely fastened. In some cases, the connector or buckle may be damaged or worn out, in which case you’ll need to replace it with a new one.
- Blinds don’t move smoothly or evenly: If the blinds don’t open or close smoothly, check if there are any obstructions or tangles in the chain or pulley system. Ensure that the chain is properly aligned and not dragging against anything. If the issue persists, there may be an underlying problem with the blinds mechanism that requires professional attention.
- Chain is too short or too long: If the new chain is not the correct length, you may need to adjust it. If it’s too short, you might need to purchase a longer replacement chain. If it’s too long, trim the excess chain carefully using scissors, leaving enough additional length for future adjustments if needed.
Remember, troubleshooting may require patience and attention to detail. Double-check each step of the installation process and make sure everything is aligned and functioning correctly. If you’re unsure about any aspect of the troubleshooting process or encounter persistent issues, don’t hesitate to seek advice from a professional or the manufacturer of your blinds.
By troubleshooting and addressing any problems that arise, you can ensure that your blinds chain is in optimal working condition, providing you with many years of functional and stylish window coverings.
Conclusion
Fixing a blinds chain may seem daunting at first, but with the right approach, tools, and instructions, it can be a simple and rewarding DIY project. By following the steps outlined in this article, you can successfully restore the functionality of your blinds and enjoy a well-operating window covering once again.
Remember to start by assessing the problem and identifying the specific issue with the blinds chain. Gather the necessary tools, including pliers, scissors, replacement chain, connectors or buckles, and a clean cloth or brush. Take the time to safely remove the old or damaged chain, making note of any additional parts that may need to be replaced.
Next, purchase a replacement chain that matches the length, material, and compatibility required for your blinds. Attach the new chain carefully, threading it through the pulley system and connecting it securely to the blinds. Test the functionality of the blinds, ensuring smooth and even movement as you open and close them.
If you encounter any challenges during the fixing process, troubleshooting techniques can help you overcome common issues. Check for obstructions, adjust the chain length if necessary, and address any tangles or jams that may occur.
By taking the time to fix your blinds chain, you can save money on professional repairs and avoid the inconvenience of a malfunctioning window covering. Plus, it’s a satisfying accomplishment to tackle a home improvement task yourself.
Remember, if you ever feel unsure or uncomfortable with any step of the process, consult a professional or contact the manufacturer for guidance. Your safety and satisfaction are paramount.
Enjoy the benefits of your revived blinds, basking in the improved functionality and aesthetics they bring to your home!
Frequently Asked Questions about How To Fix Blinds Chain
Was this page helpful?
At Storables.com, we guarantee accurate and reliable information. Our content, validated by Expert Board Contributors, is crafted following stringent Editorial Policies. We're committed to providing you with well-researched, expert-backed insights for all your informational needs.


0 thoughts on “How To Fix Blinds Chain”