Articles
How To Fix Shutter Blinds
Modified: December 7, 2023
Looking for articles on how to fix your shutter blinds? Check out our comprehensive guide for step-by-step instructions and expert tips!
(Many of the links in this article redirect to a specific reviewed product. Your purchase of these products through affiliate links helps to generate commission for Storables.com, at no extra cost. Learn more)
Introduction
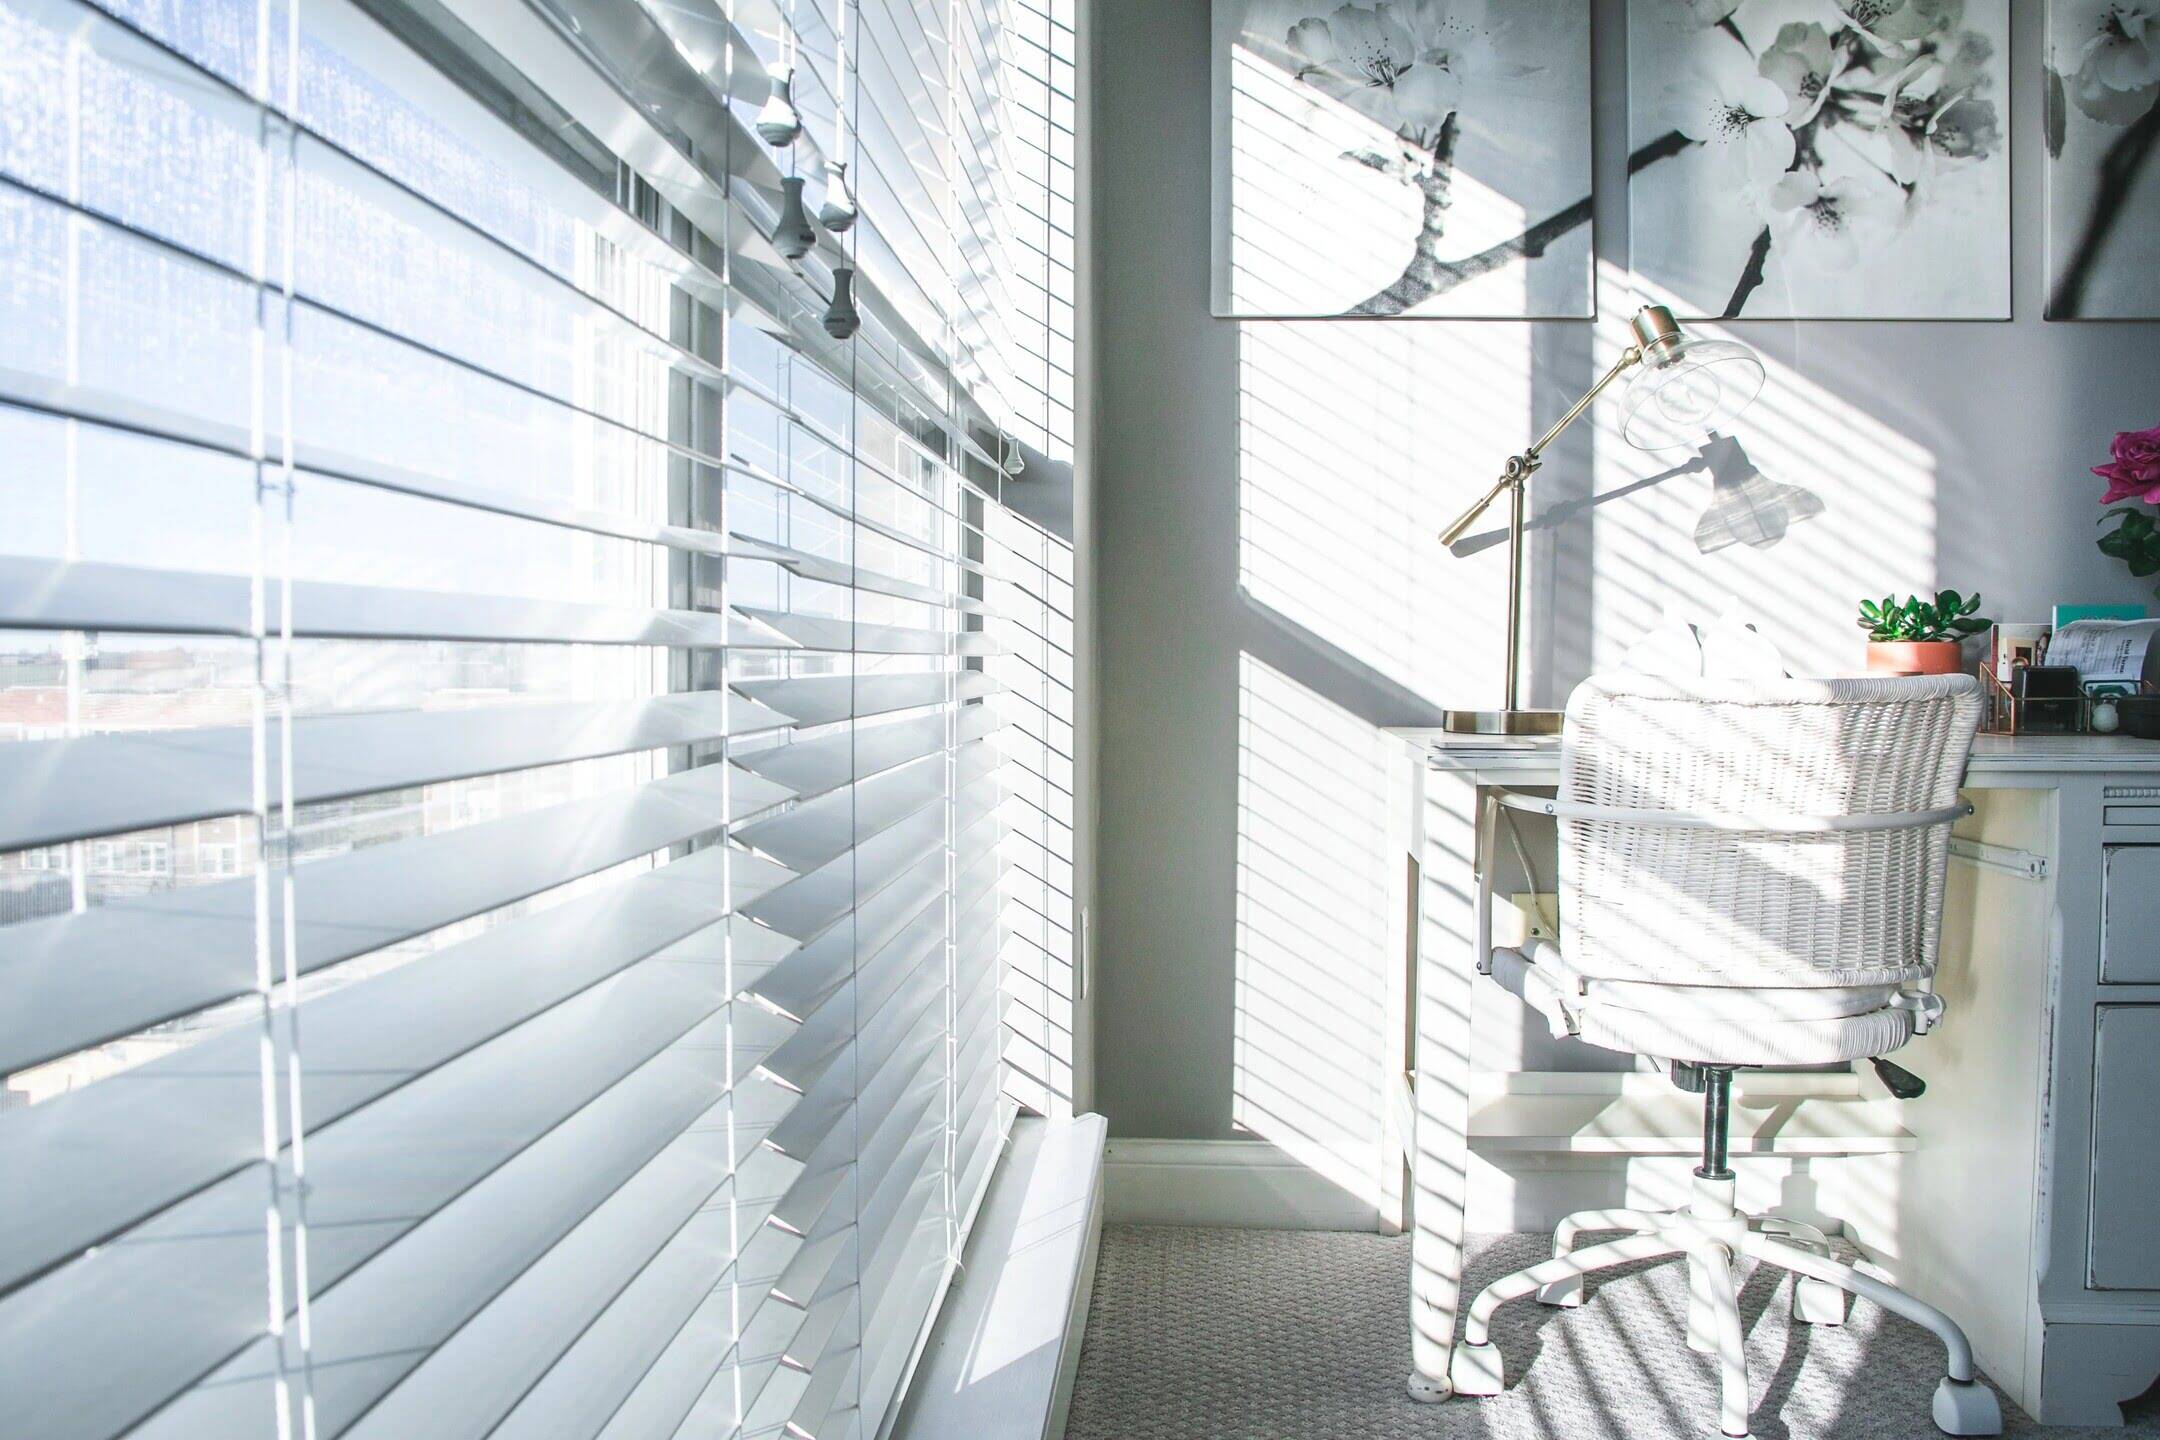
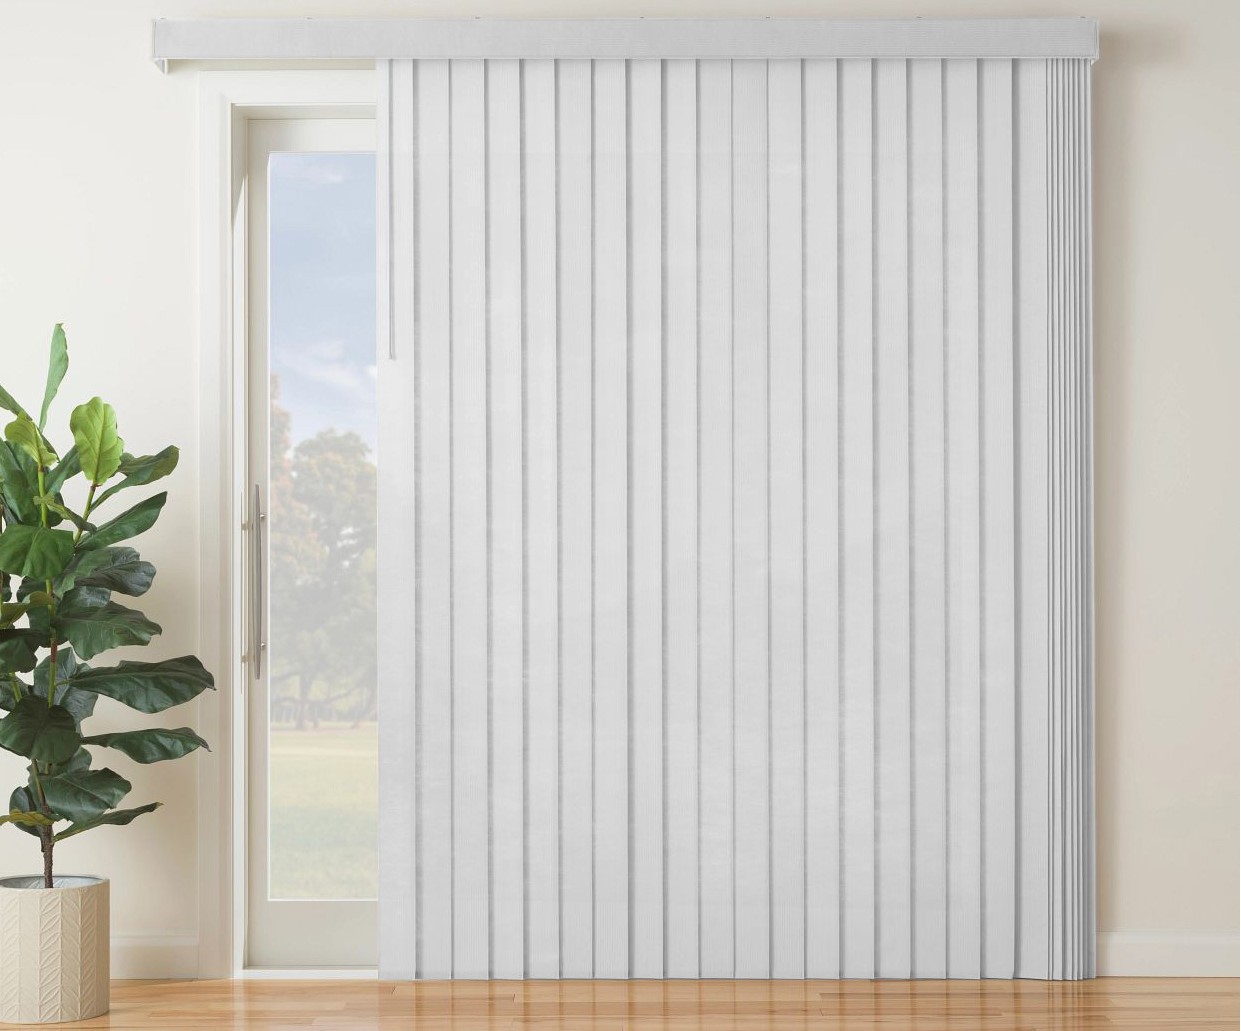
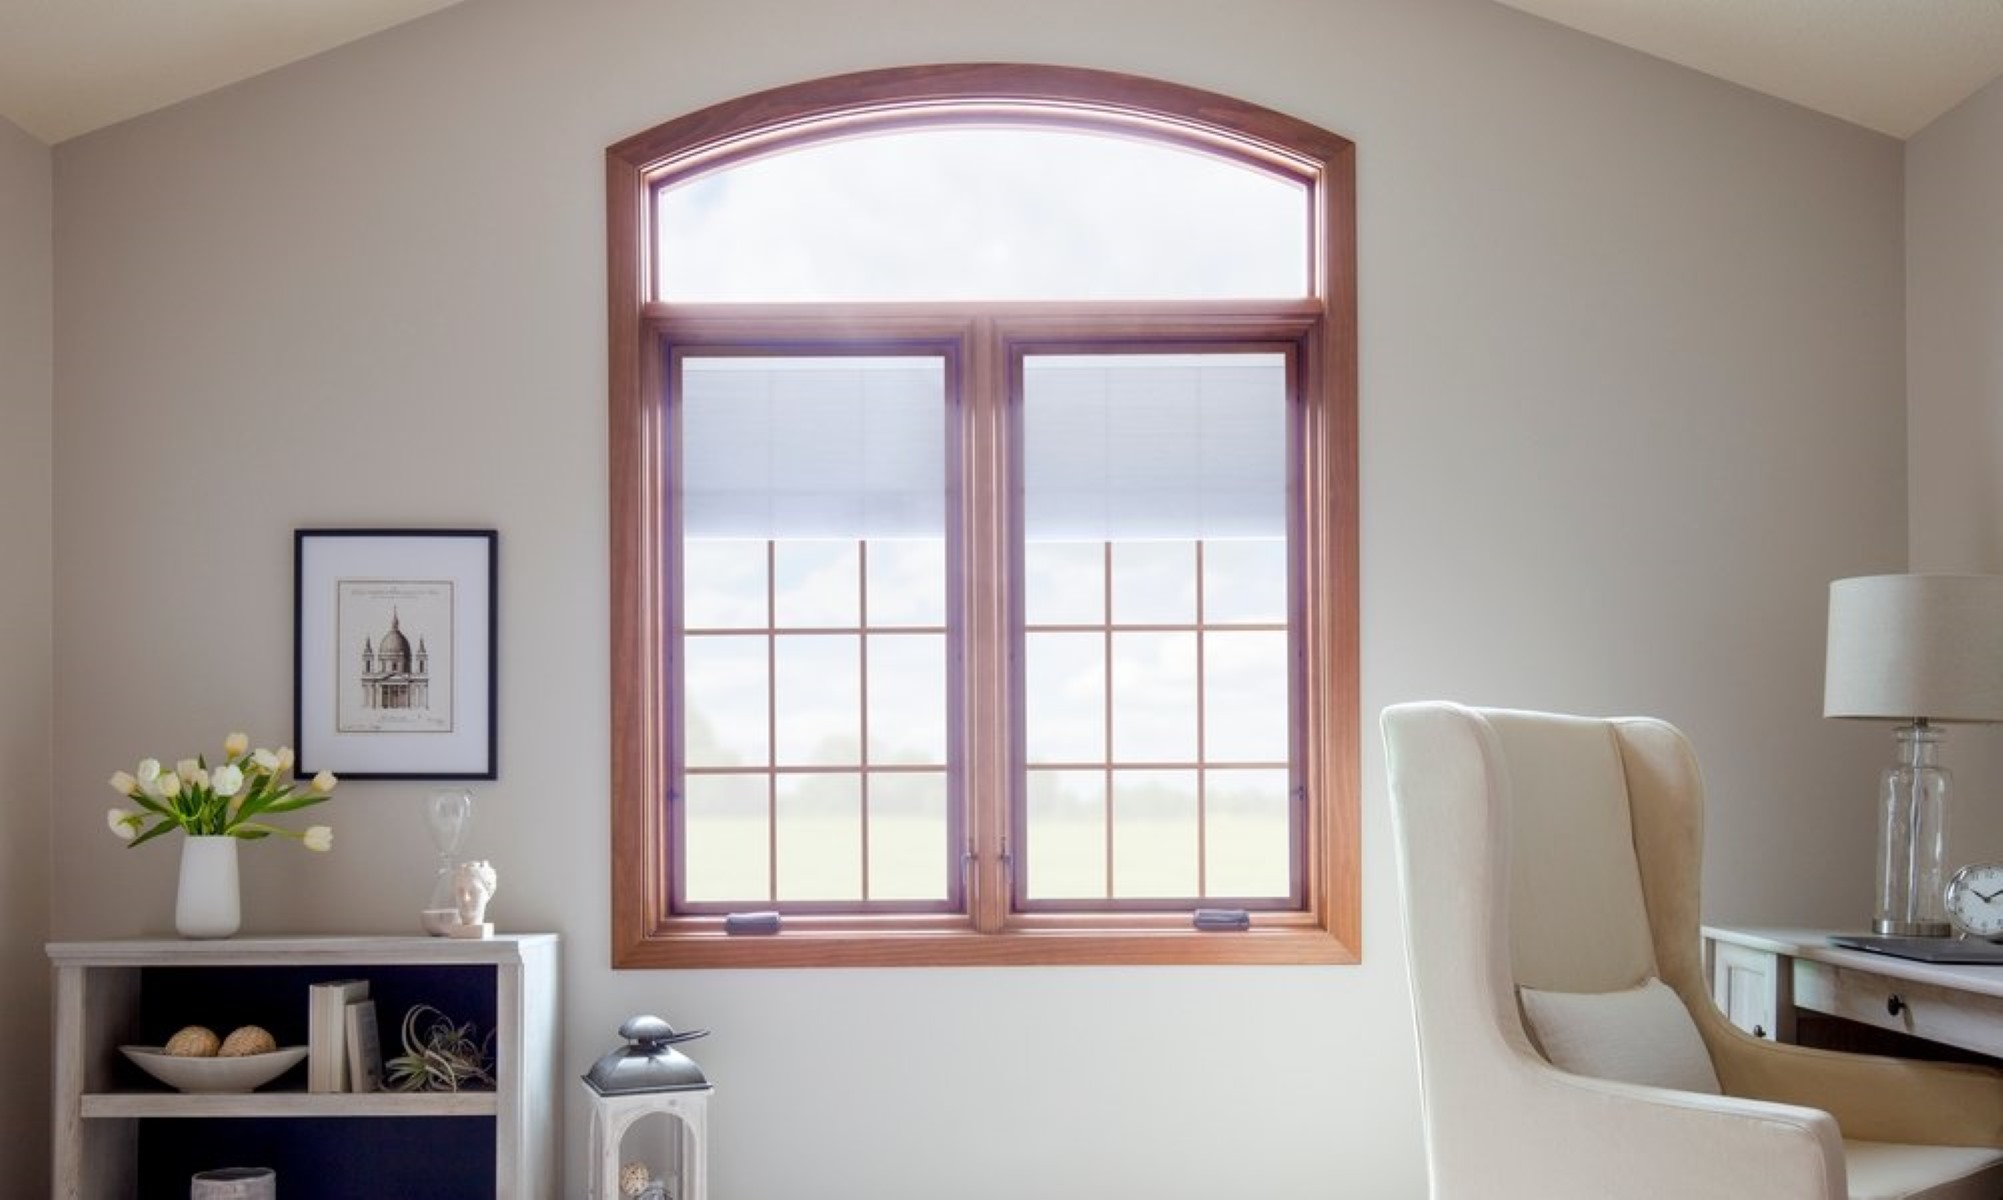
Shutter blinds are a popular and stylish window covering option that can add beauty and function to any home. However, like any other home component, shutter blinds can experience issues over time. From broken slats to faulty mechanisms, these problems can affect the overall functionality and appearance of your blinds.
But don’t worry! If you’re facing issues with your shutter blinds, you can fix them yourself with a little bit of time and effort. In this article, we will guide you through the process of fixing shutter blinds step-by-step, so you can restore them to their former glory and enjoy the benefits they provide.
Before we dive into the details, it’s important to note that the specific steps may vary depending on the type and brand of shutter blinds you have. It’s always a good idea to consult the manufacturer’s instructions or seek professional advice if you’re unsure about any aspect of the repair process.
Now, let’s get started and learn how to fix your shutter blinds!
Key Takeaways:
- Assess the problem thoroughly before fixing your shutter blinds to determine the extent of repairs needed and gather the necessary tools and materials for a smooth and efficient repair process.
- Regular cleaning and maintenance are essential to keep your shutter blinds in top condition, prolong their lifespan, and ensure optimal functionality for years to come.
Read more: How To Clean Shutter Blinds
Step 1: Assess the Problem
The first step in fixing your shutter blinds is to assess the problem. Take a close look at your blinds and identify any issues or areas that require attention. Common problems include broken or damaged slats, misaligned or stuck mechanisms, and loose or missing components.
Start by inspecting the slats. Check for any cracks, chips, or signs of wear and tear. If you notice any broken slats, make a note of how many need to be replaced. Additionally, check if any slats are misaligned or not sitting flush with the others.
Next, examine the mechanisms that control the movement of the blinds. Operate the tilt mechanism to ensure it moves smoothly and evenly. Test the lifting and lowering mechanism to see if it functions properly without any hesitation or resistance.
If you notice any loose or missing components, such as screws, brackets, or clips, make a note of them as well. These may need to be replaced or tightened to ensure the stability of your shutter blinds.
Assessing the problem thoroughly at this stage will help you determine the extent of the repairs needed and enable you to gather the necessary tools and materials for the job.
Step 2: Gather Necessary Tools
Once you have assessed the problem with your shutter blinds, it’s time to gather the necessary tools to fix them. Having the right tools on hand will streamline the repair process and ensure that you can tackle the job effectively. Here are some essential tools you may need:
- Screwdriver: A screwdriver with the appropriate head (flat or Phillips) will be needed to remove screws and fasteners.
- Pliers: Pliers can be useful for gripping and manipulating small components, such as clips or connectors.
- Replacement Slats: If you have identified broken or damaged slats during the assessment, make sure to have replacement slats that match the color and style of your existing blinds.
- Replacement Components: If any brackets, clips, or screws are missing or damaged, make sure you have suitable replacements.
- Tape Measure: A tape measure will help you accurately measure the length and width of the slats, if replacements are needed.
- Ladder or Step Stool: Depending on the height of your window, you may need a ladder or step stool to safely access the shutter blinds.
- Cleaning Supplies: Before reassembling the blinds, it’s a great opportunity to give them a thorough cleaning. Gather some mild detergent, water, and a soft cloth or sponge to clean the slats and other surfaces.
Ensure that you have all the necessary tools and replacement components before you begin the repair process. This will save you time and frustration and allow you to work efficiently to fix your shutter blinds.
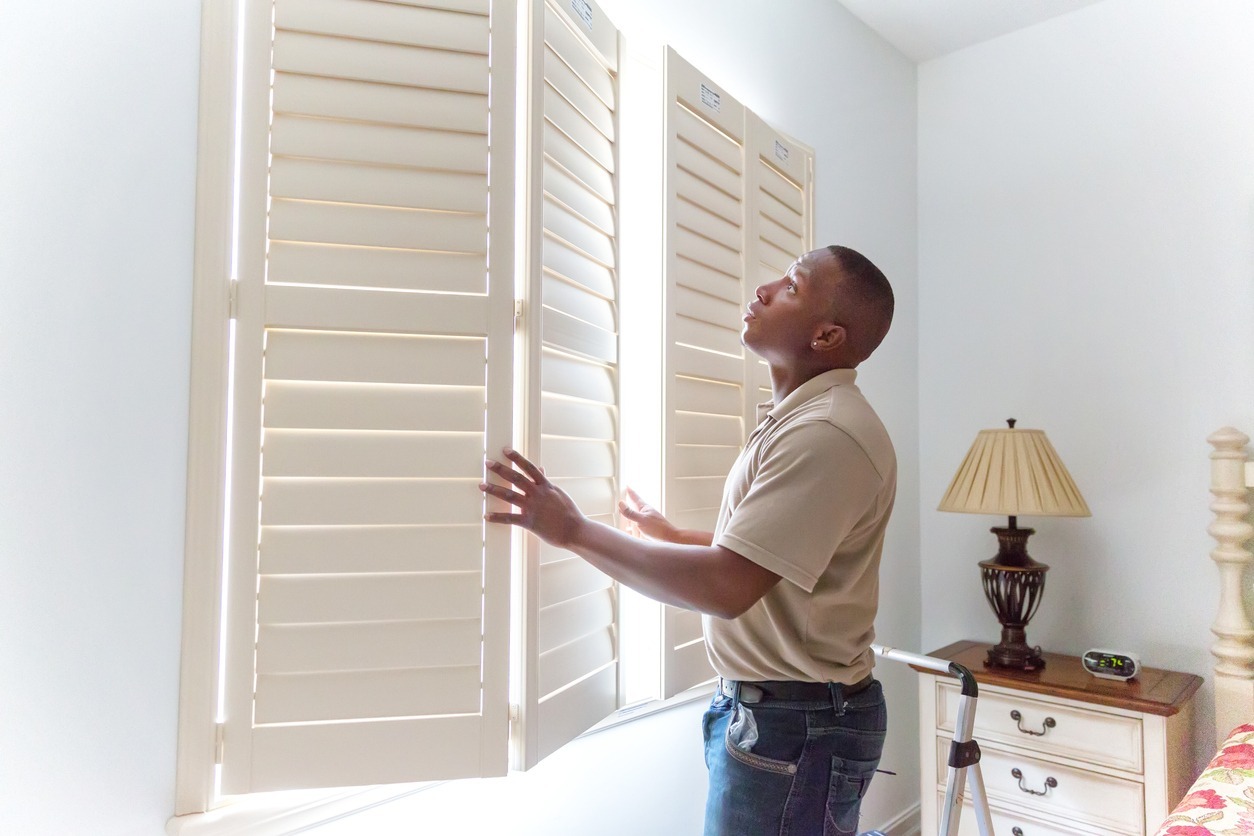
Step 3: Remove the Slats
With the necessary tools at hand, you can now proceed to remove the slats from your shutter blinds. This step is necessary if you need to replace damaged slats or if you want to access and repair the mechanisms behind them. Here’s how to remove the slats:
- Start by tilting the slats to the fully closed position. This will allow you to easily access the components that hold the slats in place.
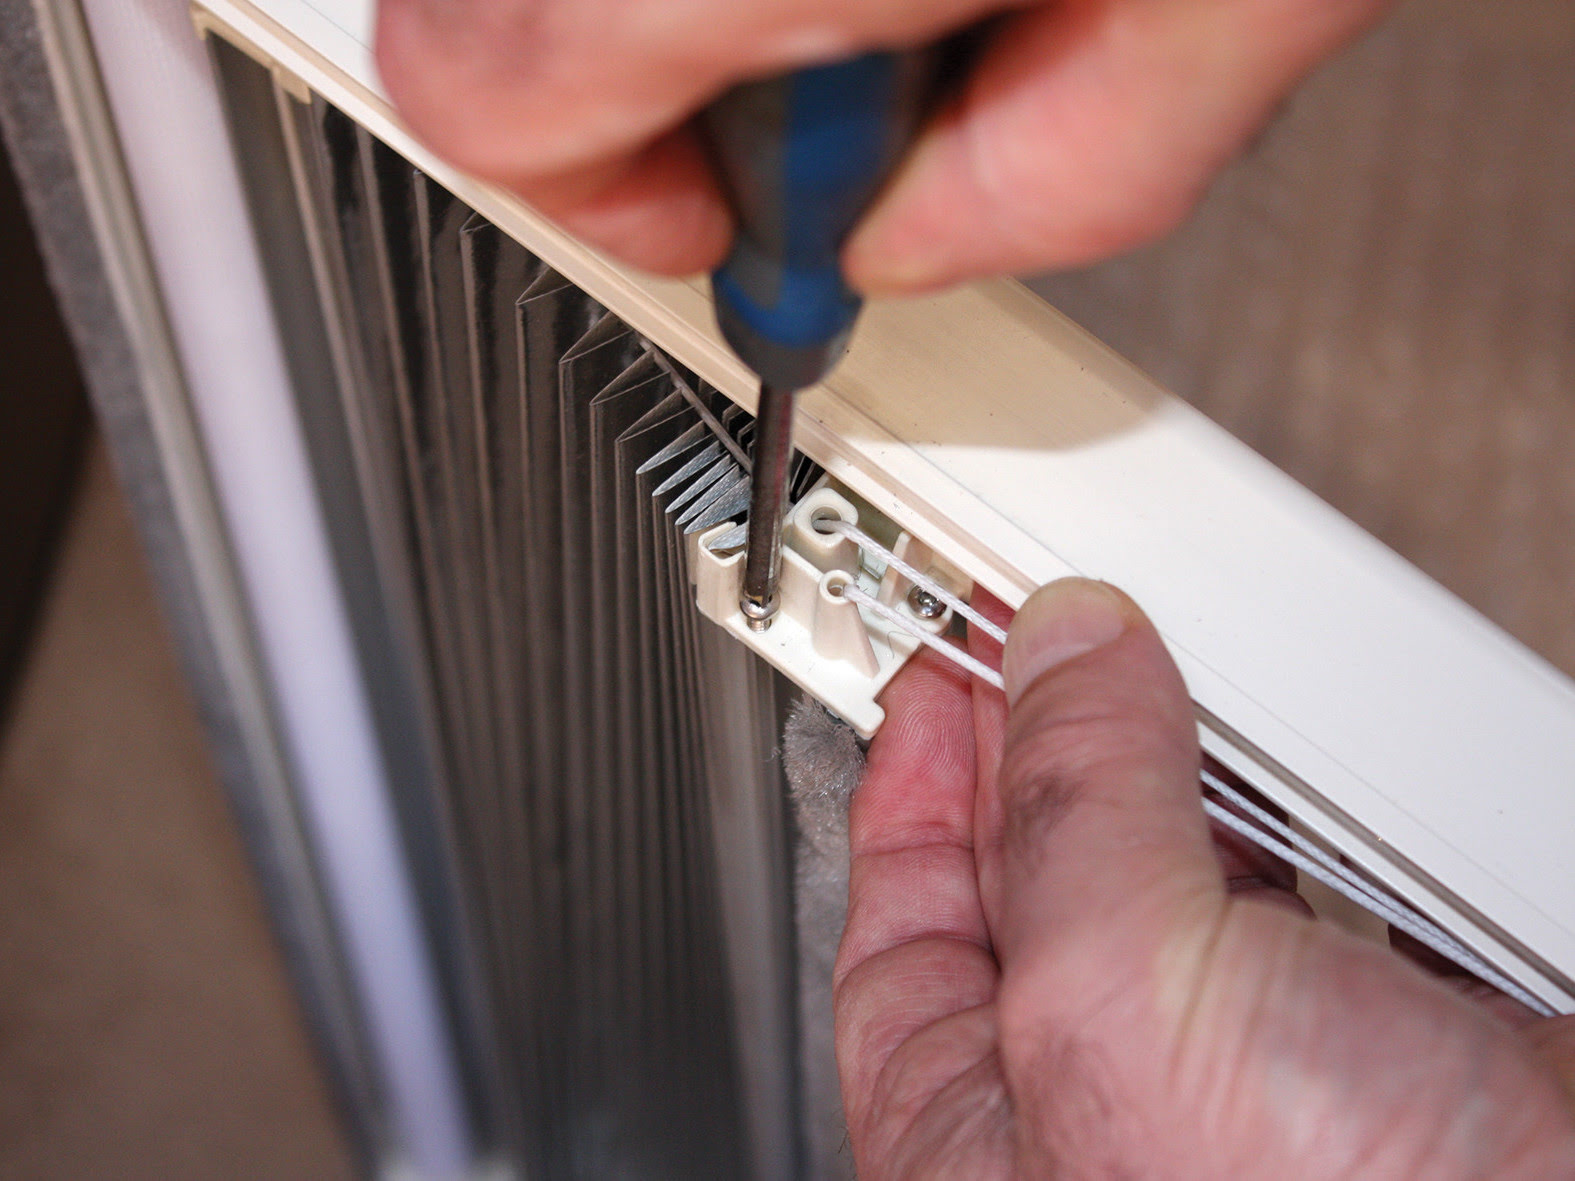
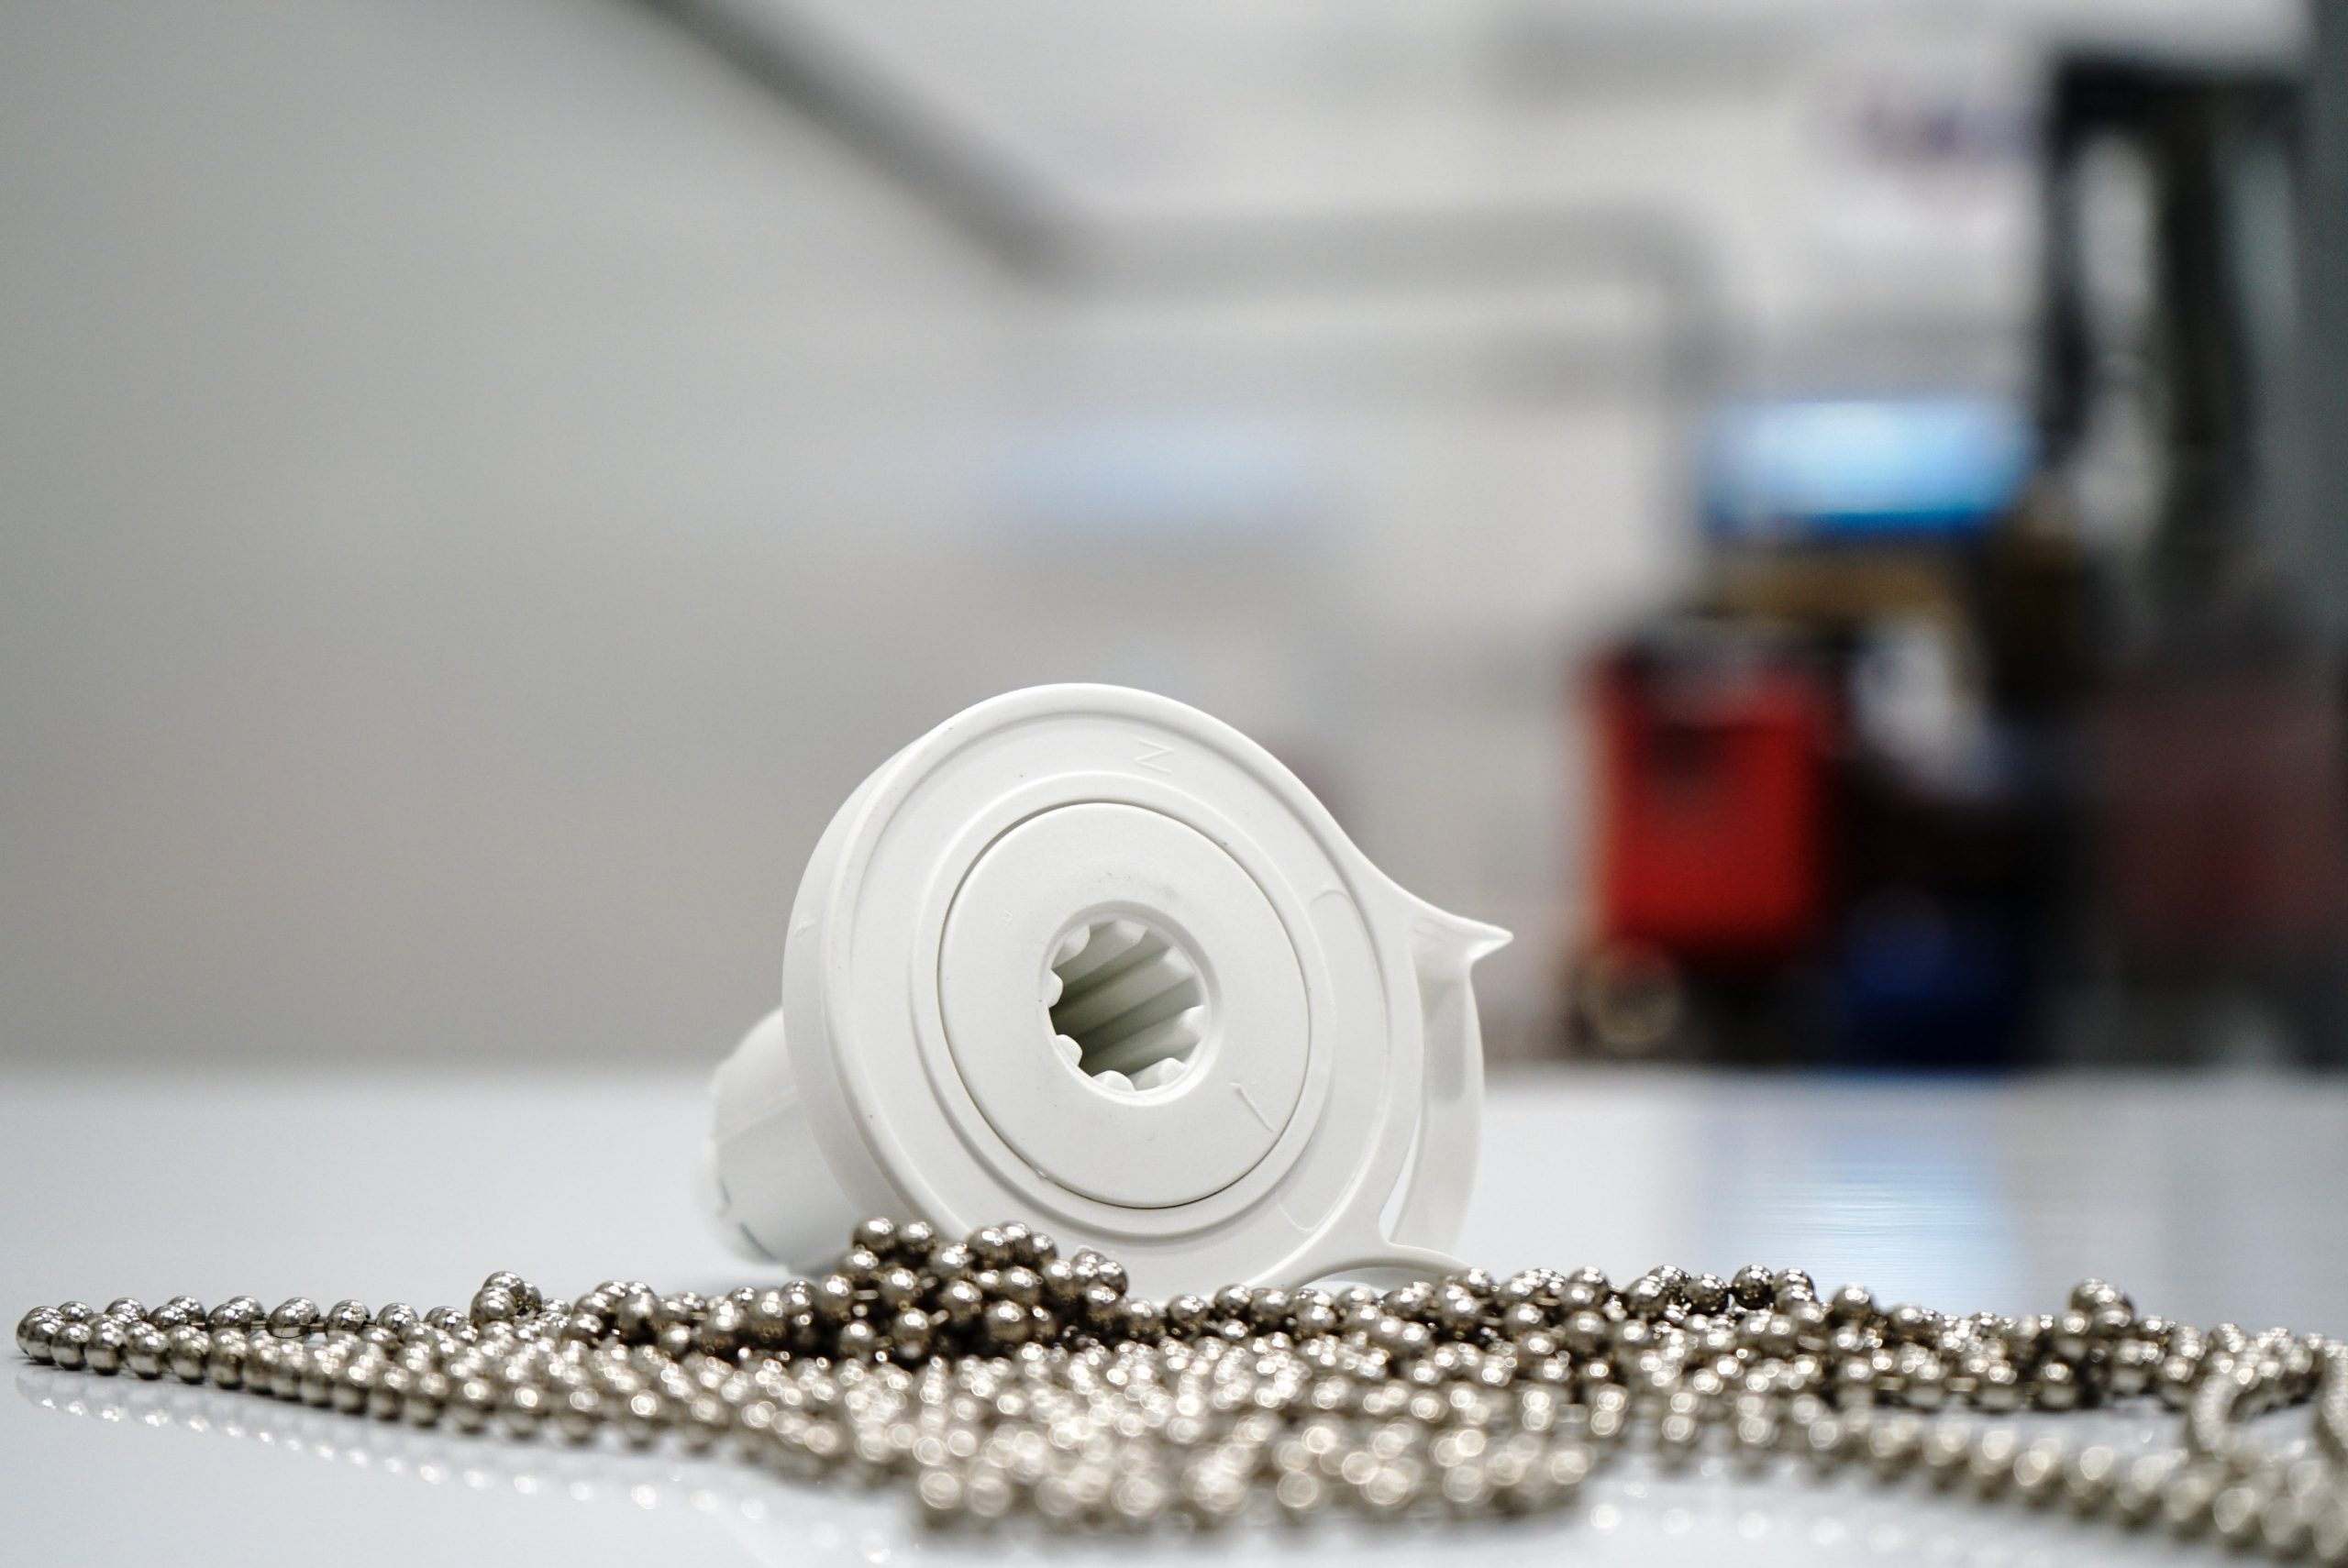
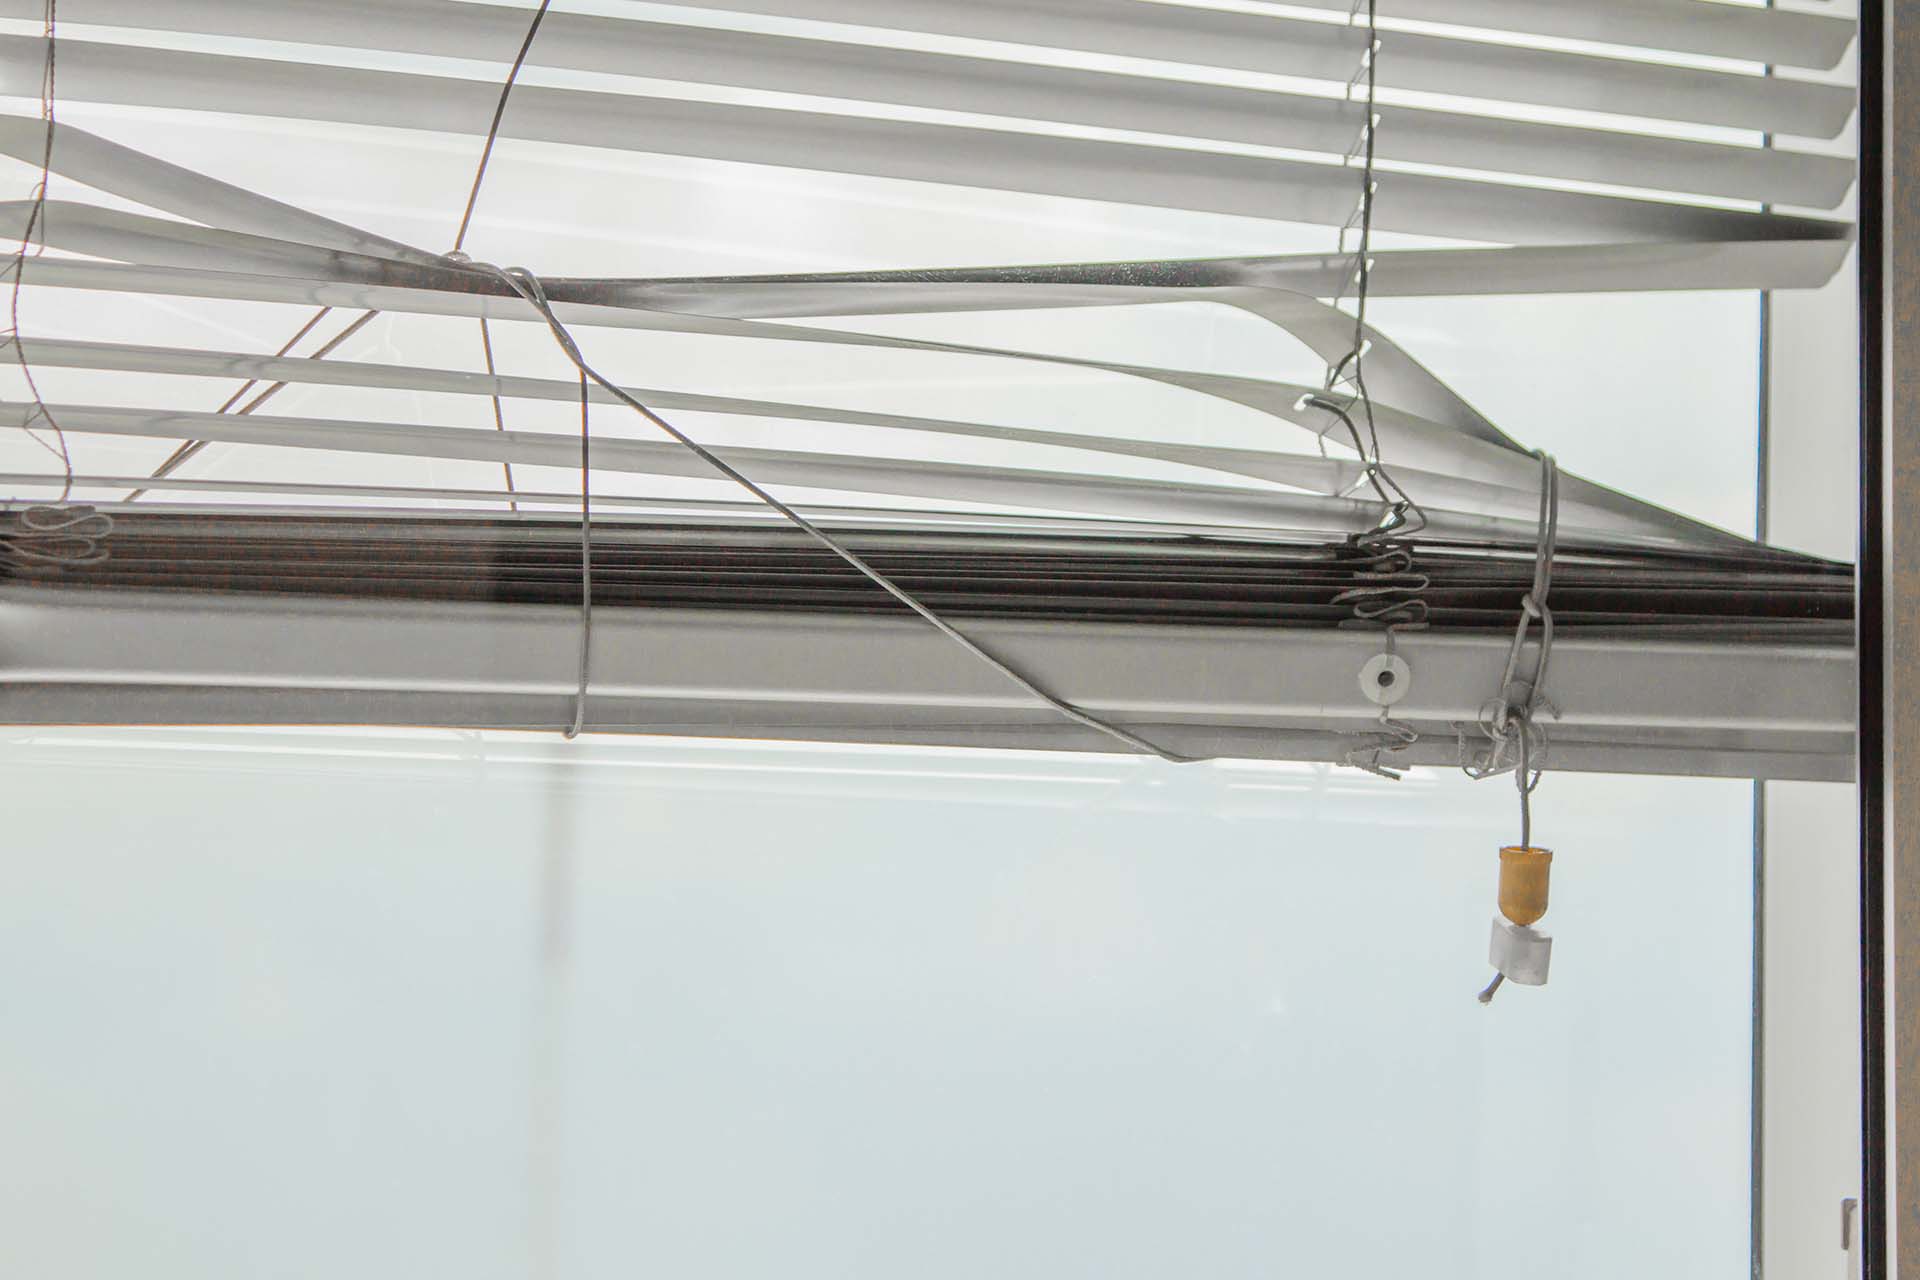
- Locate the tilt rod, which is the long rod running through the center of the blinds that controls the tilting motion. Depending on the type of blinds you have, you may need to unscrew or unclip the tilt rod from the mechanism.
- Once the tilt rod is detached, locate the ladder strings or lift cords. These are the strings that run vertically between the slats and are responsible for raising and lowering the blinds. Remove any brackets or clips that secure the ladder strings in place.
- Gently lift the ladder strings out of the notches or slots in the bottom rail of the blinds. As you do this, the slats should start to come loose.
- Continue removing the ladder strings from each slat until all the slats are no longer connected to the mechanism.
As you remove the slats, make sure to keep them organized and in the correct order. This will help ensure a smooth reinstallation process later on.
With the slats removed, you now have better access to the mechanisms and other components that may need repair. Take this opportunity to inspect the mechanisms and address any issues before reassembling the blinds.
Step 4: Inspect and Repair Damaged Slats
Now that you have removed the slats from your shutter blinds, it’s time to inspect them for any damage and make necessary repairs. Damaged slats can affect the overall appearance and functionality of your blinds, so it’s important to address these issues before reassembling them. Follow these steps to inspect and repair the damaged slats:
- Examine each slat individually for cracks, chips, or warping. If you come across any damaged slats, consider replacing them with the new ones you gathered earlier.
- If the slats are made of wood or faux wood, you can often use wood glue or adhesive to repair minor cracks or chips. Apply a small amount of glue to the affected area and press the pieces together firmly. Wipe away any excess glue and let it dry according to the manufacturer’s instructions.
- If the slats are made of a different material, such as vinyl or aluminum, check if any specialized repair kits are available. These kits may include adhesive patches or touch-up paint that can help fix minor damages.
- For warped slats, you can try applying gentle heat from a hairdryer or heat gun to soften the material. Carefully bend the slat back into shape using your hands, taking care not to apply too much force or cause further damage. Hold the slat in place until it cools down and retains its new shape.
- If the slats are beyond repair, set them aside and replace them with the new ones you gathered during the preparation stage. Follow the manufacturer’s instructions for installing the replacement slats.
Remember to be cautious and gentle when handling the slats to avoid further damage. Taking the time to inspect and repair the damaged slats will help ensure that your shutter blinds look and function their best once reassembled.
When fixing shutter blinds, start by checking for any loose or broken slats. Tighten any loose screws and replace any damaged slats. If the blinds are not opening or closing properly, check for any obstructions in the tracks and clean them if necessary.
Read more: How To Make Wooden Shutter Blinds
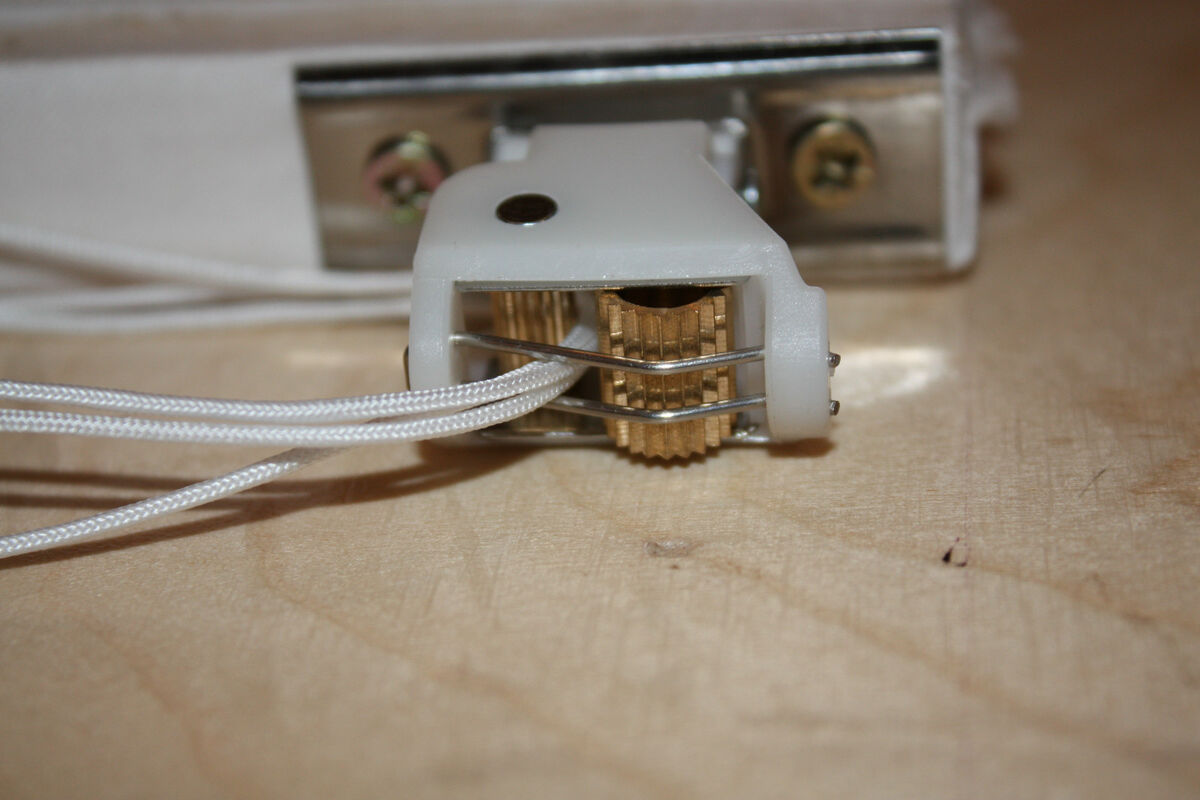
Step 5: Replace Broken or Faulty Components
During the assessment of your shutter blinds, you may have identified broken or faulty components such as brackets, clips, or screws. Now is the time to replace these components to ensure the stability and proper functioning of your blinds. Follow these steps to replace broken or faulty components:
- Start by removing any damaged or loose components using a screwdriver or pliers.
- Take note of the specific type and size of the component that needs replacing. This information will help you find the correct replacement.
- Visit your local hardware store or contact the manufacturer to acquire the necessary replacement components.
- Once you have the replacement components, carefully install them in their respective positions according to the manufacturer’s instructions. Use a screwdriver or pliers to securely fasten any screws or clips.
- Make sure to double-check that all replaced components are properly installed and tightened. This will ensure the stability and smooth operation of your shutter blinds.
Replacing broken or faulty components is crucial for maintaining the overall functionality and longevity of your shutter blinds. By doing so, you can prevent further damage and ensure that your blinds operate smoothly and effectively.
If you are unsure about replacing certain components or encounter any difficulties during the process, don’t hesitate to consult the manufacturer’s instructions or seek professional assistance.
Step 6: Reattach the Slats
With the damaged slats repaired or replaced and any broken components replaced, it’s time to reattach the slats to your shutter blinds. Follow these steps to ensure a smooth and successful reinstallation process:
- Retrieve the slats that you removed earlier and ensure they are in the correct order. If needed, refer to any notes or pictures you took during the disassembly process.
- Begin by reattaching the ladder strings or lift cords to the bottom rail of the blinds. Insert them back into the notches or slots, making sure they are properly aligned.
- Continue attaching the ladder strings to each individual slat, ensuring that they are evenly spaced and aligned.
- Once all the slats are connected to the ladder strings, reattach the tilt rod to the mechanism. Screw or clip it back into place according to the manufacturer’s instructions.
- Give the slats a gentle tug to ensure that they are securely attached and that the tilting and lifting mechanisms are functioning properly.
As you reattach the slats, take care to handle them gently to avoid causing any additional damage. Double-check that all the parts are properly aligned and secured before moving on to the next step.
By reattaching the slats correctly, you will ensure that your shutter blinds look and function as intended. This step is essential for achieving the desired privacy, light control, and aesthetic appeal once the blinds are fully operational again.
Step 7: Test the Blinds
After reattaching the slats, it’s important to test your shutter blinds to ensure they are functioning properly before finalizing the repair process. Follow these steps to test the blinds and make any necessary adjustments:
- Start by operating the tilt mechanism to check if the slats tilt smoothly and evenly. Test it in both directions to ensure there are no obstructions or resistance.
- Next, test the lifting and lowering mechanism to see if the blinds move up and down without any hesitation or irregularities. Pay attention to any unusual sounds or difficulty in movement.
- Check if the blinds close and open completely, leaving no gaps or misalignment between the slats.
- If you notice any issues or inconsistencies during the testing process, take note of them and assess the possible causes. It could be a matter of readjusting the slats, lubricating the mechanisms, or addressing any loose components.
- Make any necessary adjustments or repairs based on your observations. This may involve tightening screws, lubricating moving parts, or repositioning slats to ensure proper alignment.
- Perform another round of testing to verify that the blinds are now functioning smoothly and as expected.
Testing the blinds is crucial to ensure that all the repair work has been done effectively and that the blinds are back in optimal working condition. By taking the time to test and make necessary adjustments, you can avoid any potential issues in the future and guarantee a satisfactory experience with your shutter blinds.
Step 8: Clean and Maintain the Shutter Blinds
Once you have completed the necessary repairs and ensured that your shutter blinds are functioning properly, it’s important to incorporate regular cleaning and maintenance into your routine. This will help keep your blinds in great condition and prolong their lifespan. Follow these steps to clean and maintain your shutter blinds:
- Begin by dusting the blinds with a soft cloth or a feather duster. Start from the top and work your way down, gently wiping each slat to remove any surface dust or debris. Alternatively, you can use a vacuum cleaner with a soft brush attachment to clean the slats.
- For deeper cleaning, prepare a mild detergent solution by mixing a small amount of gentle dish soap with warm water. Dampen a soft cloth or sponge in the solution, wring out the excess liquid, and wipe each slat in a gentle, downward motion.
- Pay attention to any stubborn stains or spots on the slats. Use a non-abrasive sponge or brush to gently scrub these areas, being careful not to damage the slats or the finish.
- Rinse the cloth or sponge with clean water and wipe down the slats again to remove any soap residue.
- Allow the blinds to air dry completely before reattaching them to the mechanism. Avoid using excessive heat or direct sunlight to speed up the drying process, as this can cause warping or damage to the slats.
- Once the blinds are dry, inspect the mechanisms for any signs of wear or debris buildup. If necessary, use a small brush or compressed air to remove any dirt or dust from the mechanisms.
- Consider applying a silicone-based lubricant to the moving parts of the mechanism to ensure smooth operation. Follow the manufacturer’s instructions for proper application and use.
- Finally, make it a habit to periodically clean your shutter blinds and inspect them for any signs of damage or wear. This will allow you to catch any issues early on and address them promptly.
Regular cleaning and maintenance not only keep your shutter blinds looking their best but also prevent dust and dirt buildup that can affect their functionality. Incorporating these steps into your cleaning routine will help ensure that your blinds remain in top condition for years to come.
Read more: How To Fix Magnetic Blinds
Conclusion
Fixing and maintaining your shutter blinds doesn’t have to be a daunting task. By following the steps outlined in this article, you can successfully address common issues and restore the functionality and appearance of your blinds at home. From assessing the problem to replacing broken components and reattaching slats, each step plays a vital role in the repair process.
Remember, it’s crucial to carefully inspect your shutter blinds and identify any damaged slats or faulty mechanisms before proceeding with the repairs. Take the time to gather the necessary tools and replacement components to ensure a smooth and efficient process.
As you remove and reattach slats, repair damaged components, and test the blinds, pay close attention to any signs of misalignment, resistance, or irregularities in movement. This will allow you to make necessary adjustments and address potential issues along the way.
Lastly, incorporate regular cleaning and maintenance into your routine to keep your shutter blinds looking their best and functioning optimally. By following these steps and taking proactive measures, you can extend the lifespan of your blinds and enjoy the benefits they provide for years to come.
Remember, if you’re unsure about any aspect of the repair process or encounter major issues, it’s always a wise idea to consult the manufacturer’s instructions or seek professional assistance. With some patience, effort, and the right tools, you can confidently tackle the task of fixing and maintaining your shutter blinds.
Frequently Asked Questions about How To Fix Shutter Blinds
Was this page helpful?
At Storables.com, we guarantee accurate and reliable information. Our content, validated by Expert Board Contributors, is crafted following stringent Editorial Policies. We're committed to providing you with well-researched, expert-backed insights for all your informational needs.