(Many of the links in this article redirect to a specific reviewed product. Your purchase of these products through affiliate links helps to generate commission for Storables.com, at no extra cost. Learn more)
Introduction
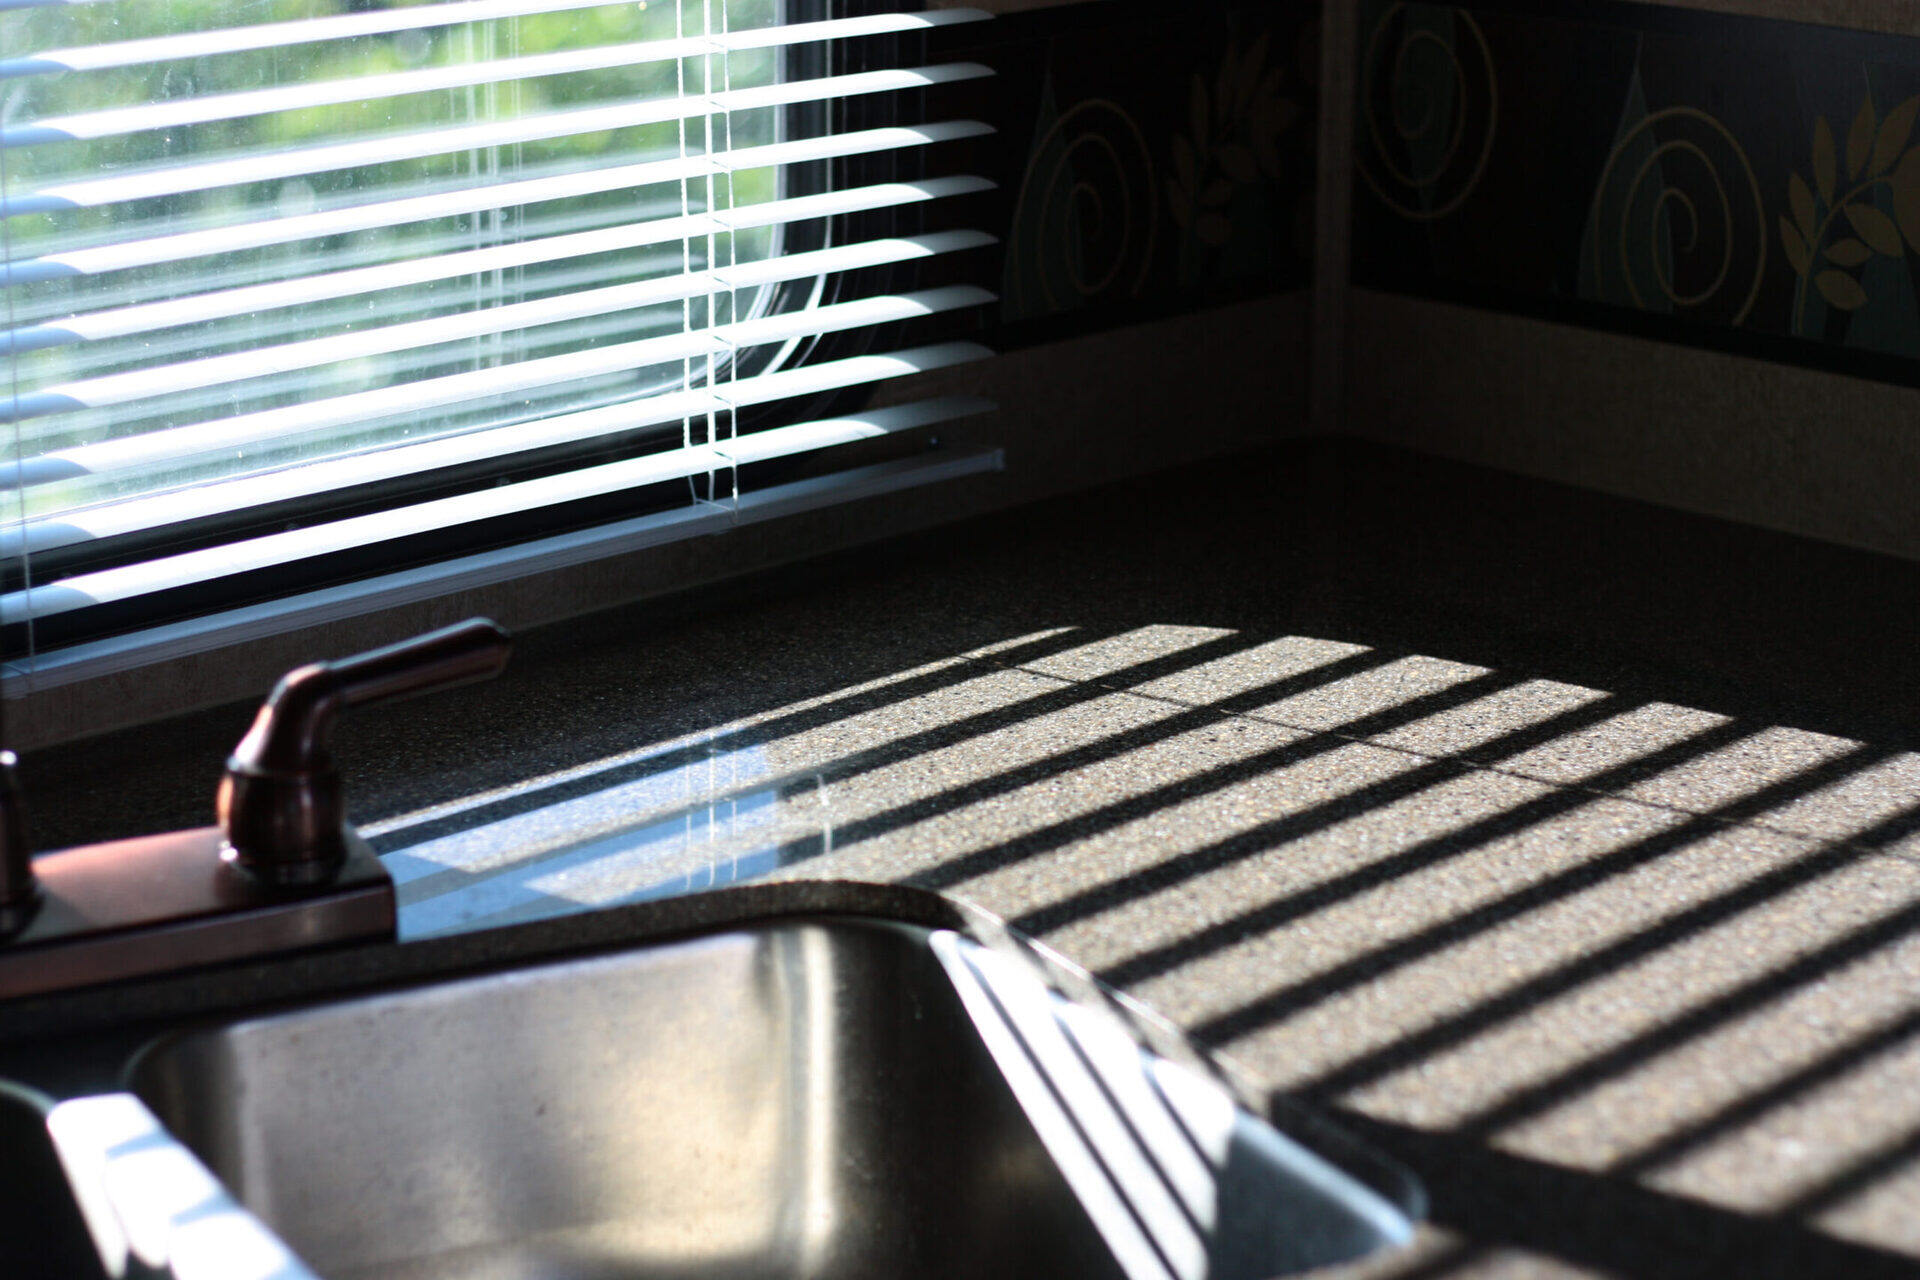
RV blinds are an essential part of any recreational vehicle, providing privacy, shade, and style to the interior space. However, like any other component, they can encounter issues over time due to wear and tear or accidental damage. When your RV blinds start to malfunction, it’s important to address the problem promptly to ensure they continue to serve their purpose effectively.
In this comprehensive guide, we will take a deep dive into the world of RV blinds, exploring common problems that occur and providing step-by-step instructions on how to fix them. Whether you are a seasoned RV owner or a newbie, this article will empower you with the knowledge and skills required to tackle common blind issues and restore their functionality.
Key Takeaways:
Understanding the structure and common issues of RV blinds empowers owners to confidently tackle repairs, ensuring optimal functionality and aesthetics for a comfortable living space on the road.
Regular cleaning, maintenance, and prompt repairs of RV blinds contribute to their longevity, enhancing the overall comfort and visual appeal of the recreational vehicle interior.
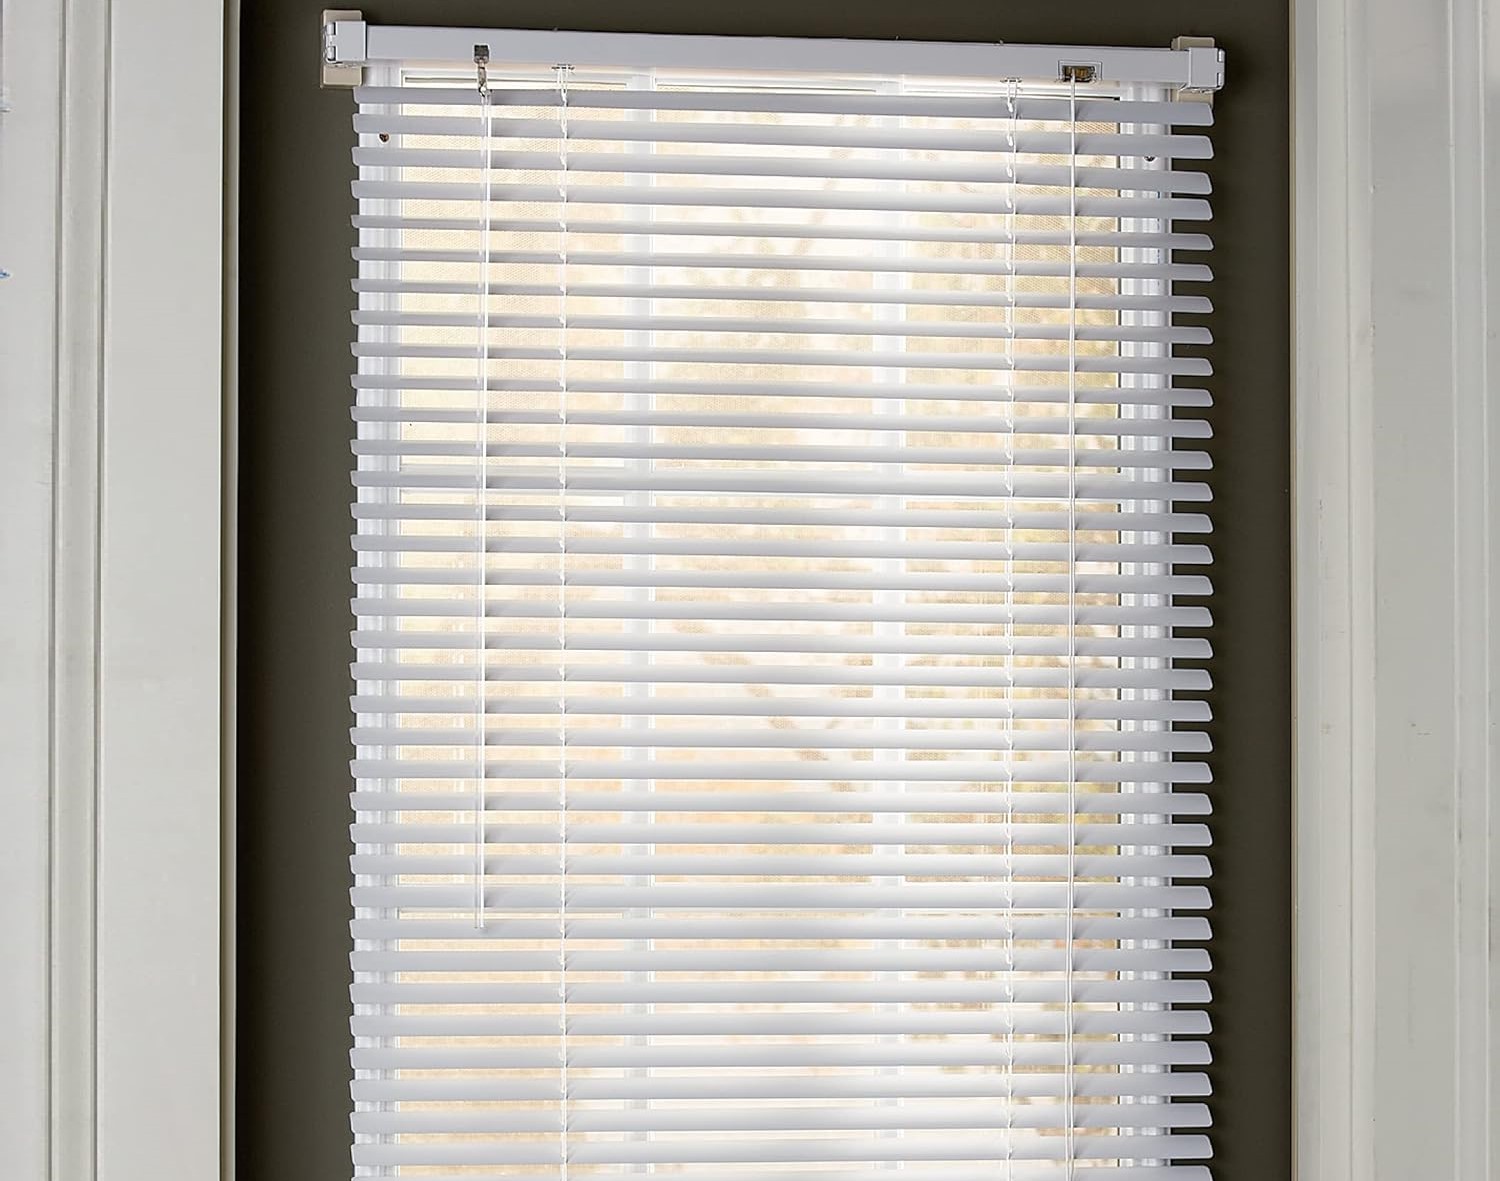
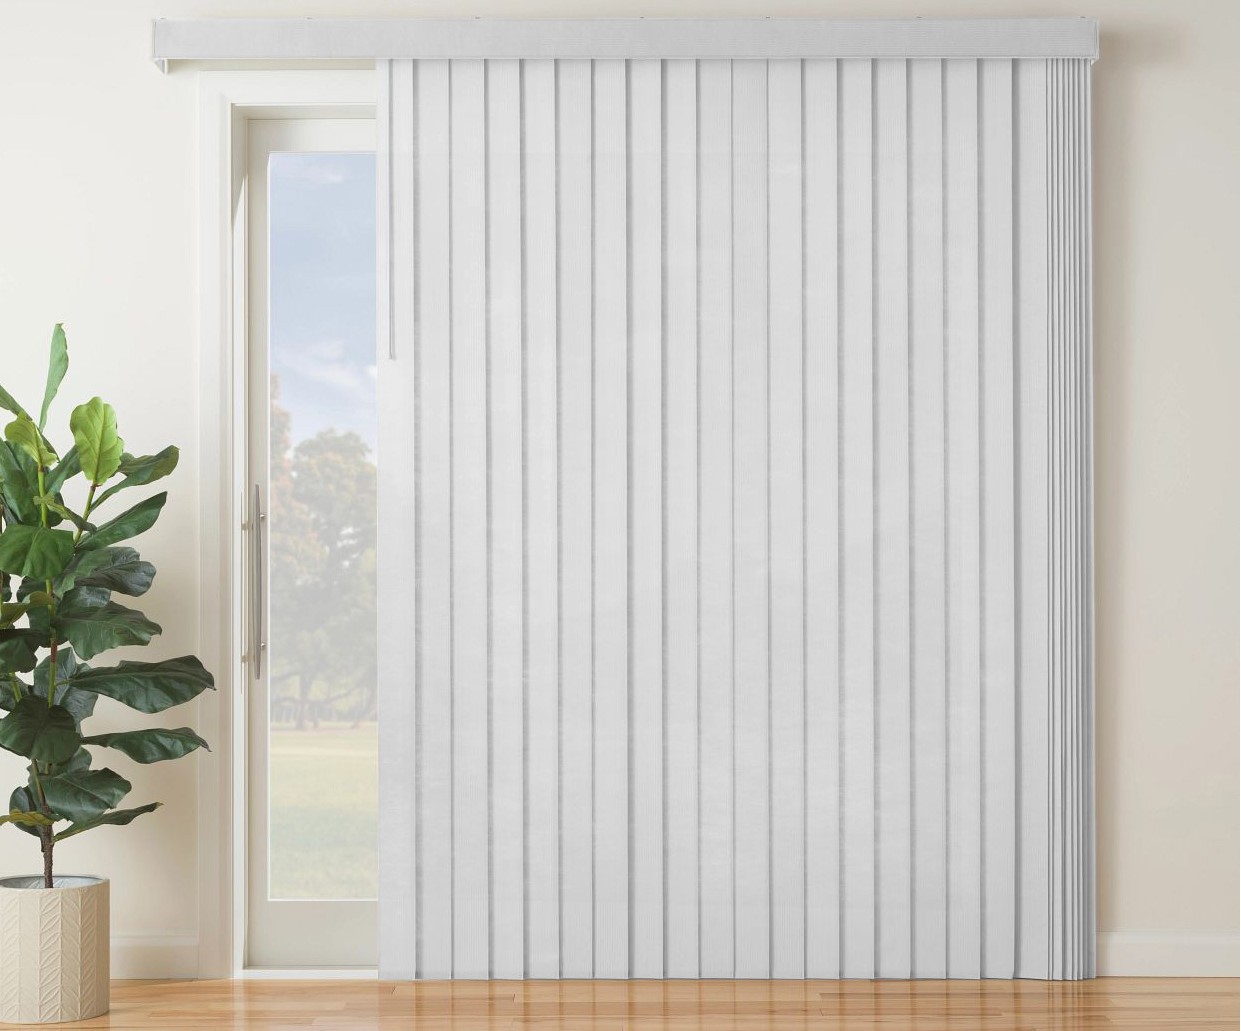
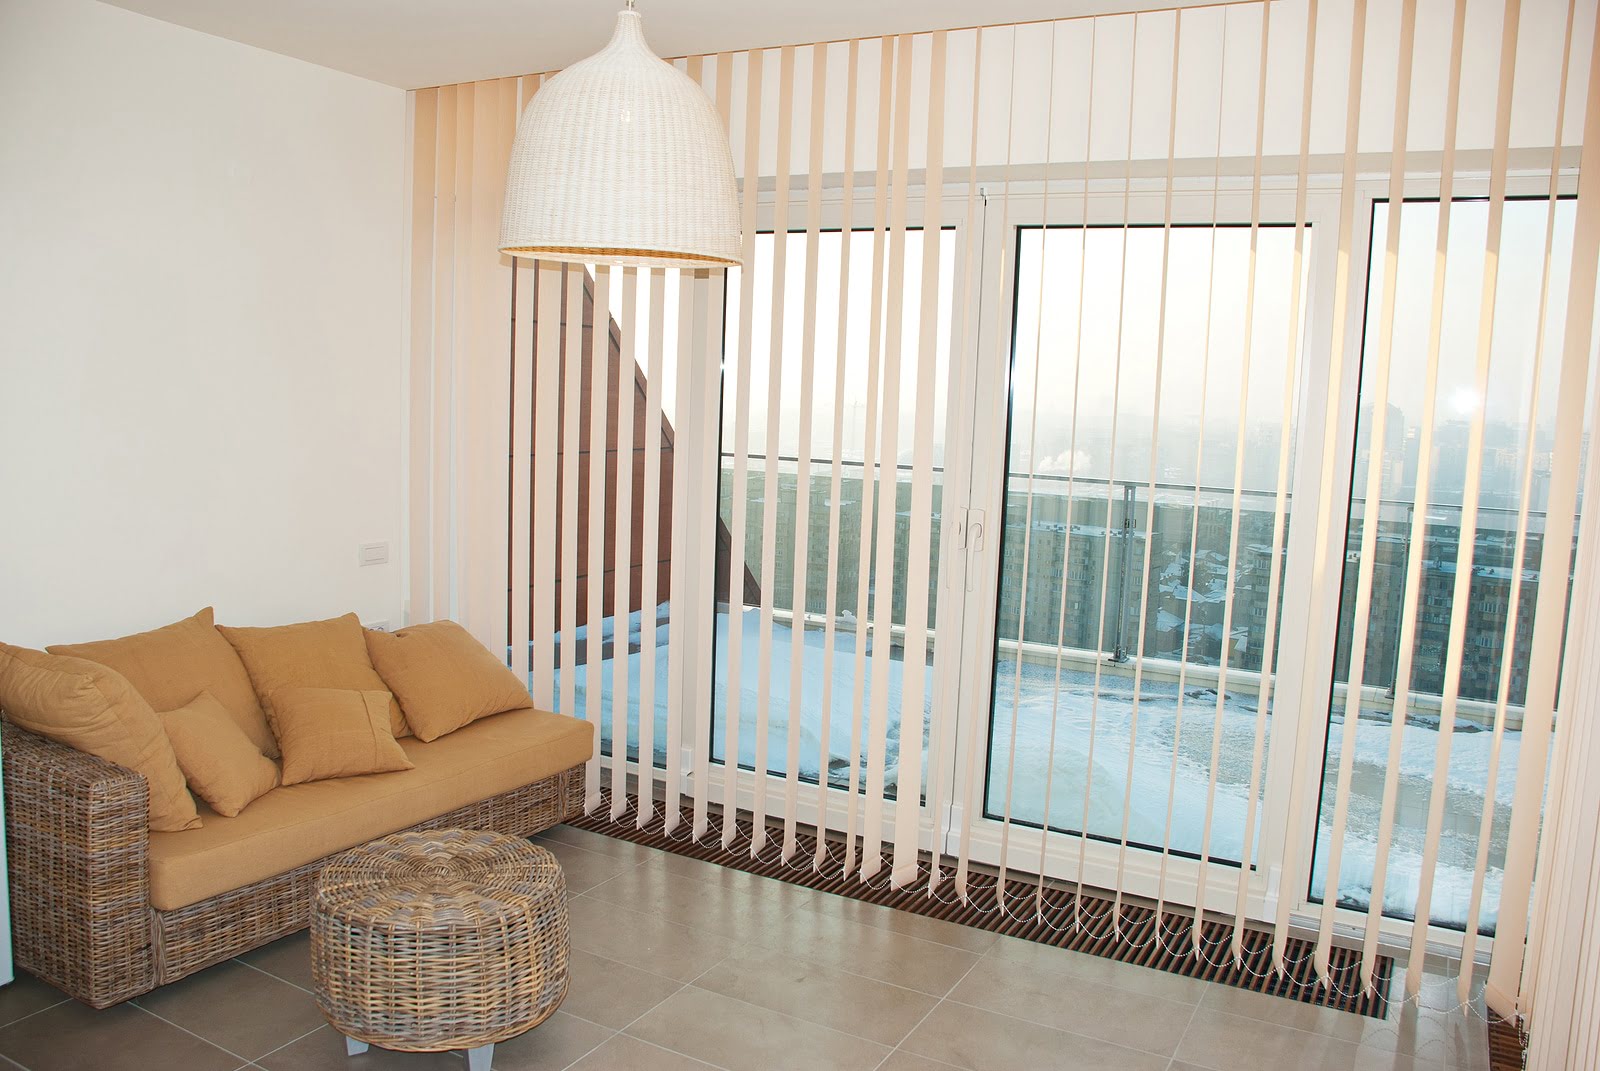
Before diving into the world of fixing RV blinds, it’s essential to understand their structure and how they function. RV blinds typically consist of slats or louvers that can be adjusted to control the amount of light and privacy desired.
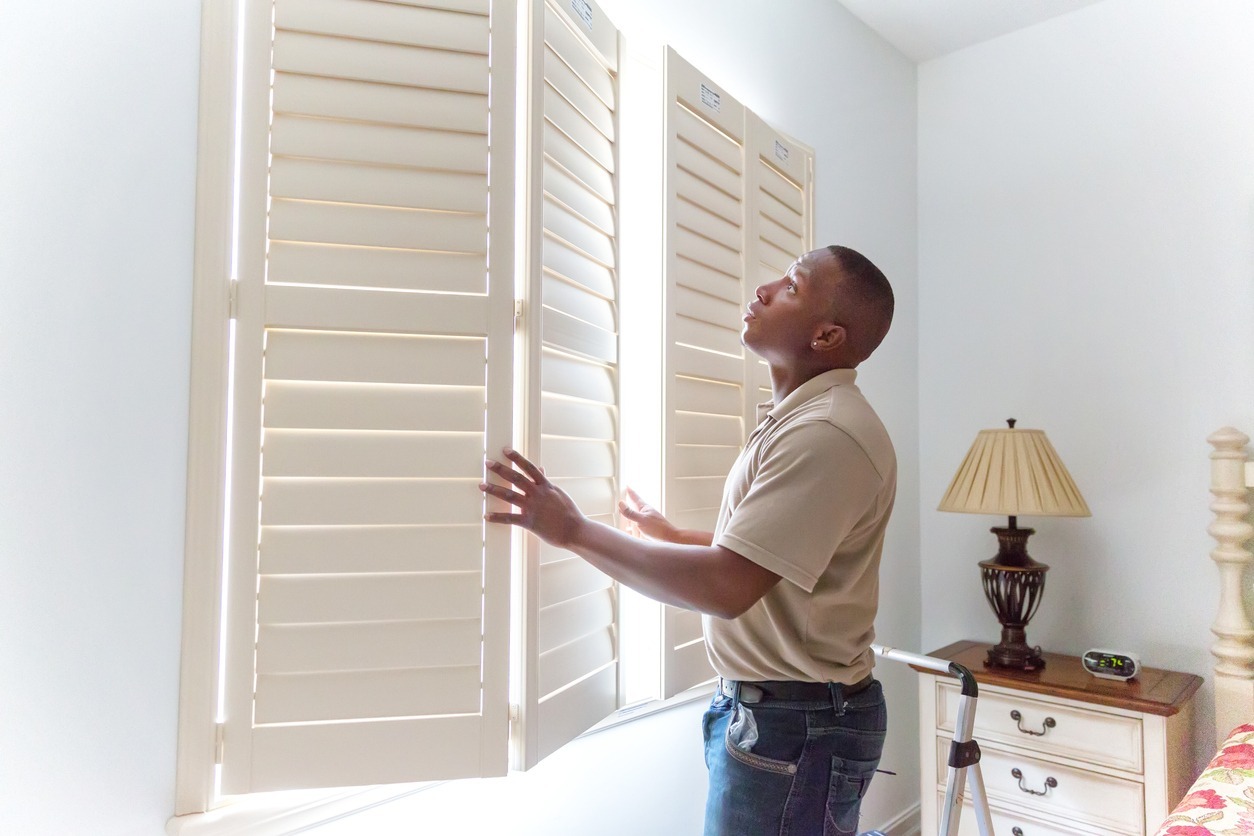
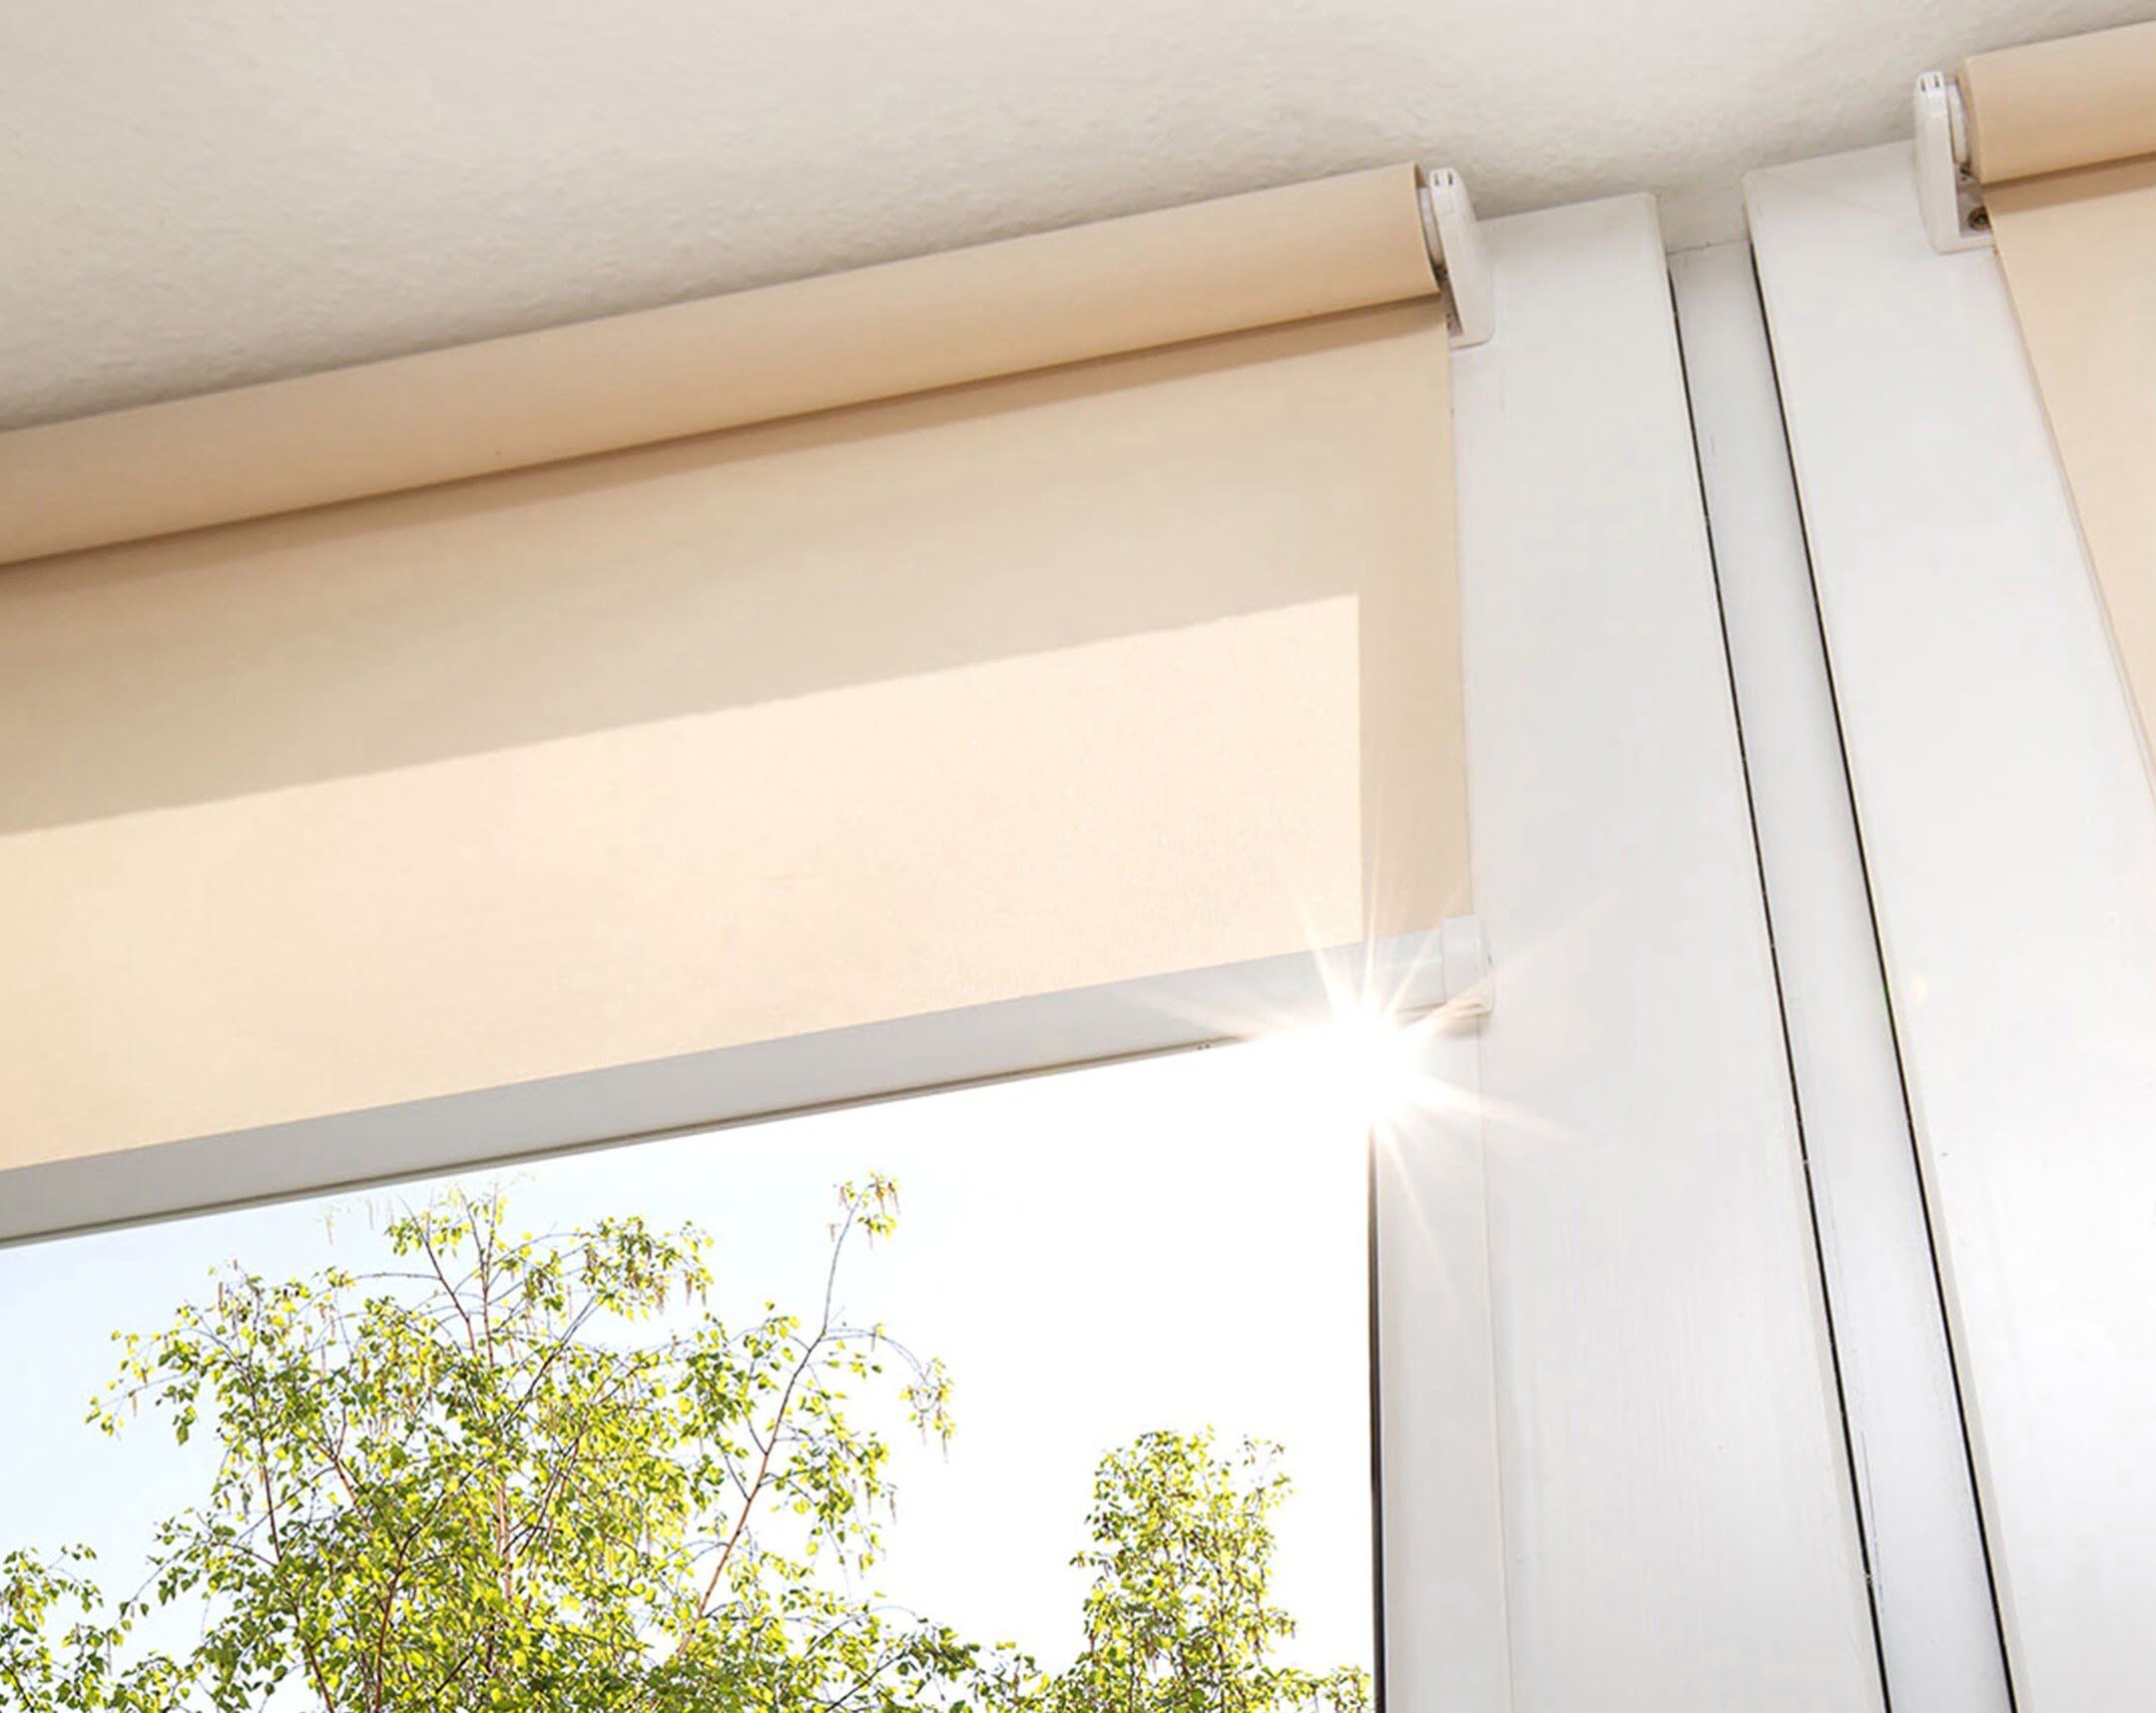
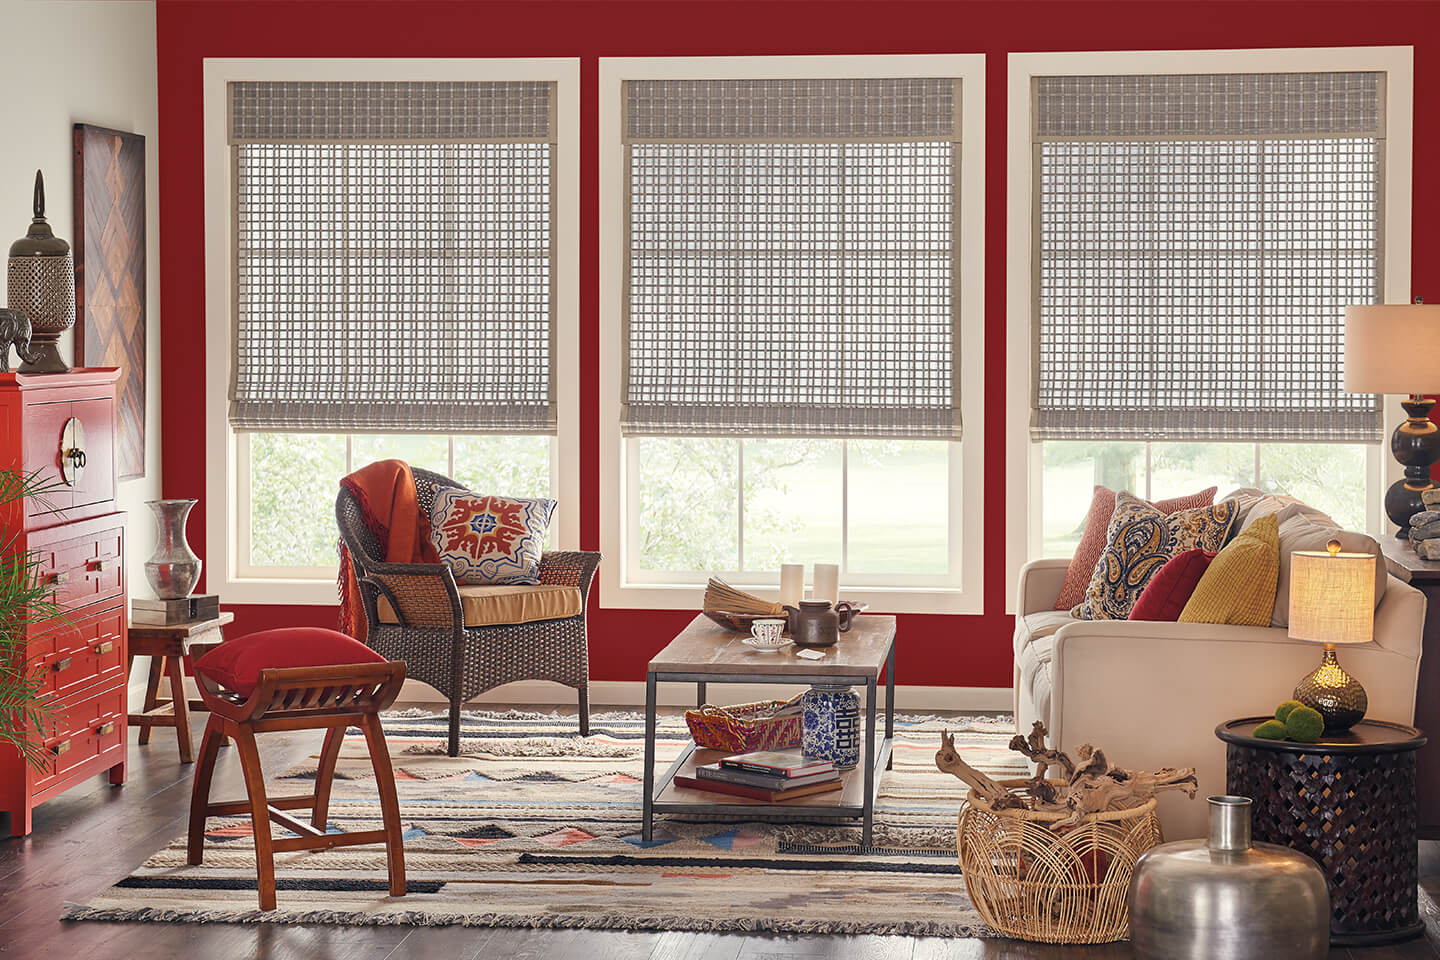
The most common types of RV blinds are venetian blinds and roller shades. Venetian blinds have horizontal slats that can be tilted to allow light to enter or block it out completely. Roller shades, on the other hand, consist of a single piece of fabric that can be rolled up or down with a pull cord.
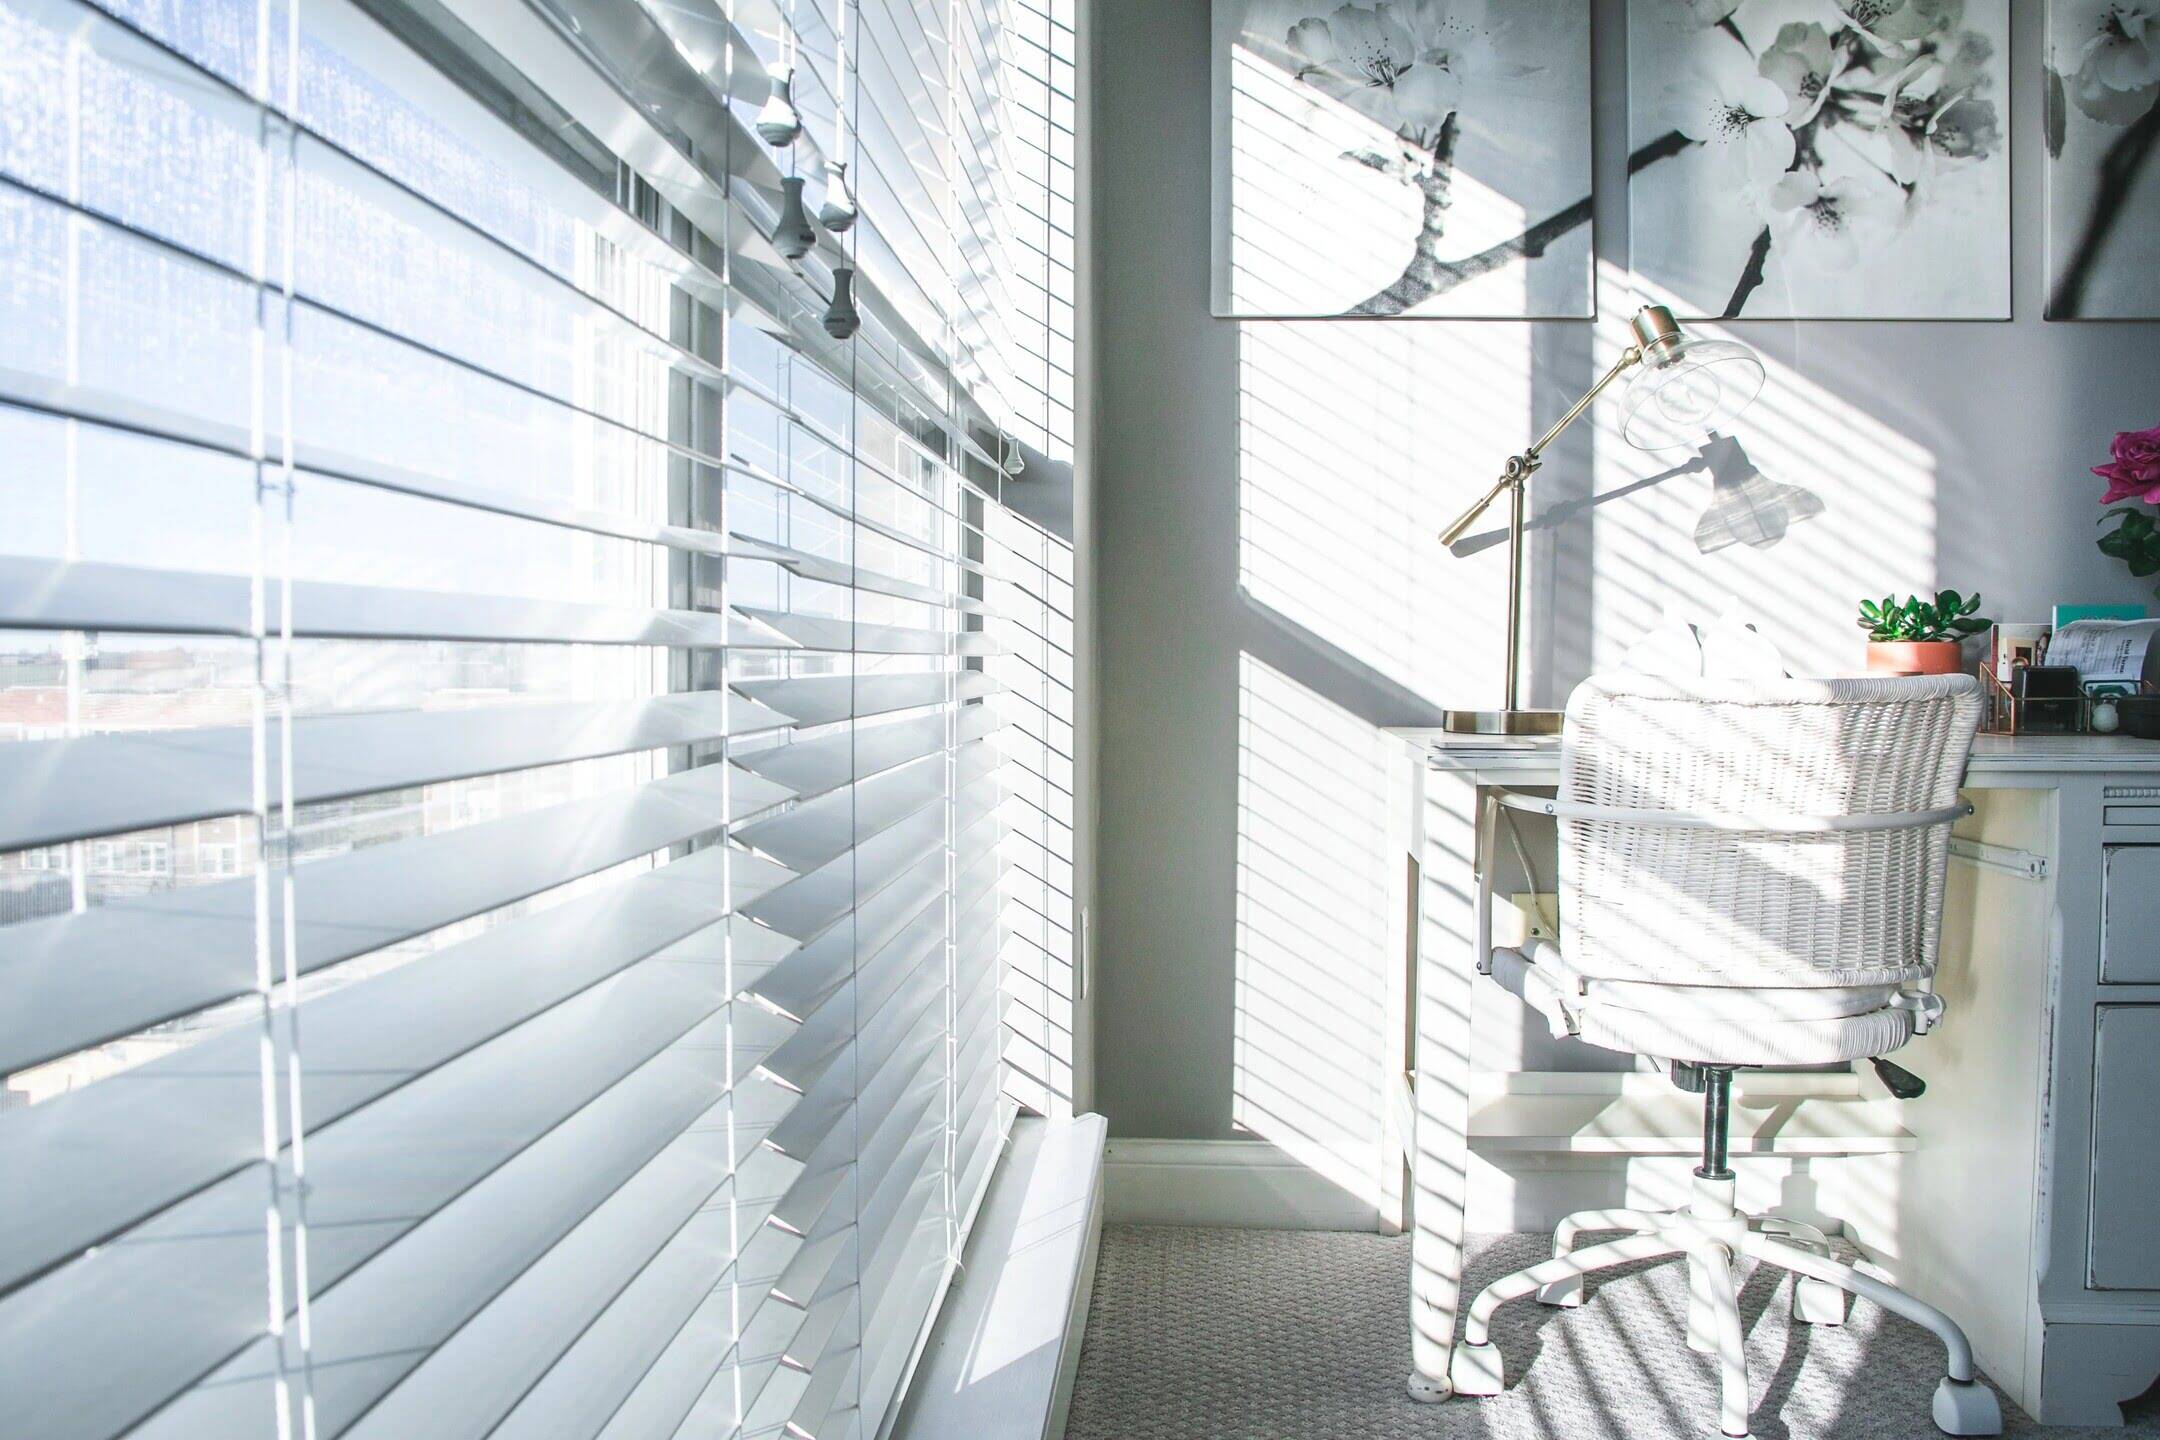
RV blinds come in various materials, including aluminum, vinyl, or fabric. Each material has its own unique characteristics, advantages, and maintenance requirements. Aluminum blinds are lightweight and durable, while vinyl blinds are moisture-resistant and easy to clean. Fabric blinds add a touch of elegance but may require more delicate handling.
Understanding the different types and materials of RV blinds will help you identify their specific issues and determine the appropriate repair methods. Whether you’re dealing with broken slats, tangled cords, or damaged hardware, knowing the construction and mechanisms of your blinds is crucial for successful repairs.
Common Problems with RV Blinds
RV blinds, like any other component, can encounter a range of issues that affect their functionality. Understanding these common problems is the first step towards resolving them effectively. Here are some of the most frequent problems RV owners encounter with their blinds:
Broken or damaged slats: Over time, slats can become brittle, crack, or break. This not only affects the aesthetics of the blinds but also their ability to control light and privacy.
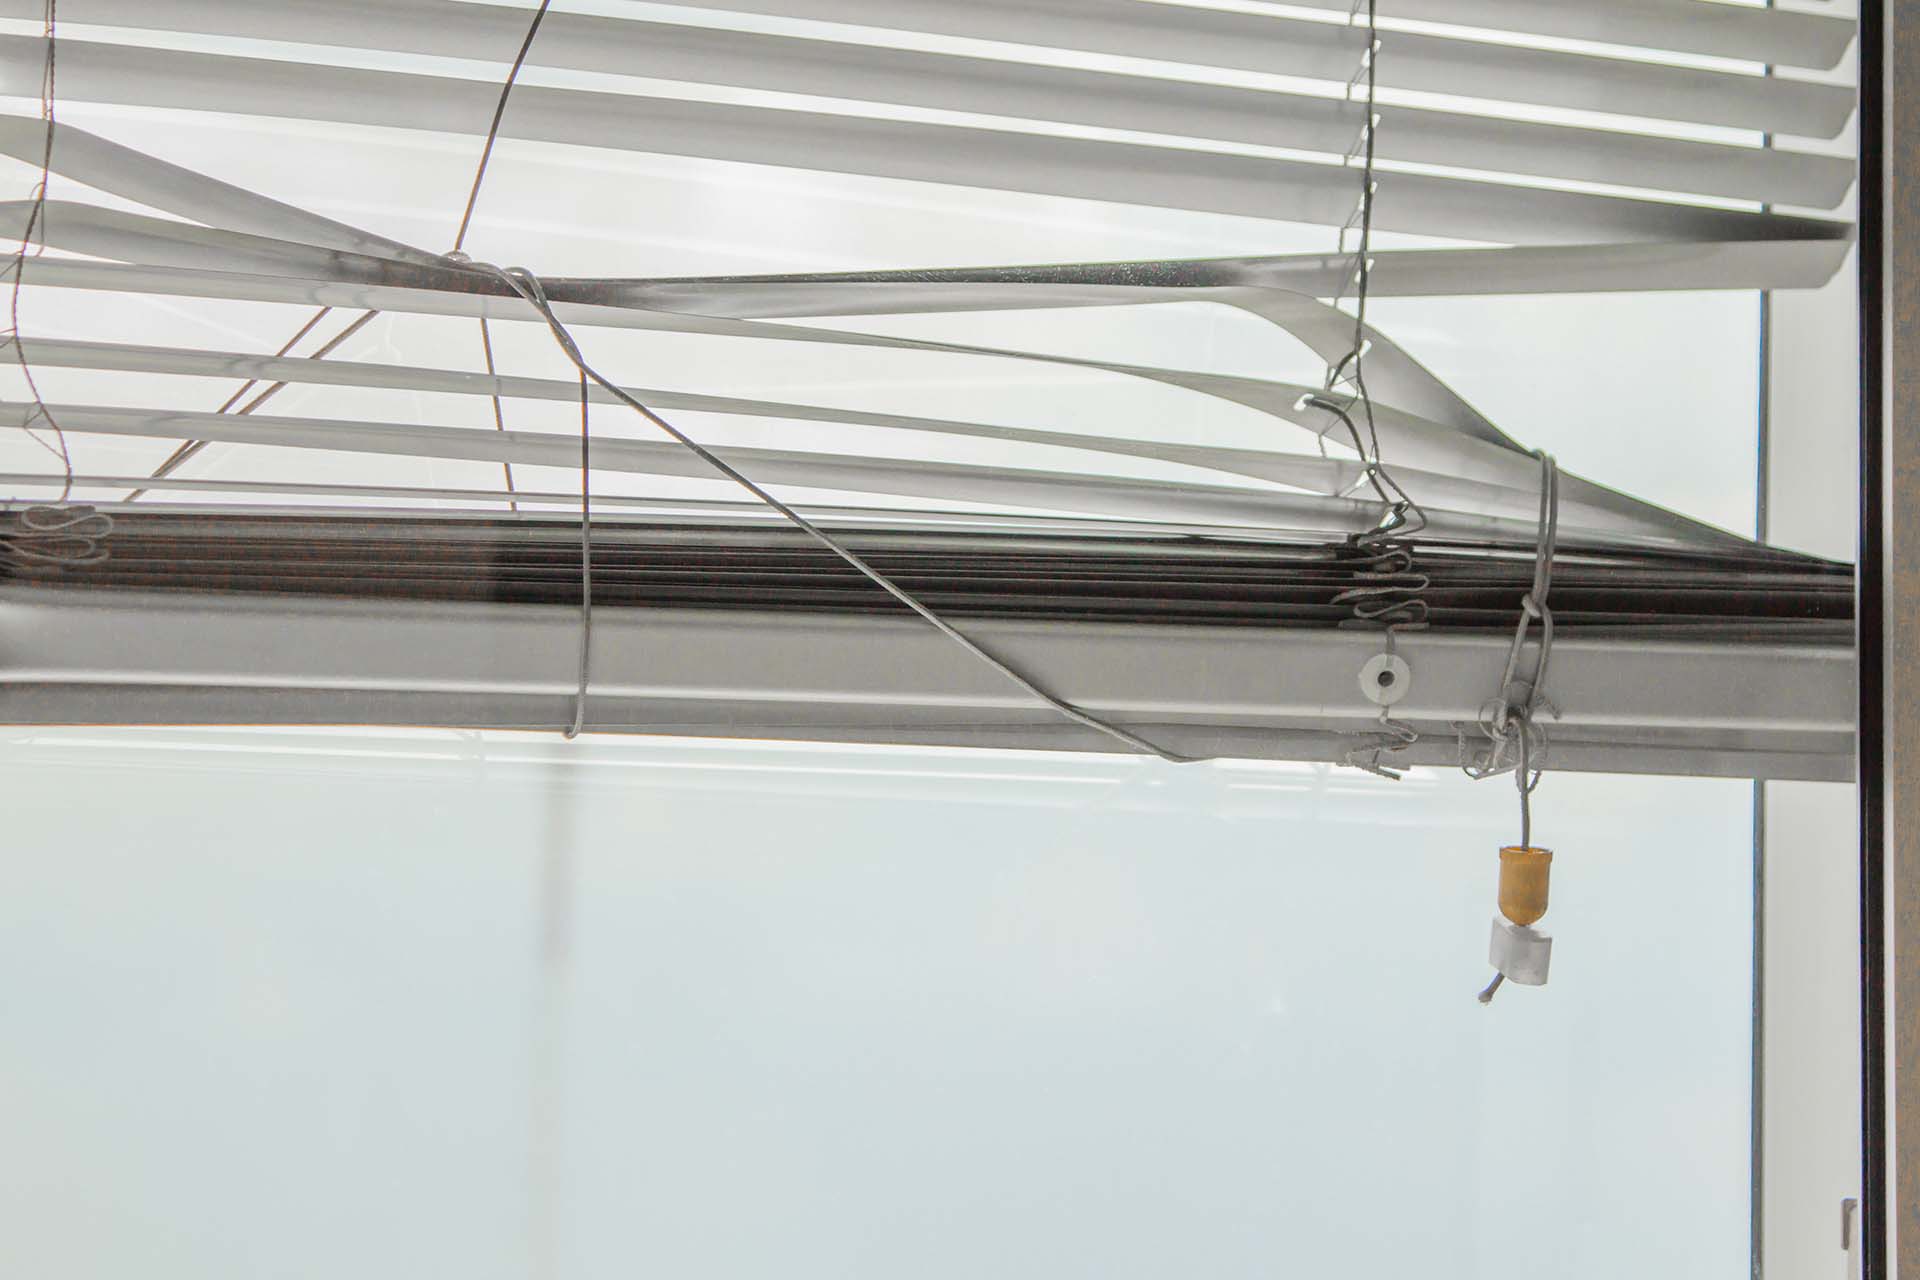
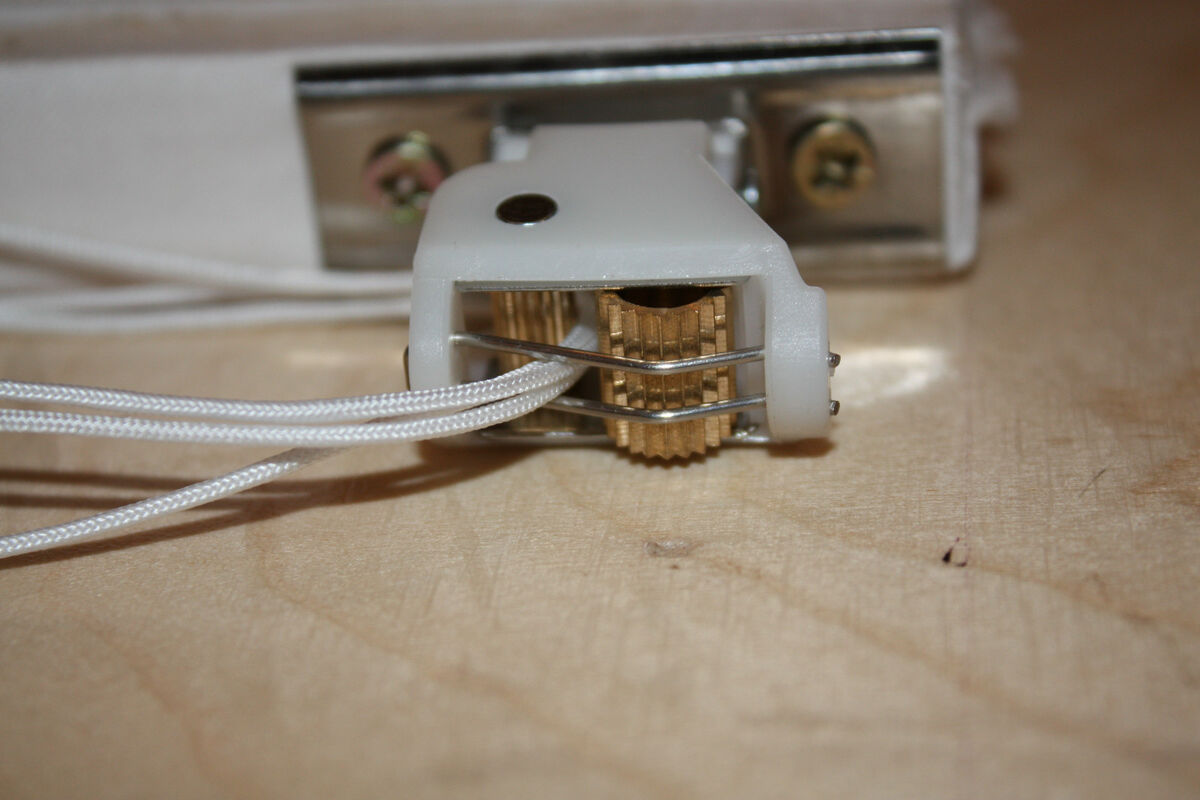
Tangled or jammed cords: The cords that control the movement of the blinds can become tangled or jammed, making it difficult to raise or lower them.
Malfunctioning tilt mechanisms: If your blinds have a tilting feature, the mechanism that controls the slats’ angle may become loose or stiff, preventing proper adjustment.
Worn-out hardware: The hardware components, such as brackets, clips, and pulleys, can wear out or break over time, leading to instability or inability to operate the blinds smoothly.
Dirty or stained blinds: Dust, dirt, and stains can accumulate on blinds, diminishing their appearance and potentially affecting their ability to move smoothly.
These common problems can be frustrating, but the good news is that most of them can be fixed with some basic tools and a little bit of know-how. In the following sections, we will guide you through the step-by-step process of addressing these issues and getting your RV blinds back in optimal condition.
Tools and Materials Needed
Before you begin fixing your RV blinds, it’s important to gather the necessary tools and materials. Having everything on hand will streamline the repair process and prevent unnecessary delays. Here are the essential tools and materials you will need:
Screwdriver: A set of screwdrivers with various head types (flathead, Phillips, etc.) will come in handy for removing screws and accessing different parts of the blinds.
Pliers: Pliers will be useful for gripping and maneuvering small parts, such as cords and clips.
Scissors: Scissors are necessary for cutting cords and fabric, especially if you need to replace damaged components.
Tape measure: A tape measure will help you accurately determine the dimensions of new slats or hardware that need to be replaced.
Replacement parts: Depending on the specific issue with your RV blinds, you may need to purchase replacement slats, cords, tilt mechanisms, or hardware. Make sure to measure and identify the correct parts before purchasing.
Cleaning supplies: If your blinds are dirty or stained, gather cleaning supplies such as a vacuum with brush attachments, mild detergent, a soft cloth, and a bucket of warm water.
Lubricant: In case any moving parts are sticking or squeaking, having a lubricant like silicone spray or WD-40 will help restore smooth operation.
By gathering these tools and materials ahead of time, you’ll be well-prepared to tackle the specific issues with your RV blinds. It’s also a good idea to ensure you have adequate lighting and a comfortable workspace before getting started. With everything in place, you’re ready to move on to the next step: assessing the issue.
Step 1: Assessing the Issue
Before diving into any repairs, it’s crucial to properly assess the issue with your RV blinds. Taking the time to identify the root cause of the problem will help you determine the most effective repair method. Here’s how to assess the issue:
Observe the blinds: Carefully inspect the blinds and note any visible damage or malfunctioning parts. Look for broken or damaged slats, tangled cords, loose hardware, or any other issues that may be affecting their functionality.
Operate the blinds: Test the blinds by raising, lowering, and tilting them if applicable. Pay attention to any resistance, stiffness, or unusual noises that may indicate underlying issues.
Take measurements: If you need to replace slats or hardware, take accurate measurements of the lengths, widths, and depths of the components. This ensures you purchase the correct replacements.
Clean the blinds: If the problem is simply dirty or stained blinds, perform a thorough cleaning using the appropriate cleaning supplies. This may resolve the issue without further repairs.
By carefully assessing the issue, you’ll have a better understanding of what needs to be repaired or replaced. This will save you time and ensure that you have the right tools and materials handy for the next steps.
When fixing RV blinds, start by checking for any loose or broken cords. Replace any damaged cords and ensure they are properly threaded through the blinds. This can help improve the functionality of the blinds and ensure they operate smoothly.
If your RV blinds have broken or damaged slats, it’s important to address this issue to restore both their functionality and aesthetic appeal. Follow these steps to repair broken slats:
Remove the blinds: Start by completely removing the blinds from their brackets. This will give you better access to the broken slats and make the repair process easier.
Identify the broken slats: Examine the blinds and pinpoint the specific slats that are broken or damaged. Note their position and consider marking them with tape or a marker for easy identification.
Remove the broken slats: Carefully detach the broken slats from the rest of the blinds. This usually involves unclipping them from the ladder cords or tilting mechanism.
Measure and cut replacement slats: Using the measurements you took earlier, acquire replacement slats that match the correct size and material. Trim them to the appropriate length if needed.
Attach the replacement slats: Slide the replacement slats into the ladder cords or tilting mechanism, securing them in place. Make sure they are aligned correctly and evenly spaced with the other slats.
Reinstall the blinds: Once the replacement slats are in place, reinsert the blinds into their brackets, ensuring they are properly aligned and secure.
By following these steps, you can easily repair broken slats and have your RV blinds looking as good as new. If you encounter any challenges or are unsure about the process, consult the manufacturer’s instructions or seek assistance from a professional.
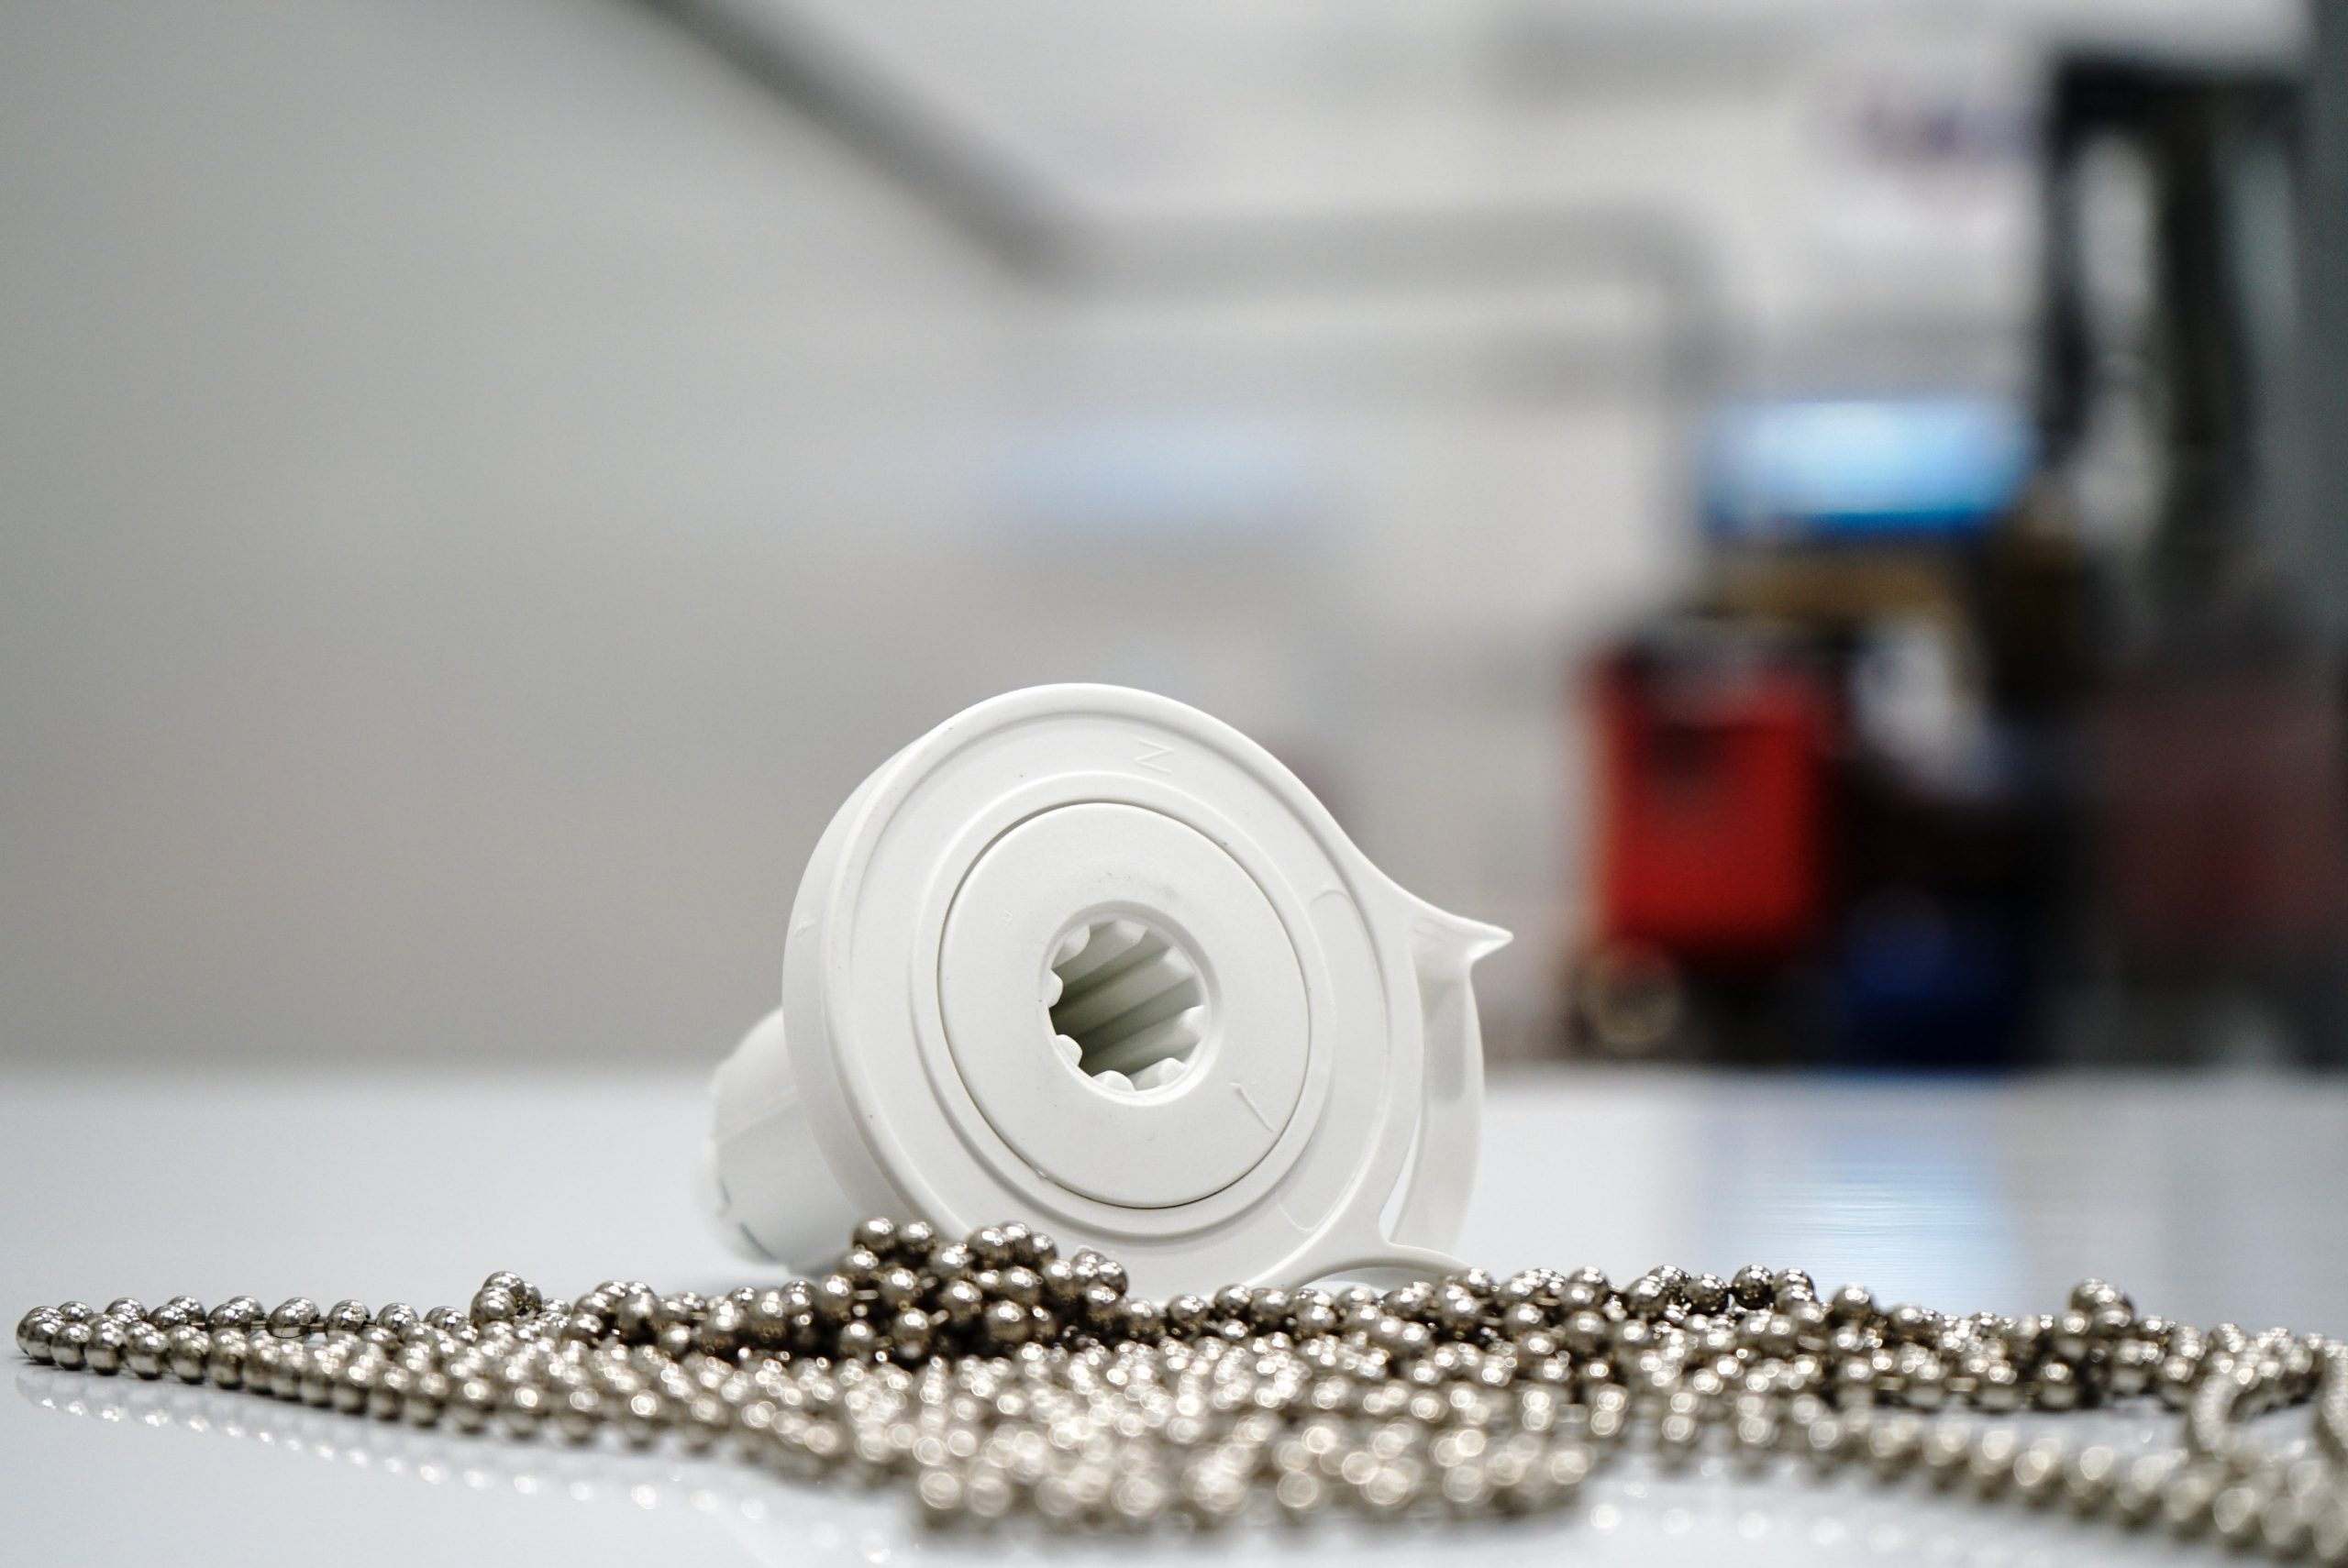
Step 3: Fixing Tangled or Jammed Cords
If the cords of your RV blinds have become tangled or jammed, it’s important to address this issue to ensure smooth operation and proper functioning. Follow these steps to fix tangled or jammed cords:
Lower the blinds: Start by lowering the blinds completely to relieve any tension on the cords and give you better access to work on them.
Untangle the cords: Carefully examine the cords and identify any areas where they are tangled or twisted. Gently manipulate the cords to untangle them, taking care not to pull or force them too much.
Inspect the cord guides: Check the cord guides or pulleys to ensure they are not obstructed or damaged. If necessary, clean them or replace them with new ones.
Apply lubricant if needed: If the cords are still not moving smoothly after untangling them, apply a small amount of lubricant to the cord guides or pulleys. This will help reduce friction and improve the movement of the cords.
Test the operation: Once the cords are untangled and lubricated, test the operation of the blinds by raising and lowering them. Ensure that the cords move freely and the blinds respond as desired.
Secure the cords: If the cords are too loose or have excessive slack, you may need to tighten them. Refer to the manufacturer’s instructions for adjusting the tension of the cords and follow the necessary steps.
By following these steps, you can effectively fix tangled or jammed cords and restore the smooth operation of your RV blinds. If you encounter any difficulties or the issue persists, consider reaching out to a professional for further assistance.
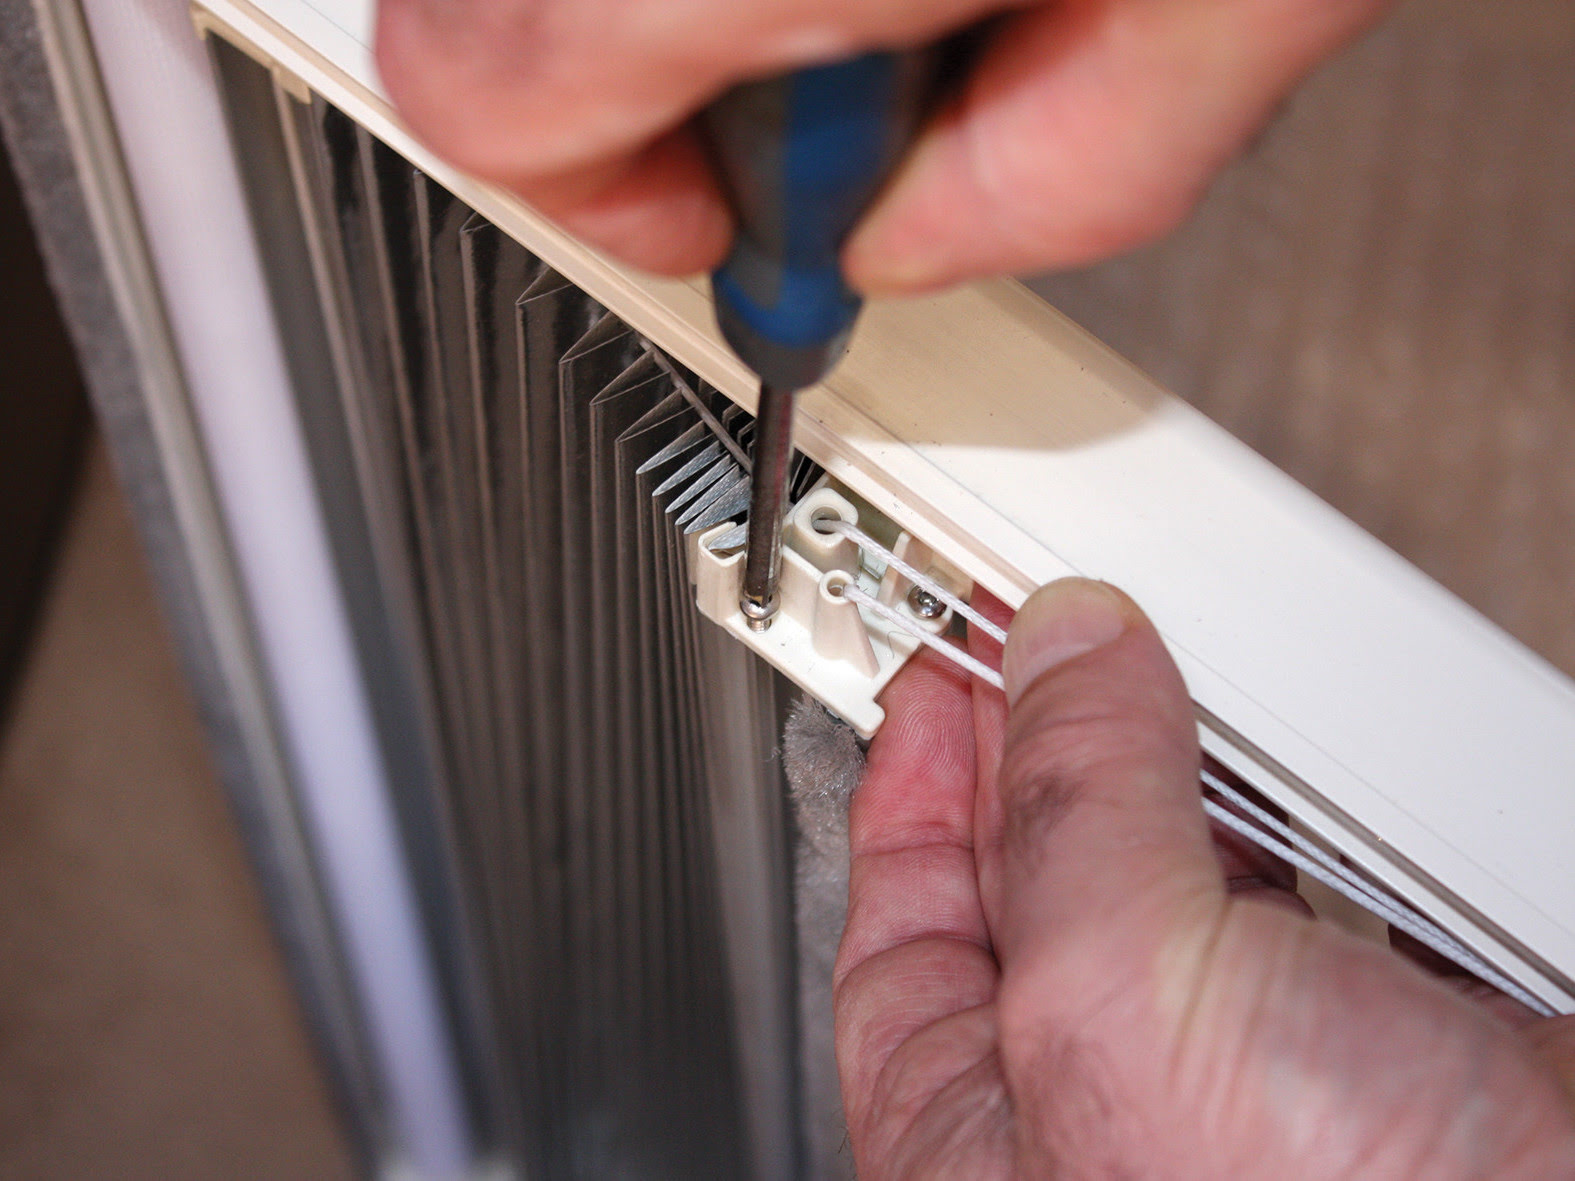
Step 4: Replacing Broken or Damaged Hardware
If the hardware components of your RV blinds, such as brackets, clips, or pulleys, are broken or damaged, it’s important to replace them to ensure proper functionality and stability. Follow these steps to replace broken or damaged hardware:
Remove the blinds: Start by removing the blinds from their brackets, similar to the process mentioned earlier. This will allow you to access the hardware more easily.
Identify the broken or damaged hardware: Examine the blinds and identify the specific brackets, clips, or pulleys that need to be replaced. Take note of their location and any specific measurements or specifications.
Acquire replacement hardware: Visit a local RV supply store or contact the manufacturer to acquire the exact replacement hardware needed. Ensure that the new hardware matches the specifications of the original parts.
Detach the old hardware: Carefully remove the broken or damaged hardware from the blinds. This may involve unscrewing screws, unclipping clips, or detaching pulleys.
Install the new hardware: Install the replacement hardware in the same location as the old hardware. Attach it securely using screws, clips, or any other appropriate fastening method. Ensure that the new hardware is aligned correctly and provides proper support.
Reinstall the blinds: Once the new hardware is in place, reinsert the blinds into their brackets and ensure they are properly aligned. Test the operation of the blinds to ensure that the replaced hardware functions as intended.
By following these steps, you can effectively replace broken or damaged hardware in your RV blinds. If you encounter difficulties or are unsure about the process, consult the manufacturer’s instructions or seek professional assistance.
Step 5: Cleaning and Maintaining RV Blinds
In addition to repairs, it’s important to regularly clean and maintain your RV blinds to keep them in optimal condition and prolong their lifespan. Follow these steps to clean and maintain your RV blinds:
Vacuum the blinds: Start by using a vacuum cleaner with brush attachments to remove any dust or debris from the blinds. Gently run the brush along the slats or fabric to ensure a thorough clean.
Spot clean stained areas: If you notice any stains on your blinds, prepare a mild detergent solution by mixing a small amount of detergent with warm water. Dampen a soft cloth in the solution and gently blot the stained areas. Avoid rubbing vigorously, as this may damage the material.
Rinse and dry: After spot cleaning, rinse the cloth with clean water and gently wipe away any soapy residue. Allow the blinds to air dry completely before rehanging them. This will help prevent mold or mildew growth.
Lubricate moving parts: To ensure smooth operation, lubricate any moving parts or mechanisms with a silicone spray or WD-40. Apply a small amount to hinges, pulleys, or tilt mechanisms as per the manufacturer’s recommendations.
Regularly dust and wipe down: Make it a habit to regularly dust your RV blinds using a microfiber cloth or a feather duster. This will help prevent the buildup of dust and maintain their appearance.
Avoid excessive force: When operating your blinds, handle them with care and avoid applying excessive force. Gentle and controlled movements will help prevent damage to the slats, cords, or hardware.
Inspect for damage: Periodically inspect your RV blinds for any signs of damage, such as broken slats, frayed cords, or loose hardware. Address any issues promptly to prevent further damage and ensure proper functioning.
By following these cleaning and maintenance steps on a regular basis, you can keep your RV blinds looking clean and functioning properly for years to come. This will enhance the overall comfort and aesthetics of your RV living space.
RV blinds are an integral part of any recreational vehicle, providing privacy, shade, and style to the interior space. However, they can encounter issues over time that may affect their functionality and aesthetics. By understanding the structure and mechanisms of RV blinds, as well as the common problems that may arise, you can effectively address these issues and restore your blinds to their optimal condition.
In this comprehensive guide, we’ve covered various aspects of fixing RV blinds, including repairing broken slats, fixing tangled or jammed cords, replacing broken or damaged hardware, and cleaning and maintaining the blinds. By following the step-by-step instructions provided, you can confidently address these common problems and ensure the smooth operation and longevity of your RV blinds.
Remember to gather the necessary tools and materials before beginning any repairs, and take the time to assess the issue accurately. Be mindful of safety precautions and consult the manufacturer’s instructions or seek professional assistance if needed. Regular cleaning and maintenance of your RV blinds will also help prevent future issues and ensure their longevity.
By dedicating some time and effort to maintaining and fixing your RV blinds, you can create a comfortable and aesthetically pleasing living space in your recreational vehicle. So, don’t let broken slats, tangled cords, or damaged hardware dampen your RV experience. With the knowledge gained from this guide, you can tackle any blind-related issues and enjoy the benefits of functional and visually appealing blinds on your RV adventures.
Frequently Asked Questions about How To Fix RV Blinds
What are the common issues with RV blinds?
Common issues with RV blinds include broken slats, tangled cords, difficulty in raising or lowering the blinds, and general wear and tear from constant use and exposure to the elements.
How can I fix tangled cords on my RV blinds?
To fix tangled cords on your RV blinds, carefully untangle the cords by gently pulling them apart. If the cords are damaged, you may need to replace them with new ones. It’s important to ensure that the cords are properly aligned and functioning smoothly to avoid future tangles.
What are some tips for maintaining RV blinds?
To maintain RV blinds, regularly dust and clean them to prevent dirt and grime buildup. Avoid using harsh chemicals or abrasive materials that could damage the blinds. Additionally, periodically check for any signs of wear and tear, and address any issues promptly to prevent further damage.
Can I repair broken slats on my RV blinds?
Yes, you can repair broken slats on your RV blinds. Depending on the extent of the damage, you may be able to simply reattach the slats or replace them with new ones. It’s important to use the correct size and type of slats to ensure a proper fit and functionality.
How do I troubleshoot RV blinds that won’t raise or lower properly?
If your RV blinds won’t raise or lower properly, start by checking for any obstructions or tangled cords. Ensure that the blinds are properly aligned and that the lifting mechanism is functioning correctly. If the issue persists, you may need to inspect the internal components or seek professional assistance for repairs.
Was this page helpful?
At Storables.com, we guarantee accurate and reliable information. Our content, validated by Expert Board Contributors, is crafted following stringent Editorial Policies. We're committed to providing you with well-researched, expert-backed insights for all your informational needs.
This website uses cookies so that we can provide you with the best user experience possible. Cookie information is stored in your browser and performs functions such as recognising you when you return to our website and helping our team to understand which sections of the website you find most interesting and useful.
Strictly Necessary Cookies
Strictly Necessary Cookie should be enabled at all times so that we can save your preferences for cookie settings.
If you disable this cookie, we will not be able to save your preferences. This means that every time you visit this website you will need to enable or disable cookies again.