Articles
How To Fix Electrolysis In Plumbing
Modified: August 21, 2024
Learn how to fix electrolysis in plumbing with these insightful articles. Prevent corrosion and ensure optimal plumbing performance.
(Many of the links in this article redirect to a specific reviewed product. Your purchase of these products through affiliate links helps to generate commission for Storables.com, at no extra cost. Learn more)
Introduction
Plumbing plays a vital role in our everyday lives, providing us with clean water for drinking, cooking, and bathing. However, even the most well-maintained plumbing systems can experience issues over time. One common problem that homeowners may encounter is electrolysis in plumbing.
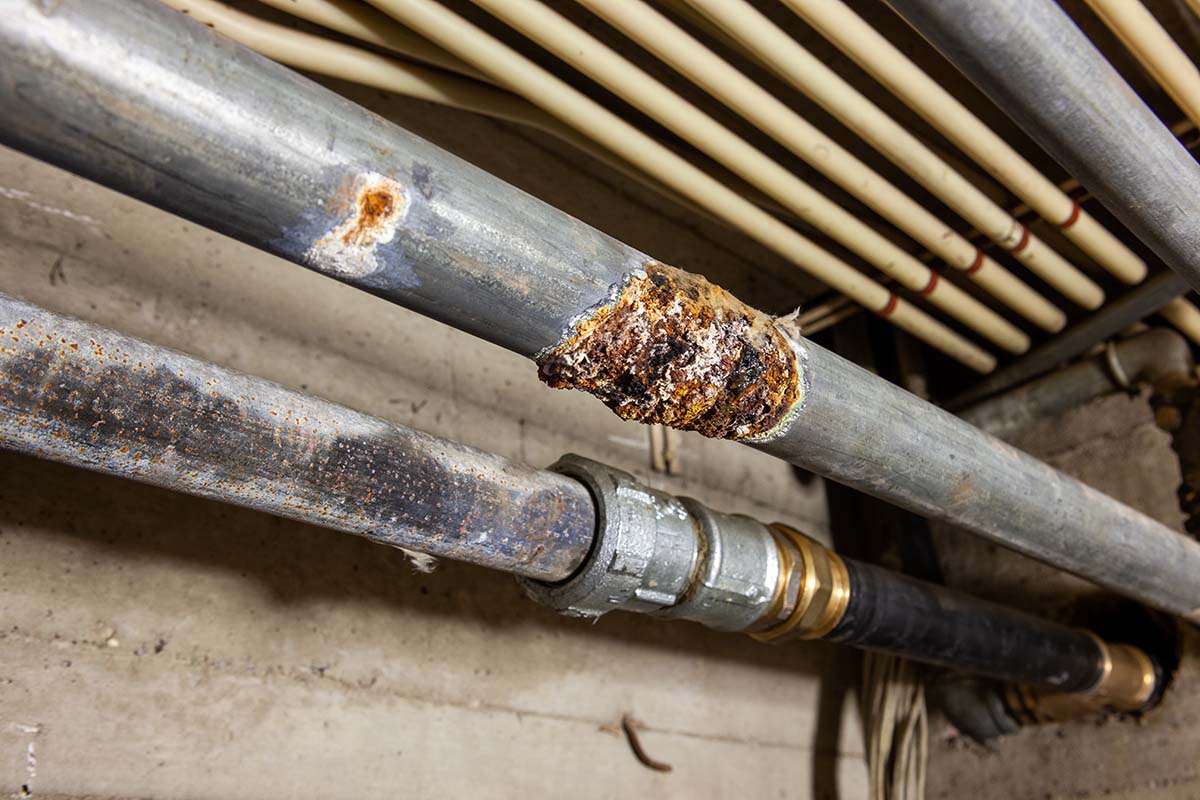
Electrolysis occurs when two dissimilar metals come into contact within the plumbing system, causing a chemical reaction that leads to corrosion and deterioration of the pipes. This can result in leaks, reduced water pressure, and even potentially contaminated water.
In this article, we will delve into understanding electrolysis in plumbing, identify the signs that indicate its presence, explore the causes of electrolysis, and provide effective solutions to fix and prevent further damage.
By gaining insights into electrolysis in plumbing and learning how to address it, you can ensure the longevity and safety of your plumbing system.
Key Takeaways:
- Understanding the signs and causes of electrolysis in plumbing is crucial for early detection and effective prevention. By recognizing discoloration, leaks, and unusual noises, homeowners can take proactive measures to safeguard their plumbing systems.
- Fixing electrolysis in plumbing involves a series of steps, including shutting off the water supply, draining the system, replacing problematic pipes, and installing dielectric union fittings. Regular testing, monitoring, and maintenance are essential to ensure long-term health and functionality of the plumbing system.
Read more: How To Fix Plumbing Problems
Understanding Electrolysis in Plumbing
Electrolysis is a chemical process that occurs when two dissimilar metals are in contact with an electrically conductive fluid, such as water. When this contact takes place within a plumbing system, it creates an environment that promotes galvanic corrosion.
Galvanic corrosion is the process in which one metal corrodes at an accelerated rate when it is in contact with another metal of a different electrochemical potential. In the case of plumbing, this corrosion can result in the deterioration of pipes, fittings, and other components.
Most plumbing systems are made up of a variety of metals, such as copper, brass, and steel. When these metals come into contact, they create an electrolytic cell, with one metal acting as the anode and the other as the cathode.
The anode metal is sacrificial in nature and corrodes more rapidly, while the cathode metal is protected. The corrosion occurs due to the flow of electric current between the anode and cathode, facilitated by the conductive fluid. Over time, this corrosion weakens the pipes and can lead to leaks and other plumbing issues.
It is important to note that electrolysis is different from general corrosion that occurs due to aging or exposure to harsh chemicals. Electrolysis specifically occurs as a result of the dissimilar metals and the electrical current passing through the plumbing system.
Understanding electrolysis in plumbing is crucial because it allows you to recognize the signs of its presence, take preventive measures, and effectively address the issue before it causes significant damage to your plumbing system.
Identifying Signs of Electrolysis
Identifying the signs of electrolysis in your plumbing system is essential for early detection and prompt action. Here are some common signs that may indicate the presence of electrolysis:
- Discoloration: Notice any unusual discoloration on your pipes? Stains, bluish-green patches, or reddish-brown spots on copper pipes can be an indication of electrolysis.
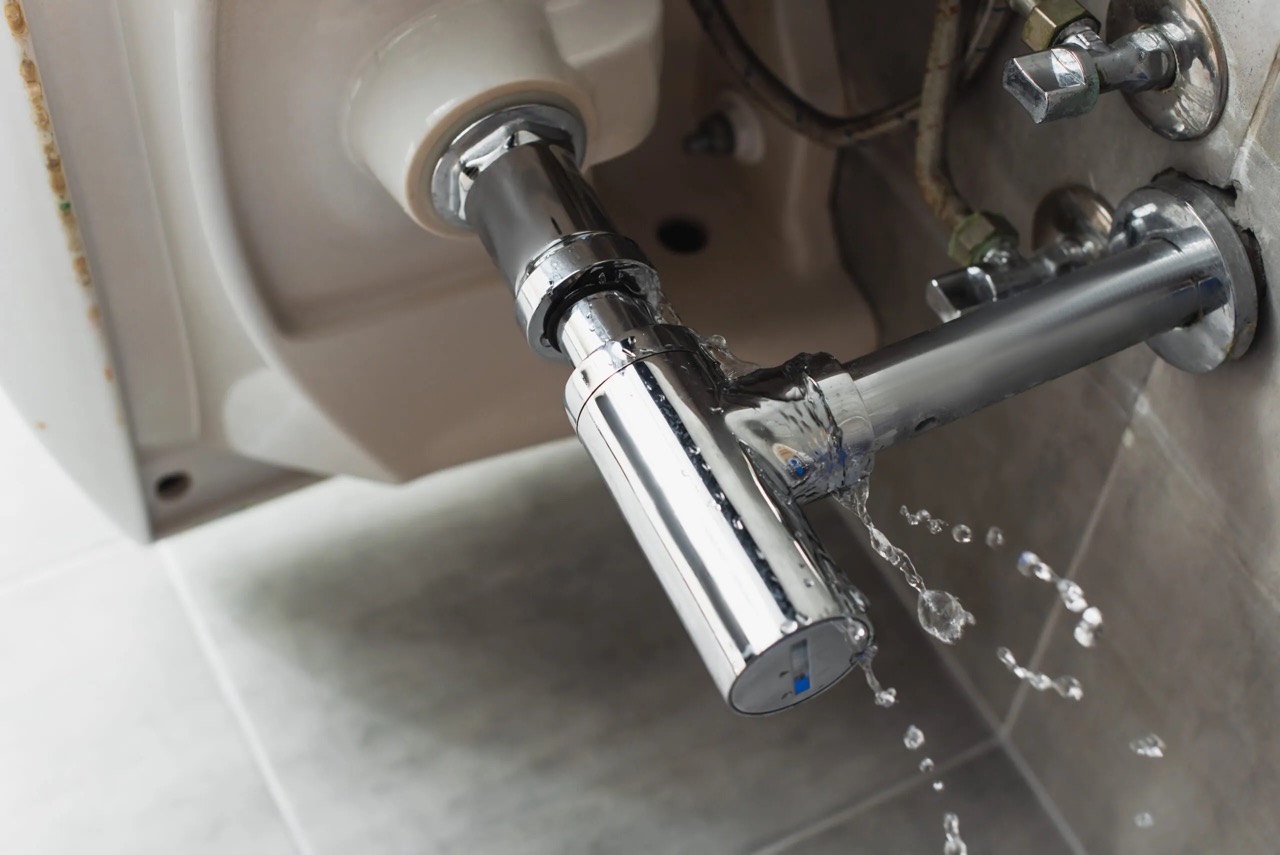
- Pinhole leaks: Have you been experiencing frequent pinhole leaks in your plumbing system? These small, unexplained leaks can be a result of electrolysis-related corrosion eating away at the pipes.
- Reduced water pressure: If you notice a significant decrease in water pressure in your plumbing fixtures, electrolysis could be at play. Corrosion caused by electrolysis can restrict the flow of water through the pipes, resulting in low water pressure throughout your property.
- Unusual noises: Pay attention to any strange noises coming from your plumbing system, such as banging or popping sounds. These noises can indicate that the pipes are under stress due to corrosion caused by electrolysis.
- Fluctuating water temperature: Are you experiencing sudden changes in water temperature, especially when using hot water? Electrolysis can damage the heat exchanger components within your plumbing system, leading to inconsistent water temperature.
- Unpleasant odor or taste: Electrolysis can cause chemical reactions within the plumbing system, leading to the release of metallic particles into the water. If you detect an unusual taste or odor in your tap water, it may be a sign of electrolysis-related corrosion.
- Inefficient water heater: If your water heater is not performing as efficiently as it should, electrolysis might be to blame. Corrosion caused by electrolysis can reduce the effectiveness and lifespan of your water heater, resulting in higher energy bills and inconsistent hot water supply.
If you observe any of these signs, it is crucial to take immediate action to prevent further damage to your plumbing system. Ignoring electrolysis can lead to extensive and costly repairs down the line.
Causes of Electrolysis in Plumbing
Electrolysis in plumbing can be caused by various factors, all related to the interaction of dissimilar metals, electric currents, and conductive fluids within the plumbing system. Understanding these causes can help you identify potential risks and take preventive measures. Here are some common causes of electrolysis:
- Dissimilar metals: The primary cause of electrolysis in plumbing is the presence of dissimilar metals coming into contact with each other. When these metals are exposed to water or other conductive fluids, they create an electrolytic cell and a flow of electric current, leading to galvanic corrosion.
- Incorrect installation: Improper installation of plumbing components can contribute to electrolysis. For example, when two different metals are directly connected through fittings or pipes without proper insulation or protective measures, the risk of electrolysis increases.
- Grounding issues: Electrical grounding systems and plumbing systems should be effectively separated to prevent electrolysis. If there are faulty grounding connections or an electrical fault occurs in the vicinity of the plumbing system, it can create stray electric currents that contribute to electrolysis.
- Water chemistry: The mineral content and pH levels of the water can influence the likelihood of electrolysis. Water with high mineral content or an incorrect pH balance can accelerate the corrosion process by providing a more conductive environment.
- Electrical faults: Electrical faults in the plumbing system or nearby electrical circuits can cause stray electric currents to flow through the pipes, leading to electrolysis. These faults can result from faulty wiring, malfunctioning appliances, or lightning strikes.
- Excessive electric currents: In certain cases, excessive electric currents can run through the plumbing system due to faulty electrical connections or improperly grounded electrical equipment. These high currents can intensify the effects of electrolysis and hasten the corrosion process.
It is important to note that multiple causes can coexist and contribute to the occurrence of electrolysis in plumbing. Regular inspections, proper installation techniques, and understanding the water chemistry in your area can help mitigate the risk of electrolysis and ensure the longevity of your plumbing system.
Assessing the DamageBefore proceeding with the necessary repairs for electrolysis in your plumbing system, it is crucial to assess the extent of the damage. This step will help you determine the best course of action and the specific repairs required. Here are some steps to assess the damage caused by electrolysis:
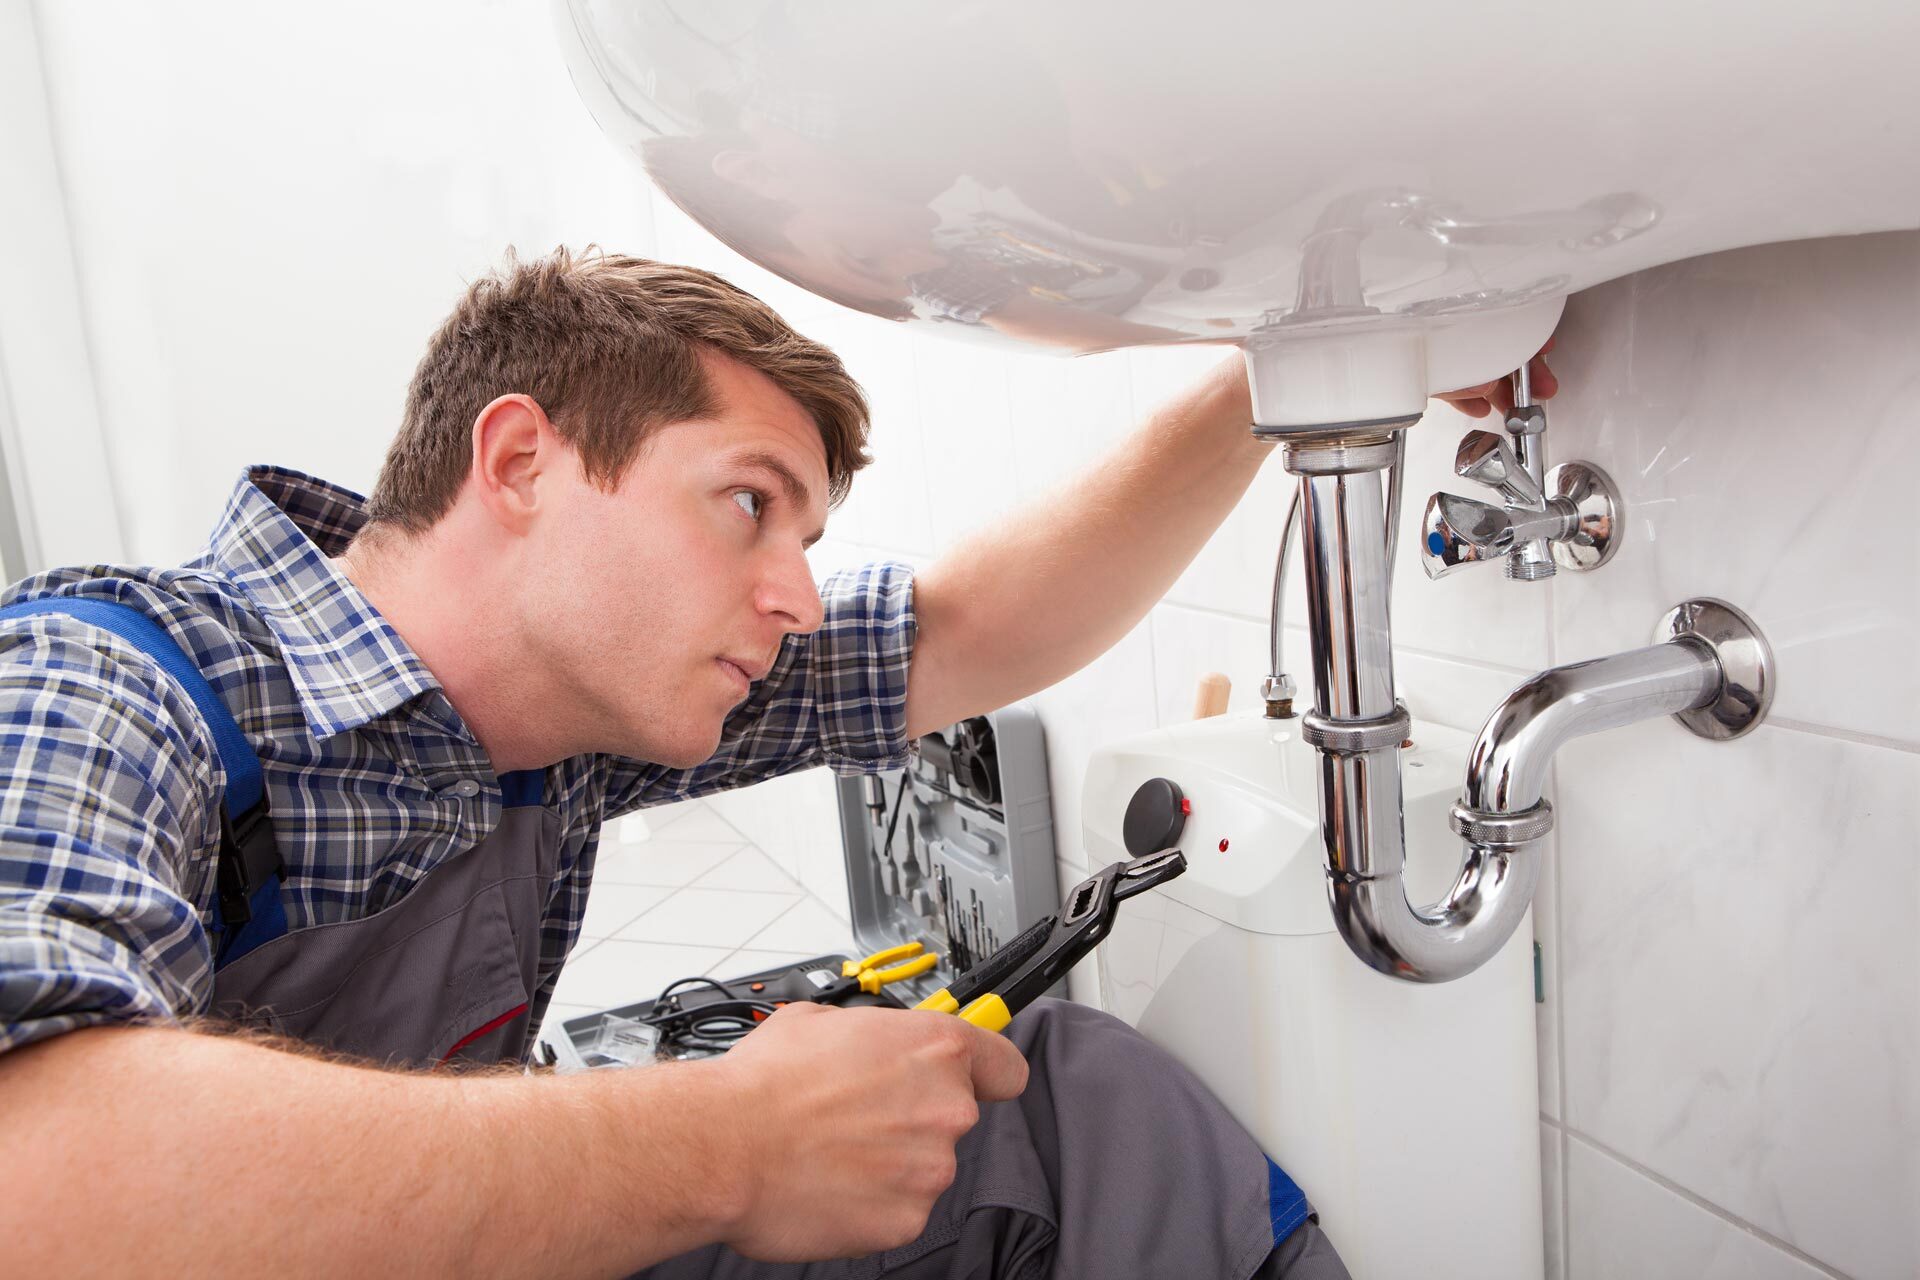
- Visual inspection: Start by visually inspecting the exposed plumbing pipes for any signs of corrosion, such as discoloration, pitting, or rusting. Focus on areas where dissimilar metals are in contact, such as joints and fittings.
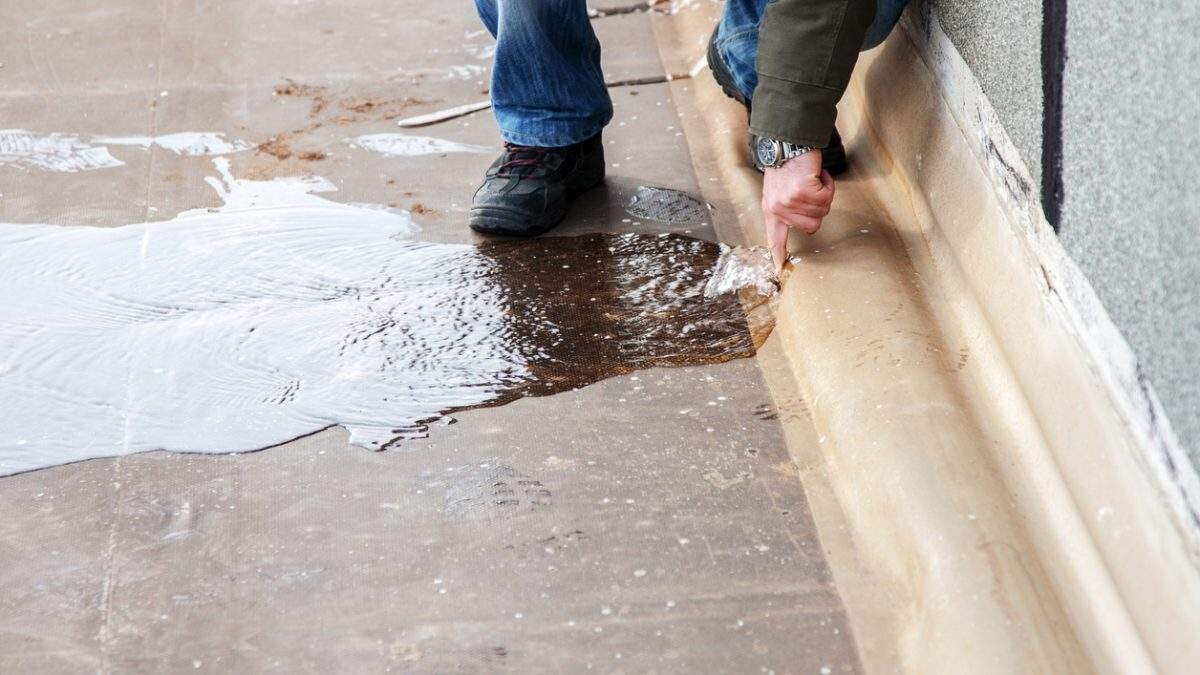
- Check for leaks: Look for any visible leaks or signs of water damage around the plumbing system, including under sinks, behind walls, or in the basement or crawlspace. Pinhole leaks are common with electrolysis-related corrosion and may require immediate attention.
- Water quality test: Consider conducting a water quality test to assess whether the electrolysis has caused any contamination. Look for changes in the taste, odor, or appearance of the water. If you suspect contamination, contact a professional for further testing and guidance.
- Water pressure test: Test the water pressure throughout your plumbing system to identify any areas where the flow may have been affected by electrolysis-related corrosion. Low water pressure can indicate pipe deterioration and the need for repairs or replacements.
- Inspect surrounding structures: Examine the areas surrounding the plumbing system, including walls, floors, and ceilings, for any signs of moisture, mold, or damage caused by leaking pipes. Remember that electrolysis-related leaks can be subtle and may not always be immediately visible.
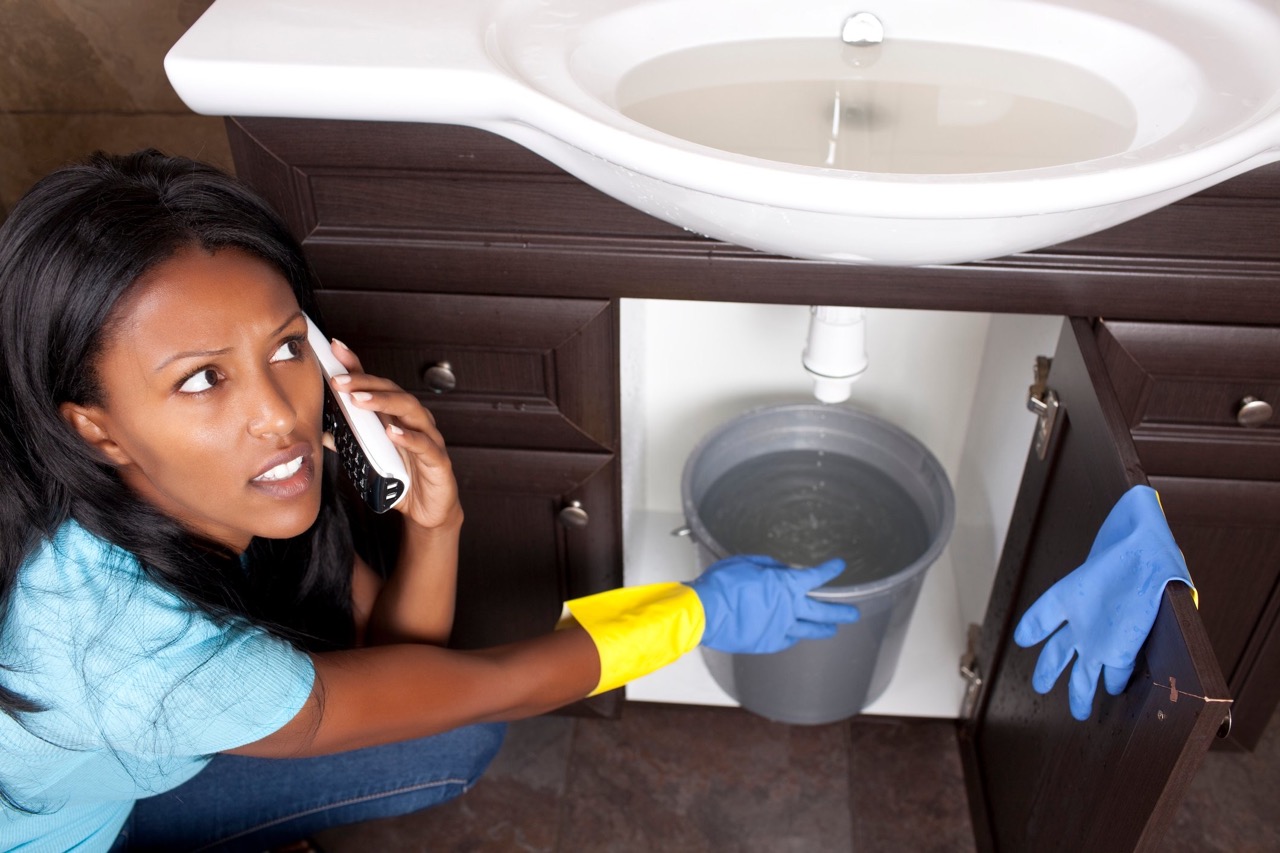
- Hire a professional: If you are unsure about assessing the extent of the damage or lack the expertise to do so, it is advisable to consult a professional plumber. They can conduct a thorough inspection, identify the underlying issues, and provide recommendations for repair or replacement.
By assessing the damage caused by electrolysis, you will have a clearer understanding of the scope of the problem and be better equipped to address it effectively. Remember, early detection and timely repairs can prevent further damage and ensure the long-term health of your plumbing system.
Read more: How To Fix A Leaking Plumbing Stack
Steps to Fix Electrolysis in Plumbing
When it comes to fixing electrolysis in your plumbing system, it is essential to address the issue promptly to prevent further damage. Here are the steps to follow in order to fix electrolysis:
- Step 1: Shut off the Water Supply: Before beginning any repairs, turn off the main water supply to your property. This will prevent water from flowing through the plumbing system and allow you to work on the affected areas safely.
- Step 2: Drain the Plumbed System: Next, drain the plumbing system to remove any remaining water. Open all faucets and fixtures, starting from the highest point in your property and working your way down. This will ensure that the system is completely drained.
- Step 3: Identify and Replace Problematic Pipes: Inspect the plumbing system for any corroded or damaged pipes. Take note of the areas where dissimilar metals are in contact. Replace these pipes with new ones made of similar metals to prevent further electrolysis-related corrosion.
- Step 4: Install Dielectric Union Fittings: Install dielectric union fittings where dissimilar metals connect or join, such as at the water heater, water meters, or between copper and steel pipes. These fittings help prevent galvanic corrosion by creating a barrier between the metals.
- Step 5: Reassemble the Plumbing System: Once the problematic pipes have been replaced and the dielectric union fittings installed, reassemble the plumbing system. Tighten all connections securely and ensure that there are no leaks.
- Step 6: Test and Monitor for Electrolysis: Turn the water supply back on and test the plumbing system for leaks and proper functionality. Monitor the system closely in the following weeks to ensure that electrolysis-related issues do not reoccur, such as leaks or changes in water quality.
It is important to note that fixing electrolysis in plumbing may require the expertise of a professional plumber, especially when dealing with complex installations or extensive damage. Consulting a plumber can ensure that the necessary repairs are done correctly and that the plumbing system remains in optimal condition.
By following these steps and taking proactive measures, you can effectively fix electrolysis in your plumbing system and prevent future occurrences, prolonging the lifespan of your plumbing and ensuring the consistent flow of clean, safe water throughout your property.
Step 1: Shut off the Water Supply
When addressing electrolysis in your plumbing system, it is crucial to start by shutting off the water supply to your property. This step ensures that water does not flow through the plumbing system while you work on fixing the issue. Here’s how to shut off the water supply:
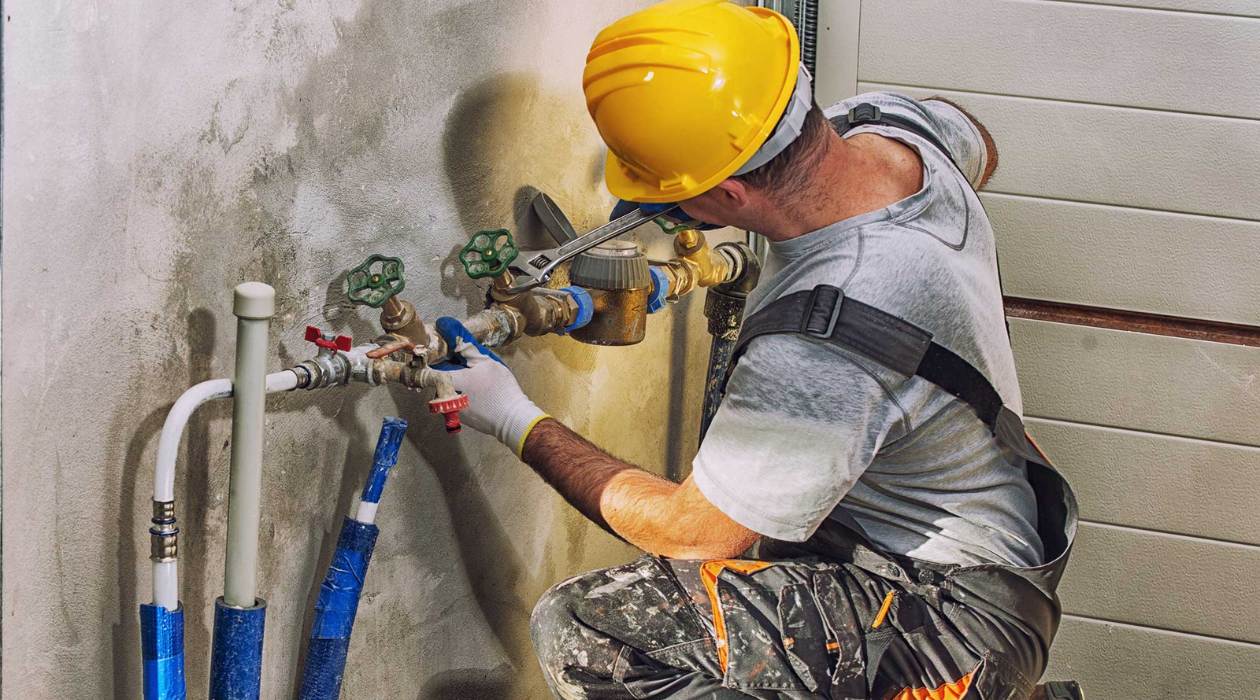
- Locate the shut-off valve: The shut-off valve is typically located near the water meter or where the main water line enters your property. It is important to familiarize yourself with the location of this valve beforehand to ensure a swift and accurate shut-off.
- Turn off the main water valve: Once you have located the shut-off valve, use a valve key, a wrench, or your hand to turn the valve clockwise (to the right) until it is fully closed. This will stop the flow of water from the main water supply.
- Open faucets to release remaining water: To drain any remaining water in the plumbing system, open faucets and fixtures throughout your property. Start from the highest point in your home, such as an upstairs bathroom, and work your way down to lower levels, ensuring that all faucets and fixtures are open.
- Flush toilets: Flush toilets to empty the remaining water in the tank and bowl. This will help prevent any additional water from flowing through the plumbing system while you work on fixing the electrolysis issue.
- Verify the water supply is shut off: After closing the main water valve and opening faucets and fixtures, check that water has stopped flowing. Listen for the absence of running water and observe that faucets and fixtures are dry. This confirms that the water supply has been effectively shut off.
Shutting off the water supply is essential for your safety and the effectiveness of the subsequent steps to fix electrolysis in your plumbing system. By taking this precaution, you can work on the system without the risk of water flow interfering with the repair process.
Remember that if you are uncertain about locating or shutting off the main water valve, it is advisable to consult a professional plumber for assistance. They can guide you through the process and ensure that it is done properly.
To fix electrolysis in plumbing, consider installing dielectric unions to separate different metals and prevent galvanic corrosion. Regularly check for leaks and corrosion to catch and address any issues early.
Step 2: Drain the Plumbed System
After shutting off the water supply, the next step in fixing electrolysis in your plumbing system is to drain the system. Draining the plumbing system removes any remaining water, allowing you to work on the pipes without the risk of flooding or water damage. Here’s how you can drain the plumbed system:
- Start with the highest point: Begin by opening the faucet or fixture that is located at the highest point in your home. This could be a bathroom on the second floor, for example. Open the faucet fully to allow air to enter the system.
- Work your way down: Move to the next level or room and open the faucets and fixtures on that level fully. Repeat this process for each level until you reach the lowest point in your home, such as a basement faucet or an outdoor spigot.
- Open all faucets and fixtures: In addition to the faucets in each room or level, open all other fixtures that are connected to the plumbing system, such as showerheads, bathtub faucets, and hose bibs. Ensure that all the valves and handles are fully open.
- Flush toilets: Flush all toilets in your home to drain the water from the tanks and bowls. Hold down the flush lever to allow as much water as possible to flow out of the toilet.
- Allow the system to drain: Leave all the faucets, fixtures, and toilets open to allow the plumbing system to drain fully. It may take a few minutes for the water to completely drain, depending on the size of your system and the water pressure.
It’s important to note that after draining the plumbing system, it’s a good idea to place towels or buckets under open faucets to catch any residual water that may continue to drip. Additionally, ensure that any water-dependent appliances, such as water heaters or washing machines, are properly drained and turned off.
By following these steps to drain the plumbed system, you can ensure that there is no residual water present in the pipes, allowing you to safely work on fixing the electrolysis issue. This step is crucial in preventing water damage and ensuring a dry work environment during the repair process.
Step 3: Identify and Replace Problematic Pipes
After draining the plumbing system, the next step in fixing electrolysis is to identify and replace any problematic pipes. Corroded or damaged pipes are susceptible to electrolysis-related deterioration and can contribute to further issues in your plumbing system. Here’s how to identify and replace these pipes:
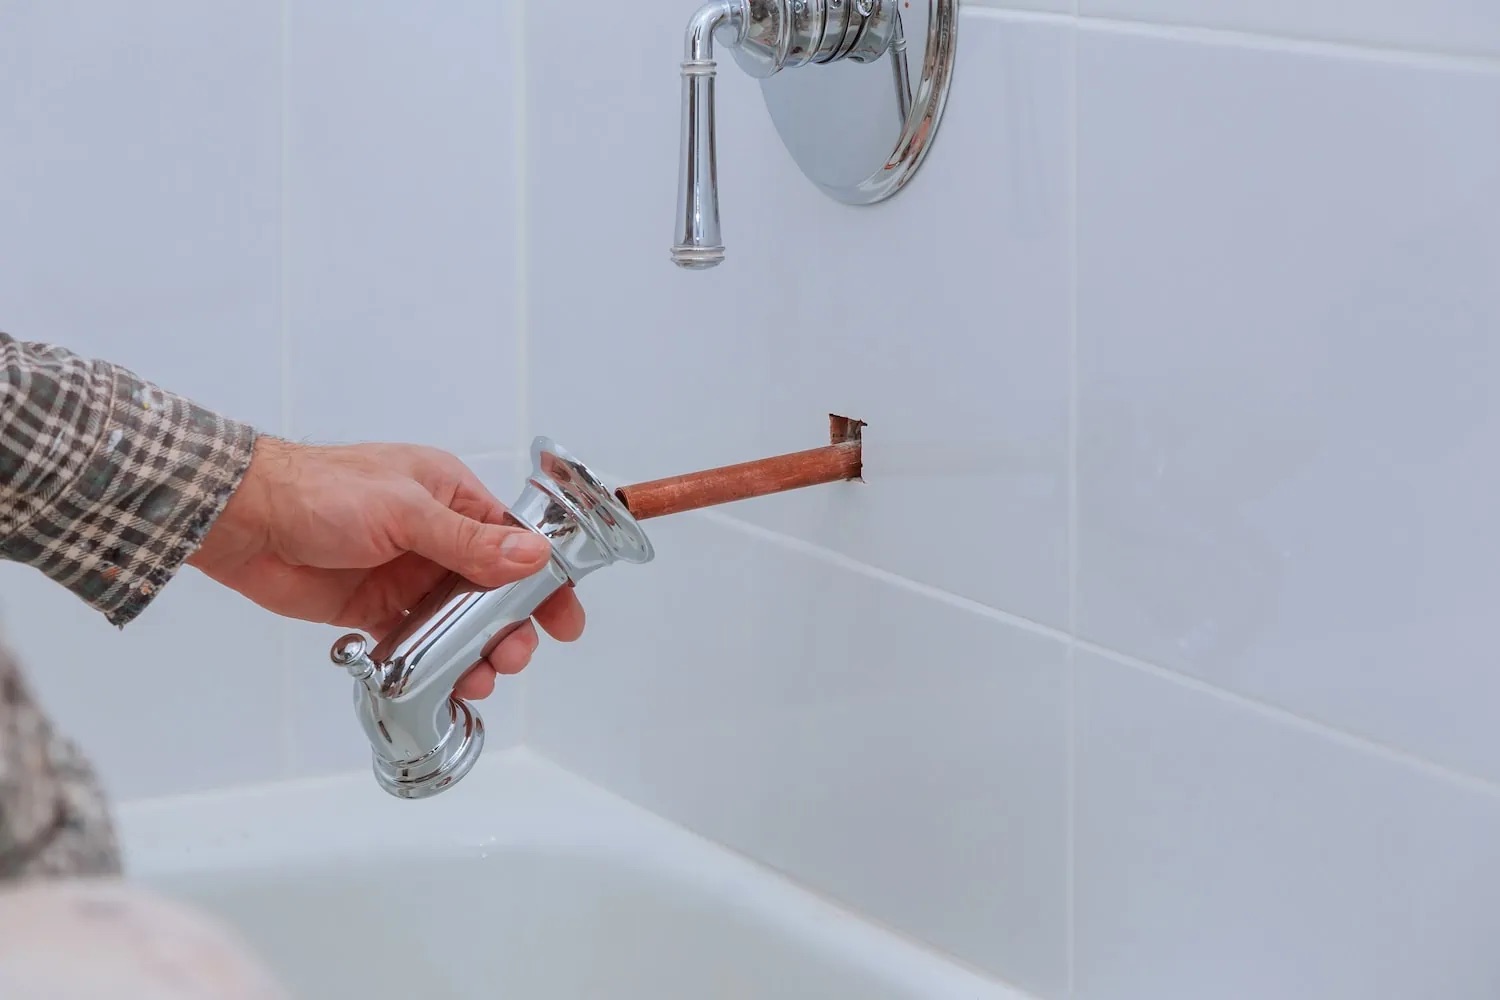
- Inspect visible pipes: Start by visually inspecting the exposed pipes in your plumbing system. Look for signs of corrosion, such as discoloration, pitting, or rusting. Pay close attention to areas where dissimilar metals are in contact, such as joints, fittings, and connections.
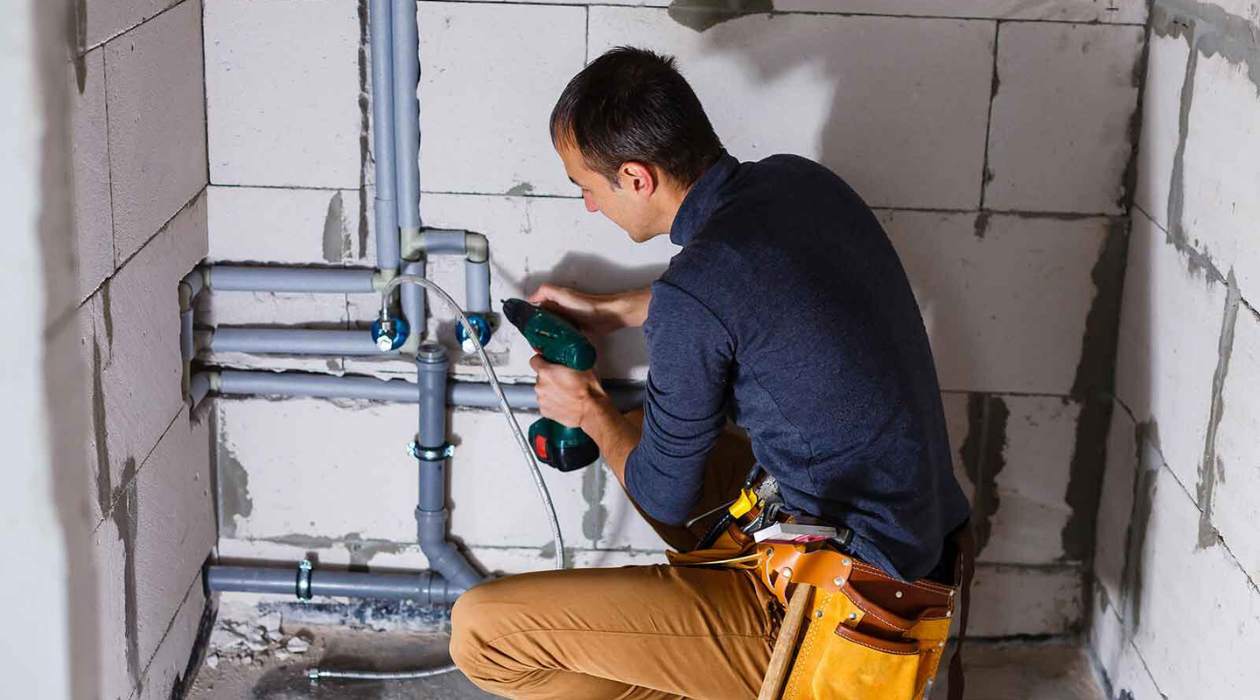
- Use a pipe inspection camera: For pipes that are not easily accessible or are located behind walls or ceilings, a pipe inspection camera can be a helpful tool. This camera allows you to see inside the pipes and identify any corrosion or damage that may not be visible from the outside.
- Check for leaks: Look for any visible leaks or signs of water damage around the plumbing system. Pinhole leaks are often a result of electrolysis-related corrosion. These leaks may appear as small drips or stains on walls, ceilings, or flooring.
- Consider water quality: If you suspect electrolysis-related corrosion, it’s important to consider the water quality in your area. Water with high mineral content or an incorrect pH balance can accelerate corrosion. If your water quality is a concern, it may be necessary to replace not only corroded pipes but also any pipes that are prone to electrolysis-related damage.
- Replace with similar metals: When replacing problematic pipes, opt for pipes made of similar metals to prevent electrolysis. For example, if you had copper pipes corroded due to contact with steel pipes, replace them with new copper pipes. If possible, avoid mixing dissimilar metals altogether to minimize the risk of future electrolysis.
- Ensure proper insulation and protection: When installing the replacement pipes, make sure they are properly insulated and protected. Insulation, such as foam sleeves or tape, can create a barrier between dissimilar metals and help prevent electrical contact. This added layer of protection can reduce the likelihood of electrolysis-related corrosion.
Replacing problematic pipes is a crucial step in addressing electrolysis in your plumbing system. By identifying and replacing corroded or damaged pipes, you can prevent further damage, improve the system’s functionality, and reduce the risk of future electrolysis-related corrosion.
If you are unsure about identifying or replacing pipes, it is recommended to seek the assistance of a professional plumber. They have the expertise and tools necessary to accurately assess your plumbing system and perform the replacement effectively.
Read more: How To Fix Hot Tub Plumbing Leak
Step 4: Install Dielectric Union Fittings
After replacing problematic pipes in your plumbing system, the next step in fixing electrolysis is to install dielectric union fittings. These fittings act as a barrier between dissimilar metals, helping to prevent galvanic corrosion and the resulting damage. Here’s how to install dielectric union fittings:
- Select the appropriate fittings: Choose dielectric union fittings that are compatible with the size and type of pipes in your plumbing system. These fittings are available in various materials, such as brass or plastic, and come in different sizes to accommodate different pipe diameters.
- Prepare the pipes: Clean the ends of the pipes where the dielectric union fittings will be installed. Use a pipe cleaner or fine-grit sandpaper to remove any dirt, debris, or corrosion from the surface. This ensures a clean and durable connection.
- Apply thread sealant: Apply an appropriate thread sealant, such as plumber’s tape, to the male threads of the dielectric union fitting. This helps create a watertight seal and prevents leaks at the connection point.
- Install the fittings: Screw the dielectric union fitting onto the clean, prepared end of one pipe. Use a wrench to tighten the fitting securely, but be careful not to overtighten and damage the threads. Repeat this step for the other end of the fitting and the second pipe.
- Tighten the connections: Use two wrenches to tighten the connection between the dielectric union fitting and the pipes. Hold one wrench steady on the fitting while using the other wrench to tighten the connection. This ensures a strong, leak-free joint.
- Repeat for other connections: Install dielectric union fittings at all necessary connections where dissimilar metals come into contact. This includes connections between copper and steel pipes, or any other dissimilar metal combinations in your plumbing system.
- Inspect for leaks: Once all dielectric union fittings are installed, visually inspect the connections for any signs of leaks. Turn on the water supply and monitor the fittings closely for any signs of dripping or water seepage. If any leaks are detected, tighten the connections further or seek the assistance of a professional plumber.
Installing dielectric union fittings is a crucial preventive measure to reduce the risk of electrolysis-related corrosion in your plumbing system. By creating a barrier between dissimilar metals, these fittings help maintain the integrity of the pipes and extend their lifespan.
If you are unsure about installing dielectric union fittings or need guidance, it is recommended to consult a professional plumber. They can ensure that the fittings are properly installed and the connections are secure, minimizing the risk of leaks and electrolysis-related damage.
Step 5: Reassemble the Plumbing System
After installing dielectric union fittings and ensuring the connections are secure, the next step in fixing electrolysis in your plumbing system is to reassemble the system. This involves putting all the components back together, reconnecting the pipes, and ensuring proper functionality. Here’s how to reassemble the plumbing system:
- Inspect the fittings: Before reassembling, visually inspect all the dielectric union fittings and connections to ensure they are properly installed and tightened. Look for any signs of leaks or loose fittings that may need adjustment.
- Tighten any loose connections: If you find any loose fittings or connections, use a wrench to tighten them. Be careful not to overtighten, as this can damage the fittings or pipes. Ensure that all connections are snug and leak-free.
- Reconnect the pipes: Begin by reconnecting the pipes that you replaced during the repair process. Use the appropriate fittings and connectors to securely join the pipes together. Follow manufacturer guidelines and ensure a tight and watertight connection.
- Reinstall other components: After reconnecting the main pipes, proceed to reinstall any other components that were removed during the repair, such as shut-off valves, faucets, or fixtures. Make sure each component is properly aligned, and all connections are secure.
- Tighten connections: Use wrenches to tighten all connections, including those between the pipes and the components. Double-check that there are no loose or leaking connections that could compromise the functionality and integrity of the plumbing system.
- Replace any damaged insulation: If insulation was removed or damaged during the repair, replace it to ensure proper insulation and protection between dissimilar metals. Insulation, such as foam sleeves or tape, can help prevent electrical contact and reduce the risk of electrolysis.
- Turn the water supply back on: Finally, turn on the main water supply to restore water flow throughout the plumbing system. Observe the system closely for any signs of leaks or abnormalities in water pressure or flow.
By carefully reassembling the plumbing system, you can ensure that all components are properly connected and functioning. Taking the time to tighten connections and replace damaged insulation will help maintain the integrity of the system and reduce the risk of future electrolysis-related issues.
If you encounter any difficulties during the reassembly process or are unsure about any specific steps, it is recommended to seek the assistance of a professional plumber. They have the knowledge and expertise to guide you through the process and ensure that the plumbing system is reassembled correctly.
Step 6: Test and Monitor for Electrolysis
The final step in fixing electrolysis in your plumbing system is to test and monitor the system for any signs of ongoing electrolysis. Testing and monitoring will help ensure that the repair measures have been effective and that your plumbing system is functioning optimally. Here’s how you can test and monitor for electrolysis:
- Turn on the water supply: After reassembling the plumbing system, turn on the main water supply to restore water flow throughout the system. Observe the system as the water flows through the pipes and ensure that there are no immediate signs of leaks or water pressure issues.
- Check for any abnormal signs: Keep an eye out for any unusual signs that may indicate ongoing electrolysis. This includes discolored water, strange odors, or changes in water taste. Any such signs may suggest that further intervention is needed to address the electrolysis issue.
- Monitor water quality: Regularly monitor and test the water quality in your plumbing system. You can use water testing kits or have a professional laboratory test the water for any contaminants or imbalances. Any significant changes in water quality can be indicative of electrolysis-related issues.
- Inspect exposed pipes regularly: Perform periodic visual inspections of the exposed pipes in your plumbing system. Look for any signs of corrosion or damage that may have developed over time. Addressing any early signs of electrolysis-related issues can prevent further damage and mitigate potential costly repairs in the future.
- Address any persistent leaks or issues: If you notice any persistent leaks, reduced water pressure, or other ongoing issues in your plumbing system, it may indicate that electrolysis-related problems are still present. Address these issues promptly and consult a professional plumber if needed for further investigation.
- Maintain regular maintenance: To prevent future electrolysis-related problems, it is important to maintain regular maintenance of your plumbing system. This includes conducting periodic inspections, cleaning pipes and fixtures, and addressing any issues promptly. Regular maintenance helps prolong the lifespan of your plumbing system and minimizes the risk of electrolysis-related corrosion.
By testing and monitoring your plumbing system for electrolysis, you can ensure that the repair measures have been successful and that the system remains in good condition. Promptly addressing any ongoing issues will help maintain the integrity of the plumbing system and prevent further damage.
If you have concerns or require professional assistance in testing and monitoring your plumbing system, it is recommended to consult a professional plumber. They can provide expertise and perform thorough evaluations to ensure the proper functioning of your plumbing system.
Conclusion
Electrolysis in plumbing can be a troublesome issue that leads to corrosion, leaks, and reduced functionality in your plumbing system. Understanding electrolysis and knowing how to fix it is essential for maintaining the longevity and efficiency of your plumbing system. By following the steps outlined in this article, you can effectively address electrolysis and minimize future risks.
First, it is important to understand electrolysis in plumbing and recognize the signs of its presence. Factors such as dissimilar metals, incorrect installation, grounding issues, water chemistry, and electrical faults can contribute to electrolysis. By identifying these causes and being aware of the signs, you can take proactive measures to prevent and address electrolysis-related issues.
Fixing electrolysis involves several steps. Start by shutting off the water supply to your property, then drain the plumbing system to remove any remaining water. Identify and replace any problematic pipes that have been corroded or damaged due to electrolysis. Install dielectric union fittings to create a barrier between dissimilar metals and prevent galvanic corrosion. Reassemble the plumbing system, ensuring all connections are secure and properly tightened. Finally, test and monitor the system for any ongoing electrolysis-related issues, regularly inspecting and maintaining the plumbing system to prevent future problems.
While you can tackle some of the steps yourself, it is always advisable to consult a professional plumber, especially for complex or extensive repairs. They have the expertise and knowledge to ensure that the repairs are done correctly, minimizing the risk of further damage or future electrolysis-related issues.
By addressing electrolysis in your plumbing system, you can enjoy a well-functioning plumbing system with improved water quality, reduced leaks, and enhanced overall performance. Remember to stay vigilant and conduct regular maintenance to maintain the integrity of your plumbing system and prevent electrolysis-related problems in the future.
After mastering how to tackle electrolysis in your plumbing, you might wonder about other potential issues lurking in your pipes. If you're questioning whether more repairs are necessary, our next guide on how to discern if plumbing services are needed will shed some light. From unusual noises to unexpected water bills, we cover all the signs that could suggest it's time for a professional look. Don't wait for a small drip to turn into a major problem; staying informed helps you act swiftly and save on costly fixes down the road.
Frequently Asked Questions about How To Fix Electrolysis In Plumbing
Was this page helpful?
At Storables.com, we guarantee accurate and reliable information. Our content, validated by Expert Board Contributors, is crafted following stringent Editorial Policies. We're committed to providing you with well-researched, expert-backed insights for all your informational needs.


0 thoughts on “How To Fix Electrolysis In Plumbing”