Articles
How To Plumb A Bathroom
Modified: August 16, 2024
Looking for expert articles on how to plumbing in your bathroom? Explore our comprehensive guides and tips to help you tackle any plumbing project with confidence.
(Many of the links in this article redirect to a specific reviewed product. Your purchase of these products through affiliate links helps to generate commission for Storables.com, at no extra cost. Learn more)
Introduction
Updating the plumbing in your bathroom can be a daunting task, but with the right knowledge and guidance, it can be a rewarding project. Whether you’re looking to replace outdated fixtures, fix a leaky faucet, or upgrade the entire plumbing system, this guide will provide you with the step-by-step instructions to tackle your bathroom plumbing project.
Before diving into the details, it’s important to understand that bathroom plumbing can be complex and requires careful planning and execution. It involves working with pipes, drains, and fixtures, and proper installation is crucial for safety and functionality.
In this article, we will walk you through the process of plumbing a bathroom, from assessing the existing system to installing new fixtures. By following these steps, you’ll be able to confidently take on this project and achieve the desired results.
However, please note that if you are unsure about any step or encounter significant plumbing issues, it is recommended to consult a professional plumber to ensure the job is done correctly and to avoid causing further damage or complications.
So, if you’re ready to give your bathroom a plumbing makeover, let’s get started with the first step: assessing the existing plumbing system.
Key Takeaways:
- Proper planning and execution are crucial for a successful bathroom plumbing project. Assess the existing system, shut off the water supply, and install new fixtures diligently to achieve a functional and stylish space.
- Thorough testing and attention to detail are essential for ensuring the proper functionality of the new plumbing system. Add finishing touches, clean up the workspace, and enjoy the satisfaction of a job well done!
Read more: How To Plumb Double Vanity
Step 1: Assessing the Bathroom Plumbing System
Before you begin any plumbing project, it’s essential to have a good understanding of your bathroom’s existing plumbing system. This will help you identify any potential issues, determine the scope of your project, and ensure you have the right materials and tools on hand.
Start by visually inspecting the plumbing under your bathroom sink, behind the toilet, and around the bathtub or shower. Look for any signs of leaks, corrosion, or damage. Check the condition of the pipes, fittings, and connections.
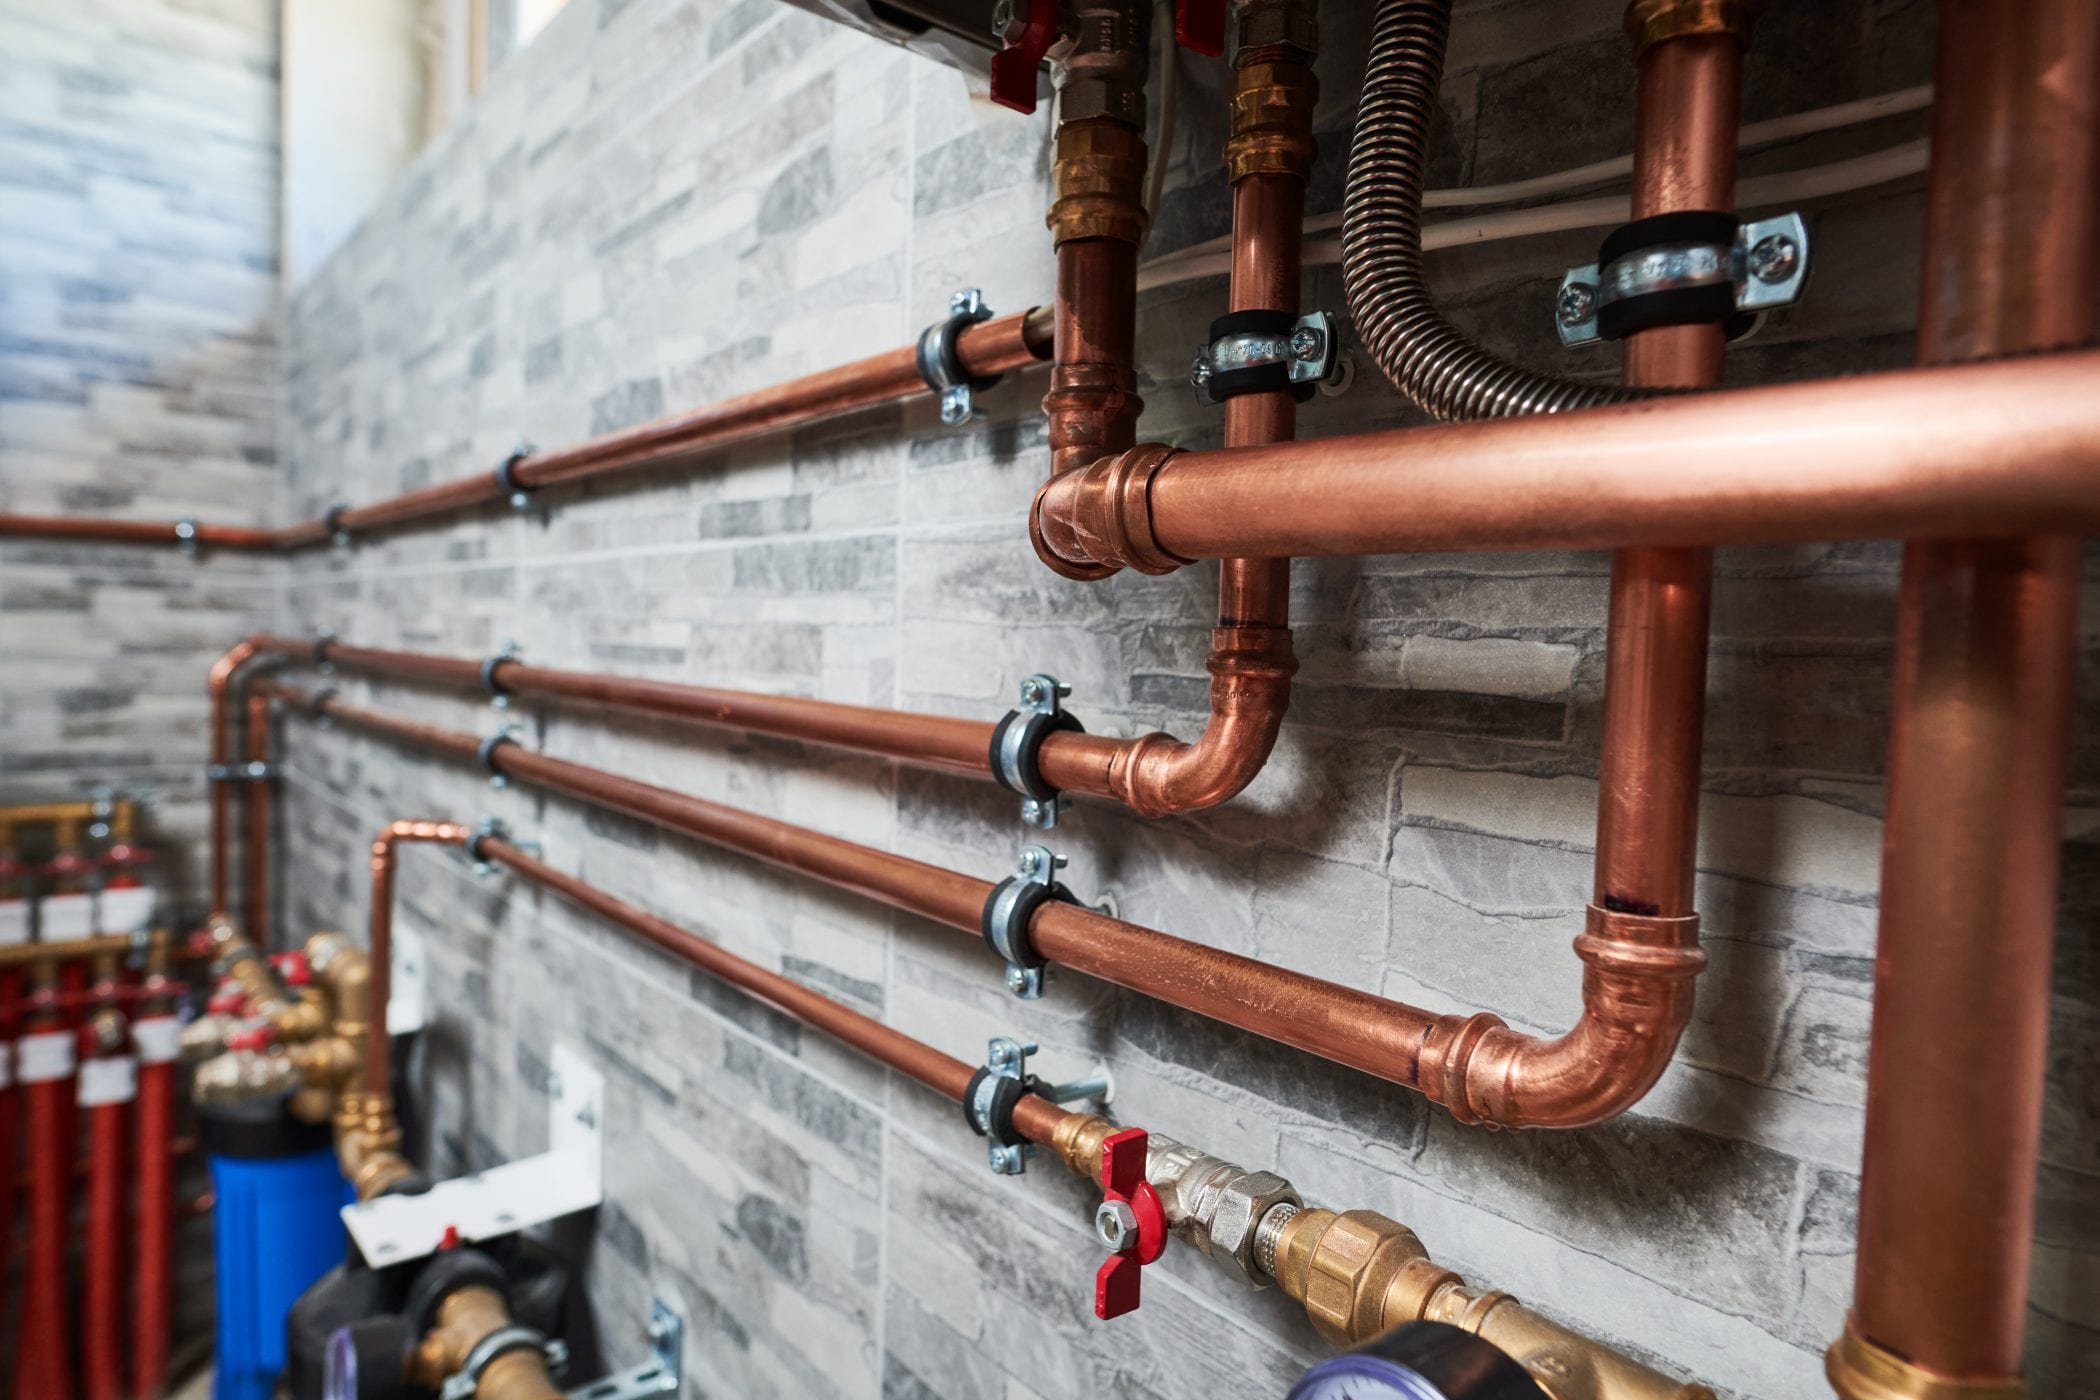
Next, take note of the types of pipes used in your bathroom plumbing. Common materials include copper, PVC (polyvinyl chloride), and PEX (cross-linked polyethylene). Understanding the type and size of your pipes will be important when it comes to making any replacements or modifications.
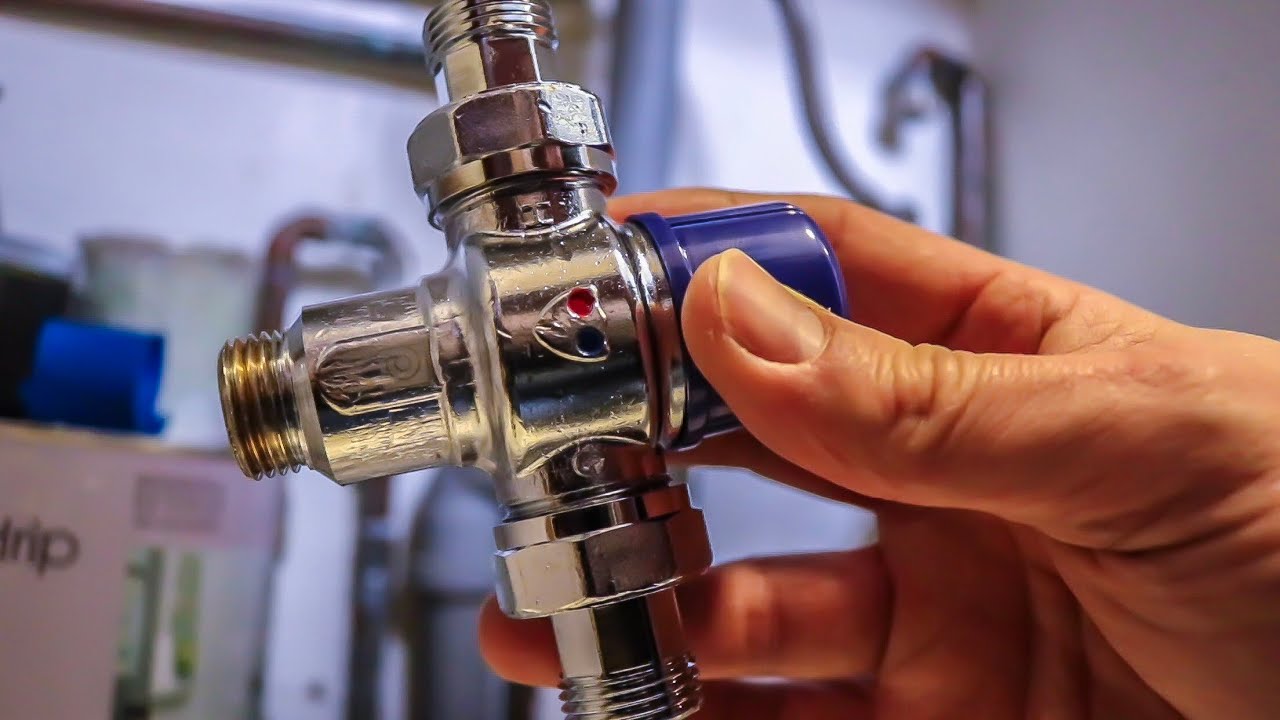
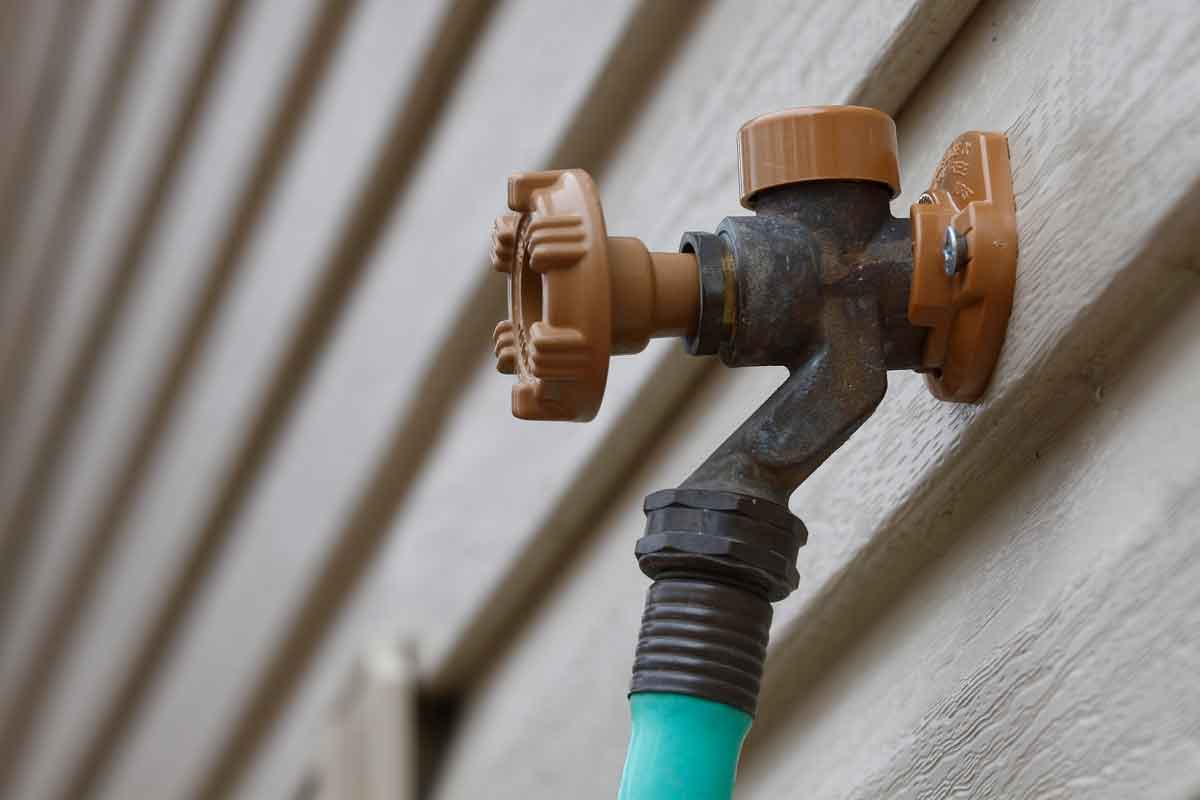
Additionally, examine the water supply lines and valves. Determine if there are shut-off valves for both the hot and cold water supplies. These valves are crucial for shutting off the water during maintenance or emergencies.
If you’re planning to renovate your bathroom and change the layout, you will need to consider the current drain and venting system. Ensure the existing drains are properly connected to the main sewage or septic system and that there are adequate venting pipes to prevent odor and allow for proper drainage.
Take measurements of the space and note any obstructions or features that you need to work around. This will help you plan the placement of new fixtures and ensure they fit comfortably within the available space.
Lastly, consider the water pressure in your bathroom. Low water pressure can be a sign of plumbing issues, and it may require attention before installing new fixtures. If you suspect pressure problems, it’s advisable to consult a plumber to diagnose and address the issue.
By thoroughly assessing your bathroom plumbing system, you’ll have a clear understanding of what needs to be done and can proceed with confidence. Now that you’ve completed the first step, let’s move on to Step 2: shutting off the water supply.
Step 2: Shutting Off the Water Supply
Before you start working on any plumbing project, it’s crucial to shut off the water supply to your bathroom. This will prevent any accidents, leaks, or water damage during the installation or repair process.
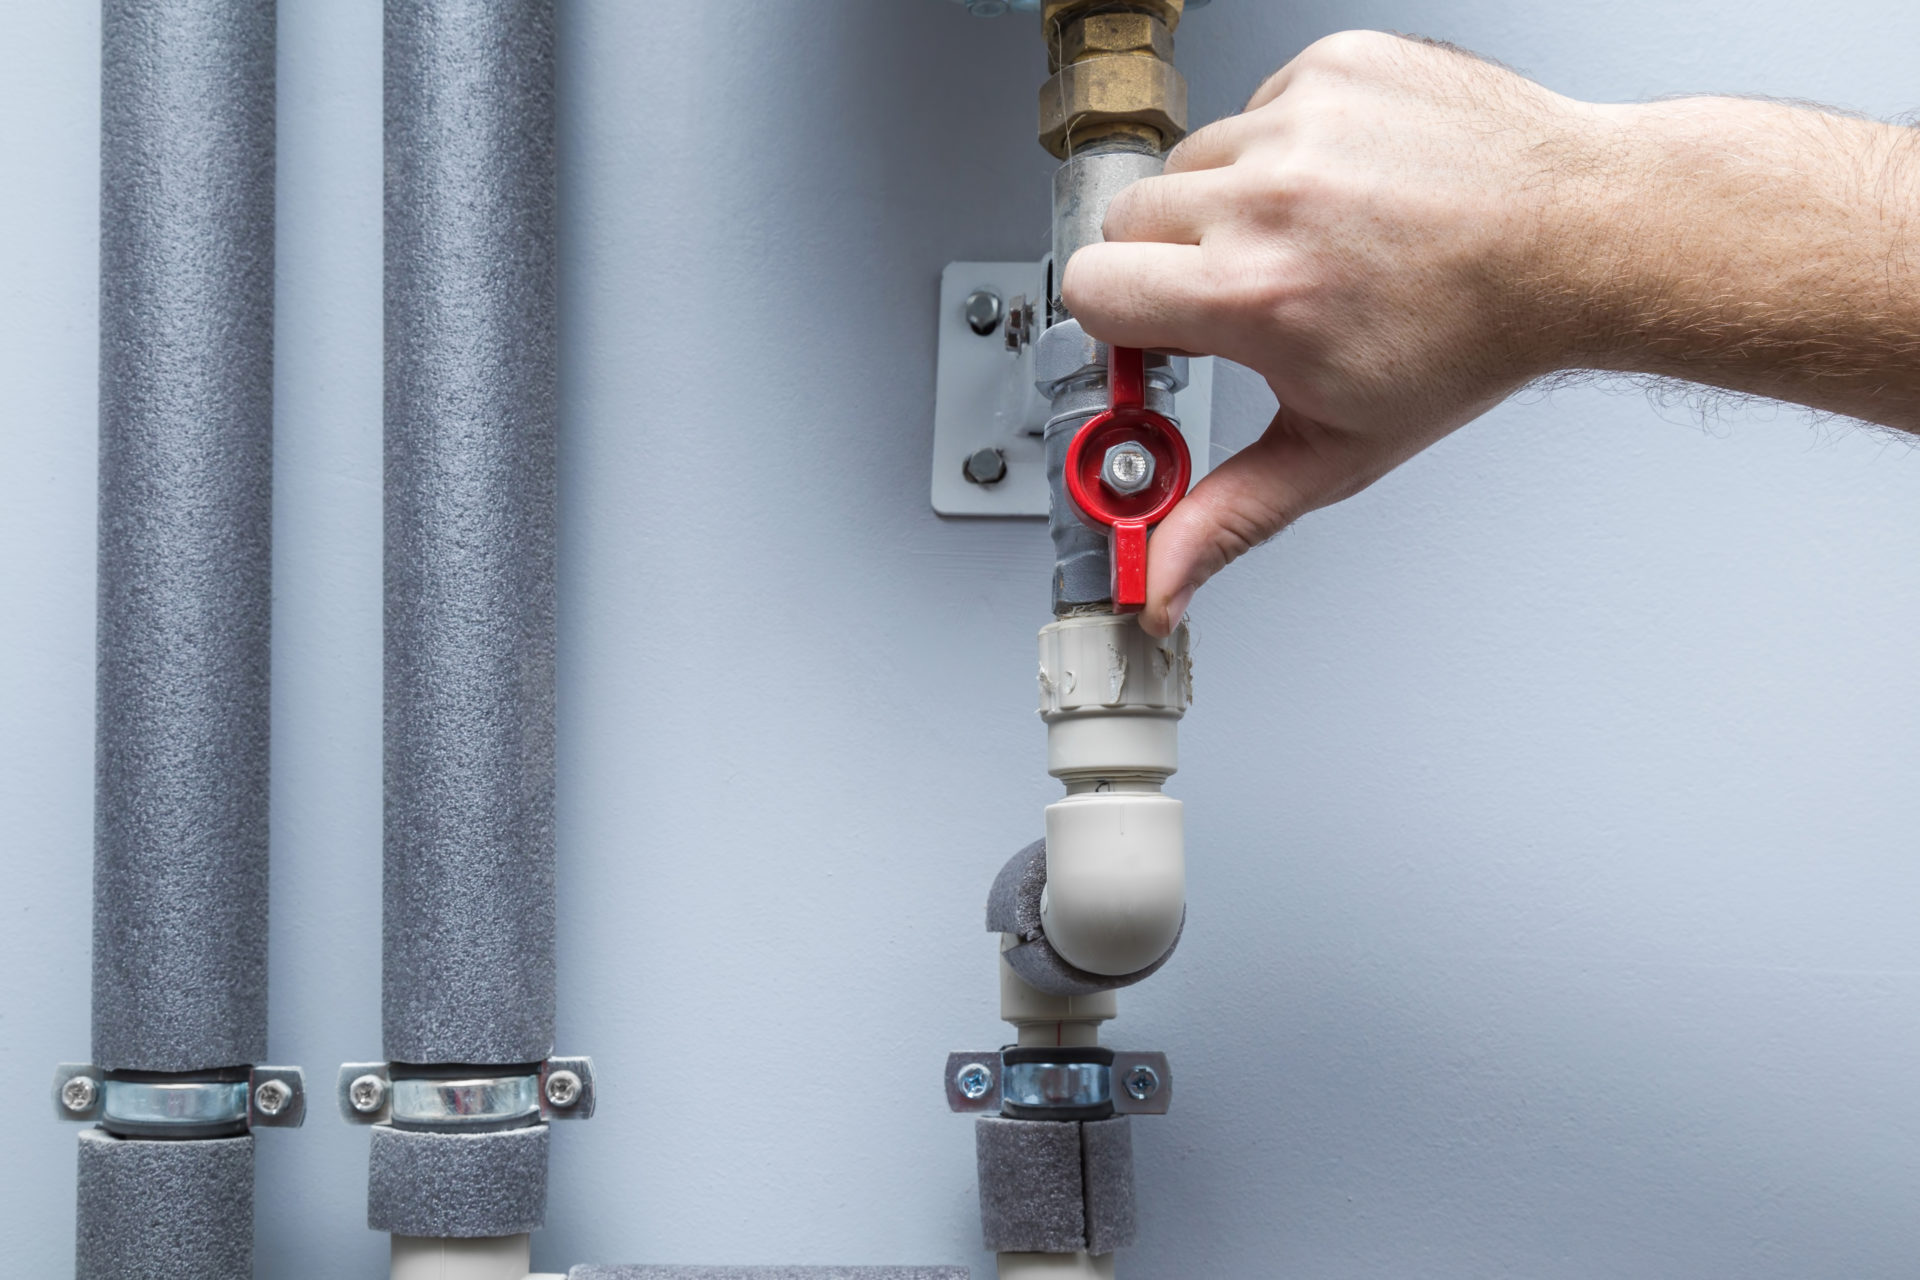
Locate the main shut-off valve for your home’s water supply. This valve is typically located near the water meter or where the main water line enters your house. It’s important to familiarize yourself with the location of this valve ahead of time, as you may need to shut off the water supply quickly in case of an emergency.
Once you’ve located the main shut-off valve, turn it clockwise (or to the right) to close it. This will stop the flow of water into your home and ensure a safe working environment for your plumbing project.
In addition to the main shut-off valve, you may also find shut-off valves specific to your bathroom. These valves are typically located underneath the sink or behind the toilet. Turn these valves clockwise to shut off the water supply to individual fixtures, such as the sink or toilet.
After shutting off the water supply, relieve any residual pressure in the plumbing system by opening faucets and flushing toilets. This will drain the remaining water in the pipes and prevent any surprises when you begin working on the plumbing.
It’s essential to ensure that the water supply remains shut off throughout the duration of your plumbing project. This will prevent any accidental flooding or damage during the installation or repair process.
Remember, safety should always be a priority when working with plumbing. By following this second step and shutting off the water supply, you’ve taken an important precautionary measure to protect your home and yourself.
Now that you’ve successfully shut off the water supply, you’re ready to move on to Step 3: removing the old fixtures.
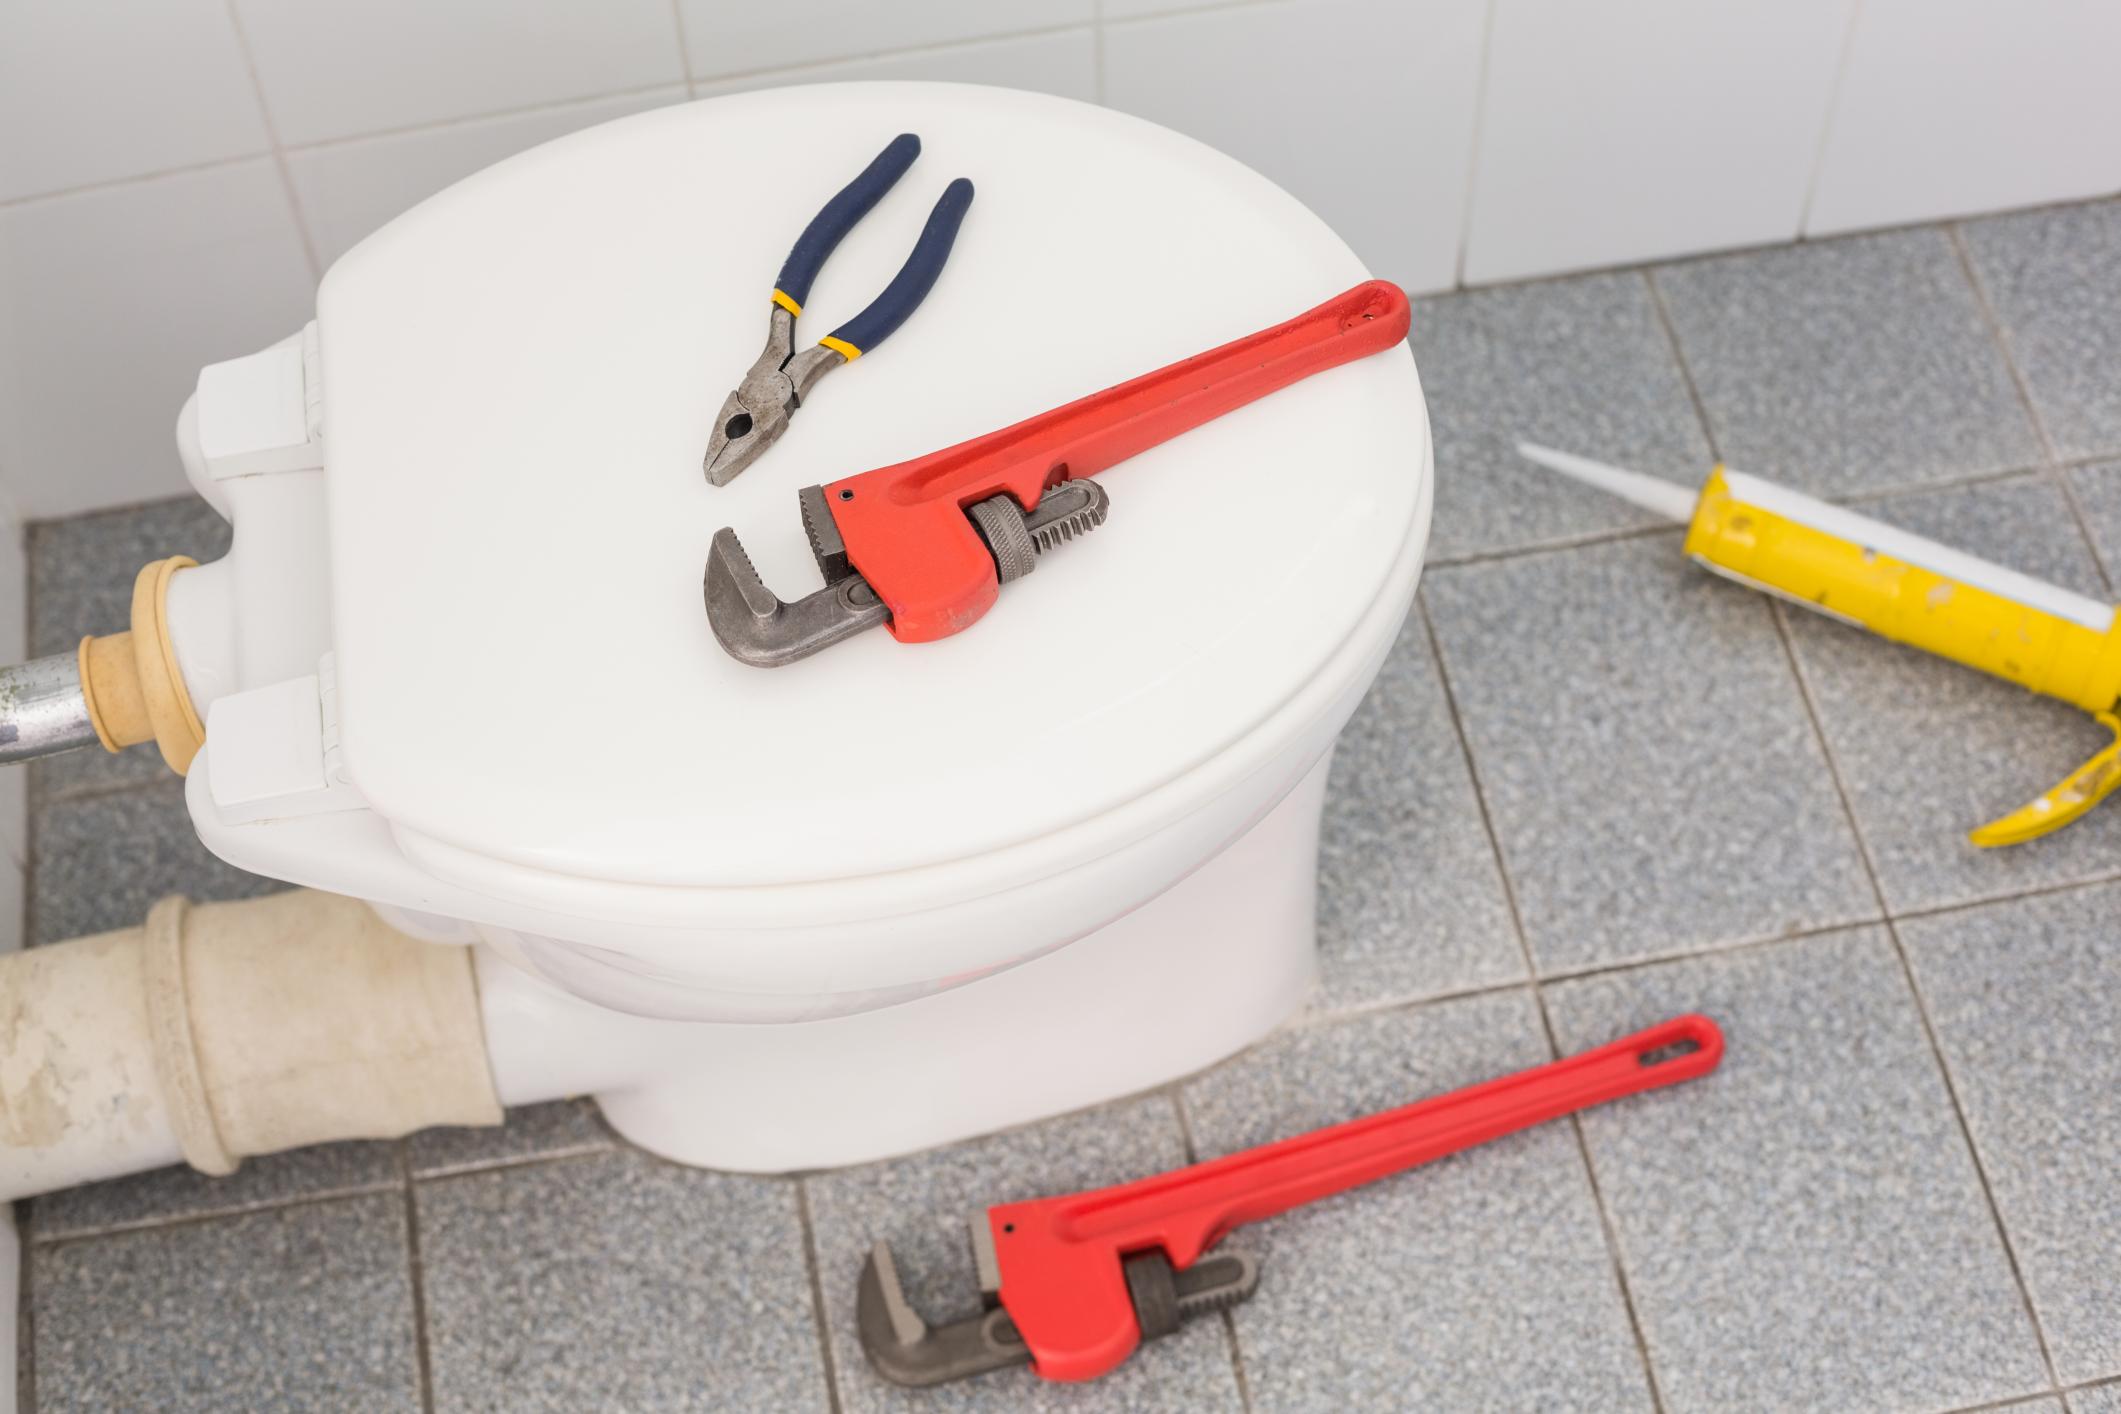
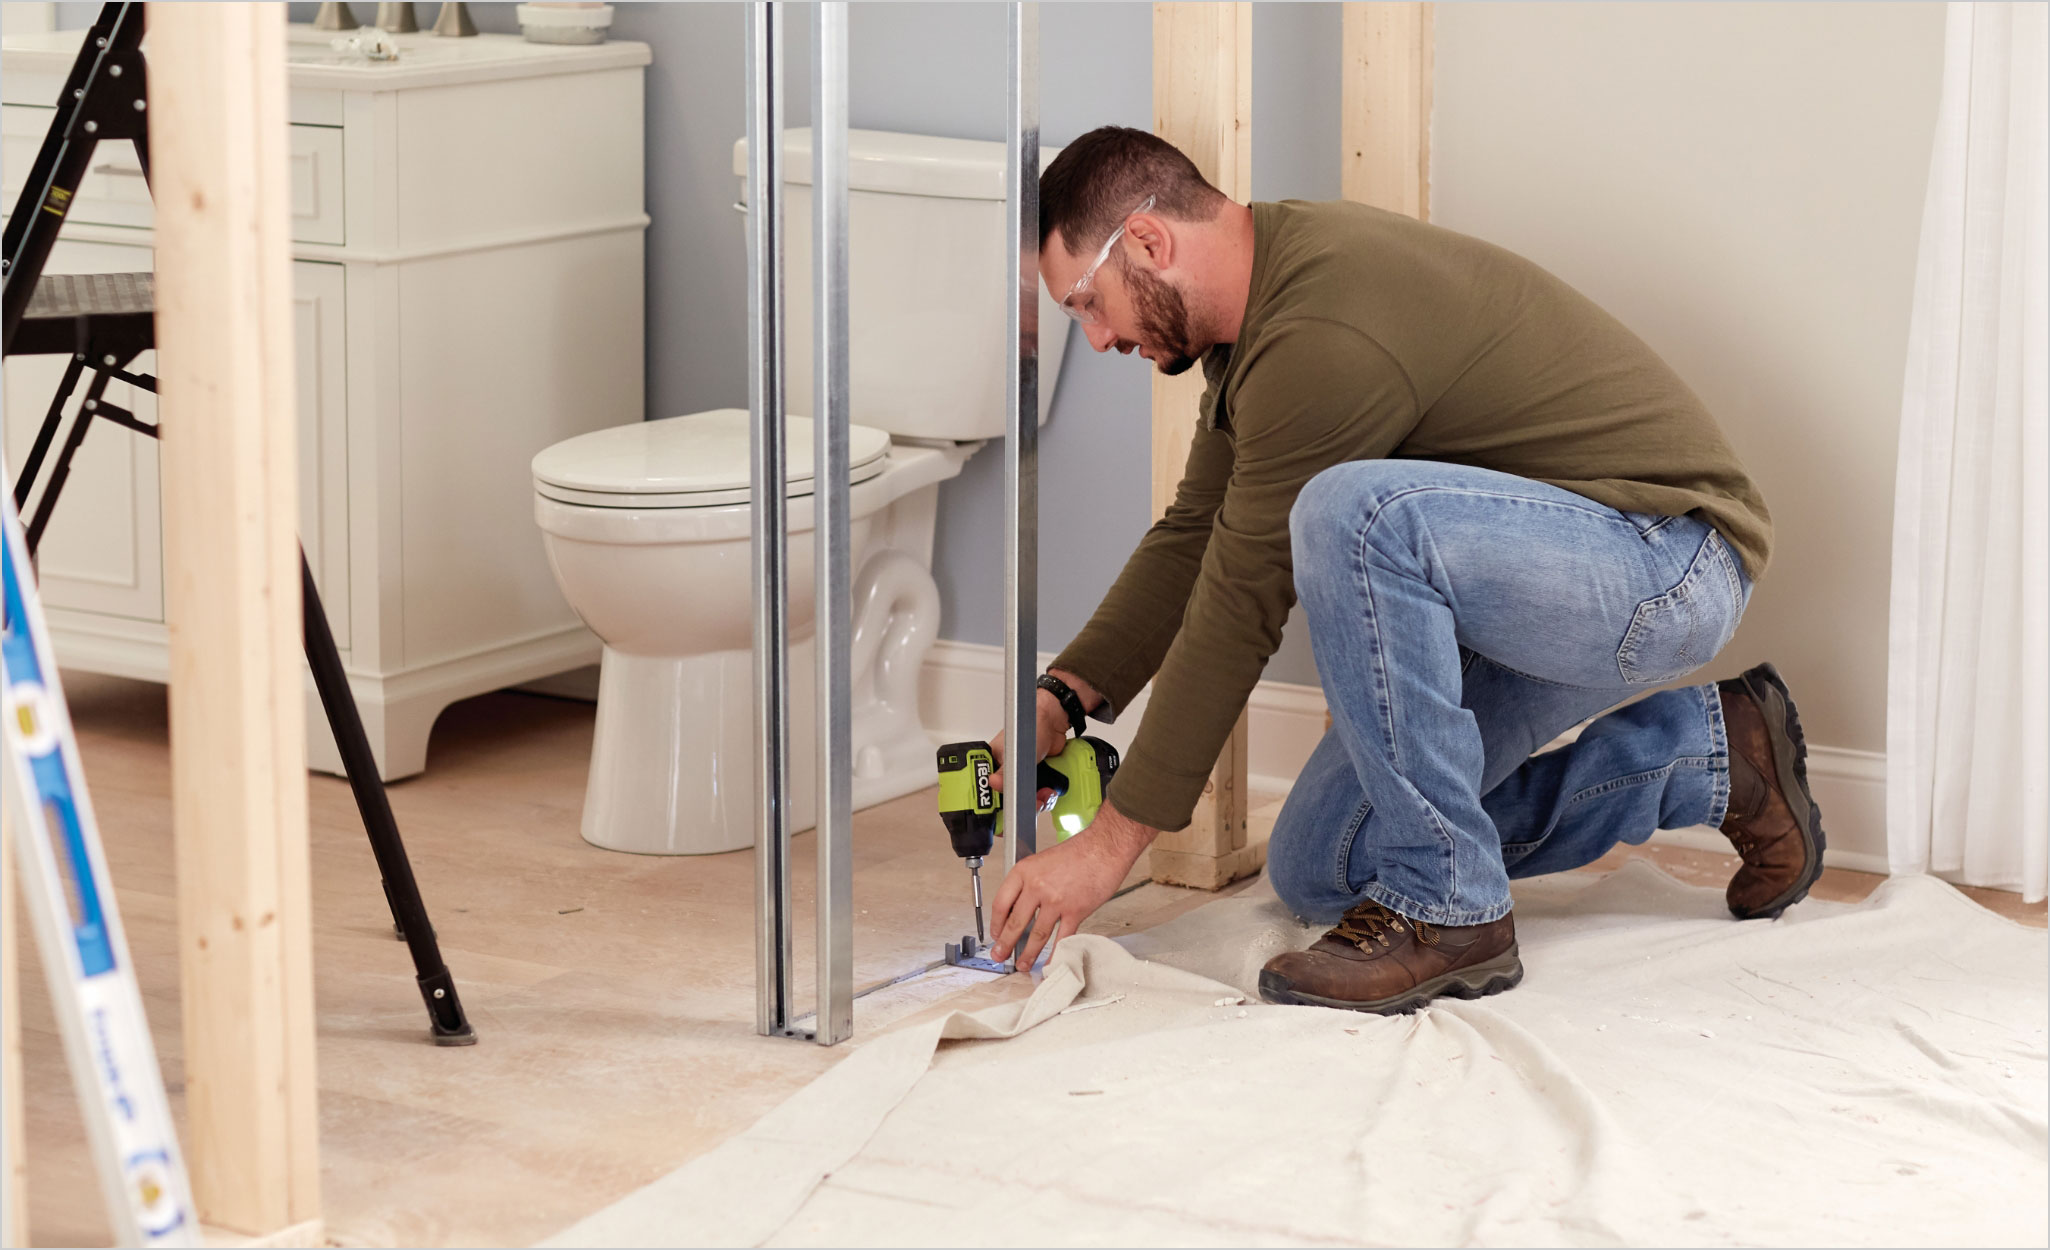
Step 3: Removing the Old Fixtures
Now that you have shut off the water supply, it’s time to remove the old fixtures in your bathroom. Whether you’re replacing a sink, toilet, bathtub, or shower, this step is essential to make way for the new fixtures.
Start by disconnecting the water supply lines connected to the fixture you are removing. Use an adjustable wrench to loosen and remove the nuts or connectors that secure the supply lines to the faucet or toilet tank. Be prepared for some water to drip out when disconnecting the lines, so have a bucket or towels handy to catch any spills.
Next, remove any brackets, screws, or bolts that hold the fixture in place. For a sink or vanity, these may be located underneath or inside the cabinet. For a toilet, you will need to remove the nuts securing it to the floor flange.
Once all connections and fasteners have been detached, carefully lift and remove the old fixture from its position. Depending on the size and weight of the fixture, you may need an extra set of hands to assist you. Be cautious not to damage any surrounding walls or flooring during this process.
With the fixture removed, inspect the area for any signs of water damage, mold, or mildew. If necessary, address these issues before proceeding with the installation of the new fixture. This may involve repairing or replacing damaged subflooring, drywall, or plumbing components.
It’s important to note that if you encounter any unexpected complications or run into difficulties during this step, such as stubborn bolts or corroded pipes, it may be best to consult a professional plumber for assistance. They have the expertise and tools necessary to handle more complex removals and ensure a smooth transition to the installation of the new fixtures.
By successfully completing this third step and removing the old fixtures, you’re now ready to move on to Step 4: installing the new fixtures. This is where the transformation of your bathroom really begins. So, let’s dive in!
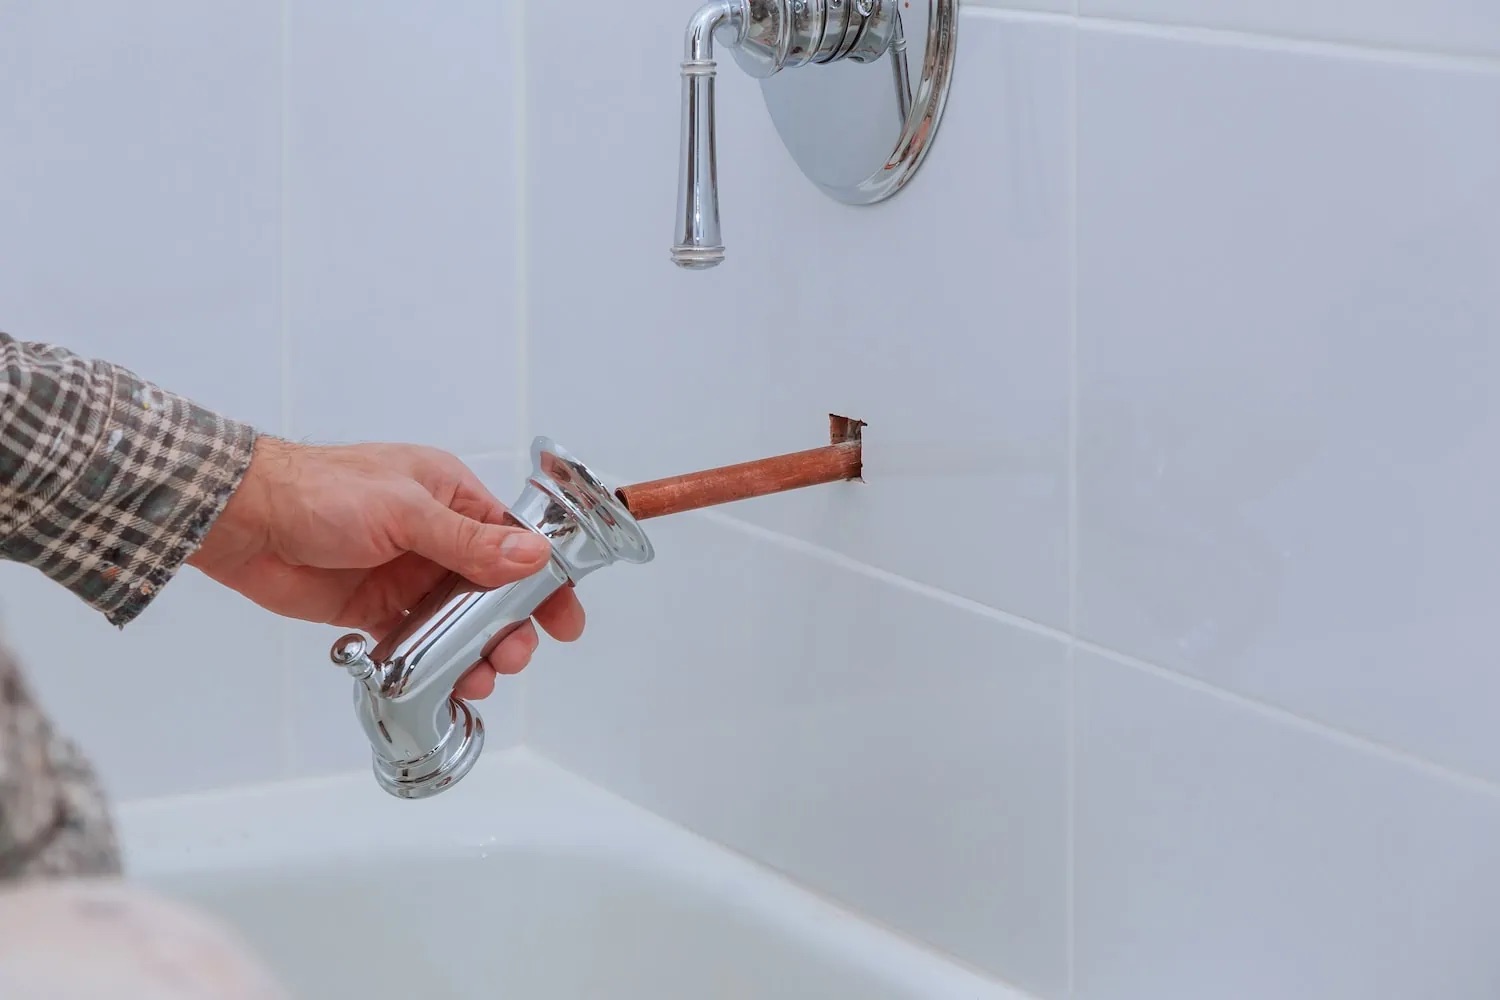
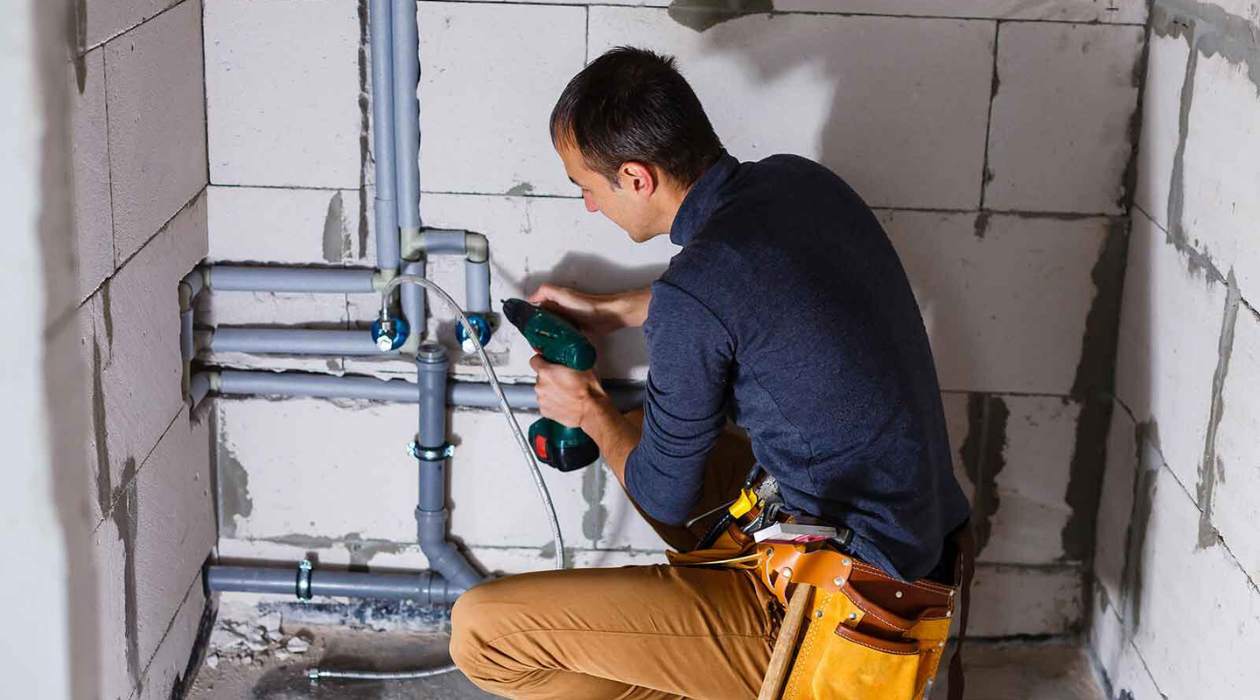
Step 4: Installing New Fixtures
With the old fixtures removed, it’s time to install the new ones and give your bathroom a fresh look. Whether you’re replacing a sink, toilet, bathtub, or shower, this step will guide you through the installation process.
Before you begin, carefully read the manufacturer’s instructions that come with the new fixtures. These instructions are specific to the model you have purchased and will provide you with valuable information on proper installation techniques.
Start by preparing the area where the fixture will be installed. This may involve cleaning the surface, making any necessary adjustments to the plumbing connections, or applying sealants or adhesive as required.
If you’re installing a new sink or vanity, place the fixture in its designated location. Ensure it is level and aligned correctly with the existing plumbing connections. Use a wrench or screwdriver to secure the sink or vanity to the wall or supporting structure.
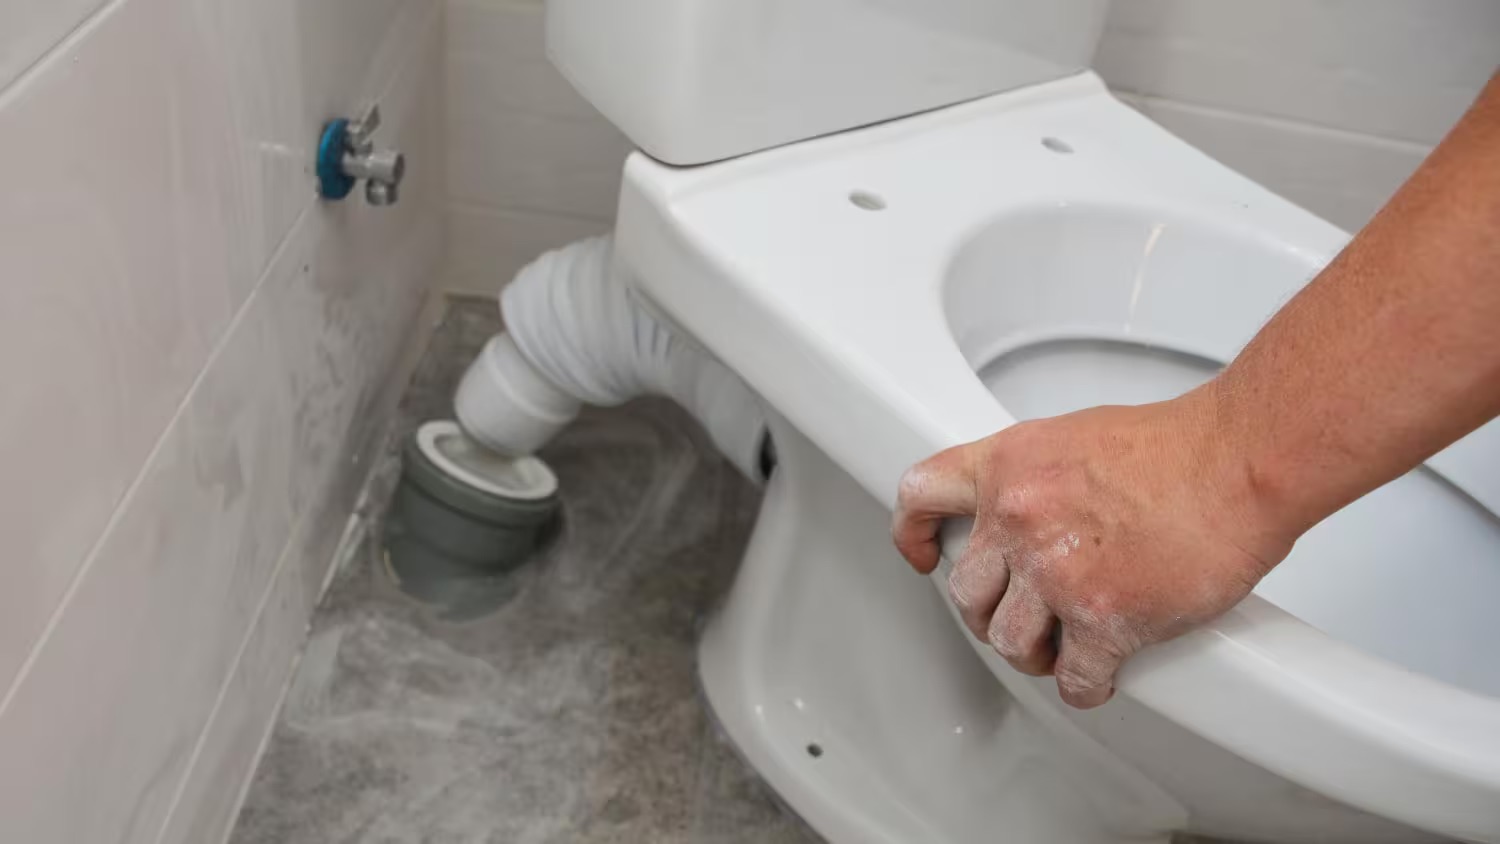
For a toilet installation, carefully position the toilet bowl over the floor flange, ensuring the wax ring is in place. Press down firmly to create a watertight seal. Then, attach the toilet tank securely to the bowl, following the manufacturer’s instructions. Connect the water supply line to the fill valve and tighten the nut with an adjustable wrench.
If you’re installing a new bathtub or shower, carefully position the fixture and make sure it is level. Secure it in place by attaching brackets or screws to the surrounding walls or framing studs. Connect the plumbing lines according to the manufacturer’s instructions, ensuring proper sealing and tightening of all connections.
Throughout the installation process, pay attention to the alignment and fit of the new fixtures. Use a level to ensure they are straight and plumb. Make any necessary adjustments to ensure a professional-looking installation.
Once the new fixtures are in place, follow the manufacturer’s instructions for any additional installation steps, such as sealing joints, applying caulking, or attaching trim pieces.
It’s important to note that if you’re not confident in your plumbing skills or encounter any challenges during the installation process, it’s best to consult a professional plumber. They have the expertise and knowledge to handle complex installations and ensure everything is done correctly and safely.
By successfully completing this fourth step and installing the new fixtures, you’re one step closer to enjoying your transformed bathroom. Now, let’s move on to Step 5: connecting pipes and drains.
When installing a new bathroom faucet, always use plumber’s tape on the threads to prevent leaks. This simple step can save you from future headaches and water damage.
Read more: How To Vent A Bathroom Plumbing
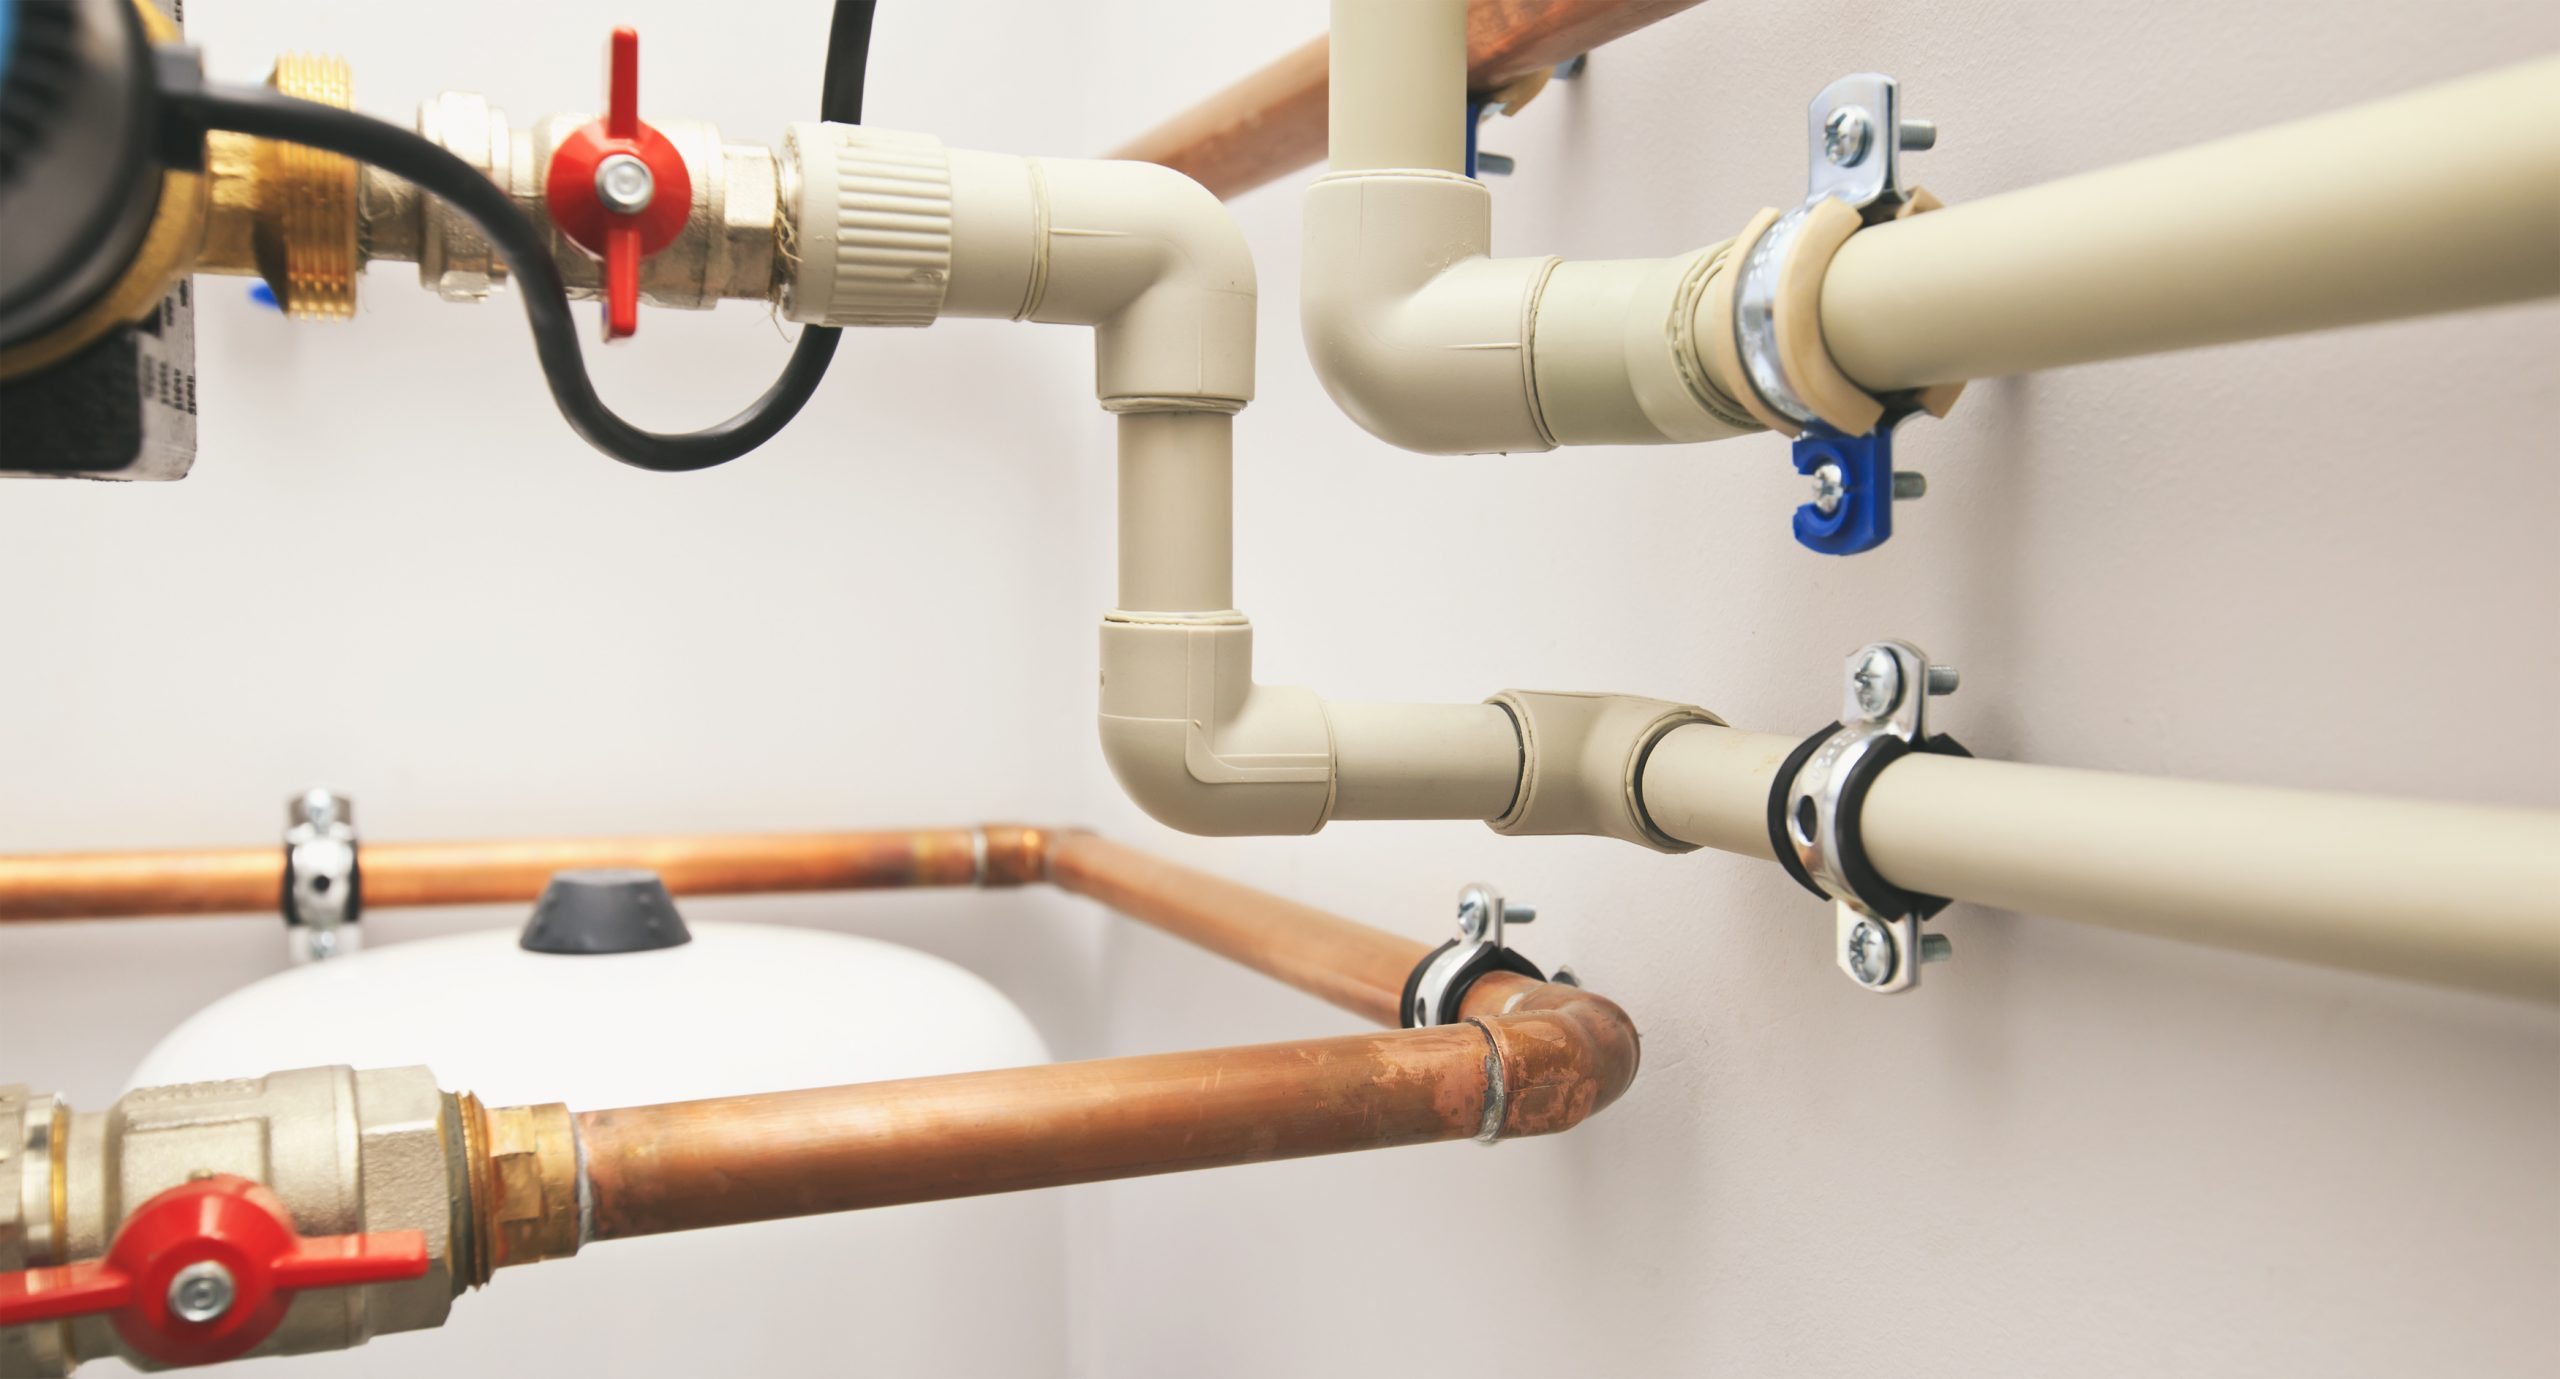
Step 5: Connecting Pipes and Drains
Now that you have installed the new fixtures in your bathroom, it’s time to connect the pipes and drains to ensure proper functionality. This step involves connecting the water supply lines, drain pipes, and venting system to the newly installed fixtures.
Start by connecting the water supply lines to the new faucet or toilet. Use the appropriate fittings and connectors recommended by the manufacturer. Ensure that the connections are tight and secure, but be careful not to overtighten and cause damage.
For sink installations, connect the hot and cold water supply lines to the corresponding valves on the faucet. Use an adjustable wrench to tighten the connections, ensuring they are leak-free.
If you’re installing a new toilet, reconnect the water supply line to the fill valve. Again, ensure the connection is secure, but be cautious not to overtighten and risk damaging the valve or the line.
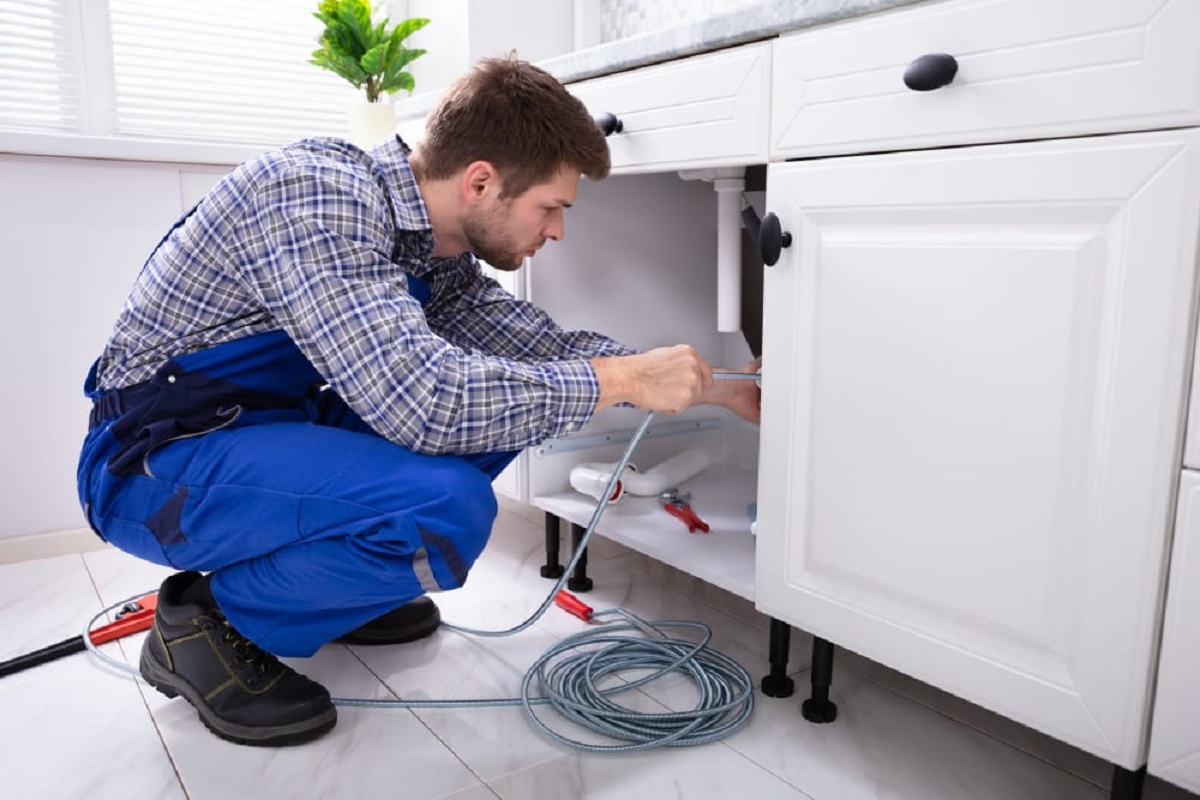
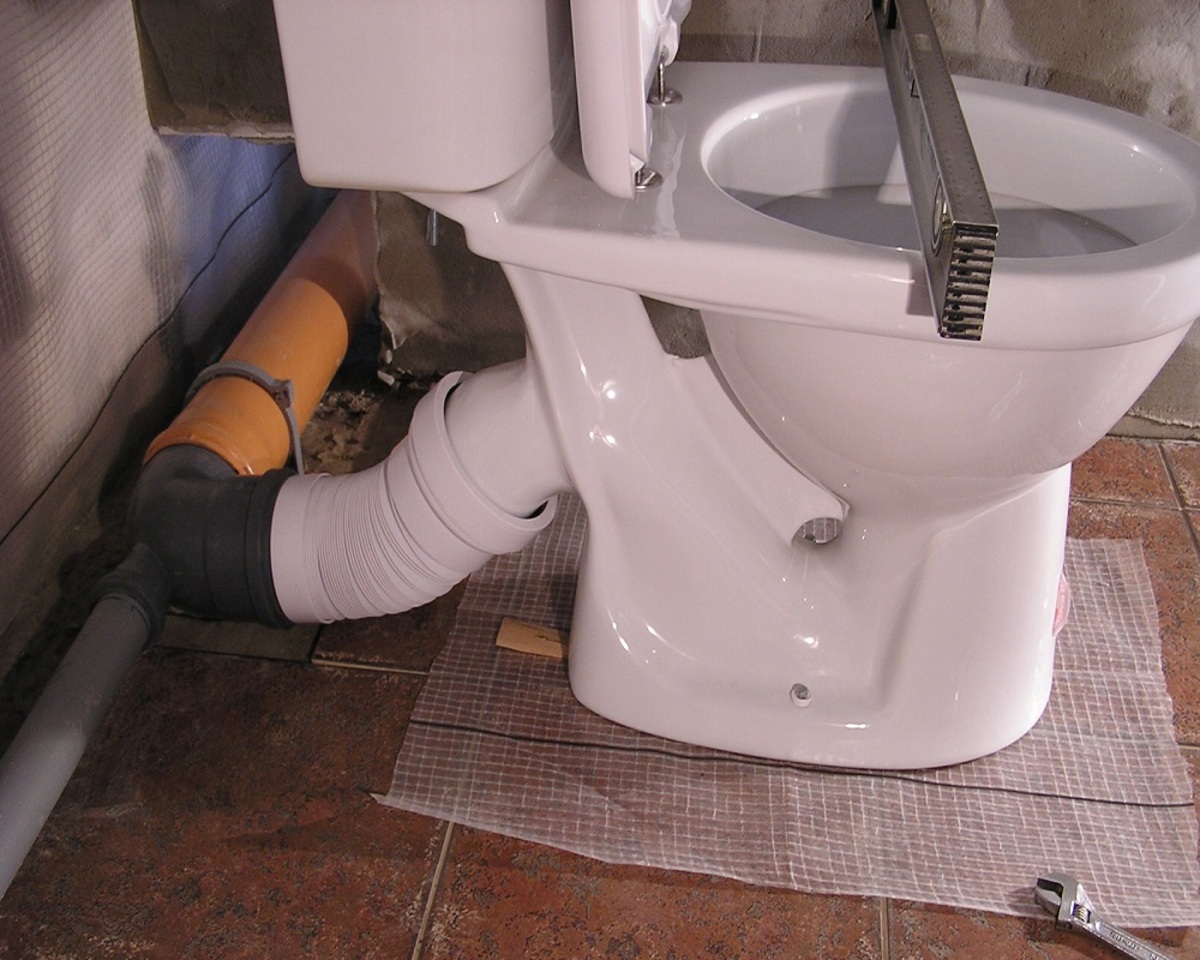
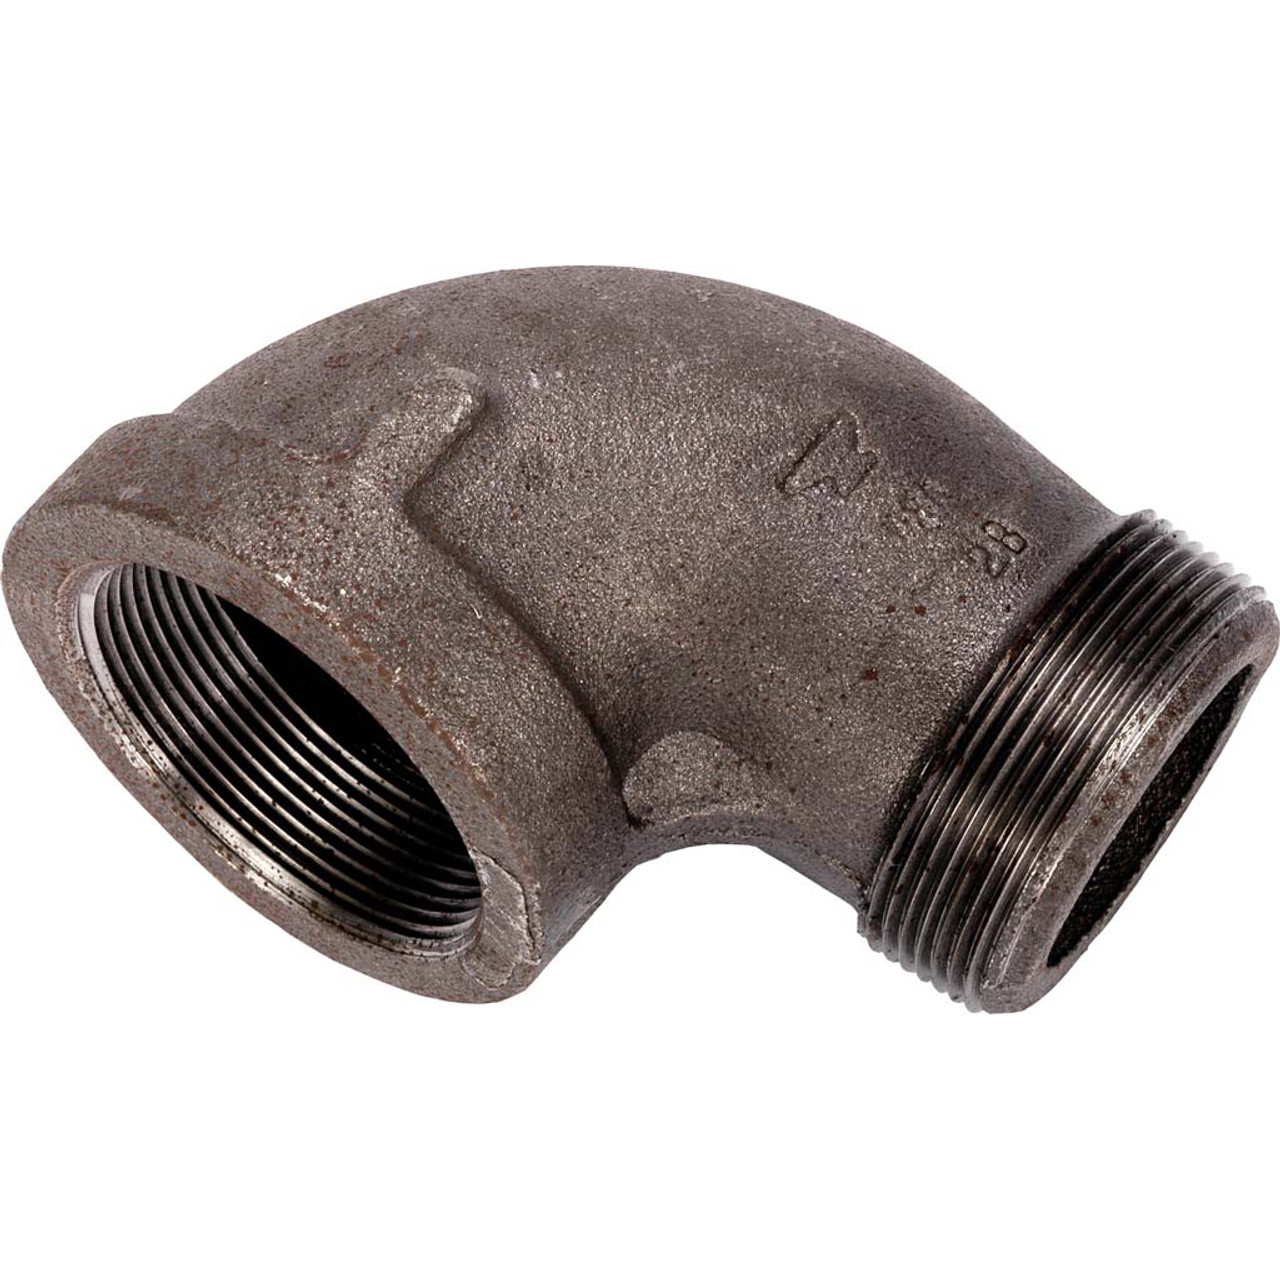
Next, connect the drain pipes. This involves attaching the P-trap or S-trap to the sink drain, the toilet flange to the toilet drain, and the bathtub or shower drain to the waste pipe.
For sink drain installations, position the P-trap or S-trap under the sink. Connect one end to the sink drain and the other end to the waste pipe in the wall or floor. Use slip nuts or compression fittings to secure the connections. Tighten them with pliers or a wrench, ensuring they are snug but not overly tightened.
If you’re installing a new toilet, carefully lower it onto the floor flange and align the mounting holes on the toilet base with the bolts on the flange. Secure the toilet to the flange by tightening the nuts with a wrench, but be cautious not to overtighten and risk cracking the toilet.
For bathtub or shower drain installations, follow the manufacturer’s instructions to attach the drain assembly. This may involve connecting the drain pipe to the bathtub or shower base and securing it with screws or compression fittings.
Additionally, ensure that the venting system is properly connected. Vent pipes help maintain proper pressure in the drainage system, prevent sewer gases from entering your home, and allow for efficient drainage. Consult local building codes and regulations to ensure compliance with venting requirements and connect the vent pipes accordingly.
Throughout the connection process, double-check all connections for any signs of leaks. Test the water flow and drain function to ensure everything is working properly. If there are any leaks or issues, make the necessary adjustments or consult a professional plumber for assistance.
By successfully completing this fifth step and connecting the pipes and drains, you’re ensuring the proper functionality and efficiency of your new bathroom fixtures. Now, let’s move on to Step 6: testing the new plumbing system.
Step 6: Testing the New Plumbing System
After connecting the pipes and drains, it’s important to thoroughly test the new plumbing system in your bathroom to ensure it is functioning properly. This step will help identify any leaks, clogs, or other issues that need to be addressed before the project is considered complete.
Start by checking for any visible leaks around the newly installed fixtures, supply lines, and drain connections. Look for drips, puddles, or dampness around these areas. If you notice any leaks, tighten the connections or replace any faulty components as necessary.
Next, turn on the water supply and carefully inspect the faucets, showerhead, and toilet tank for proper water flow and drainage. Check if the water flow is consistent, and make sure it stops completely when the fixtures are turned off. Flush the toilet and observe if it fills and flushes correctly without any issues.
For sink installations, test the hot and cold water separately by running each faucet and checking for any temperature or pressure inconsistencies. If you notice any issues, it may indicate a problem with the plumbing or the fixture itself that needs to be addressed.
If you’re installing a bathtub or shower, test the water flow and temperature to ensure they meet your expectations. Adjust the showerhead and faucets to confirm they are working correctly and there are no leaks or drips.
It’s also important to test the drain system to ensure proper drainage. Fill the sink, bathtub, or shower with water and observe how quickly it drains. If there are any slow drains or backups, it may indicate a clog that needs to be cleared or a problem with the venting system.
Throughout the testing process, listen for any unusual sounds, such as gurgling or bubbling, which may indicate an issue with the plumbing or venting. These sounds could be signs of improper drainage or ventilation problems, and it’s important to address them promptly.
By thoroughly testing the new plumbing system, you can identify and resolve any issues before they become major problems. If you encounter any persistent leaks, low water pressure, or other concerns that you’re unable to resolve on your own, it’s advisable to seek professional assistance from a plumber.
Now that you’ve successfully tested the new plumbing system in your bathroom, you’re one step closer to completing your project. Let’s move on to Step 7: finishing touches and cleanup.
Step 7: Finishing Touches and Cleanup
Congratulations! You’re almost done with your bathroom plumbing project. The final step involves adding the finishing touches to complete the installation of your new fixtures and ensuring a clean and polished look.
Start by inspecting the newly installed fixtures for any adjustments or touch-ups that may be needed. Check if the fixtures are level, aligned properly, and securely attached. Make any necessary adjustments to ensure everything looks and functions as intended.
Next, apply any required caulking or sealant around the edges of the fixtures, such as the sink, bathtub, or shower. This helps create a watertight seal and prevents water from seeping into the surrounding areas. Use a caulking gun to apply a smooth and even bead of caulk, and then use a damp cloth or your finger to smooth and shape the caulk line.
If you’ve made any changes to the walls or flooring during the plumbing project, consider painting or installing new tiles to match the updated look of your bathroom. This will enhance the overall aesthetic appeal and create a seamless transition between the new fixtures and the surrounding surfaces.
Once you’re satisfied with the aesthetics, it’s time to clean up the workspace. Remove any debris, tools, or materials leftover from the installation. Wipe down the surfaces to remove any dust, dirt, or grime that may have accumulated during the plumbing project.
Dispose of any old fixtures, packaging, or unused materials properly. Recycling or disposing of these materials in an eco-friendly manner is important for environmental sustainability.
Lastly, take a moment to admire your newly renovated bathroom. Turn on the faucets, flush the toilet, and experience the improved functionality and aesthetics. Enjoy the satisfaction of a job well done!
Keep in mind that routine maintenance and regular inspections of your bathroom plumbing can help prevent future issues and prolong the lifespan of your fixtures. If you encounter any persistent problems or need assistance with ongoing plumbing maintenance, don’t hesitate to contact a professional plumber.
With Step 7 complete, your bathroom plumbing project is now finished. You’ve successfully upgraded your bathroom and transformed it into a functional and stylish space. Congratulations on a job well done!
If you found this guide helpful, consider sharing it with others who may benefit from this information. Happy plumbing!
Conclusion
Plumbing a bathroom may seem like a challenging task, but with the right knowledge and guidance, it can be a rewarding project that enhances the functionality and aesthetics of your space. Throughout this article, we’ve covered the essential steps involved in plumbing a bathroom, from assessing the existing system to installing new fixtures.
By following these steps and taking the necessary precautions, you can confidently tackle your bathroom plumbing project. Remember that safety should always be a priority, and if you’re unsure about any aspect or encounter significant plumbing issues, it’s best to consult a professional plumber for assistance.
Throughout the process, be mindful of the details that can make a difference in the outcome. Take the time to properly assess your existing plumbing system, shut off the water supply, remove old fixtures with care, install new fixtures accurately, and connect the pipes and drains diligently.
Testing the new plumbing system and addressing any issues that arise will ensure that your bathroom is functioning properly. Lastly, add the finishing touches and clean up the workspace for a polished and complete project.
Remember, proper maintenance and regular inspections of your bathroom plumbing will help prevent future problems and keep everything in top condition. If you ever encounter any persistent issues or need professional assistance, don’t hesitate to reach out to a plumber.
Now that you have the knowledge and guidance, it’s time to embark on your bathroom plumbing project. Enjoy the process and take pride in the transformed space you create. Your newly renovated bathroom will provide you with both functionality and beauty for years to come.
Thank you for reading, and best of luck with your bathroom plumbing endeavor!
Frequently Asked Questions about How To Plumb A Bathroom
Was this page helpful?
At Storables.com, we guarantee accurate and reliable information. Our content, validated by Expert Board Contributors, is crafted following stringent Editorial Policies. We're committed to providing you with well-researched, expert-backed insights for all your informational needs.

0 thoughts on “How To Plumb A Bathroom”