Articles
How To Winterize Home Plumbing
Modified: August 27, 2024
Learn how to winterize your home plumbing with these informative articles. Protect your pipes from freezing and prevent costly damage.
(Many of the links in this article redirect to a specific reviewed product. Your purchase of these products through affiliate links helps to generate commission for Storables.com, at no extra cost. Learn more)
Introduction
As the winter season approaches, it’s important to take the necessary steps to protect your home plumbing system from potential damage caused by freezing temperatures. Winterizing your plumbing not only prevents costly repairs but also ensures that you have a consistent water supply throughout the colder months. In this article, we will guide you through the process of winterizing your home plumbing to keep it functioning optimally during winter.
Freezing temperatures can cause water inside pipes to expand, leading to burst pipes, leaks, and extensive water damage. By following these steps to winterize your home plumbing, you can safeguard against these issues and enjoy a stress-free winter season.
It’s important to note that winterizing your plumbing is particularly crucial if you live in regions with severe winter weather or if you plan to be away from your home for an extended period. Let’s dive into the steps necessary to winterize your home plumbing and protect it from damage.
Key Takeaways:
- Protect your home plumbing from freezing and potential damage by insulating exposed pipes, draining outdoor fixtures, and maintaining a consistent interior temperature. Winterizing your plumbing ensures a reliable water supply and reduces the risk of costly repairs.
- Prepare for winter by sealing drafts, inspecting and insulating your water heater, and monitoring your plumbing system. Taking proactive steps to winterize your home plumbing safeguards against frozen pipes and enhances energy efficiency, providing peace of mind throughout the winter season.
Read more: How To Winterize A Cottage Plumbing
Step 1: Insulate Exposed Pipes
One of the first and most important steps in winterizing your home plumbing is insulating any exposed pipes. Exposed pipes are more susceptible to freezing and can easily burst when temperatures drop below freezing.
Start by identifying any pipes that are exposed to the cold air, such as those in unheated areas like basements, garages, and crawl spaces. Common types of pipes that require insulation include water supply lines, pipes connected to outdoor faucets, and pipes located in exterior walls.
To insulate exposed pipes, you can use various materials such as foam pipe insulation, heat tape, or even old towels or blankets. Wrap the insulation material tightly around the pipes to create a protective barrier against the cold. Pay special attention to areas where pipes are most vulnerable, such as bends and joints.
Additionally, consider insulating pipes in attics and crawl spaces to prevent cold air from reaching them. Insulation sleeves can be easily installed around these pipes to provide an extra layer of protection.
It’s important to remember that even indoor pipes can freeze if the temperature drops significantly. To prevent this, keep the interior temperature of your home consistent and avoid setting the thermostat too low, especially during extremely cold weather.
By insulating exposed pipes, you significantly reduce the risk of freezing and potential damage to your plumbing system. This simple step can go a long way in protecting your home during winter.
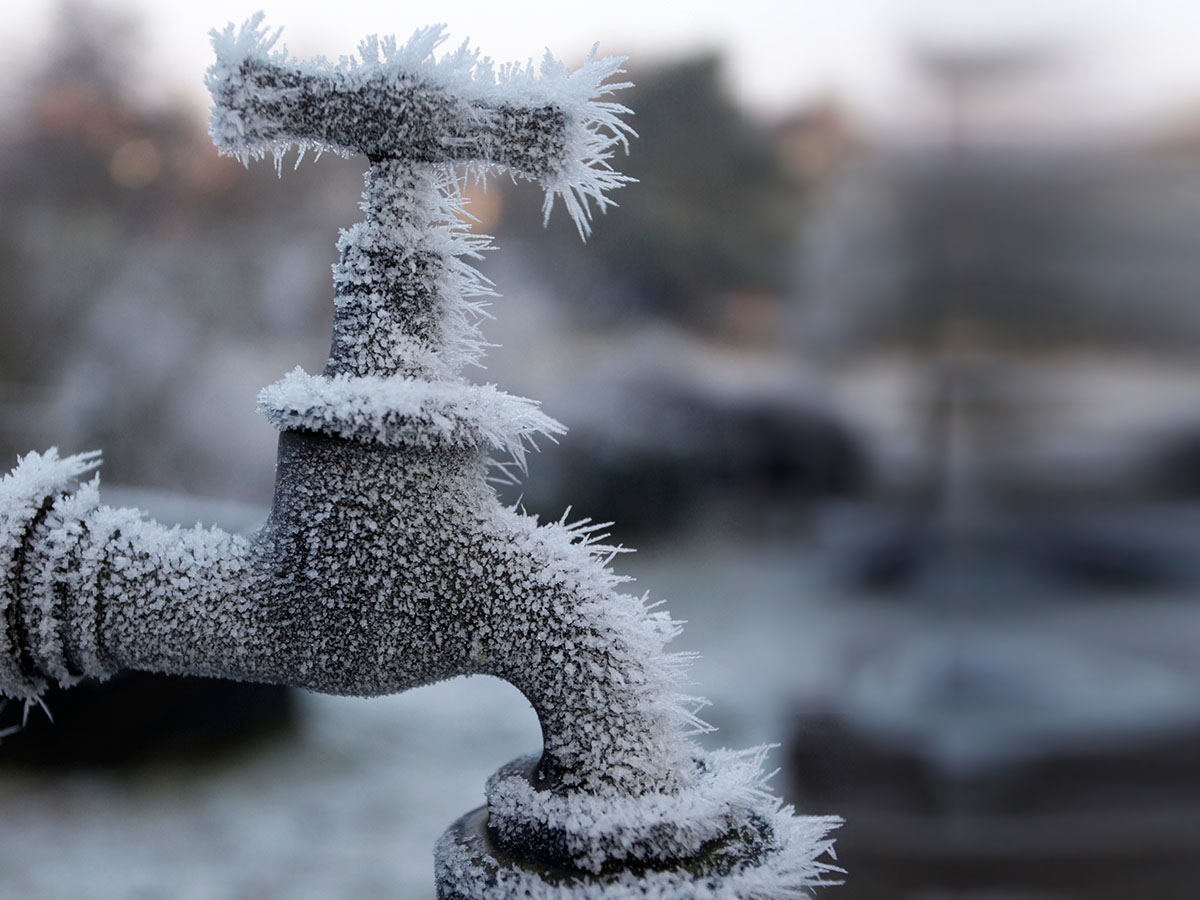
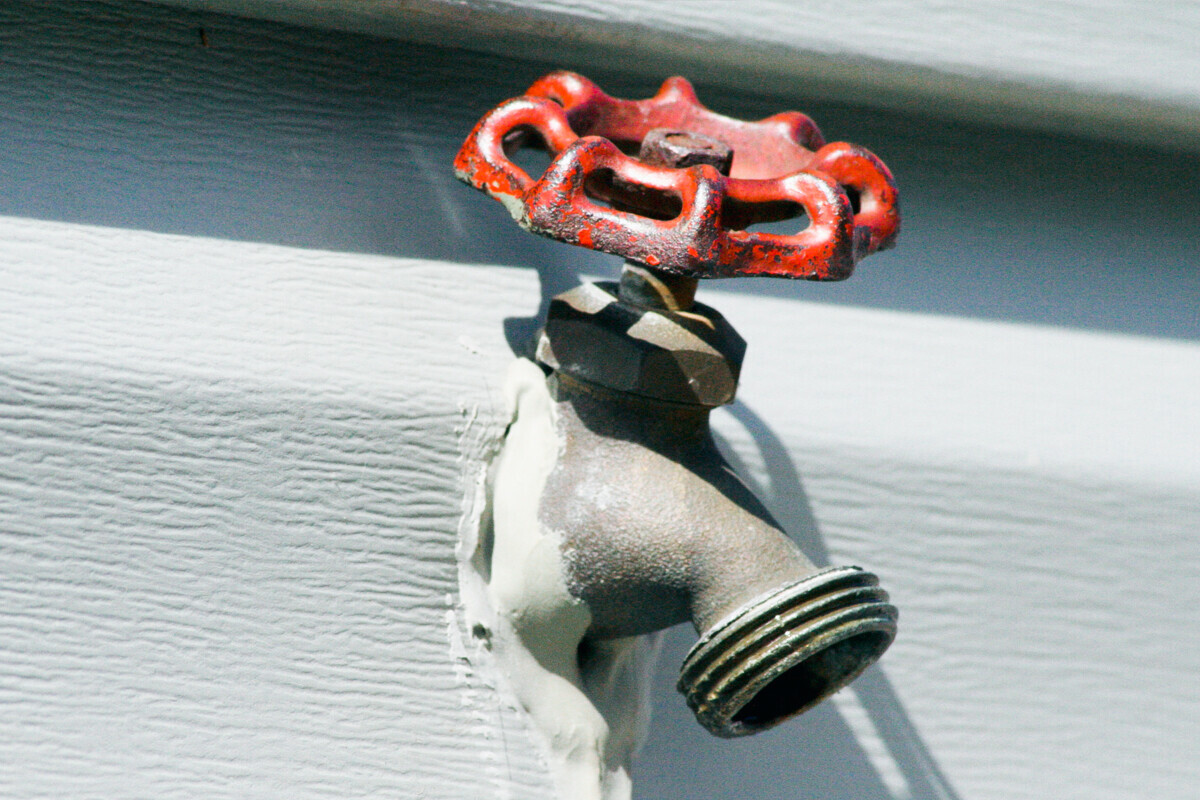
Step 2: Drain Outdoor Faucets and Sprinkler Systems
Another crucial step in winterizing your home plumbing is draining any outdoor faucets and sprinkler systems. These outdoor fixtures are susceptible to freezing and can cause significant damage if not properly winterized.
Start by disconnecting all garden hoses from outdoor faucets. Leaving hoses attached can cause water to freeze and back up into the faucet, increasing the risk of damage. Once the hoses are removed, drain any remaining water by holding the faucet open until water stops flowing.
Next, locate the shut-off valves for your outdoor faucets and turn them off. This will prevent water from flowing into the outdoor pipes during freezing temperatures. It’s also a good idea to insulate the shut-off valves with a cover or wrap them with insulation to provide additional protection against the cold.
For sprinkler systems, it’s essential to follow the manufacturer’s guidelines for winterizing. Most systems have a dedicated shut-off valve and drain valve. Start by turning off the water supply to the sprinkler system and opening the drain valve to remove any remaining water.
Ensure that all sprinkler heads are completely drained to prevent any residual water from freezing and expanding, which can cause them to crack or break. You may need to use compressed air to blow out any water remaining in the lines. If you’re unsure about how to properly winterize your sprinkler system, consider hiring a professional to do the job.
Draining outdoor faucets and sprinkler systems prevents water from freezing inside and damaging the pipes and fixtures. By taking this precaution, you’ll avoid the hassle and expenses of repairing or replacing frozen and burst pipes in the spring.
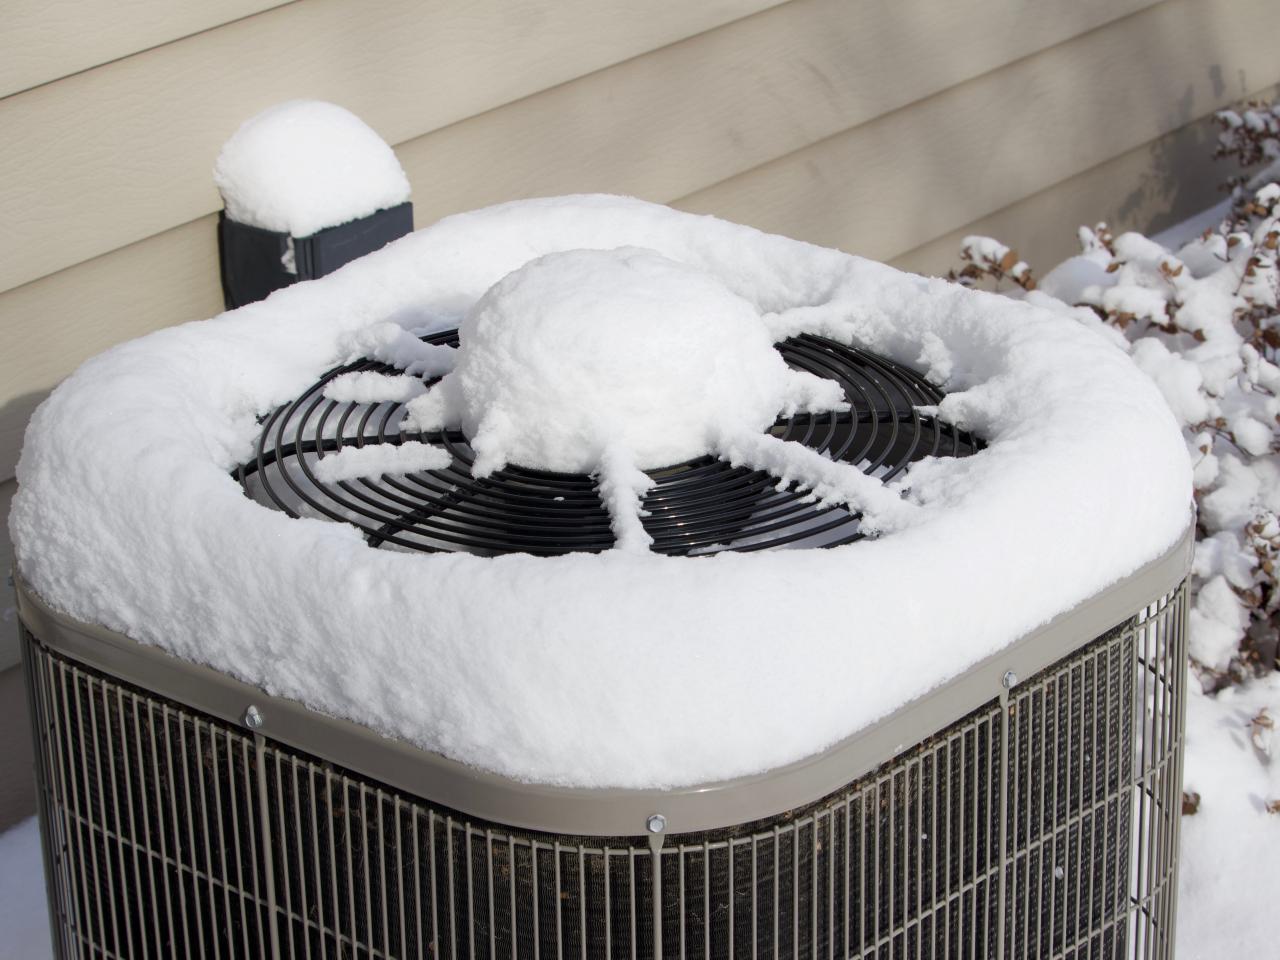
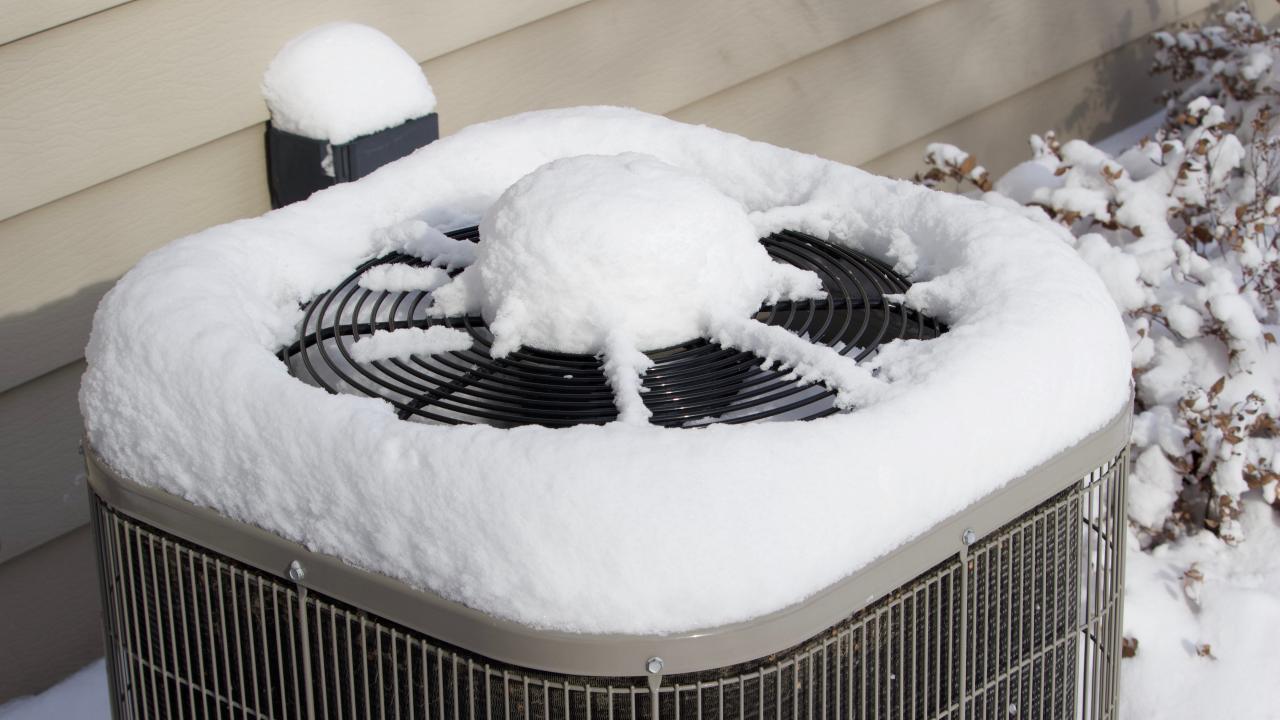
Step 3: Inspect and Insulate Water Heater
As part of your winterization process, it’s important to inspect and insulate your water heater. The water heater plays a crucial role in providing hot water to your home, and protecting it from the cold can prevent potential issues during the winter months.
Start by checking the condition of your water heater. Look for any signs of leaks, corrosion, or damage. If you notice any problems, it’s best to address them before winter arrives. Leaks or damage to the water heater can lead to further issues, such as flooding or a complete failure of the unit.
Once you’ve inspected the water heater and ensured that it’s in good condition, it’s time to insulate it. Insulating your water heater can help conserve energy and maintain hot water temperatures, especially in colder environments.
You can use a water heater blanket or insulation jacket to wrap the water heater tightly. These insulating materials are readily available at hardware stores and are specifically designed for water heater insulation.
When insulating the water heater, make sure to follow the manufacturer’s instructions and cover all exposed areas, including the tank and pipes. Avoid covering any access panels or controls that need regular maintenance or adjustment.
Insulating your water heater not only helps to retain heat but also reduces standby heat loss, which can occur when cold air infiltrates the water heater unit. By taking this step, you can reduce energy consumption and potentially lower your utility bills.
Remember to periodically check the insulation of the water heater throughout the winter season. If you notice any signs of damage or wear, consider replacing the insulation or repairing it to maintain its effectiveness.
By inspecting and insulating your water heater, you can ensure its efficient operation and reduce the risk of freezing or damage during the winter months, providing you with a reliable hot water supply throughout the season.
Step 4: Seal Drafts and Cracks
In order to effectively winterize your home plumbing, it’s important to seal any drafts and cracks that allow cold air to enter your home. These openings not only make your home less energy-efficient but also expose your plumbing system to freezing temperatures.
Start by thoroughly inspecting the exterior of your home for any visible cracks or gaps. Common areas to check include around windows and doors, along the foundation, and where different building materials meet. Use weatherstripping, caulk, or foam insulation to seal these openings and prevent cold air infiltration.
When sealing drafts, pay special attention to areas near pipes and plumbing fixtures. Insulate any gaps or openings around pipes that pass through exterior walls or floors. Use expanding foam insulation to seal these areas, ensuring a tight seal to keep cold air out.
Indoor drafts can also impact your home’s energy efficiency and expose your plumbing to cold temperatures. Check for drafts around windows, doors, and electrical outlets. Install weatherstripping or use draft stoppers to prevent cold air from seeping in.
While inspecting for drafts, also check for proper insulation in your home. Inadequate insulation can lead to temperature fluctuations and increase the risk of frozen pipes. Consider adding insulation in attics, basements, and crawl spaces to maintain a stable interior temperature.
Sealing drafts and cracks not only protects your plumbing system but also improves overall energy efficiency, reducing heating costs during the winter. By creating a barrier against cold air infiltration, you ensure that your plumbing system remains protected and functional even in freezing temperatures.
Disconnect and drain outdoor hoses to prevent freezing and bursting. Shut off outdoor water valves and insulate exposed pipes to protect against cold temperatures.
Read more: How To Winterize Plumbing In A Vacant House
Step 5: Keep Interior Temperature Consistent
Maintaining a consistent interior temperature is crucial when winterizing your home plumbing. Fluctuating temperatures can increase the risk of frozen pipes and other plumbing issues.
Set your thermostat to a consistent temperature throughout the day and night, even when you’re away from home. While it may be tempting to lower the temperature to save on heating costs, drastic temperature changes can cause the pipes to freeze.
It’s recommended to keep the thermostat set to a minimum temperature of 55 degrees Fahrenheit (13 degrees Celsius) during the winter. This ensures that the interior remains warm enough to prevent the pipes from freezing.
Pay special attention to rooms where water supply lines are located, such as bathrooms, kitchens, and laundry rooms. These areas tend to be more susceptible to cold temperatures, so maintaining a consistent temperature in these spaces is crucial.
If you have rooms that are rarely used or are located in unheated areas, consider opening cabinet doors or using space heaters to provide extra warmth. The increased heat circulation can help prevent pipes in these areas from freezing.
If you plan to be away from home for an extended period during the winter, it’s essential to keep the interior temperature consistent while you’re gone. Ask a trusted neighbor or family member to periodically check on your home and ensure that the heating system is functioning properly.
By maintaining a consistent interior temperature, you create a stable environment that helps prevent freezing and helps safeguard your plumbing system throughout the winter season.
Step 6: Prepare for Extended Vacations
If you’re planning an extended vacation during the winter, it’s important to take extra precautions to protect your home plumbing while you’re away. By properly preparing your plumbing system, you can minimize the risk of frozen pipes and potential water damage.
Start by shutting off the main water supply to your home. Locate the main shut-off valve, usually found near the water meter or where the main water line enters your home. Turn it off to stop the flow of water into your plumbing system.
Next, open all faucets and flush toilets to drain any remaining water from the pipes. This helps to remove stagnant water and minimize the chance of freezing. Leave the faucets open while you’re away to allow for any residual water to continue to drain.
If you have a water heater, turn it off or set it to vacation mode. This prevents the water heater from continuously heating water that you won’t be using and reduces energy consumption while you’re away.
Consider draining your plumbing system entirely if you’ll be gone for an extended period. This involves using compressed air or a professional plumber’s assistance to blow out the water from your pipes. Draining the system eliminates any remaining water that may freeze and cause damage.
Lastly, inform a trusted neighbor or family member about your absence. Provide them with your contact information and instructions on what to do in case of any plumbing emergencies. It’s always better to have someone keep an eye on your property and be prepared for any unforeseen issues that may arise.
By taking these precautionary measures before leaving for an extended vacation, you can ensure that your home plumbing remains protected during your absence. Enjoy your trip with peace of mind, knowing that you’ve taken steps to safeguard your plumbing system.
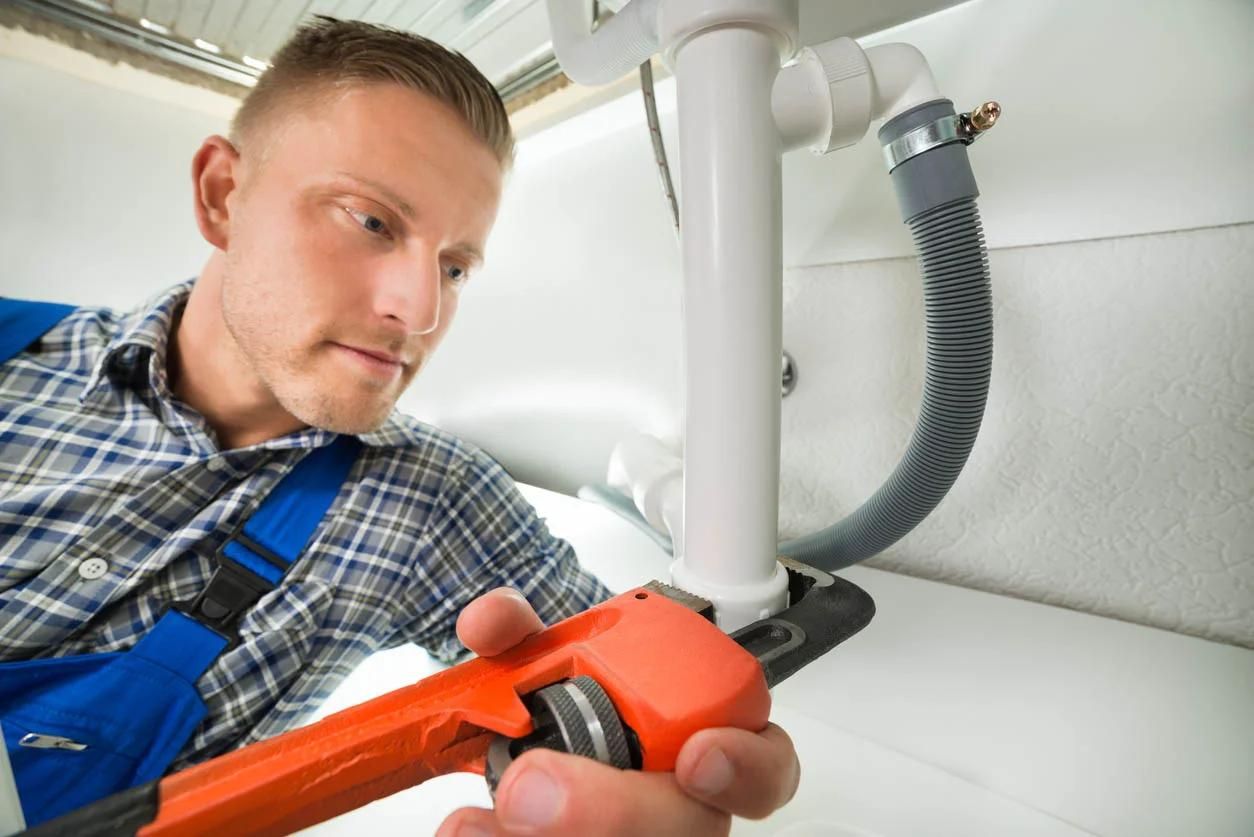
Step 7: Monitor and Maintain Plumbing System
Even after you’ve completed the necessary steps to winterize your home plumbing, it’s important to continue monitoring and maintaining the system throughout the winter season. Regular maintenance helps identify any potential issues and allows for prompt repairs, minimizing the risk of extensive damage.
Check for leaks or drips in your plumbing system on a regular basis. Look for any signs of water damage, such as water stains, mold growth, or musty odors. Address any leaks immediately to prevent them from worsening and causing further damage.
Insulate any pipes that may be at risk of freezing due to exposure to cold temperatures. This includes pipes in unheated areas and those located near exterior walls. Check the insulation periodically to ensure it’s intact and replace any damaged or worn-out insulation.
Keep an eye on your water heater and its performance. If you notice any issues such as a decrease in hot water supply, strange noises, or leaks, contact a professional plumber to inspect and repair the water heater as necessary.
Be cautious of using excessive amounts of hot water during the winter. Increased demand can strain the water heater and potentially lead to issues. Practice water conservation and try to stagger hot water usage throughout the day to allow the water heater to recover.
During winter storms or extremely cold temperatures, periodically run a small amount of water from faucets to keep water flowing in the pipes and prevent them from freezing. If you notice reduced water flow or no water coming from a particular faucet, it may be a sign of a frozen pipe, and you should take immediate action to thaw it or contact a professional plumber.
Lastly, consider scheduling a professional plumbing inspection before and after the winter season. A thorough inspection by a licensed plumber can identify any potential vulnerabilities in your plumbing system and ensure that it remains in good working condition.
By monitoring your plumbing system throughout the winter and promptly addressing any issues that arise, you can maintain the integrity of your plumbing system and avoid costly repairs or water damage.
Conclusion
Winterizing your home plumbing is a crucial step in preparing for the colder months. By following the steps outlined in this article, you can protect your plumbing system from freezing, bursting pipes, and potential water damage.
Insulating exposed pipes, draining outdoor faucets and sprinkler systems, inspecting and insulating your water heater, sealing drafts and cracks, maintaining a consistent interior temperature, preparing for extended vacations, and regularly monitoring and maintaining your plumbing system are all essential steps in winterizing your home plumbing.
By taking these proactive measures, you can safeguard your plumbing system from the harsh winter elements and reduce the risk of costly repairs. Winterizing not only helps to maintain a reliable water supply but also enhances the energy efficiency and comfort of your home during the winter season.
Remember to prioritize safety throughout the winterization process. Use appropriate tools and materials, follow manufacturer instructions, and consider seeking professional assistance when needed. Additionally, stay informed about local winter weather advisories and take additional precautions if you live in an area known for severe winter conditions.
By investing time and effort into winterizing your home plumbing, you can enjoy a worry-free winter season and ensure the longevity and functionality of your plumbing system for years to come.
Frequently Asked Questions about How To Winterize Home Plumbing
Was this page helpful?
At Storables.com, we guarantee accurate and reliable information. Our content, validated by Expert Board Contributors, is crafted following stringent Editorial Policies. We're committed to providing you with well-researched, expert-backed insights for all your informational needs.

0 thoughts on “How To Winterize Home Plumbing”