Articles
How To Fix A Leaking Plumbing Stack
Modified: August 17, 2024
Learn how to fix a leaking plumbing stack with these helpful articles. Find step-by-step guides and expert tips to tackle the issue yourself.
(Many of the links in this article redirect to a specific reviewed product. Your purchase of these products through affiliate links helps to generate commission for Storables.com, at no extra cost. Learn more)
Introduction
Welcome to our comprehensive guide on how to fix a leaking plumbing stack. If you’re experiencing water leakage around your plumbing stack, it’s essential to address the issue promptly to prevent further damage to your home. A leaking plumbing stack can lead to costly repairs and potential water damage, so it’s crucial to take action as soon as possible.
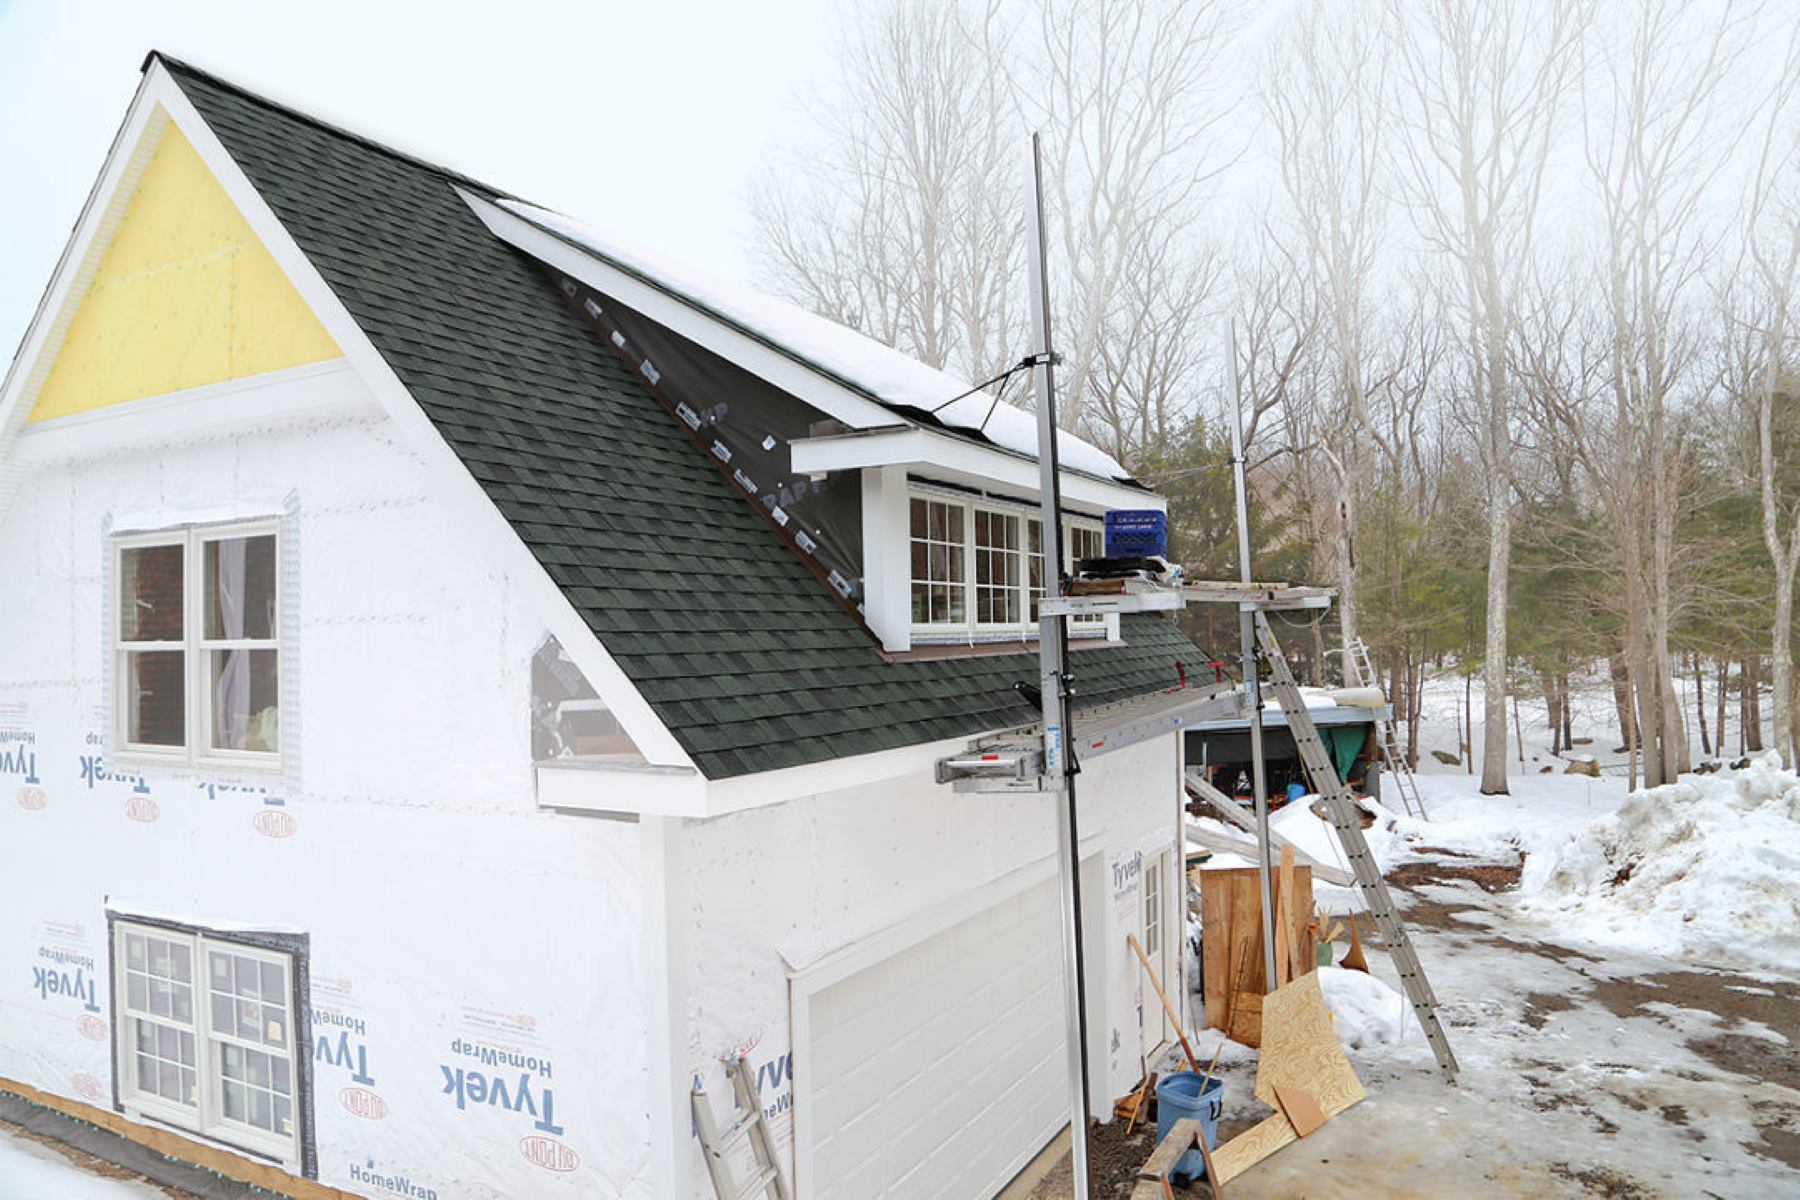
The plumbing stack, also known as a vent stack, is a vertical pipe that protrudes through your roofline and allows for proper ventilation and the release of sewer gases. It connects to the drainage system and plays a vital role in maintaining the performance and functionality of your plumbing system. However, over time, the plumbing stack may develop leaks due to wear and tear, corrosion, or other factors.
In this guide, we will walk you through the steps to identify and fix a leaking plumbing stack. We will also outline the necessary tools and materials you’ll need for the project. Additionally, we will cover some essential safety precautions to keep in mind before you begin any repair work.
Remember, if you are uncomfortable performing the repairs yourself or if the leak is significant, it’s best to consult a professional plumber. They have the expertise and experience to assess the situation accurately and provide the most appropriate solution.
Now, let’s delve into the details of understanding the plumbing stack and how to identify a leaking plumbing stack properly.
Key Takeaways:
- Identifying a leaking plumbing stack is crucial. Look out for water stains, dripping sounds, musty odors, visible damage, and increased water usage to address the issue promptly and prevent further damage.
- Prioritize safety when fixing a leaking plumbing stack. Turn off the water, wear protective gear, use proper tools, work in well-ventilated areas, and seek professional help if needed to ensure a safe and efficient repair process.
Read more: How To Fix Plumbing Under Slab Leak
Understanding the Plumbing Stack
Before we dive into fixing a leaking plumbing stack, it’s essential to have a basic understanding of what the plumbing stack is and how it functions.
The plumbing stack, also known as a vent stack, is a vertical pipe that extends through your roofline. It plays a crucial role in your plumbing system by providing ventilation and releasing sewer gases. It connects to the drainage system and allows air to enter, preventing the formation of a vacuum that could disrupt the flow of wastewater.
Here are a few key points to understand about the plumbing stack:
- Location: The plumbing stack is usually located near the vertical drainage lines in your home. It typically extends above the roofline to ensure proper ventilation.
- Components: The plumbing stack is made up of multiple pipes. The primary component is the main vertical pipe, which extends from the drainage system to the roof. It may also have additional vent pipes or connections depending on the complexity of your plumbing system.
- Importance of Ventilation: The plumbing stack is designed to allow fresh air into the drainage system. This helps maintain proper pressure, prevents clogs, and allows wastewater to flow freely. Additionally, it helps vent sewer gases, which could be harmful if trapped in your home.
Now that you have a basic understanding of the plumbing stack, let’s move on to the next section, where we will discuss how to identify a leaking plumbing stack.
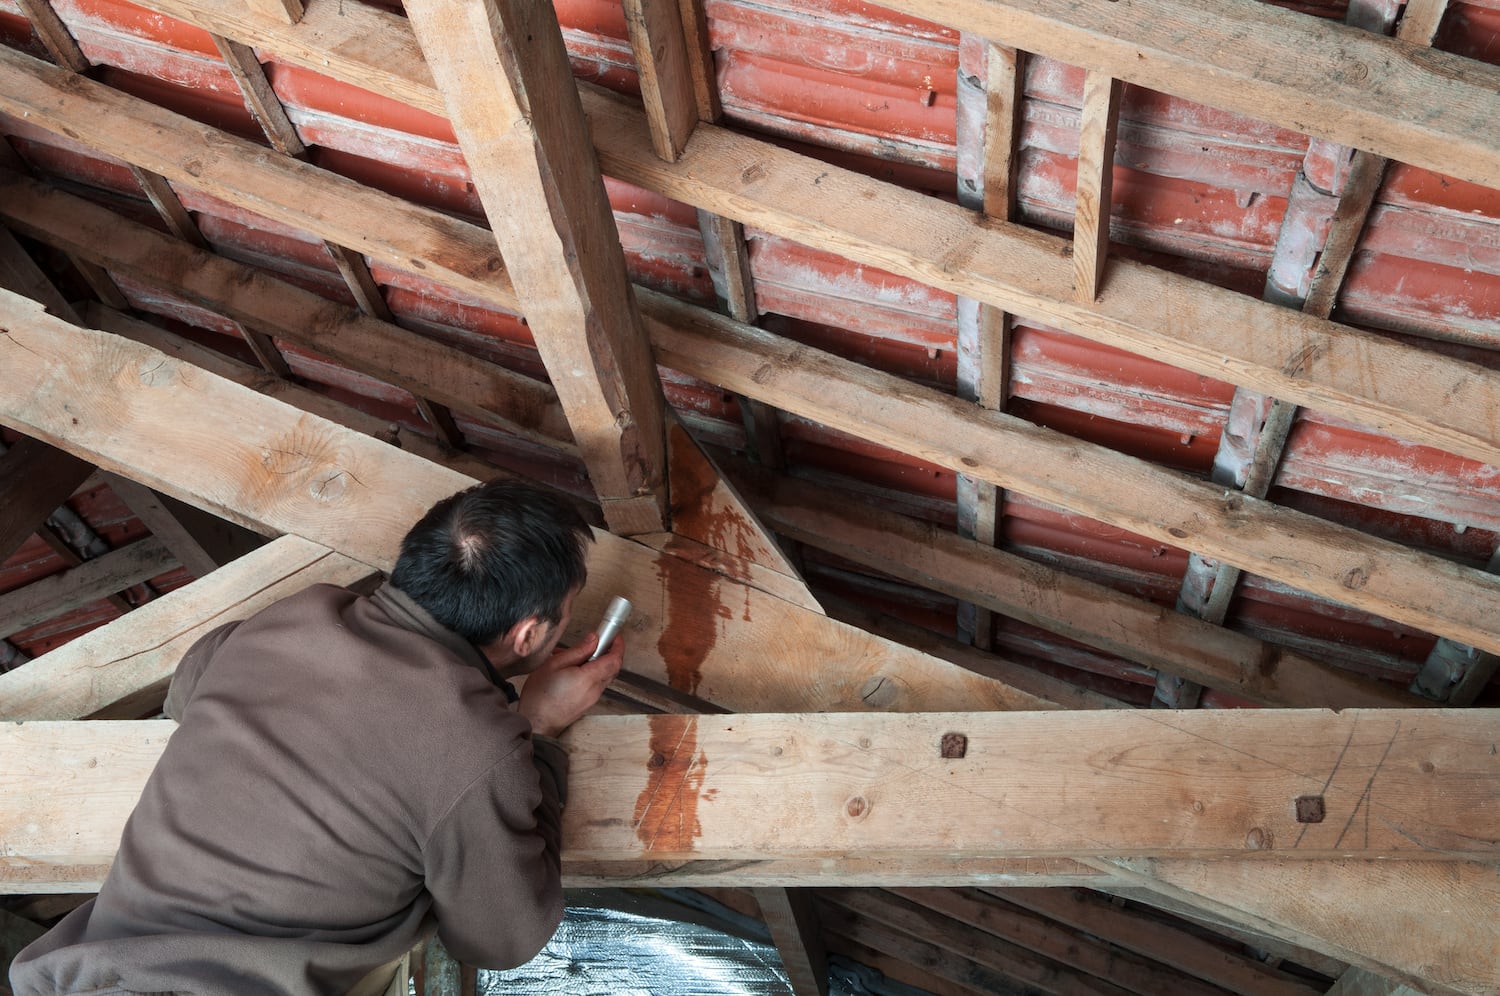
Identifying a Leaking Plumbing Stack
Identifying a leaking plumbing stack is crucial in order to address the issue promptly and prevent further damage. Here are some signs to look out for:
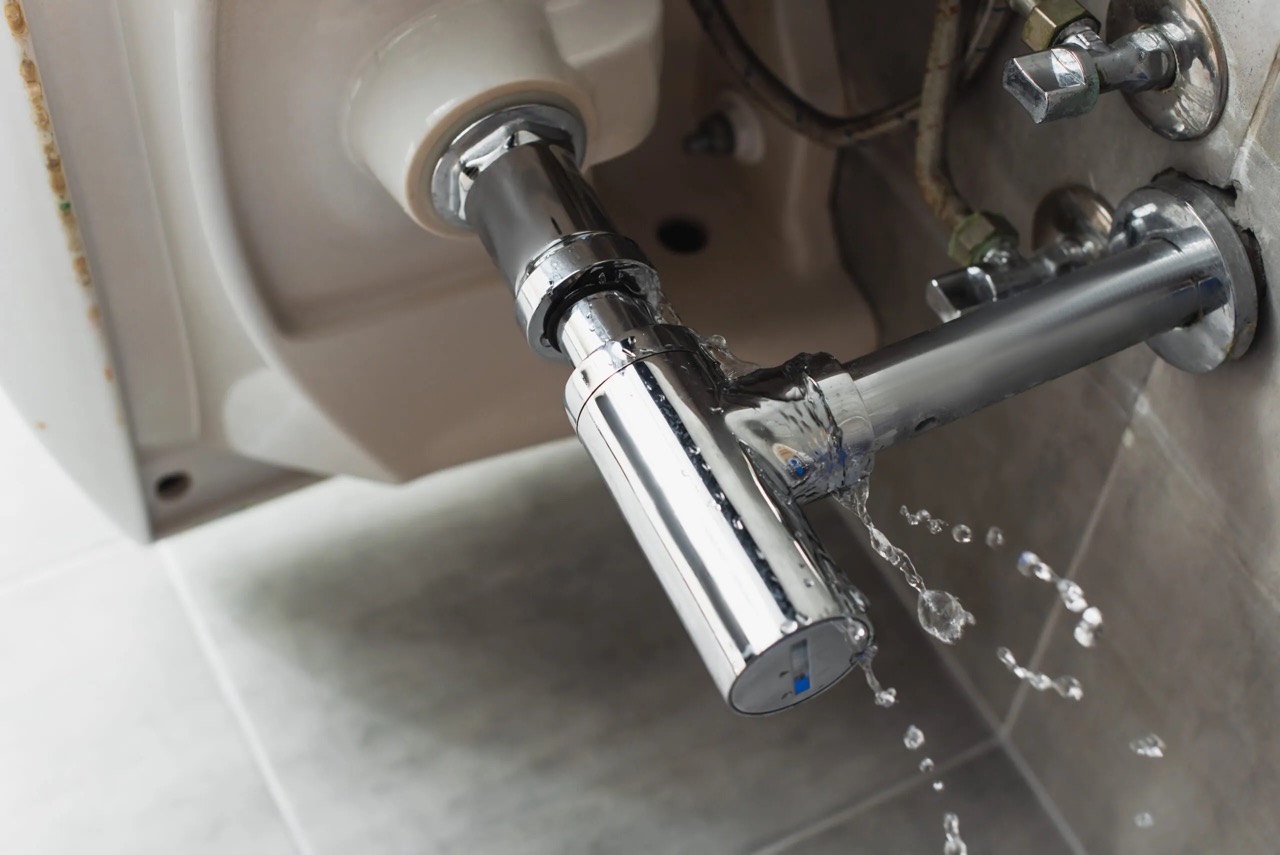
- Water Stains: If you notice water stains on your ceiling or walls near the plumbing stack, it can be a clear indication of a leak. Pay attention to any discoloration, peeling paint, or dampness in the affected area.
- Dripping Sounds: A leaking plumbing stack can create a dripping sound, especially during rainfall or when using water fixtures in your home. If you hear consistent dripping sounds near the plumbing stack, it’s likely that there’s a leak.
- Musty Odors: Leaking water from the plumbing stack can lead to the growth of mold and mildew, resulting in musty odors in your home. If you notice a persistent, unpleasant smell near the plumbing stack, it’s worth investigating for possible leaks.
- Visible Cracks or Damage: Inspect the plumbing stack itself for any visible cracks, gaps, or signs of damage. Corrosion, rust, or deterioration of the pipe material can indicate a leak or potential issues.
- Increased Water Usage: If you notice a sudden increase in your water bill without any changes in your water usage habits, it could be a sign of a leaking plumbing stack. Higher consumption may occur due to the continuous flow of water from a leak.
It’s important to note that these signs may not always be exclusive to a leaking plumbing stack and could indicate other plumbing issues. If you suspect a leak, it’s best to further investigate or seek the assistance of a professional plumber to accurately pinpoint the source of the problem.
Now that you know how to identify a leaking plumbing stack, let’s move on to the next section, where we will discuss the tools and materials you’ll need to fix it.
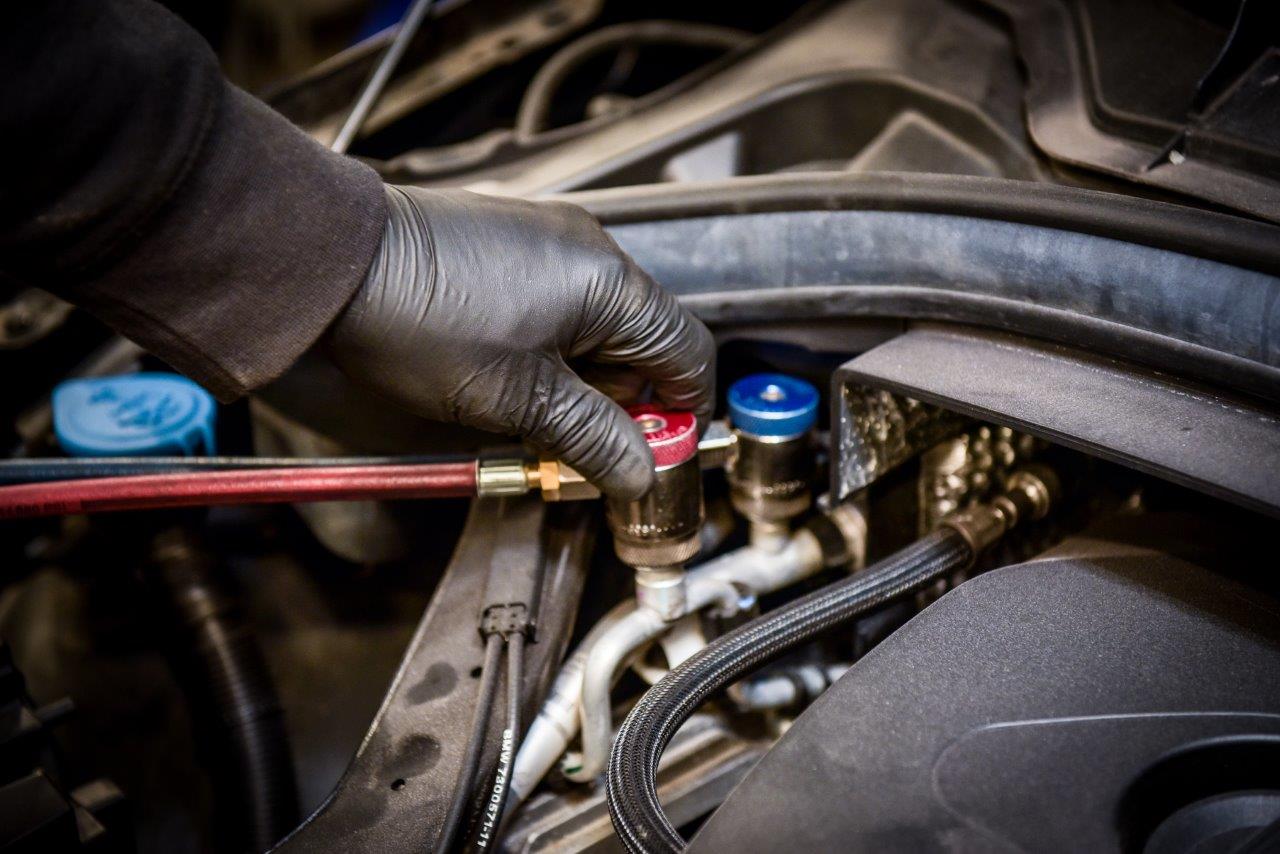
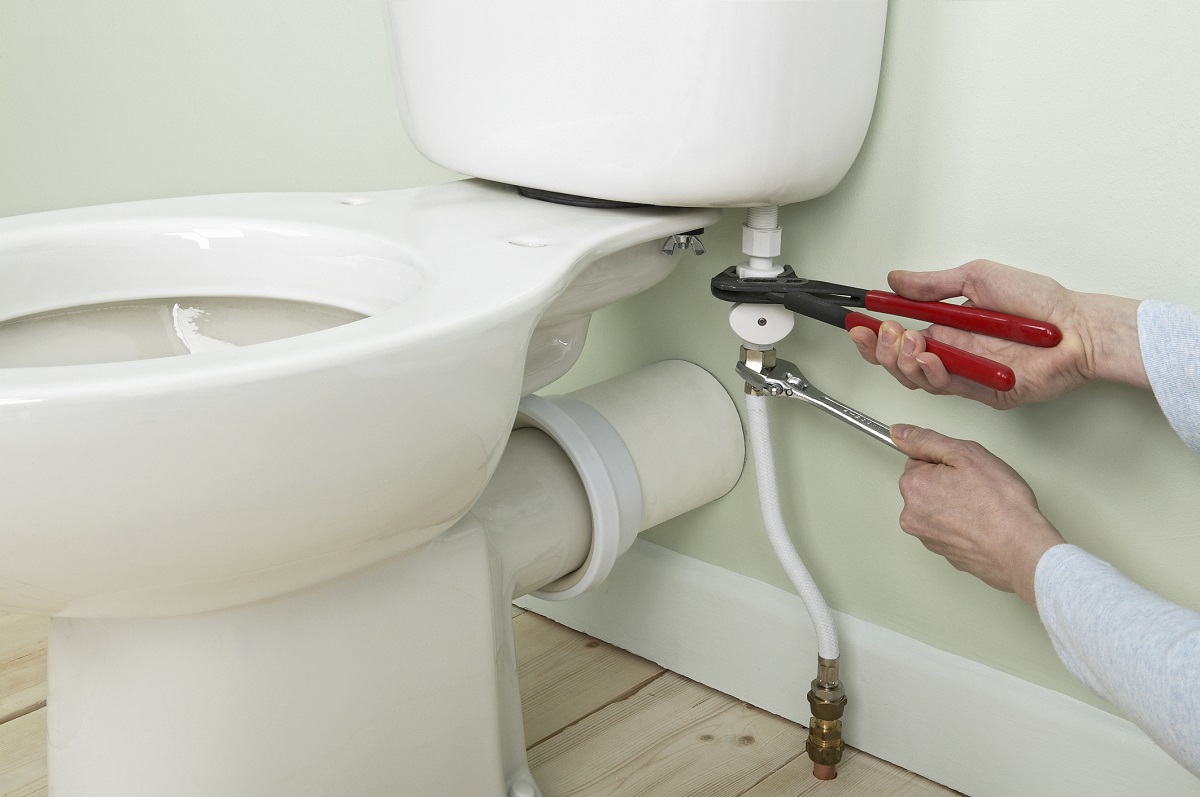
Tools and Materials Needed
Before you begin fixing a leaking plumbing stack, make sure you have all the necessary tools and materials on hand to streamline the repair process. Here’s a list of what you’ll typically need:
Tools:
- Adjustable wrench
- Pipe cutter
- Hacksaw
- Screwdriver
- Teflon tape or pipe thread sealant
- Caulking gun
- Plumber’s putty
- Plumber’s tape
- Measuring tape
- Safety goggles
- Gloves
Materials:
- PVC or ABS pipe (if replacement is necessary)
- Pipe fittings (if replacement is necessary)
- Pipe cement or primer (if using PVC)
- Rubber couplings (if using ABS)
- Roofing cement or silicone sealant
- New rubber boot or flashing for the plumbing stack
Note: The specific tools and materials required may vary depending on the nature of the leak and your plumbing system. It’s a good idea to assess the situation beforehand and gather any additional items you may need.
Now that you have an idea of the tools and materials required, let’s move on to the next section, where we will provide a step-by-step guide to fixing a leaking plumbing stack.
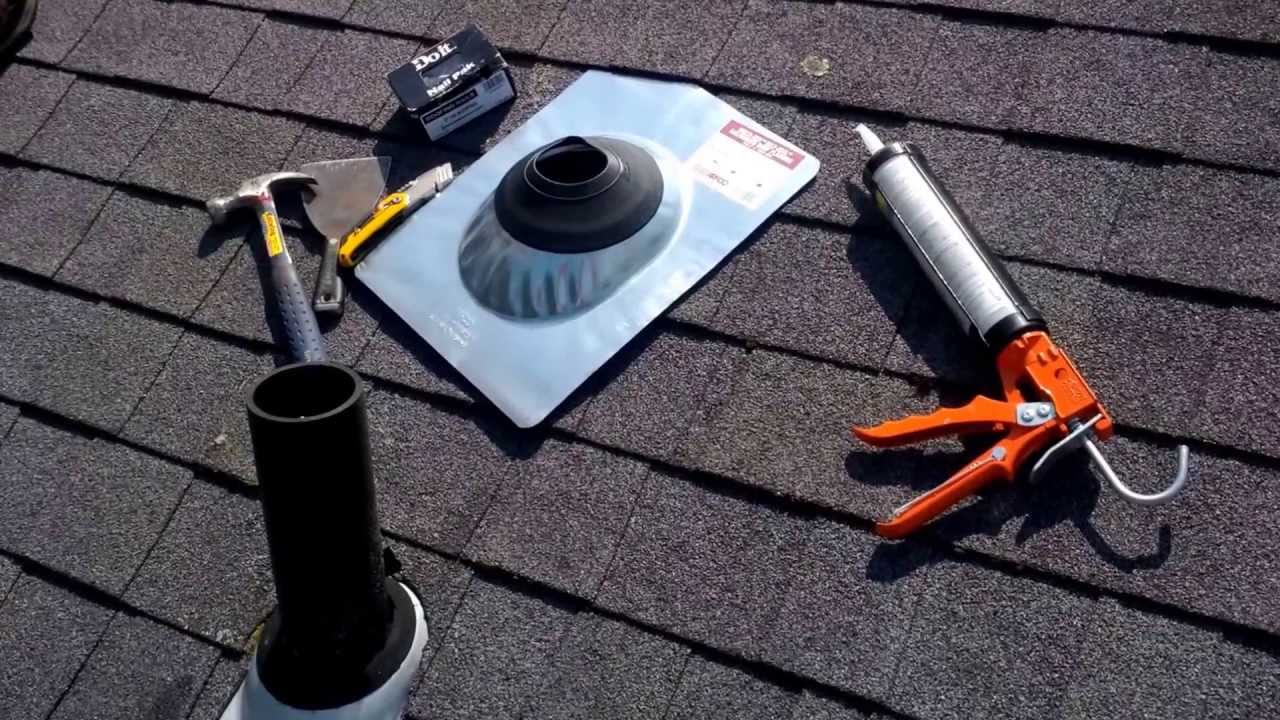
Inspect the plumbing stack for cracks or damage. Use a sealant or replace damaged sections to fix the leak. Make sure to use proper safety equipment.
Step-by-Step Guide to Fixing a Leaking Plumbing Stack
Now that you have gathered the necessary tools and materials, let’s go through the step-by-step process of fixing a leaking plumbing stack:
- Start by locating the source of the leak. Inspect the plumbing stack for any visible cracks, gaps, or damaged areas. If the leaking section is identifiable, you can proceed with the repair. However, if the issue is not immediately apparent, you may need to call a professional plumber for assistance.
- Turn off the water supply and ensure no water or waste is flowing through the plumbing stack during the repair process.
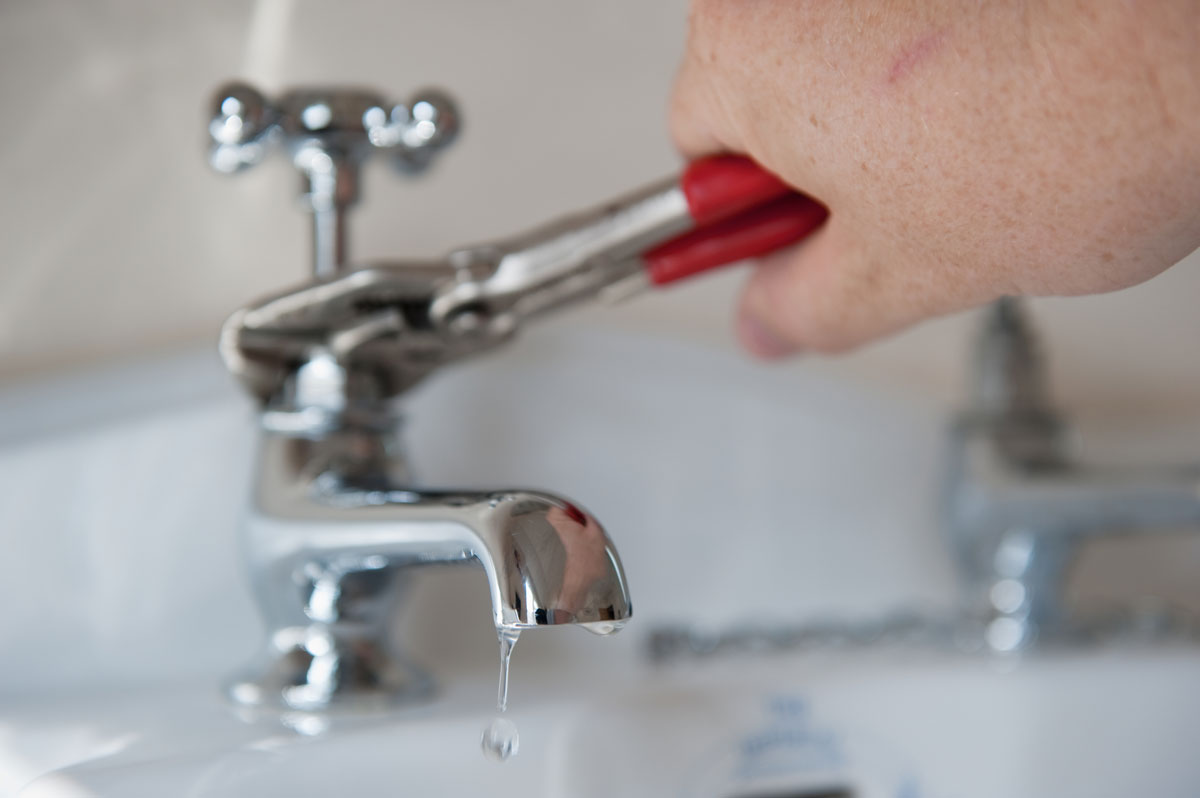
- If the leaking section is accessible, use an adjustable wrench to loosen the nuts and disconnect any fittings or piping in the affected area. Be cautious to avoid causing further damage to the plumbing stack or surrounding components.
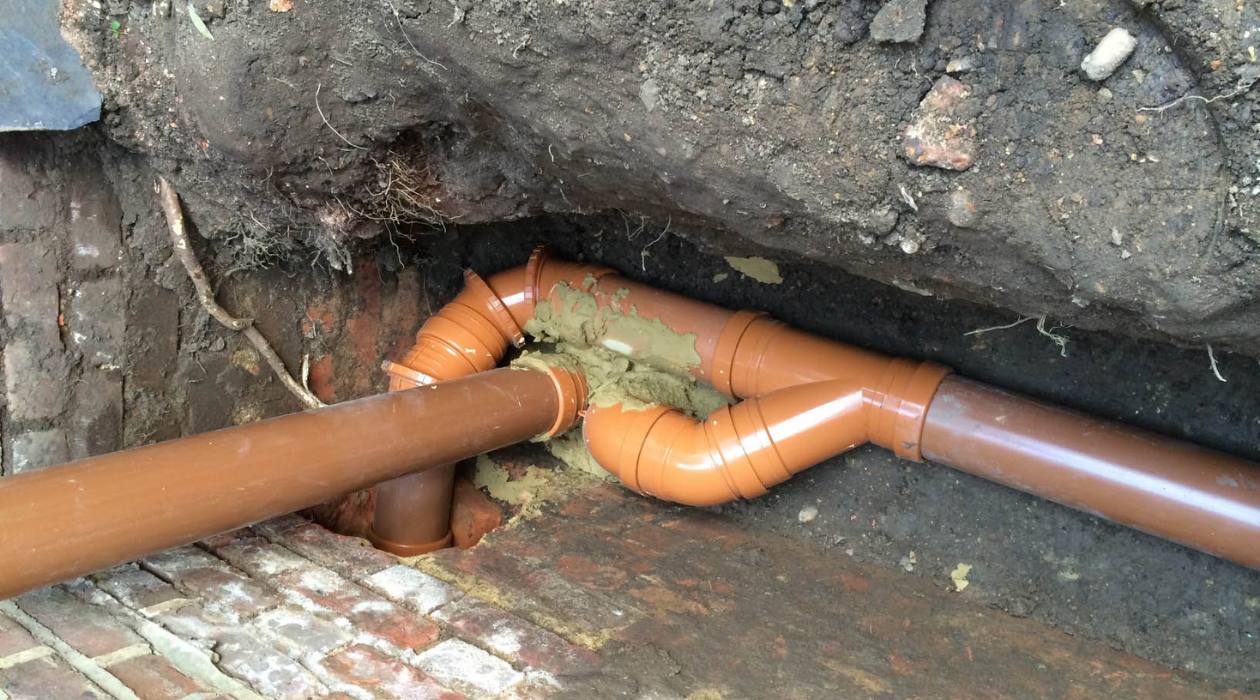
- If necessary, cut out the damaged section of the pipe using a pipe cutter or hacksaw. Ensure that the cut is clean and straight for a proper fit with the replacement pipe.
- If using PVC pipe, apply primer to the ends of the existing plumbing stack and the replacement pipe, then apply pipe cement to both surfaces. Insert the replacement pipe into the existing stack and secure it using the appropriate fittings and solvent cement. If using ABS pipe, use rubber couplings to connect the replacement section to the existing plumbing stack.
- Tighten the fittings securely using an adjustable wrench to ensure a watertight connection. Take care not to overtighten and risk damaging the pipes or fittings.
- Apply Teflon tape or pipe thread sealant to the threaded connections to prevent future leaks.
- Inspect the flashing or rubber boot around the plumbing stack on the roof. If it appears damaged or worn, remove and replace it with a new one. Use roofing cement or silicone sealant to secure the new flashing or rubber boot in place, ensuring a watertight seal.
- Reconnect any other piping or fittings that were removed earlier in the repair process, ensuring secure and watertight connections.
- Turn on the water supply and check for any leaks. It’s a good idea to monitor the repaired area for a period of time to ensure the issue has been resolved.
Remember, if you’re unsure about any steps or uncomfortable performing the repair yourself, it’s best to consult a professional plumber for assistance.
Now that you have successfully fixed the leaking plumbing stack, let’s move on to the next section, where we will discuss some essential safety precautions to keep in mind during the repair process.
Read more: How To Fix Hot Tub Plumbing Leak
Safety Precautions
When working on any plumbing repair, including fixing a leaking plumbing stack, it’s important to prioritize safety. Here are some essential safety precautions to keep in mind:
- Turn Off the Water: Before starting any repair work, make sure to turn off the water supply to the affected area. This will prevent any water or waste from flowing through the plumbing stack and minimize the risk of accidents.
- Wear Protective Gear: Ensure you wear appropriate protective gear, such as safety goggles and gloves, to protect yourself from any potential hazards. This will help prevent injuries from flying debris, sharp tools, or chemical exposure.
- Use Proper Tools: Always use the right tools for the job and familiarize yourself with their proper usage. Using improper tools can lead to accidents or damage to the plumbing system.
- Work in Well-Ventilated Areas: If you’re working indoors, open windows or use fans to ensure proper ventilation. This will help dissipate any fumes from solvents or adhesives used in the repair process.
- Take Precautions on the Roof: When accessing the plumbing stack on the roof, use caution and maintain a firm footing. Avoid working on the roof during inclement weather or when it’s wet to minimize the risk of slipping and falling.
- Follow Manufacturer’s Instructions: If using specific products, such as pipe cement or sealants, make sure to follow the instructions provided by the manufacturer. Improper usage can lead to ineffective repairs or potential health hazards.
- Seek Professional Help if Needed: If you’re unsure about any aspect of the repair process or if the leak is significant, it’s best to consult a professional plumber. They have the knowledge, experience, and specialized tools to handle plumbing repairs safely and effectively.
By following these safety precautions, you can minimize the risk of accidents and complete the repair work in a safe and efficient manner.
Now that you’re aware of the safety precautions, you’re well-equipped to fix a leaking plumbing stack. In the final section, let’s summarize the key points covered in this guide.
Conclusion
Fixing a leaking plumbing stack is important to prevent further damage to your home and ensure the proper functioning of your plumbing system. By following the steps outlined in this comprehensive guide, you can address a leaking plumbing stack efficiently and effectively.
We began by understanding the plumbing stack and its significance in maintaining a well-functioning plumbing system. We then discussed the various signs to identify a leaking plumbing stack, such as water stains, dripping sounds, and musty odors.
Next, we covered the essential tools and materials needed for the repair process, including adjustable wrenches, pipe cutters, Teflon tape, and roofing cement, among others. Having these items on hand will streamline the repair process and allow you to address the leak promptly.
Our step-by-step guide provided a clear and concise outline for fixing a leaking plumbing stack. It included locating the source of the leak, cutting out the damaged section (if necessary), and properly connecting the replacement pipe using the appropriate fittings and sealants.
Throughout the guide, the importance of safety precautions was emphasized. From turning off the water supply to wearing protective gear, following safety protocols is crucial to ensure a safe and accident-free repair process.
Remember, if you’re uncertain about any step or uncomfortable performing the repairs yourself, it’s always best to consult a professional plumber. They have the expertise and experience to assess the situation accurately and provide the most appropriate solution.
By taking the necessary steps to fix a leaking plumbing stack, you can save yourself from potential water damage, maintain the integrity of your home, and ensure the smooth operation of your plumbing system.
Thank you for using this comprehensive guide. We hope it has been helpful in assisting you with fixing a leaking plumbing stack.
Frequently Asked Questions about How To Fix A Leaking Plumbing Stack
Was this page helpful?
At Storables.com, we guarantee accurate and reliable information. Our content, validated by Expert Board Contributors, is crafted following stringent Editorial Policies. We're committed to providing you with well-researched, expert-backed insights for all your informational needs.


0 thoughts on “How To Fix A Leaking Plumbing Stack”