Articles
How To Fix Plumbing Under The Kitchen Sink
Modified: April 22, 2024
Discover effective articles on how to fix plumbing issues under your kitchen sink. Get expert tips and DIY solutions for leaky pipes, clogged drains, and more.
(Many of the links in this article redirect to a specific reviewed product. Your purchase of these products through affiliate links helps to generate commission for Storables.com, at no extra cost. Learn more)
Introduction
A plumbing issue under the kitchen sink can be a frustrating experience for homeowners. Whether it’s a leaky pipe, a clogged drain, or a faulty fixture, addressing the problem promptly is essential to avoid further damage. While calling a professional plumber is always an option, there are some common plumbing problems that you can fix yourself with the right tools and a little know-how.
In this article, we will guide you through the process of fixing plumbing problems under your kitchen sink. From shutting off the water supply to reassembling the P-trap, you will learn step-by-step how to tackle issues such as leaking pipes, clogged drains, and worn-out fixtures.
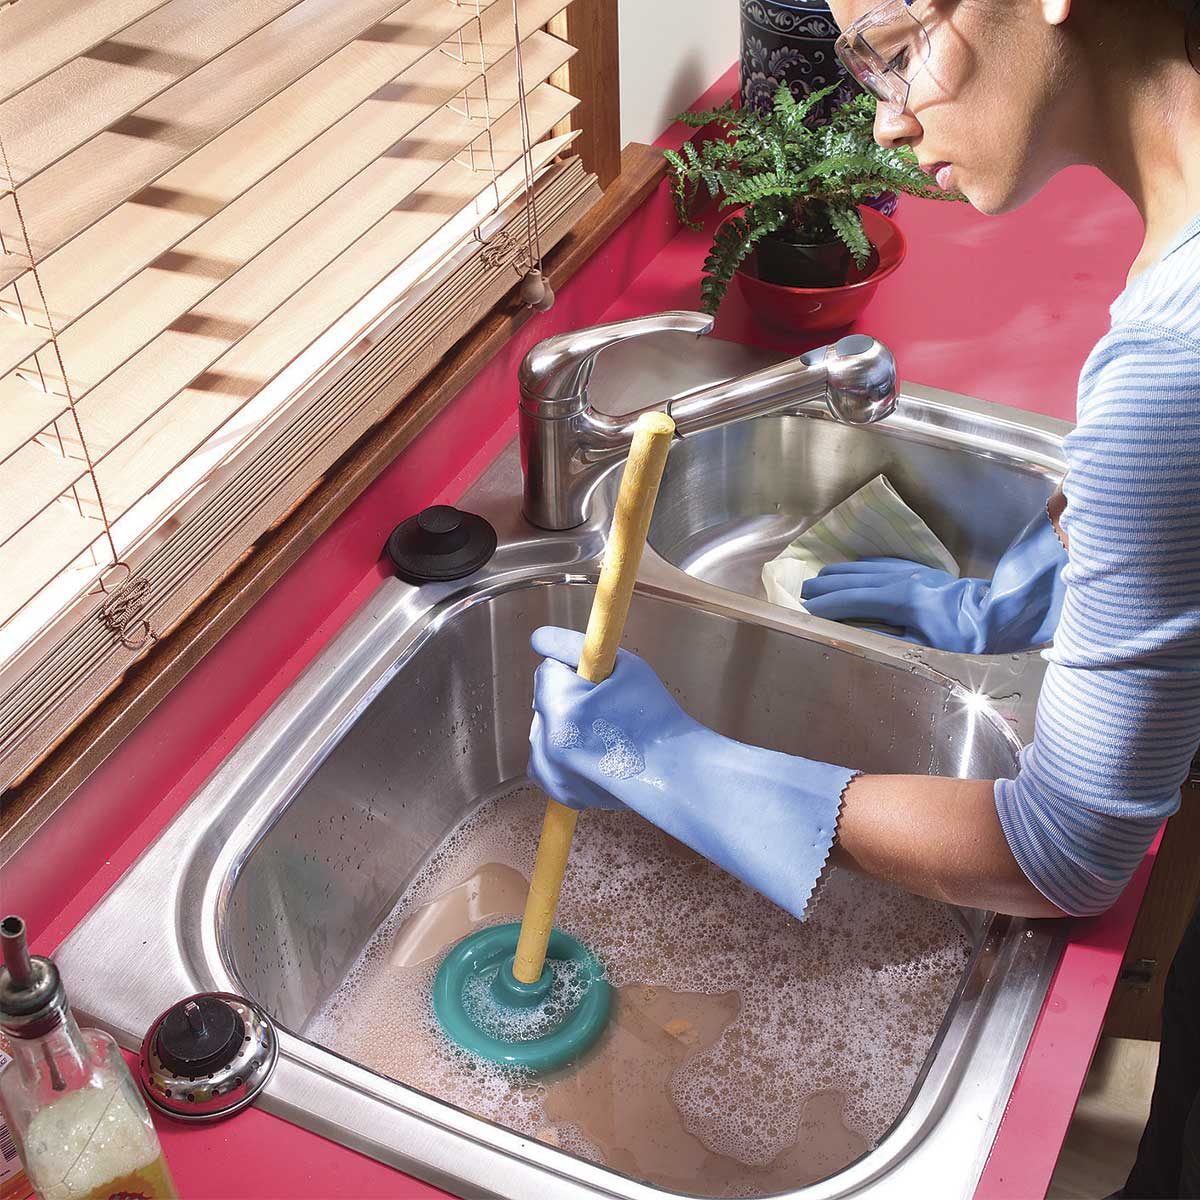
Before we dive into the specific steps, it’s important to note that safety should be your top priority. Always take precautions when working with plumbing systems, including wearing protective gloves and eyewear. If you encounter a problem that seems beyond your capabilities, don’t hesitate to seek professional help.
Now, let’s gather our tools and get started on fixing the plumbing under your kitchen sink!
Key Takeaways:
- DIY Plumbing Fix
With the right tools and know-how, you can tackle common kitchen sink plumbing issues like leaks and clogs. Prioritize safety, gather tools, and follow step-by-step instructions for a successful DIY repair. - Maintenance Matters
Regular inspection and maintenance of your kitchen sink’s plumbing system can prevent future issues and ensure smooth functionality. By taking the time to fix issues yourself, you gain valuable knowledge and experience.
Tools and Materials Needed
Before you can begin fixing the plumbing under your kitchen sink, you will need to gather a few essential tools and materials. Having these items on hand will ensure a smoother and more efficient repair process.
- Adjustable wrench
- Plumbing tape
- Bucket or container
- Pliers
- Plumbing snake or drain auger
- Pipe cutter (if replacing pipes)
- Replacement parts (such as washers, O-rings, or P-trap)
- Cleaning brush
- Vinegar or mild household cleaner
- Rags or towels
These tools and materials will help you address various plumbing issues, whether it’s tightening a loose pipe, unclogging a drain, or replacing worn-out components. Make sure you have everything ready before you begin the repair process.
Keep in mind that the specific tools and materials needed may vary depending on the type of plumbing problem you are facing. It’s always a good idea to assess the situation and ensure you have the appropriate items on hand.
Now that you have your tools and materials ready, let’s move on to the step-by-step process of fixing the plumbing under your kitchen sink.
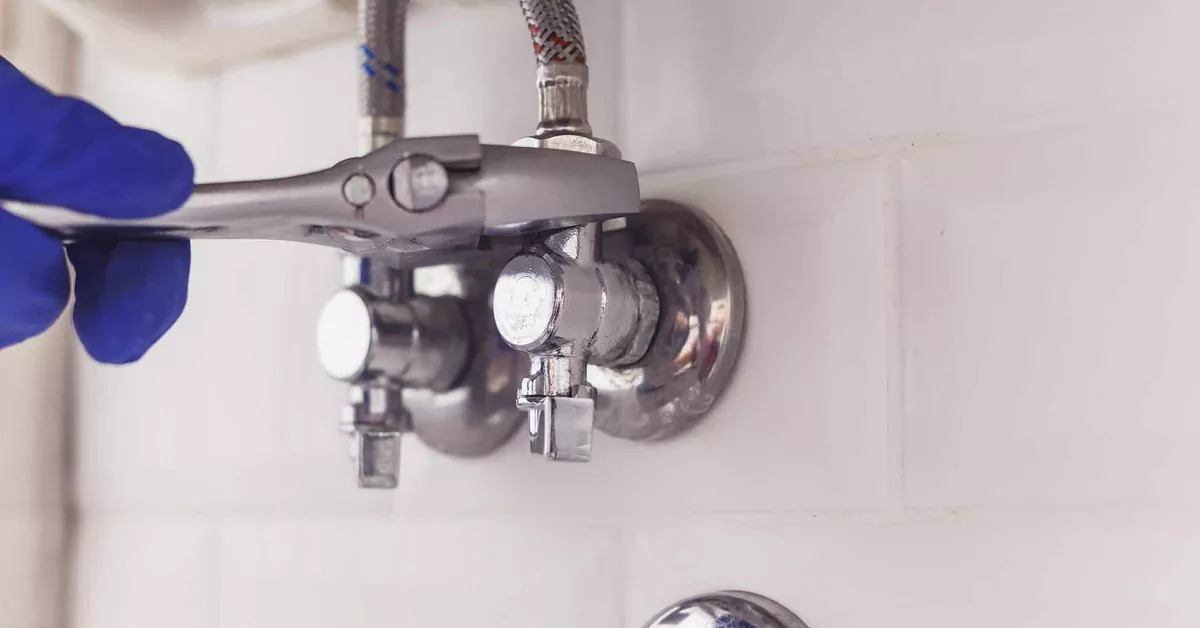
Step 1: Shut Off the Water
Before you begin any plumbing repair or maintenance work, it’s important to shut off the water supply to your kitchen sink. This will prevent water from flowing and potentially causing further damage during the repair process.
To shut off the water, locate the main water valve under your sink or in the basement. Turn it clockwise until it is tightly closed. Alternatively, you can shut off the water supply to your entire house if you cannot find a specific valve for your kitchen sink.
Once the water is shut off, test the faucet to ensure that no water is flowing. This will give you peace of mind and confirm that the water supply is successfully cut off.
Keep in mind that shutting off the water supply will mean that you won’t have access to water in your kitchen sink during the repair. So, it’s a good idea to complete this step when you’re not in immediate need of using the sink.
Now that the water supply is turned off, we can proceed to the next steps of fixing the plumbing issue under your kitchen sink.
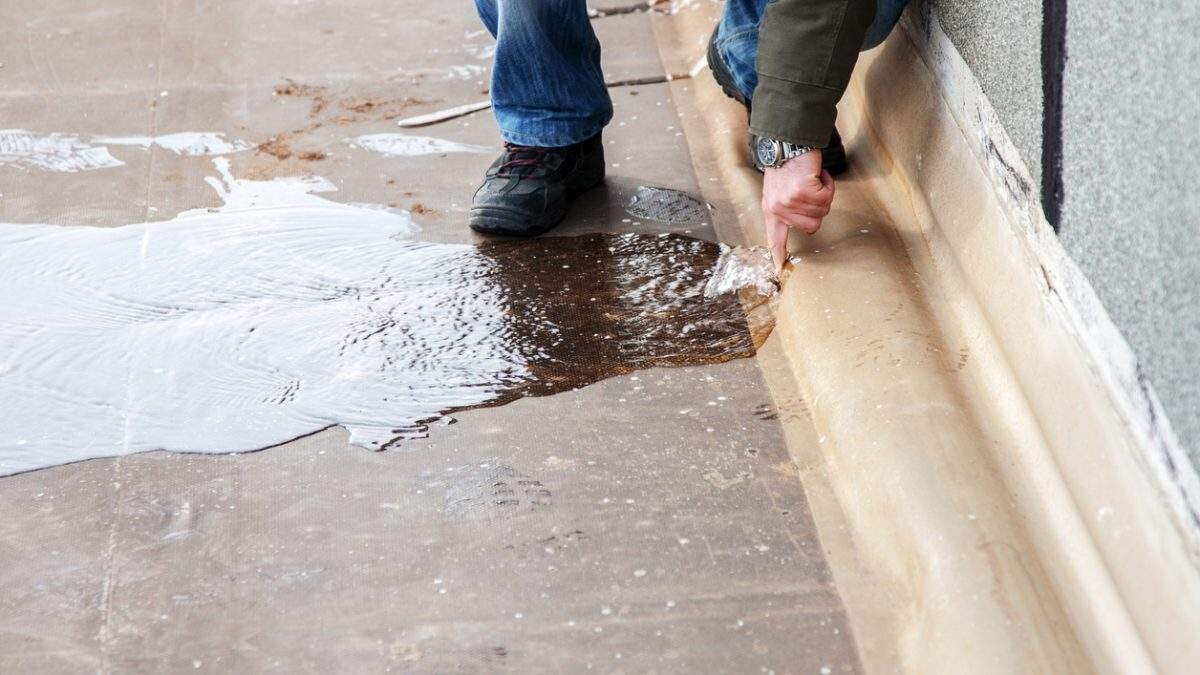
Step 2: Clear the Area
Before you start working on the plumbing under your kitchen sink, it’s important to clear the area to ensure easy access and avoid any potential accidents. Remove any items stored under the sink, such as cleaning products, containers, or pipes that may obstruct your work.
Once the area is clear, place a bucket or a container beneath the sink to catch any water or debris that may spill during the repair process. This will help minimize mess and make cleanup easier later on.
It’s also a good idea to have a few rags or towels nearby to wipe away any excess water or to clean any surfaces as needed.
By clearing the area and preparing it for the repair work, you will have a safe and efficient space to address the plumbing issue under your kitchen sink.
Now that the area is clear, we can move on to the next step of the repair process.
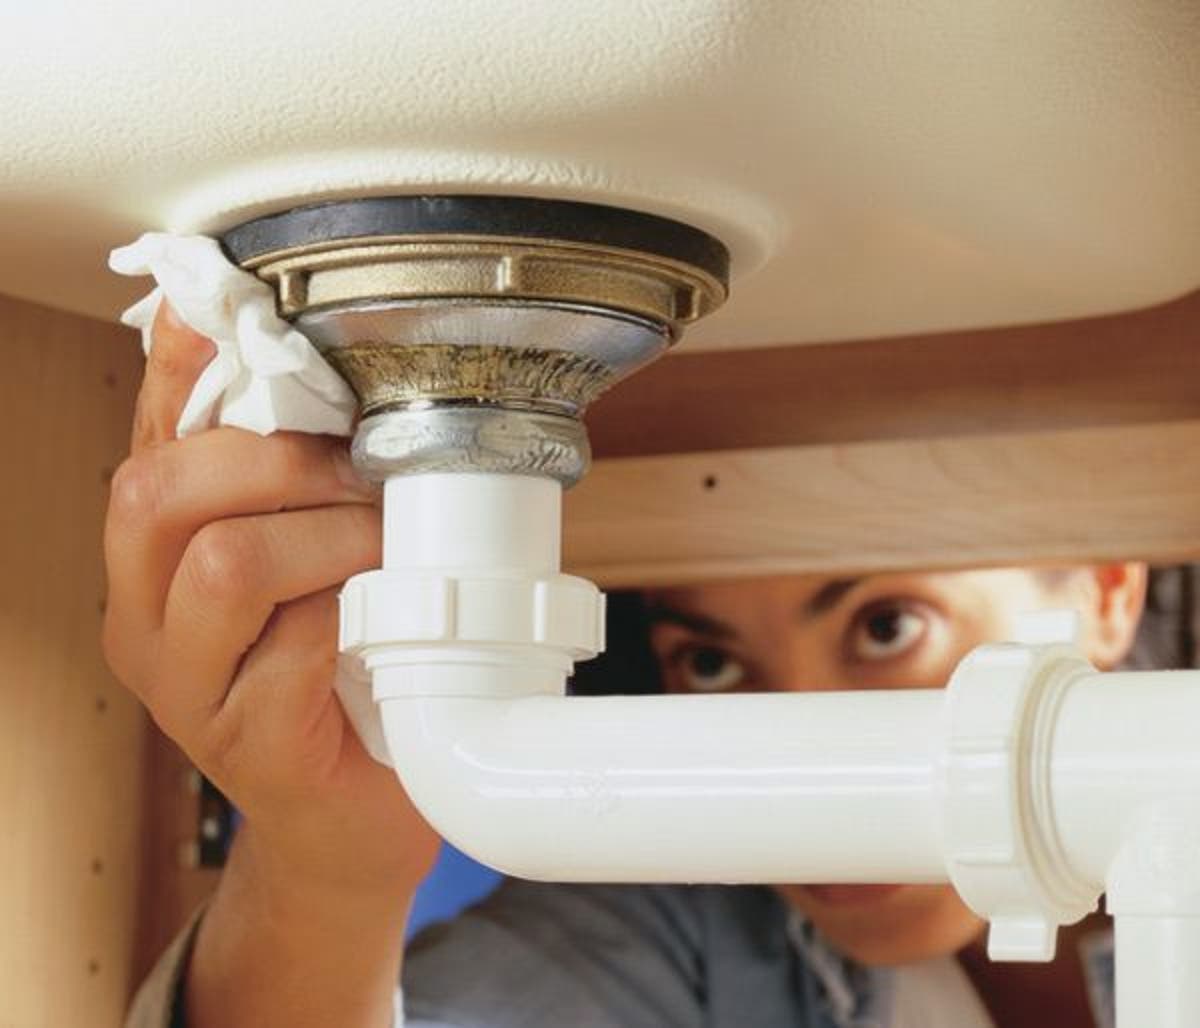
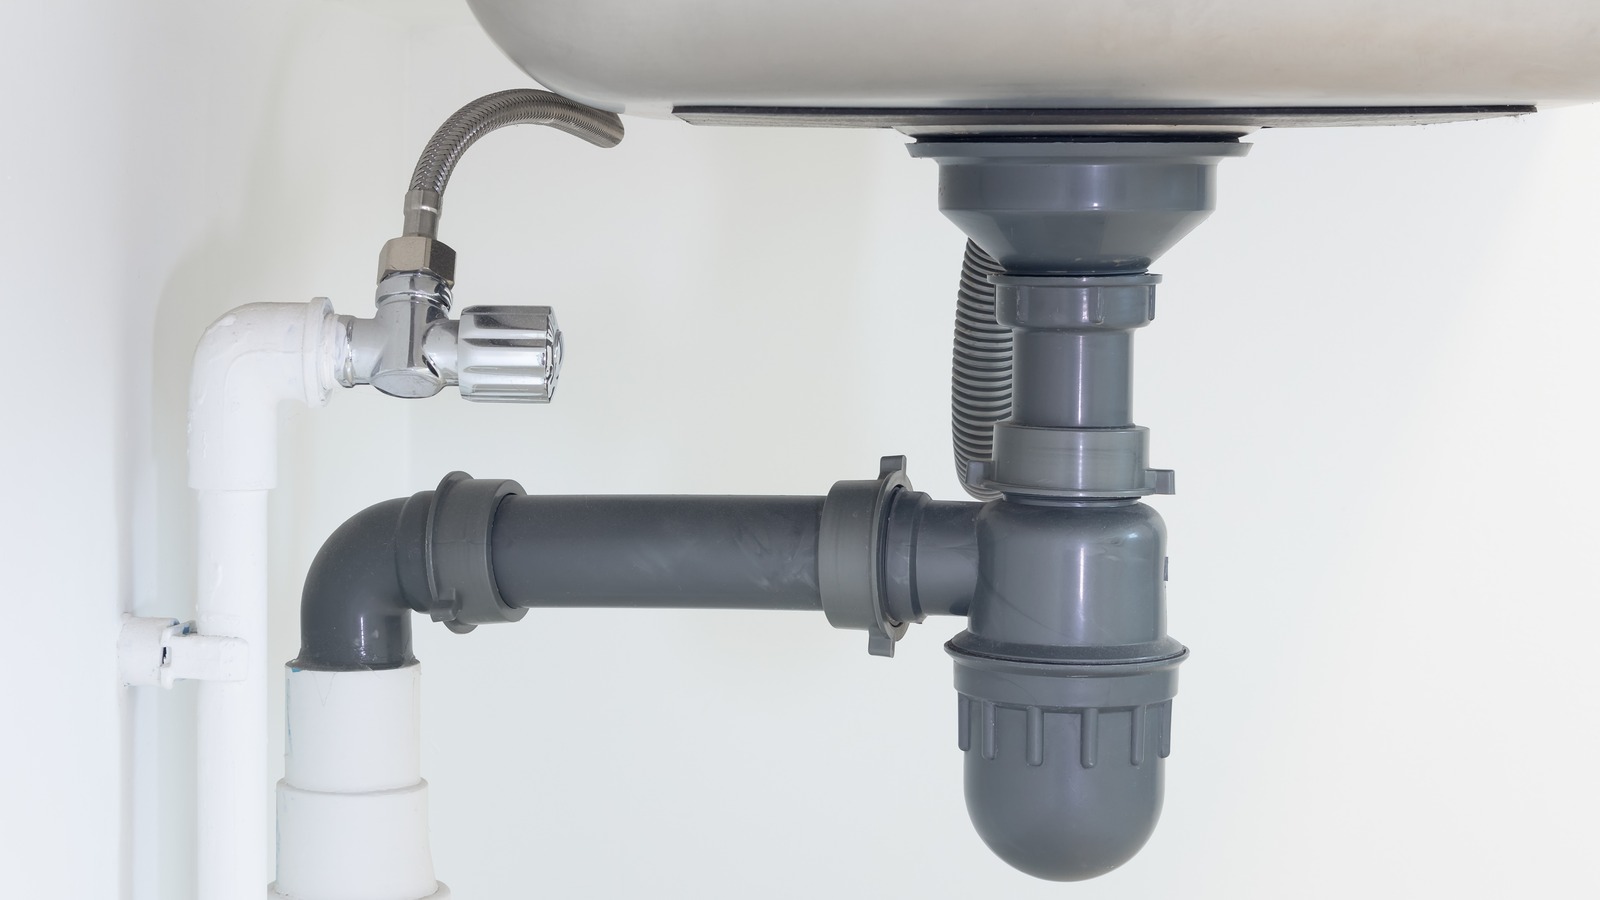
Step 3: Remove P-trap
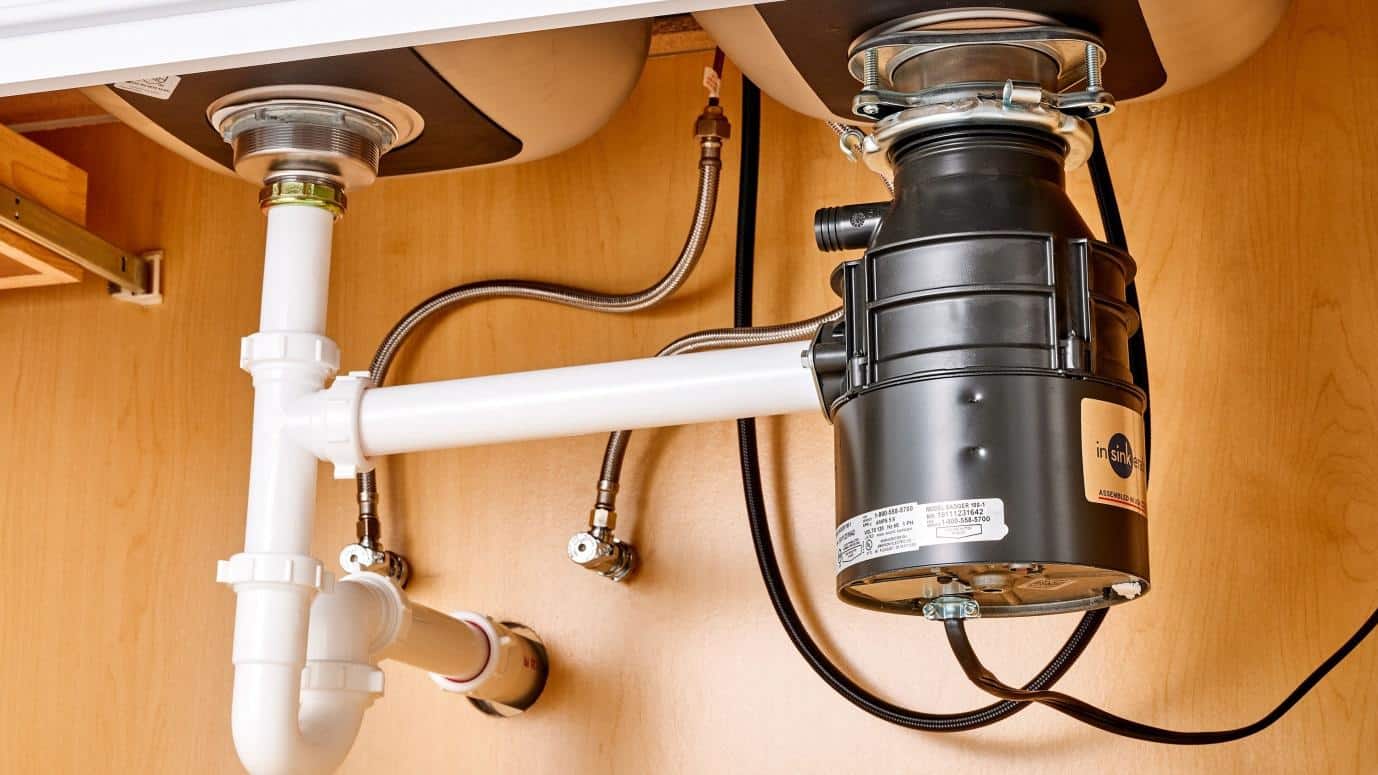
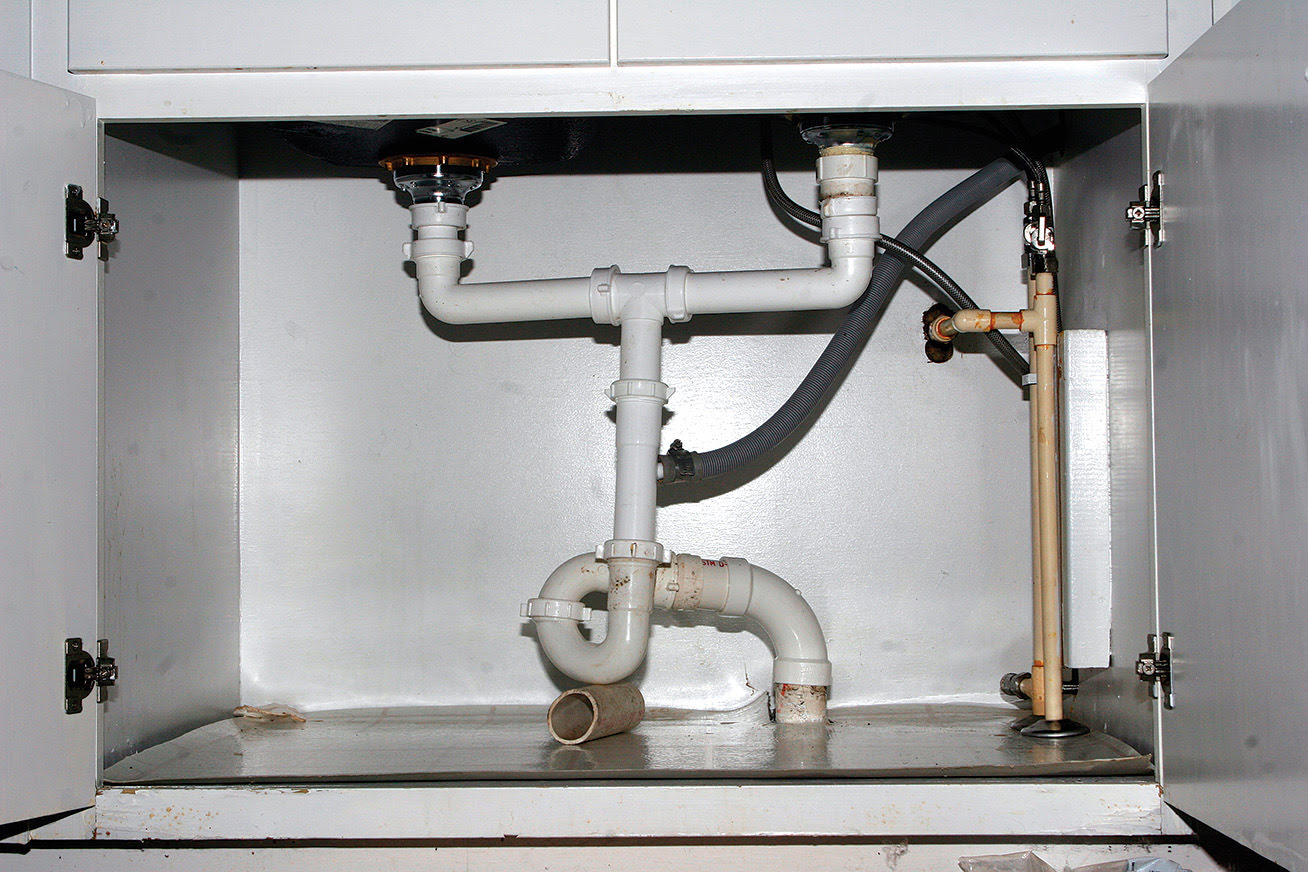
The P-trap is a curved pipe located beneath the sink that helps prevent sewer gases from entering your kitchen. It can become clogged with debris, causing drainage issues. Removing the P-trap allows you to clean it or replace it if necessary.
To remove the P-trap, follow these steps:
- Place a bucket or container beneath the P-trap to catch any water or debris that may spill.
- Using an adjustable wrench or pliers, loosen the slip nuts on each end of the P-trap. These are the connections where the P-trap attaches to the drainpipe and the waste pipe.
- Once the slip nuts are loosened, carefully remove the P-trap from the drainpipe and waste pipe. Allow any trapped water in the P-trap to drain into the bucket or container.
As you remove the P-trap, be mindful of any additional connections or fixtures attached to it, such as a tailpiece or extension pipe. Take note of how these components are connected, as you will need to reassemble them correctly later on.
Inspect the inside of the P-trap for any debris or blockages. If you notice any, clean the P-trap using a cleaning brush to remove the buildup.
With the P-trap removed and cleaned, you’re now ready to move on to the next step of the repair process.
Note: If you’re unsure about removing the P-trap or encounter any difficulties, it’s always best to consult a professional plumber for assistance.
When fixing plumbing under the kitchen sink, always turn off the water supply first to avoid any leaks or spills. This will make the repair process much easier and cleaner.
Read more: How To Have A Sink Without Plumbing
Step 4: Inspect and Clean
Now that the P-trap has been removed, it’s time to inspect and clean the area under your kitchen sink. This step is crucial as it allows you to identify any potential issues and ensure a proper flow of water through the plumbing system.
Start by examining the drainpipe and waste pipe for any signs of damage, such as cracks, leaks, or corrosion. If you notice any problems, you may need to replace these pipes. However, if the pipes are in good condition, you can proceed with cleaning.
Using a cleaning brush, remove any debris or buildup from the inside of the drainpipe and waste pipe. This can include food particles, grease, or soap scum that may have accumulated over time. Pay extra attention to any areas that appear particularly dirty or clogged.
If the debris is stubborn and difficult to remove, you can use a plumbing snake or drain auger to clear the clog. Insert the snake or auger into the pipe and rotate it to dislodge the blockage. Pull out the snake or auger, along with the trapped debris, and dispose of it properly.
After cleaning the drainpipe and waste pipe, rinse them with water to ensure that they are free from any remaining debris. This will help promote a smooth and efficient flow of water through the plumbing system.
With the pipes inspected, cleaned, and ready, it’s time to move on to the next step of fixing the plumbing issue under your kitchen sink.
Note: If you’re unsure about inspecting and cleaning the pipes or encounter any difficulties, it’s best to consult a professional plumber for assistance.
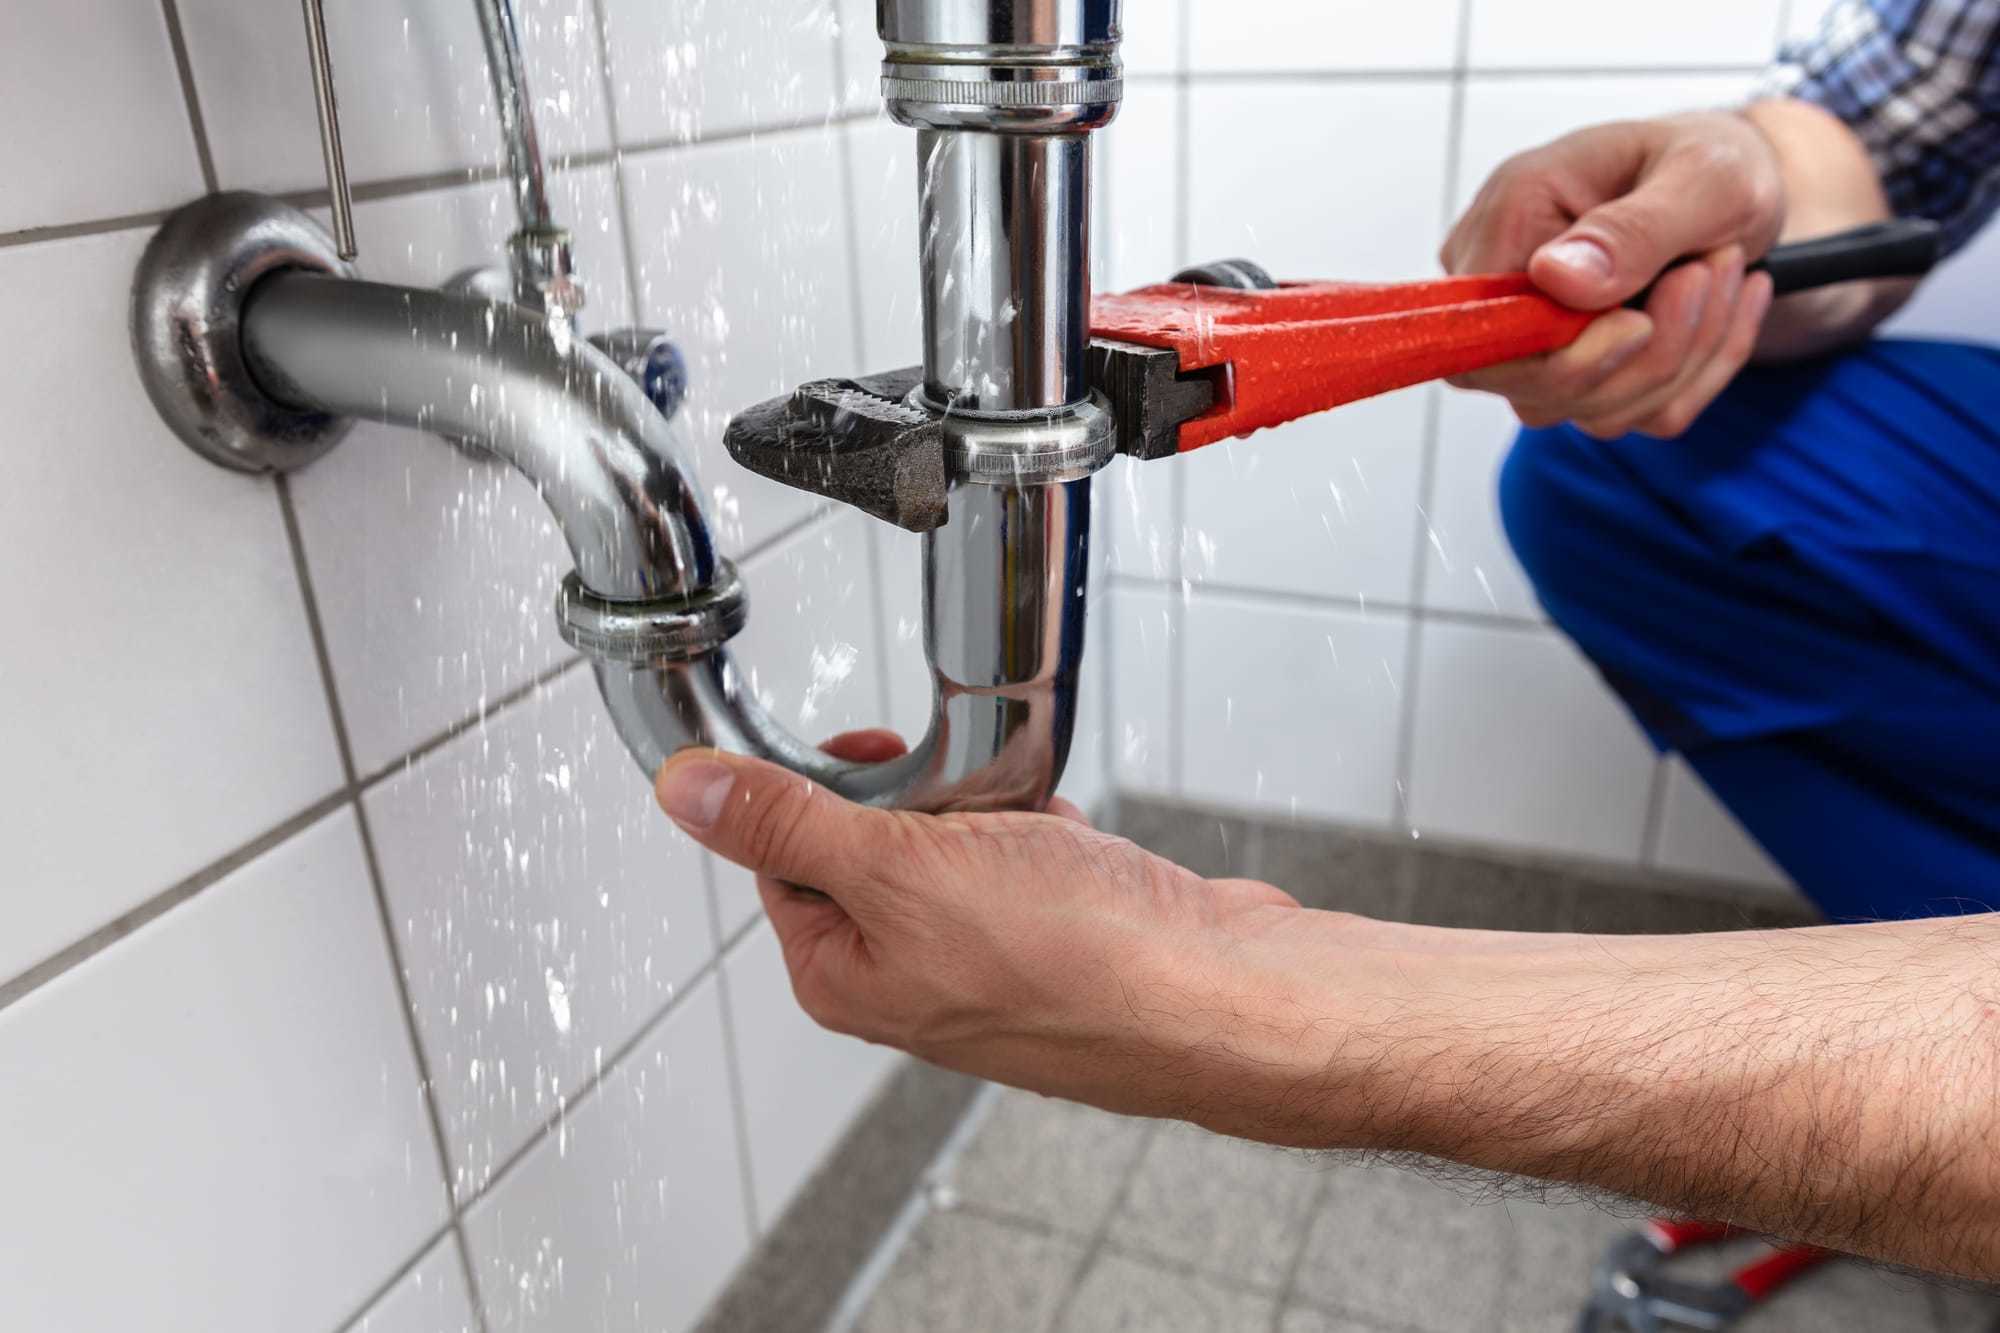
Step 5: Replace or Repair
After inspecting and cleaning the pipes, you may find that certain components need to be replaced or repaired. This step is crucial to ensure the proper functioning of your kitchen sink’s plumbing system.
Here are some common issues and their corresponding solutions:
- Leaky Pipes: If you notice any leaks in the pipes, you will need to replace the affected section. Measure the length of the damaged pipe and use a pipe cutter to remove the damaged portion. Install a new pipe section using proper fittings and connections.
- Worn-out Washers or O-rings: If the leak is occurring at the connection points of the pipes, it may be due to worn-out washers or O-rings. Replace these small rubber seals to ensure a tight and secure connection.
- Clogged Drains: If you have cleared the debris from the pipes but are still experiencing slow or clogged drains, you may need to use a plumbing snake or drain auger to further remove any stubborn blockages. Insert the snake or auger into the drainpipe and rotate it to dislodge the clog.
- Malfunctioning Fixtures: If your faucet or other fixtures are faulty, you may need to replace them. Carefully remove the old fixture and install the new one according to the manufacturer’s instructions.
It’s important to use the correct replacement parts and follow proper installation techniques. Improperly installed or mismatched parts can lead to more plumbing issues in the future.
Take your time to ensure that each component is properly replaced or repaired. This will contribute to the overall functionality and longevity of your kitchen sink’s plumbing system.
Now that necessary repairs or replacements have been made, we can move on to the next step of reassembling the P-trap.
Note: If you’re unsure about the specific repairs or replacements needed, it’s best to consult a professional plumber for guidance.
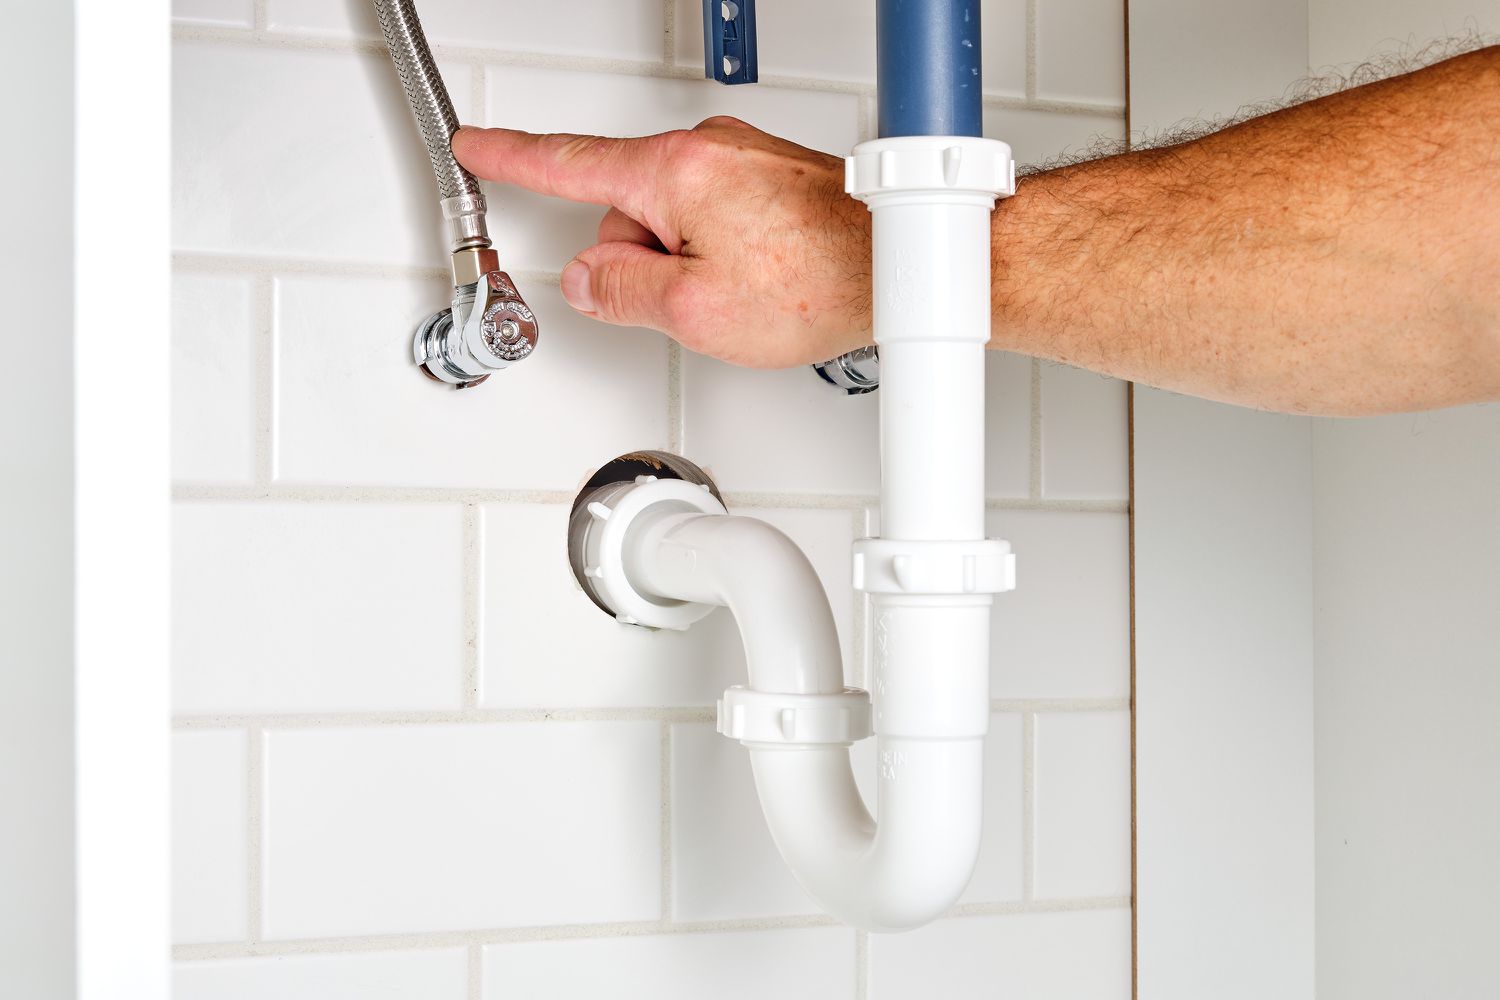
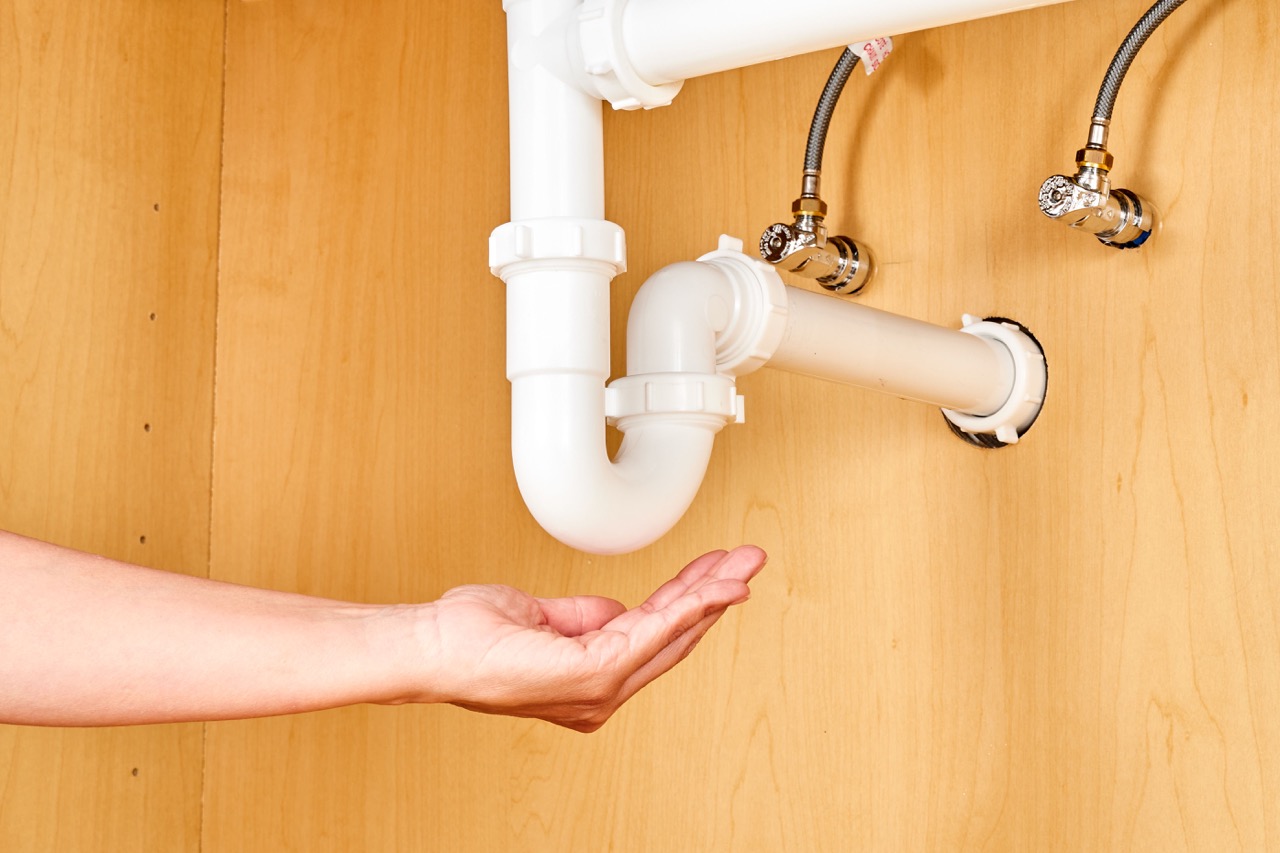
Step 6: Reassemble the P-trap
With the necessary repairs or replacements completed, it’s time to reassemble the P-trap under your kitchen sink. The P-trap plays a vital role in preventing sewer gases from entering your home, so it’s important to ensure a proper and secure connection.
Follow these steps to reassemble the P-trap:
- Start by applying a thin layer of plumbing tape to the threads of each slip nut. This helps create a watertight seal.
- Position the P-trap back into place, connecting it to the drainpipe and waste pipe. Make sure the slip nuts align properly with the corresponding connections.
- Tighten the slip nuts with an adjustable wrench or pliers. Be careful not to overtighten, as this can damage the pipes. Aim for a firm and secure connection.
As you reassemble the P-trap, take note of any additional components or fixtures that were originally connected to it. These may include a tailpiece, extension pipe, or other fittings. Ensure that they are properly reattached and tightened.
Once the P-trap is reassembled, double-check all connections to ensure they are snug and leak-free. Inspect the area for any signs of water leakage or misalignment.
With the P-trap securely in place, you’re now ready to move on to the final step of turning on the water supply.
Note: If you’re unsure about reassembling the P-trap or encounter any difficulties, it’s best to consult a professional plumber for assistance.
Step 7: Turn On the Water
After completing the necessary repairs and reassembling the P-trap, it’s time to turn on the water supply to your kitchen sink. This step will allow you to test the plumbing system and ensure that everything is functioning properly.
Follow these steps to turn on the water:
- Carefully turn the main water valve or the specific valve for your kitchen sink counterclockwise to open it. This will allow water to flow into the plumbing system.
- Slowly open the faucet and let the water run for a few minutes. This will help flush out any air bubbles or debris that may still be present in the pipes.
- Check for any signs of leaks or drips around the connections you repaired or replaced. If you notice any leaks, tighten the slip nuts or make further adjustments as needed.
- Test the functionality of the kitchen sink by running water and observing the drainage. Ensure that the water flows freely down the drain without any backups or slow drainage.
If everything is functioning properly and there are no leaks or drainage issues, congratulations! You have successfully fixed the plumbing under your kitchen sink.
However, if you encounter any problems or notice persistent leaks or clogs, it’s best to consult a professional plumber for further assistance. They will have the expertise to identify and address any underlying issues that may require more extensive repairs.
Now that you have tested the water supply and confirmed that everything is in working order, you can proceed to clean up the area and put back any items you removed earlier.
Congratulations on successfully fixing the plumbing issue under your kitchen sink. By following these steps, you have saved yourself the hassle and expense of hiring a professional plumber.
Remember to periodically inspect and maintain your kitchen sink’s plumbing system to prevent future issues and ensure its longevity. Regular cleaning, clearing of drains, and prompt repair of any leaks or damages will help keep your kitchen sink functioning smoothly.
Read more: How To Disconnect Sink Plumbing
Conclusion
Fixing plumbing issues under the kitchen sink can be a daunting task, but with the right tools and knowledge, it is possible to tackle common problems on your own. By following the step-by-step guide provided in this article, you have learned how to address issues such as leaking pipes, clogged drains, and worn-out fixtures.
Remember to always prioritize safety when working with plumbing systems. Wear protective gear, shut off the water supply, and consult a professional plumber if a repair seems beyond your capabilities.
Gathering the necessary tools and materials beforehand is essential for a smooth repair process. By having everything ready, you can efficiently complete the steps without needing to pause and search for missing items.
Each step of the process plays a crucial role in fixing the plumbing under your kitchen sink. Shutting off the water supply, clearing the area, removing and inspecting the P-trap, cleaning the pipes, replacing or repairing components, reassembling the P-trap, and finally, turning on the water supply are all important steps to ensure a successful repair.
After you’ve completed the repairs and tested the water supply, be sure to clean up the area and put back any items that were removed earlier. Periodically inspecting and maintaining your kitchen sink’s plumbing system will help prevent future issues and keep it functioning smoothly.
Remember, if you’re unsure about any aspect of the repair process or encounter difficulties, it’s always best to consult a professional plumber. They have the expertise and experience to handle complex plumbing problems and ensure a proper and long-lasting solution.
By taking the time to fix plumbing issues under your kitchen sink, you not only save money but also gain valuable knowledge and experience. So, roll up your sleeves, gather your tools, and confidently tackle the plumbing issues under your kitchen sink!
Frequently Asked Questions about How To Fix Plumbing Under The Kitchen Sink
Was this page helpful?
At Storables.com, we guarantee accurate and reliable information. Our content, validated by Expert Board Contributors, is crafted following stringent Editorial Policies. We're committed to providing you with well-researched, expert-backed insights for all your informational needs.


0 thoughts on “How To Fix Plumbing Under The Kitchen Sink”