Articles
How To Fix Plumbing Under Slab Leak
Modified: September 2, 2024
Learn effective ways to fix plumbing issues under a concrete slab with our helpful articles. Find expert tips and solutions for repairing your underground plumbing.
(Many of the links in this article redirect to a specific reviewed product. Your purchase of these products through affiliate links helps to generate commission for Storables.com, at no extra cost. Learn more)
Introduction
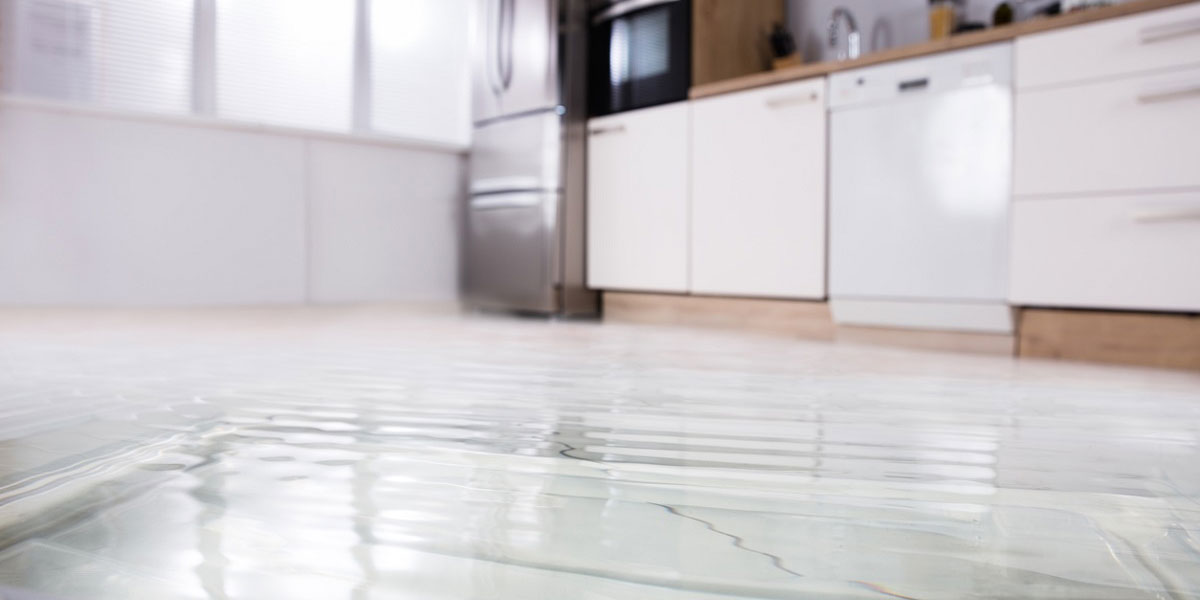
Plumbing issues can be a homeowner’s worst nightmare, and when those issues occur under the slab foundation of a house, they can become even more challenging to fix. The plumbing system of a home is essential for carrying water and waste away, but when there is a problem under the slab, it can lead to leaks, water damage, and even structural issues.
In this guide, we will discuss how to fix plumbing under the slab, providing you with the knowledge and steps needed to tackle this daunting task. While it may seem like a complicated process, with the right tools, materials, and a bit of patience, you can successfully repair the plumbing problem, saving both time and money on costly professional repairs.
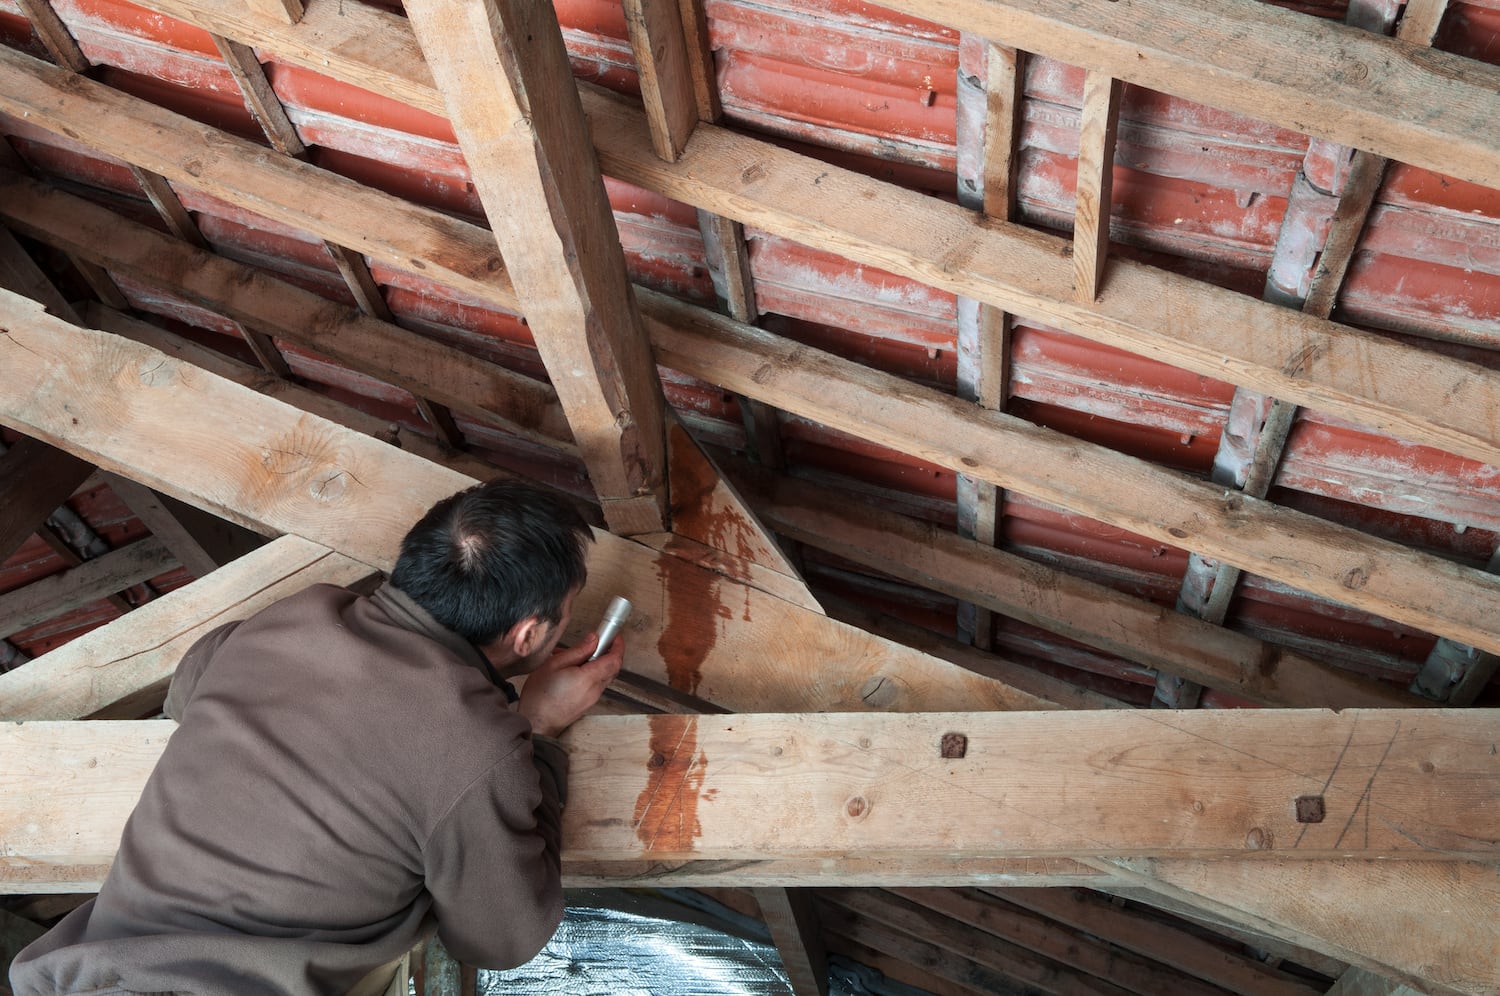
Before we dive into the specific steps for fixing plumbing under the slab, let’s first familiarize ourselves with the signs that indicate a potential issue. Being able to identify these signs early on can help prevent further damage and minimize the extent of repairs needed.
Key Takeaways:
- Identifying signs of plumbing issues under the slab, gathering the right tools and materials, and following a step-by-step repair process can empower homeowners to tackle challenging repairs and prevent extensive damage.
- While homeowners can handle many plumbing repairs, seeking professional assistance for complex issues is crucial. Regular maintenance, swift action, and documentation are key to preserving a healthy plumbing system and home.
Read more: How Deep Should Plumbing Be Under A Slab
Signs of Plumbing Issues Under Slab
Plumbing issues under the slab can be difficult to detect since they are hidden beneath the foundation of your home. However, there are certain signs that can indicate a potential problem. Here are some common signs to look out for:
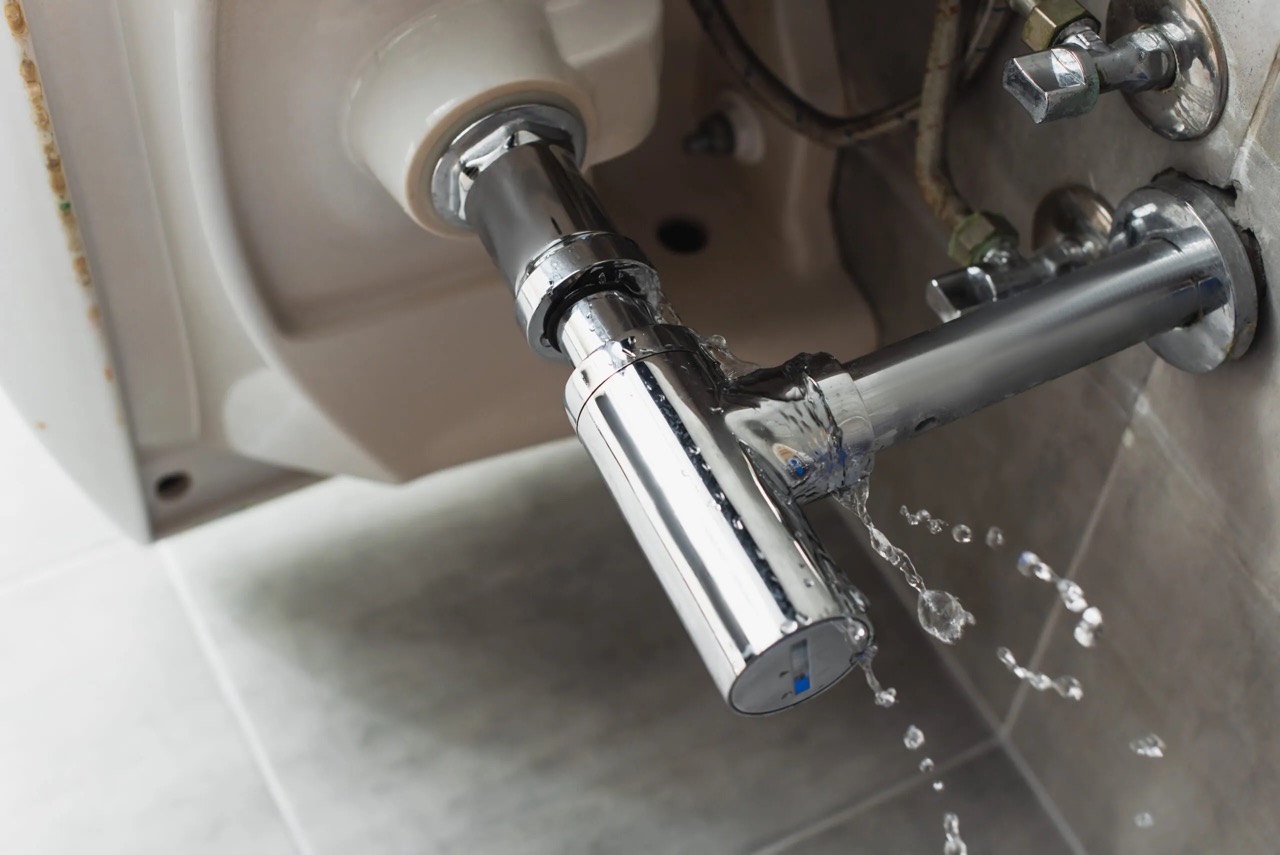
- Water Leaks: An unexplained increase in your water bill or the sound of running water when all faucets are turned off may indicate a hidden water leak under the slab.
- Low Water Pressure: If you notice a significant decrease in water pressure throughout your home, it could be a sign of a blockage or leak in the plumbing under the slab.
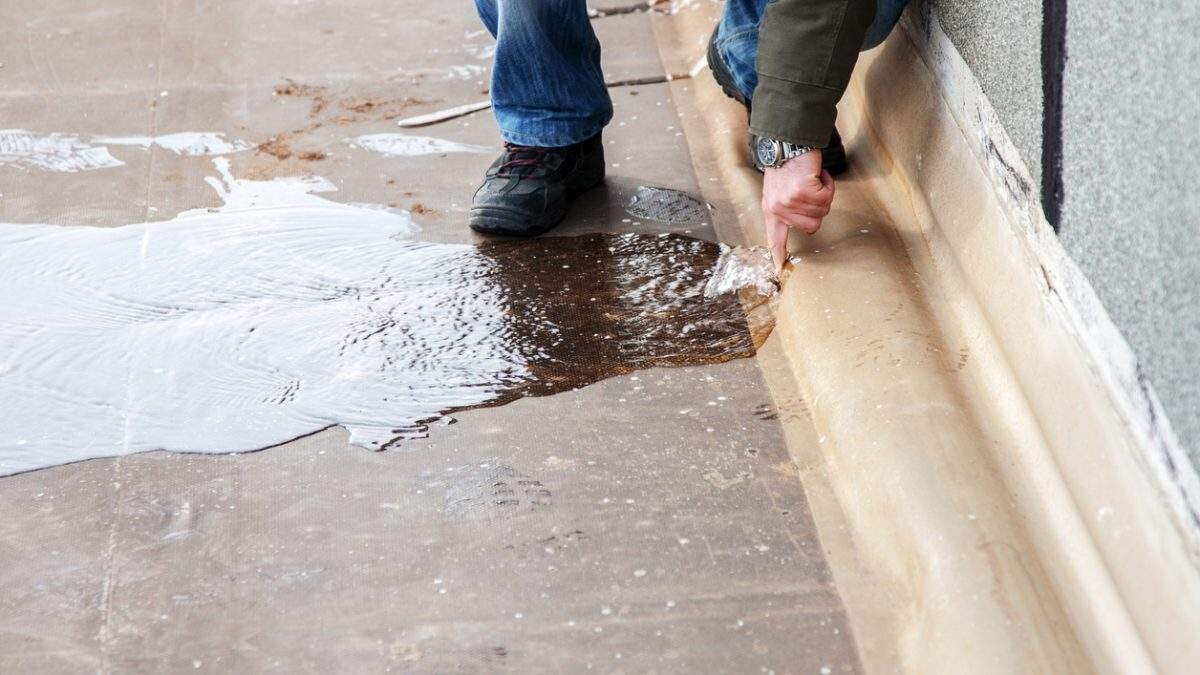
- Pooling Water: Puddles or areas of standing water around the foundation of your home, especially when it hasn’t rained, can be a sign of a plumbing leak underground.
- Musty Odors: A persistent musty or foul odor in your home, particularly in areas with no apparent source, can indicate mold growth due to water damage from a slab leak.
- Cracks in Walls or Floors: Sudden or expanding cracks in walls, floors, or ceilings may be a result of shifting foundation caused by water seepage from a plumbing issue under the slab.
- Mold or Mildew Growth: Unexplained mold or mildew growth in your home, especially in areas near the foundation, can be a sign of excessive moisture caused by a slab leak.
- Hot Spots on the Floor: If you notice warm or hot spots on your floor, it may indicate a hot water pipe leak under the slab.
If you observe any of these signs, it is crucial to take prompt action to prevent further damage. Now that you’re aware of the signs, let’s move on to the tools and materials you’ll need to fix plumbing issues under the slab.
Tools and Materials Needed
Before you begin fixing plumbing issues under the slab, it’s important to gather the necessary tools and materials. Having these items ready will ensure that you can work efficiently and effectively. Here’s a list of what you’ll need:
Tools:
- Pipe wrench
- Adjustable wrench
- Plumbers tape
- Hacksaw
- PVC cutter
- Torch or soldering iron (for copper pipes)
- Plumbing snake
- Leak detection equipment
- Measuring tape
- Marker or pencil
- Safety goggles
- Gloves
- Knee pads
Materials:
- New pipes or fittings (if necessary)
- Pipe insulation
- PVC primer and cement
- Plumber’s putty
- Teflon tape
- Solder (for copper pipes)
- Plumbing epoxy
- Concrete patching compound
- Gravel or sand
- Access panel or cover
Having these tools and materials readily available will save you time and frustration during the repair process. Remember to wear the necessary safety gear, such as goggles and gloves, to protect yourself from any potential hazards.
Now that you have all the necessary equipment, let’s move on to the step-by-step process of fixing plumbing issues under the slab.
Read more: How To Fix Leaking Pipe Under Sink
Step 1: Identify the Problem
Before you can start fixing the plumbing issue under the slab, it is essential to properly identify the problem. This step involves determining the exact location of the leak or blockage and understanding the extent of the damage. Here’s how you can proceed:
- Look for visible signs: Inspect your home for any visible signs of water damage, such as stains, puddles, or mold growth. This can help narrow down the area where the problem might be occurring.
- Use leak detection equipment: If you’re unable to pinpoint the location of the leak, you can use specialized leak detection equipment. These tools can detect hidden leaks by listening for the sound of water escaping or using infrared technology to identify temperature differences.
- Check water pressure: Test the water pressure in different areas of your home to see if there are any significant variations. Low water pressure in specific areas can indicate a blockage or leak in the plumbing under the slab.
- Consult with a professional: If you’re unsure about the source of the problem or need assistance in identifying the issue, it’s best to consult with a professional plumber. They have the expertise and tools to accurately diagnose the problem.
Identifying the problem is crucial as it will determine the best course of action for repairs. Once you have a clear understanding of the issue, you can proceed to the next step, which is turning off the water supply.
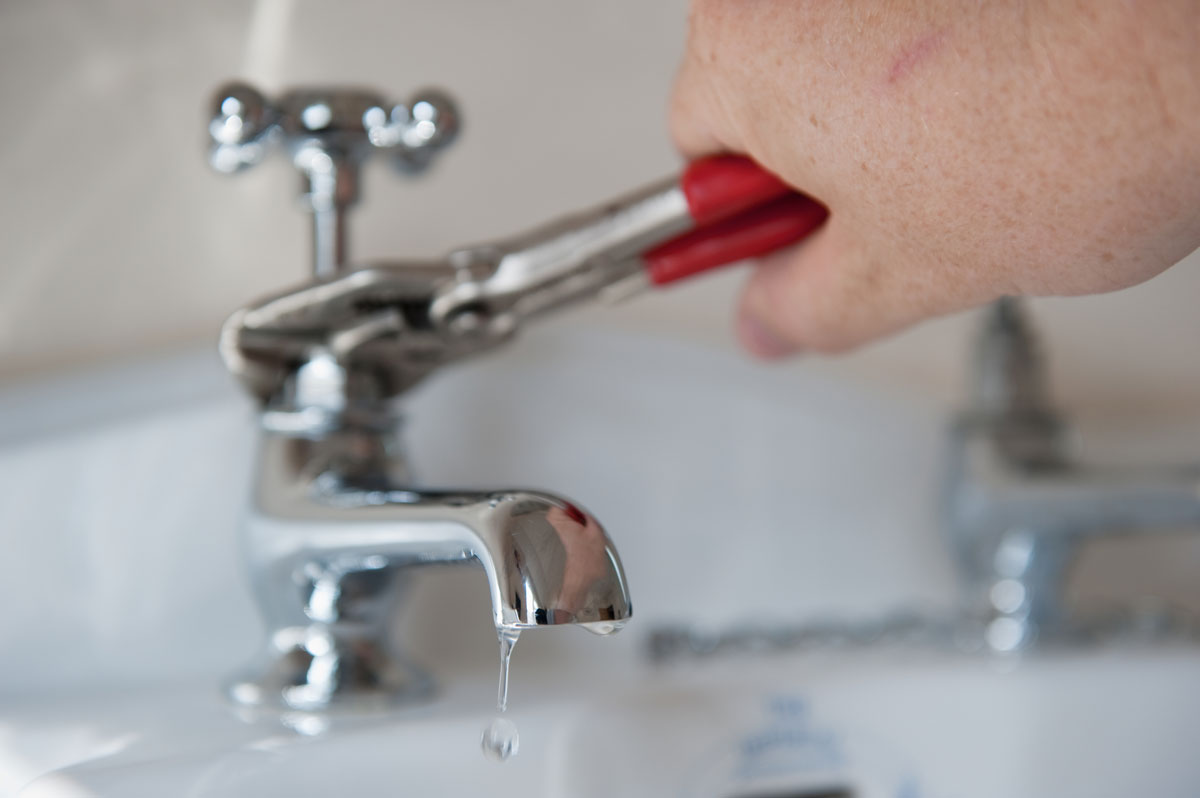
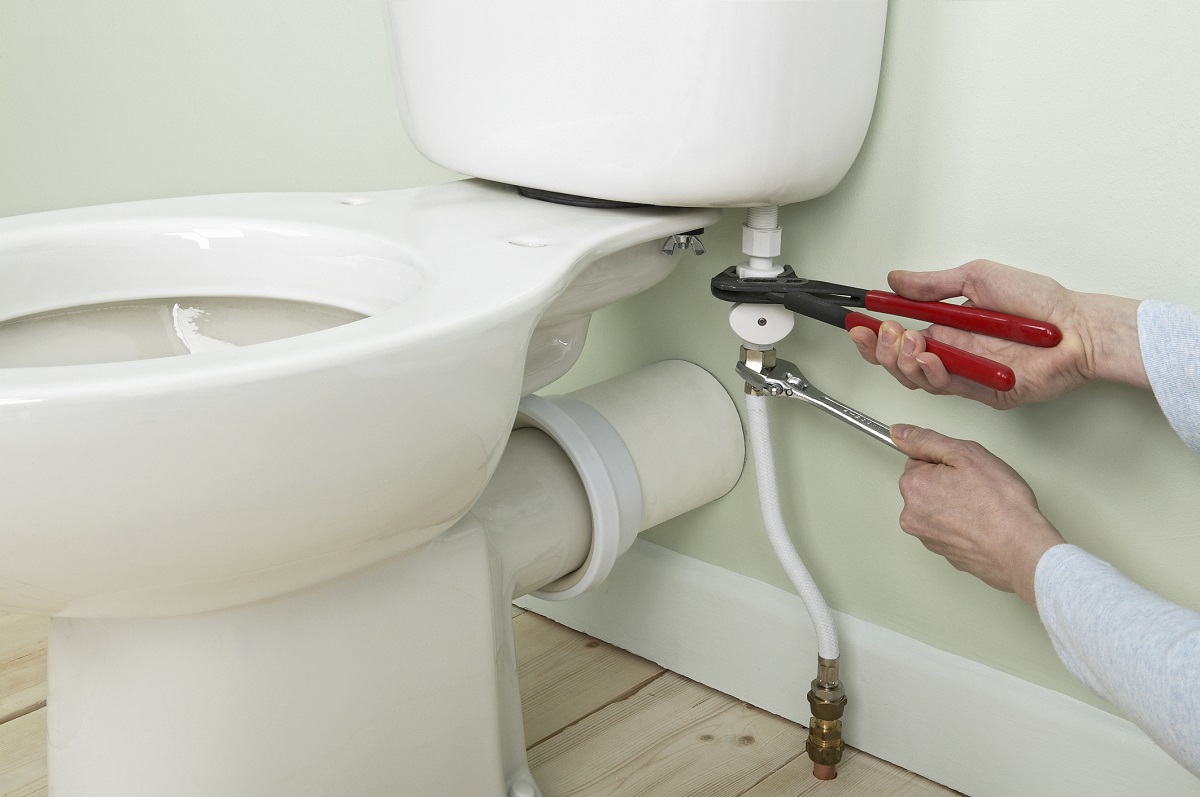
Step 2: Turn off the Water Supply
Before you begin any repairs, it is crucial to turn off the water supply to avoid further damage and ensure your safety. Here’s how you can do it:
- Locate the main water shut-off valve: The main water shut-off valve is usually located near your water meter or where the main water line enters your home. It is commonly found in the basement, crawl space, or near the water heater. If you’re unsure about its location, consult your home’s blueprint or ask a professional plumber.
- Turn off the valve: Once you’ve located the main shut-off valve, use a wrench to turn it clockwise (to the right) until it is fully closed. This will stop the flow of water into your home.
- Drain excess water: After shutting off the main water valve, open all faucets and flush toilets to drain any remaining water in the pipes. This will minimize the chances of water leaking during the repair process.
- Verify water supply is off: To ensure that the water supply is completely shut off, check faucets, showers, and toilets to confirm that no water is flowing. If you still see water flowing, double-check the main shut-off valve and seek professional help if necessary.
Turning off the water supply is a critical step to prevent any accidents or further damage during the repair. Once the water is successfully shut off, you can proceed to the next step, which involves preparing for the repair.
Step 3: Prepare for the Repair
Preparing for the repair is an important step that ensures you have everything you need and creates a conducive working environment. Here’s what you should do to prepare:
- Gather your tools and materials: Ensure that you have all the necessary tools and materials within reach. This includes wrenches, pipe cutters, plumbing tape, replacement pipes or fittings, and any other items specific to your repair.
- Clear the area: Clear out any furniture, belongings, or obstacles that may hinder your access to the affected area. Create a clean and open workspace to allow for easier movement and maneuverability.
- Protect the surrounding area: Lay down plastic sheeting or use drop cloths to protect flooring and furniture from potential water damage, debris, or dust that may occur during the repair process.
- Wear protective gear: Put on safety goggles, gloves, and knee pads to protect yourself from potential hazards and ensure your safety throughout the repair.
- Secure necessary permits: Depending on the regulations in your area, you may need to obtain permits or approvals for certain types of plumbing repairs. Check with your local municipal offices to determine if any permits are required for your specific repair.
- Have a plan in place: Take some time to carefully plan out the repair process. This includes understanding the steps involved, the sequence of tasks, and any potential challenges that you may encounter. Having a well-thought-out plan will help you work more efficiently and methodically.
By properly preparing for the repair, you minimize the chances of running into unnecessary obstacles and ensure a smoother overall process. Once you’ve completed these preparations, you’re ready to move on to the next step: creating access points.
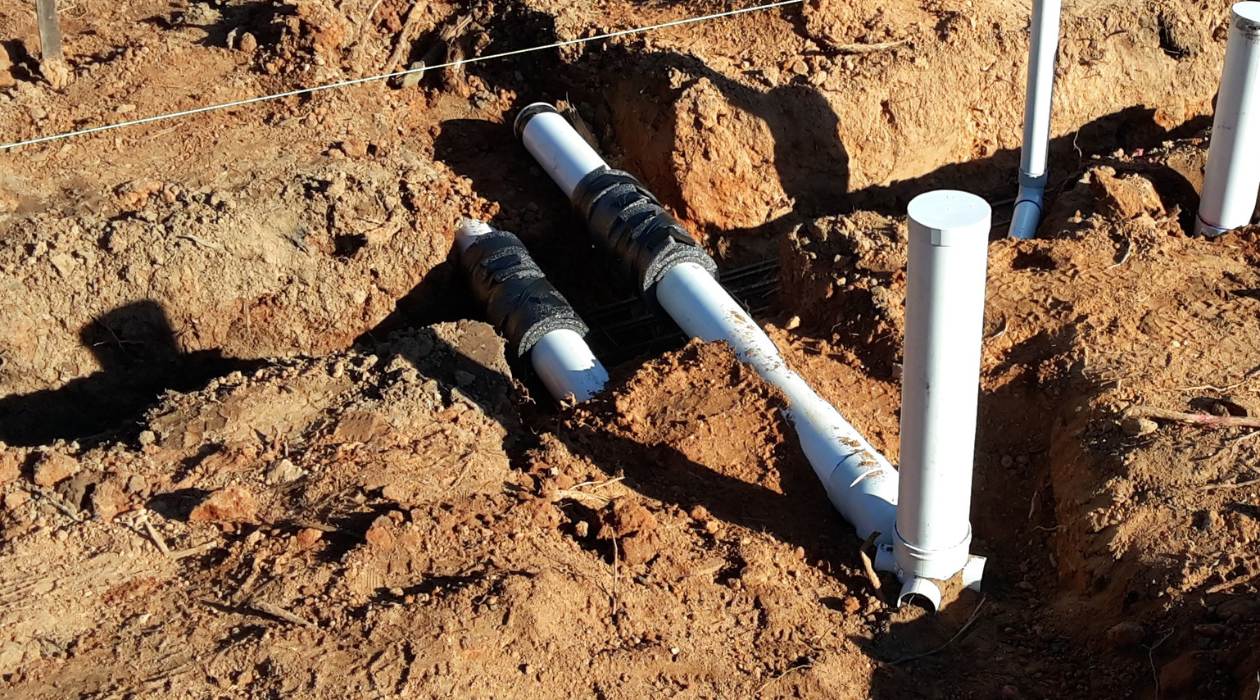
Step 4: Create Access Points
Creating access points is an essential step in fixing plumbing issues under the slab as it allows you to reach the problem areas and make the necessary repairs. Here’s how you can create access points:
- Locate the affected areas: Using the information obtained during the identification stage, determine the specific areas where access is needed. This may involve areas with visible signs of damage, such as cracks or water stains, or areas near the suspected location of the plumbing problem.
- Mark the access points: Use a measuring tape and marker or pencil to mark the locations for the access points. Make sure to accurately measure and mark the spots to ensure you create the right-sized openings without causing unnecessary damage.
- Use a concrete saw or jackhammer: Depending on the thickness and composition of the slab, you may need to use a concrete saw or jackhammer to create the access points. Follow the instructions provided with the tools and exercise caution to avoid damaging any plumbing lines in the process.
- Create clean, controlled openings: Aim to create clean and controlled openings in the slab. This will make it easier to repair and restore the access points later. Use caution to avoid damaging any surrounding pipes or structures.
- Remove any debris: Once the access points have been created, clean up any debris or dust that may have accumulated. Clear the area and remove any loose fragments to ensure a clean and safe working environment.
Creating access points is a critical step in gaining access to the plumbing under the slab. Taking your time and ensuring clean, controlled openings will make the repair process smoother in the next steps. Once you have created the access points, it’s time to move on to repairing the plumbing issue.
When fixing plumbing under a slab, it’s important to first locate the exact source of the problem using specialized equipment such as leak detection devices or cameras. This will help to minimize the amount of concrete that needs to be removed for repairs.
Read more: How To Fix A Leaking Plumbing Stack
Step 5: Repair the Plumbing Issue
Now that you have created access points, it’s time to tackle the actual repair of the plumbing issue under the slab. The specific repair method will depend on the nature of the problem you’ve identified. Here are some general steps to get you started:
- Inspect the damaged area: Take a close look at the affected plumbing area to assess the extent of the damage and determine the appropriate repair approach. This could involve replacing a damaged pipe, fixing a leak, or clearing a blockage.
- Remove the damaged section: If you need to replace a pipe, use a pipe cutter or hacksaw to remove the damaged section. Take precise measurements to ensure the replacement pipe is the correct length.
- Prepare the replacement: If you’re replacing a pipe, make sure to clean and deburr the ends using sandpaper or a file. Apply plumber’s putty or Teflon tape to the threaded fittings to create a proper seal.
- Join the replacement pipe: Use appropriate fittings and connectors to join the replacement pipe to the existing plumbing. Follow the manufacturer’s instructions and ensure all connections are secure.
- Fix leaks: If you have identified a leak, use plumbing epoxy or pipe repair tape to seal the damaged section. Follow the application instructions provided with the product to ensure a proper and lasting repair.
- Clear blockages: If you’re dealing with a blockage, use a plumbing snake or auger to clear the obstruction. Feed the snake into the affected pipe and rotate it gently to dislodge the blockage.
- Test the repairs: Once the repair is complete, turn the water supply back on and check for any signs of leakage or other issues. Monitor the area closely and ensure that the repair has resolved the problem.
It’s important to note that plumbing repairs can vary greatly in complexity, and some issues may require professional assistance. If you’re uncertain about any aspect of the repair or feel overwhelmed, don’t hesitate to contact a licensed plumber who can provide expert guidance and ensure a proper fix.
Once you’re confident that the plumbing issue has been successfully repaired, it’s time to move on to the next step: testing the repairs.
Step 6: Test the Repairs
After completing the repair of the plumbing issue under the slab, it’s crucial to thoroughly test the repairs to ensure their effectiveness and prevent any future problems. Here are the steps to properly test the repairs:
- Turn on the water supply: Slowly open the main shut-off valve to restore the water supply to your home. This will allow water to flow through the repaired pipe or area.
- Check for leaks: Inspect the repaired section for any signs of leaks or drips. Look for water pooling, damp spots, or any other indications of water escaping the plumbing system. If you notice any leaks, tighten fittings or apply additional sealant as necessary.
- Monitor water pressure: Test the water pressure in different areas of the house to ensure it is consistent and normal. Low water pressure or fluctuations could indicate an issue with the repair or a problem elsewhere in the plumbing system.
- Observe for unusual sounds or odors: Listen for any abnormal noises, such as banging or rattling, which may indicate water hammer or loose pipes. Additionally, pay attention to any unusual smells, such as sewage odors, which could signify a ventilation or drainage problem.
- Allow water to flow for an extended period: Run faucets, showers, and toilets for an extended period to test the durability and effectiveness of the repairs. This will help ensure that the system can handle regular usage without issues.
- Note any problems: If you encounter any issues during the testing process, make note of them. These observations will be helpful if you need to seek professional assistance or make additional repairs in the future.
By thoroughly testing the repairs, you can be confident that the plumbing issue under the slab has been properly resolved. It’s recommended to monitor the repaired area in the following days to ensure there are no unexpected issues or recurring problems. If you encounter any ongoing issues, it may be necessary to consult a professional plumber.
Once you’re satisfied with the testing and the repairs have proven successful, it’s time to move on to the final step: restoring the access points.
Step 7: Restore the Access Points
After completing the necessary repairs and ensuring the plumbing issue under the slab is resolved, the final step is to restore the access points that were created during the repair process. Here’s what you need to do:
- Clean the access points: Remove any debris or dust and clean the area surrounding the access points. Use a brush or vacuum to ensure a clean surface.
- Replace or repair the flooring: If the access points were created in the floor, now is the time to replace or repair the flooring. Follow the appropriate steps for your floor type, whether it’s tile, carpet, or hardwood.
- Patch the walls or ceilings: If access points were created in walls or ceilings, patch them up using drywall compound or plaster. Smooth out the surface and allow it to dry before sanding and repainting to match the surrounding area.
- Install access panels or covers: For future access, consider installing access panels or covers in strategic locations. These panels can easily be removed to provide access to the plumbing if needed, without having to create new access points.
- Clean up and dispose of waste: Properly clean up any remaining debris or waste that was generated during the repair process. Dispose of it according to local regulations and guidelines.
- Document the repairs: Keep a record of the repairs, including any invoices, receipts, or notes you may have. This documentation can be useful for future reference or in case of any warranty claims.
- Maintain regular checks: It’s important to monitor the repaired area periodically to ensure there are no new issues or recurring problems. Address any signs of leaks, water damage, or other plumbing issues promptly to minimize further damage.
By properly restoring the access points, you not only maintain the aesthetics of your home but also ensure that you have convenient access to the plumbing if needed in the future.
Congratulations! By following these seven steps, you have successfully fixed the plumbing issue under the slab. However, it’s important to note that if you ever feel unsure or overwhelmed during the repair process, it’s best to seek the assistance of a professional plumber. They have the expertise and experience to handle more complex plumbing problems and can ensure a proper and long-lasting repair.
Remember, maintaining a proactive approach to plumbing maintenance and addressing issues early on can help prevent extensive damage and costly repairs in the future. Regular inspections and swift action are key to keeping your plumbing system in optimal condition.
Happy repairing!
Conclusion
Fixing plumbing issues under the slab can be a challenging task, but with the right knowledge, tools, and a bit of patience, you can successfully tackle these repairs. By identifying the signs of plumbing problems, gathering the necessary tools and materials, and following the step-by-step process, you can resolve issues like leaks, blockages, or damaged pipes.
Remember, the key steps in fixing plumbing under the slab include identifying the problem, turning off the water supply, preparing for the repair, creating access points, repairing the issue, testing the repairs, and finally, restoring the access points. Each step plays an important role in effectively resolving the plumbing problem and ensuring the integrity of your plumbing system.
It’s important to note that not all plumbing repairs can and should be handled by homeowners. If you feel uncertain or overwhelmed during the process, it’s always best to seek the assistance of a professional plumber. They have the skills, expertise, and specialized equipment to handle more complex repairs and ensure the job is done correctly.
Regular maintenance and preventive measures can also help avoid plumbing problems under the slab. Conducting regular inspections, fixing leaks promptly, and practicing good plumbing habits can go a long way in preventing extensive damage and costly repairs in the future.
Remember to document the repairs made and keep track of invoices, receipts, or any other documentation for future reference or warranty purposes. Additionally, maintaining regular checks and addressing any new issues promptly will help preserve the functionality and longevity of your plumbing system.
By following the steps outlined in this guide, you have empowered yourself to take on the challenge of fixing plumbing issues under the slab. However, always prioritize your safety and seek professional help when needed. With the right approach, you can maintain a healthy plumbing system and enjoy a comfortable and worry-free home.
Frequently Asked Questions about How To Fix Plumbing Under Slab Leak
Was this page helpful?
At Storables.com, we guarantee accurate and reliable information. Our content, validated by Expert Board Contributors, is crafted following stringent Editorial Policies. We're committed to providing you with well-researched, expert-backed insights for all your informational needs.


0 thoughts on “How To Fix Plumbing Under Slab Leak”