Home>Furniture & Design>Bathroom Accessories>How To Plumb A Freestanding Bathtub
Bathroom Accessories
How To Plumb A Freestanding Bathtub
Modified: October 27, 2024
Learn how to properly plumb a freestanding bathtub with our expert tips and advice. Find the best bathroom accessories for your project.
(Many of the links in this article redirect to a specific reviewed product. Your purchase of these products through affiliate links helps to generate commission for Storables.com, at no extra cost. Learn more)
Introduction
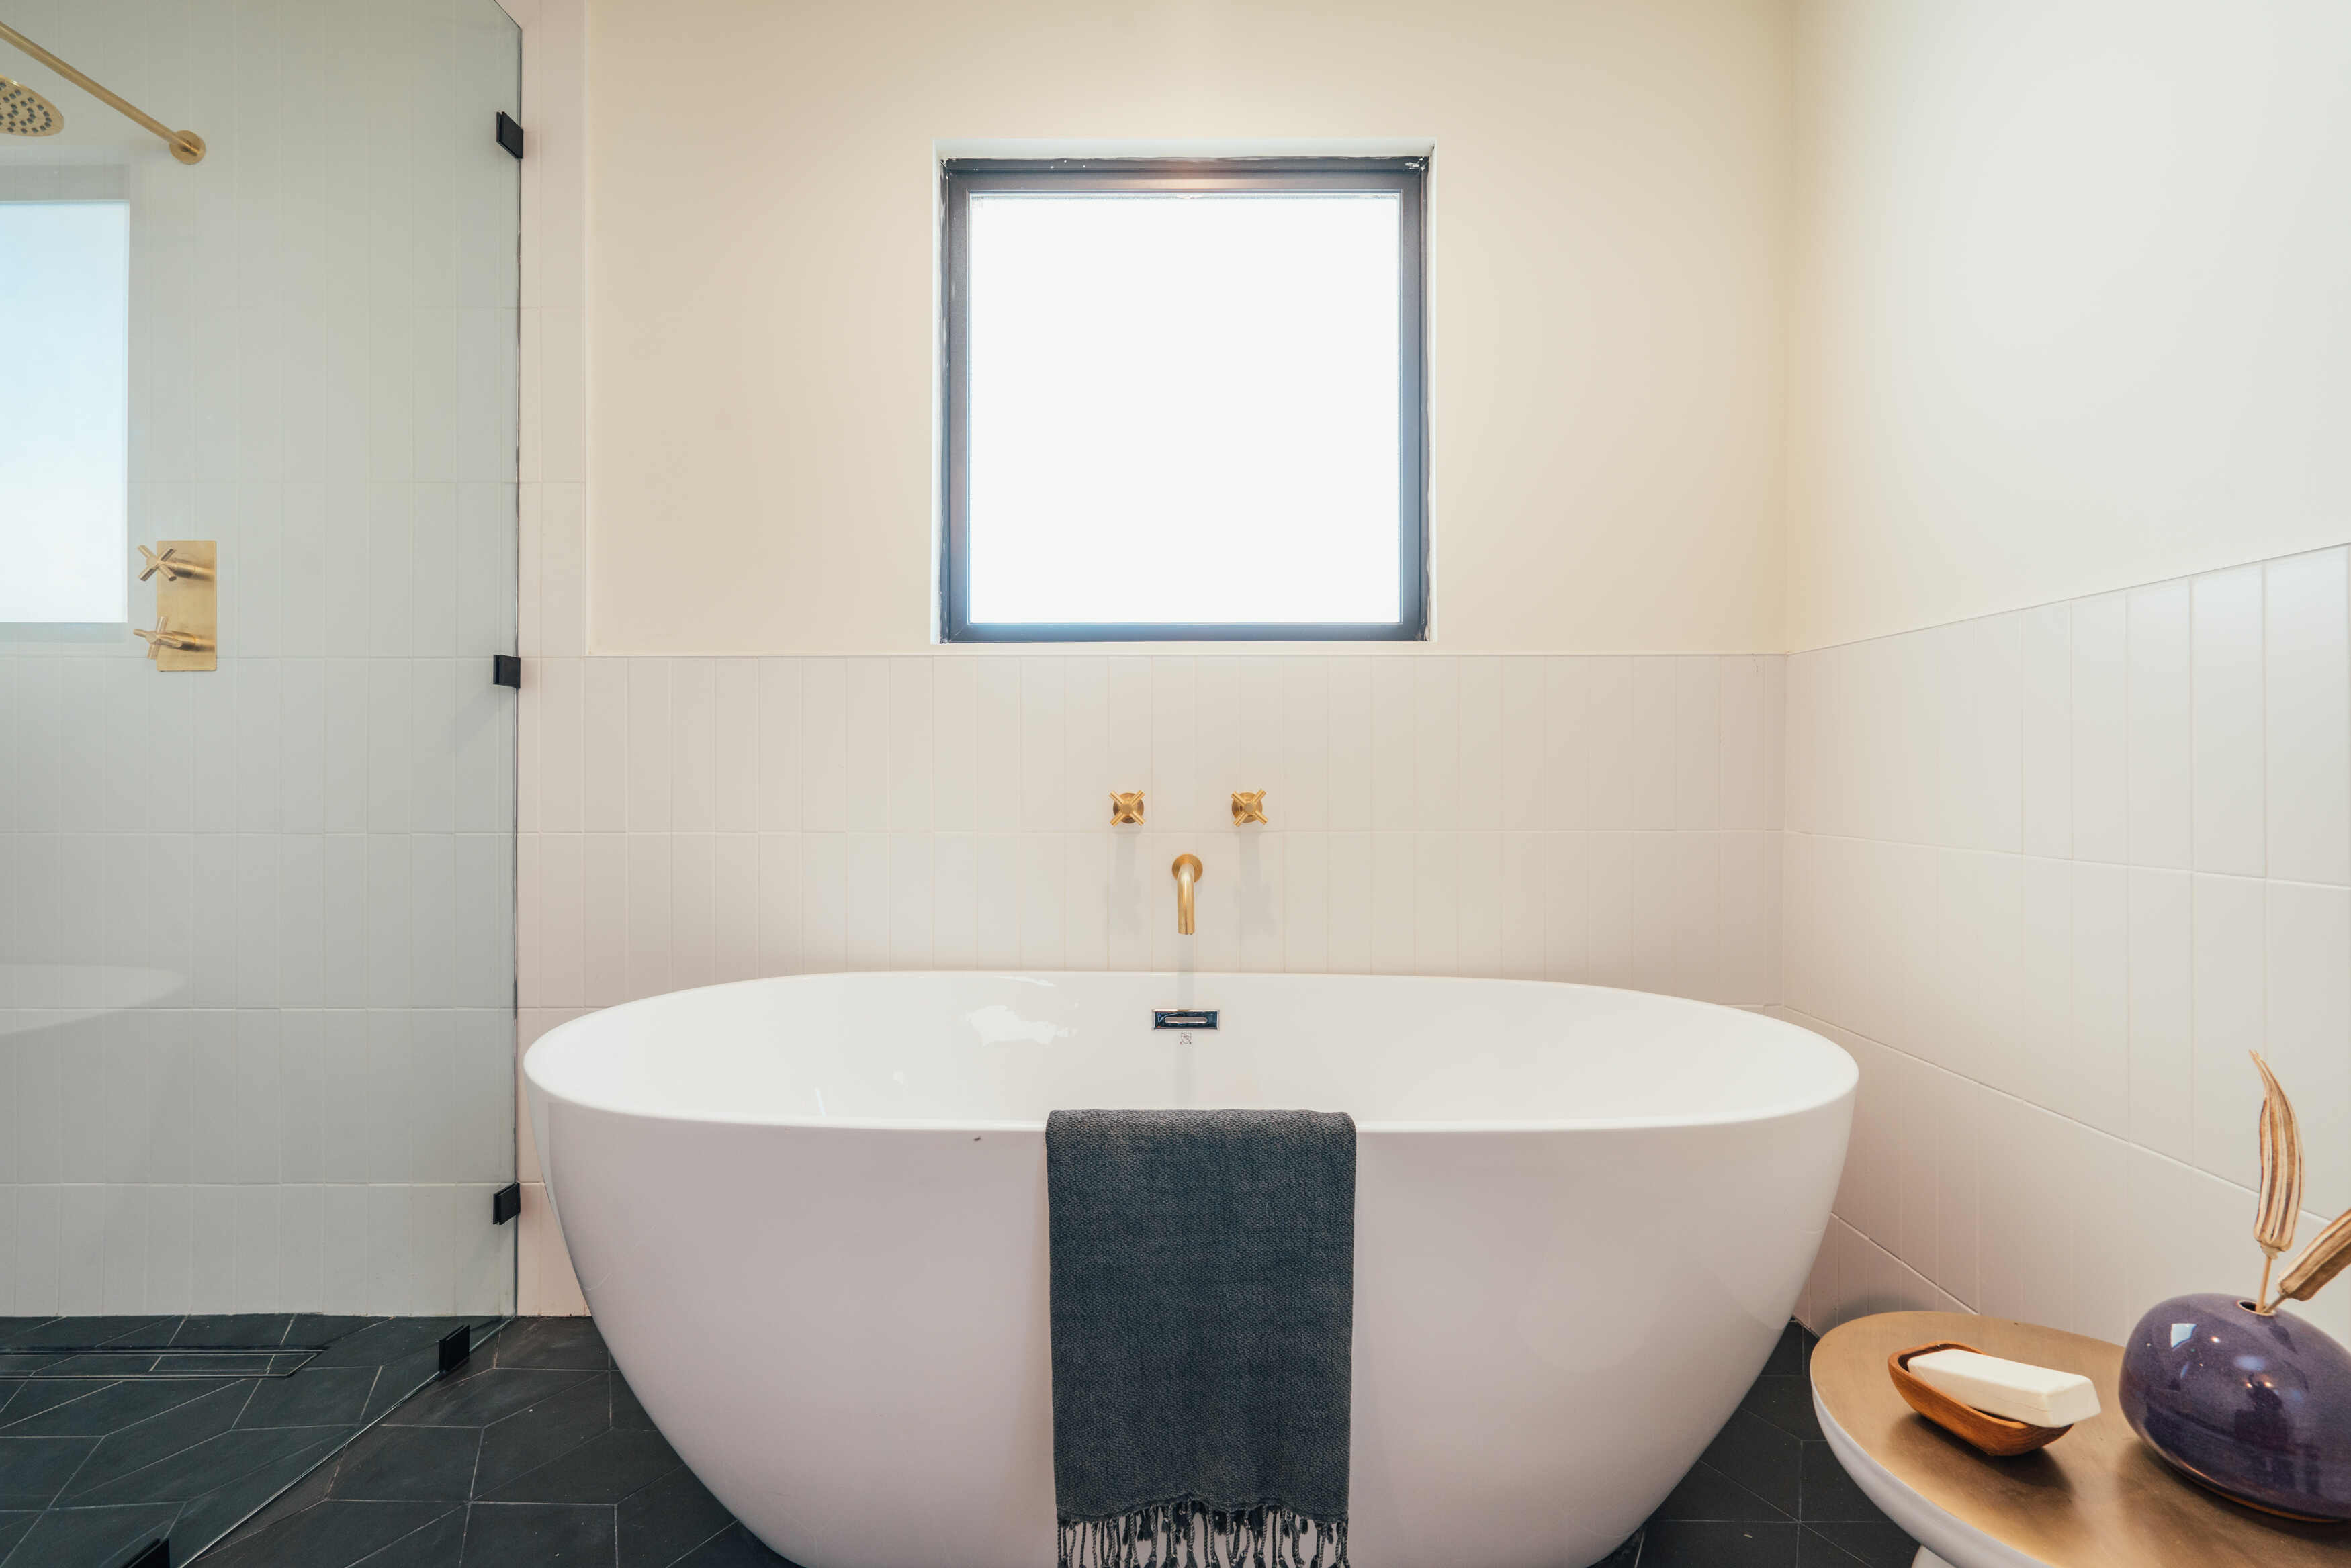
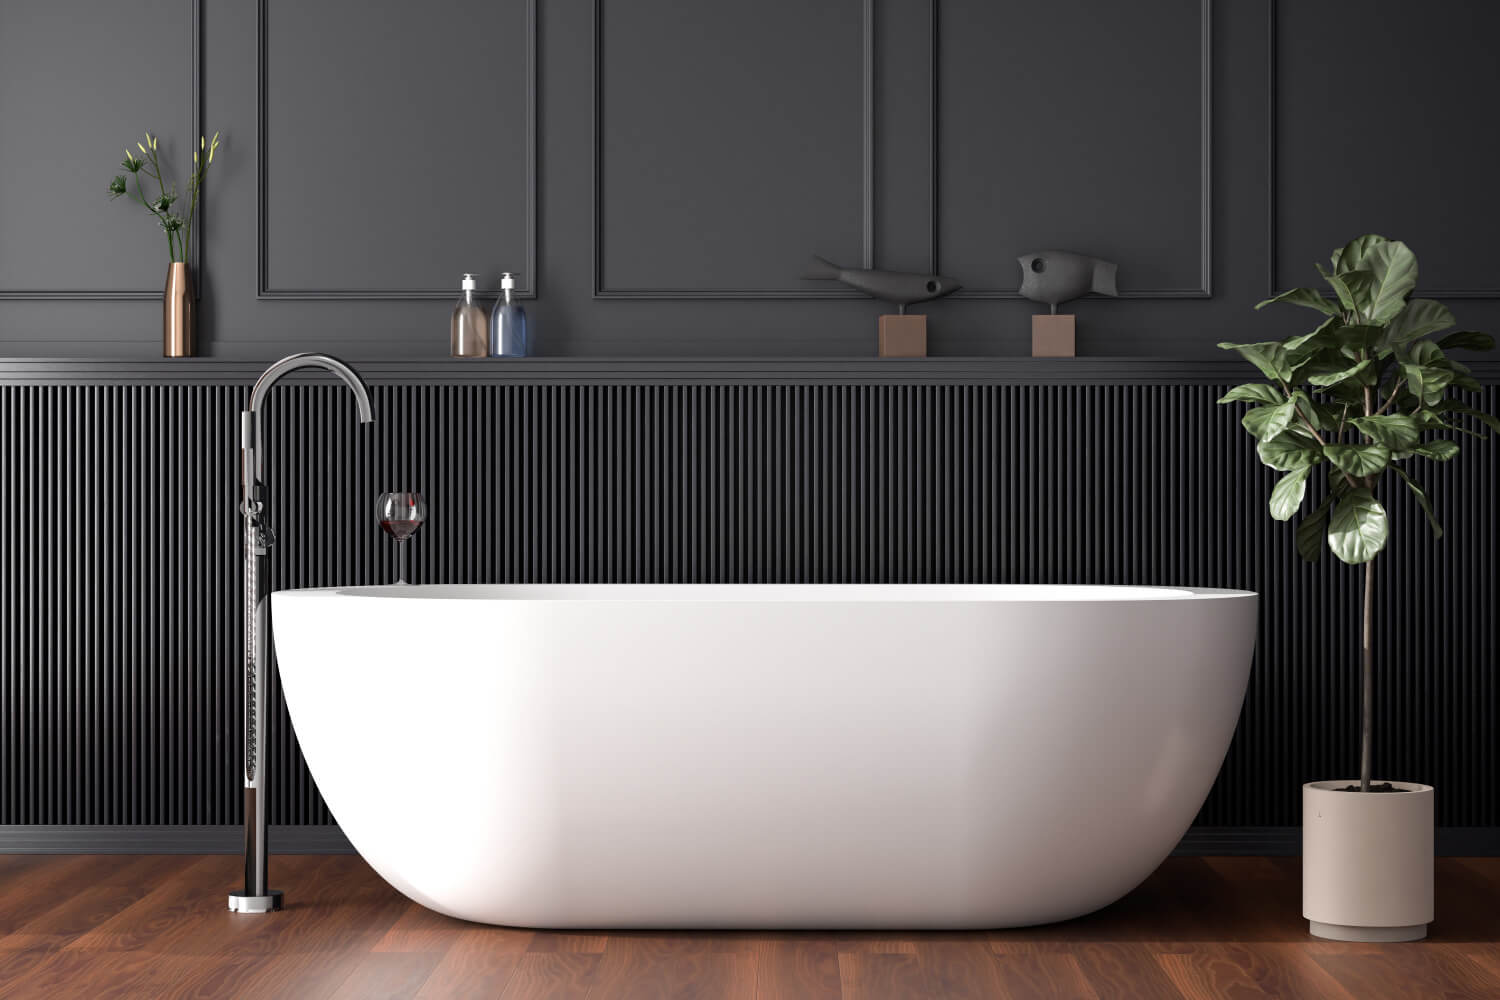
Installing a freestanding bathtub can transform your bathroom into a luxurious and relaxing retreat. Whether you're renovating your existing space or embarking on a new construction project, a freestanding bathtub adds a touch of elegance and sophistication to any bathroom design. However, before you can indulge in a soothing soak, it's essential to ensure that the bathtub is properly plumbed and installed.
Properly plumbing a freestanding bathtub involves a series of steps, from gathering the necessary tools and materials to testing the bathtub for leaks. By following a systematic approach and paying attention to detail, you can successfully complete the installation and enjoy the benefits of a beautifully appointed bathroom.
In this comprehensive guide, we will walk you through the step-by-step process of plumbing a freestanding bathtub. From preparing the installation area to connecting the water supply lines, each stage of the process is crucial to achieving a seamless and functional result. By the end of this guide, you will have the knowledge and confidence to tackle the installation with ease and precision.
So, roll up your sleeves and get ready to embark on a rewarding journey of creating a spa-like oasis in your own home. With the right tools, materials, and a clear understanding of the installation process, you can elevate the aesthetic and functionality of your bathroom while adding value to your living space. Let's dive into the details and learn how to plumb a freestanding bathtub like a seasoned professional.
Key Takeaways:
- Plumbing a freestanding bathtub requires gathering tools, preparing the area, installing the drain and water supply lines, testing for leaks, and finishing with a thorough clean-up. Attention to detail ensures a luxurious and functional bathroom.
- The process of plumbing a freestanding bathtub involves precision and care at every step, from assembling components to testing for leaks. The result is a spa-like oasis that enhances the ambiance and functionality of your home.
Read more: How To Install Bathtub Plumbing
Step 1: Gather the necessary tools and materials
Before embarking on the installation of a freestanding bathtub, it is essential to gather all the necessary tools and materials to ensure a smooth and efficient process. Having the right equipment at hand will not only streamline the installation but also minimize potential delays and frustrations. Here's a comprehensive list of tools and materials you'll need for the job:
Tools:
- Adjustable wrench: This versatile tool will be essential for tightening and securing various plumbing connections.
- Pipe wrench: A sturdy pipe wrench is crucial for assembling and tightening the drain and overflow fittings.
- Screwdriver set: Ensure you have a variety of screwdrivers, including flathead and Phillips head, to accommodate different types of fasteners.
- Tubing cutter: This specialized tool will be necessary for cutting and shaping the water supply lines to fit the bathtub's fixtures.
- Plumber's putty: A reliable sealant for creating watertight seals around the drain and overflow fittings.
- Plumber's tape: Also known as Teflon tape, this will be used to seal threaded connections and prevent leaks.
- Silicone caulking gun: High-quality silicone caulk is essential for sealing the edges of the bathtub to prevent water seepage.
Materials:
- Freestanding bathtub: Select a bathtub that complements your bathroom's design and meets your desired specifications for size and style.
- Drain and overflow assembly: Ensure you have the appropriate drain and overflow fittings that are compatible with your chosen bathtub.
- Water supply lines: Depending on the bathtub's design, you may need flexible or rigid water supply lines to connect to the fixtures.
- Shutoff valves: These valves will allow you to control the flow of water to the bathtub, providing a convenient means of maintenance and repairs.
- Tubular trap: A crucial component for the bathtub's drainage system, the tubular trap prevents sewer gases from entering the bathroom while facilitating proper drainage.
- Safety goggles and gloves: Prioritize safety by equipping yourself with protective eyewear and gloves to prevent potential injuries during the installation process.
By ensuring that you have all the necessary tools and materials on hand, you can proceed with confidence and efficiency as you embark on the journey of plumbing a freestanding bathtub. With these essentials at your disposal, you'll be well-prepared to tackle the subsequent steps of the installation process, bringing you one step closer to enjoying the luxurious comfort of your new bathtub.
Step 2: Prepare the area for installation
Preparing the area for the installation of a freestanding bathtub is a critical step that sets the foundation for a successful and seamless plumbing process. By meticulously attending to the details of the installation site, you can ensure that the bathtub will be positioned securely and function optimally within your bathroom space. Here's a detailed breakdown of the essential tasks involved in preparing the area for the installation:
-
Clear the Space: Begin by clearing the designated area where the freestanding bathtub will be installed. Remove any existing fixtures, such as the previous bathtub or shower enclosure, to create an open and unobstructed space for the new installation. Clearing the area will provide ample room for maneuvering and positioning the bathtub with ease.
-
Check the Flooring: Inspect the flooring beneath the installation area to ensure that it is level and structurally sound. Address any unevenness or damage in the flooring to create a stable and secure foundation for the bathtub. Additionally, consider installing a waterproof membrane or underlayment to protect the flooring from potential water damage.
-
Position the Drain: Determine the precise location for the bathtub drain, taking into account the manufacturer's specifications and the layout of your plumbing system. Mark the position of the drain to facilitate accurate placement during the subsequent installation steps. Ensuring the correct positioning of the drain is crucial for the efficient drainage of water from the bathtub.
-
Secure the Access Panel: If the freestanding bathtub requires an access panel for maintenance and repairs, ensure that it is securely installed and easily accessible. The access panel provides a convenient entry point to the plumbing components beneath the bathtub, allowing for efficient servicing when necessary.
-
Plan for Ventilation: Adequate ventilation is essential to prevent moisture buildup and mold growth in the bathroom. Consider installing or optimizing ventilation systems, such as exhaust fans or windows, to promote air circulation and maintain a healthy environment around the bathtub installation area.
-
Protect Surrounding Surfaces: Safeguard the surrounding walls and flooring from potential damage during the installation process. Use protective coverings or drop cloths to shield adjacent surfaces from scratches, dents, or construction debris, ensuring that the overall aesthetics of the bathroom remain intact.
By meticulously preparing the area for the installation of a freestanding bathtub, you can lay the groundwork for a smooth and efficient plumbing process. Attention to detail at this stage will contribute to the long-term functionality and visual appeal of the bathtub within your bathroom space. With the area meticulously prepared, you are now ready to proceed to the subsequent steps of the installation, bringing you closer to the realization of your luxurious bathroom oasis.
Read also: 15 Best Freestanding Bathtub Faucet for 2025
Step 3: Install the drain and overflow assembly
The installation of the drain and overflow assembly is a pivotal stage in plumbing a freestanding bathtub, as it directly impacts the functionality and efficiency of the bathtub's drainage system. This critical component ensures the proper flow and containment of water during each use, contributing to a seamless and enjoyable bathing experience. To successfully install the drain and overflow assembly, meticulous attention to detail and precision is paramount. Here's a comprehensive guide to navigating this essential step of the installation process:
-
Assemble the Components: Begin by assembling the necessary components of the drain and overflow assembly, including the drain fitting, overflow fitting, gaskets, and any accompanying hardware. Ensure that all components are clean and free of debris, as any contaminants can compromise the integrity of the assembly.
-
Position the Drain Fitting: Carefully position the drain fitting at the designated location on the underside of the bathtub. Align the fitting with the pre-marked drain opening, ensuring a snug and secure fit. Depending on the specific design of the bathtub, the drain fitting may feature a threaded connection or a compression-style attachment.
-
Secure the Overflow Fitting: With the drain fitting in place, proceed to secure the overflow fitting to the corresponding opening on the bathtub. Similar to the drain fitting, ensure that the overflow fitting is aligned and seated properly, ready for the next steps of the installation.
-
Apply Plumber's Putty: Prior to finalizing the installation of the drain and overflow fittings, apply plumber's putty to the underside of each fitting. This pliable and water-resistant sealant will create a watertight barrier between the fittings and the bathtub, preventing leaks and ensuring a secure connection.
-
Tighten the Connections: Utilize a pipe wrench or adjustable wrench to carefully tighten the connections of the drain and overflow fittings. Exercise caution to avoid over-tightening, as this can potentially damage the fittings or the bathtub material. Confirm that the fittings are snug and secure, ready to facilitate the efficient drainage of water.
-
Install the Gaskets and Hardware: Place the appropriate gaskets and accompanying hardware, such as washers and nuts, to complete the assembly of the drain and overflow fittings. Ensure that each component is positioned correctly and tightened to the manufacturer's specifications, maintaining the integrity of the assembly.
-
Test for Leaks: Once the drain and overflow assembly is fully installed, perform a preliminary test to check for any potential leaks. Fill the bathtub with water and observe the connections of the drain and overflow fittings for signs of seepage or dripping. Address any leaks promptly to prevent water damage and ensure the reliability of the assembly.
By meticulously following these steps and exercising precision throughout the installation process, you can successfully install the drain and overflow assembly of a freestanding bathtub. This crucial stage sets the stage for the subsequent steps of the plumbing process, bringing you closer to the realization of a beautifully appointed and fully functional bathtub within your bathroom space.
Step 4: Connect the water supply lines
Connecting the water supply lines is a pivotal stage in the installation of a freestanding bathtub, as it ensures the seamless delivery of water to the fixtures, enabling a convenient and enjoyable bathing experience. This step requires meticulous attention to detail and precision to ensure that the water supply lines are securely connected and properly integrated with the bathtub's design. Here's a comprehensive guide to navigating this essential phase of the plumbing process:
-
Select the Appropriate Water Supply Lines: Begin by selecting the appropriate water supply lines that align with the specifications of the freestanding bathtub and the existing plumbing system. Depending on the design of the bathtub, you may need flexible or rigid water supply lines to accommodate the fixtures. Ensure that the selected lines are of the correct length and diameter to facilitate a seamless connection.
-
Position the Water Supply Connections: Identify the designated locations on the bathtub where the water supply connections will be integrated. These connection points are typically located near the fixtures, such as the faucet and handheld showerhead. Align the water supply lines with the corresponding inlet openings, ensuring a precise fit for the subsequent installation steps.
-
Apply Plumber's Tape: Prior to connecting the water supply lines, apply plumber's tape, also known as Teflon tape, to the threaded ends of the lines. This thread sealant tape creates a secure and watertight seal when the connections are tightened, preventing potential leaks and ensuring the integrity of the supply lines.
-
Secure the Connections: Carefully thread and tighten the water supply lines to the designated inlet openings on the bathtub fixtures. Utilize an adjustable wrench to ensure that the connections are snug and secure, while exercising caution to avoid over-tightening, which can potentially damage the fittings or the bathtub material. Confirm that the connections are properly aligned and integrated with the fixtures.
-
Install Shutoff Valves: As a proactive measure for maintenance and repairs, consider installing shutoff valves along the water supply lines leading to the bathtub. These valves provide a convenient means of controlling the flow of water, allowing for efficient maintenance and servicing without disrupting the entire water supply system.
-
Test the Water Flow: Once the water supply lines are connected, perform a preliminary test to check the water flow to the bathtub fixtures. Turn on the water supply and verify that there are no leaks or irregularities in the connections. Confirm that the water flows smoothly to the fixtures, indicating a successful integration of the supply lines.
By meticulously following these steps and ensuring precision throughout the process, you can successfully connect the water supply lines of a freestanding bathtub. This crucial stage sets the foundation for the efficient delivery of water to the fixtures, bringing you closer to the realization of a fully functional and elegantly appointed bathtub within your bathroom space.
Make sure to properly measure and position the bathtub drain and overflow to align with the plumbing rough-in. This will ensure a smooth installation and prevent any future issues with the plumbing connections.
Step 5: Test the bathtub for leaks
After completing the installation of a freestanding bathtub, it is crucial to conduct a thorough test to ensure that the plumbing connections are secure and that the bathtub is free from leaks. This critical step not only validates the integrity of the installation but also provides peace of mind, knowing that the bathtub is ready for use without the risk of water damage or potential issues. Here's a detailed guide on how to effectively test the bathtub for leaks:
-
Fill the Bathtub: Begin the testing process by filling the bathtub with water to a level that exceeds the normal capacity for bathing. This will exert additional pressure on the plumbing connections, allowing any potential leaks to become apparent. Ensure that the water level reaches a point where it fully submerges the drain and overflow fittings.
-
Observe the Drain and Overflow: As the bathtub fills with water, carefully observe the drain and overflow fittings for any signs of leakage. Pay close attention to the areas around the fittings, including the seals and connections. Look for drips, seepage, or water accumulation that may indicate a compromised seal or a loose connection.
-
Inspect the Water Supply Lines: While the bathtub is filled with water, inspect the water supply lines and their connections to the fixtures. Look for any indications of water seepage, particularly at the points where the supply lines interface with the bathtub's fixtures. Verify that the connections remain secure and watertight under the increased pressure.
-
Check the Surrounding Area: As the bathtub remains filled with water, inspect the surrounding area for any signs of moisture, dampness, or water accumulation. Examine the flooring, walls, and adjacent surfaces for potential leaks that may manifest outside of the immediate plumbing connections. Address any unexpected moisture promptly to prevent water damage.
-
Monitor for an Extended Period: Allow the bathtub to remain filled with water for an extended period, typically several hours, to thoroughly assess the integrity of the plumbing connections. Continuously monitor the fittings, supply lines, and surrounding area for any delayed indications of leaks that may emerge over time.
-
Address Identified Leaks: If any leaks are detected during the testing process, promptly address the issues by tightening the affected connections, replacing compromised seals, or applying appropriate sealants. Re-test the bathtub to verify that the corrective measures have effectively resolved the leaks.
By meticulously conducting a comprehensive test for leaks, you can ensure that the freestanding bathtub is fully integrated into the plumbing system without the risk of water seepage or damage. This proactive approach to validation provides the assurance of a reliable and watertight installation, allowing you to fully enjoy the comfort and luxury of your newly plumbed bathtub.
Step 6: Finish the installation and clean up
With the major components of the freestanding bathtub successfully installed, the final step involves completing the installation and ensuring a thorough clean-up of the surrounding area. This phase is essential for putting the finishing touches on the plumbing process and preparing the space for immediate use. Here's a detailed guide on how to effectively finish the installation and carry out the necessary clean-up:
-
Secure the Fixtures: Confirm that all fixtures, including the faucet, handheld showerhead, and any additional accessories, are securely installed and properly aligned with the bathtub. Tighten any loose connections and verify that the fixtures are fully operational, ready for immediate use.
-
Apply Silicone Caulk: Utilize a high-quality silicone caulking gun to apply a bead of silicone caulk along the edges of the bathtub where it meets the flooring and walls. This waterproof sealant will create a barrier against water seepage and moisture, enhancing the longevity and visual appeal of the installation.
-
Trim Excess Caulk: After applying the silicone caulk, carefully trim any excess material using a utility knife or caulk finishing tool. This meticulous step ensures a clean and professional finish, eliminating unsightly protrusions and creating a seamless transition between the bathtub and the surrounding surfaces.
-
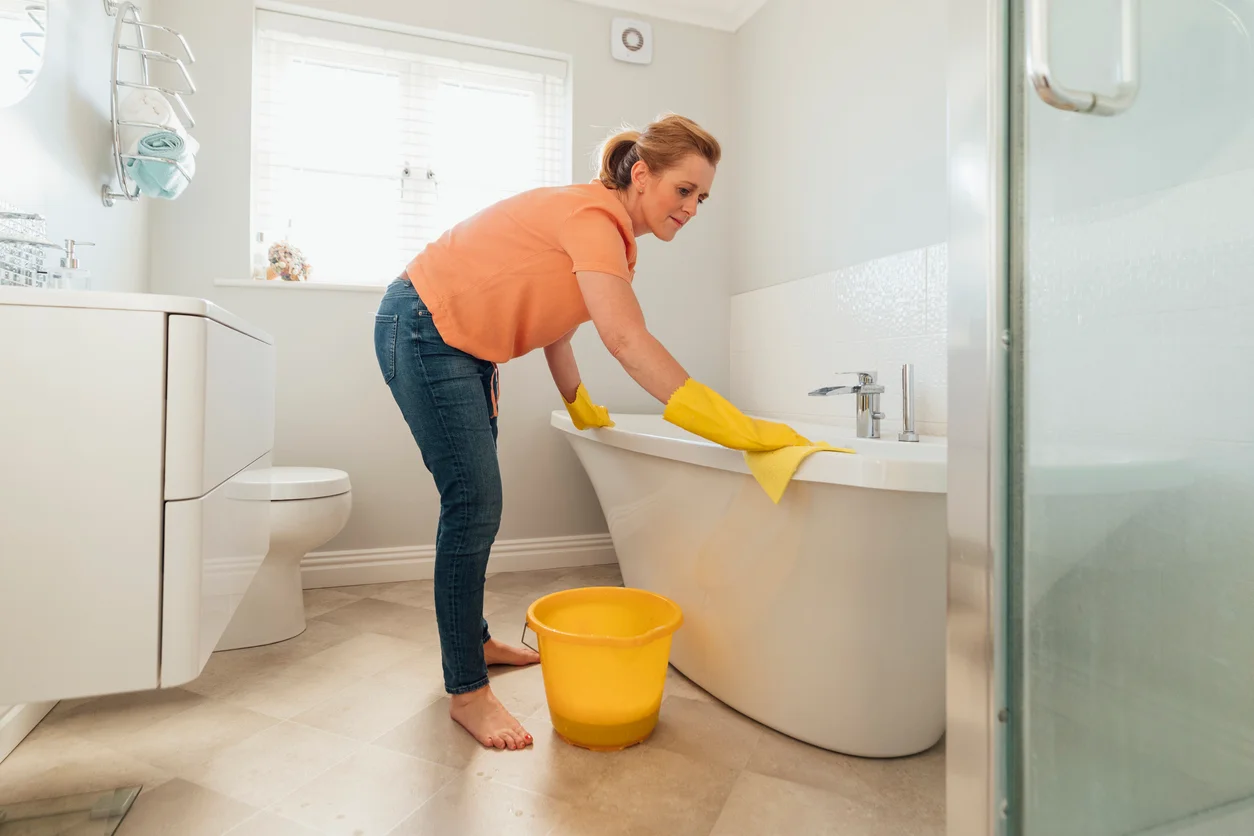
Clean the Bathtub: Thoroughly clean the interior and exterior of the bathtub to remove any construction debris, dust, or residue accumulated during the installation process. Use a mild detergent or specialized bathtub cleaner to restore the pristine appearance of the bathtub, ensuring a welcoming and hygienic bathing environment.
-
Dispose of Debris: Properly dispose of any packaging materials, discarded components, and construction debris generated during the installation. Clearing the area of clutter and waste contributes to a safe and organized space, allowing the newly installed bathtub to take center stage in the bathroom.
-
Inspect the Surrounding Area: Conduct a comprehensive inspection of the surrounding area to identify and address any remaining traces of construction debris or potential hazards. Ensure that the flooring, walls, and adjacent surfaces are free from obstructions and ready for unrestricted access to the bathtub.
-
Test the Fixtures: Before concluding the installation process, test the functionality of the fixtures, including the faucet and handheld showerhead. Verify that the water flow is consistent, and the controls operate smoothly, providing a seamless bathing experience for the user.
By meticulously completing the installation and carrying out a thorough clean-up, you can finalize the plumbing process of the freestanding bathtub with precision and attention to detail. This proactive approach ensures that the installation is not only visually appealing but also fully functional and ready for immediate use, allowing you to bask in the luxury and comfort of your newly plumbed bathtub.
Read more: How To Build A Freestanding Divider Wall
Conclusion
In conclusion, plumbing a freestanding bathtub is a rewarding endeavor that elevates the aesthetic appeal and functionality of any bathroom space. By following the step-by-step process outlined in this guide, you can navigate the installation with confidence and precision, ensuring a seamless integration of the bathtub into your home. From gathering the necessary tools and materials to conducting a comprehensive test for leaks, each stage of the plumbing process contributes to the successful realization of a luxurious and fully functional bathtub.
As you embark on the journey of plumbing a freestanding bathtub, it's essential to prioritize meticulous attention to detail and precision at every step. By meticulously preparing the installation area, installing the drain and overflow assembly, connecting the water supply lines, and conducting thorough tests, you can ensure that the bathtub is seamlessly integrated into the plumbing system without the risk of leaks or functional issues.
Furthermore, the final steps of finishing the installation and conducting a thorough clean-up are crucial for creating a welcoming and hygienic bathing environment. By securing the fixtures, applying silicone caulk, and ensuring the pristine cleanliness of the bathtub and its surroundings, you can elevate the visual appeal of the installation while maintaining a functional and organized space.
Ultimately, the successful plumbing of a freestanding bathtub enhances the overall ambiance of the bathroom, creating a spa-like oasis where you can unwind and indulge in moments of relaxation. Whether you're renovating an existing bathroom or embarking on a new construction project, the addition of a freestanding bathtub brings a touch of luxury and sophistication to your living space, adding value and comfort for years to come.
As you complete the installation and admire the beautifully appointed bathtub in your bathroom, take pride in the meticulous craftsmanship and attention to detail that have gone into the plumbing process. The result is not just a functional fixture but a centerpiece that enhances the overall aesthetic and functionality of your home.
In essence, plumbing a freestanding bathtub is a transformative experience that allows you to create a personal sanctuary within your home, where you can escape the stresses of the day and immerse yourself in a world of comfort and luxury. With the knowledge and confidence gained from this comprehensive guide, you are well-equipped to embark on the journey of plumbing a freestanding bathtub with skill and precision, bringing your vision of a luxurious bathroom to life.
Frequently Asked Questions about How To Plumb A Freestanding Bathtub
Was this page helpful?
At Storables.com, we guarantee accurate and reliable information. Our content, validated by Expert Board Contributors, is crafted following stringent Editorial Policies. We're committed to providing you with well-researched, expert-backed insights for all your informational needs.


0 thoughts on “How To Plumb A Freestanding Bathtub”