Articles
How To Fix Inside Door Blinds
Modified: December 7, 2023
Learn how to easily fix inside door blinds with our informative articles. Find step-by-step guides, tips, and tricks to solve common door blind issues.
(Many of the links in this article redirect to a specific reviewed product. Your purchase of these products through affiliate links helps to generate commission for Storables.com, at no extra cost. Learn more)
Introduction
Inside door blinds are a great addition to any home, providing privacy, light control, and style. However, like any other household item, door blinds can encounter issues that may affect their functionality. Whether it’s a broken slat, a tangled cord, or a malfunctioning mechanism, these problems can be frustrating to deal with.
In this article, we will guide you through the process of fixing inside door blinds. Whether you’re a seasoned DIY enthusiast or a novice homeowner, our step-by-step instructions will help you tackle these issues and restore your door blinds to their optimal working condition.
Before we dive into the details, let’s take a moment to understand the different types of inside door blinds. The most common types include horizontal blinds, vertical blinds, and cellular shades. Each type has its unique features and components, which may require specific repair techniques.
To start the repair process, it’s important to have the necessary tools and materials on hand. This will ensure that you’re well-prepared and able to handle any repairs that come your way. Let’s take a look at the tools and materials you will need:
Key Takeaways:
- Inside door blinds offer privacy, light control, and style, but issues like broken slats or tangled cords can be frustrating. With the right tools and step-by-step instructions, you can easily fix these problems and restore your blinds to optimal working condition.
- Removing, inspecting, repairing, and reattaching inside door blinds can be a manageable DIY project with the proper guidance. By following the outlined steps and testing the functionality, you can enjoy the benefits of well-maintained blinds in your home.
Read more: How To Fix Crooked Blinds Inside Door
Understanding Inside Door Blinds
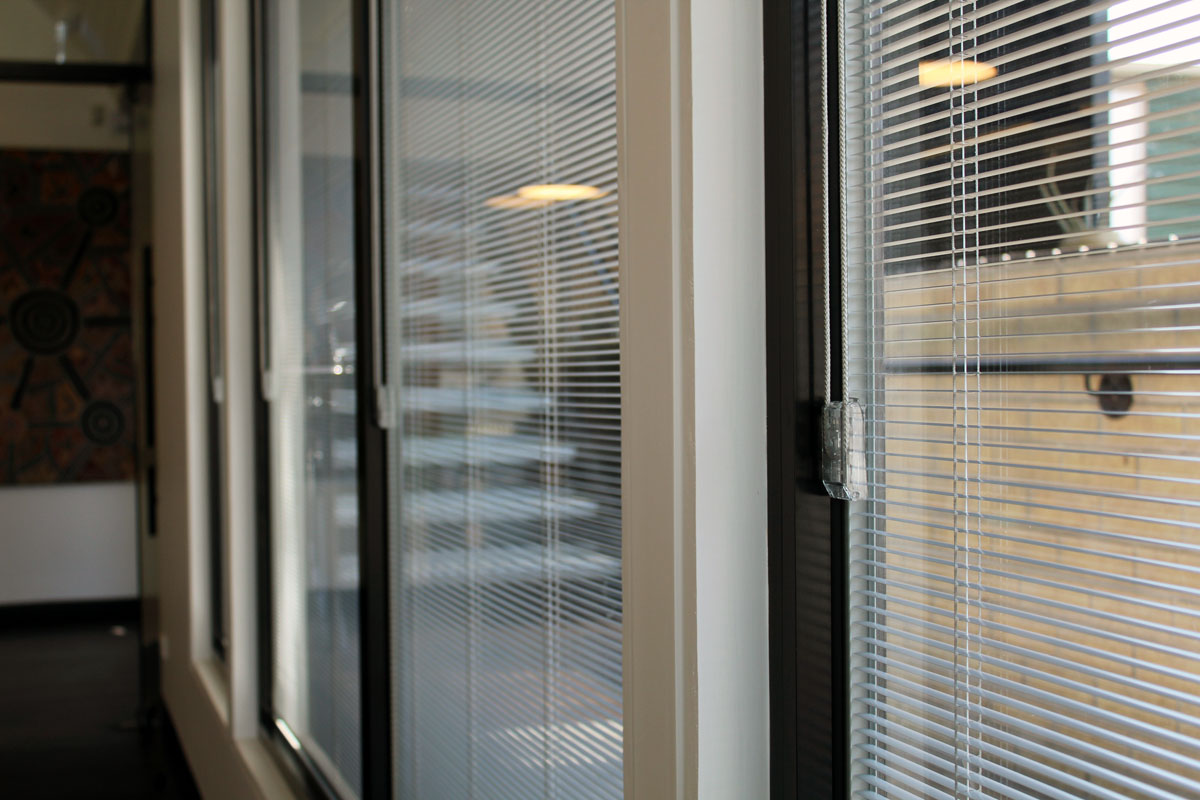
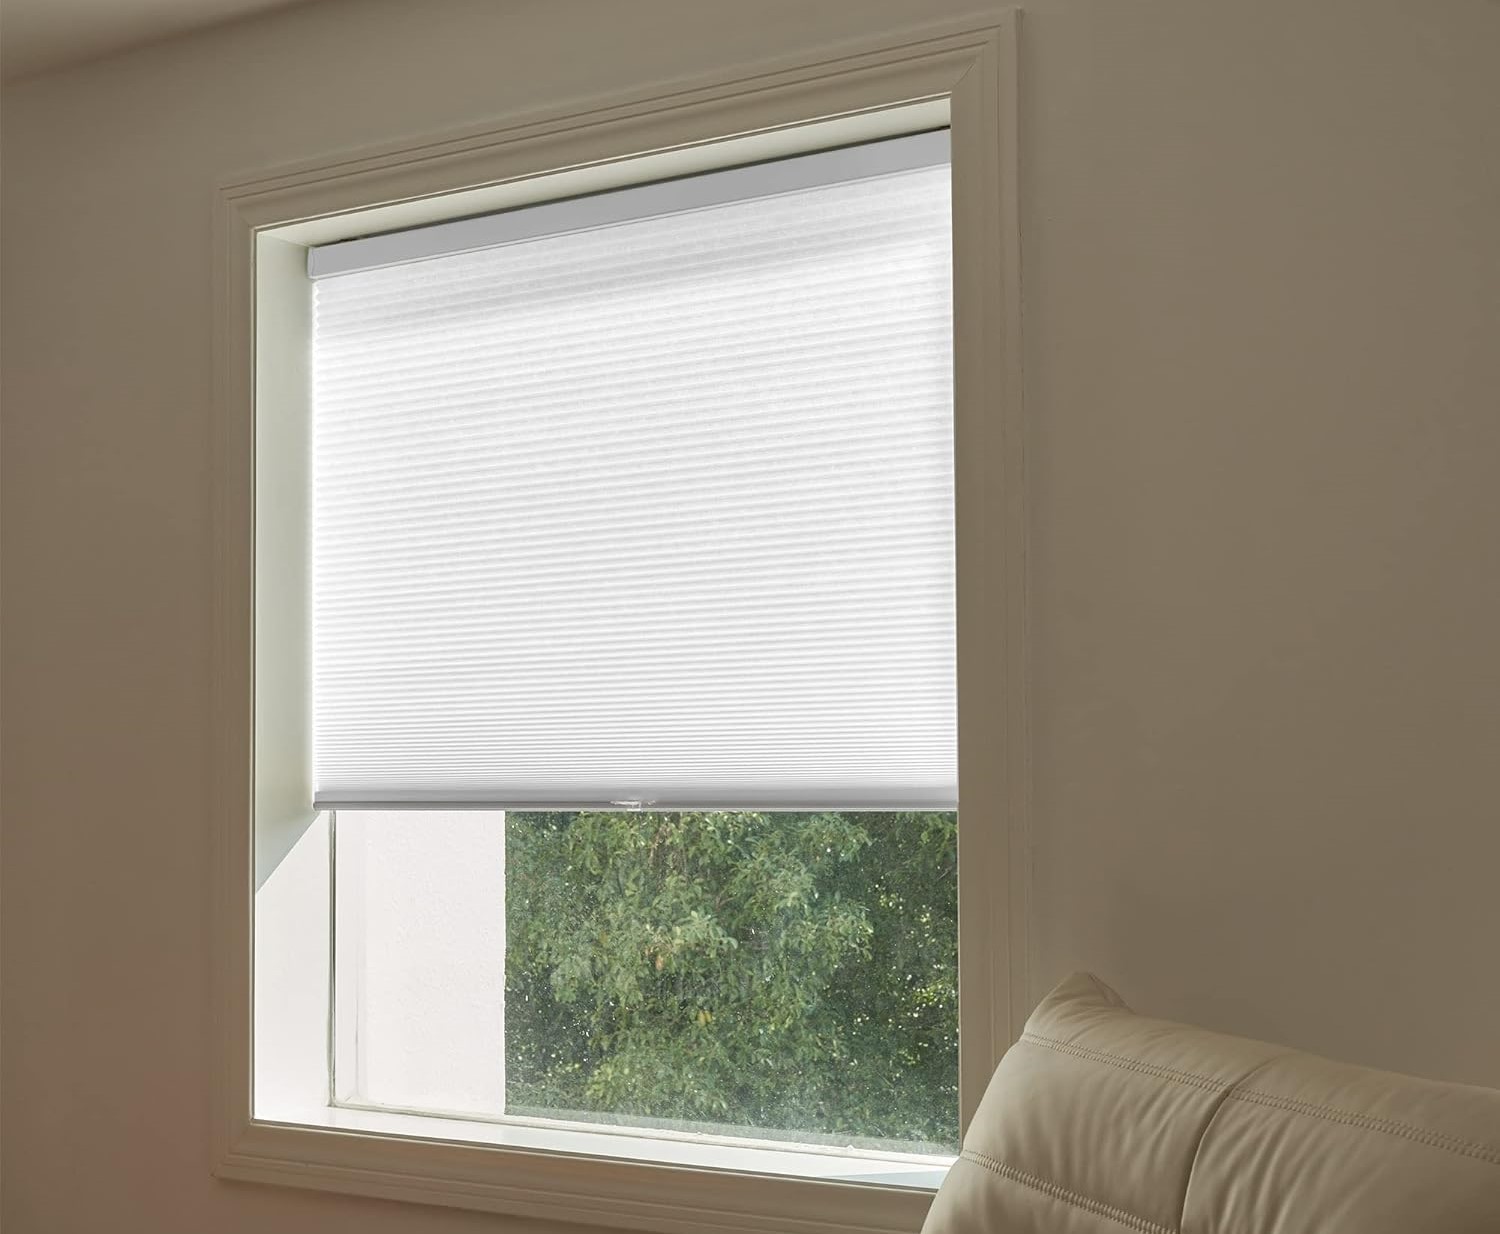
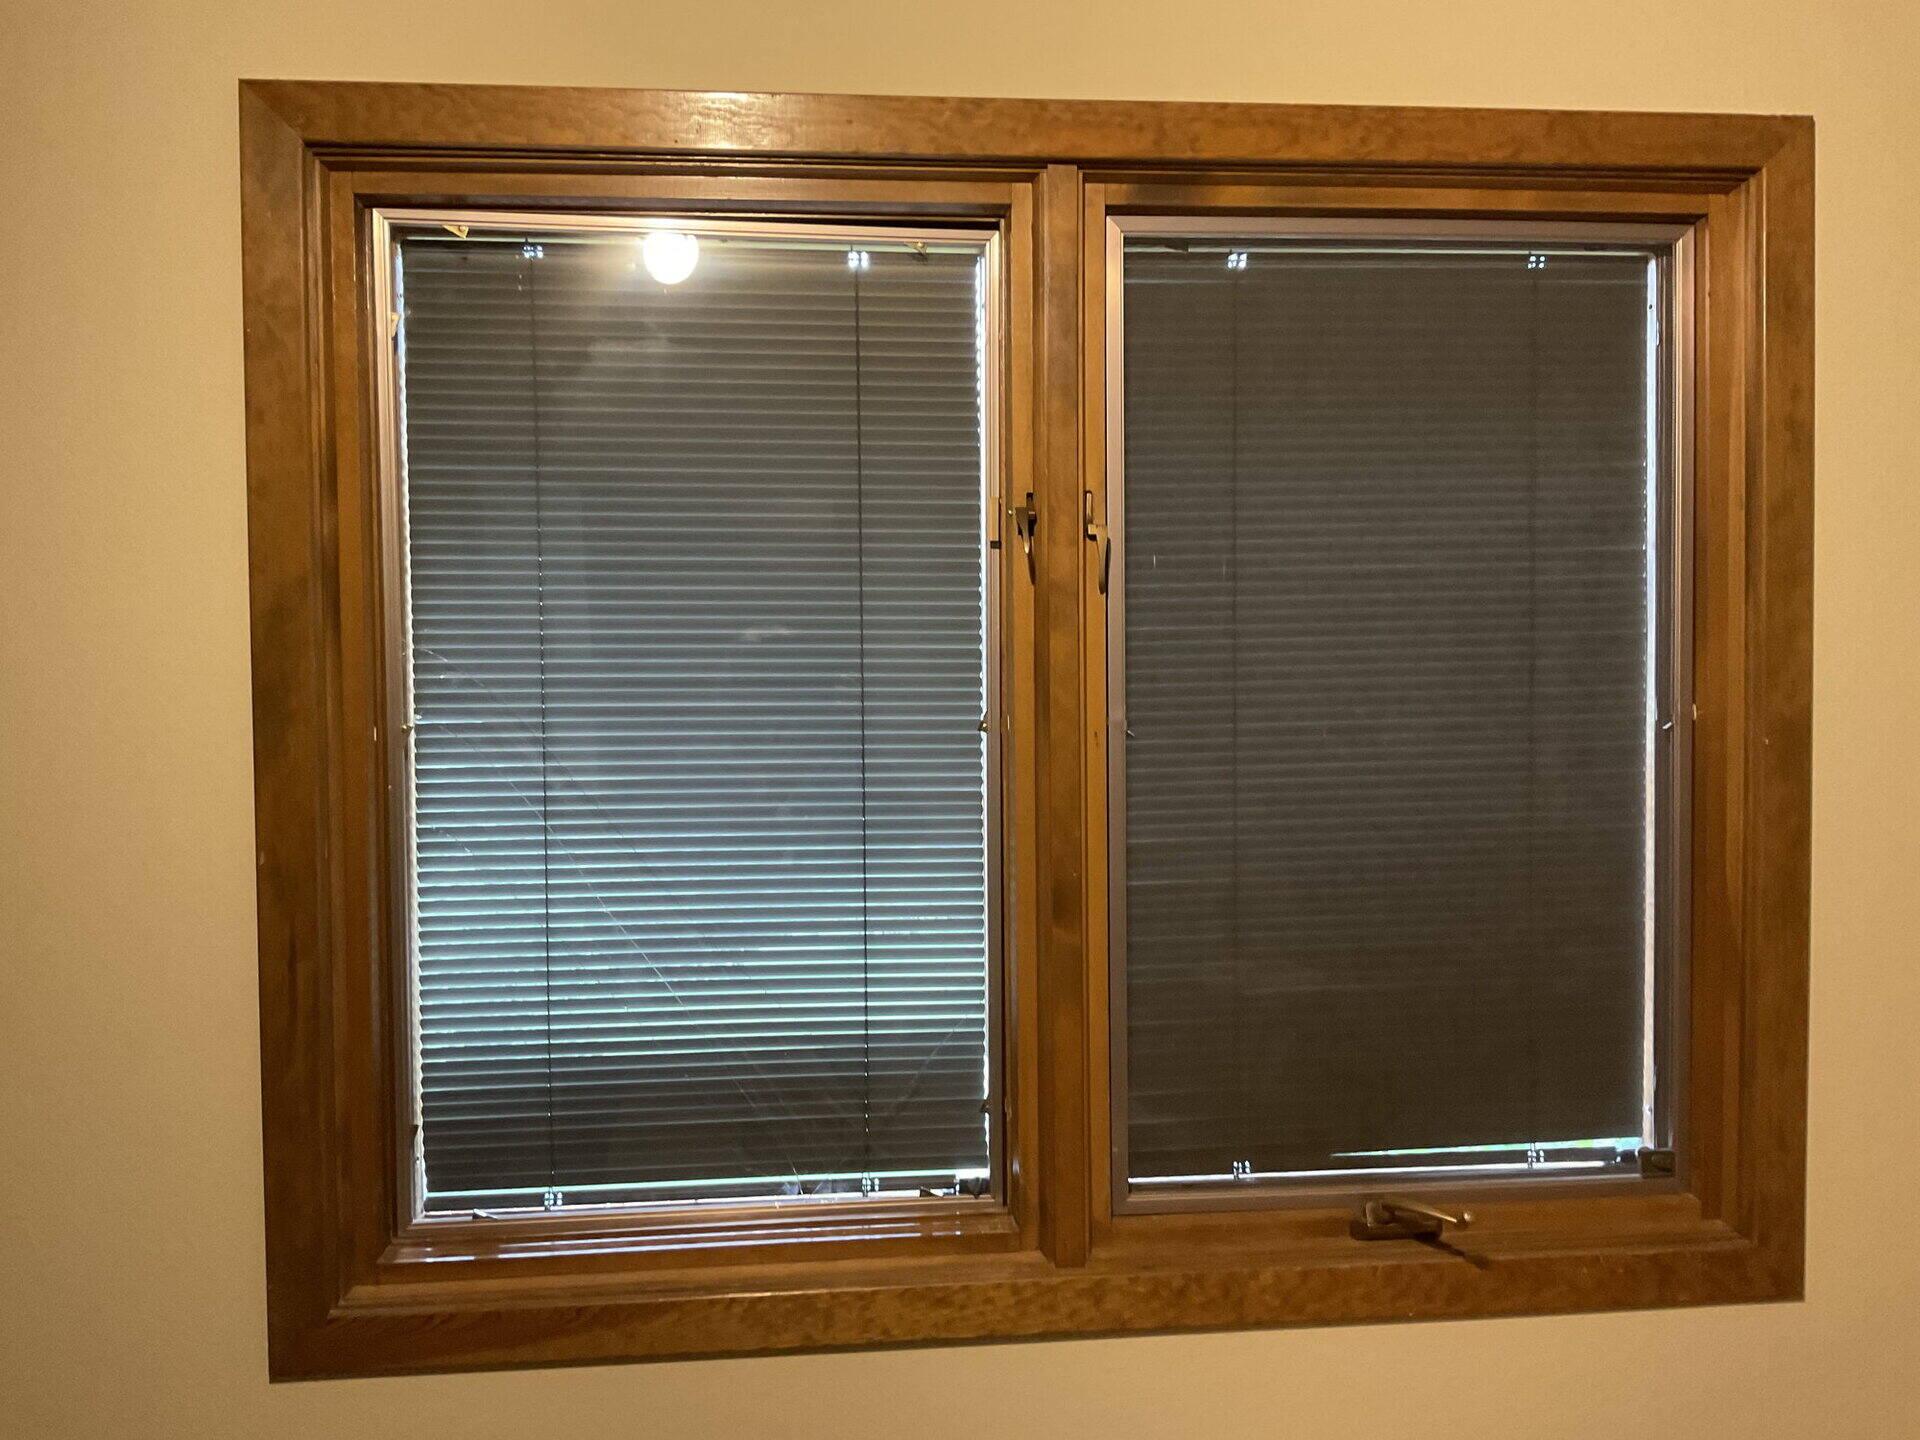
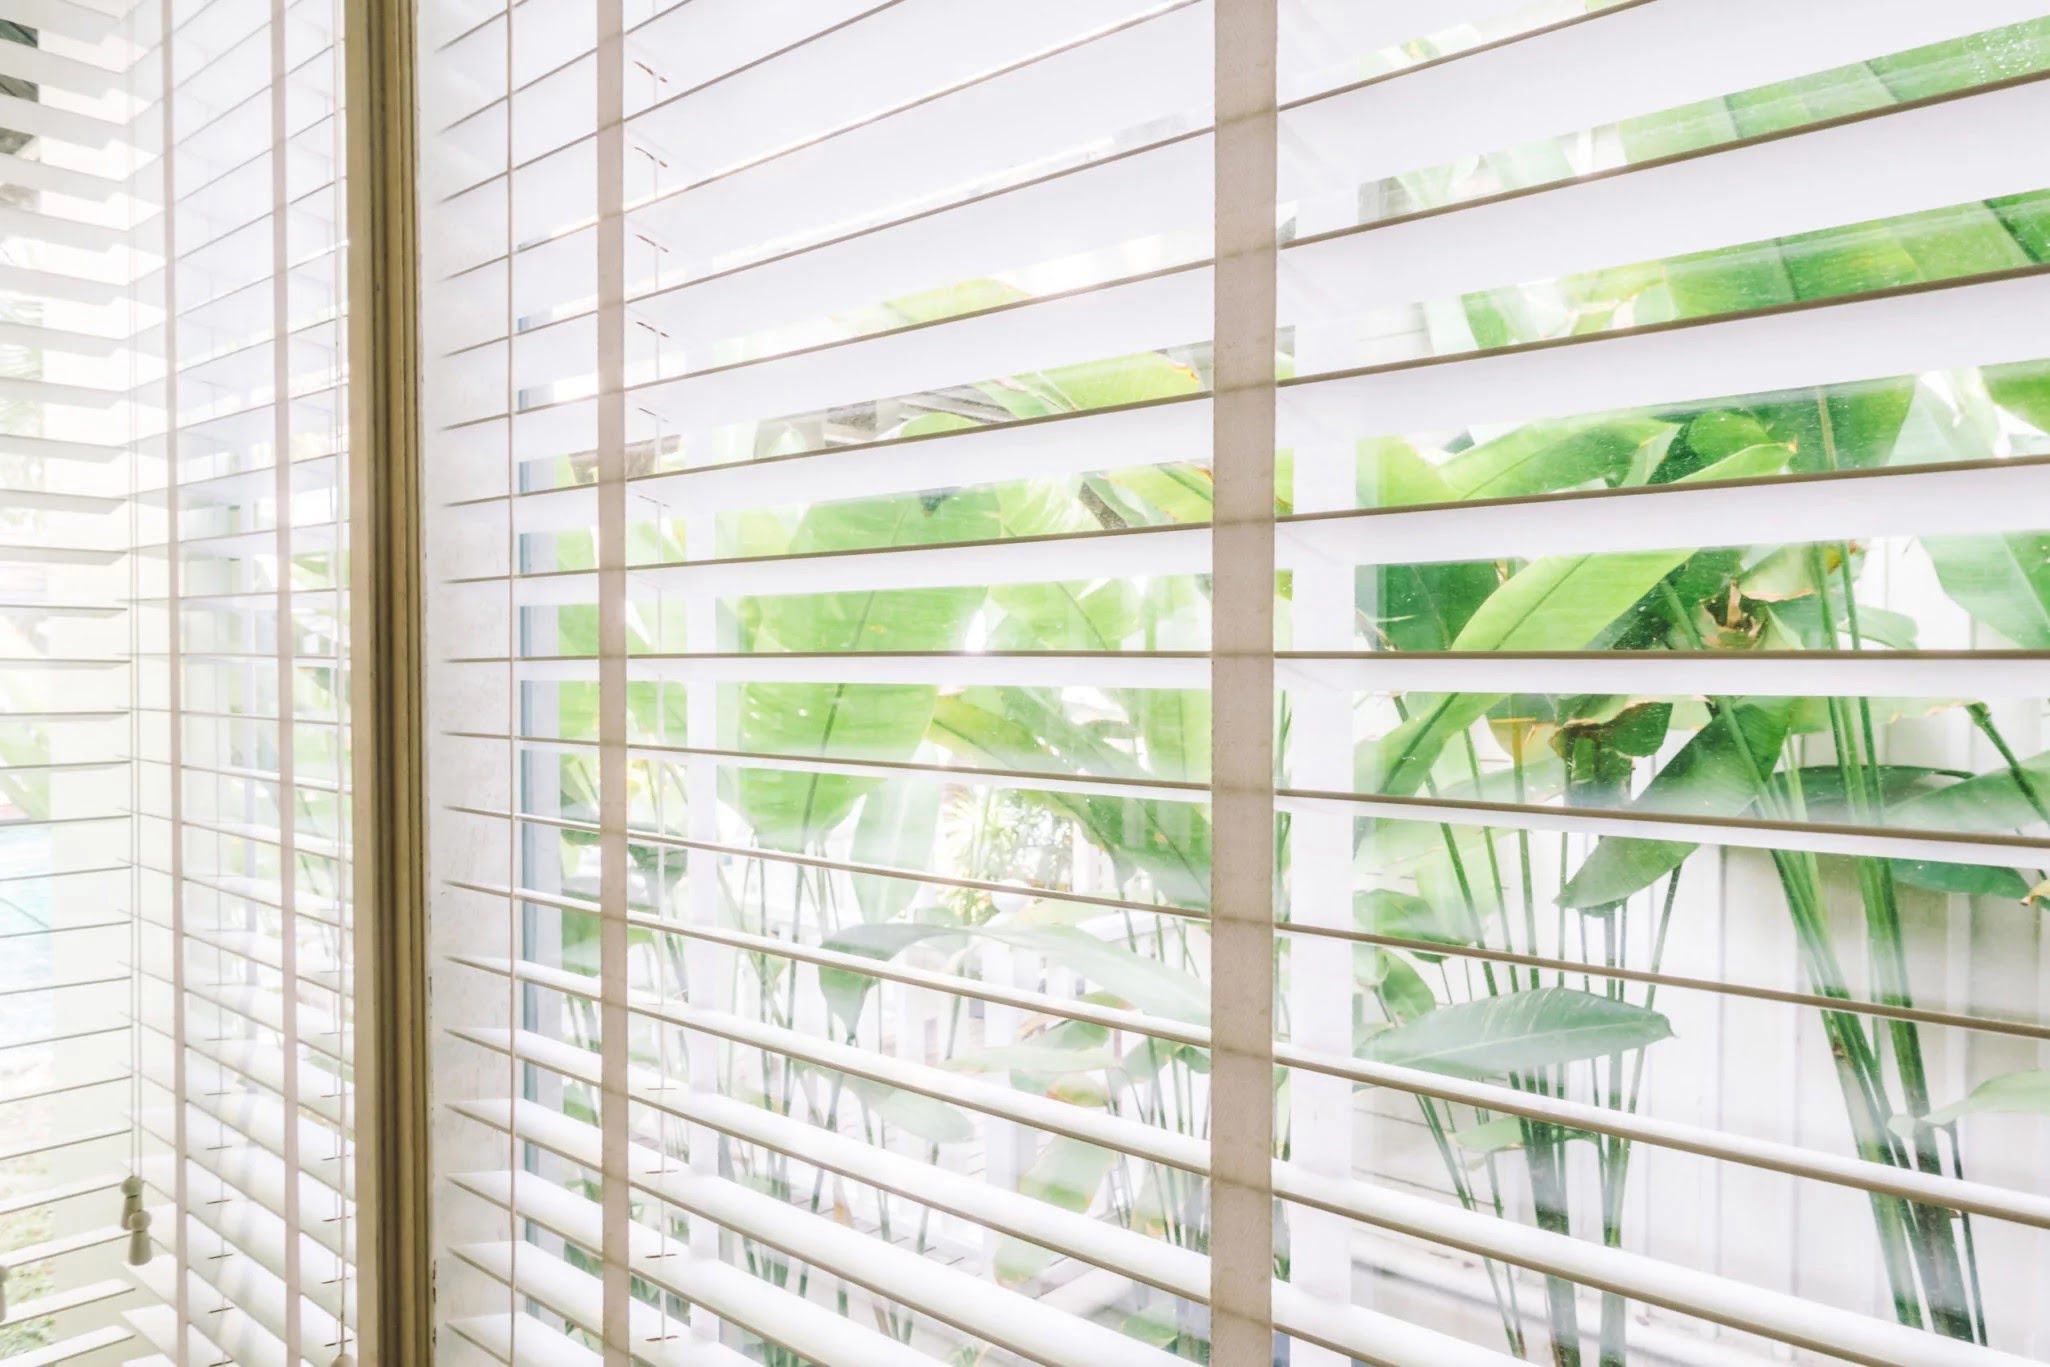
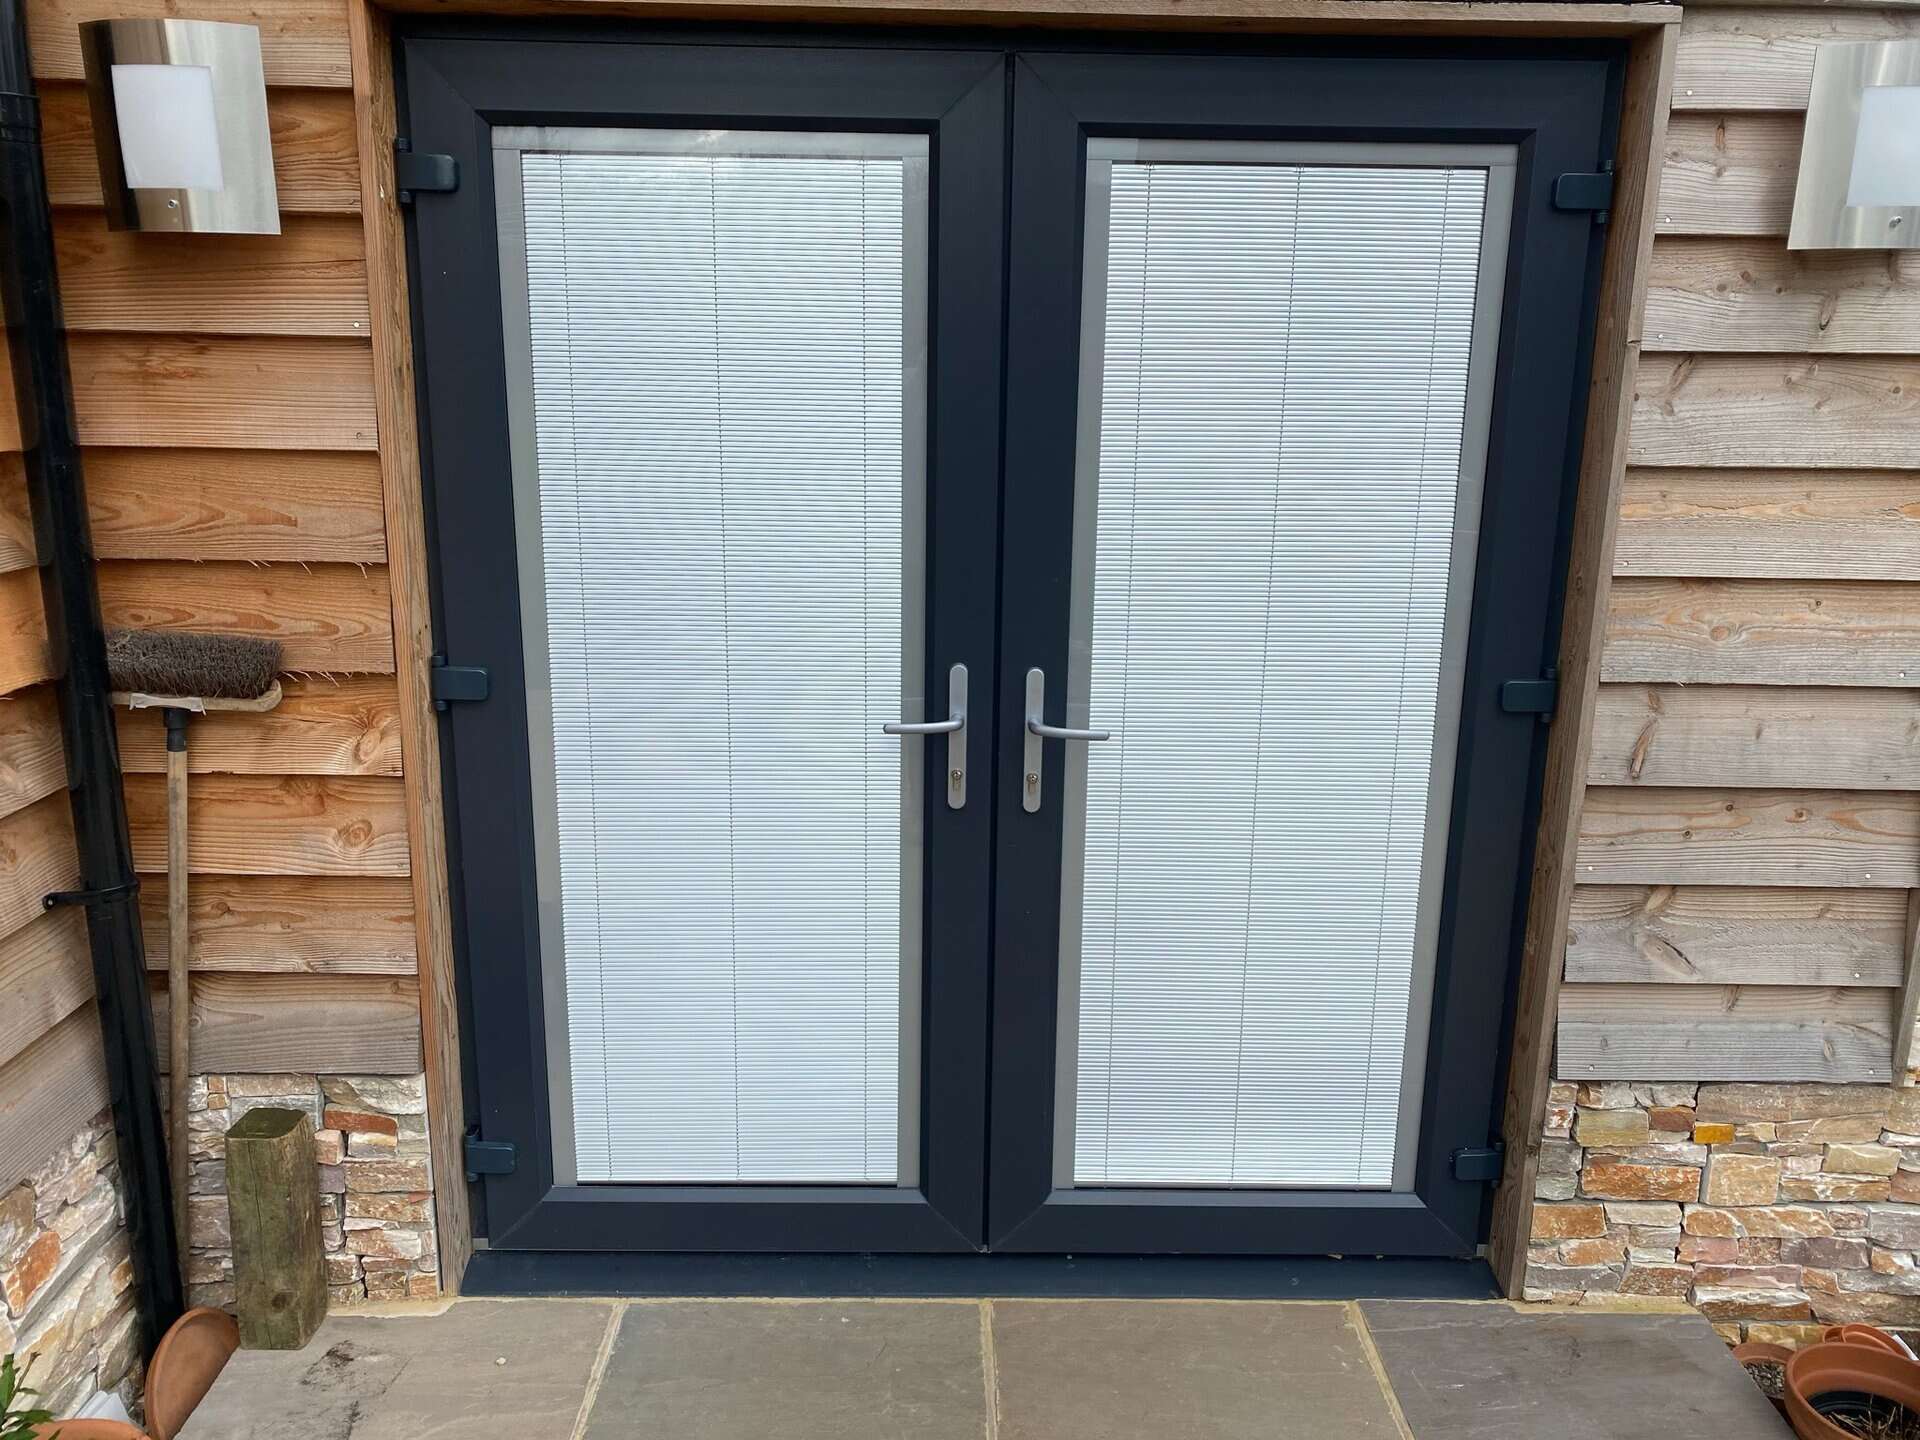
Inside door blinds, also known as internal or integrated blinds, are blinds that are built into the double glazing or window frame of a door. Unlike traditional blinds, which are mounted on the outside of the window, inside door blinds offer a sleek, streamlined appearance.
There are several advantages to using inside door blinds. First and foremost, they provide an added layer of privacy. Whether you’re in a busy neighborhood or simply want to keep prying eyes away, inside door blinds allow you to control the amount of light and visibility in your home.
Secondly, inside door blinds offer excellent light control. You can easily adjust the blinds to let in natural light or block it out entirely. This feature is especially beneficial in rooms where you require complete darkness, such as bedrooms or home theaters.
Additionally, inside door blinds are low maintenance and easy to clean. Since they are protected within the window frame, they are less prone to dust, dirt, and damage. A quick wipe with a damp cloth or a gentle vacuuming is usually sufficient to keep them looking fresh and functioning properly.
Inside door blinds are available in various materials, including vinyl, aluminum, wood, and fabric. Each material has its own unique characteristics and aesthetic appeal. It’s important to choose a material that not only complements your interior decor but also suits your specific needs and preferences.
Lastly, inside door blinds are typically operated using a tilt and lift mechanism, which allows you to control the position and angle of the blinds. This mechanism may vary depending on the type of blind you have. Horizontal blinds are adjusted with a cord or wand, while vertical blinds have a chain or wand to control the slats.
Now that we have a better understanding of inside door blinds, let’s move on to the tools and materials you’ll need to fix them.
Tools and Materials Needed
Before you begin the process of fixing your inside door blinds, it’s important to gather the necessary tools and materials. Having everything prepared will save you time and ensure that you have what you need to complete the repairs. Here is a list of the tools and materials you’ll need:
- Phillips screwdriver or Allen wrench: This will be used to remove and reinstall any screws or bolts that hold the blinds in place.
- Pliers: Pliers will come in handy for straightening or bending any misaligned or damaged blind slats.
- Replacement slats or parts: Depending on the issue with your blinds, you may need replacement slats or other components such as cords, wand controls, or tilt mechanisms.
- Scissors or a utility knife: These tools will be useful for cutting and trimming replacement slats or cords.
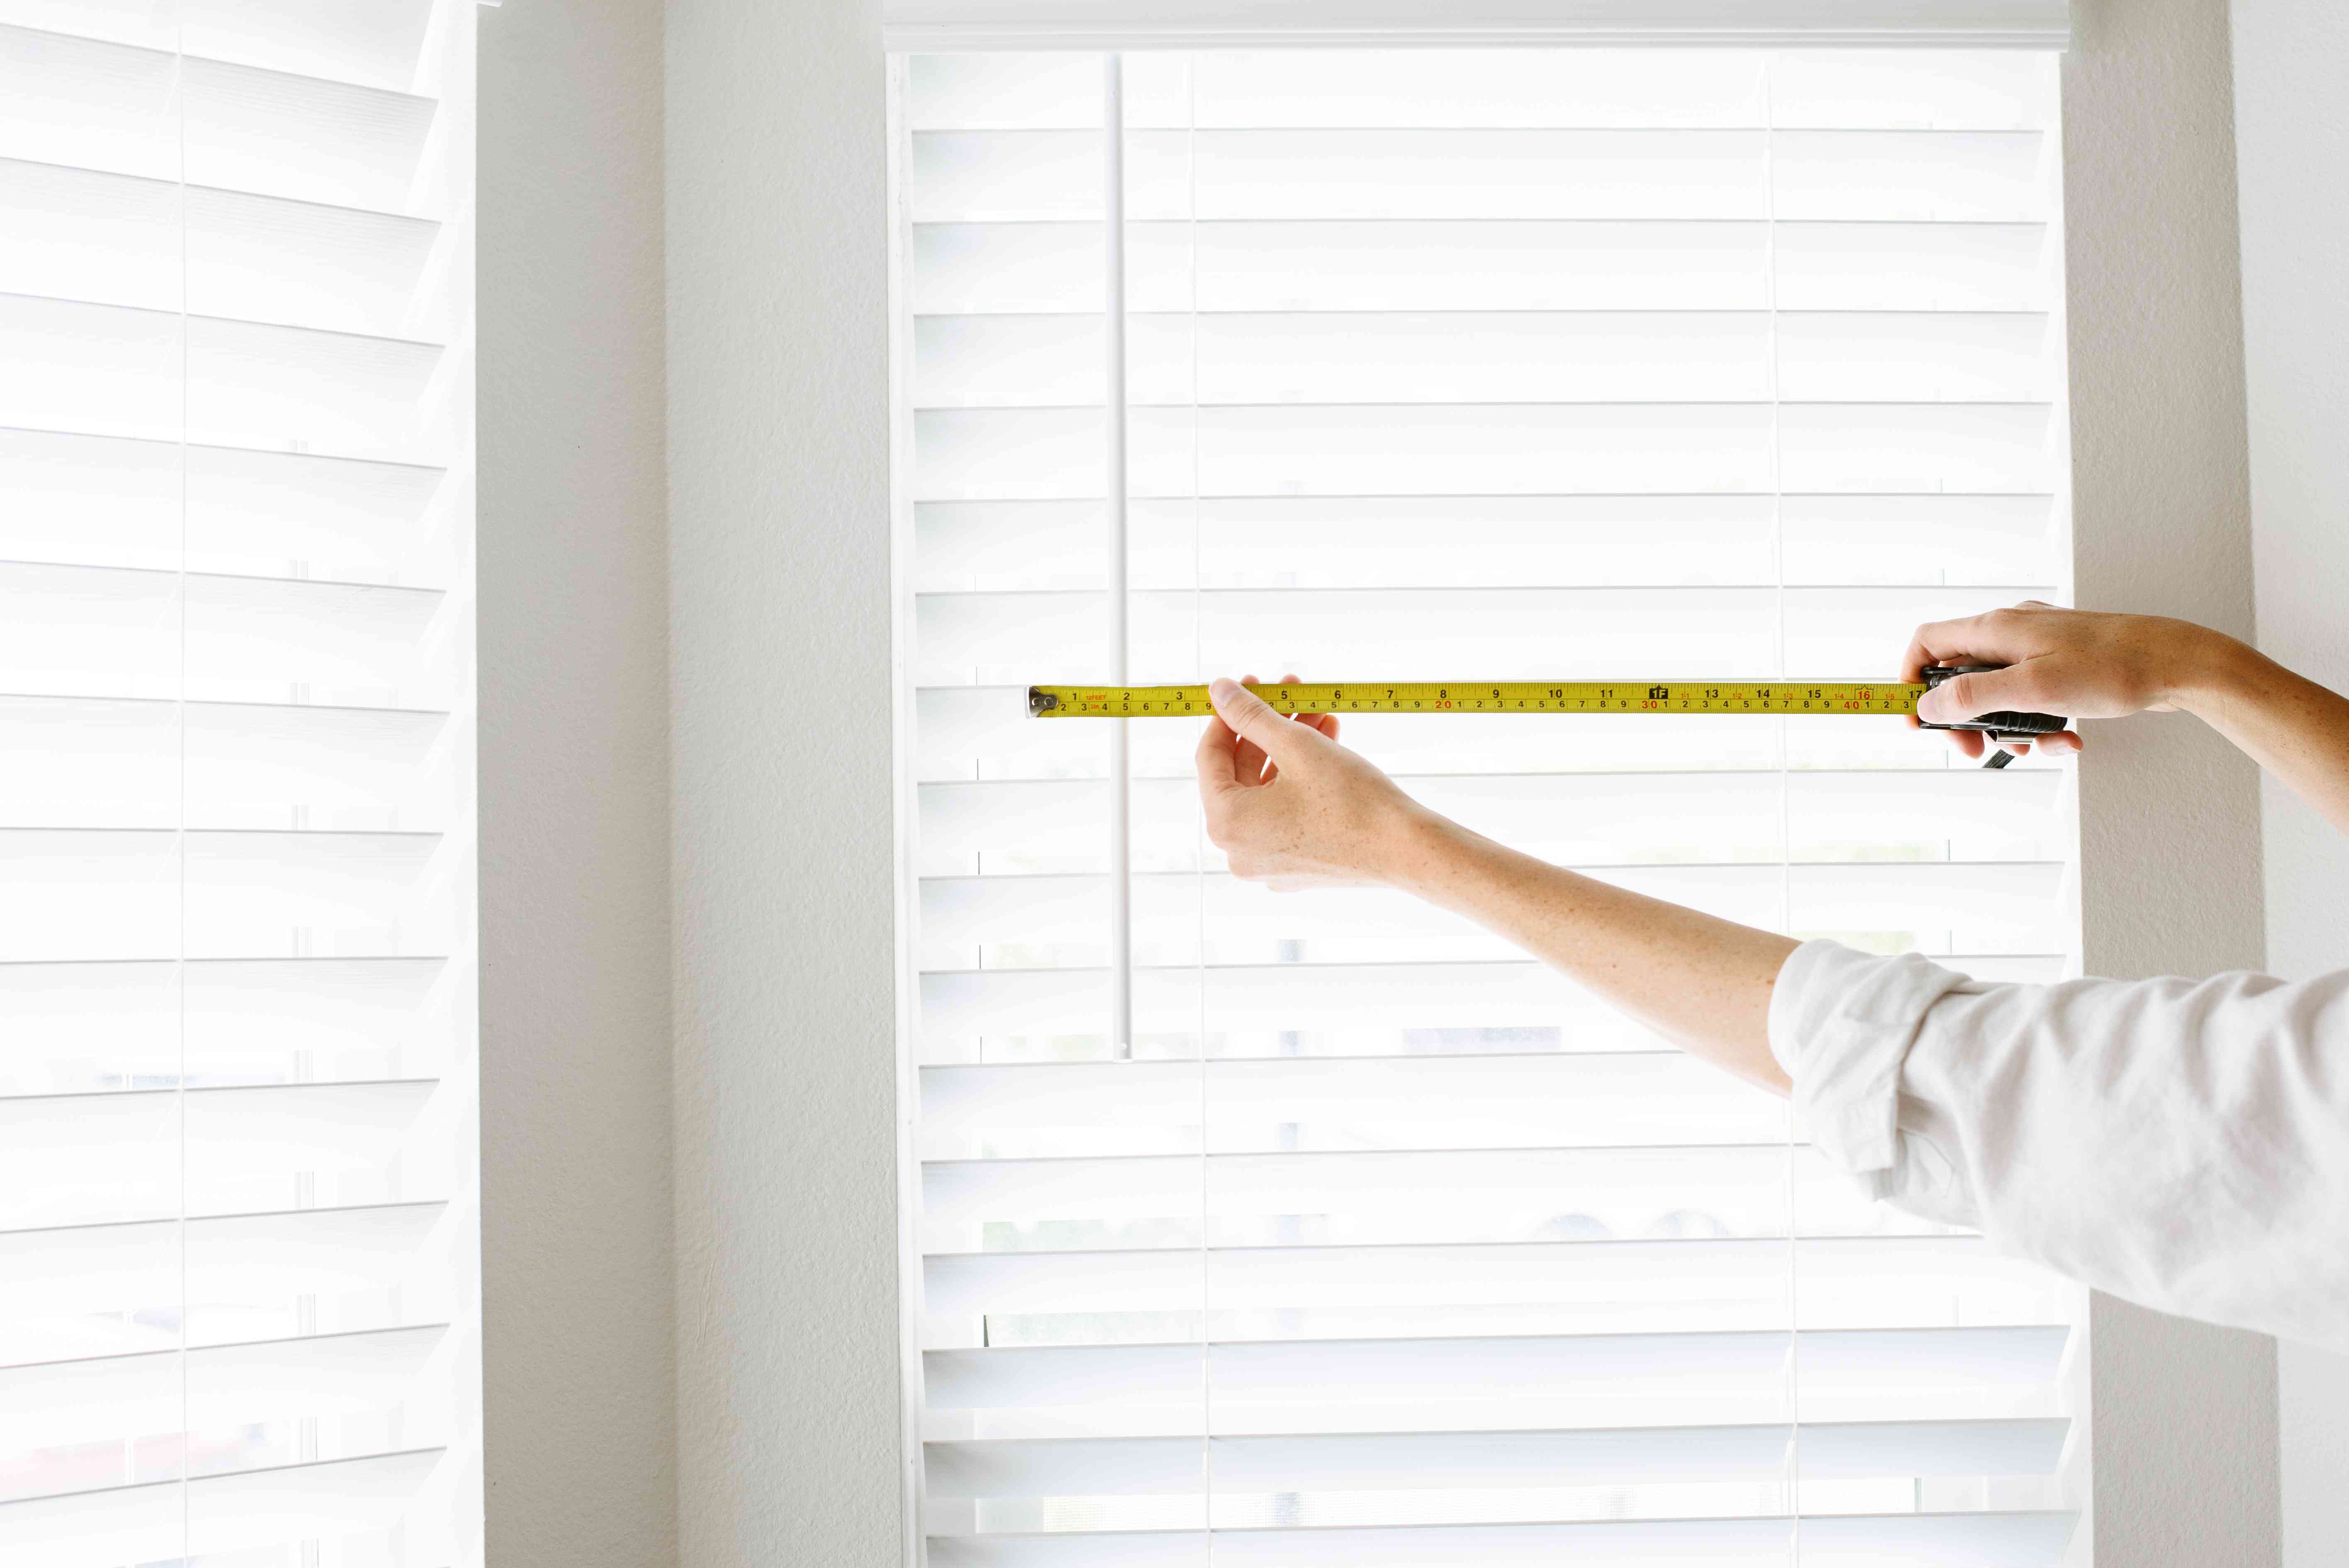
- Tape measure: To ensure accurate measurements for replacement parts or slats.
- Cleaning supplies: A soft cloth or sponge, mild detergent, and water will help clean the blinds and remove any dirt or debris.
- Lubricant: Depending on the type of blinds, you may need a lubricant such as silicone spray or graphite powder to improve the functionality of the mechanism.
- Safety goggles: Protect your eyes from any flying debris or dust during the repair process.
It’s essential to note that the specific tools and materials required may vary depending on the type and brand of inside door blinds you have. Before starting any repairs, refer to the manufacturer’s instructions or contact their customer service for guidance on the recommended tools and materials.
Now that you have all the necessary tools and materials ready, let’s move on to the step-by-step guide to fix your inside door blinds.
Step-by-Step Guide to Fix Inside Door Blinds
Now that you have gathered your tools and materials, let’s dive into the step-by-step process of fixing your inside door blinds. Follow these instructions carefully to ensure a successful repair:
- Remove the Door Blinds: Start by removing the blinds from the door. Depending on the type of blinds, you may need to unscrew any mounting brackets or clips. Carefully detach the blinds from the window frame and set them aside.
- Inspect and Assess the Blinds: Once the blinds are removed, carefully inspect them for any visible damage or issues. Look for broken slats, tangled cords, or malfunctioning mechanisms. Assess the extent of the damage to determine the appropriate repairs.
- Repair or Replace Damaged Parts: If you have broken or damaged slats, remove them from the blinds. Measure and cut replacement slats to the exact size needed. Insert the new slats into the existing slots, making sure they align correctly. If the cords are tangled or frayed, untangle them or replace them with new cords. If any other components are broken or not functioning properly, consult the manufacturer’s instructions for guidance on repair or replacement.
- Reattach the Blinds: Once the necessary repairs have been made, it’s time to reattach the blinds to the door. Carefully align the blinds with the window frame and secure them in place using the mounting brackets or clips. Ensure that the blinds are level and properly aligned before tightening any screws or bolts.
- Test the Functionality: After reattaching the blinds, test their functionality. Adjust the angle of the slats, tilt them open and closed, and raise and lower the blinds using the mechanisms. Make sure everything operates smoothly and as intended. If you encounter any issues, double-check that the blinds are installed correctly and that all components are properly aligned.
Following these steps will help you fix most common issues with your inside door blinds. However, it’s important to remember that each type and brand of blinds may have specific instructions or recommendations for repair. Refer to the manufacturer’s instructions or contact their customer service if you encounter any difficulties or need further assistance.
Now that you have successfully repaired your inside door blinds, you can enjoy the benefits of privacy, light control, and style they provide once again.
Remove the Door Blinds
The first step in fixing your inside door blinds is to remove them from the door. This will provide you with easier access to the blinds and allow you to work on them more effectively. Follow these instructions to remove the door blinds:
- Locate the mounting brackets or clips that hold the blinds in place. These are typically located on the top and bottom of the blinds or on the sides.
- Using a Phillips screwdriver or Allen wrench, carefully unscrew the screws or bolts securing the brackets or clips to the door frame. Be sure to keep these screws or bolts in a safe place, as you will need them later to reattach the blinds.
- Once the screws or bolts are removed, gently lift the blinds out of the mounting brackets or release them from the clips. Take care not to damage the blinds or any other components during this process.
- Place the blinds in a safe and clean area where they won’t get damaged or dirty while you work on them.
Removing the door blinds allows you to have a closer look at the blinds and assess any issues or damages. You can check for broken slats, tangled cords, or malfunctioning mechanisms more effectively when the blinds are not attached to the door.
Note that the specific method of removing the door blinds may vary depending on the type and brand of blinds you have. Always refer to the manufacturer’s instructions or contact their customer service for guidance if you have any doubts or encounter any difficulties during the removal process.
Once the door blinds are removed, you can move on to the next step of inspecting and assessing the blinds to identify any necessary repairs or replacements.
When fixing inside door blinds, start by checking for any obstructions or tangled cords. Then, carefully realign the slats and ensure the cords are properly threaded through the mechanism. If the blinds still don’t function properly, consider contacting a professional for repair.
Read more: How To Fix Sliding Door Blinds
Inspect and Assess the Blinds
Now that you have removed the door blinds, it’s time to carefully inspect and assess their condition. This step will help you identify any visible damage, tangles, or malfunctions that need to be addressed. Follow these instructions to inspect and assess your blinds:
- Examine the blinds for any broken or damaged slats. Check if any slats are cracked, bent, or missing altogether.
- Inspect the cords or mechanisms that control the movement of the blinds. Look for any tangles, fraying, or signs of wear and tear.
- Operate the tilt and lift mechanisms to see if they are functioning smoothly or if there are any issues with their movement.
- Ensure that the blinds are properly aligned and sitting level when in the closed position. Misaligned blinds can cause uneven light distribution and affect the overall appearance.
- Check for any other visible signs of damage, such as scratches, stains, or discoloration on the slats or frame.
During the inspection, make notes of any issues you come across. This will help you determine the appropriate repairs or replacements needed to fix the blinds. Depending on the severity of the damage or malfunction, you may need to repair individual components, replace slats, or seek professional assistance.
It’s important to note that not all issues may be visible during the inspection. Some internal problems may require further troubleshooting or disassembly of the blinds. In such cases, refer to the manufacturer’s instructions or seek professional help for a more in-depth assessment.
Once you have thoroughly inspected and assessed the condition of your door blinds, you can move on to the next step of repairing or replacing any damaged parts.
Repair or Replace Damaged Parts
After inspecting and assessing your door blinds, it’s time to address any damaged parts. Depending on the issues you identified during the inspection, you may need to repair or replace certain components. Follow these steps to repair or replace damaged parts:
- Repairing Broken Slats: If you have broken or damaged slats, you can attempt to repair them. Use pliers to gently straighten bent slats or align them back into place. If a slat is cracked or beyond repair, it’s best to replace it with a new one.
- Replacing Slats: To replace a damaged slat, carefully remove the broken one from the blinds. Measure the length of the slat to ensure the replacement slat matches the size perfectly. Use scissors or a utility knife to cut the replacement slat to the correct length. Insert the new slat into the empty slot, making sure it fits snugly.
- Untangling Cords: If the cords controlling the blinds are tangled, use your fingers or a pair of pliers to carefully untangle them. Avoid pulling on the cords too forcefully to prevent further damage. If the cords are severely damaged or frayed, it’s recommended to replace them entirely.
- Replacing Cords: To replace the cords, remove the old cords from the blinds. Measure the length of the old cords and cut the replacement cords to the same size. Thread the replacement cords through the corresponding holes or hooks, ensuring they are properly attached to the tilt and lift mechanisms.
- Repairing or Replacing Mechanisms: If the tilt or lift mechanisms are not functioning properly, consult the manufacturer’s instructions for guidance on troubleshooting or repairing them. In some cases, you may need to replace the entire mechanism if it’s beyond repair.
It’s crucial to follow the manufacturer’s instructions or seek professional help if you encounter any difficulties during the repair or replacement process. Each type and brand of blinds may have specific guidelines or recommendations for handling different components.
Once you have repaired or replaced the damaged parts of your door blinds, you can proceed to reattach them to the door and test their functionality in the next steps.
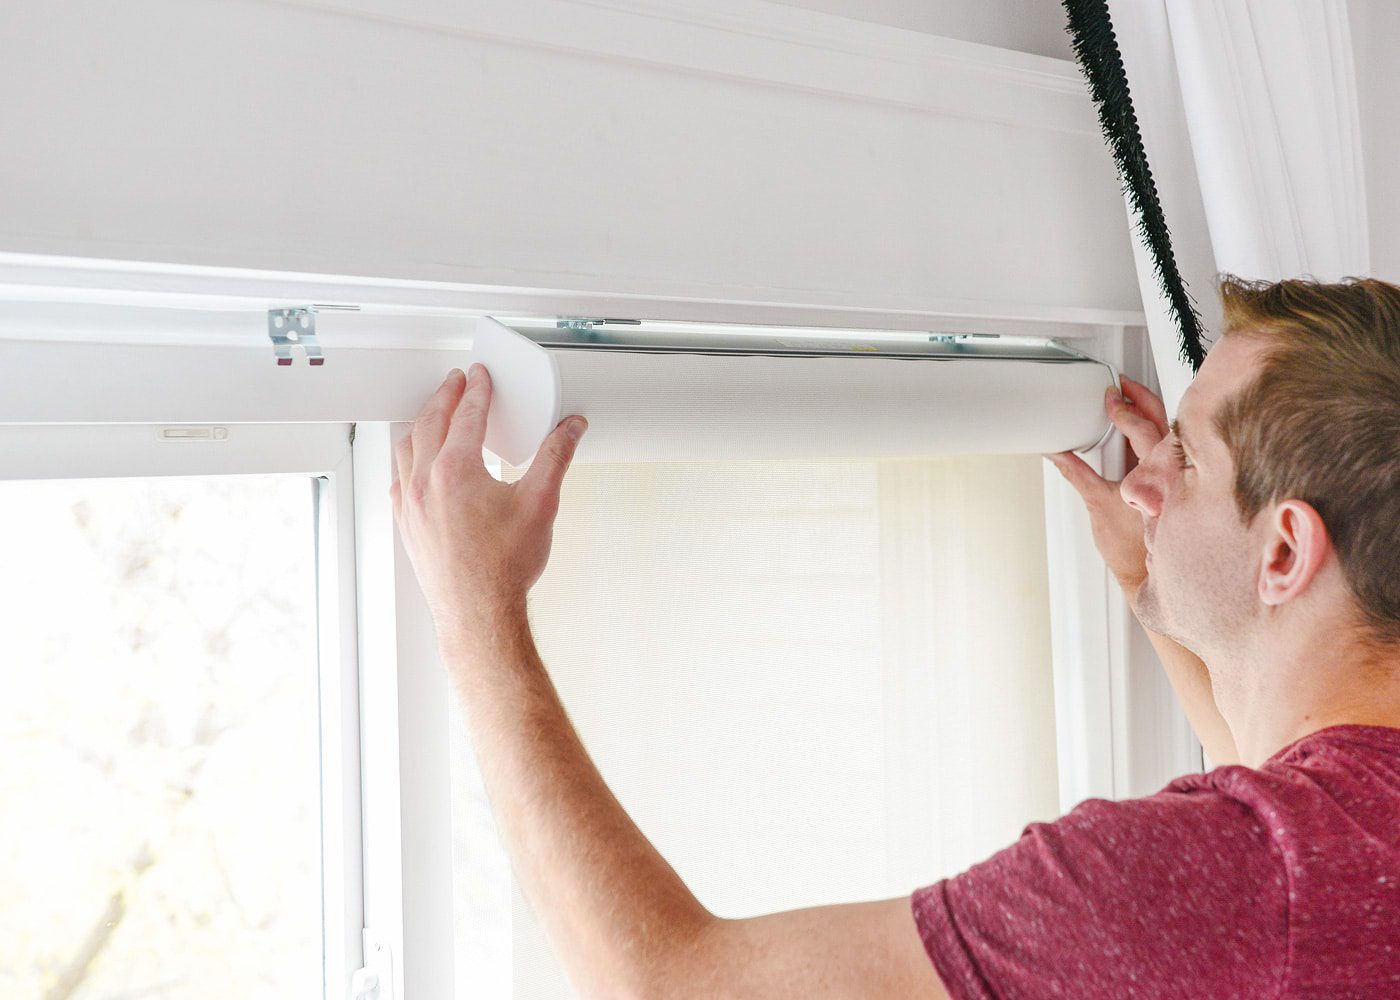
Reattach the Blinds
After repairing or replacing any damaged parts, it’s time to reattach the blinds to the door. Follow these steps to ensure a secure and proper reattachment:
- Position the blinds in front of the door, aligning them with the window frame or glass panel.
- Ensure that the blinds are level and properly aligned with the opening. Use a tape measure or level to verify their positioning.
- Locate the mounting brackets or clips that were previously removed. Insert the blinds into the brackets or secure them onto the clips.
- Double-check that the blinds are securely attached to the door and that they are not loose or wobbly.
- If your blinds have screws or bolts to secure them, use a Phillips screwdriver or Allen wrench to tighten them, ensuring a snug fit.
It’s essential to follow the manufacturer’s instructions for reattaching the blinds, as different blinds may have specific guidelines or mechanisms for installation. If you have misplaced the instructions or are unsure about the reattachment process, refer to the manufacturer’s website or contact their customer service for assistance.
Once the blinds are securely reattached, you’re ready to move on to the final step of testing their functionality to ensure they’re working properly.
Test the Functionality
Now that you have reattached the blinds, it’s important to test their functionality to ensure they are working properly. Follow these steps to test the functionality of your inside door blinds:
- Operate the tilt mechanism: If your blinds have a tilt mechanism, use the cord or wand to adjust the angle of the slats. Make sure the slats move smoothly and stay in place when adjusted.
- Test the lift mechanism: If your blinds have a lift mechanism, use the cord or wand to raise and lower the blinds. Verify that the blinds lift evenly and lower without any resistance.
- Check for smooth operation: Throughout the testing process, ensure that all movements of the blinds are smooth and free of any obstructions or irregularities.
- Verify proper alignment: Close the blinds and check if they are sitting level and aligned with the window frame. Misaligned blinds can affect their appearance and functionality.
- Listen for any unusual noises: Pay attention to any creaking, grinding, or clicking sounds during the testing process. Unusual noises may indicate issues with the mechanisms or components.
If you encounter any problems or if the blinds are not functioning as expected, double-check that they are properly secured and aligned. Review the instructions provided by the manufacturer and troubleshoot any issues according to their guidelines. If necessary, contact the manufacturer’s customer service for further support or consider seeking assistance from a professional blinds repair service.
By thoroughly testing the functionality of your inside door blinds after reattachment, you can ensure they are working smoothly and effectively.
Congratulations! You have successfully fixed your inside door blinds and restored their functionality. Now you can enjoy the benefits of privacy, light control, and style that these blinds offer.
Read more: How To Fix Patio Door Blinds
Conclusion
Fixing inside door blinds can be a rewarding and relatively simple DIY project. By following the step-by-step guide outlined in this article, you can address common issues and restore the functionality of your blinds. Whether it’s repairing broken slats, untangling cords, or replacing damaged components, the process can be manageable with the right tools, materials, and instructions.
Remember to always refer to the manufacturer’s instructions or contact their customer service for specific guidelines and recommendations, as different types and brands of blinds may have unique requirements for repair and maintenance.
Taking the time to understand the various types of inside door blinds, gathering the necessary tools and materials, and carefully inspecting and assessing the blinds are crucial preliminary steps. This ensures that you are well-prepared and equipped to handle any repairs or replacements necessary.
Throughout the repair process, it’s essential to maintain patience, attention to detail, and safety precautions. Take your time to evaluate the extent of the damage, make the necessary repairs or replacements, and reattach the blinds securely to the door. Testing the functionality of the blinds is vital to ensure that they are operating smoothly and meeting your desired functions of privacy, light control, and aesthetics.
In some cases, if the damage is extensive or if you are unsure about the repair process, it may be wise to seek professional assistance. They can provide expert advice, solutions, and ensure proper repairs without causing further damage to the blinds or door.
By fixing your inside door blinds, you not only save money on costly replacements but also extend the lifespan of your blinds and maintain the beauty and functionality of your home. With proper care and periodic maintenance, your inside door blinds can continue to enhance your living space for years to come.
Remember to prioritize safety, consult manufacturer guidelines, and be patient as you navigate through the repair process. Enjoy the satisfaction of a job well done as you successfully fix your inside door blinds and bring back their optimal performance and appearance.
Frequently Asked Questions about How To Fix Inside Door Blinds
Was this page helpful?
At Storables.com, we guarantee accurate and reliable information. Our content, validated by Expert Board Contributors, is crafted following stringent Editorial Policies. We're committed to providing you with well-researched, expert-backed insights for all your informational needs.