Articles
How To Install Honeycomb Blinds Inside Mount
Modified: January 6, 2024
Learn how to properly install honeycomb blinds inside your home with this step-by-step guide. Find helpful articles and tips for a successful mount installation.
(Many of the links in this article redirect to a specific reviewed product. Your purchase of these products through affiliate links helps to generate commission for Storables.com, at no extra cost. Learn more)
Introduction
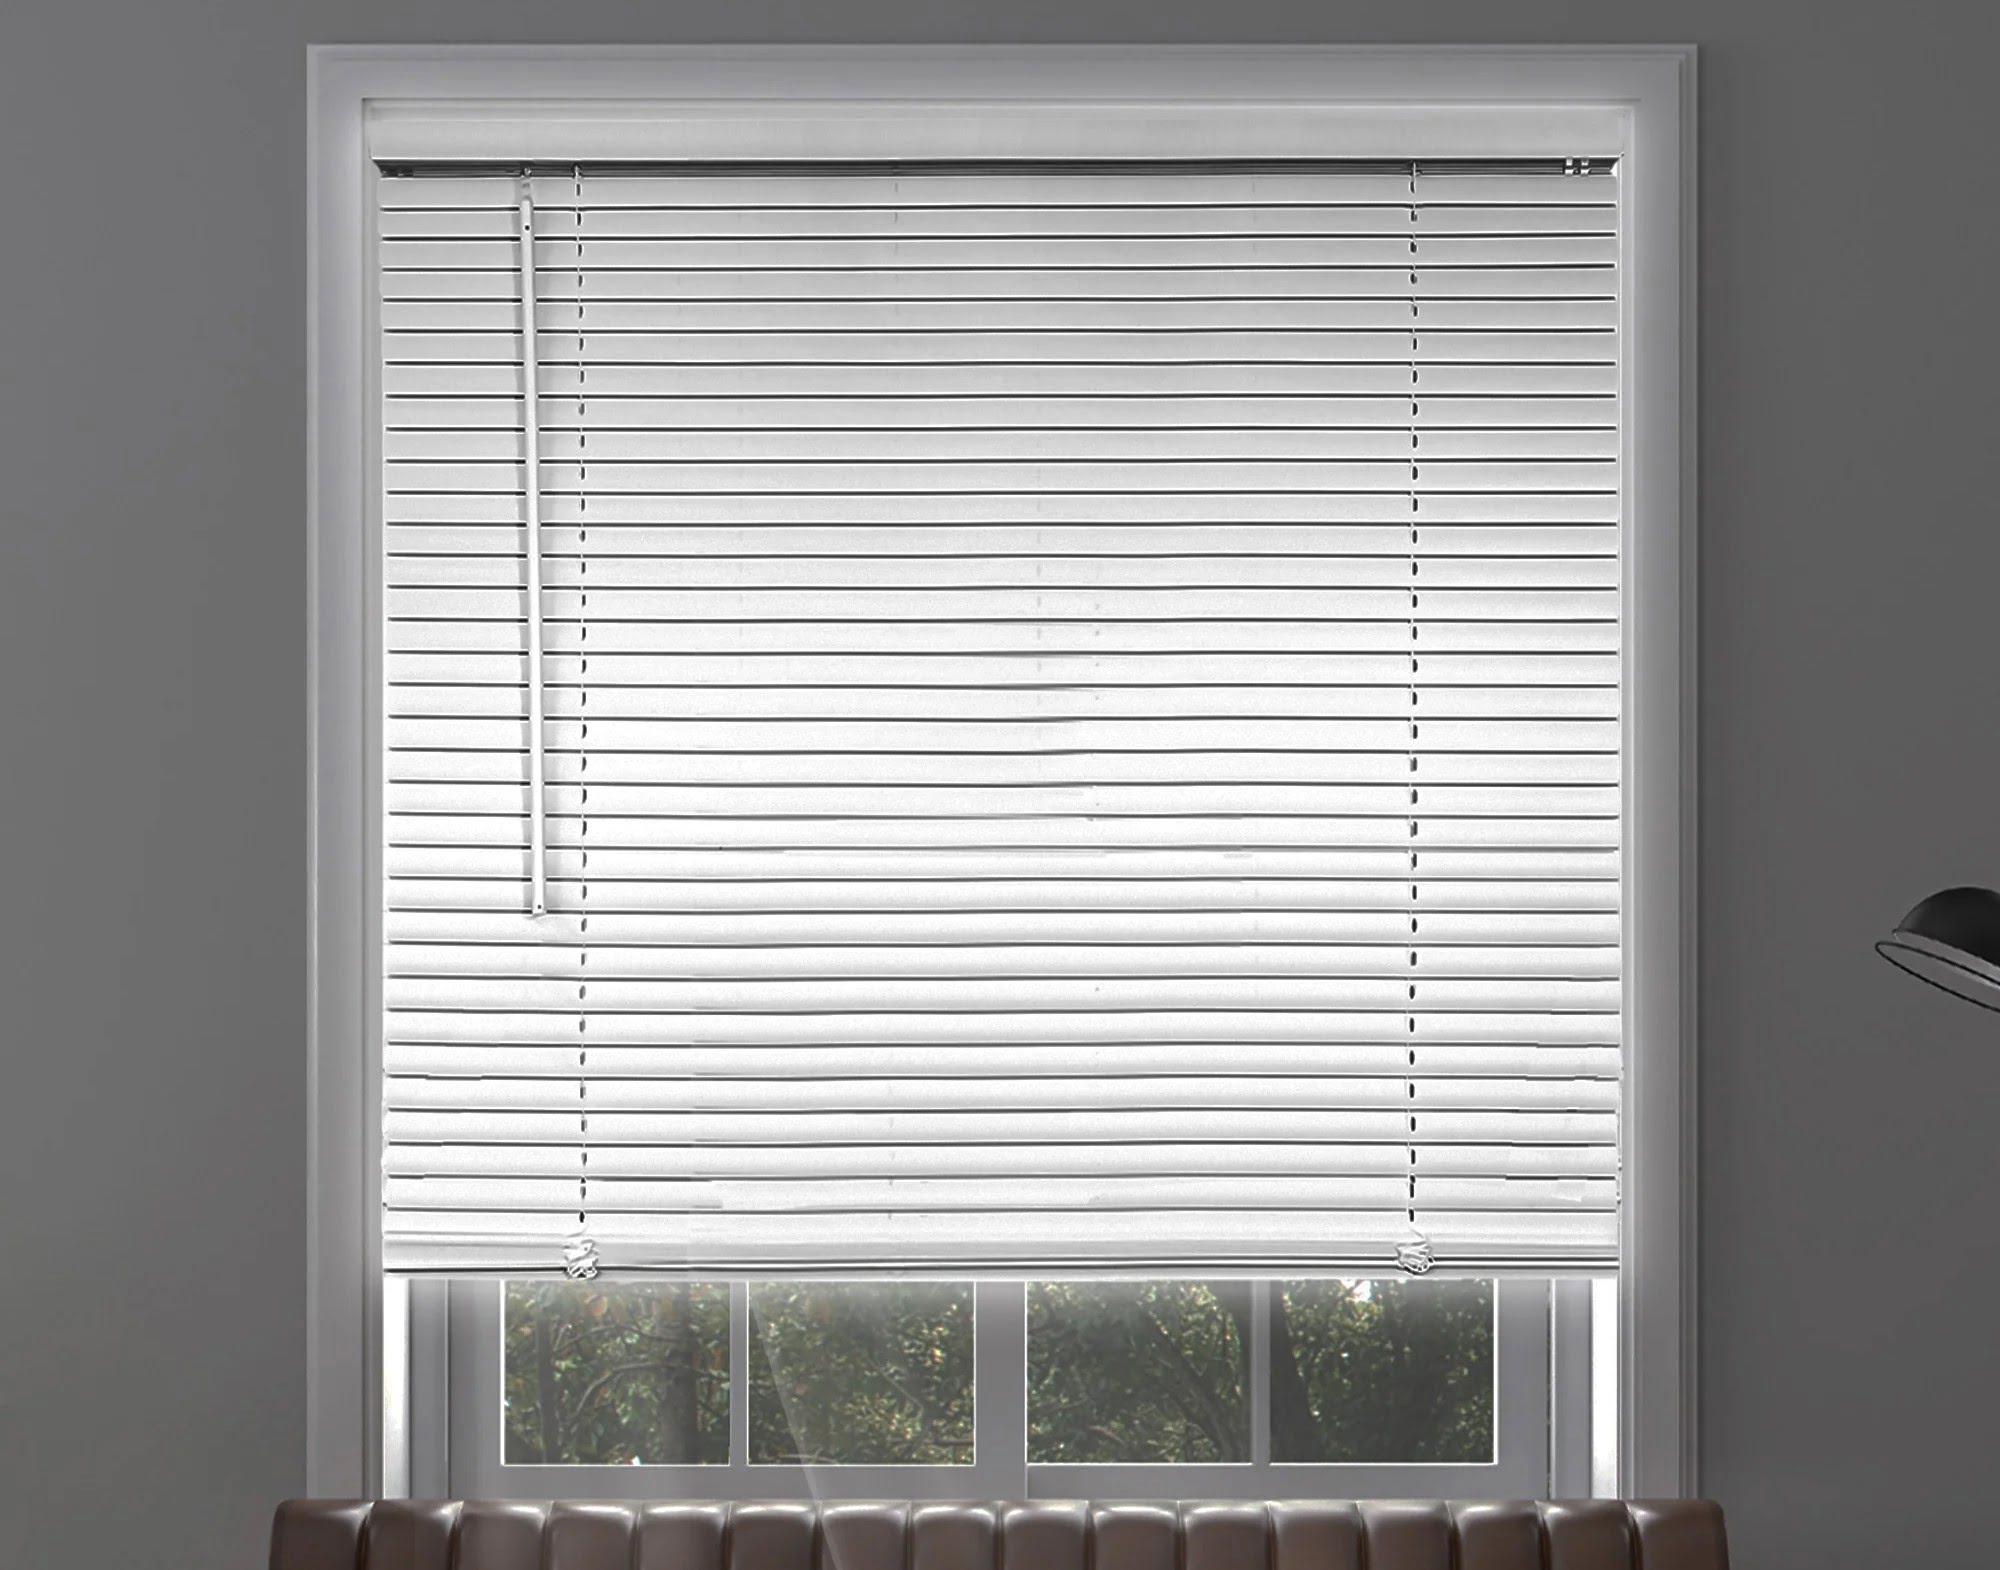
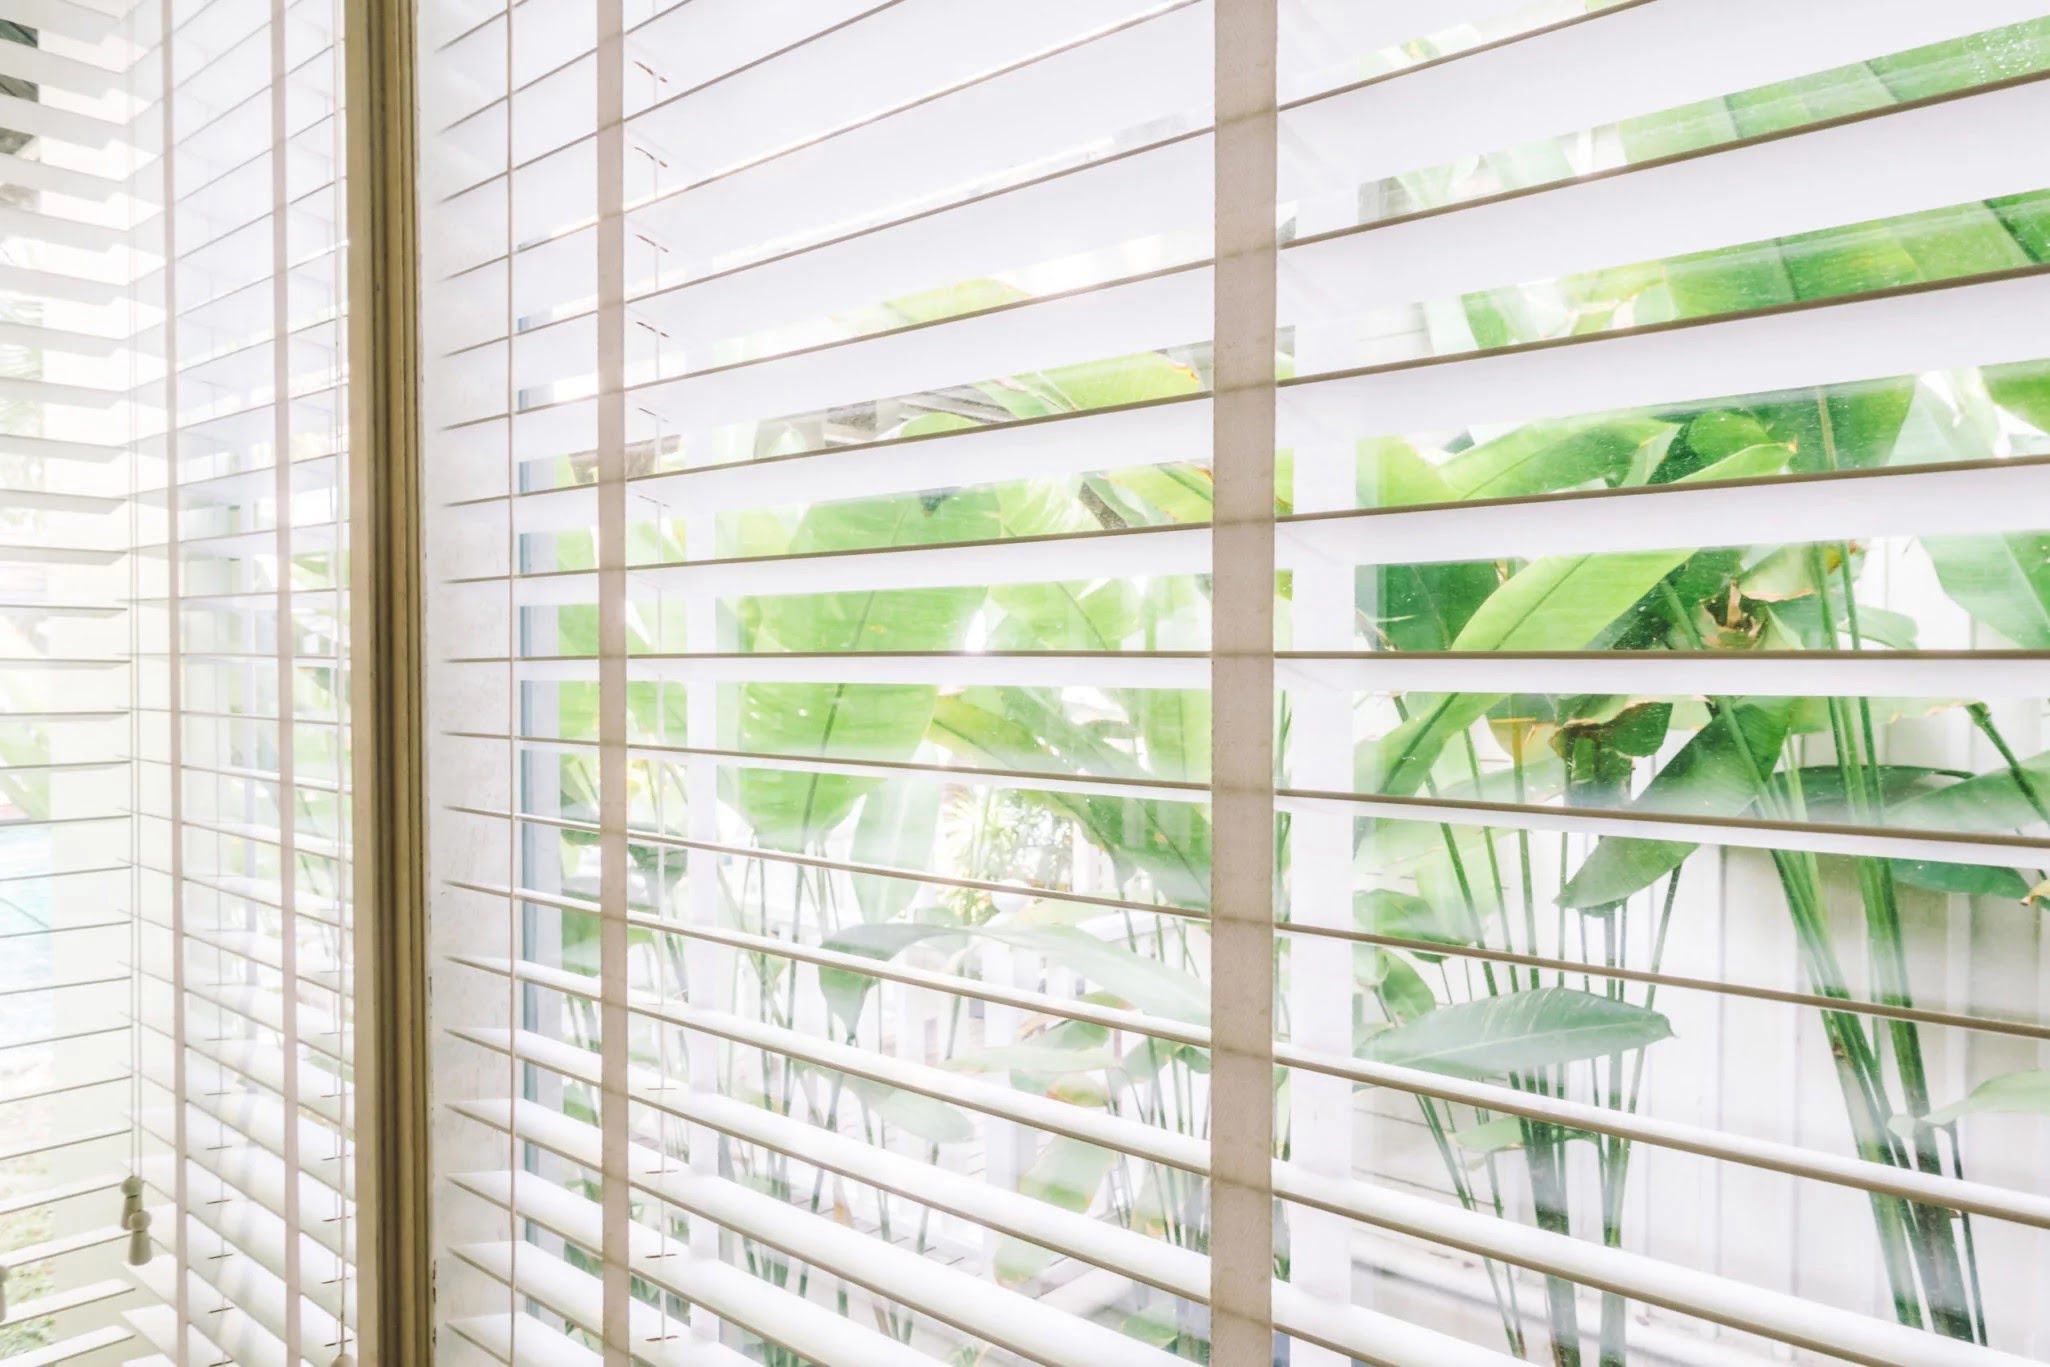
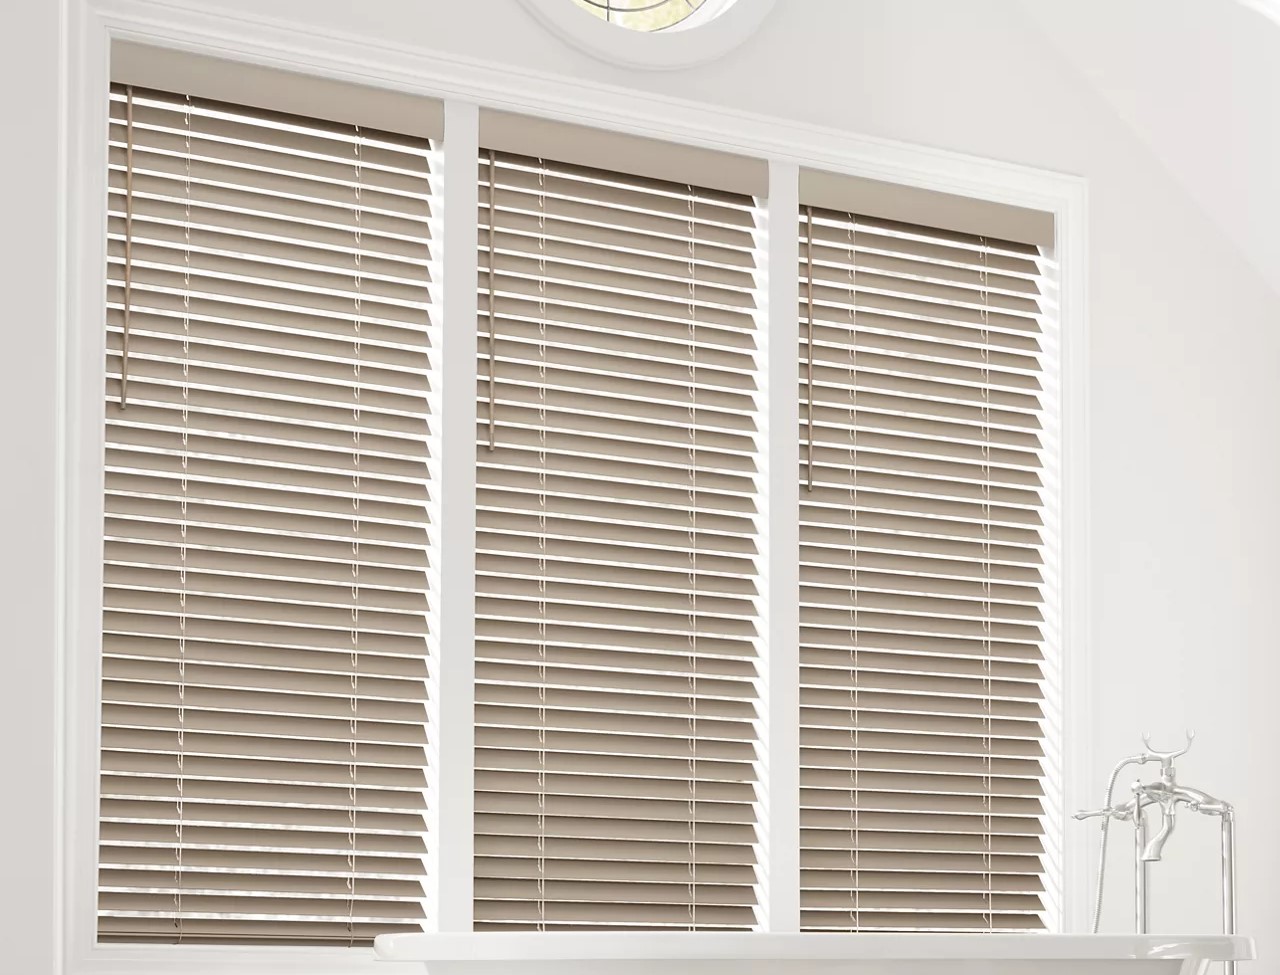
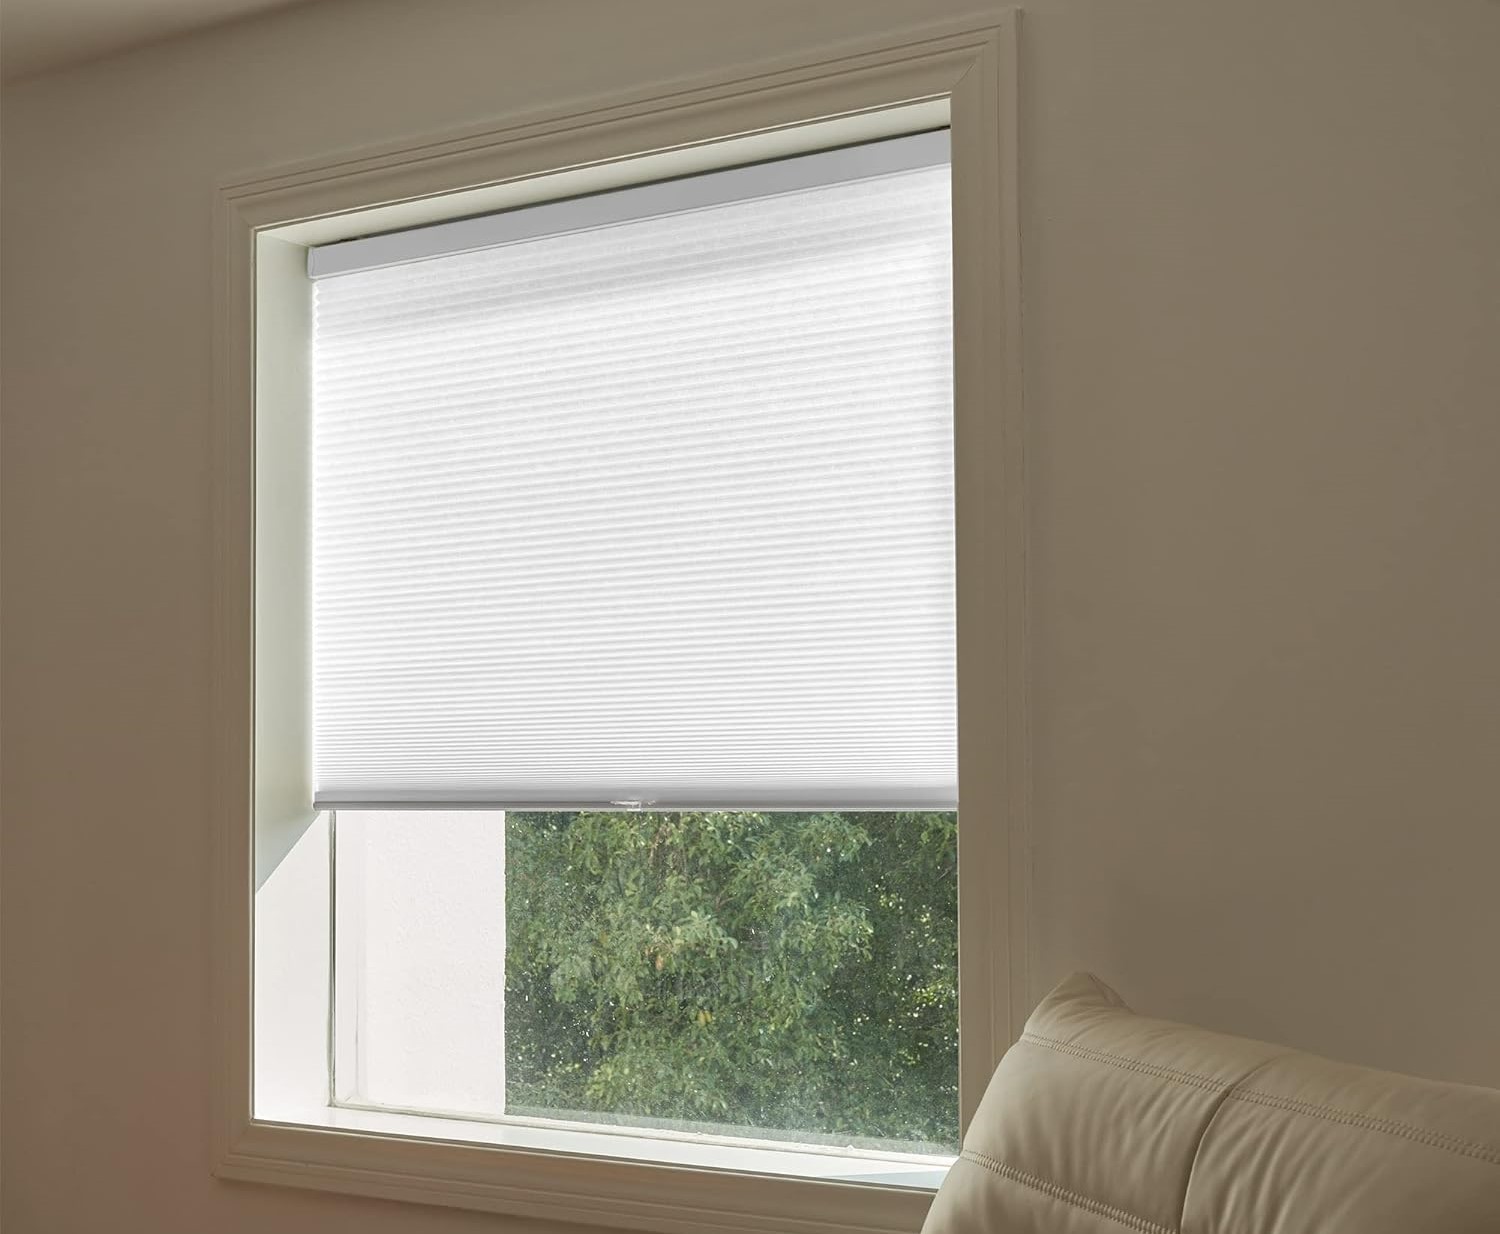
Are you looking to add a touch of elegance and functionality to your windows? Honeycomb blinds, also known as cellular blinds, are a popular and versatile window treatment option. They are designed to provide excellent insulation, privacy, and light control, making them a perfect addition to any room.
In this article, we will guide you through the process of installing honeycomb blinds inside mount. Inside mount installation is a preferred option for many homeowners as it offers a seamless and clean look, with the blinds fitting inside the window frame. By following these step-by-step instructions, you’ll be able to install your honeycomb blinds with ease and efficiency.
But before we dive into the installation process, let’s go over some key factors to consider when choosing honeycomb blinds. First, measure your windows accurately to ensure you purchase blinds of the correct size. Additionally, consider the color and fabric options that best suit your needs and decor style.
Now that you have an understanding of the basics, let’s move on to the steps involved in installing honeycomb blinds inside mount. Grab your measuring tape, gather the necessary tools and materials, and let’s get started!
Key Takeaways:
- Installing honeycomb blinds inside mount is a straightforward process that begins with accurate window measurements and gathering the necessary tools. Proper tension adjustment and final touches ensure smooth operation and a polished finish.
- The step-by-step guide to installing honeycomb blinds inside mount emphasizes the importance of testing the blinds for smooth operation, adjusting tension, and adding final touches for a flawless finish. Enjoy the enhanced privacy and energy efficiency they bring to your space!
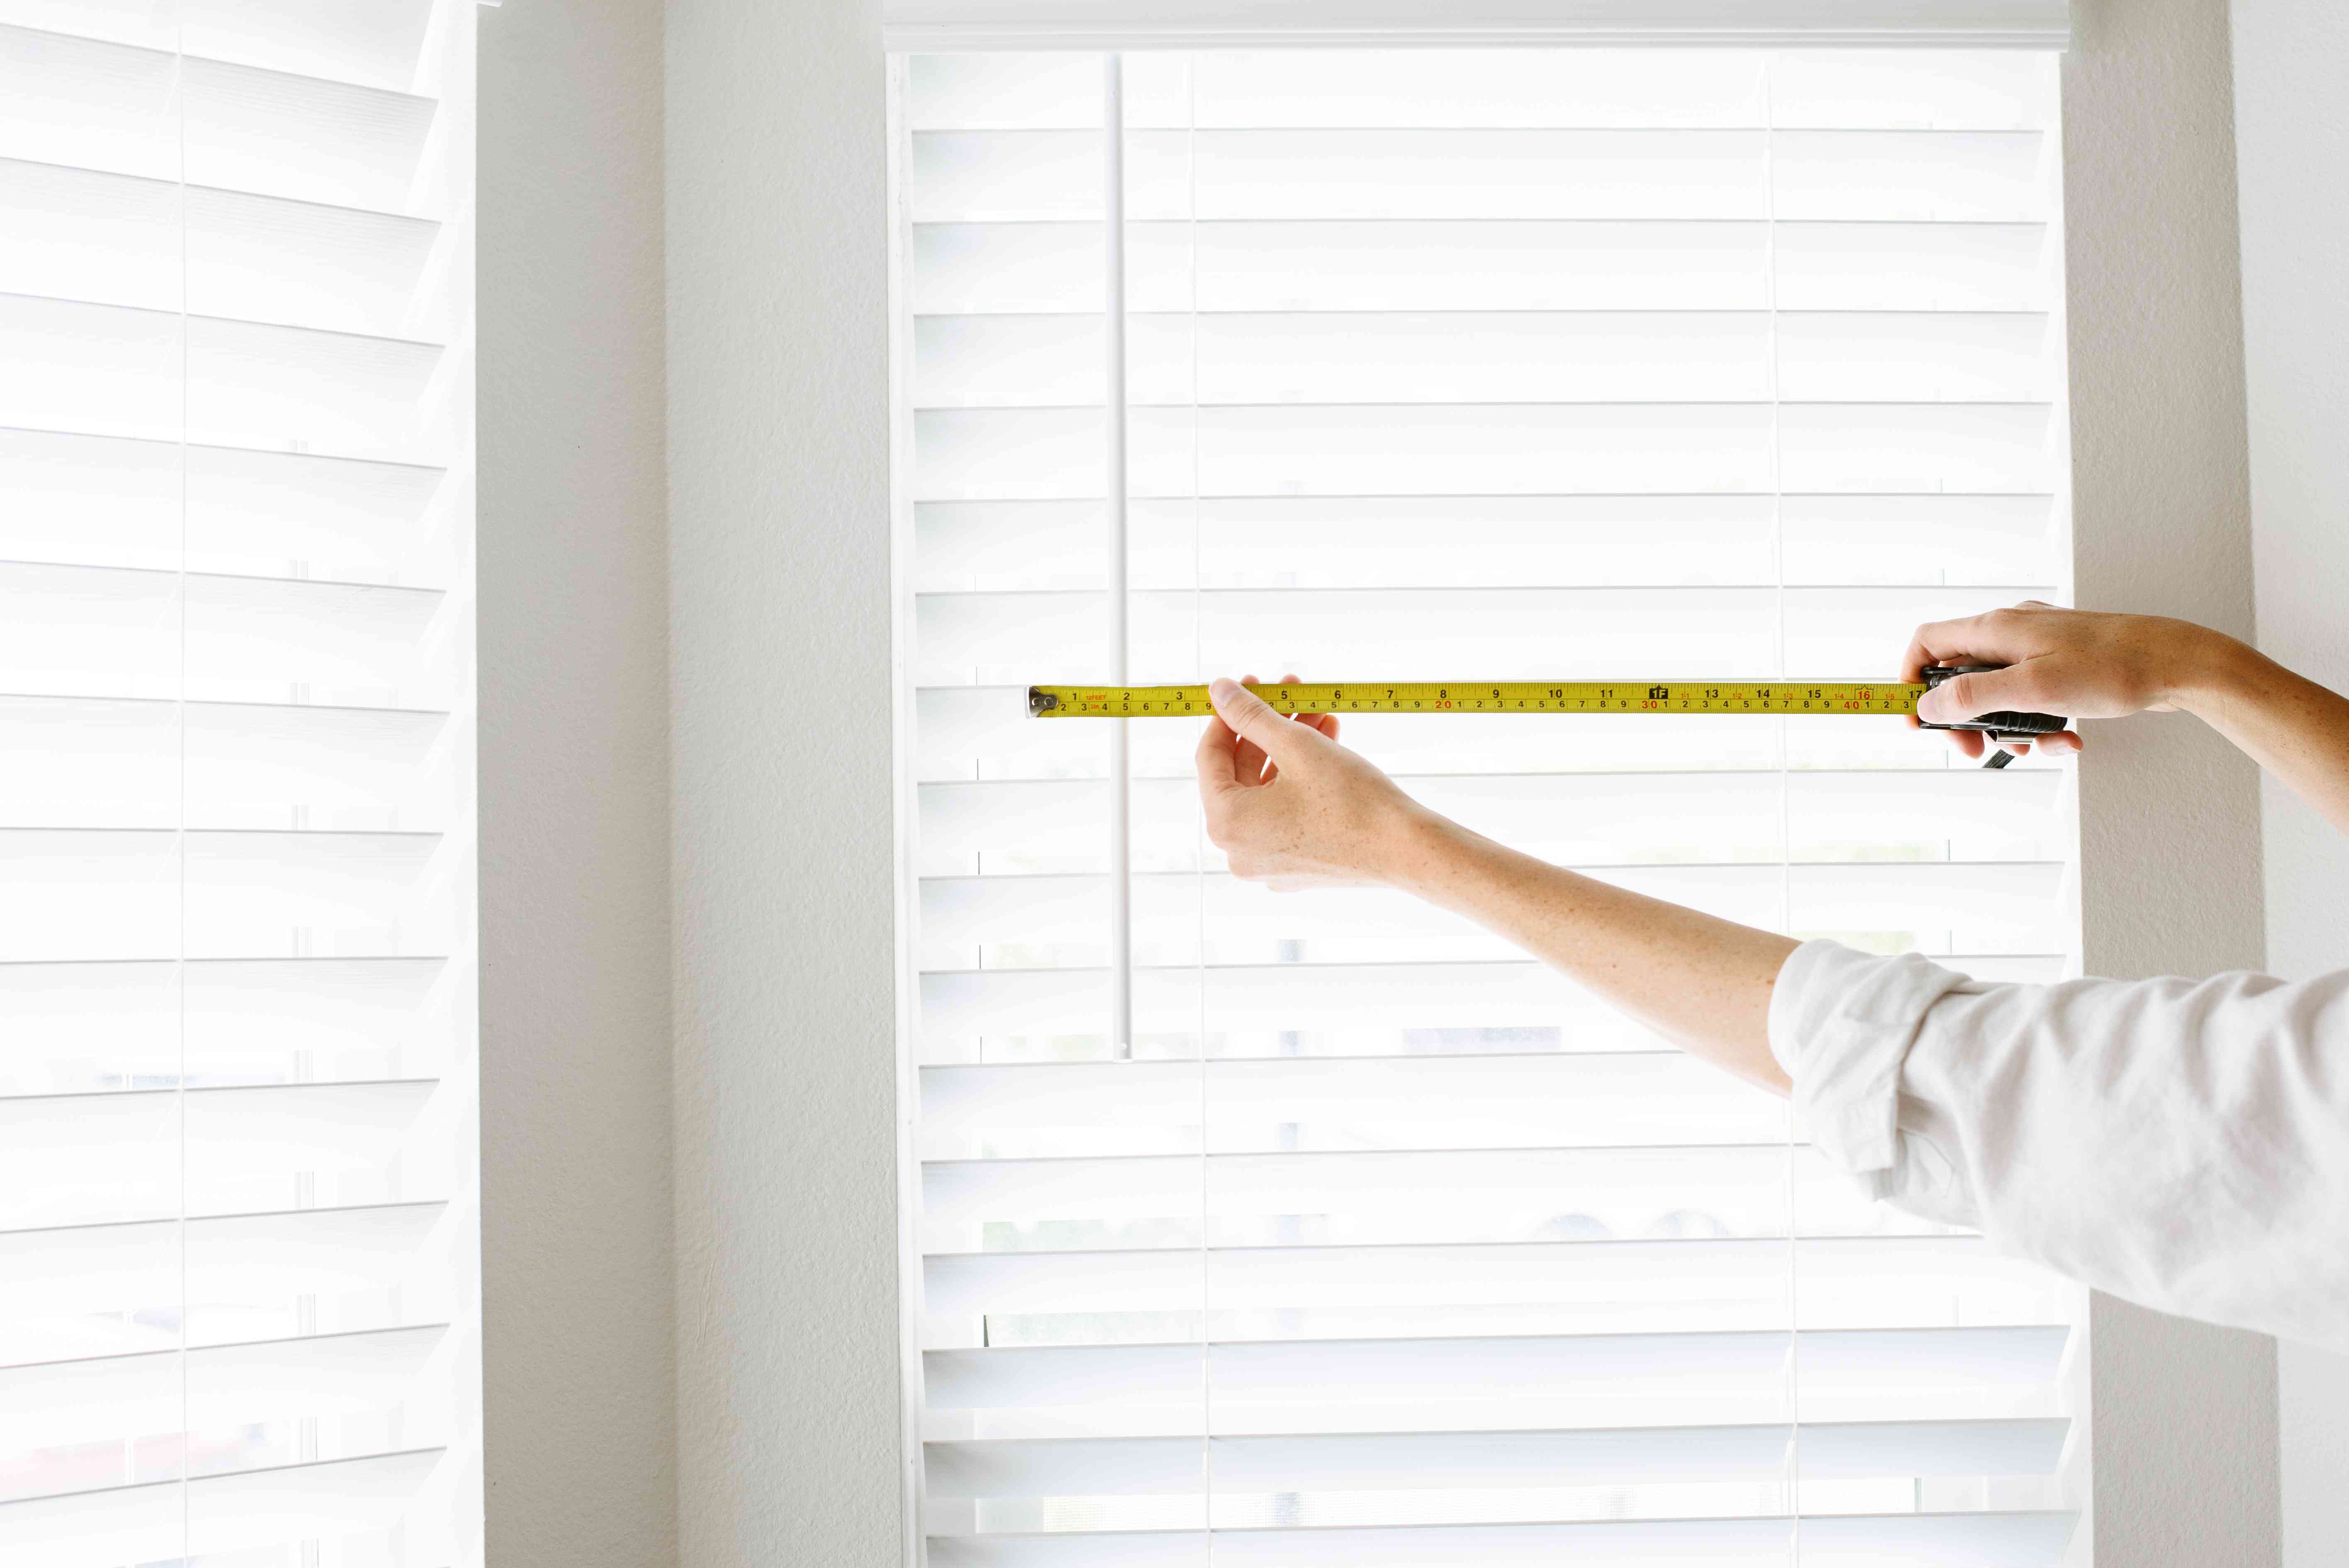
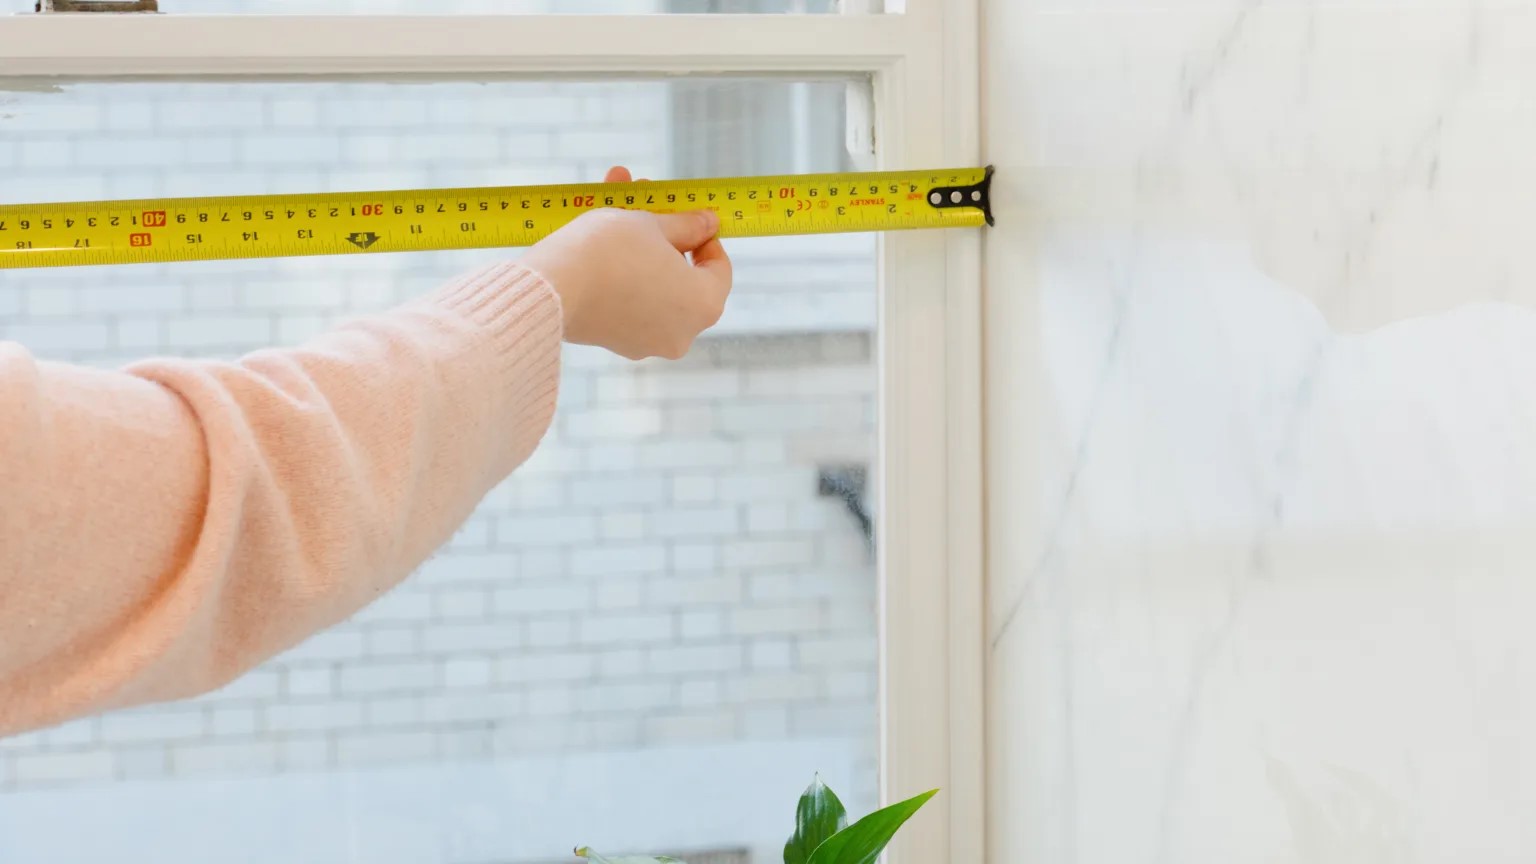
Step 1: Measure the Windows
The first step in installing honeycomb blinds inside mount is to accurately measure your windows. Proper measurements are crucial to ensure that you purchase blinds that fit perfectly within the window frame.
Start by using a measuring tape to measure the width of the window opening at three points: the top, middle, and bottom. Take the smallest of these three measurements as your width measurement. This is important to ensure that the blinds fit tightly inside the window frame without any gaps.
Next, measure the height of the window opening at three points: the left side, middle, and right side. Again, take the smallest of these measurements as your height measurement. This ensures that the blinds won’t touch the window sill when fully extended.
Once you have these measurements, jot them down in a notebook or use a note-taking app on your phone. It’s essential to be accurate and double-check your measurements to ensure a proper fit for your honeycomb blinds.
Remember to measure each window individually, as window sizes can vary even within the same room. Take measurements for all the windows where you plan to install the honeycomb blinds. This way, you’ll have the correct measurements when it’s time to make your purchase.
Now that you have your window measurements, you’re ready to move on to the next step: gathering the necessary tools and materials for the installation process.
Step 2: Gather the Necessary Tools and Materials
Before you begin the installation process, it’s important to gather all the tools and materials you’ll need. Having everything on hand will make the process smoother and more efficient.
Here’s a list of the tools and materials you’ll need for installing honeycomb blinds inside mount:
- Tape Measure: A tape measure will allow you to accurately measure the window dimensions.
- Pencil: You’ll need a pencil to mark the positions for the brackets on the window frame.
- Screwdriver: Depending on the type of brackets provided with your blinds, you may need a screwdriver to secure the brackets in place.
- Level: A level will ensure that the blinds are installed straight and level on the window frame.
- Drill (Optional): If required, a drill can be useful for pre-drilling holes for the screws.
- Honeycomb Blinds: Make sure you have the correct size and style honeycomb blinds for your windows. Double-check the measurements you took in the previous step.
- Brackets and Mounting Hardware: Check that you have all the necessary brackets and mounting hardware provided with your blinds. Some blinds come with their brackets, while others may require separate brackets that can be purchased separately.
- Screws: If the brackets require screws, ensure you have the appropriate size and quantity.
Having all these tools and materials readily available will save you time and frustration during the installation process. Once you have gathered everything you need, you’re ready to move on to the next step: preparing the blinds for installation.
Step 3: Prepare the Blinds for Installation
Now that you have all the necessary tools and materials, it’s time to prepare the honeycomb blinds for installation.
Start by unpacking the blinds and laying them flat on a clean surface. Carefully remove any packaging materials and ensure that all parts are included and in good condition.
If your blinds came with a headrail, inspect it to make sure it is straight and undamaged. The headrail is the top portion of the blinds that holds the cellular fabric in place.
Next, locate the lift cords or strings that are used to raise and lower the blinds. Ensure that the cords are untangled and hanging freely.
Take a moment to familiarize yourself with the operating mechanisms of the blinds. Some honeycomb blinds have a standard cord lock system, while others may have a continuous cord loop or cordless design.
If your blinds have a cord lock system, test it by gently pulling on the lift cords to ensure that the blinds raise and lower smoothly. If there are any issues, such as excessive resistance or the blinds not staying in position, consult the manufacturer’s instructions or contact customer support.
If your blinds have a continuous cord loop or cordless design, become familiar with how to operate them according to the manufacturer’s guidelines. Take note of any safety features, such as cord tension devices, to ensure optimal child and pet safety.
Lastly, check for any additional features or accessories that may come with your honeycomb blinds, such as bottom rail end caps or hold-down brackets. These may be necessary for specific window configurations or to enhance the overall functionality of the blinds.
Once you have inspected and prepared the honeycomb blinds, you’re ready to move on to the next step: positioning the brackets on the window frame.
Step 4: Position the Brackets
Positioning the brackets correctly is crucial for a secure and stable installation of your honeycomb blinds. The brackets will hold the headrail in place, so it’s important to ensure that they are aligned properly.
Begin by holding one of the brackets against the window frame at the desired installation location. Most honeycomb blinds require two brackets for support, but check the manufacturer’s instructions to confirm the specific number of brackets needed for your blinds.
Use a pencil to mark the screw holes of the bracket on the window frame. Make sure the bracket is positioned vertically and level horizontally. Repeat this process for the second bracket, ensuring they are aligned and symmetrical.
If your blinds have a wider headrail, there may be additional support brackets that need to be positioned along the length of the window. Follow the manufacturer’s instructions to determine the spacing and placement of these additional brackets.
Double-check the placement of the brackets to ensure that they are aligned with the window frame and that there is enough space for the headrail to fit securely.
Keep in mind any obstructions, such as window handles or locks, when positioning the brackets. You want to make sure that the blinds can operate smoothly and that they won’t interfere with any window functionality.
Once you are confident in the placement of the brackets, you’re ready to move on to the next step: attaching the brackets to the window frame.
Read more: How To Install Zebra Blinds Inside Mount
Step 5: Attach the Brackets to the Window Frame
With the brackets properly positioned on the window frame, it’s time to attach them securely. Follow these steps to ensure a stable installation:
- Hold one of the brackets against the marked position on the window frame. Align the screw holes of the bracket with the marks made earlier.
- If necessary, use a drill to pre-drill pilot holes for the screws. This can help prevent the window frame from splitting or cracking during the installation process.
- Insert the screws provided with the brackets into the pre-drilled holes. Using a screwdriver, tighten the screws until the bracket is firmly secured to the window frame. Repeat this process for the second bracket and any additional support brackets if required.
Take a moment to ensure that the brackets are securely attached and do not wobble or move when pressure is applied. This will provide a stable foundation for the honeycomb blinds and prevent any potential issues in the future.
If the brackets are not secure or if you notice any movement, reposition and tighten the screws until the brackets are firmly in place. It’s important to address any instability before proceeding with the installation.
Once all the brackets are securely attached, you’re ready to move on to the next step: installing the headrail of the honeycomb blinds.
When installing honeycomb blinds inside mount, make sure to measure the width at the top, middle, and bottom of the window to account for any variations. This will ensure a perfect fit.
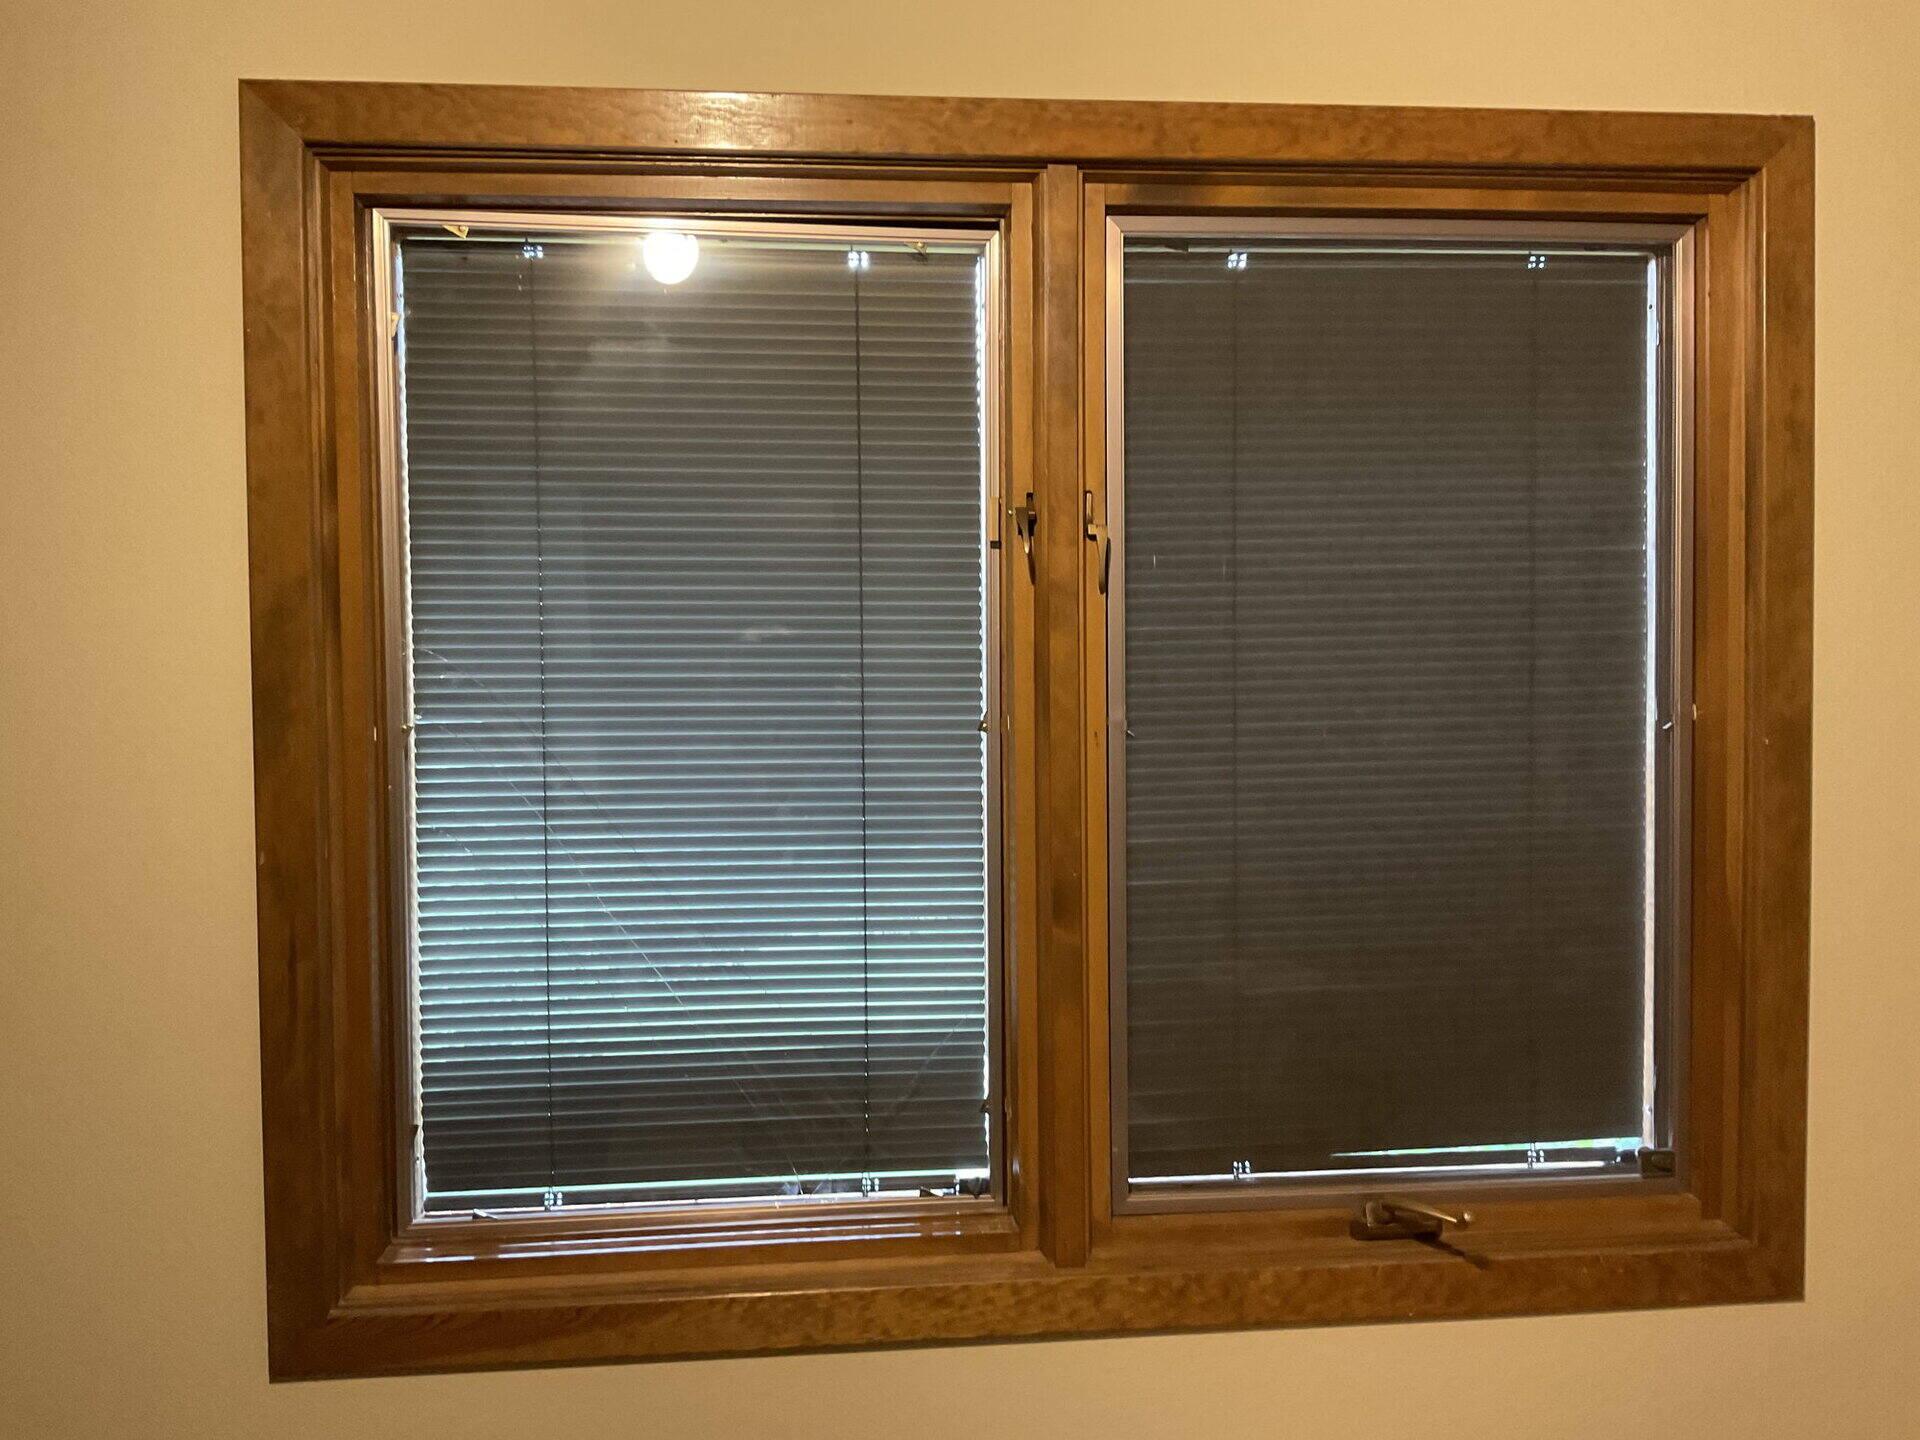
Step 6: Install the Headrail
Now that the brackets are securely attached to the window frame, it’s time to install the headrail of the honeycomb blinds. The headrail is the top portion of the blinds that holds the cellular fabric in place.
Follow these steps to properly install the headrail:
- Hold the headrail so that the front lip is facing towards the room and the backside with brackets is facing towards the window.
- Insert the front lip of the headrail into the open slot of one of the brackets. Make sure it is properly aligned.
- Gently push the headrail up to engage it with the bracket. You may need to tilt the headrail slightly to fit it into position.
- Repeat this process for the second bracket, ensuring the headrail is level and properly aligned.
- With both ends of the headrail engaged with the brackets, push the headrail up towards the brackets to lock it in place. You should hear or feel a snap, indicating it is securely installed.
Once the headrail is installed and locked into position, give it a gentle tug to ensure it is stable and doesn’t move or come loose. This will ensure that the blinds operate smoothly and securely.
Take a moment to admire your progress so far. The installation of the headrail brings you one step closer to enjoying your newly installed honeycomb blinds.
In the next step, we’ll cover how to test the blinds to make sure they are functioning properly.
Step 7: Test the Blinds
After successfully installing the headrail, it’s time to test the honeycomb blinds to ensure they operate smoothly and effectively. This step will help you identify any issues that need to be addressed before completing the installation process.
Here’s how to test the blinds:
- Gently pull down on the lift cords or lift the bottom rail of the blinds to lower them.
- Release the cords or bottom rail to let the blinds rise back up to their fully raised position.
As you test the blinds, pay attention to the following:
- Smooth Operation: The blinds should raise and lower smoothly and without any obstructions or resistance. If there is any difficulty or uneven movement, check for any tangled cords or misaligned fabric. Adjust as necessary.
- Proper Alignment: Make sure the blinds are aligned evenly within the window frame. They should not tilt to one side or be uneven when fully raised or lowered. If there is any misalignment, readjust the brackets or headrail as needed.
- Light Control: Check if the blinds effectively block out or filter in the desired amount of light. Adjust the position of the blinds to achieve the desired level of light control.
- Privacy: Ensure that the blinds provide the desired level of privacy when fully closed. Check for any gaps or spaces between the blinds and the window frame. Adjust the brackets or blinds if necessary to eliminate any gaps.
If any issues or concerns arise during the testing process, refer to the manufacturer’s instructions or contact their customer support for troubleshooting guidance or assistance.
By thoroughly testing the blinds, you can ensure that they are functioning as intended and meet your expectations in terms of both aesthetics and functionality.
Once you are satisfied with the performance of the blinds, you’re ready to move on to the next step: adjusting the tension.
Step 8: Adjust the Tension
Adjusting the tension of the honeycomb blinds is an important step to ensure they operate smoothly and stay in the desired positions. Proper tension adjustment will prevent the blinds from sagging or being too tight, offering optimal functionality and longevity.
Here’s how to adjust the tension of the blinds:
- Locate the tension device, which is usually located on the bottom rail of the blinds. It may be a small mechanism or a screw-like device.
- If the blinds feel too loose or saggy when raised, you may need to increase the tension. If they are too tight and difficult to raise or lower, you may need to decrease the tension.
- To increase the tension, turn the tension device clockwise. Start with small adjustments and test the blinds after each adjustment to achieve the desired tension. Repeat this process until the blinds remain in place when raised and lowered.
- To decrease the tension, turn the tension device counterclockwise. Again, make small adjustments and test the blinds to ensure they operate smoothly and stay in the desired positions without excessive tightness.
During the tension adjustment process, pay attention to the blinds’ movement and the level of resistance. Optimal tension will allow the blinds to operate easily and smoothly while staying securely in position.
Keep in mind that the method for tension adjustment may vary depending on the specific honeycomb blinds you have. Refer to the manufacturer’s instructions for any specific guidelines or recommendations.
Once you have adjusted the tension to your satisfaction, you’re almost done! There’s just one more step to complete: final touches and cleaning.
Read also: 12 Incredible Honeycomb Blinds for 2025
Step 9: Final Touches and Cleaning
Congratulations on reaching the final step of installing your honeycomb blinds! Now is the time to add those finishing touches and ensure that your blinds look their best.
Follow these final steps for a flawless finished look:
- Check for any visible dust or dirt on the blinds and use a soft cloth or vacuum with a brush attachment to gently clean them. Be careful not to apply excessive pressure or force, as it may damage the delicate cellular fabric.
- If your blinds came with bottom rail end caps, attach them to the ends of the bottom rail. These end caps provide a sleek and finished appearance to your blinds.
- Verify that all brackets and screws are securely tightened. Give a gentle tug on the blinds to ensure they are firmly in place.
- Step back and admire your newly installed honeycomb blinds. Take a moment to appreciate the enhanced aesthetics and functionality they bring to your windows.
Now is also a great time to familiarize yourself with any additional features, such as the cord lock system or cordless operation. Ensure that you are comfortable and confident in operating your honeycomb blinds.
Remember to keep the manufacturer’s instructions and warranty information in a safe place for future reference.
With the final touches complete, you can now enjoy the benefits of your installed honeycomb blinds. They will provide privacy, light control, and insulation to enhance the comfort and atmosphere of your space.
If you have multiple windows to install honeycomb blinds on, repeat these steps for each window according to your measurements and preferences.
Thank you for following this step-by-step guide to installing honeycomb blinds inside mount. We hope this process has been smooth and successful for you.
As a final tip, periodically inspect and clean your honeycomb blinds to maintain their appearance and functionality. Regular maintenance will ensure that they continue to serve you well for years to come.
Enjoy the benefits of your beautifully installed honeycomb blinds!
Conclusion
Installing honeycomb blinds inside mount adds a touch of elegance and functionality to your windows. With their ability to provide insulation, privacy, and light control, honeycomb blinds are a versatile and popular choice for homeowners.
In this comprehensive guide, we have walked you through the step-by-step process of installing honeycomb blinds inside mount. We started by measuring the windows accurately, gathering the necessary tools and materials, and preparing the blinds for installation.
We then covered positioning and attaching the brackets to the window frame, followed by the installation of the headrail. Testing the blinds, adjusting the tension, and adding final touches and cleaning were the subsequent steps we discussed.
By following these steps and guidelines, you can confidently install honeycomb blinds inside mount and enjoy the benefits they bring to your space. From enhanced privacy to energy efficiency, honeycomb blinds provide a practical and stylish window treatment solution.
Remember to consult the manufacturer’s instructions for any specific guidance or recommendations related to your honeycomb blinds. Additionally, prioritize safety by ensuring all cords and operating mechanisms are properly secured and in compliance with child and pet safety guidelines.
Thank you for reading this article on how to install honeycomb blinds inside mount. We hope it has provided you with the information and confidence needed to complete the installation process successfully.
Enjoy your beautifully installed honeycomb blinds and the comfort and style they bring to your windows!
Frequently Asked Questions about How To Install Honeycomb Blinds Inside Mount
Was this page helpful?
At Storables.com, we guarantee accurate and reliable information. Our content, validated by Expert Board Contributors, is crafted following stringent Editorial Policies. We're committed to providing you with well-researched, expert-backed insights for all your informational needs.