Articles
How To Install Blinds On A Door
Modified: March 1, 2024
Learn how to install blinds on a door with our informative articles. Enhance your privacy and control the amount of light entering your space.
(Many of the links in this article redirect to a specific reviewed product. Your purchase of these products through affiliate links helps to generate commission for Storables.com, at no extra cost. Learn more)
Introduction
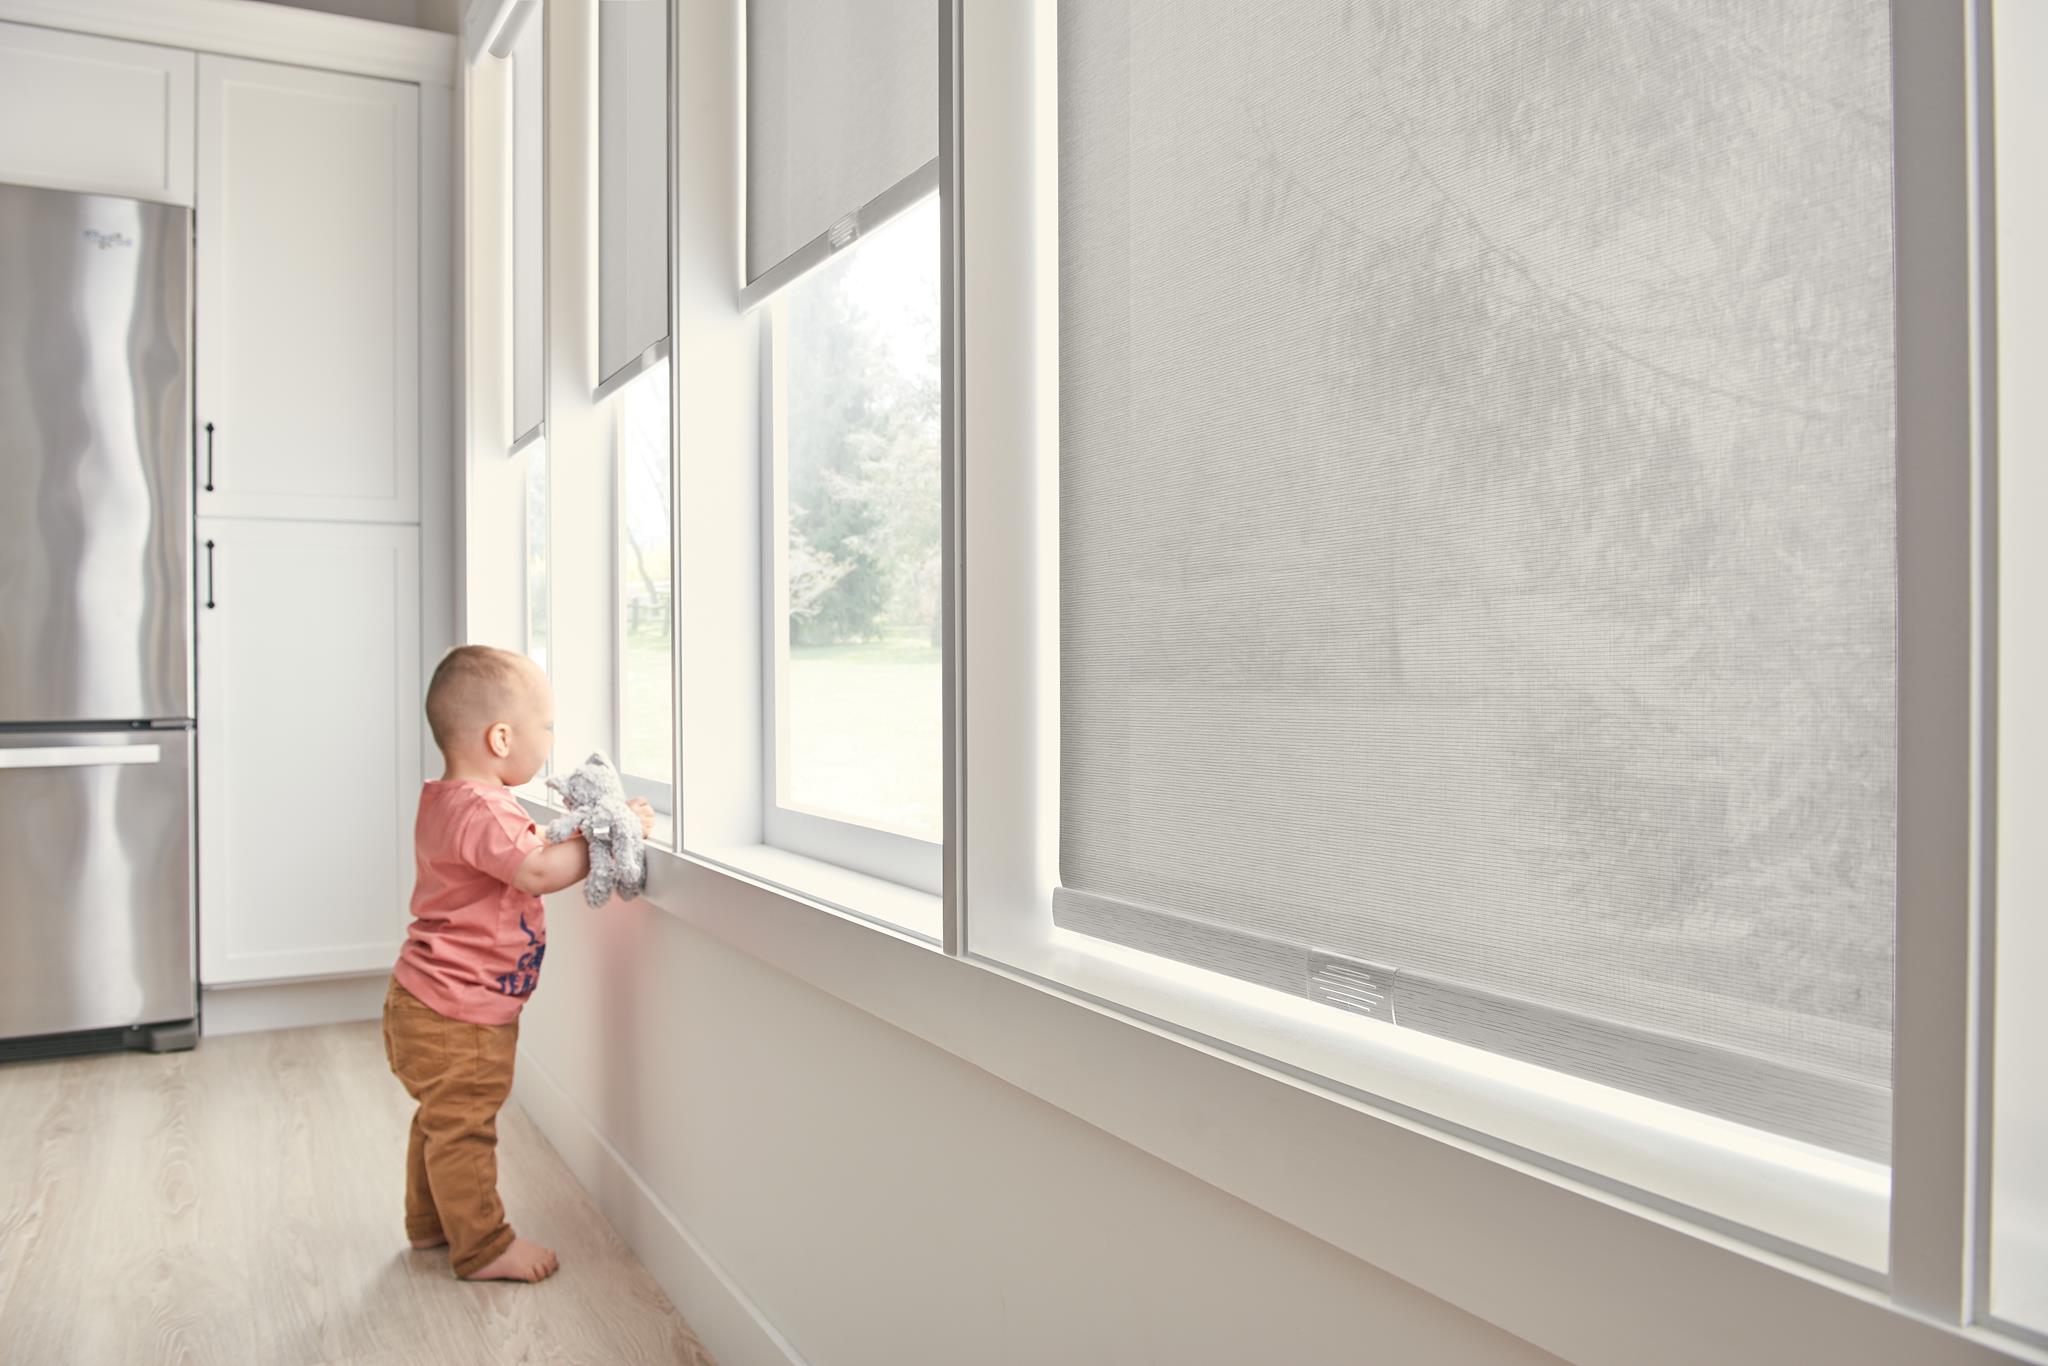
When it comes to adding privacy and controlling the amount of light entering a room, blinds are a versatile and stylish solution. While installing blinds on windows is a common practice, many people overlook the option of installing blinds on doors. Whether you want to enhance the aesthetics of your door or simply need to block out the harsh rays of the sun, installing blinds on a door is a relatively simple and rewarding DIY project.
In this article, we will guide you through the step-by-step process of installing blinds on a door. By following these instructions, you will be able to transform your door into a functional and beautiful element of your home decor.
Key Takeaways:
- Transform your door into a functional and stylish element of your home decor by following our step-by-step guide to installing blinds. Enjoy enhanced privacy, light control, and a customized aesthetic with this rewarding DIY project.
- Ensure a smooth and efficient installation process by accurately measuring the door, choosing the right type of blinds, and properly preparing and securing them. Test the blinds for functionality and enjoy the benefits of improved privacy and lighting control.
Read more: How To Install Motorized Blinds
Tools and Materials Needed
Before you start the process of installing blinds on a door, it’s important to gather all the necessary tools and materials. Here’s a list of what you’ll need:
- Tape measure
- Pencil
- Drill
- Screwdriver
- Level
- Stud finder
- Blind installation brackets
- Screws
- Blinds
Make sure you have all these items on hand before you begin the installation process. Having the right tools and materials will ensure that the installation goes smoothly and efficiently.
Step 1: Measure the Door
The first step in installing blinds on a door is to accurately measure the dimensions of the door. This will help you determine the size of blinds you need and ensure a proper fit.
Start by measuring the width of the door frame from inside edge to inside edge. Take this measurement at the top, middle, and bottom of the frame to account for any variations.
Next, measure the height of the door frame from the top to the bottom. Again, take measurements at multiple points to accommodate any inconsistencies.
Once you have these measurements, use the smallest width and height measurement to determine the size of blinds you need. This will ensure that the blinds fit properly within the door frame.
It is also important to consider the depth of the door frame. If the frame is shallow, you may need to choose blinds that are specifically designed for narrow spaces.
Remember to double-check your measurements before proceeding to ensure accuracy. Making precise measurements at the beginning will save you time and frustration later in the installation process.
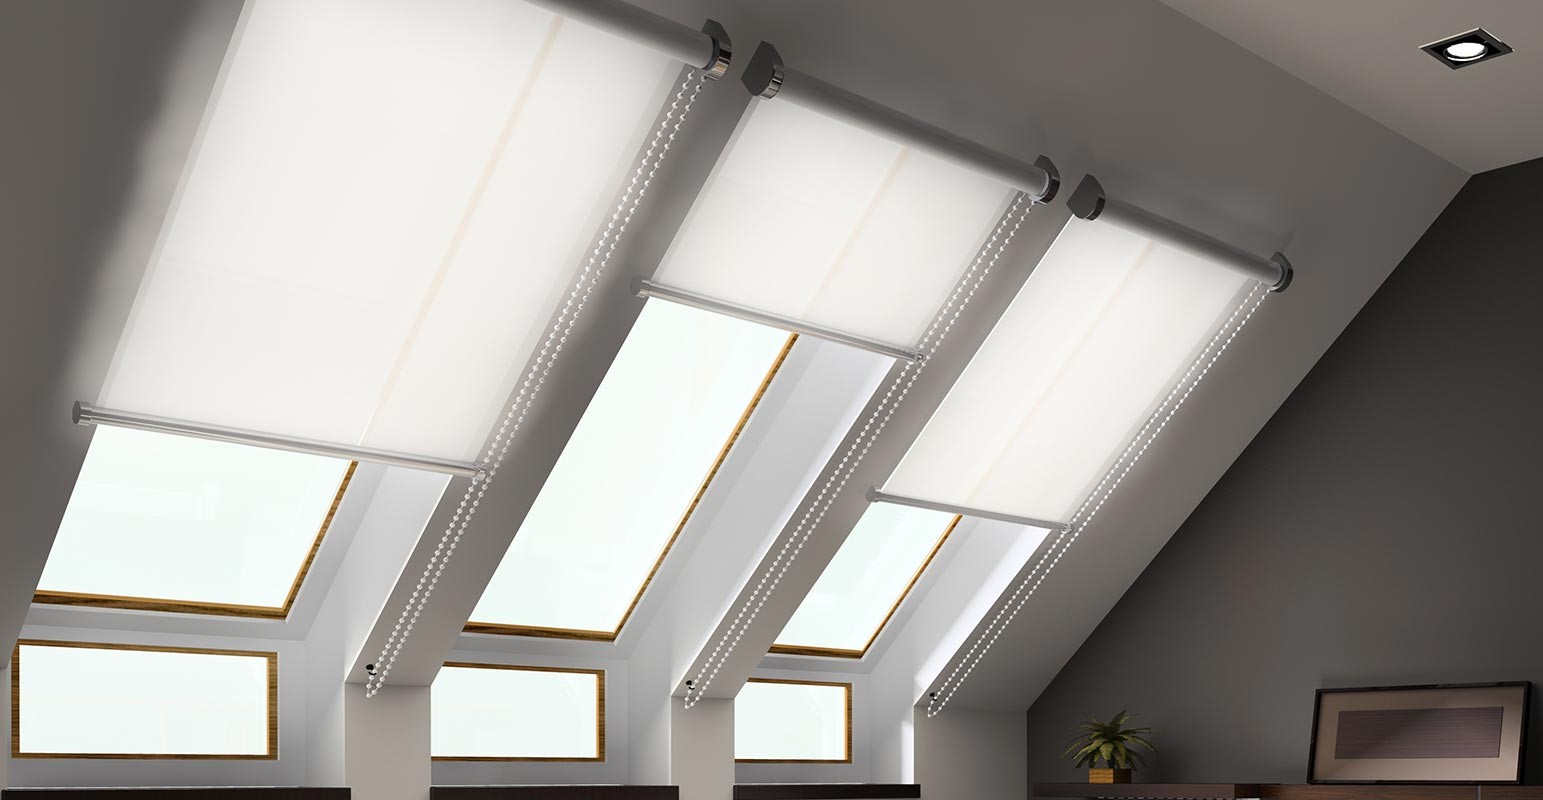
Step 2: Choose the Type of Blinds
Now that you have measured your door, it’s time to decide on the type of blinds that best suit your needs and style preferences.
There are several options available when it comes to blinds for doors. Some popular choices include:
- Vertical blinds: These blinds have slats that run vertically and can be rotated to control the amount of light and privacy.
- Roller blinds: These blinds consist of a single piece of fabric that can be rolled up or down to adjust the light and privacy levels.
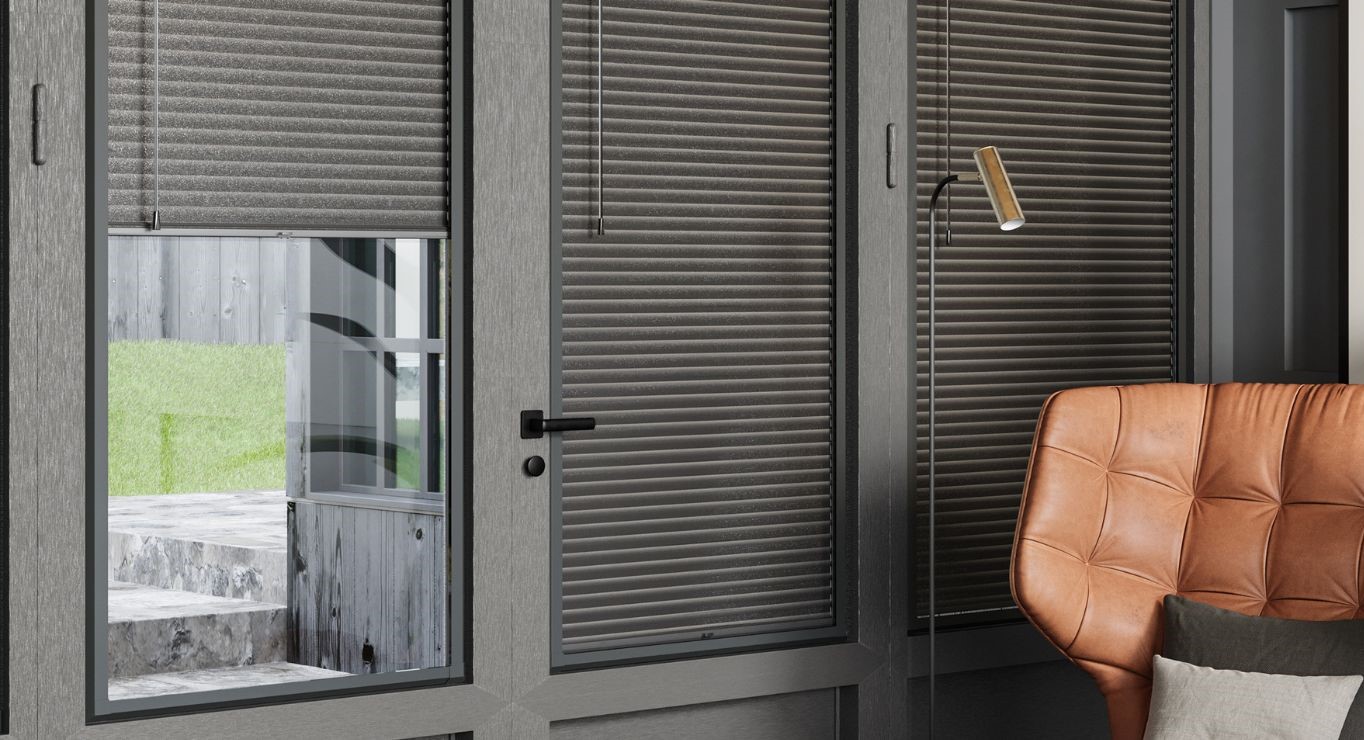
- Cellular shades: These are a type of blinds that are made up of honeycomb-shaped cells that trap air, providing insulation and energy efficiency.
- Mini blinds: These are horizontal blinds with narrow slats that can be tilted and raised for light control.
Consider the functionality and style that you want for your door when choosing the type of blinds. Vertical blinds are often a popular choice for sliding glass doors, while roller blinds may be preferred for smaller doors.
Additionally, take into account the material, color, and pattern of the blinds. You may want to choose a material that complements the interior decor of your room.
Once you have chosen the type of blinds that best suit your needs, you can proceed to the next step of the installation process.
Step 3: Prepare the Blinds
Before installing the blinds on your door, it is important to prepare them for installation. This involves unpacking and inspecting the blinds, as well as ensuring that all necessary components are in place.
Start by carefully unpacking the blinds and laying out all the components. Check for any damages or missing parts. If you notice any issues, contact the manufacturer or retailer for assistance.
If your blinds come with installation brackets, locate them and ensure that you have the correct number for your specific blind size. These brackets will be used to secure the blinds to the door frame.
Take a look at the installation instructions provided by the manufacturer. Familiarize yourself with the steps and any specific requirements for your blinds. This will help ensure a smooth installation process.
It is also a good idea to clean the blinds before installation. Dust and debris can accumulate during storage and transportation, so use a damp cloth or cleaning solution to gently wipe down the slats or fabric. Allow the blinds to dry completely before proceeding with installation.
By properly preparing the blinds, you will minimize any issues or delays during the installation process and ensure that they are ready to be mounted on your door.
When installing blinds on a door, make sure to measure the width and length accurately before purchasing the blinds. It’s also important to use a level to ensure the blinds are installed straight.
Read more: How To Fix Sliding Door Blinds
Step 4: Install the Brackets
Now that the blinds are prepared, it’s time to install the brackets that will secure them to the door frame. The number of brackets needed will depend on the size and weight of your blinds, so refer to the manufacturer’s instructions for guidance.
Start by determining the placement of the brackets. In general, you will want to position them evenly across the top of the door frame. Use a tape measure and level to ensure that they are aligned and straight.
Next, mark the screw hole locations on the door frame. Use a pencil or a marker to make small dots where the screws will go. If your door has a solid wood or metal frame, you can simply drill pilot holes at the marked locations.
For hollow doors, it is important to use a stud finder to locate the wooden studs within the door frame. Once you have identified the studs, mark the screw hole locations on them. These locations will provide a secure anchor for the brackets.
With the holes marked, it’s time to install the brackets. Place each bracket over the corresponding hole and use a drill or screwdriver to secure them in place. Make sure the brackets are tightly fastened and level with each other.
If your blinds come with additional support brackets, such as center support brackets or extension brackets, follow the manufacturer’s instructions to install them at this time.
Once all the brackets are installed, double-check their alignment and ensure that they are securely attached to the door frame. This will provide a stable foundation for mounting the blinds.
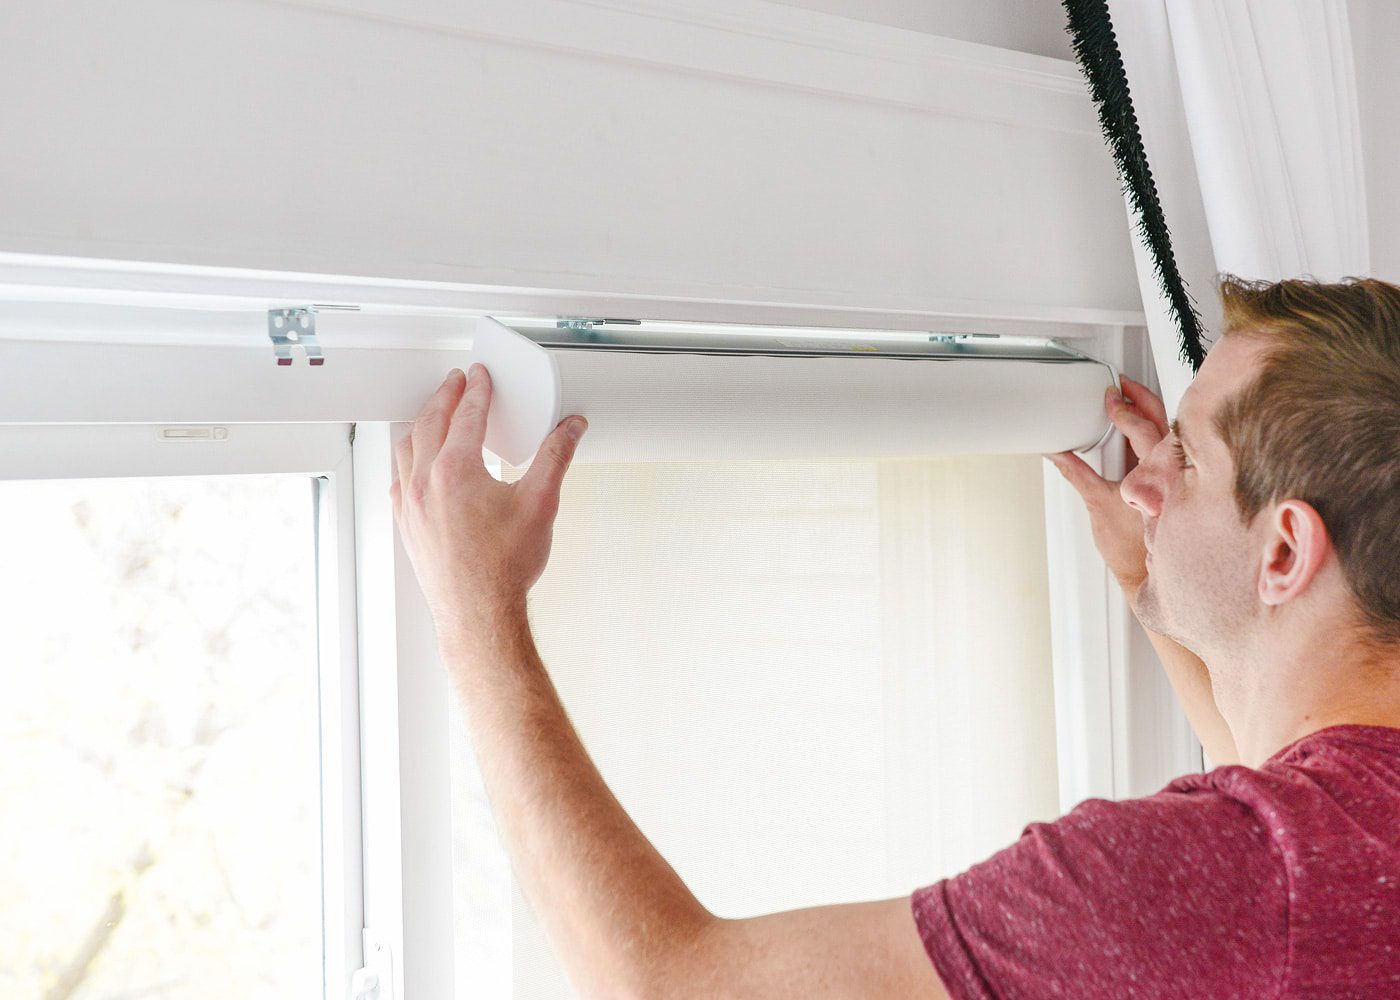
Step 5: Mount the Blinds
With the brackets securely installed, it’s time to mount the blinds onto the door. Begin by positioning the headrail of the blinds in between the brackets. Slide the headrail into the brackets and make sure it is properly seated.
Once the headrail is in place, use the provided screws to secure it to the brackets. Be sure to tighten the screws securely, but avoid over tightening as it may damage the headrail or brackets.
As you mount the blinds, periodically check the level to ensure they are straight. Adjust as needed to achieve a balanced and aesthetically pleasing appearance.
For vertical blinds, you will need to connect the vane carriers to the headrail. Follow the manufacturer’s instructions for attaching the vane carriers and inserting the vanes into them. Make sure the vanes are properly aligned and evenly spaced.
If your blinds have a cord or wand control mechanism, make sure it is properly attached and functional. Test the control mechanism to ensure that the blinds open and close smoothly.
Once the blinds are securely mounted and all components are in place, give them a gentle tug or shake to ensure they are stable and properly attached to the brackets. This will help prevent any accidental falls or disruptions while using the blinds.
Take a step back and admire your newly mounted blinds. You’ve now successfully installed blinds on your door. Congratulations!
Step 6: Adjust and Secure the Blinds
After mounting the blinds on your door, it’s time to make final adjustments and ensure that they are properly secured.
First, test the operation of the blinds by opening and closing them. Check if they move smoothly and align properly. If you notice any issues or misalignments, adjust the blinds accordingly.
Most blinds come with built-in mechanisms to adjust the slats or fabric. Use these mechanisms to regulate the amount of light and privacy you desire. Tilt the slats or roll up/down the fabric to achieve the desired position.
Once you have adjusted the blinds, check if they are secured in place. Give them a gentle tug to ensure that they are firmly attached to the brackets and will not come loose easily.
If necessary, you can use additional screws or brackets to further secure the blinds. Follow the manufacturer’s instructions for installing any extra support components.
It is important to take your time during this step and ensure that the blinds are adjusted to your liking and securely in place. This will provide you with long-lasting functionality and peace of mind.
Step 7: Test the Blinds
Now that the blinds are installed, adjusted, and secured, it’s time to test them to ensure they are functioning properly.
Begin by operating the blinds, opening and closing them multiple times. Pay attention to how smoothly they move and if there are any obstruction or resistance. If you notice any issues, make further adjustments or contact the manufacturer for assistance.
Next, check the control mechanisms of the blinds. If you have cords or chains, test their functionality and make sure they operate smoothly. If you have a wand control, ensure that it is turning correctly and controlling the blinds as expected.
During the testing phase, also observe the blinds’ ability to block or filter light. Close the blinds completely and evaluate how well they provide privacy and darken the room. Open them partially or fully to see how much light they allow in.
Take the time to test the blinds in different positions and configurations, such as tilting the slats or rolling the fabric up and down. This will give you a comprehensive understanding of their functionality and help you customize the light and privacy levels to your preference.
If you are satisfied with the performance of the blinds, congratulations! You have successfully installed and tested them on your door. Enjoy the benefits of improved privacy, light control, and enhanced aesthetics.
However, if you encounter any issues or concerns during the testing phase, don’t hesitate to troubleshoot or seek professional assistance. It’s important to address any problems early on to ensure long-term satisfaction with your blinds.
Read more: How To Attach Blinds To A Metal Door
Conclusion
Congratulations! You have successfully learned how to install blinds on a door. By following these step-by-step instructions, you have transformed your door into a functional and stylish element of your home decor.
Installing blinds on a door not only provides privacy and light control but also enhances the overall aesthetics of your space. With the wide variety of blind types, materials, and colors available, you can customize your blinds to suit your style and preference.
Remember to start by measuring the door accurately, choose the type of blinds that best suit your needs, and prepare them for installation. Installing brackets securely, mounting the blinds, and adjusting them for the perfect fit are crucial steps in the process. Finally, testing the blinds to ensure proper functionality is essential for your satisfaction.
By following these steps and considering the tips given, you can confidently install blinds on any door in your home. Enjoy the benefits of increased privacy, controlled lighting, and an improved overall aesthetic.
If you encounter any difficulties or have specific questions related to your door or blinds, do not hesitate to consult the manufacturer’s instructions or seek advice from professionals. They will be able to provide further guidance and address any concerns you may have.
Thank you for taking the time to learn how to install blinds on a door. We hope this guide has been helpful, and we wish you great success in your home improvement endeavors!
Frequently Asked Questions about How To Install Blinds On A Door
Was this page helpful?
At Storables.com, we guarantee accurate and reliable information. Our content, validated by Expert Board Contributors, is crafted following stringent Editorial Policies. We're committed to providing you with well-researched, expert-backed insights for all your informational needs.