Home>Articles>How To Fix Or Replace Broken Tiny Screw Holding The Support Bracket On Towel Bar
Articles
How To Fix Or Replace Broken Tiny Screw Holding The Support Bracket On Towel Bar
Modified: August 16, 2024
Looking for articles on how to fix or replace the broken tiny screw holding the support bracket on a towel bar? Find expert advice and step-by-step guides here!
(Many of the links in this article redirect to a specific reviewed product. Your purchase of these products through affiliate links helps to generate commission for Storables.com, at no extra cost. Learn more)
Introduction
Have you ever encountered a broken tiny screw that holds the support bracket on your towel bar? It can be frustrating to deal with, but fear not! In this article, we will guide you through the steps to fix or replace that broken tiny screw, allowing you to restore your towel bar to its former glory.
Before we dive into the steps, it’s important to gather the necessary tools for the job. You will need a screwdriver, pliers, a replacement screw (if necessary), and a steady hand. With these tools in hand, you’ll be well-equipped to tackle this repair.
Now let’s move on to the steps to determine whether the screw can be fixed or if it needs replacement. This will depend on the extent of the damage to the screw and the support bracket.
Key Takeaways:
- Don’t let a broken tiny screw on your towel bar support bracket ruin your day. With the right tools and know-how, you can easily fix or replace it, restoring functionality and aesthetic appeal to your bathroom or kitchen.
- Assess the condition of the broken screw and support bracket to determine whether to fix or replace. With patience and the right approach, you can successfully repair your towel bar and prevent future frustration.
Read more: What Kind Of Bracket Holds Up A Towel Bar
Step 1: Gather the necessary tools
Before you begin the process of fixing or replacing the broken screw on your towel bar’s support bracket, it’s essential to gather all the necessary tools. Having the right tools on hand will make the process much smoother and ensure a successful repair.
Here are the tools you’ll need:
- Screwdriver: Choose a screwdriver that matches the type of screw head on your towel bar. Common types include Phillips, flathead, or Allen wrench.
- Pliers: These will come in handy if you need to remove the broken screw from the support bracket or manipulate it during the repair process.
- Replacement screw: If the broken screw is beyond repair, you’ll need a replacement screw of the appropriate size and type. Make sure to measure the dimensions carefully to ensure a proper fit.
- Steady hand: Patience and a steady hand are essential when working with small screws. Take your time and be gentle to avoid causing further damage.
Once you have all these tools gathered, you’ll be ready to move on to the next step of determining whether the broken screw can be fixed or if it needs to be replaced entirely.
Step 2: Determine if the screw can be fixed or needs replacement
Now that you have gathered all the necessary tools, it’s time to assess the condition of the broken screw and the support bracket on your towel bar. This step will help you determine whether the screw can be fixed or if it needs to be replaced.
Start by examining the broken screw. Look for any signs of damage, such as a stripped or bent thread. If the screw is in relatively good condition and just needs some minor adjustments, you can proceed with attempting to fix it. However, if the screw is severely damaged or irreparable, it’s best to opt for a replacement.
Next, inspect the support bracket. Check for any cracks, dents, or other damages that might affect the screw’s stability. If the support bracket is damaged, it’s recommended to replace both the bracket and the screw for a secure and long-lasting fix.
If the screw and support bracket are in good condition overall, you can move on to the next step of removing the broken screw from the support bracket. However, if either component is beyond repair, make sure to have a replacement screw and support bracket ready before proceeding.
By assessing the condition of the broken screw and support bracket, you can make an informed decision on whether to fix or replace them. This step is crucial to ensure a successful repair and prevent any future issues with your towel bar.
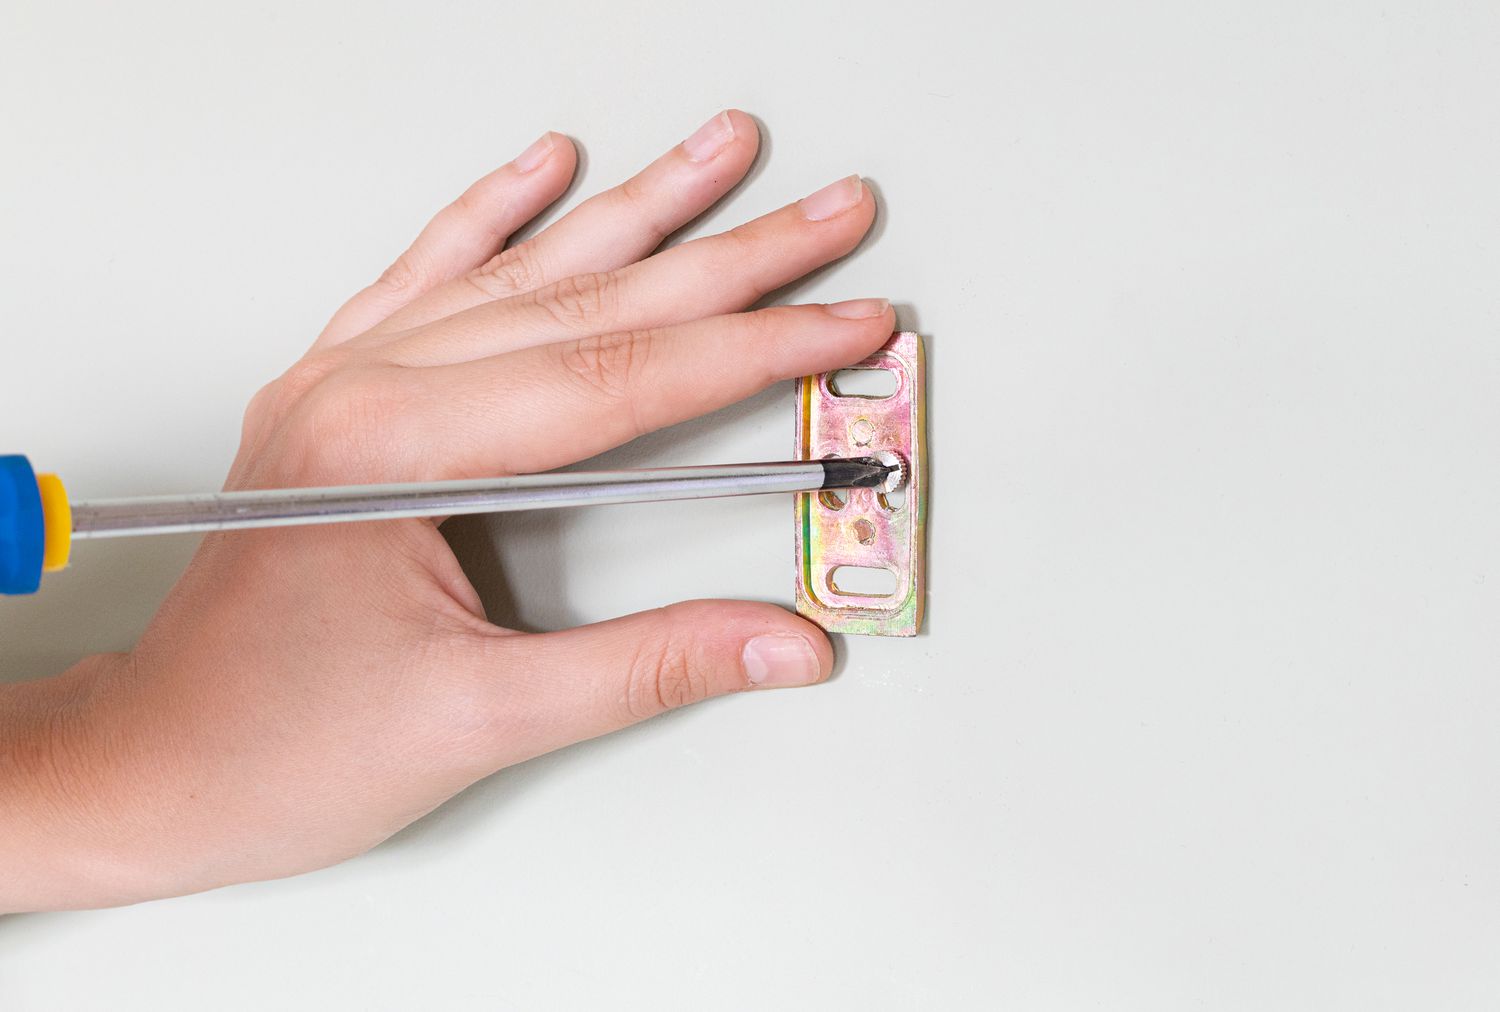
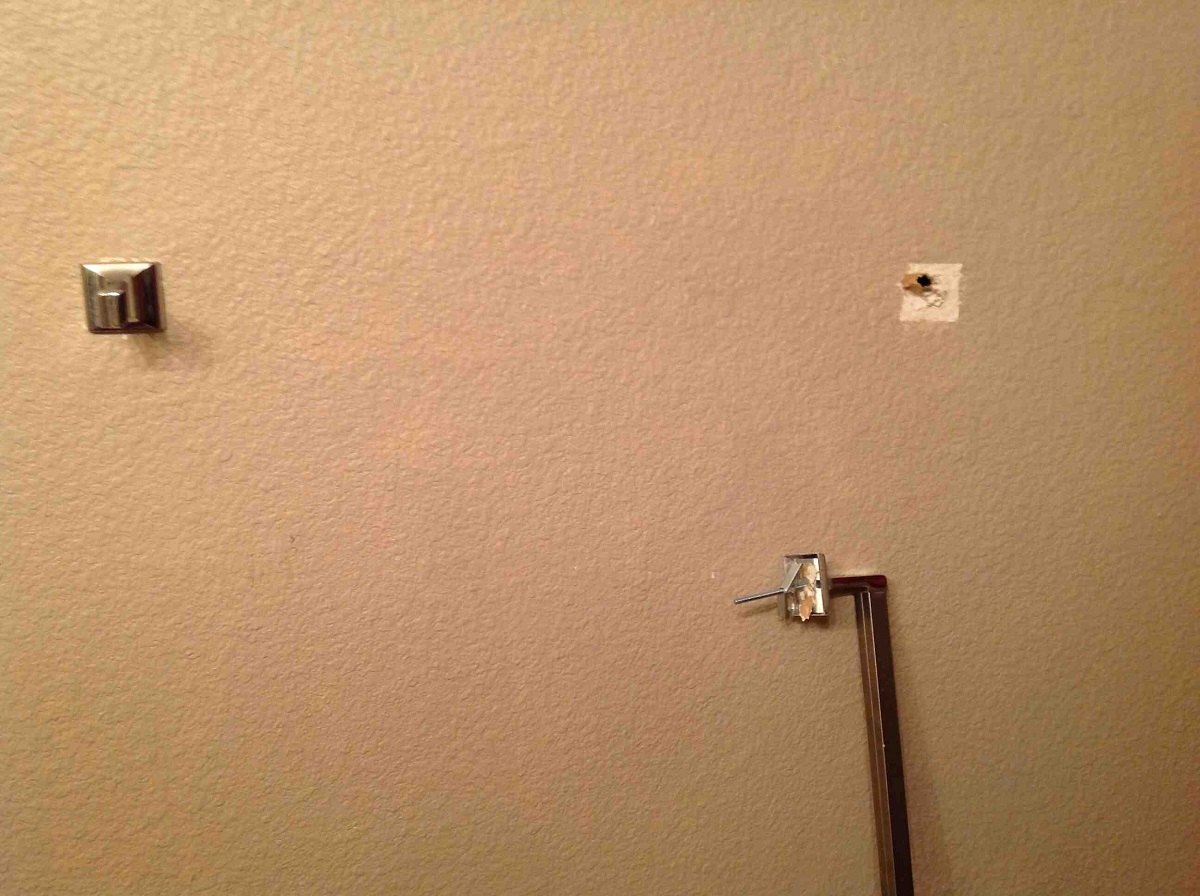
Step 3: Remove the broken screw from the support bracket
Now that you have determined whether the broken screw can be fixed or needs replacement, it’s time to remove the broken screw from the support bracket. Follow these steps to safely and effectively remove the broken screw:
- Begin by applying gentle pressure to the screw with a screwdriver. If the screw is still intact and not overly damaged, try to turn it counterclockwise to loosen and remove it. Use firm but controlled force to avoid causing further damage.
- If the screw is stuck or doesn’t budge, use pliers to grip the screw firmly. Slowly and with steady pressure, rotate the pliers counterclockwise to loosen and remove the screw. Be careful not to apply too much force, as it may cause the screw to break further or damage the support bracket.
- If the screw is completely stripped or the head is too damaged, you can try using a rubber band or a piece of duct tape. Place the rubber band or tape over the screw head and press it firmly against the screwdriver. This added grip may give you the leverage needed to turn and remove the screw.
- If all else fails and the screw remains stuck, you can carefully drill a small hole into the center of the screw using a drill bit. This will create a new grip point for the screwdriver to turn and remove the broken screw.
Once you have successfully removed the broken screw from the support bracket, inspect the bracket for any debris or damage. Clean the area if necessary and prepare for the next steps of fixing or replacing the screw.
With the broken screw out of the way, you’re now ready to move on to the next step based on whether you’ll be fixing or replacing the screw. Stick around to find out the specific steps for each scenario!
If the tiny screw holding the support bracket on a towel bar is broken, try using a small drill bit to carefully remove the broken screw. Then, replace it with a new screw of the same size to secure the bracket in place.
Step 4: Fixing a broken screw
If you have determined that the broken screw can be fixed rather than replaced, you can proceed with the following steps to repair it:
- Inspect the broken screw for any signs of damage. If the thread is stripped or damaged, it may be possible to repair it using a few simple techniques.
- Start by applying a small amount of lubricant, such as WD-40 or a penetrating oil, to the thread of the screw. This will help loosen any debris or rust that may be causing the issue.
- Using a fine-grit sandpaper or a file, gently file down the damaged area of the screw thread. Be careful not to remove too much material, as this may compromise the screw’s integrity.
- Alternatively, you can use a thread repair kit to reinforce the damaged screw thread. These kits usually come with tap and dies of different sizes to match the screw’s thread pattern. Follow the instructions provided with the kit to repair the thread.
- Once you have repaired the screw thread, clean it thoroughly to remove any debris or filings. You can use compressed air or a small brush for this purpose.
- Reinsert the repaired screw into the support bracket by turning it clockwise. Use a screwdriver to tighten it securely, but be careful not to overtighten and risk damaging the thread again.
By following these steps, you can potentially fix a broken screw and restore its functionality. However, keep in mind that this method may not work for severely damaged screws or if the thread is beyond repair. In such cases, it’s best to replace the screw entirely.
If you’ve successfully repaired the broken screw, you’re now ready to reattach the support bracket to the towel bar. Continue reading to discover the final steps of the repair process!
Read more: How To Remove Towel Bar With No Screws
Step 5: Replacing a broken screw
If you’ve determined that the broken screw cannot be repaired and needs to be replaced, follow these steps to successfully replace it:
- Measure the dimensions of the broken screw to ensure you get the correct replacement. Pay attention to the diameter and length of the screw, as well as the type of screw head.
- Purchase a replacement screw that matches the exact specifications of the original screw. You can find these screws at your local hardware store or online.
- With a screwdriver, remove any remaining fragments of the broken screw from the support bracket. Make sure the area is clean and free from debris before proceeding.
- Take the new screw and insert it into the support bracket, turning it clockwise to tighten it. Use the screwdriver to ensure a secure fit, but be cautious not to overtighten and risk damaging the support bracket or the new screw.
When replacing a broken screw, it’s essential to use the correct size and type of screw to ensure a proper fit and stability. If you’re unsure about the specifications, consult the manufacturer’s instructions or seek advice from a professional.
Once you have replaced the broken screw with a new one, you’re ready to reattach the support bracket to the towel bar. Continue reading to discover the final steps of the repair process!
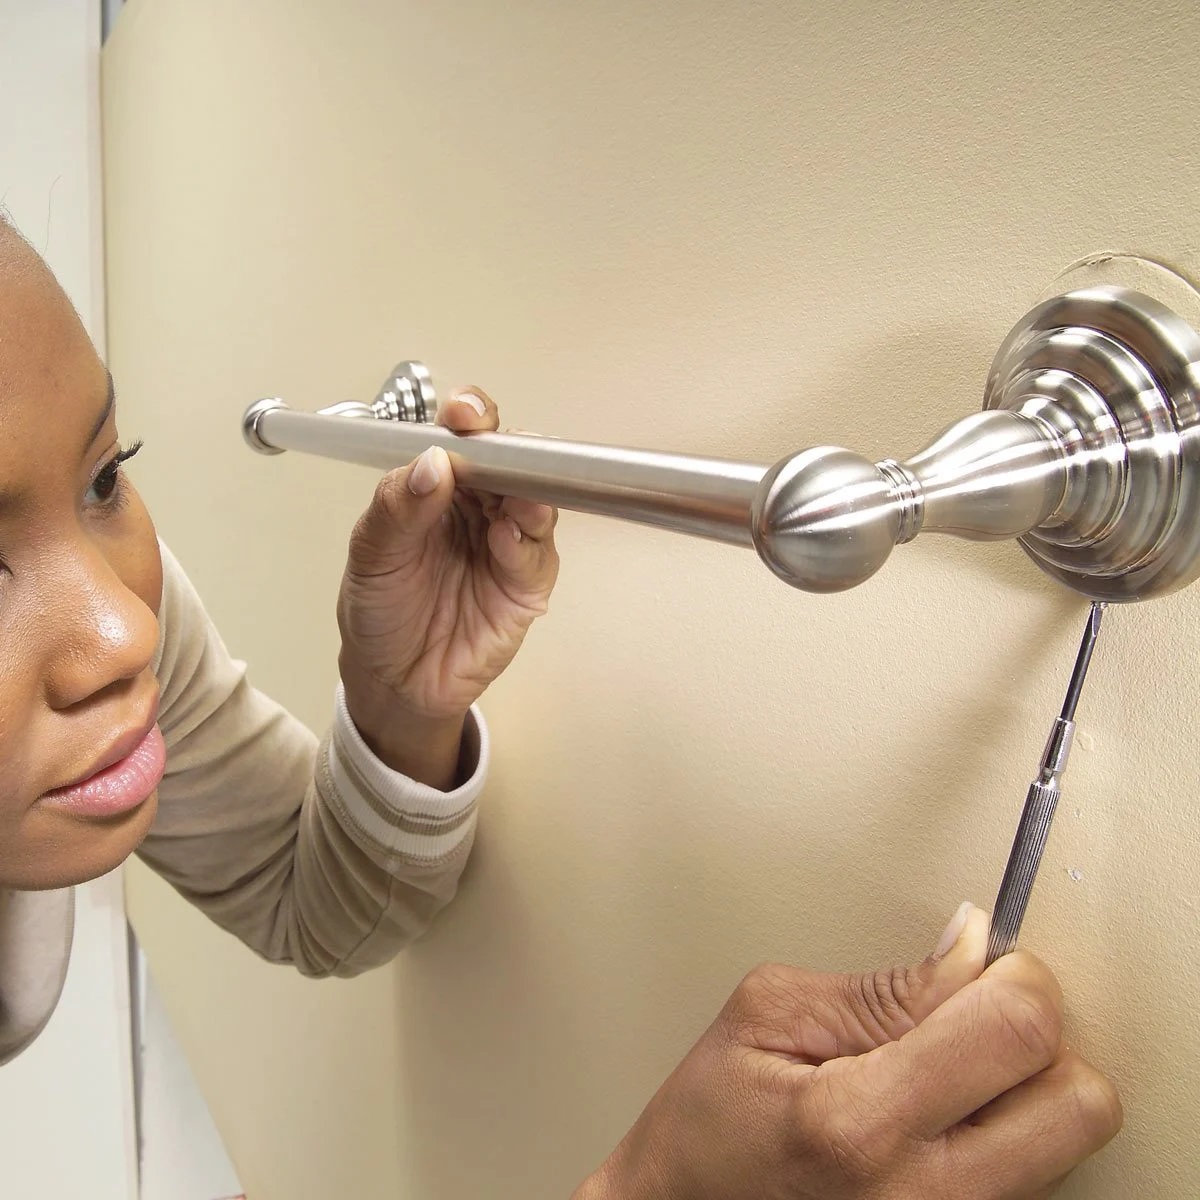
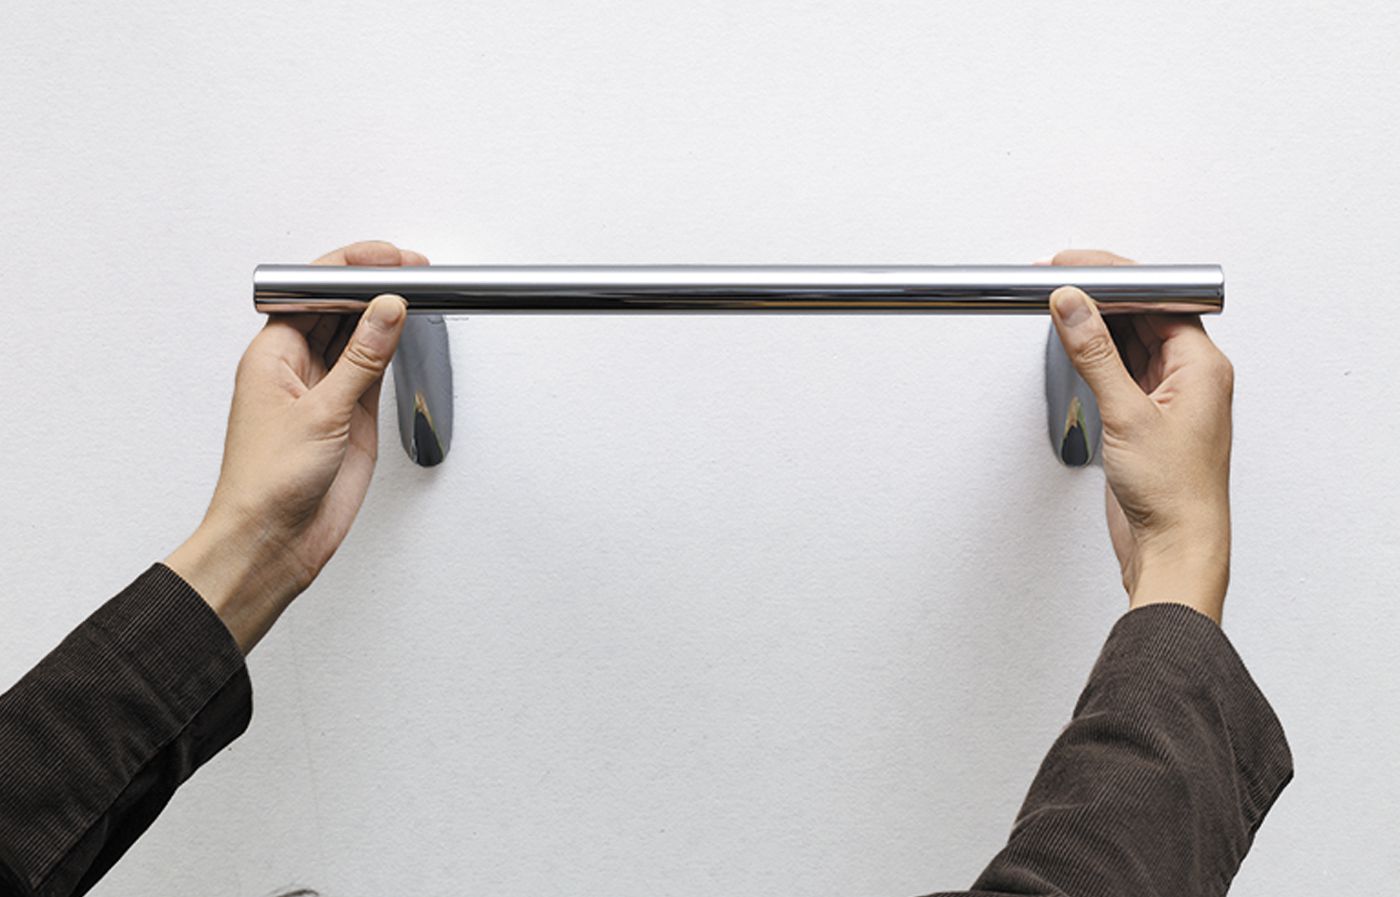
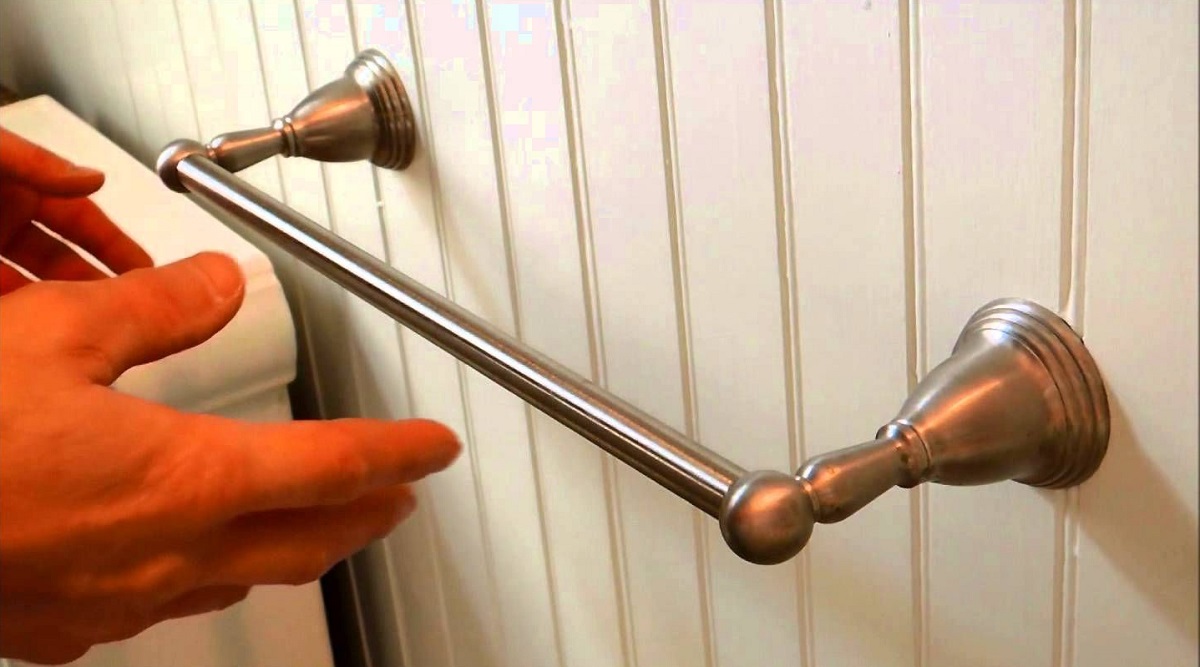
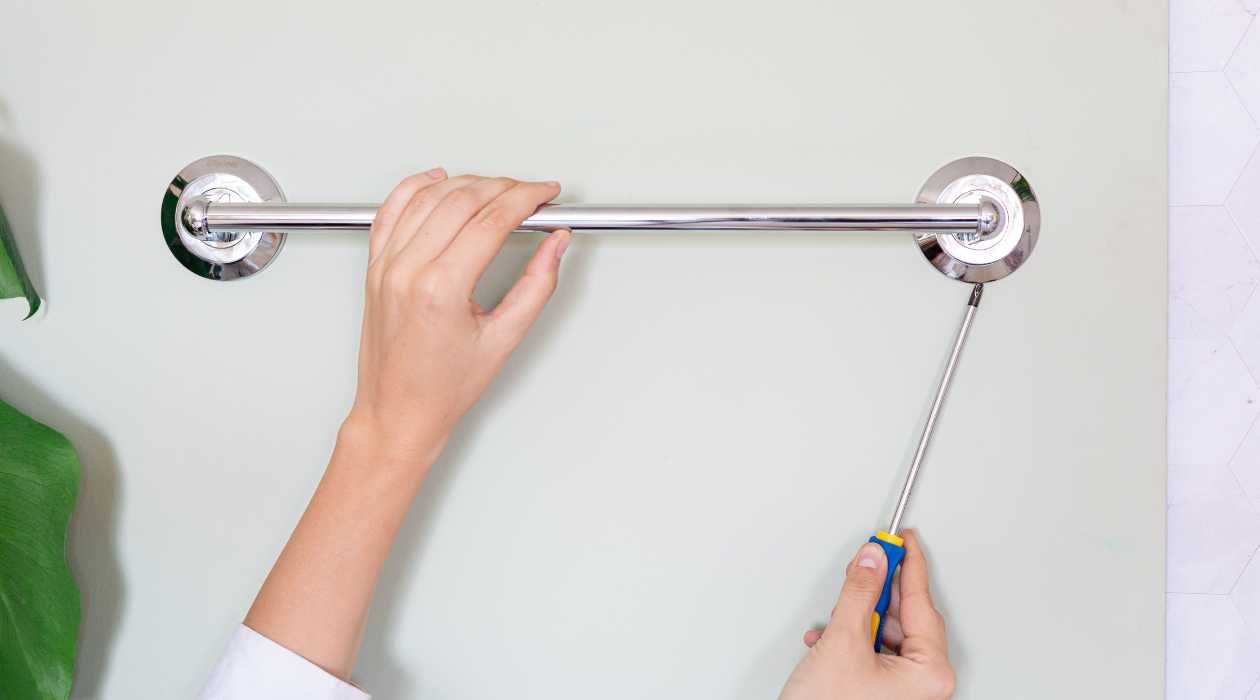
Step 6: Reattach the support bracket to the towel bar
Now that you have either fixed or replaced the broken screw, it’s time to reattach the support bracket to the towel bar. Follow these steps to ensure a secure and stable attachment:
- Position the support bracket back onto the desired location on the towel bar. Make sure it aligns correctly and is level with the bar.
- Using the screwdriver or the appropriate tool, insert the repaired or replacement screw through the holes on the support bracket and into the towel bar. Make sure it fits snugly but not too tight.
- Turn the screw clockwise to tighten it securely. Be sure not to overtighten as this may damage the support bracket or the towel bar.
- Check the stability of the support bracket by gently applying pressure and ensuring it does not wobble or come loose. If necessary, adjust the tightness of the screw.
Once you have successfully reattached the support bracket to the towel bar, give it a gentle tug to test its stability. If everything feels secure, congratulations! You have completed the process of fixing or replacing the broken screw on your towel bar’s support bracket.
Remember to double-check the towel bar periodically to ensure the screw remains tightly fastened and the support bracket is secure. If any issues arise, be prepared to repeat these steps or seek further assistance.
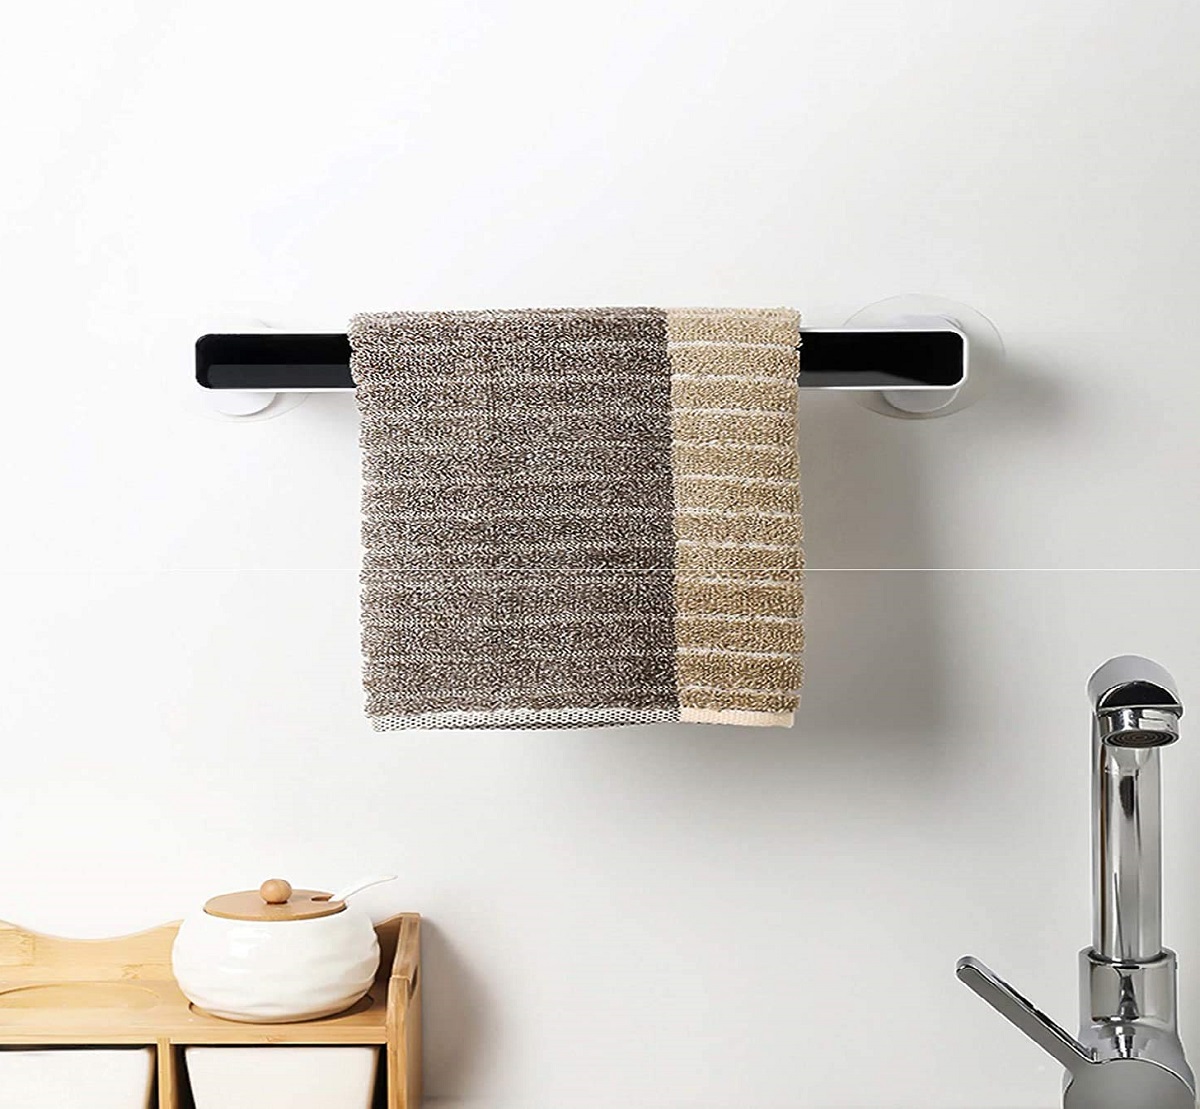
With your towel bar fully repaired, you can now enjoy its functionality and aesthetic appeal once again. Whether you successfully fixed a broken screw or replaced it, you can rest easy knowing your towel bar is ready to serve its purpose.
If you found this article helpful, share it with others who may encounter a similar issue. Happy towel bar repair!
Conclusion
Dealing with a broken tiny screw holding the support bracket on your towel bar can be a frustrating experience. However, with the right tools and knowledge, you can easily fix or replace the broken screw and restore your towel bar to its former functionality.
In this article, we covered the step-by-step process to repair a broken screw on a towel bar support bracket. We emphasized the importance of gathering the necessary tools, assessing whether the screw can be fixed or needs replacement, removing the broken screw, and determining whether to fix or replace it.
If the broken screw can be fixed, we provided guidance on applying lubricant, filing down damaged threads, and using a thread repair kit to reinforce the screw. On the other hand, if the screw needs to be replaced, we discussed measuring the dimensions, purchasing a suitable replacement screw, and securely attaching it to the support bracket.
Finally, we emphasized the significance of reattaching the support bracket to the towel bar and ensuring its stability. By following these steps and exercising caution throughout the process, you can successfully repair your towel bar and alleviate any frustration caused by the broken screw.
Remember to periodically check the tightness of the screw and the stability of the support bracket to prevent any future issues. Consulting the manufacturer’s instructions or seeking professional advice can further assist you in maintaining the integrity of your towel bar.
We hope this article has provided you with the knowledge and confidence to tackle the repair of a broken screw on your towel bar’s support bracket. May your towel bar now serve you well and bring both practicality and aesthetic appeal to your bathroom or kitchen.
Now that you've mastered fixing or replacing that tiny screw, why not tackle another common bathroom fix? If your towel bar itself has seen better days, our next guide walks you through every step needed for a successful towel bar fix. Simple tools and some elbow grease can work wonders, turning a loose or wobbly towel bar into sturdy bathroom decor. Get ready to roll up your sleeves and bring back functionality and style to your bathroom fixtures!
Frequently Asked Questions about How To Fix Or Replace Broken Tiny Screw Holding The Support Bracket On Towel Bar
Was this page helpful?
At Storables.com, we guarantee accurate and reliable information. Our content, validated by Expert Board Contributors, is crafted following stringent Editorial Policies. We're committed to providing you with well-researched, expert-backed insights for all your informational needs.


0 thoughts on “How To Fix Or Replace Broken Tiny Screw Holding The Support Bracket On Towel Bar”