Articles
How To Replace Plastic Towel Bar
Modified: August 27, 2024
(Many of the links in this article redirect to a specific reviewed product. Your purchase of these products through affiliate links helps to generate commission for Storables.com, at no extra cost. Learn more)
Introduction
When it comes to bathroom fixtures, the towel bar is an essential accessory that not only provides a convenient place to hang towels but also adds a touch of style to the space. However, if you have a plastic towel bar that has seen better days, it may be time for an upgrade. Replacing a plastic towel bar with a more durable and stylish alternative can instantly enhance the look and functionality of your bathroom.
In this article, we will guide you through the process of replacing a plastic towel bar, step by step. By following these instructions and using the right tools and materials, you’ll be able to successfully complete this project and give your bathroom a fresh new look.
Before we dive into the steps, let’s take a look at the tools and materials you’ll need for this project:
Read more: How To Install A Plastic Towel Bar
Tools and Materials Needed
- Phillips screwdriver
- Measuring tape
- Level
- Power drill
- Drill bit
- Screws
- Wall anchors
- Towel bar replacement
Now that you have the necessary tools and materials, let’s proceed to the first step: removing the old plastic towel bar.
Key Takeaways:
- Upgrade your bathroom by replacing a plastic towel bar with a more durable and stylish alternative. Follow the step-by-step guide to transform your space with a new towel bar that enhances both functionality and aesthetics.
- Choose the right replacement towel bar by considering material, length, style, mounting style, and installation difficulty. Prepare the installation area, install the new towel bar, and test for optimal functionality and appearance.
Tools and Materials Needed
Before you begin the process of replacing a plastic towel bar, it’s important to gather all the necessary tools and materials. Having everything prepared in advance will make the installation process smoother and more efficient. Here’s a list of what you’ll need:
1. Phillips screwdriver
A Phillips screwdriver is an essential tool for removing screws. Make sure you have the appropriate size to fit the screws on your plastic towel bar.
2. Measuring tape
A measuring tape will come in handy during the installation process to ensure that your new towel bar is positioned correctly and at the desired height.
Read more: How To Replace A Towel Bar In A Bathroom
3. Level
A level is a crucial tool for ensuring that your towel bar is mounted straight and level. It helps in maintaining a professional and visually pleasing appearance.
4. Power drill
A power drill is necessary for drilling holes into the wall or the surface where you plan to install the towel bar. Make sure you have a drill with adjustable speed settings for better control.
5. Drill bit
Choose a drill bit size that matches the diameter of the screws or wall anchors you’ll be using. This will allow you to create accurate and properly sized holes.
6. Screws
Depending on the type of towel bar you choose, you may need screws to secure the mounting brackets to the wall or other surfaces. Check the instructions or packaging of your replacement towel bar to determine the appropriate size and type of screws required.
Read more: How To Replace A Ceramic Towel Bar
7. Wall anchors
If you’re installing the towel bar on drywall or a surface that cannot support the weight of the bar alone, wall anchors are essential. These anchors provide extra support and stability for the towel bar, ensuring that it stays securely in place.
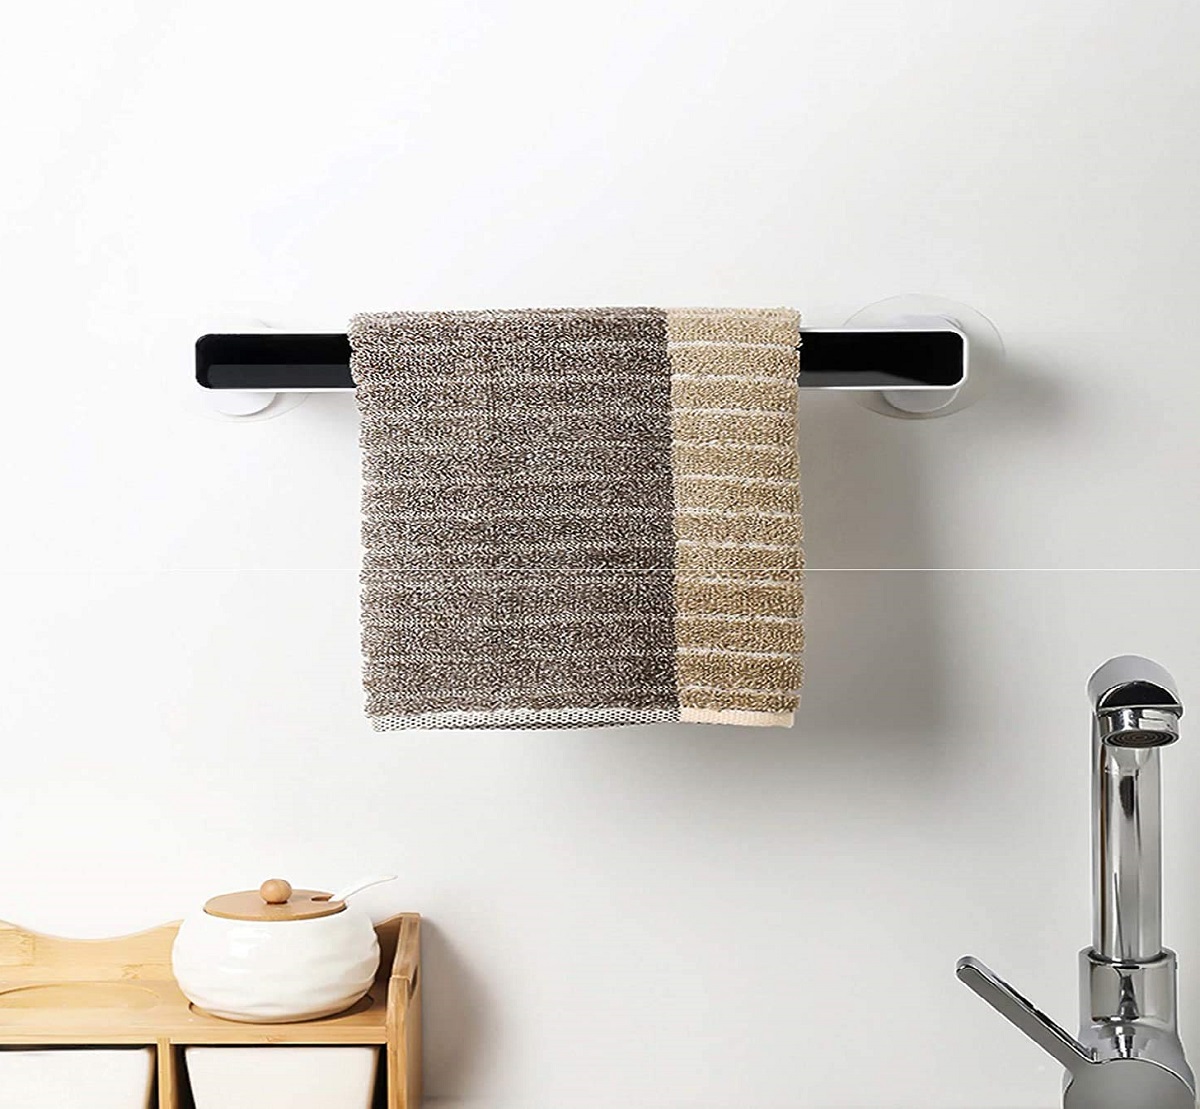
8. Towel bar replacement
Last but not least, you’ll need the towel bar replacement itself. Choose a towel bar that fits your desired style, material, and length. Consider factors such as the size of your bathroom and the number of towels you usually hang when selecting a replacement.
By gathering these tools and materials, you’ll be fully equipped to replace your plastic towel bar and transform your bathroom into a more functional and aesthetically pleasing space.
Step 1: Removing the Old Plastic Towel Bar
Before installing a new towel bar, you need to remove the old plastic towel bar. This step requires some careful handling to avoid damaging the wall or other surfaces. Follow these instructions to safely remove the old towel bar:
- Start by locating the screws or mounting brackets that are holding the towel bar in place. These are typically located at both ends of the towel bar.
- Using a Phillips screwdriver, begin loosening the screws in a counterclockwise direction. It’s important to hold the towel bar with one hand while loosening the screws to prevent it from falling abruptly.
- If the screws are difficult to loosen, consider applying some penetrating oil to help loosen any rust or debris that may be causing resistance.
- Once you have fully loosened the screws, carefully remove them from the mounting brackets. Take note of any additional hardware or adhesive that may be securing the towel bar.
- Gently pull the plastic towel bar away from the wall or surface, ensuring you do not damage the surrounding area. If there is any adhesive residue left, you can use a mild adhesive remover and a soft cloth to clean it off.
- Inspect the area where the old towel bar was mounted. If there are any holes or damage to the wall, you may need to patch or repair it before proceeding with the installation of the new towel bar.
Removing the old plastic towel bar can be a relatively straightforward process if approached with caution. By following these steps, you’ll be able to safely remove the old towel bar and prepare the area for the installation of the new towel bar in the next step.
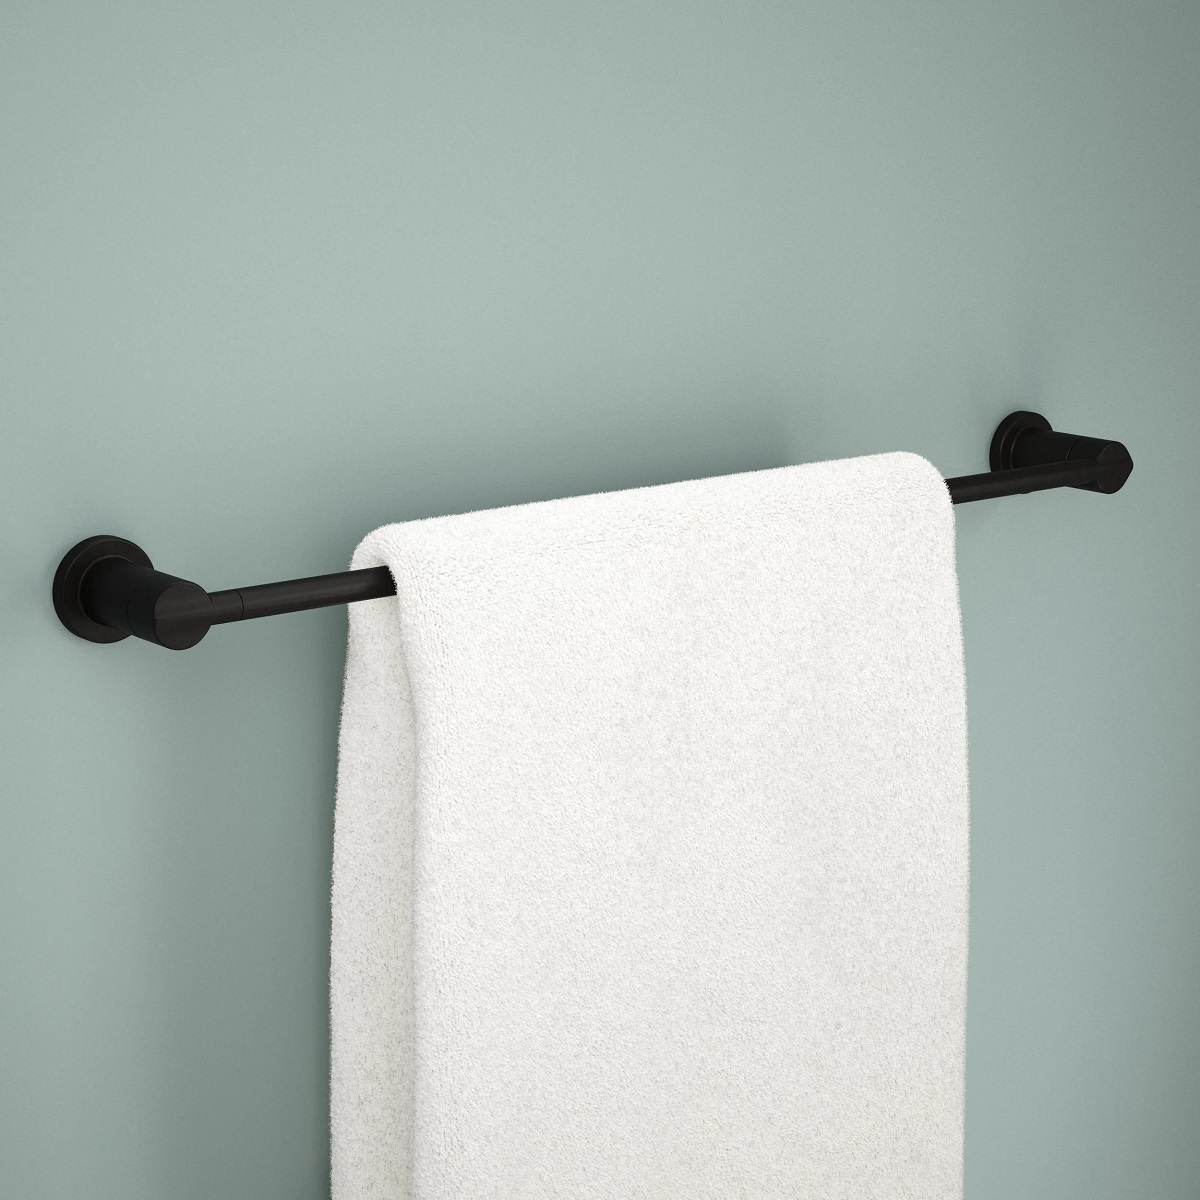
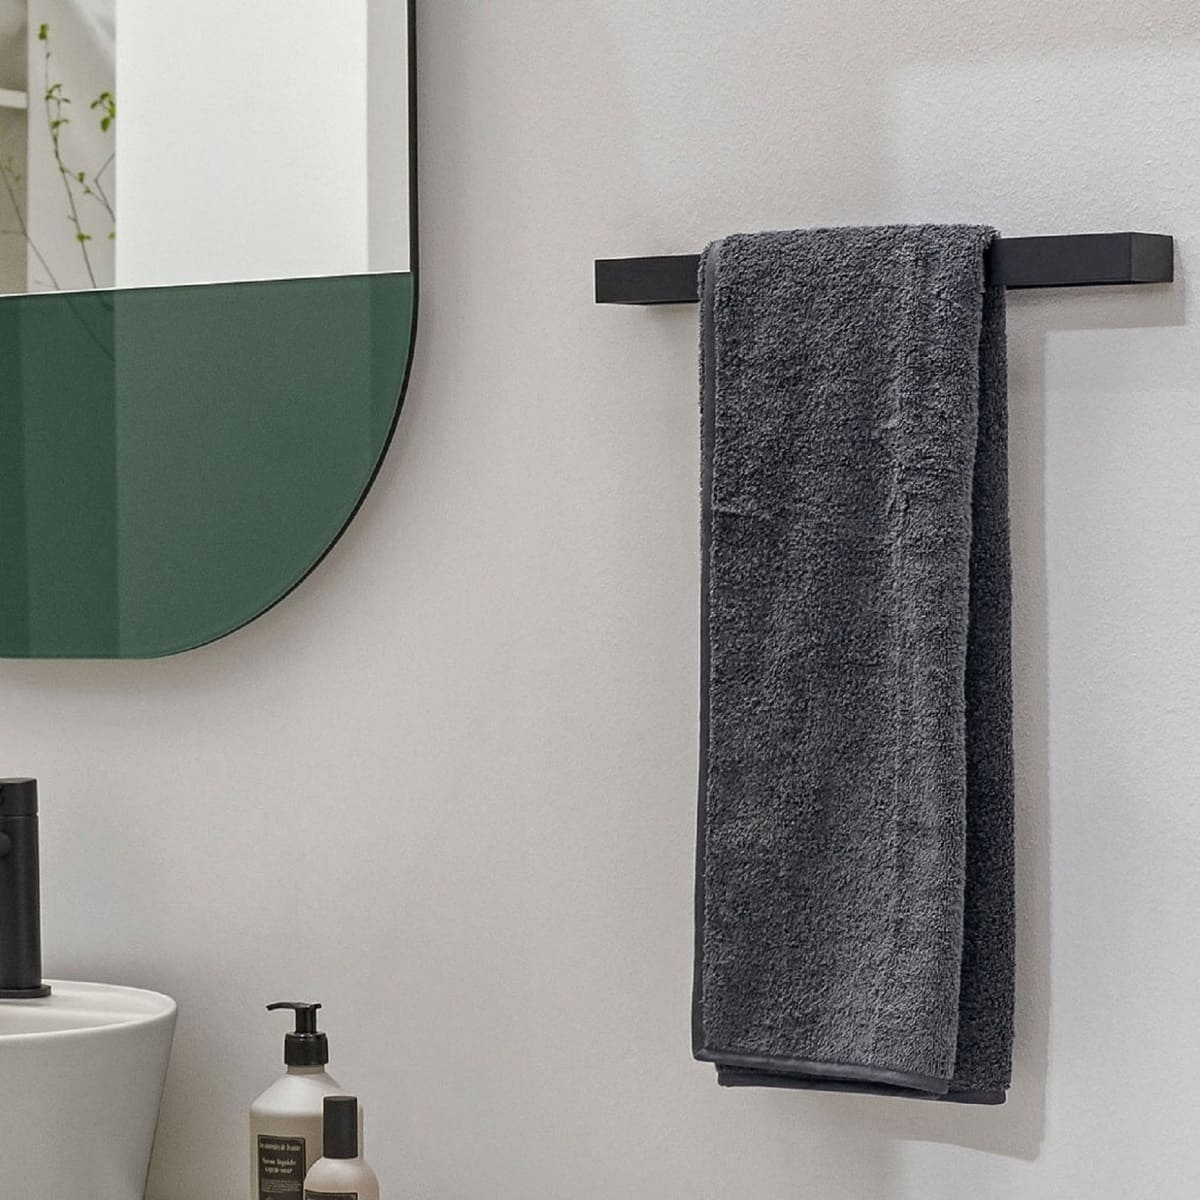
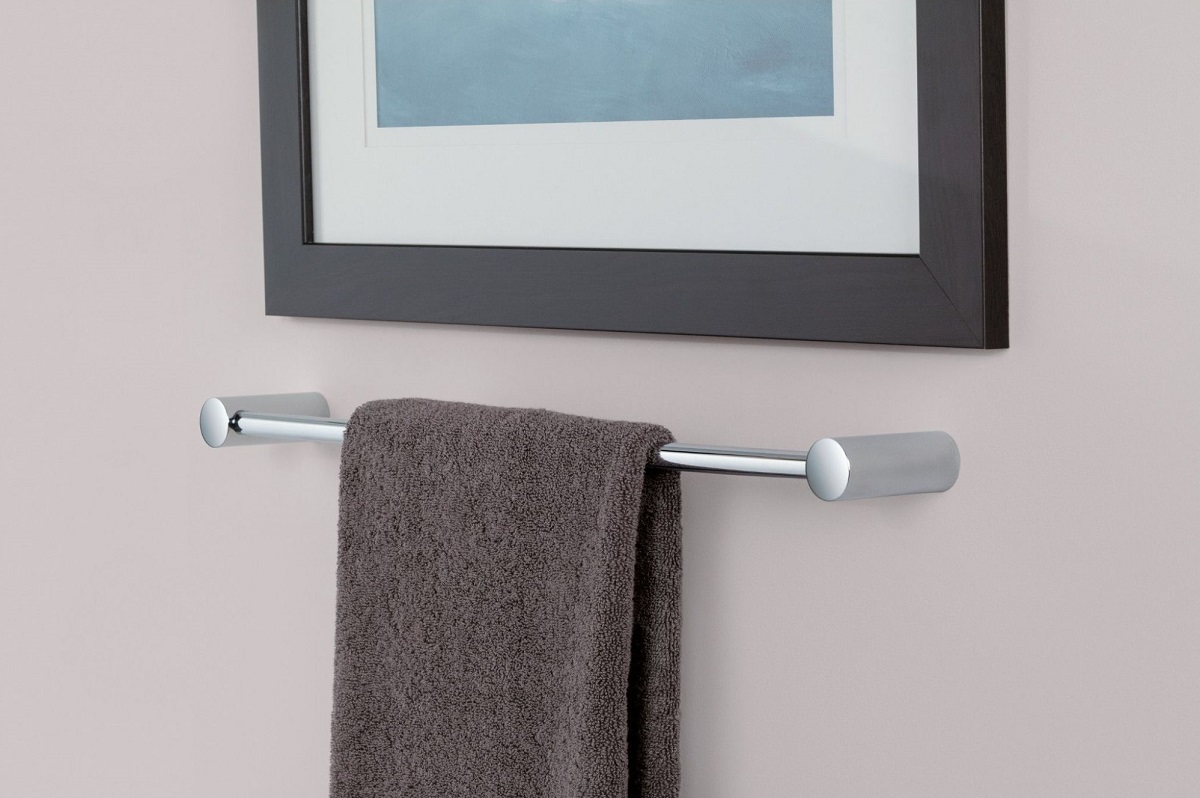
Step 2: Choosing a Replacement Towel Bar
Now that you have removed the old plastic towel bar, it’s time to select a replacement towel bar that suits your style and functional needs. When choosing a replacement towel bar, consider the following factors:
1. Material
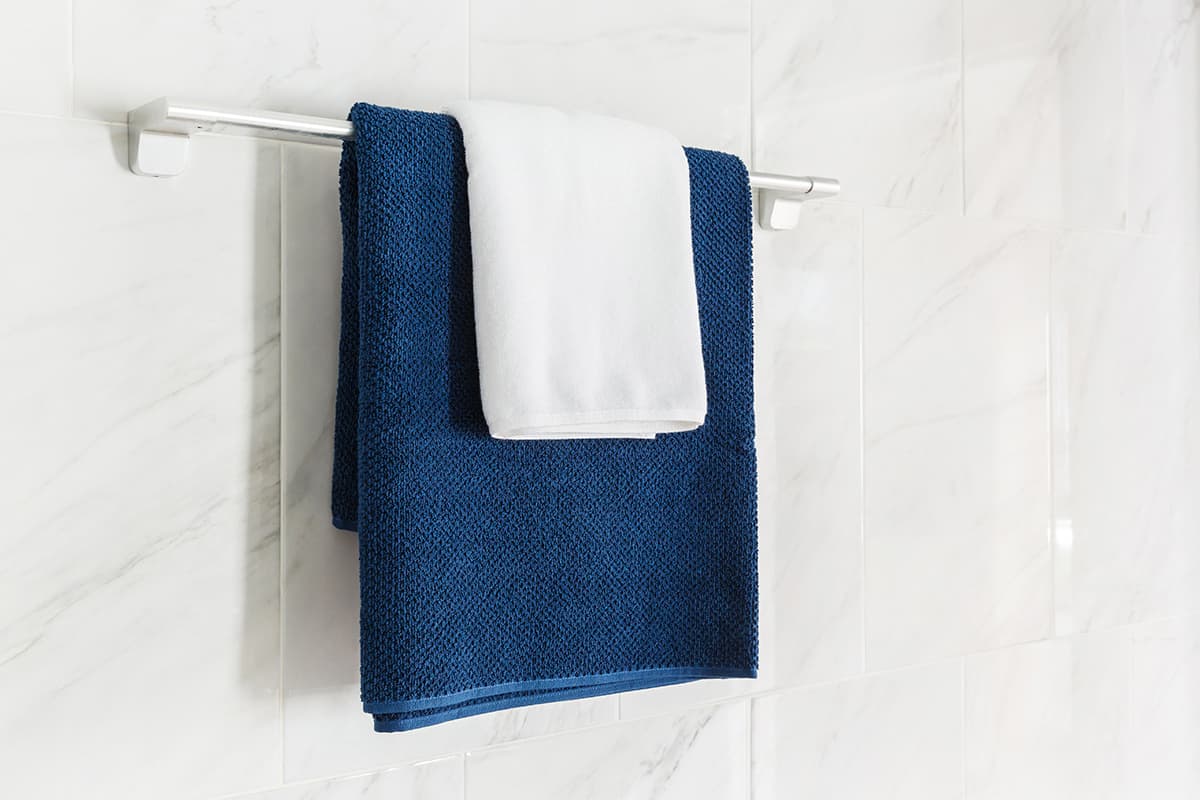
Towel bars are available in a variety of materials such as stainless steel, chrome, brass, and even wood. Consider the overall aesthetic of your bathroom and choose a material that complements the existing fixtures.
2. Length
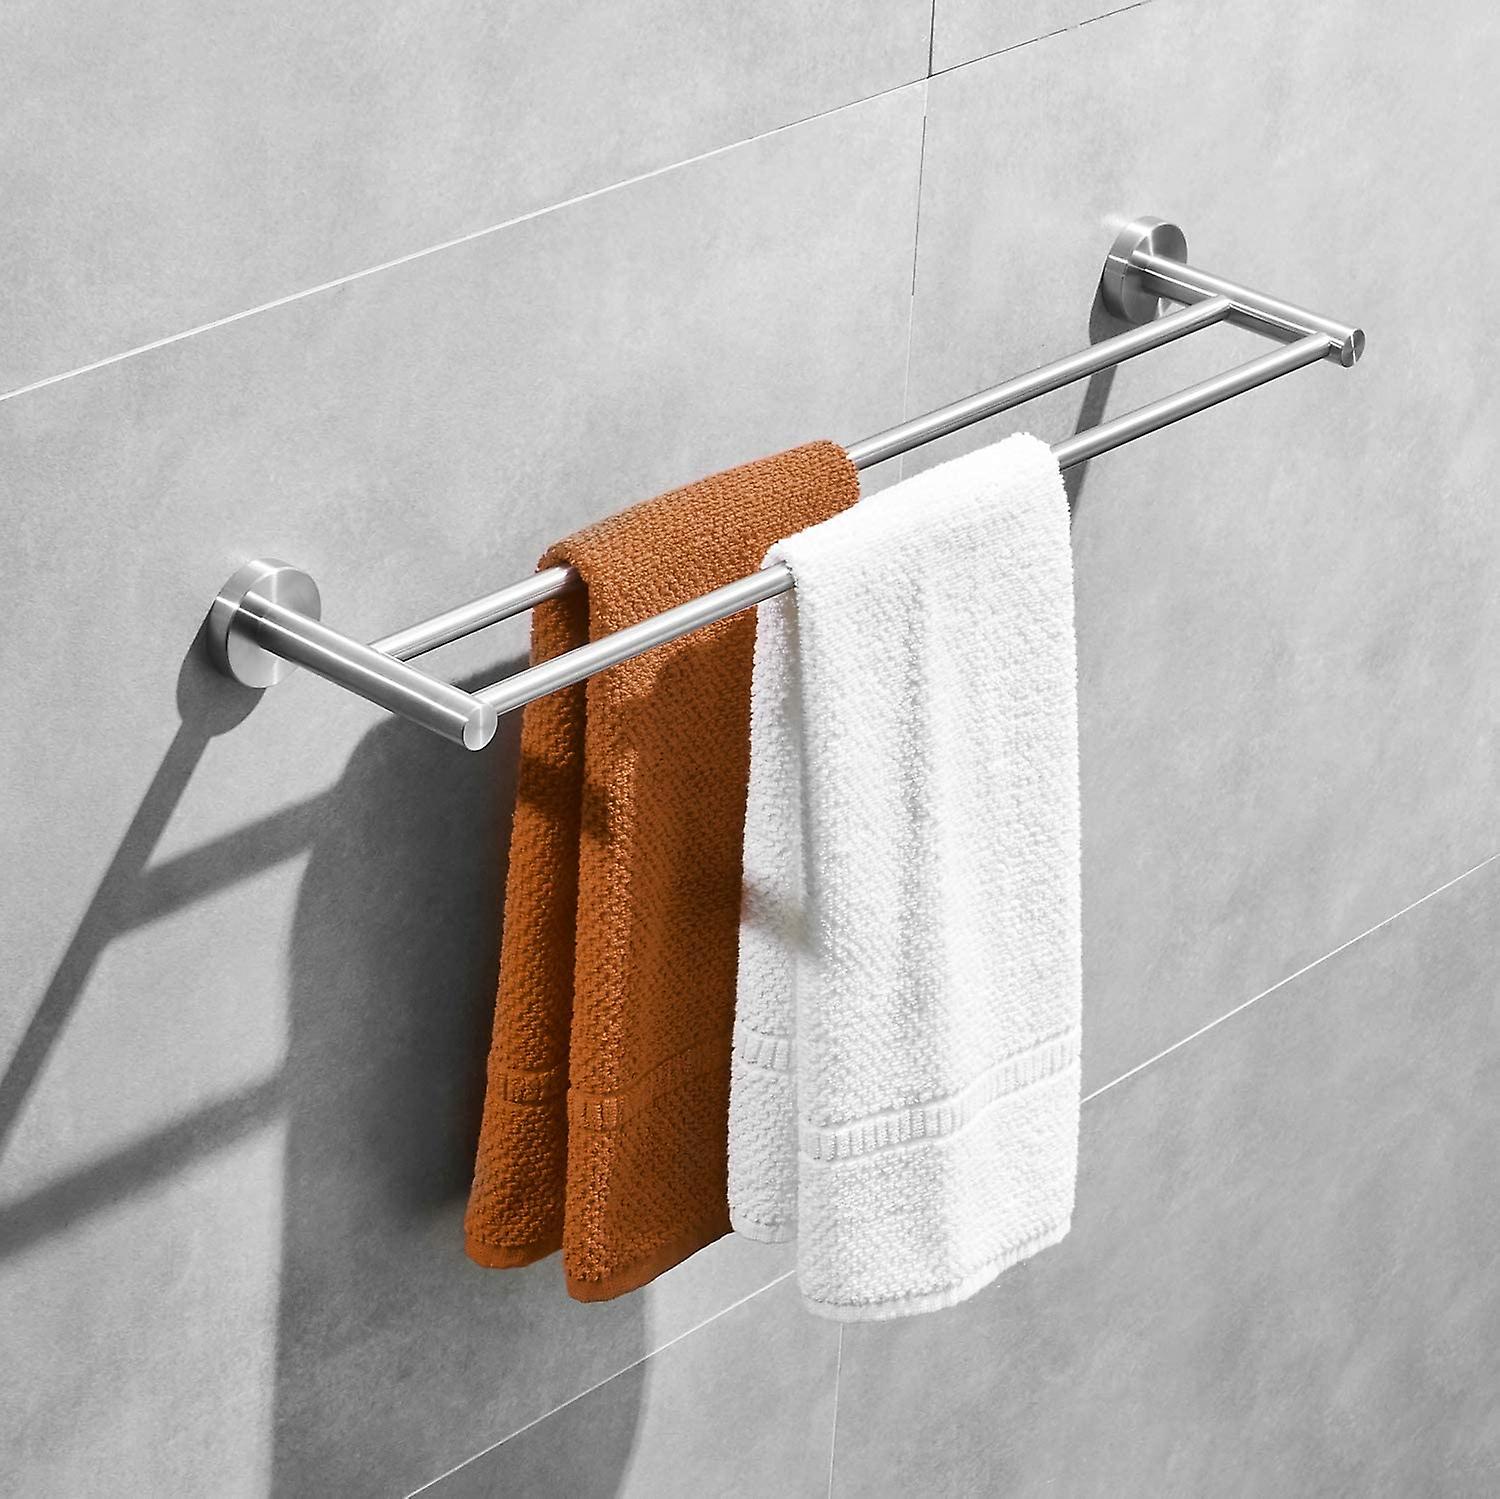
Determine the appropriate length for your towel bar depending on the available wall space and the number of towels you typically hang. Longer towel bars are suitable for larger bathrooms or for hanging multiple towels, while shorter bars work well in smaller spaces.
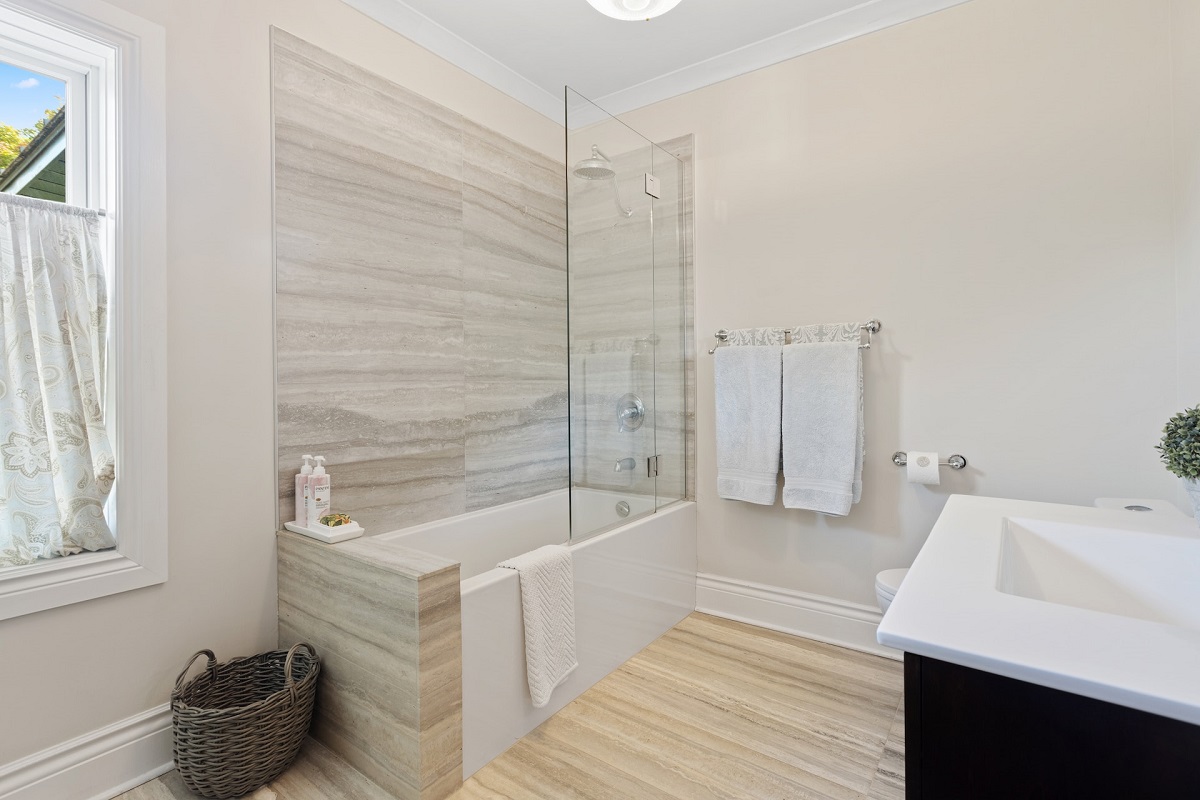
3. Style
Consider the overall style and theme of your bathroom. Choose a towel bar with a design and finish that matches the existing fixtures or creates a complementary contrast. Styles can range from modern and sleek to traditional and ornate.
4. Mounting Style
Towel bars can be wall-mounted or attached to a freestanding fixture. Consider the layout of your bathroom and select the appropriate mounting style that fits your space and functional requirements.
Read more: How To Fold Towel On Towel Bar
5. Installation Difficulty
Some towel bars are easier to install than others. Consider your comfort level with DIY projects and choose a towel bar that matches your skill level. If you’re not confident in your abilities, you may want to opt for a towel bar that comes with detailed installation instructions or seek professional help.
Take your time to explore different options and compare prices and reviews. Once you’ve chosen a replacement towel bar that meets your preferences, you’re ready to move on to the next step: preparing the installation area.
Step 3: Preparing the Installation Area
Before you can install the new towel bar, it’s important to properly prepare the installation area. This ensures a secure and stable mounting, enhancing the longevity and functionality of the towel bar. Follow these steps to prepare the installation area:
- Take measurements: Use a measuring tape to determine the desired height and position for the towel bar. Consider factors such as the height of the intended users and the proximity to other fixtures.
- Mark the wall: Use a pencil or a removable marker to make small marks on the wall indicating the desired placement of the towel bar. Use a level to ensure the marks are straight and aligned.
- Locate studs: If possible, locate the wall studs behind the area where the towel bar will be installed. This will provide additional support and stability. Use a stud finder or tap on the wall to listen for a solid sound, indicating the presence of a stud.
- Install wall anchors: If the towel bar installation area does not have wall studs, you’ll need to use wall anchors to provide additional support. Follow the manufacturer’s instructions to install the wall anchors at the marked positions on the wall.
- Drill pilot holes: Use a power drill with an appropriately sized drill bit to drill pilot holes at the marked positions on the wall or in the wall anchors. This will make it easier to insert the screws and ensure the towel bar is securely mounted.
- Clean the area: Before securing the towel bar, clean the installation area to remove any dust, debris, or adhesive residue. This will create a clean surface for mounting and ensure a strong bond.
By following these steps, you will properly prepare the installation area for the new towel bar. Taking the time to measure, mark, and locate studs or install wall anchors ensures a secure and professional installation. With the preparation complete, you’re ready to move on to the next step: installing the new towel bar.
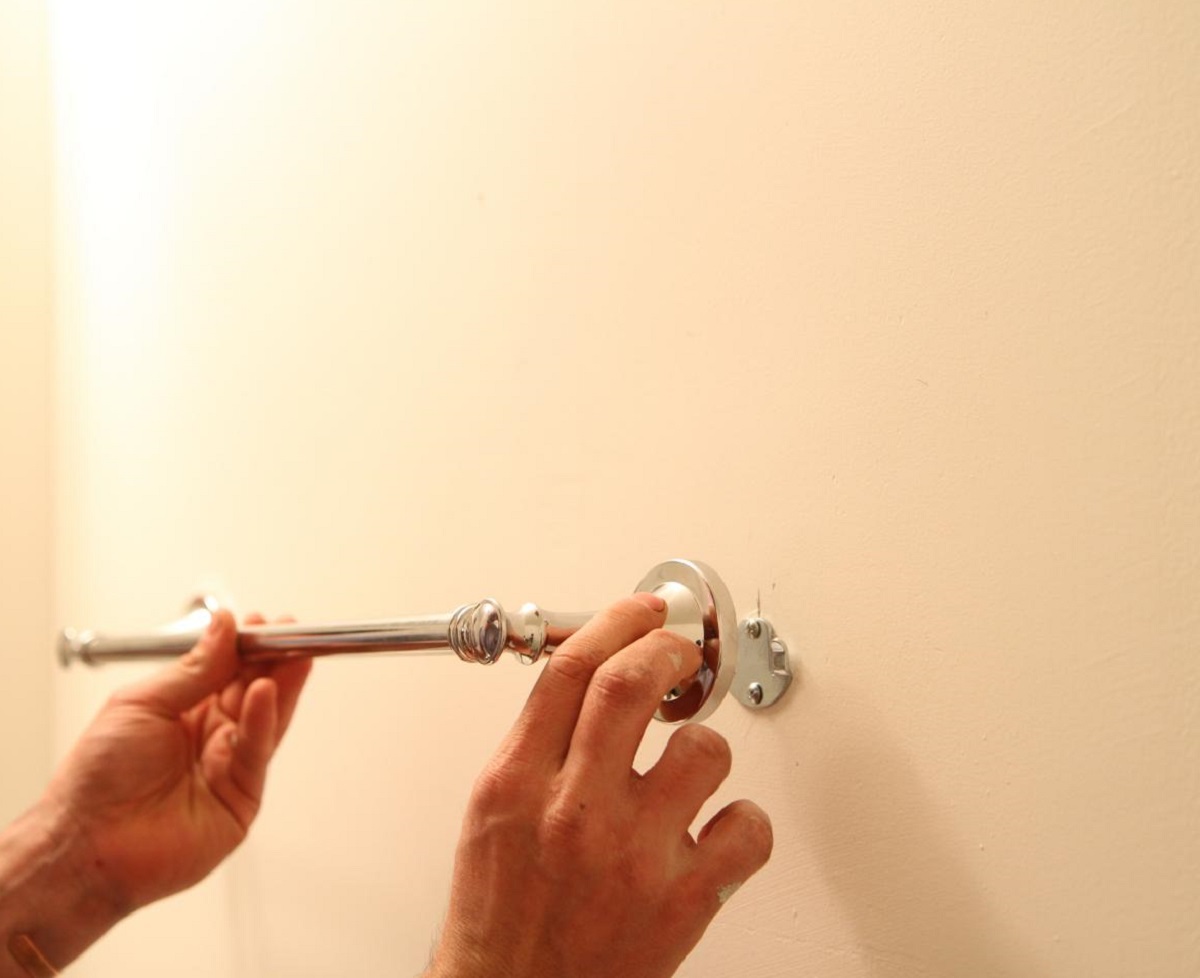
Step 4: Installing the New Towel Bar
Now that you have prepared the installation area, it’s time to install the new towel bar. Follow these steps to ensure a successful installation:
- Attach the mounting brackets: Begin by attaching the mounting brackets to the wall or surface using the screws provided. Make sure the brackets are aligned with the pilot holes or wall anchors.
- Secure the towel bar: Once the mounting brackets are attached, carefully slide the towel bar onto the brackets and align it with the desired position. Ensure that it is level by using a level tool.
- Insert the screws: Using a screwdriver, insert the screws into the holes on the mounting brackets. Start by tightening them partially, then fully tighten them once all of the screws are in place.
- Check for stability: Gently tug on the towel bar to check for stability. Ensure that it is securely fastened to the wall or surface and doesn’t wobble or move when pressure is applied.
- Double-check alignment: Use a level tool to double-check the alignment of the towel bar. Adjust if necessary by loosening the screws slightly and repositioning the bar.
- Tighten the screws: Once you are satisfied with the position and alignment, tighten the screws fully to securely fasten the towel bar in place.
It’s important to note that different towel bar models may have specific installation instructions. Be sure to refer to the manufacturer’s guidelines for your specific towel bar to ensure proper installation. Additionally, if your towel bar requires any additional hardware or steps not covered in this general guide, follow the included instructions accordingly.
With the new towel bar securely installed, you’re ready to move on to the final step: testing and adjusting the towel bar for optimal functionality and appearance.
Step 5: Testing and Adjusting the Towel Bar
After installing the new towel bar, it’s important to test and adjust it for optimal functionality and appearance. Follow these steps to ensure that the towel bar is properly installed and meets your needs:
- Test the weight capacity: Hang a towel or other item on the bar to test its weight capacity. Make sure it can comfortably hold the intended items without sagging or instability.
- Adjust the position: Step back and visually assess the position of the towel bar. Ensure that it is aligned with other fixtures and is at a comfortable height for easy access.
- Check for any wobbling: Gently shake the towel bar to check for any wobbling or movement. If you notice any instability, tighten the screws further or make adjustments to the mounting brackets as needed.
- Inspect for any gaps or misalignment: Carefully inspect the mounting brackets, towel bar, and the area around them for any gaps or misalignment. If necessary, loosen the screws slightly and adjust the position to achieve a seamless and professional look.
- Make any necessary adjustments: If you are not satisfied with the position, height, or appearance of the towel bar, make any necessary adjustments. Loosen the screws and reposition or level the bar until you are happy with the result.
By testing and adjusting the towel bar, you can ensure that it is securely installed, functions as intended, and adds aesthetic appeal to your bathroom. Taking the time to properly test and make any necessary adjustments will result in a towel bar that not only looks great but also serves its purpose effectively.
With the towel bar tested and adjusted, you have successfully completed the installation process. Now, step back and admire your newly upgraded bathroom space!
Read more: How To Arrange Towels On Towel Bar
Conclusion
Replacing a plastic towel bar with a more durable and stylish alternative is a simple yet impactful way to upgrade your bathroom. By following the step-by-step guide outlined in this article, you can successfully complete the process and enjoy the benefits of a new towel bar that enhances both the functionality and aesthetics of your space.
Throughout the journey of replacing the towel bar, we discussed important aspects such as choosing the right tools and materials, removing the old plastic towel bar, selecting a replacement towel bar, preparing the installation area, and finally, installing and adjusting the new towel bar.
Remember to consider factors such as material, length, style, mounting style, and installation difficulty when choosing a replacement towel bar. Take accurate measurements, locate studs or install wall anchors for added support, and ensure a level and secure installation.
Once your new towel bar is installed, test its weight capacity, check for any wobbling, and make any necessary adjustments to achieve the desired appearance and functionality. By carefully going through these steps, you’ll be able to enjoy a towel bar that not only serves its purpose but also enhances the overall look of your bathroom.
Now that you have the knowledge and confidence to replace a plastic towel bar, it’s time to get started on your bathroom upgrade project. With a few simple tools and the right replacement towel bar, you can transform your bathroom into a more stylish and functional space.
Remember to always refer to the specific instructions provided by the manufacturer of your towel bar for any additional or specific requirements. Enjoy your new towel bar and the upgraded experience it brings to your bathroom!
Frequently Asked Questions about How To Replace Plastic Towel Bar
Was this page helpful?
At Storables.com, we guarantee accurate and reliable information. Our content, validated by Expert Board Contributors, is crafted following stringent Editorial Policies. We're committed to providing you with well-researched, expert-backed insights for all your informational needs.


0 thoughts on “How To Replace Plastic Towel Bar”