Articles
How To Repair Towel Bar In The Bathroom
Modified: October 20, 2024
Learn effective tips and techniques on how to repair a towel bar in your bathroom with our informative articles. Start fixing your towel bar today!
(Many of the links in this article redirect to a specific reviewed product. Your purchase of these products through affiliate links helps to generate commission for Storables.com, at no extra cost. Learn more)
Introduction
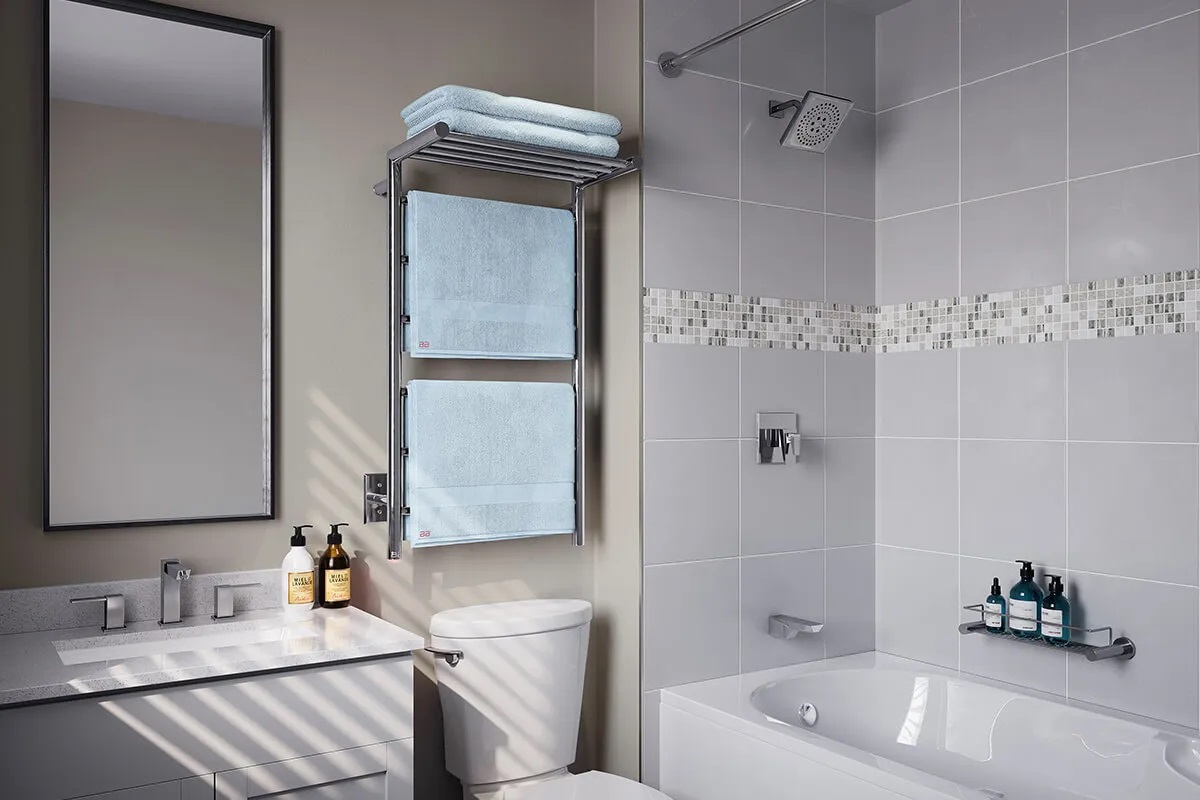
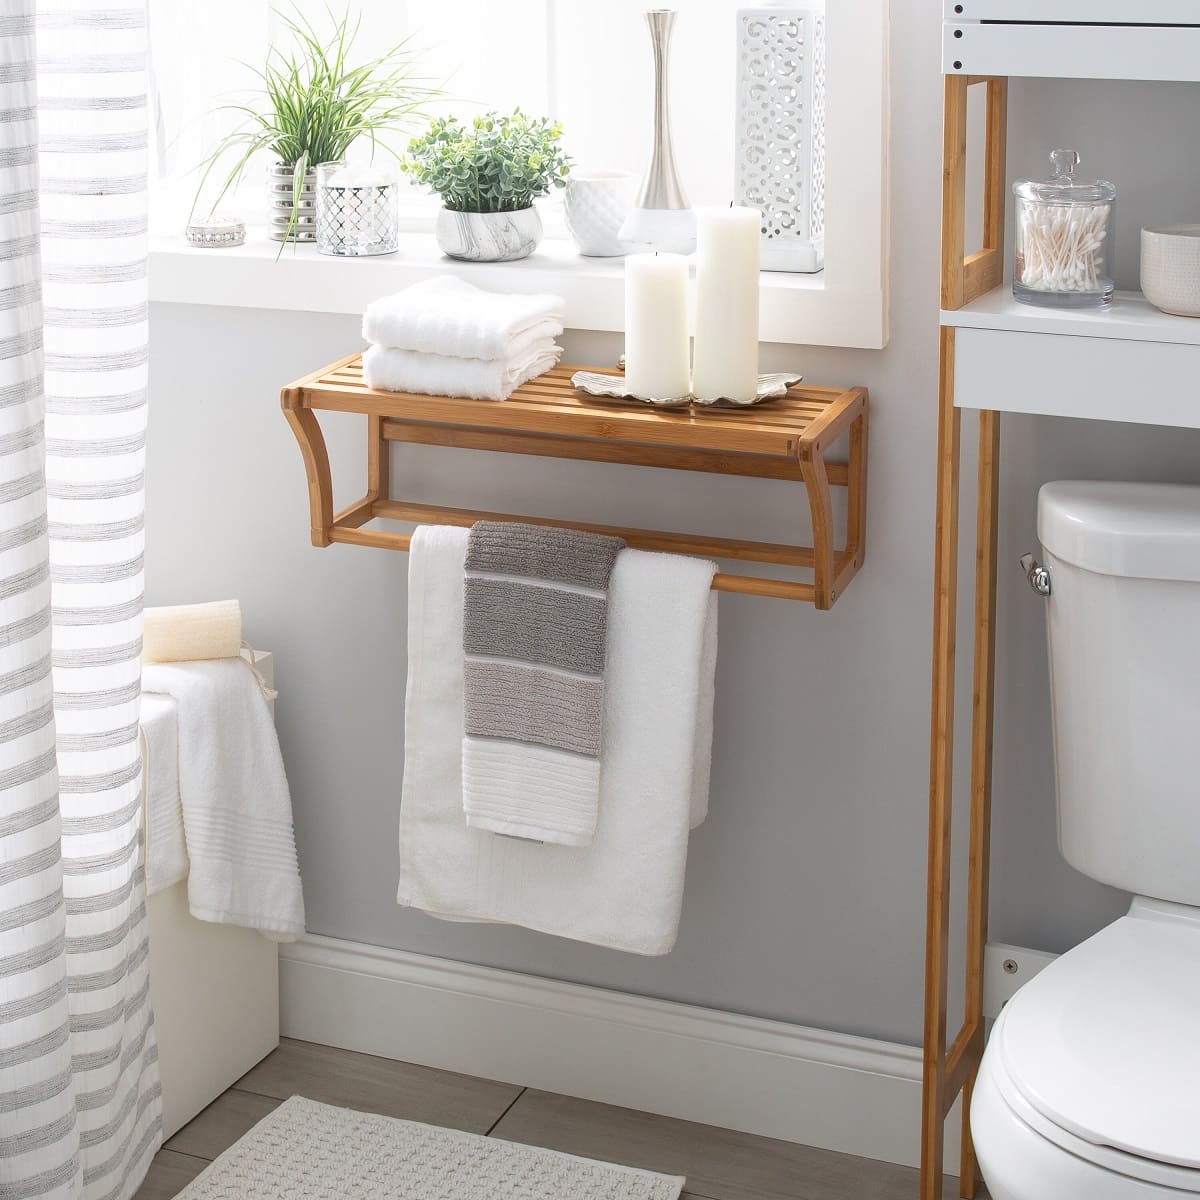
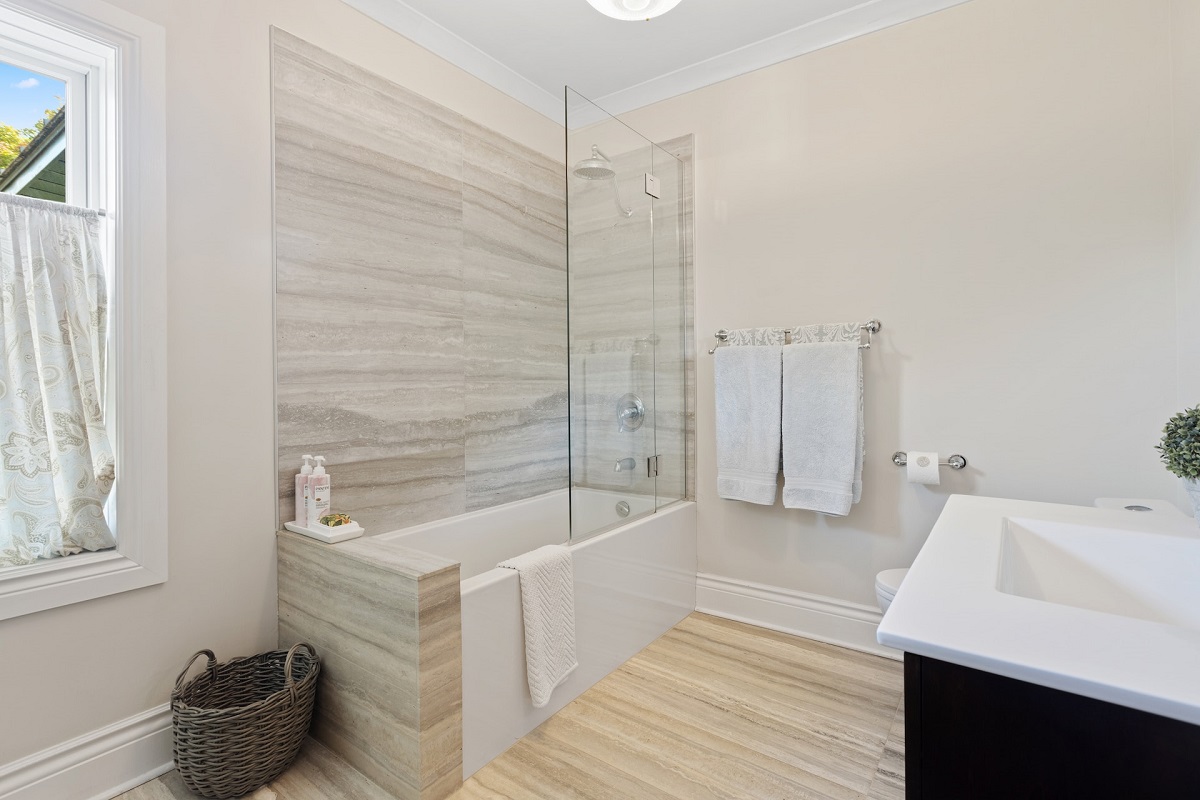
Having a functional towel bar in the bathroom is essential for keeping your towels organized and easily accessible. However, over time, these towel bars can become loose or damaged, making them ineffective and potentially causing further damage to the wall. If you find yourself in this situation, fear not! Repairing a towel bar in the bathroom is a relatively simple and straightforward task that you can tackle yourself with just a few tools and materials.
In this article, we will guide you through the step-by-step process of repairing a towel bar in your bathroom, from assessing the damage to securing the towel bar back in place. Whether your towel bar is loose, broken, or completely detached from the wall, we’ve got you covered.
Before we dive into the repair process, let’s make sure you have all the necessary tools and materials at hand.
Key Takeaways:
- Easily repair and replace a towel bar in the bathroom with simple tools and materials, ensuring a sturdy and functional towel-hanging solution. Follow step-by-step instructions for a seamless DIY project.
- Assess, remove, repair, and secure the towel bar to achieve a fully functional and visually appealing bathroom accessory. Test and adjust for stability, and enjoy the convenience of a well-maintained towel bar.
Tools and Materials Needed
- Phillips head screwdriver
- Adjustable wrench
- Drill (optional)
- Wall anchors (if necessary)
- Screws
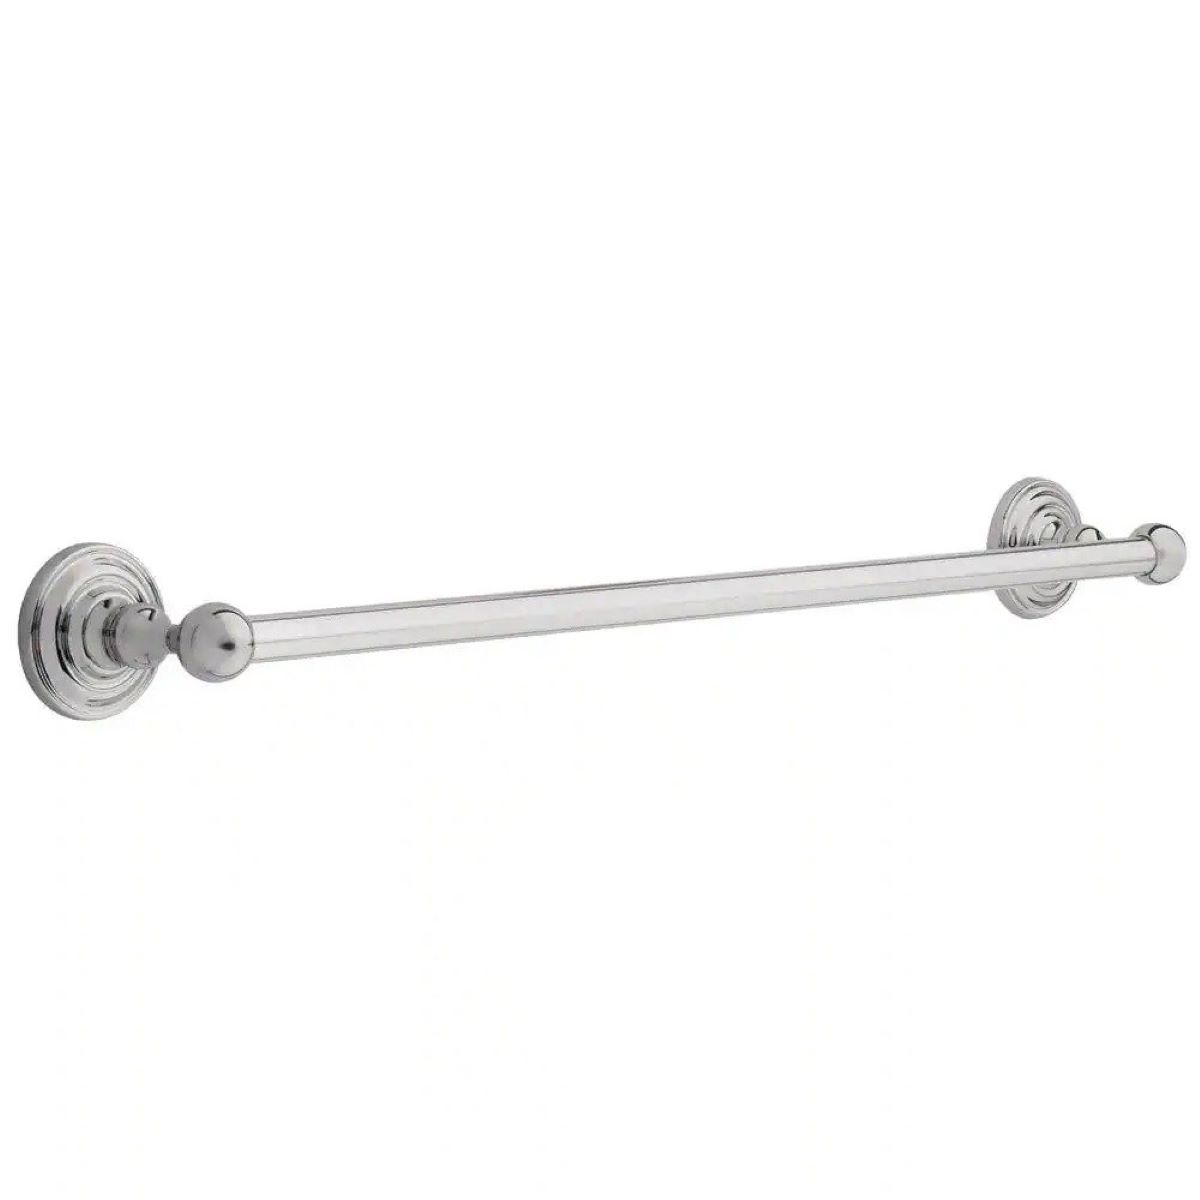
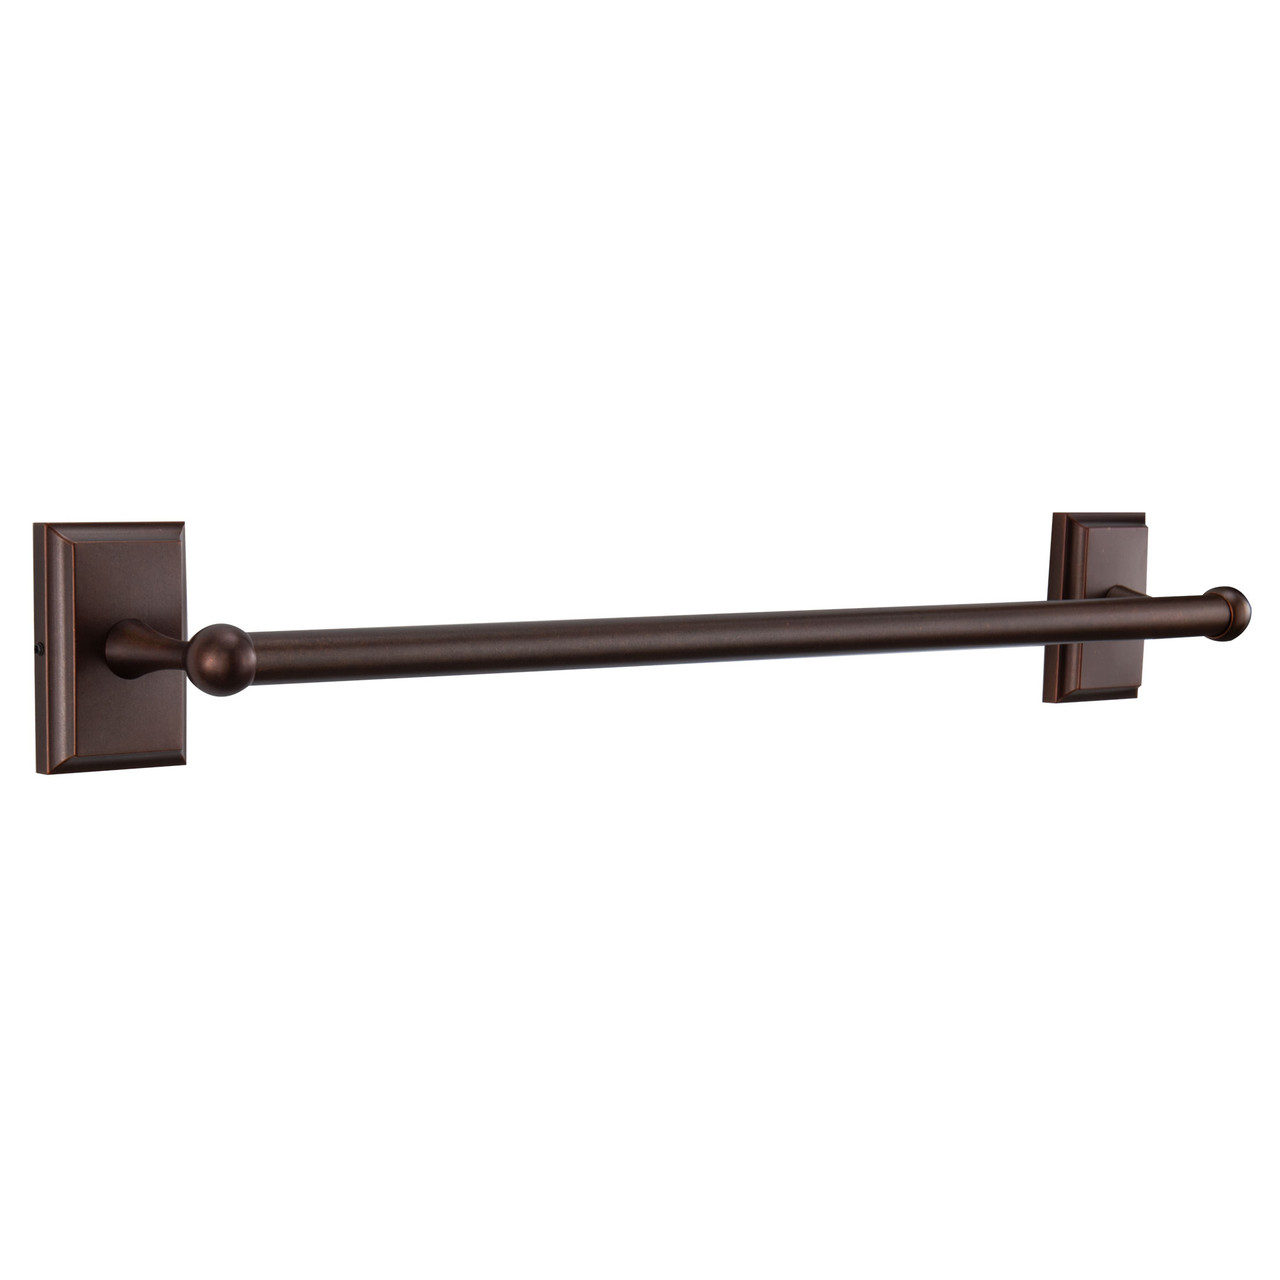
- Towel bar replacement
- Level
- Pencil
- Measuring tape
- Putty knife
- Drywall compound
- Sanding block
- Paint or primer (to match the wall color)
- Paintbrush or roller
- Dust cloth
Make sure you have all these tools and materials before starting the repair process. Having them on hand will help you complete the project smoothly and efficiently.
Step 1: Assess the Damage
The first step in repairing a towel bar in the bathroom is to assess the extent of the damage. This will help you determine the best course of action to repair or replace the towel bar.
Start by inspecting the towel bar and the mounting brackets. Look for any visible signs of damage, such as cracks, broken pieces, or loose screws. If the towel bar is completely detached from the wall, carefully remove it and examine the wall mounting brackets.
Next, check the condition of the wall around the mounting brackets. Look for any holes, cracks, or damage to the drywall. If the damage is minor, it can likely be patched and repaired. However, if the damage is extensive or the wall is heavily damaged, you may need to consider replacing the mounting brackets or even the entire towel bar system.
Take measurements of the towel bar and note any specifications or special features that may affect the repair process. This will help you when selecting a replacement towel bar, ensuring it fits properly and matches the existing hardware.
Once you have assessed the damage and determined the necessary repairs, you can proceed to the next steps in the repair process. Remember to exercise caution when handling broken or sharp objects and work in a well-ventilated area if using any chemicals or substances during the repair.
Step 2: Remove the Damaged Towel Bar
Now that you have assessed the damage and identified the necessary repairs, it’s time to remove the damaged towel bar from the bathroom wall. Follow these steps to safely remove the towel bar:
- Locate the screws or mounting hardware that secure the towel bar to the wall. These are typically found on each end of the bar and may be covered by decorative end caps.
- Using a Phillips head screwdriver, carefully remove the screws from the mounting brackets. If the screws are rusted or stripped, you may need to use an adjustable wrench or pliers to grip and turn them.
- If the towel bar is glued or adhered to the wall, gently pry it away using a putty knife. Be cautious not to damage the wall surface or surrounding tiles.
- Once the towel bar is detached from the wall, set it aside for now.
With the damaged towel bar removed, you can now move on to repairing the wall mounting brackets in the next step.
Note: If your towel bar was soldered or welded to the wall, you may need to consult a professional plumber or handyman for assistance with removing it.
Step 3: Repair the Wall Mounting Bracket
With the damaged towel bar removed, it’s time to focus on repairing the wall mounting brackets. Follow these steps to repair the brackets:
- Examine the mounting brackets for any damage or cracks. If the brackets are still in good condition, you can skip to the next step. However, if they are damaged, you will need to replace them with new brackets. Measure the dimensions of the existing brackets to ensure the replacement brackets are the correct size.
- If the brackets are reusable, clean them with a damp cloth to remove any dirt or debris. This will provide a clean surface for proper attachment of the new towel bar.
- If the brackets were attached with wall anchors, check the condition of the anchors. If they are loose or damaged, remove them and replace them with new wall anchors. Use a drill to remove the old anchors and follow the manufacturer’s instructions for installing the new ones.
- If the wall surrounding the brackets is damaged, you will need to repair it before proceeding. Use a putty knife to apply a thin layer of drywall compound over the damaged area. Smooth it out and allow it to dry according to the compound’s instructions. Once dry, sand the area to create a smooth surface.
- If necessary, prime and paint the patched area to match the surrounding wall. Let the paint dry completely.
Once the wall mounting brackets are repaired or replaced, you can move on to installing the new towel bar in the next step.
If the towel bar is loose, try tightening the screws or brackets with a screwdriver. If it’s broken, consider replacing it with a new one that matches the existing hardware.
Read more: How To Install A Moen Towel Bar
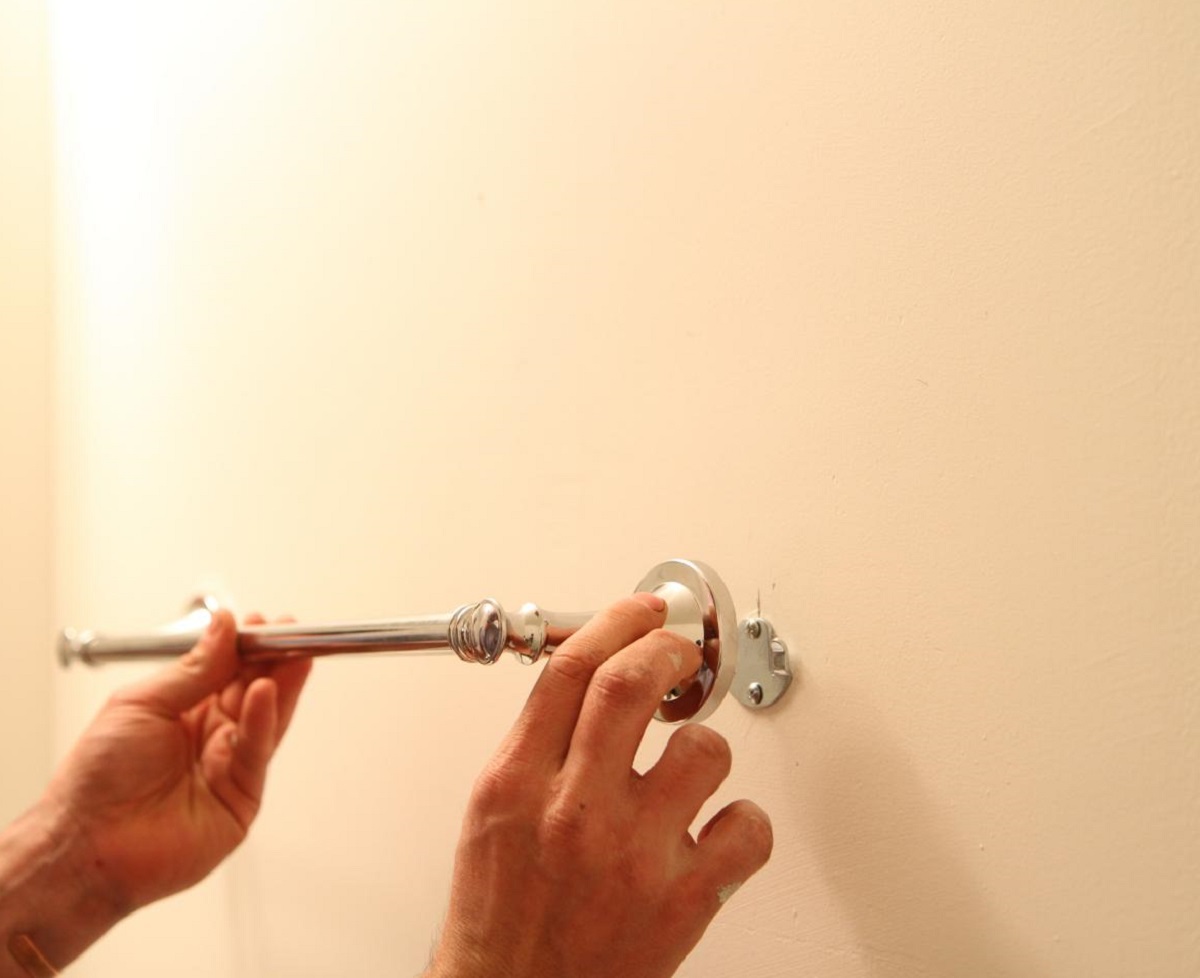
Step 4: Replace the Towel Bar
Now that the wall mounting brackets are repaired or replaced, it’s time to install the new towel bar. Follow these steps to replace the towel bar:
- Before attaching the towel bar, measure and mark the desired height for the new bar using a pencil. Use a level to ensure the marks are straight.
- If the new towel bar comes with decorative end caps, attach them to each end of the bar according to the manufacturer’s instructions.
- Align the holes in the mounting brackets with the marked pencil lines on the wall.
- If the towel bar uses screws, insert the screws through the holes in the brackets and into the wall. Use a screwdriver to tighten the screws securely.
- If the towel bar uses a different attachment system, such as a clip or snap mechanism, follow the manufacturer’s instructions for attaching the towel bar to the brackets.
- Once the towel bar is attached to the brackets, give it a gentle tug to ensure it is securely in place.
Congratulations! You have successfully replaced the towel bar in your bathroom. However, before considering the repair process complete, there are a few more steps to ensure the towel bar is securely installed.
Step 5: Secure the Towel Bar in Place
While you have successfully replaced the towel bar in the previous step, it’s important to ensure that it is securely fastened and will not come loose. Follow these steps to properly secure the towel bar:
- Using a level, check that the towel bar is straight and level. Make any necessary adjustments by loosening the screws and repositioning the bar.
- Tighten the screws or fasteners that secure the towel bar to the mounting brackets. Ensure that they are snug but not over-tightened, as this can cause damage.
- Give the towel bar a gentle tug to test its stability. If it feels loose, double-check the screws or fasteners and tighten them further.
- If your towel bar is longer or will hold heavier towels, consider using wall anchors for added support. Remove the screws, insert the wall anchors into the wall, and then reattach the towel bar, making sure the screws go through the wall anchors.
By properly securing the towel bar, you can ensure its longevity and prevent any future issues with loosening or detachment.
Once the towel bar is securely in place, you’re almost done! There’s just one more step to ensure everything is working as it should.
Step 6: Test and Adjust
With the towel bar securely installed, it’s time to test its functionality and make any necessary adjustments. Follow these steps to test and adjust the towel bar:
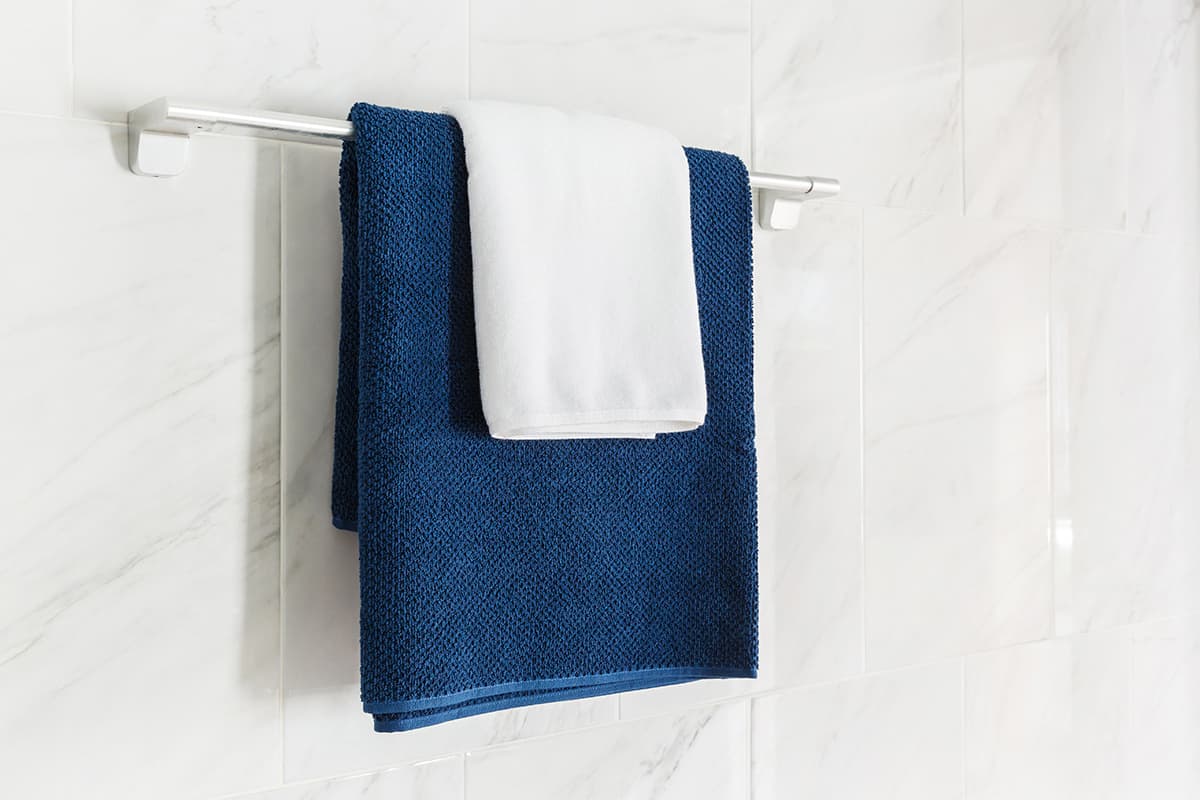
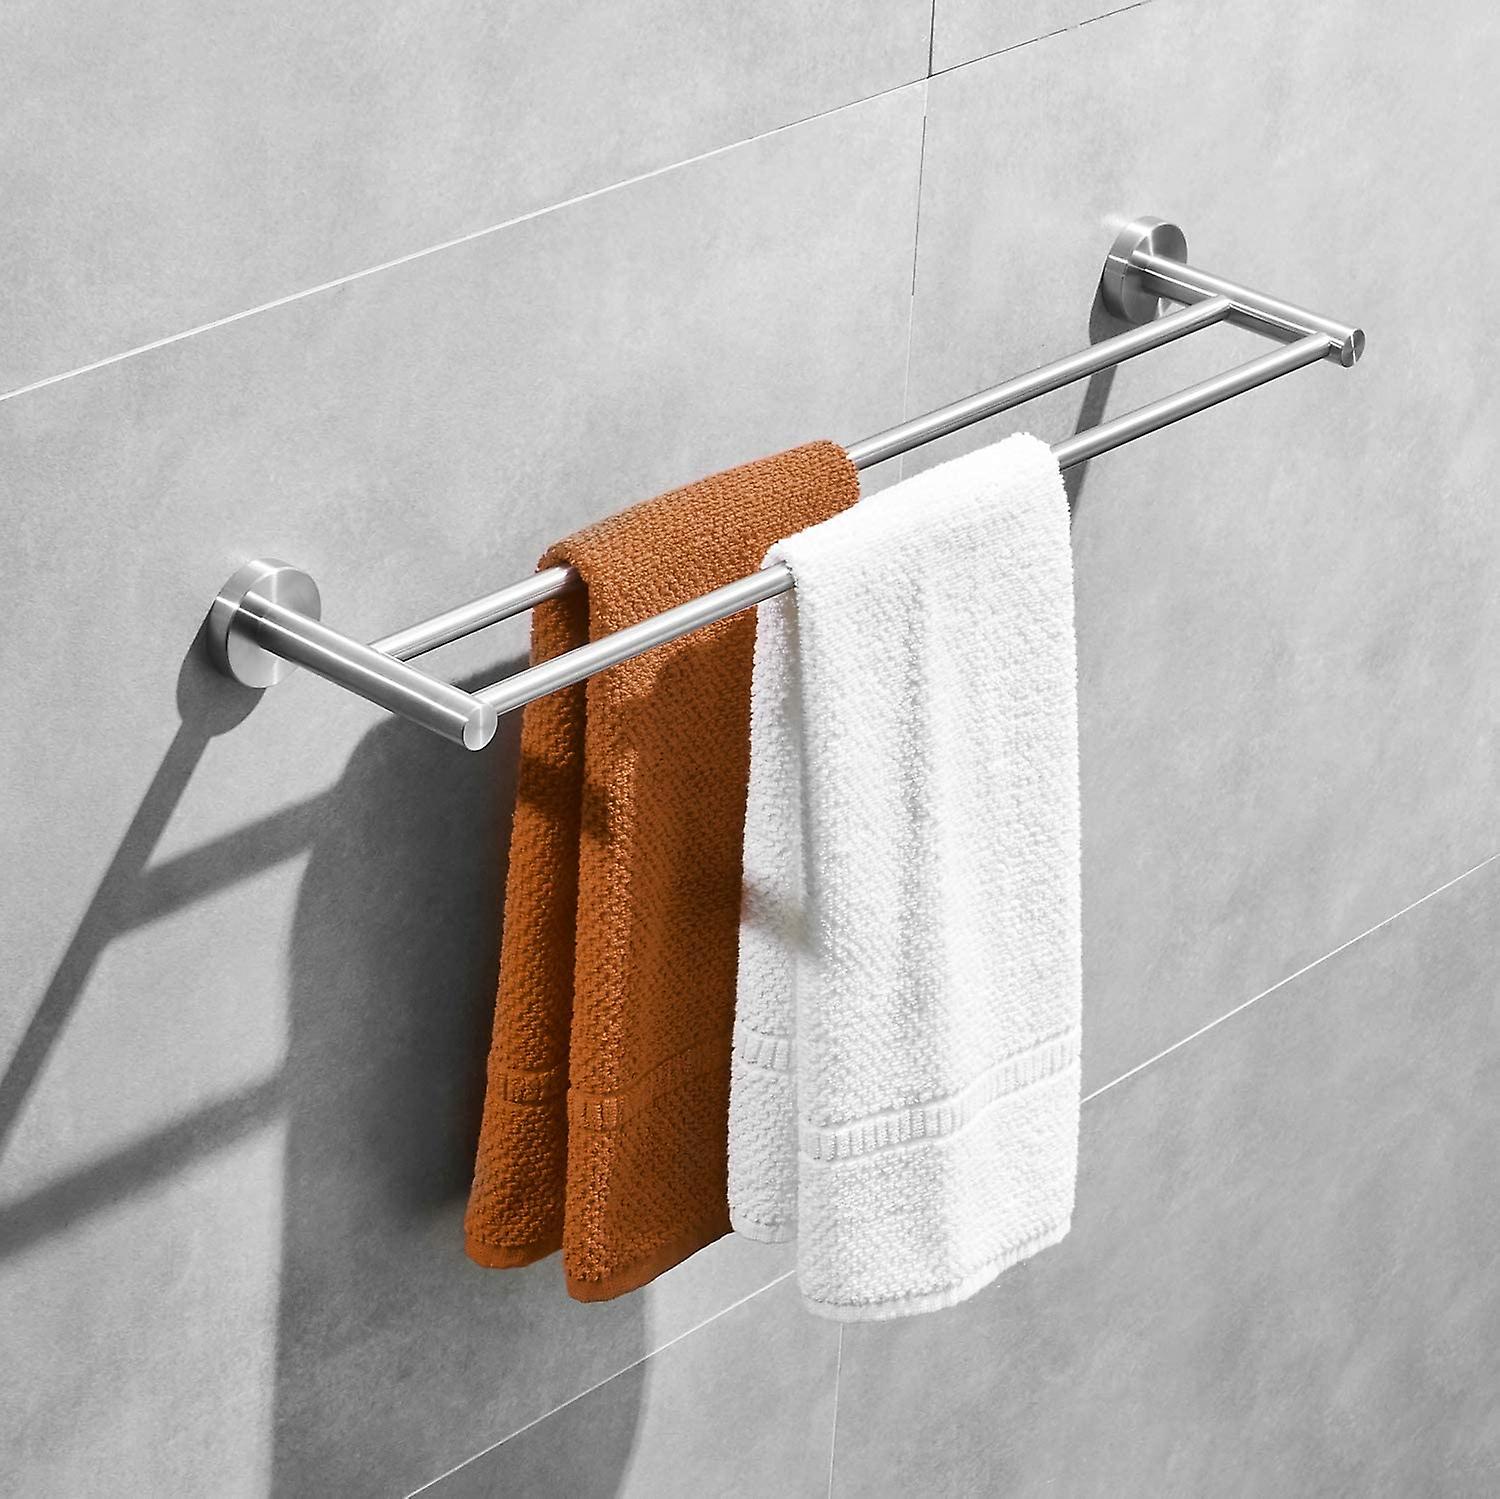
- Hang a towel or two on the bar to test its weight-bearing capacity. Make sure the towel bar can comfortably support the weight without sagging or pulling away from the wall.
- Gently pull on the towels to ensure that the towel bar remains stable and doesn’t move or come loose from the wall.
- If you notice any issues such as sagging or instability, consider reinforcing the towel bar’s attachment by adding additional screws or wall anchors.
- Check the alignment of the towel bar to ensure that it is straight and level. Make any necessary adjustments by loosening the screws and repositioning the bar if needed.
- Finally, carefully inspect the surrounding area for any visible damage or gaps. If necessary, fill in any gaps or touch up the paint to ensure a seamless appearance.
By performing these tests and adjustments, you can ensure that your repaired towel bar is fully functional and aesthetically pleasing.
Congratulations! You have successfully repaired and replaced the towel bar in your bathroom. Now you can enjoy a sturdy and convenient place to hang your towels.
Remember, regular maintenance and occasional inspections will help keep your towel bar in good condition and prevent future issues. If you encounter any major or persistent problems, it’s always a good idea to consult a professional for assistance.
Thank you for following this step-by-step guide. We hope it has been helpful and that you now have the confidence to tackle other DIY projects in your home.
Conclusion
Repairing a towel bar in the bathroom doesn’t have to be a daunting task. With the right tools, materials, and a bit of know-how, you can easily restore the functionality and aesthetic appeal of your towel bar. By following the step-by-step guide outlined in this article, you can confidently tackle the repair process and achieve great results.
Remember to start by assessing the damage and determining the necessary repairs. Remove the damaged towel bar and repair or replace the wall mounting brackets as needed. Once the brackets are in good condition, proceed to replace the towel bar, ensuring it is securely attached to the wall.
Take the time to test the towel bar’s stability, adjust as necessary, and make any final touch-ups to ensure a seamless finish. By following these steps, you can have a fully functional and visually appealing towel bar in your bathroom once again.
Regular maintenance and periodic checks will help prolong the life of your towel bar and prevent future issues. Take the time to inspect it for any signs of damage or looseness to address them promptly and keep your towel bar in excellent condition.
Thank you for following this guide on how to repair a towel bar in the bathroom. We hope you find success in your DIY project and enjoy the convenience and organization your towel bar brings. Happy repairing!
Frequently Asked Questions about How To Repair Towel Bar In The Bathroom
Was this page helpful?
At Storables.com, we guarantee accurate and reliable information. Our content, validated by Expert Board Contributors, is crafted following stringent Editorial Policies. We're committed to providing you with well-researched, expert-backed insights for all your informational needs.


0 thoughts on “How To Repair Towel Bar In The Bathroom”