Home>Gardening & Outdoor>Outdoor Structures>How To Fix An RV Awning
Outdoor Structures
How To Fix An RV Awning
Modified: August 17, 2024
Learn how to fix your RV awning with our expert tips and advice. Keep your outdoor structures in top shape with our easy-to-follow guide.
(Many of the links in this article redirect to a specific reviewed product. Your purchase of these products through affiliate links helps to generate commission for Storables.com, at no extra cost. Learn more)
Introduction
Repairing a damaged RV awning can seem like a daunting task, but with the right guidance and a bit of elbow grease, it's a manageable project that can save you time and money. Whether your awning has suffered tears, rips, or structural damage, this comprehensive guide will walk you through the step-by-step process of fixing it. By following these instructions, you can restore your RV awning to its former glory and ensure that it provides reliable shelter during your outdoor adventures.
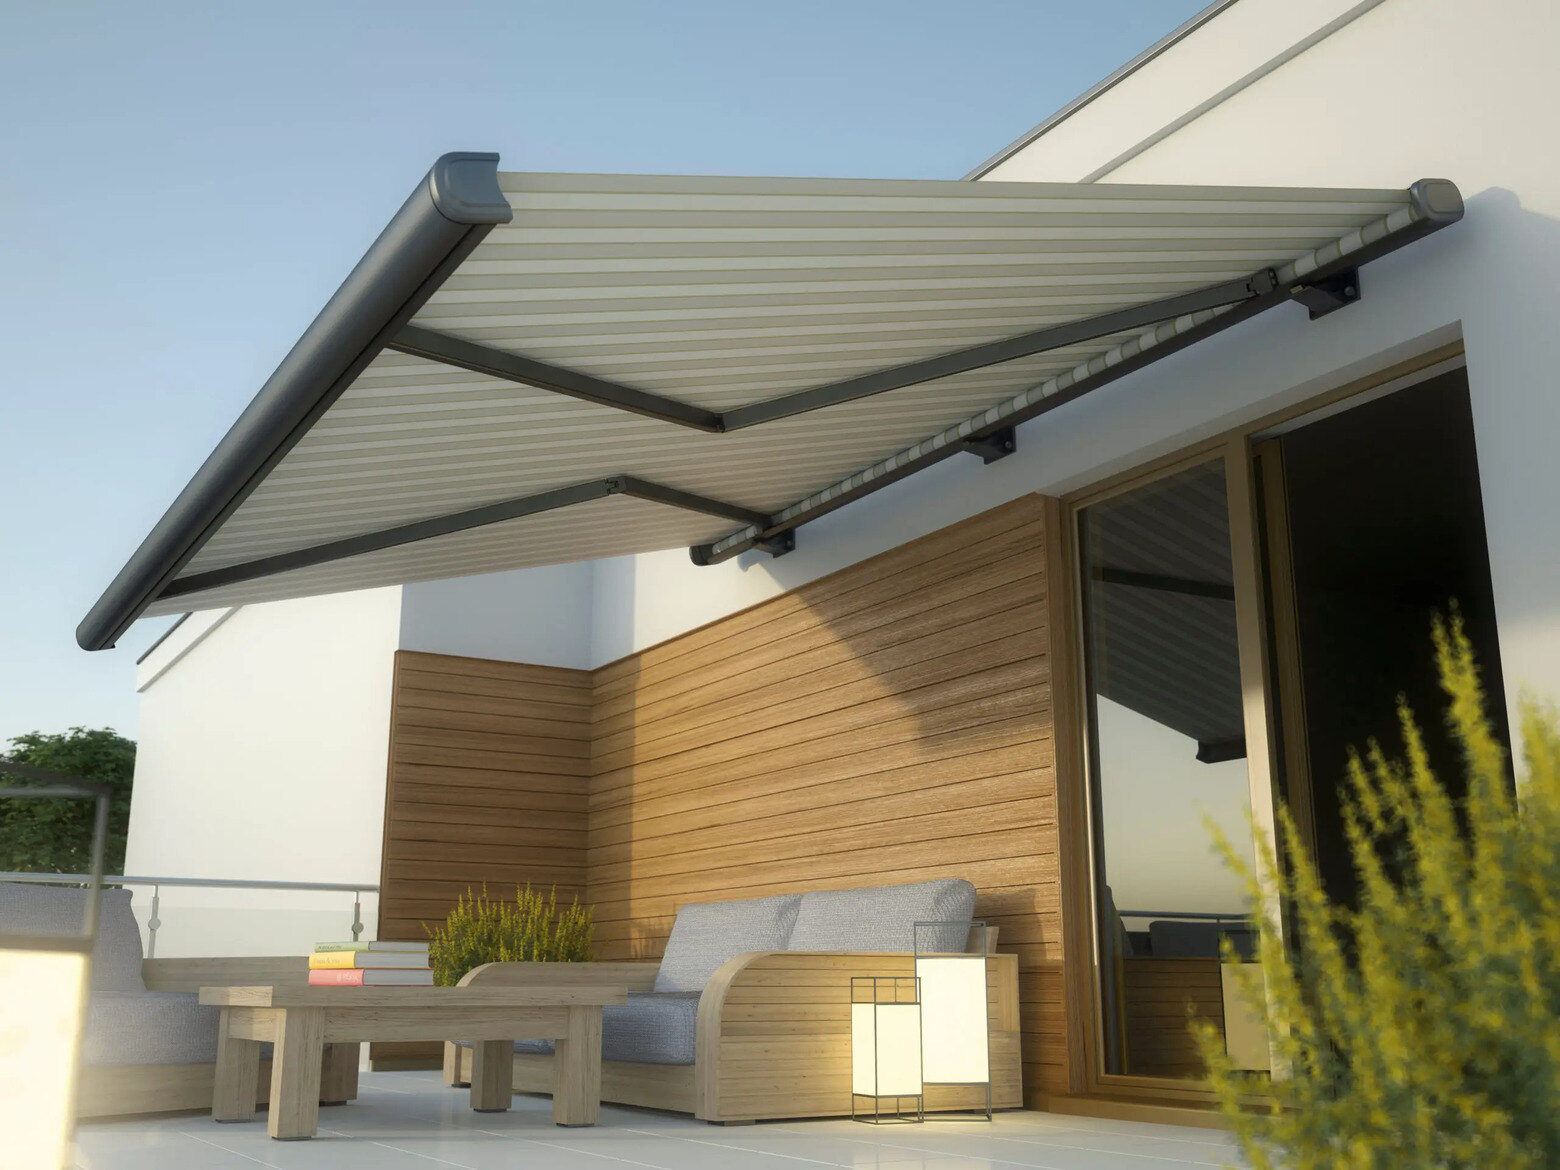
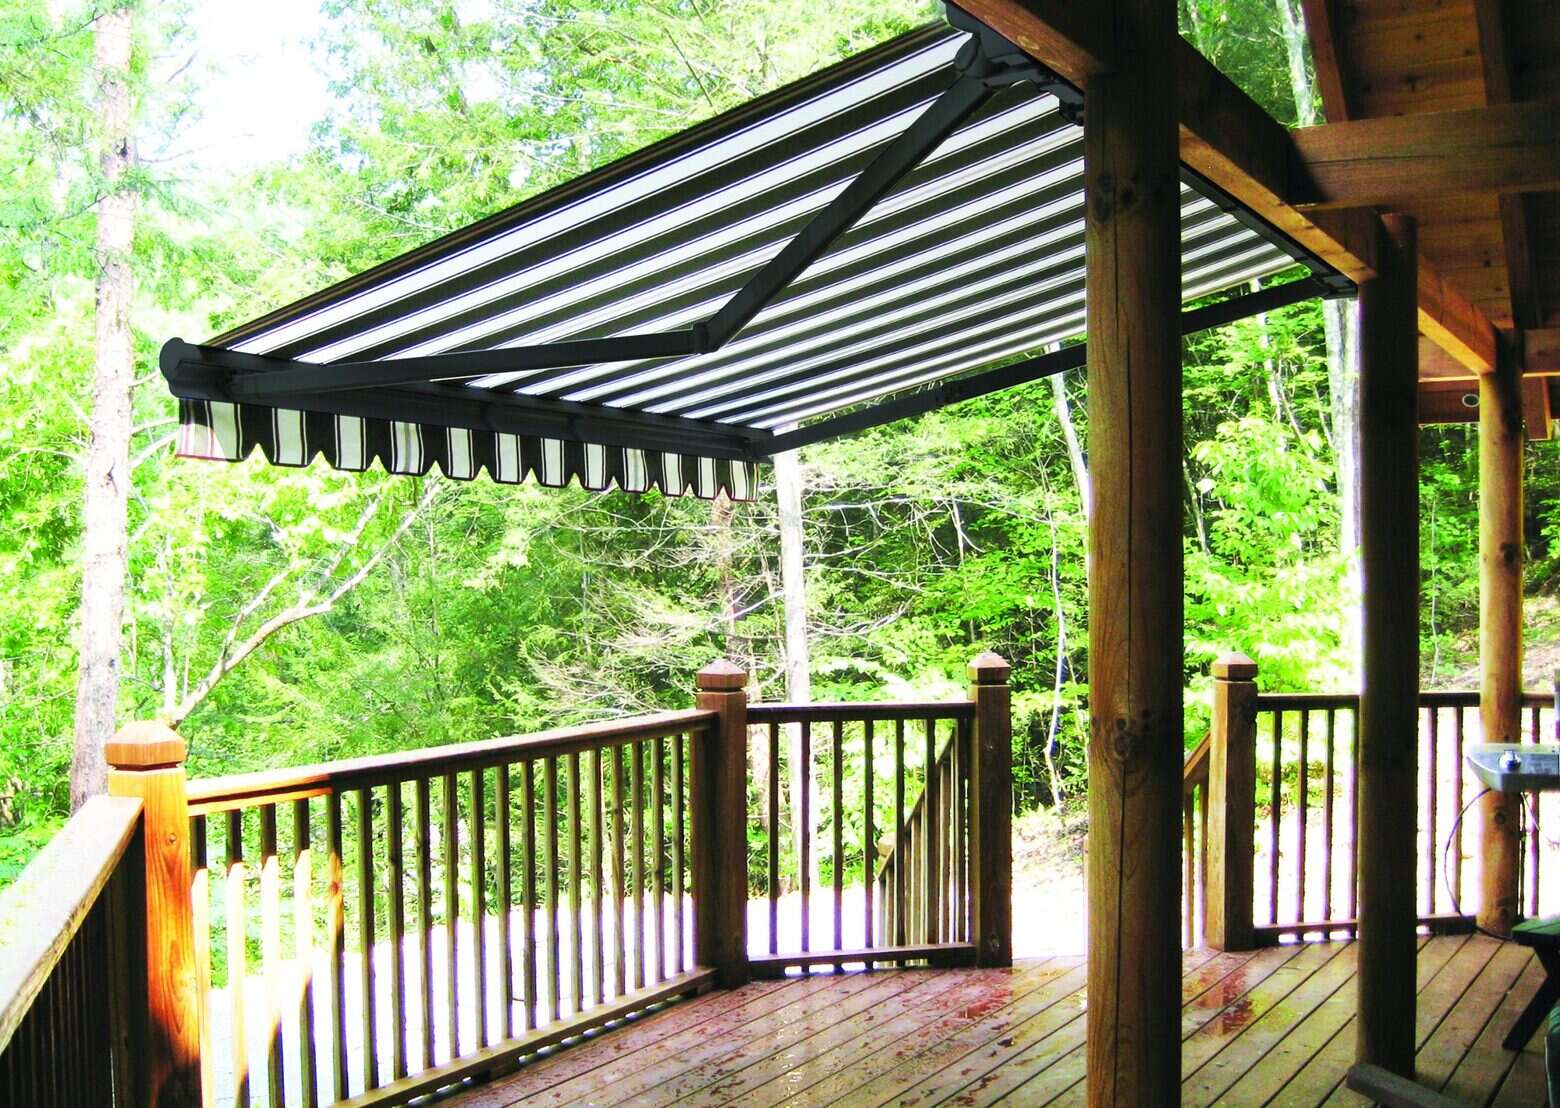
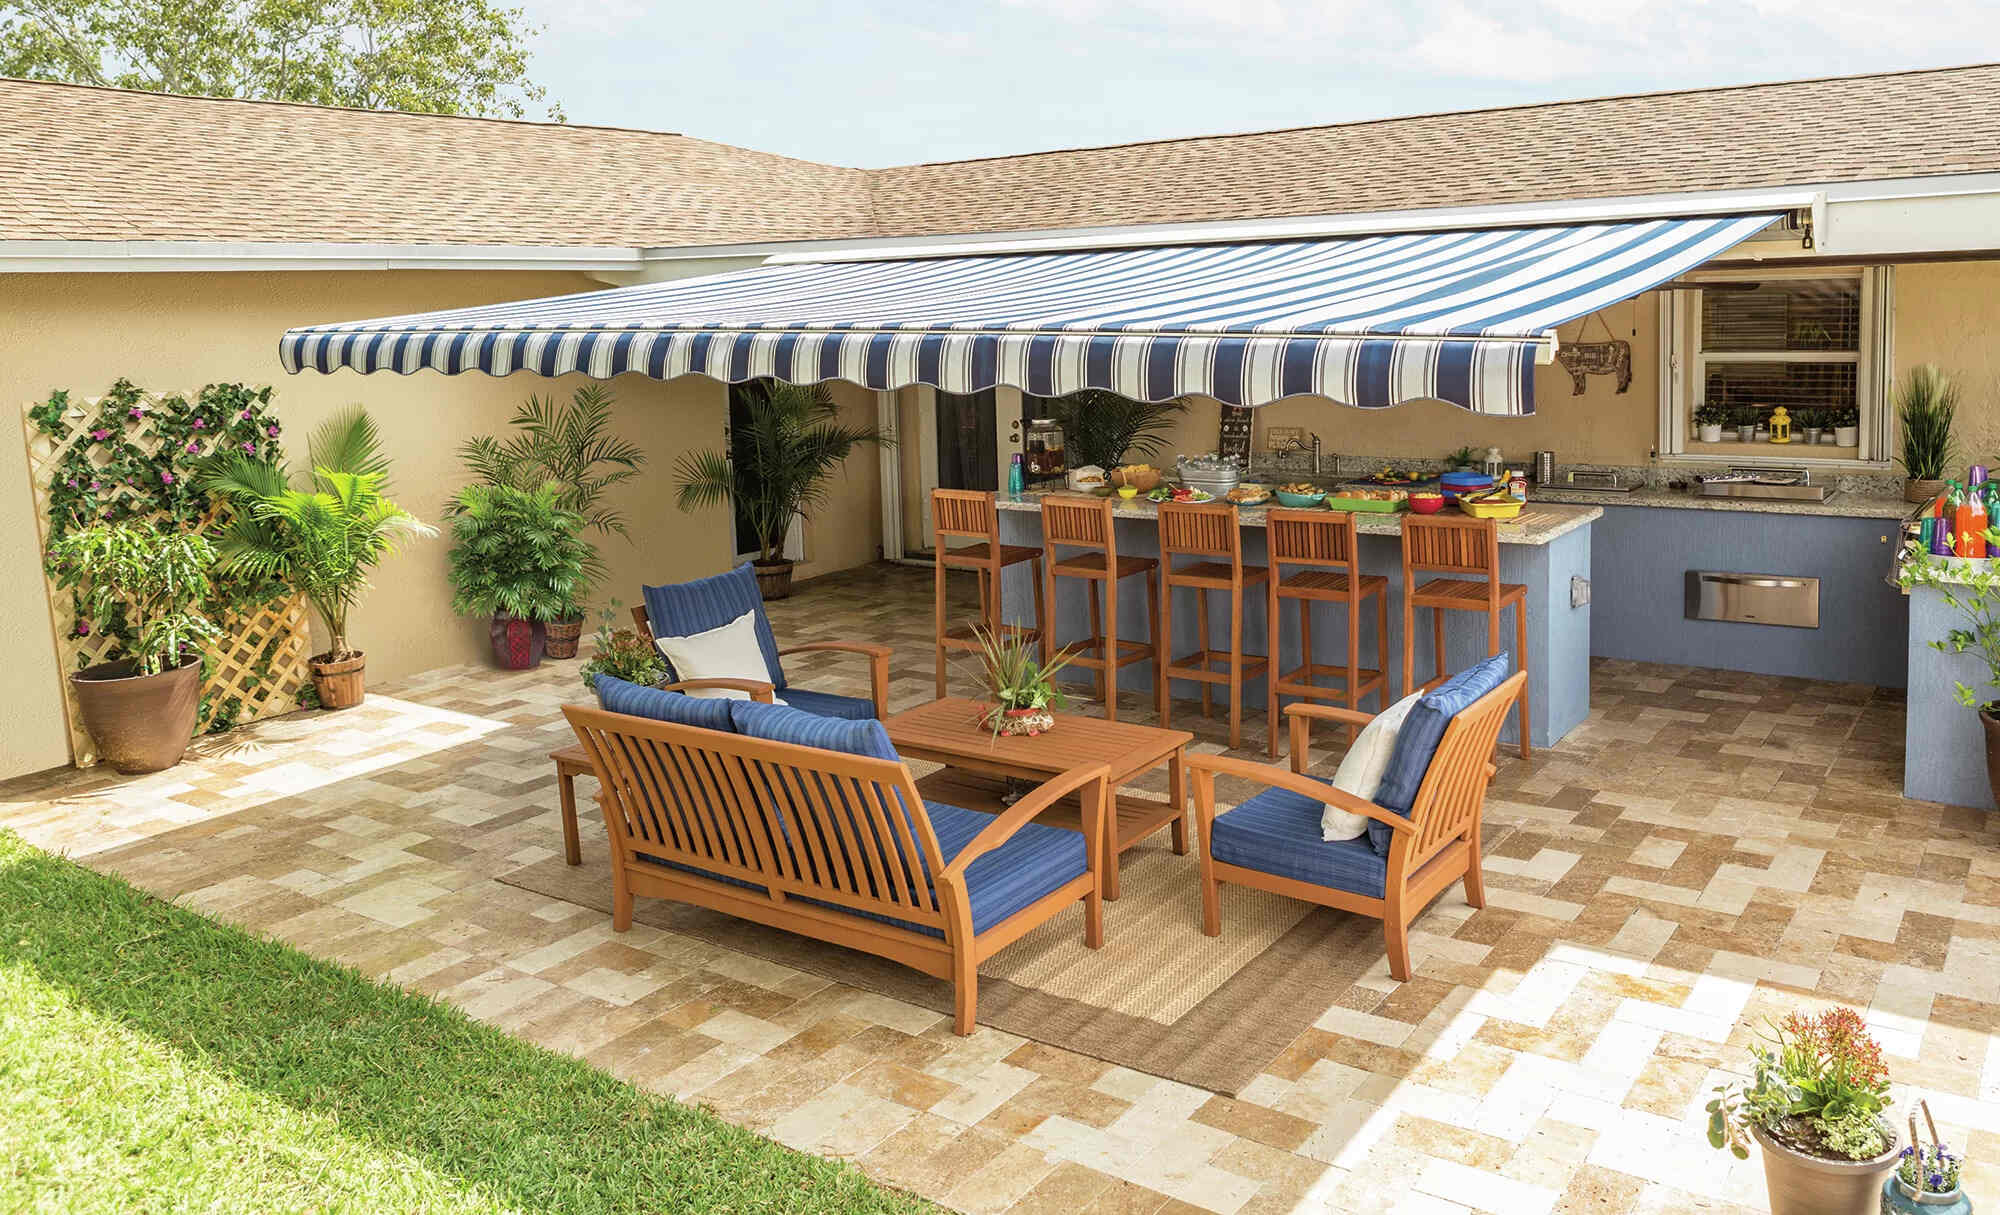
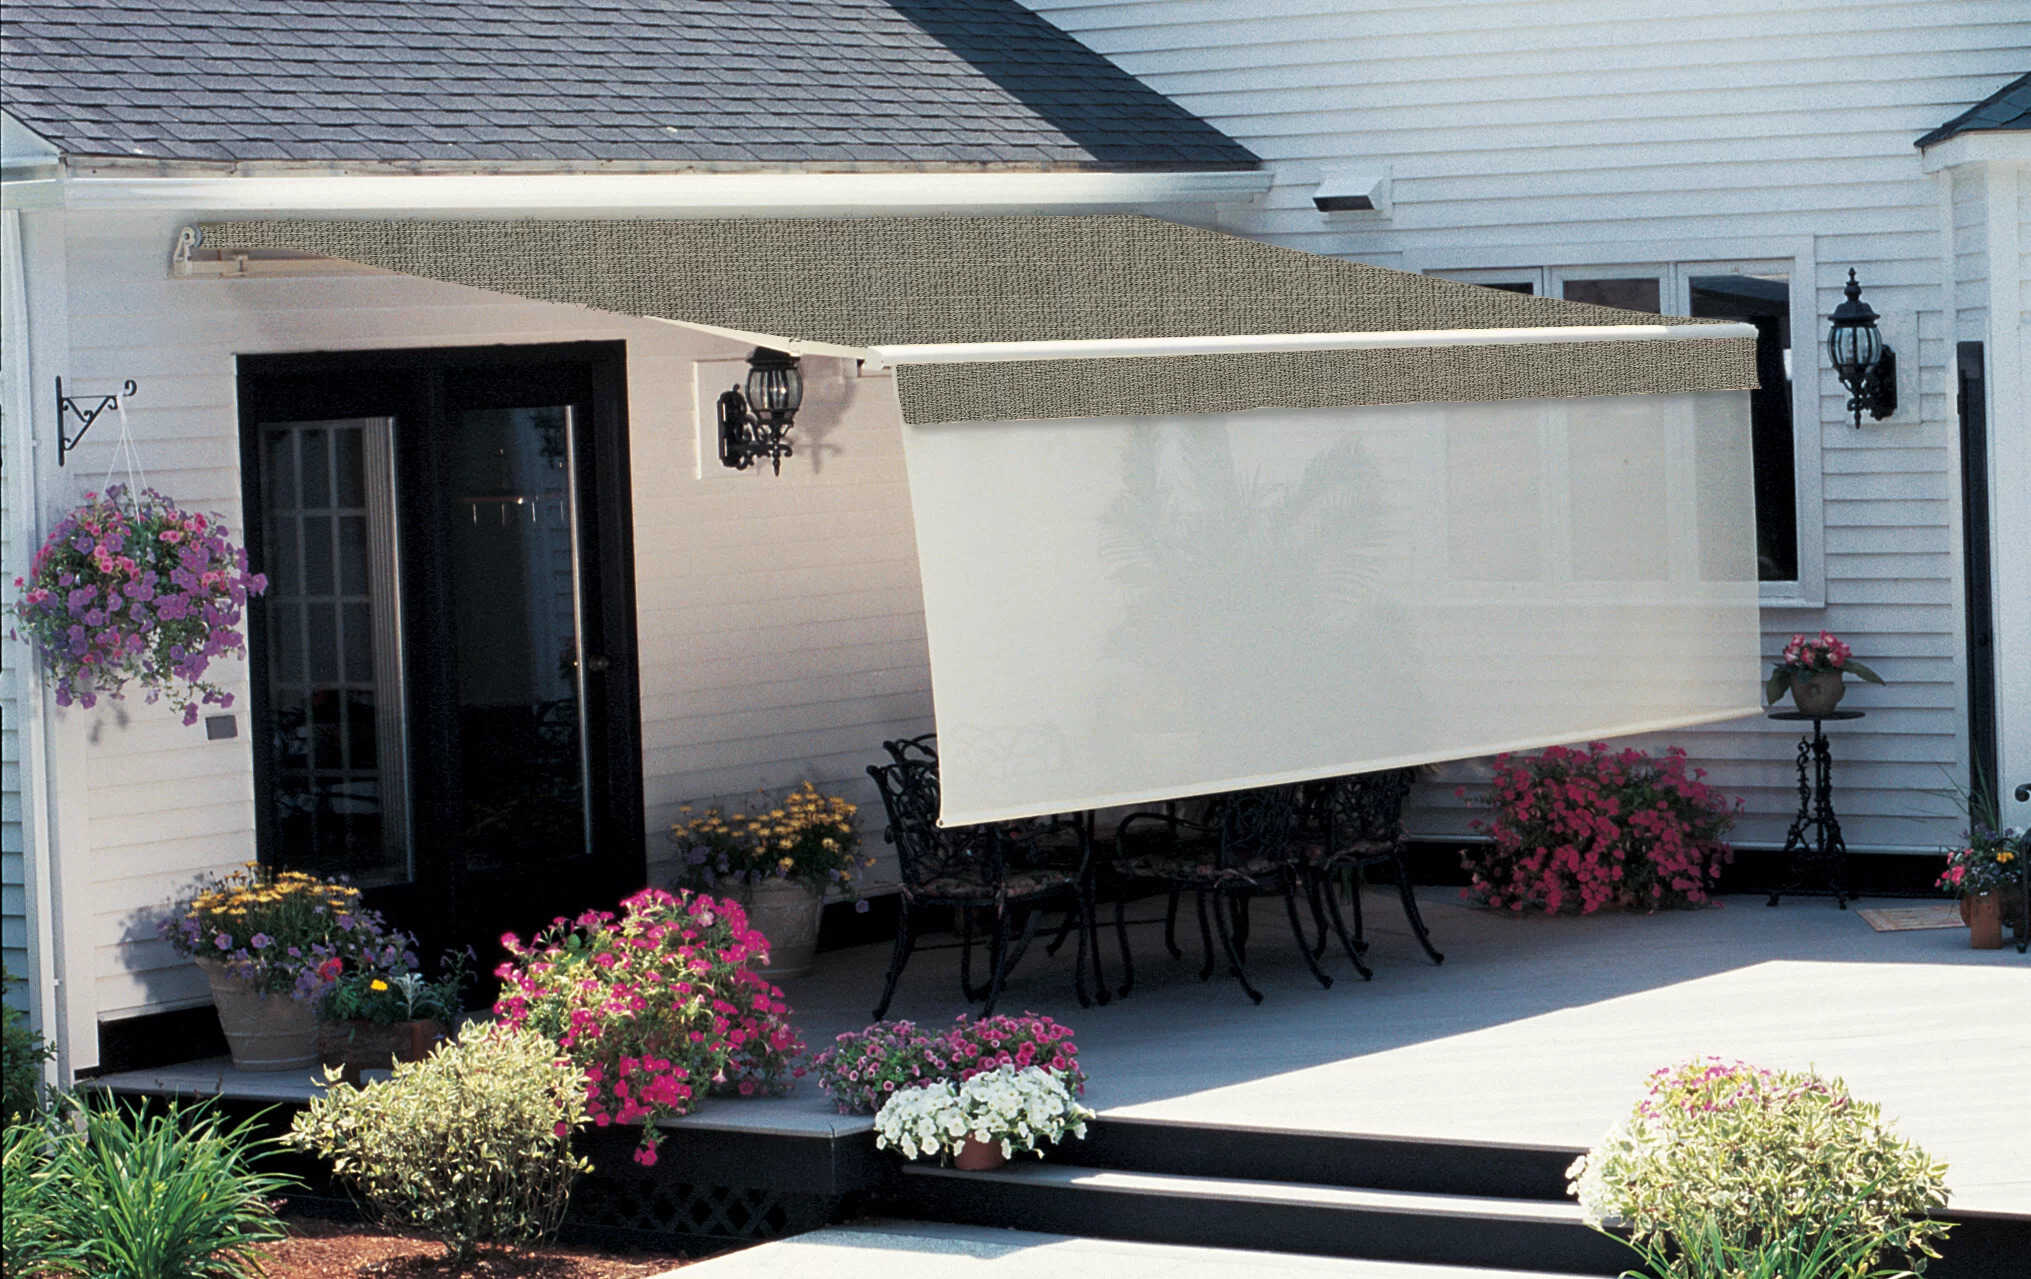
Awnings are an essential feature of any RV, providing shade and protection from the elements. They allow you to create a comfortable outdoor living space, whether you're camping in the woods, parked at a scenic overlook, or tailgating at a sporting event. However, due to their exposure to wind, rain, and sun, awnings are susceptible to wear and tear over time. Common issues include fabric tears, frame damage, and malfunctioning mechanisms. Addressing these problems promptly is crucial to prevent further deterioration and maintain the functionality of your RV awning.
In the following steps, we will cover everything you need to know to repair your RV awning effectively. From assessing the damage and gathering the necessary tools and materials to removing the awning fabric, inspecting and repairing the frame, and replacing the fabric, each stage of the process will be explained in detail. By the end of this guide, you will have the knowledge and confidence to tackle the repair with ease, ensuring that your RV awning is in top condition for your next outdoor excursion.
So, roll up your sleeves and get ready to revive your RV awning. With the right approach and a can-do attitude, you'll soon have your outdoor shelter back in prime condition, ready to enhance your outdoor experiences for years to come. Let's dive into the first step: assessing the damage.
Key Takeaways:
- Don’t let a damaged RV awning ruin your outdoor adventures. With the right tools and materials, you can assess, repair, and replace the fabric to ensure reliable shelter for years to come.
- Thoroughly inspect and test your RV awning after repairs to ensure it operates smoothly. By following the steps in this guide, you can restore your awning’s functionality and enjoy worry-free outdoor experiences.
Read more: How To Retract An RV Awning
Step 1: Assess the damage
Before diving into the repair process, it's crucial to thoroughly assess the extent of the damage to your RV awning. Start by carefully inspecting the fabric for any tears, holes, or signs of wear. Look for fraying edges, loose stitching, or areas where the fabric has become detached from the frame. Additionally, check the awning arms, support legs, and roller tube for any visible damage or misalignment.
Next, evaluate the awning frame for structural issues. Check for bent or broken components, rust or corrosion, and any signs of instability. It's essential to ensure that the frame is in good condition to support the new fabric and maintain the awning's functionality.
Pay close attention to the awning's mechanical components, such as the spring assembly, motor, or manual crank system. Test the operation of the awning to identify any issues with extending, retracting, or locking in place. Listen for unusual sounds or resistance that could indicate underlying problems.
Take note of the specific areas that require attention and make a detailed assessment of the overall condition of the awning. By thoroughly evaluating the damage, you'll be better equipped to plan the necessary repairs and gather the appropriate tools and materials for the job.
Remember, a comprehensive assessment at this stage will set the foundation for a successful repair process, ensuring that all aspects of the awning are addressed effectively. With a clear understanding of the damage, you can proceed with confidence to the next step: gathering the necessary tools and materials.
Step 2: Gather necessary tools and materials
Gathering the essential tools and materials is a crucial preparatory step before embarking on the RV awning repair process. Having the right equipment at your disposal will streamline the repair and ensure that you can address the damage effectively. Here's a comprehensive list of the tools and materials you'll need:
Tools:
- Screwdriver Set: A set of screwdrivers, including both flathead and Phillips head varieties, will be essential for removing screws and disassembling components of the awning.
- Adjustable Wrench: This versatile tool will come in handy for loosening and tightening nuts and bolts during the repair process.
- Pliers: Both regular and needle-nose pliers will be useful for gripping, bending, and manipulating various parts of the awning assembly.
- Rubber Mallet: A rubber mallet can be used to gently tap and adjust components without causing damage.
- Tape Measure: Accurately measuring dimensions and distances is essential when replacing the awning fabric and assessing the alignment of components.
- Utility Knife: A sharp utility knife will facilitate the precise cutting of the new awning fabric to fit the dimensions of your RV awning.
- Ladder or Step Stool: Depending on the height of your RV, a sturdy ladder or step stool will provide safe access to the awning for inspection and repair.
Materials:
- Replacement Awning Fabric: Ensure that you have the correct size and type of fabric to replace the damaged awning material. Consider factors such as color, pattern, and UV protection when selecting the replacement fabric.
- Awning Repair Tape: High-quality, weather-resistant repair tape can be used to temporarily patch small tears or holes in the fabric until a permanent repair is completed.
- Awning Cleaner: A specialized awning cleaner will help remove dirt, grime, and stains from the fabric, preparing it for the installation of the new material.
- Awning Lubricant: Lubricating the moving parts of the awning mechanism will ensure smooth operation and prevent premature wear.
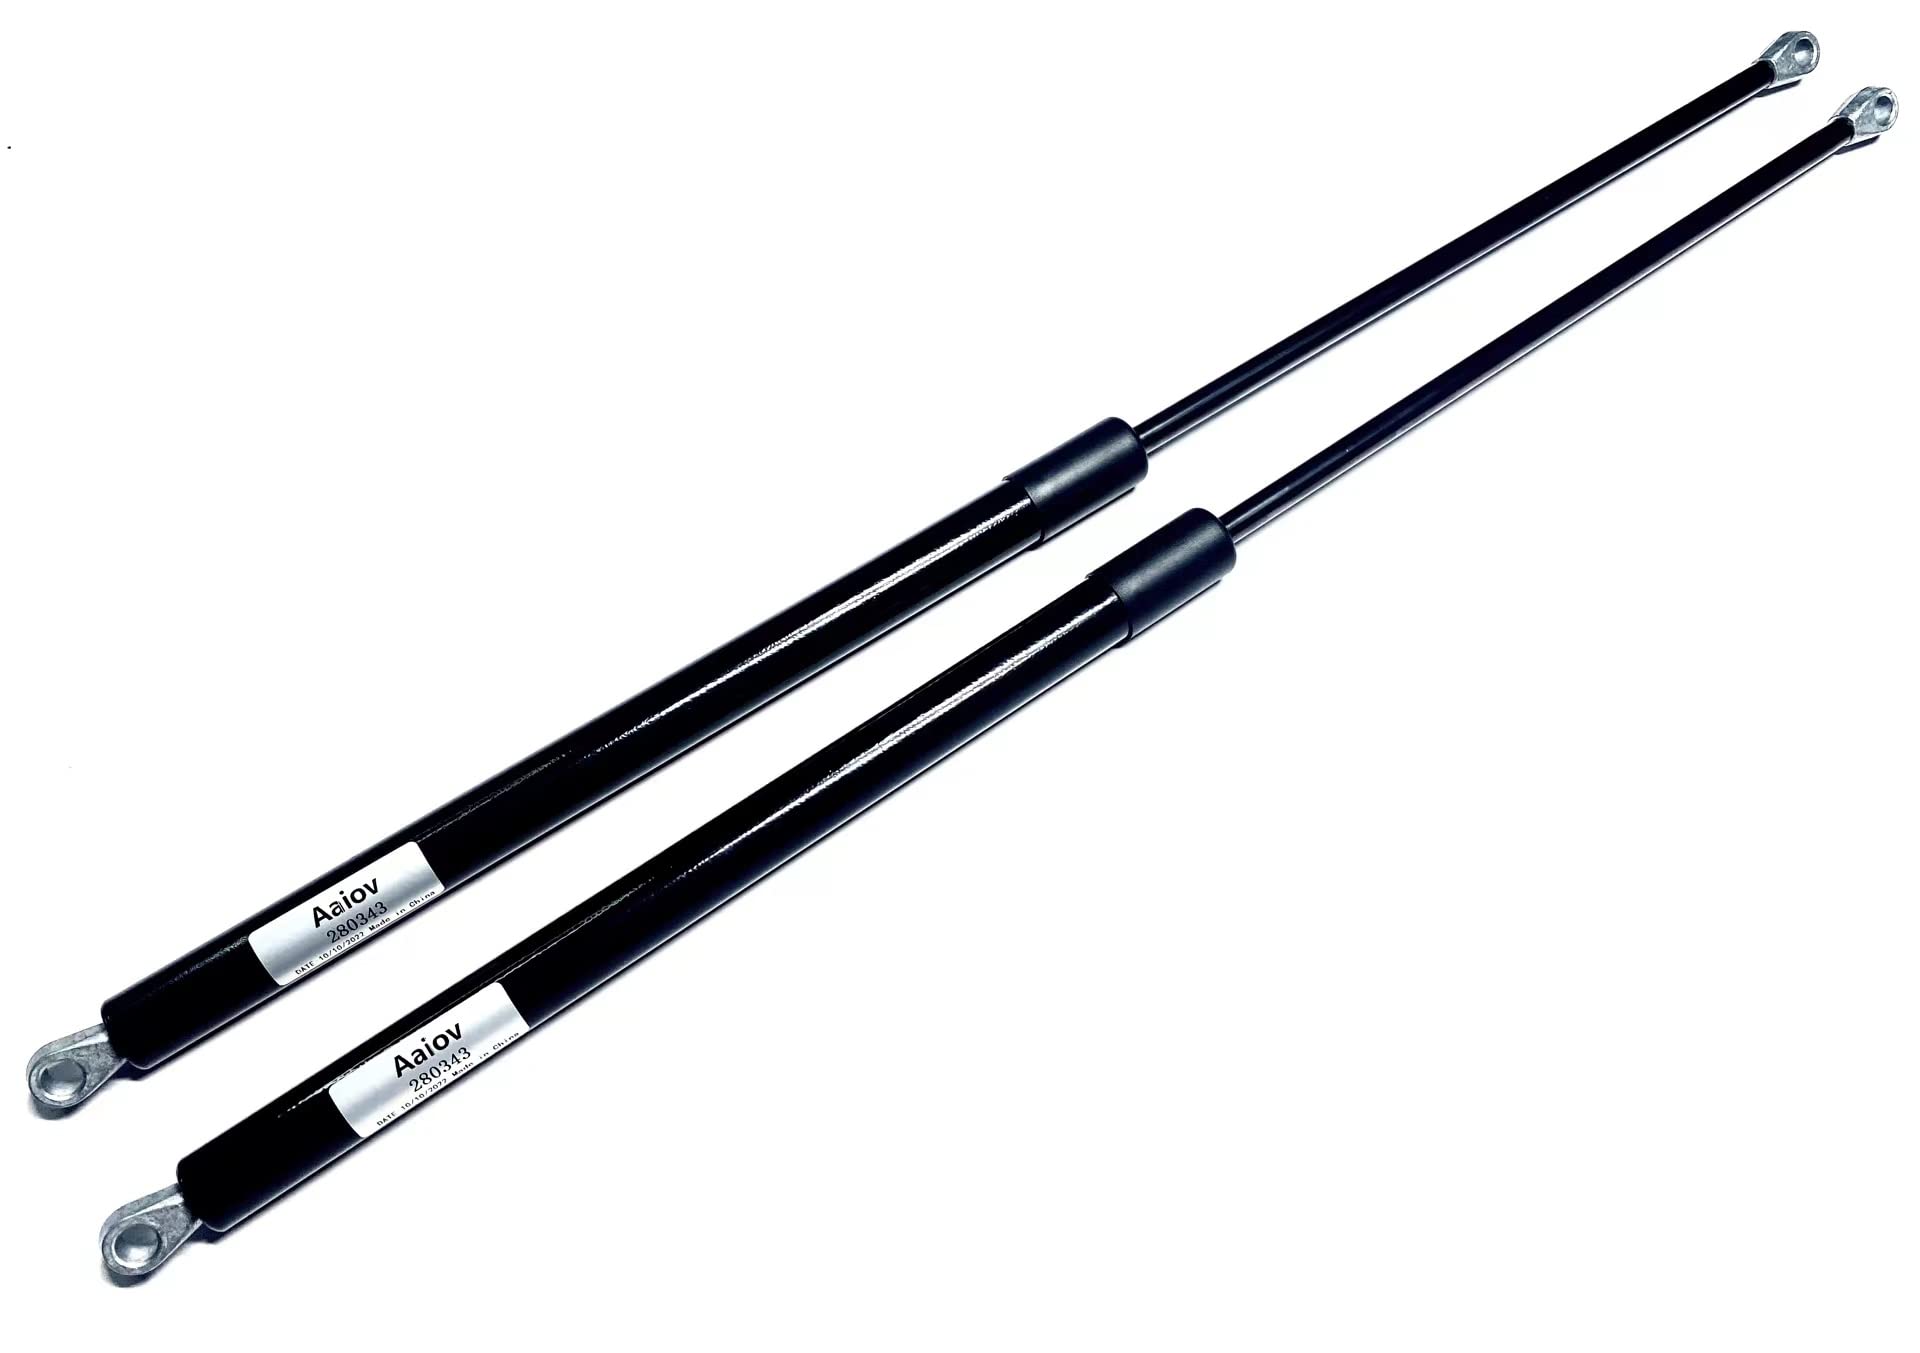
- Replacement Hardware: Depending on the condition of the awning frame, it may be necessary to have replacement nuts, bolts, washers, or other hardware on hand for the repair.
- Protective Gear: Safety goggles, work gloves, and appropriate clothing should be worn to protect yourself during the repair process.
By ensuring that you have all the necessary tools and materials ready, you'll be well-prepared to proceed with the subsequent steps of the RV awning repair. With these resources at your disposal, you can approach the repair process with confidence and efficiency, ultimately restoring your RV awning to optimal functionality.
Read more: How To Adjust An RV Awning
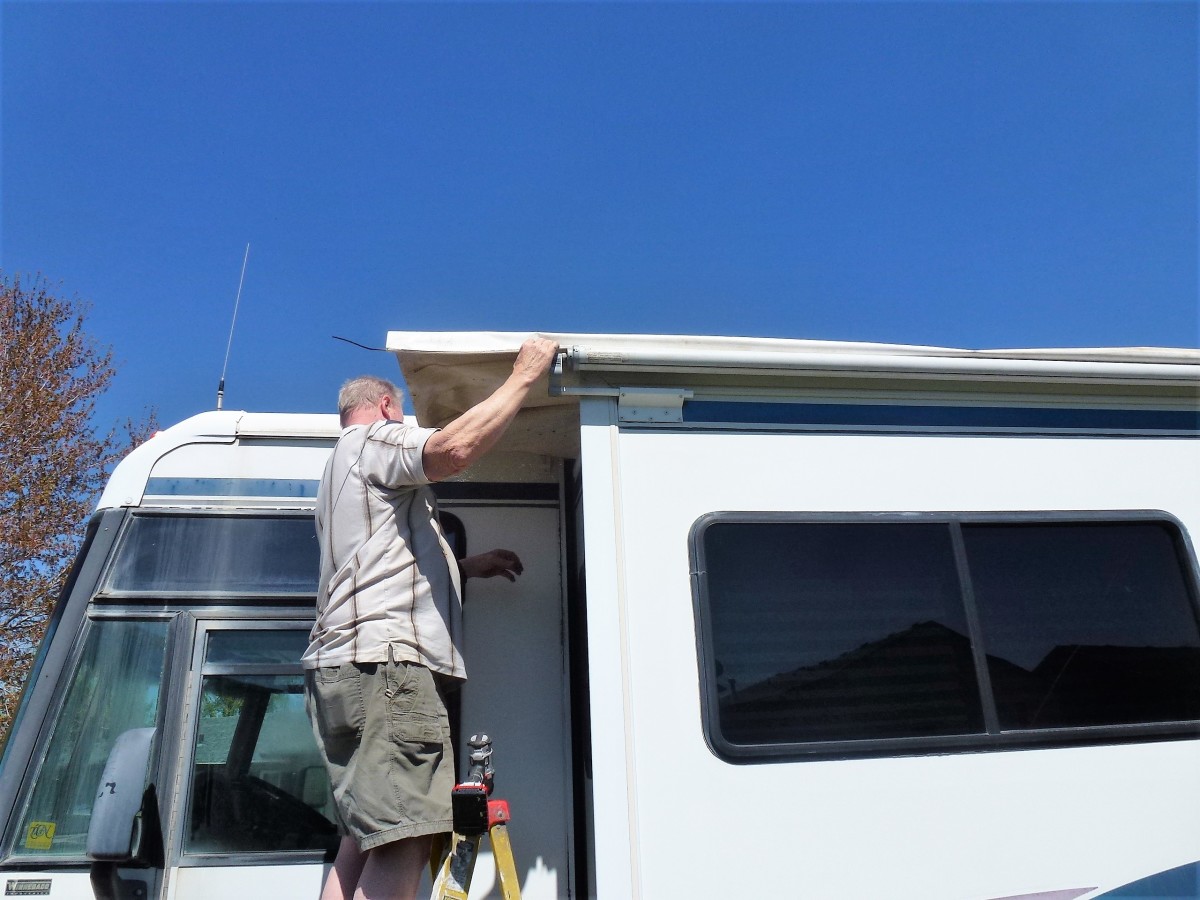
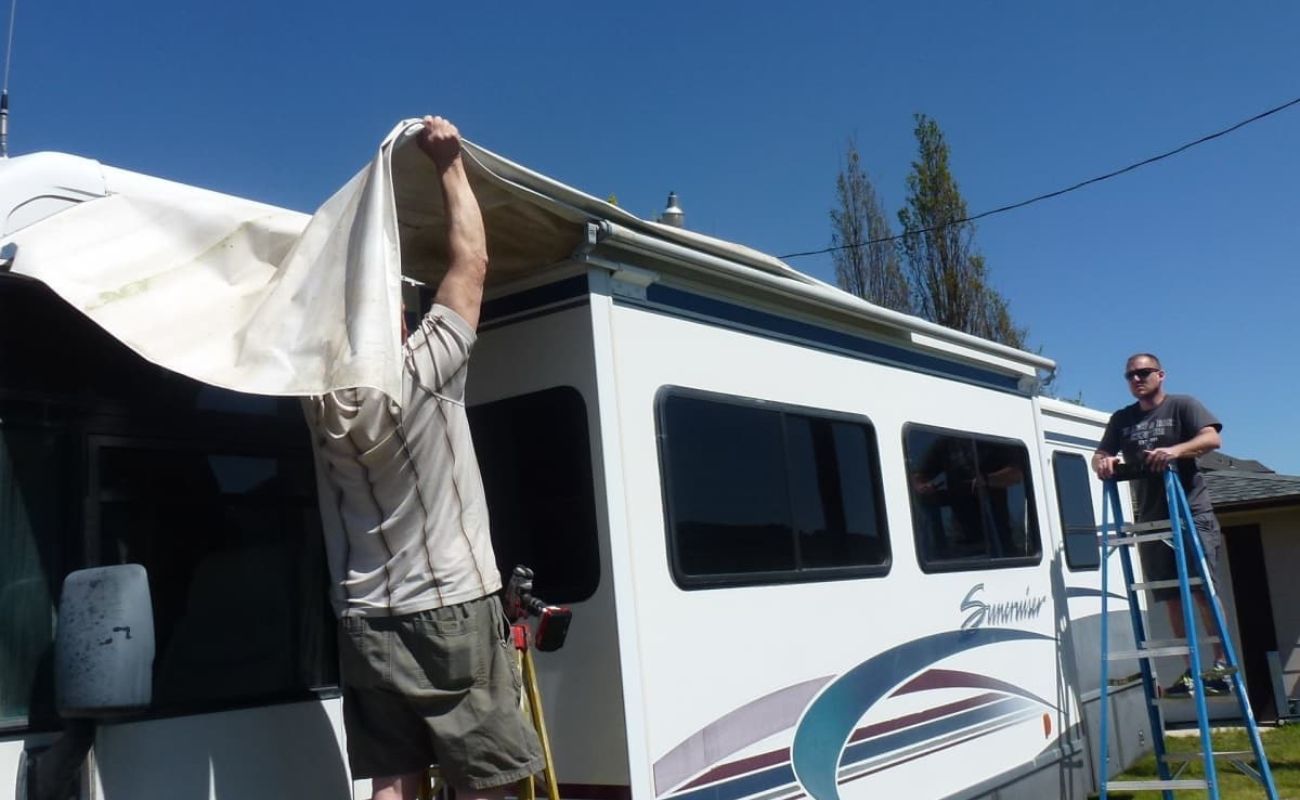
Step 3: Remove the awning fabric
Removing the awning fabric is a critical step in the repair process, as it allows for thorough inspection and preparation for the installation of the new material. Follow these detailed steps to safely and effectively remove the awning fabric from your RV:
-
Retract the Awning: Begin by retracting the awning completely to its closed position. Ensure that the fabric is evenly rolled onto the roller tube, and the arms are securely locked in place.
-
Secure the Awning Arms: Use locking pins or straps to secure the awning arms and prevent them from accidentally extending during the removal process. This precaution will maintain a controlled environment for the fabric removal.
-
Remove End Caps and Screws: Locate the end caps at each end of the roller tube and carefully remove them using a screwdriver. Keep the screws in a safe place for reassembly later.
-
Release the Fabric Tension: If your awning fabric is tensioned using springs, carefully release the tension according to the manufacturer's instructions. This step is crucial for safely detaching the fabric from the roller tube.
-
Detach the Fabric: With the tension released, gently pull the fabric out of the roller tube, ensuring that it is free from any remaining attachments or fasteners. Work methodically to avoid damaging the fabric during removal.
-
Unhook the Fabric: Locate the fabric attachment points along the awning rail and carefully unhook the fabric from each point. Take note of any specific attachment mechanisms or hardware for reinstallation.
-
Inspect the Fabric and Frame: Once the fabric is completely detached, carefully lay it out for inspection. Take this opportunity to assess the condition of the fabric thoroughly, noting any areas of damage or wear. Simultaneously, inspect the awning frame for any signs of corrosion, damage, or wear that may require attention.
By following these steps, you can safely and effectively remove the awning fabric, setting the stage for the subsequent repair and replacement processes. With the fabric removed, you can proceed to inspect and repair the awning frame, ensuring that it is in optimal condition to support the new fabric.
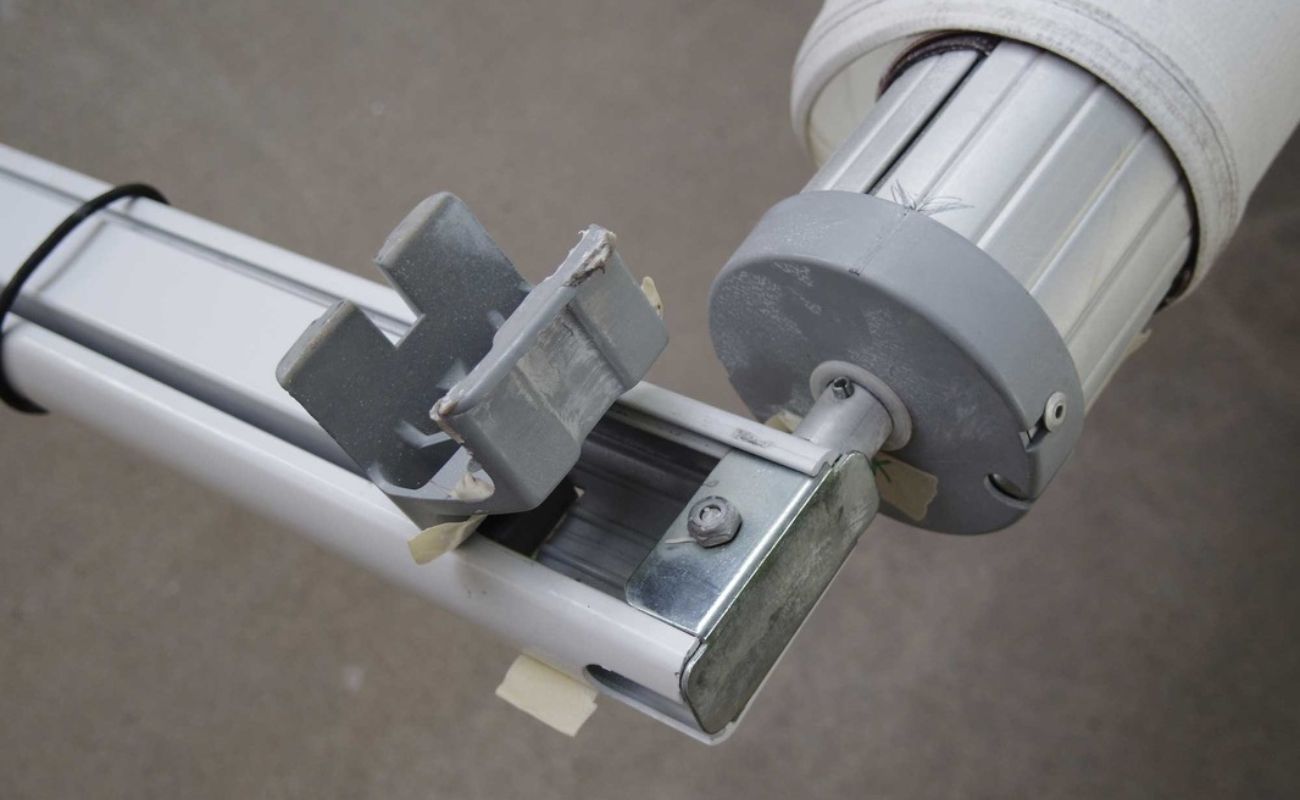
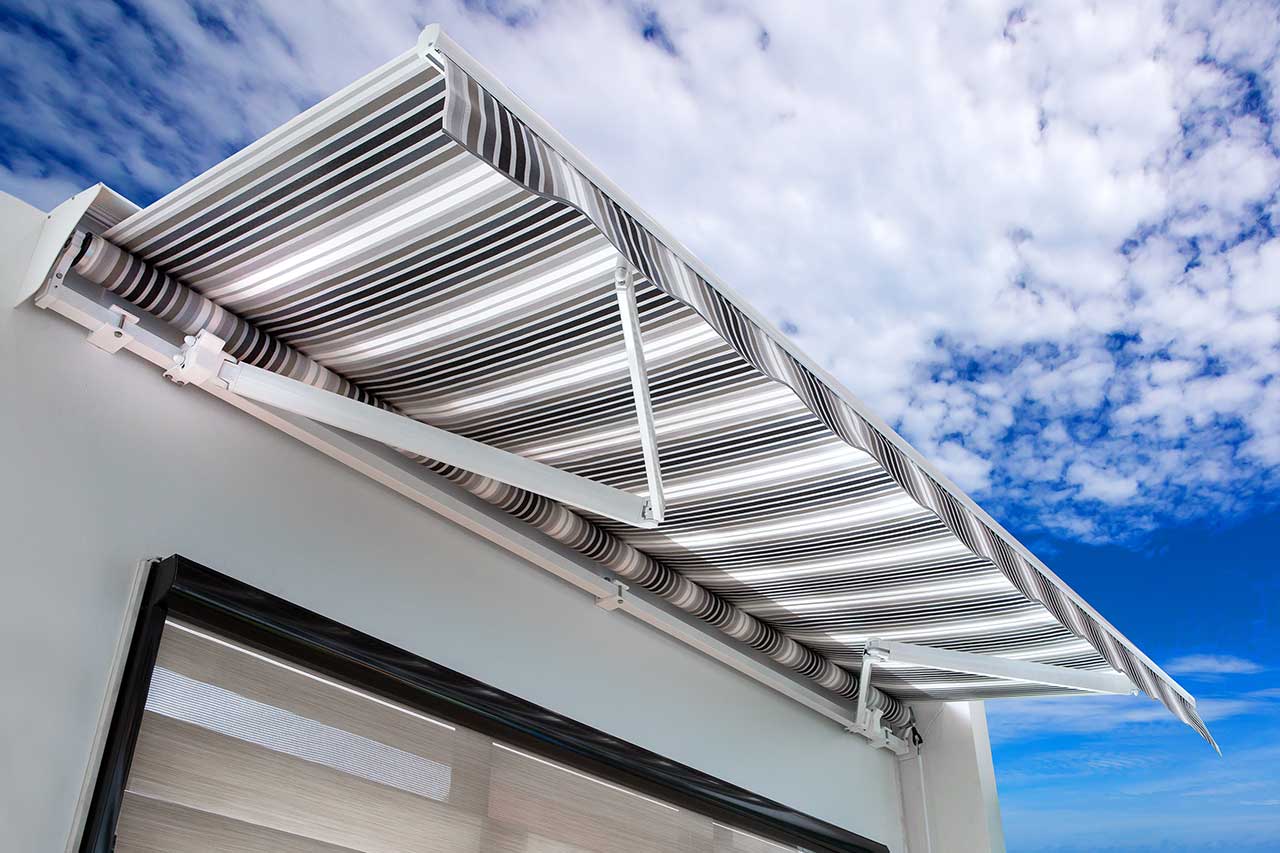
Step 4: Inspect and repair the awning frame
With the awning fabric removed, the next crucial step in the RV awning repair process is to thoroughly inspect and, if necessary, repair the awning frame. The frame serves as the structural backbone of the awning, providing support and stability for the fabric and ensuring the functionality of the entire assembly. Here's a detailed guide on how to inspect and address potential issues with the awning frame:
Inspection:
-
Check for Structural Integrity: Begin by visually inspecting the entire awning frame for signs of damage, corrosion, or wear. Look for any bent or misaligned components, as well as areas where the frame may have weakened over time.
-
Examine Attachment Points: Pay close attention to the attachment points where the frame connects to the RV. Ensure that the mounting brackets, screws, and fasteners are secure and free from damage.
-
Inspect Moving Parts: If your awning features a motorized or manual crank system, inspect the moving parts for signs of wear or malfunction. Lubricate any pivot points or hinges to ensure smooth operation.
-
Evaluate Support Legs and Arms: If your awning includes support legs or arms, check for stability and proper alignment. Look for any signs of bending, rust, or mechanical issues that may affect the overall functionality.
Repair:
-
Address Corrosion: If you identify areas of corrosion on the awning frame, use a wire brush to remove the rust and apply a rust-inhibiting primer to prevent further deterioration. Consider using a rust-resistant paint to provide an additional layer of protection.
-
Straighten Bent Components: If any parts of the frame are bent or misaligned, carefully use a rubber mallet or adjustable wrench to straighten them. Take care to apply gentle and controlled force to avoid causing further damage.
-
Replace Damaged Hardware: If you encounter damaged or worn-out nuts, bolts, or other hardware, replace them with new, high-quality components to ensure the structural integrity of the frame.
-
Reinforce Weak Points: For areas of the frame that show signs of weakness, consider reinforcing them with additional support brackets or braces. This proactive measure can prevent future issues and prolong the lifespan of the awning.
-
Test the Stability: Once any necessary repairs have been completed, test the stability and functionality of the awning frame. Ensure that it is securely mounted to the RV and that all moving parts operate smoothly.
By meticulously inspecting and addressing any issues with the awning frame, you can ensure that it provides the necessary support for the new fabric and maintains the structural integrity of the entire assembly. With the frame in optimal condition, you can confidently proceed to the next step: replacing the awning fabric.
Read more: How To Extend An RV Awning
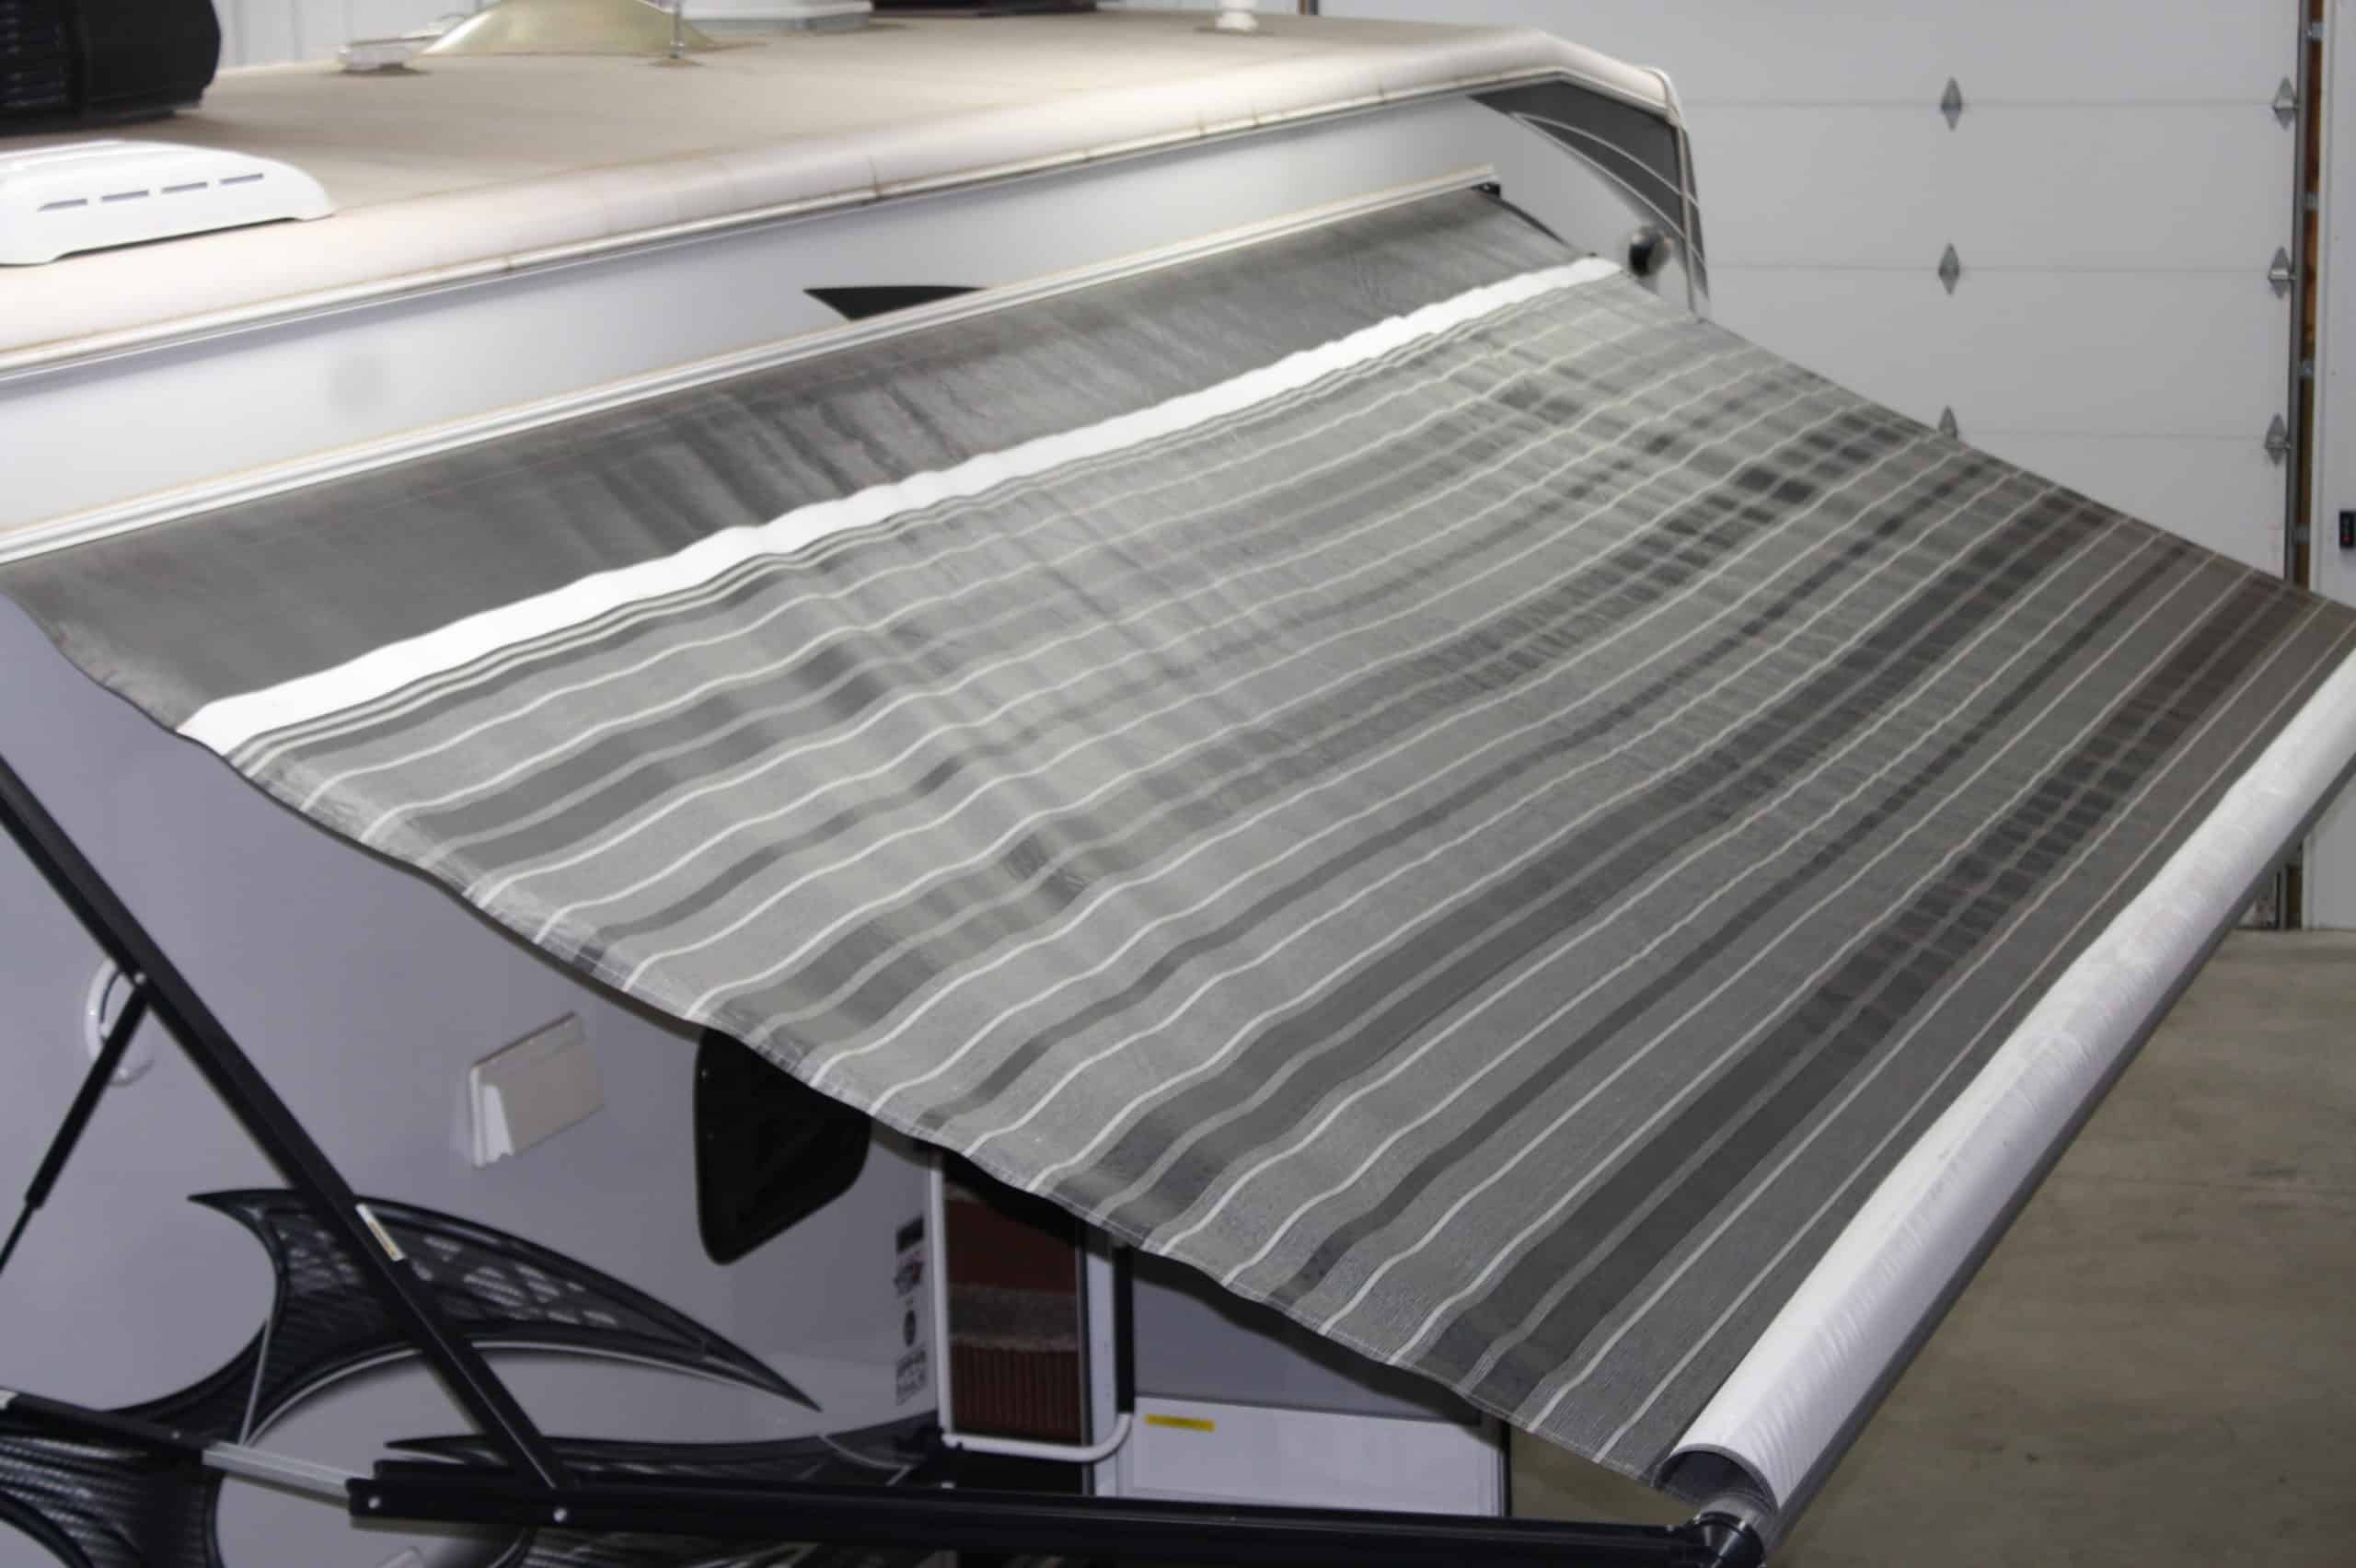
Step 5: Replace the awning fabric
After assessing and repairing the awning frame, the next pivotal step in the RV awning repair process is replacing the fabric. The fabric serves as the protective shield against the elements, providing shade and shelter during outdoor activities. Here's a comprehensive guide on how to effectively replace the awning fabric:
-
Select the Replacement Fabric: Ensure that you have the correct size and type of fabric to replace the damaged awning material. Consider factors such as color, pattern, and UV protection when selecting the replacement fabric. Double-check the dimensions to guarantee a precise fit for your RV awning.
-
Prepare the Awning Rail: Thoroughly clean the awning rail to remove any dirt, debris, or remnants of the old fabric. Use a specialized awning cleaner to ensure a clean and smooth surface for the new fabric installation. Additionally, inspect the rail for any signs of damage or corrosion that may need attention.
-
Lay Out the New Fabric: Carefully lay out the new awning fabric in a clean and spacious area, ensuring that it is free from wrinkles or creases. Take this opportunity to verify that the fabric dimensions align with the specifications of your RV awning.
-
Attach the Fabric to the Roller Tube: Starting at one end of the roller tube, secure the new fabric by inserting it into the groove and ensuring a snug fit. Gradually feed the fabric along the length of the roller tube, ensuring that it is evenly aligned and free from twists or bunching.
-
Hook the Fabric to the Awning Rail: With the assistance of a partner, carefully guide the fabric into the awning rail, ensuring that it smoothly glides into position. Secure the fabric at each attachment point along the rail, taking care to maintain even tension and alignment throughout the installation.
-
Adjust Tension and Alignment: Once the fabric is attached to both the roller tube and the awning rail, carefully adjust the tension to ensure a taut and even fit. Check that the fabric is centered and aligned properly, making any necessary adjustments to achieve a balanced and symmetrical appearance.
-
Trim Excess Fabric: Using a sharp utility knife, trim any excess fabric from the roller tube end, ensuring a clean and precise finish. Take care to make straight and even cuts, removing only the necessary surplus material.
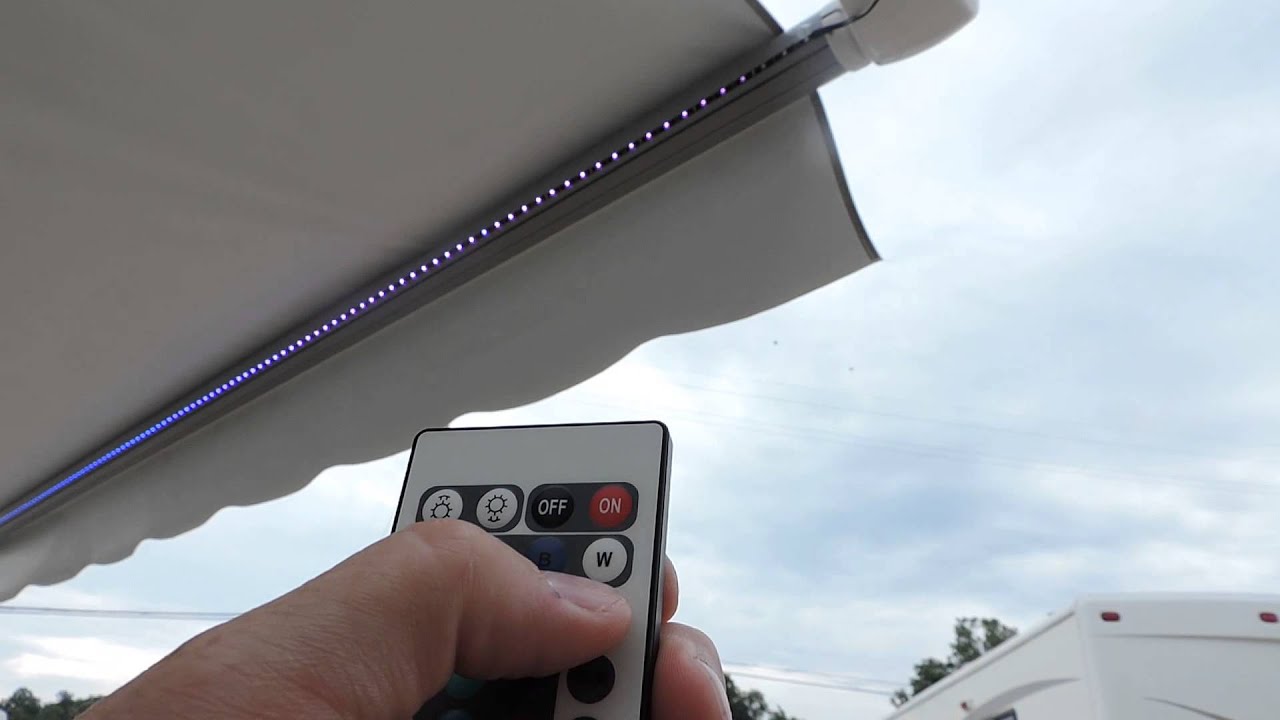
-
Test the Fabric Operation: Extend and retract the awning to test the functionality of the new fabric. Ensure that it operates smoothly and that the fabric rolls evenly onto the roller tube without any obstructions or misalignments.
By following these detailed steps, you can effectively replace the awning fabric, rejuvenating the appearance and functionality of your RV awning. With the new fabric in place, your outdoor shelter will be ready to provide reliable protection and comfort during your future adventures.
To fix an RV awning, start by checking for any tears or holes in the fabric. Use a patch kit to repair any damage. Then, lubricate the moving parts and check the tension of the springs. If necessary, adjust the tension to ensure the awning opens and closes smoothly.
Step 6: Test the awning functionality
After completing the meticulous process of repairing and replacing the RV awning components, it is essential to thoroughly test the functionality of the awning to ensure that it operates smoothly and reliably. This critical step not only validates the success of the repair process but also provides an opportunity to identify and address any potential issues before returning the awning to regular use.
To test the awning functionality, begin by extending the awning to its full length, allowing the new fabric to unfurl completely. Observe the movement of the awning as it extends, ensuring that it moves evenly and without any signs of resistance or strain. Listen for any unusual sounds that may indicate mechanical issues, and visually inspect the fabric for proper alignment and tension.
Once the awning is fully extended, check the stability of the support legs and arms, ensuring that they are securely locked in place and provide adequate support. Gently apply pressure to different areas of the extended awning to assess its sturdiness and resistance to external forces. This step is crucial for verifying that the repaired frame and new fabric can withstand typical outdoor conditions.
After confirming the stability of the extended awning, retract it back into its closed position, paying close attention to the smoothness of the retraction process. The fabric should roll evenly onto the roller tube without any signs of bunching or misalignment. Test the retraction multiple times to ensure consistent and reliable operation.
As the awning retracts, observe the alignment of the fabric and its interaction with the roller tube and awning rail. Verify that the fabric folds neatly and uniformly, indicating that the installation was performed accurately and that the tension is appropriately adjusted. Any irregularities or inconsistencies should be addressed promptly to prevent potential damage to the fabric or the awning mechanism.
Finally, test the locking mechanism of the retracted awning to ensure that it securely latches in place. Verify that the awning remains stable and stationary once retracted, indicating that it is ready for travel or storage without the risk of unexpected deployment.
By meticulously testing the awning functionality, you can gain confidence in the success of the repair and replacement processes, ensuring that your RV awning is fully operational and prepared to provide reliable shelter and comfort during your outdoor adventures.
Conclusion
In conclusion, repairing an RV awning is a manageable task that can significantly extend the lifespan of this essential outdoor structure. By following the comprehensive steps outlined in this guide, you can effectively address various issues, from fabric tears to frame damage, and restore your RV awning to optimal functionality.
The initial assessment of the damage sets the stage for a systematic approach to the repair process. Thoroughly inspecting the fabric, frame, and mechanical components allows for a clear understanding of the necessary repairs and ensures that no underlying issues are overlooked.
Gathering the essential tools and materials is a crucial preparatory step that streamlines the repair process. Having the right equipment at your disposal not only facilitates the repair but also minimizes interruptions, allowing for a seamless transition between the different stages of the repair.
Removing the awning fabric requires precision and care to avoid further damage. This step provides an opportunity to assess the condition of the fabric and inspect the frame, laying the groundwork for subsequent repairs and replacements.
Inspecting and repairing the awning frame is a pivotal stage that ensures the structural integrity and stability of the entire assembly. Addressing issues such as corrosion, misalignment, and hardware damage is essential for the long-term functionality of the awning.
Replacing the awning fabric rejuvenates the appearance and functionality of the RV awning, providing reliable protection from the elements. Careful attention to detail during the installation process ensures a precise fit and optimal tension, enhancing the overall performance of the awning.
Finally, thorough testing of the awning functionality validates the success of the repair process and ensures that the awning operates smoothly and reliably. This step provides peace of mind, knowing that the repaired and replaced components can withstand the rigors of outdoor use.
In essence, repairing an RV awning is a rewarding endeavor that not only restores functionality but also enhances the overall outdoor experience. With the knowledge and guidance provided in this guide, you can approach the repair process with confidence, knowing that your RV awning will continue to provide shelter and comfort during your outdoor adventures for years to come.
Frequently Asked Questions about How To Fix An RV Awning
Was this page helpful?
At Storables.com, we guarantee accurate and reliable information. Our content, validated by Expert Board Contributors, is crafted following stringent Editorial Policies. We're committed to providing you with well-researched, expert-backed insights for all your informational needs.

0 thoughts on “How To Fix An RV Awning”