Home>Furniture & Design>Interior Design Trends>How To Fix Pella Between The Glass Blinds
Interior Design Trends
How To Fix Pella Between The Glass Blinds
Modified: August 16, 2024
Learn how to easily fix Pella between the glass blinds and stay updated with the latest interior design trends. Discover practical solutions for a modern home.
(Many of the links in this article redirect to a specific reviewed product. Your purchase of these products through affiliate links helps to generate commission for Storables.com, at no extra cost. Learn more)
Introduction
Pella between the glass blinds are a popular and convenient window treatment option that offers a sleek and modern aesthetic while providing privacy and light control. However, over time, these blinds may encounter issues such as damage, wear and tear, or malfunctions. Fortunately, with the right guidance and a bit of DIY spirit, you can easily address these problems and restore your Pella between the glass blinds to their former glory.
In this comprehensive guide, we will walk you through the process of fixing Pella between the glass blinds, covering everything from understanding the mechanism of these blinds to the tools and materials you'll need for the job. Whether you're dealing with a broken slat, a tangled cord, or simply want to give your blinds a thorough cleaning, this step-by-step tutorial will equip you with the knowledge and skills to tackle the task with confidence.
By the end of this guide, you'll have the expertise to dismantle, clean, repair, and reinstall your Pella between the glass blinds, allowing you to enjoy their functionality and aesthetic appeal once again. So, roll up your sleeves, gather your tools, and let's dive into the world of Pella between the glass blinds maintenance and repair.
Key Takeaways:
- Maintaining Pella between the glass blinds is easy with the right tools and know-how. From cleaning to repairing, this guide equips you with the skills to keep your blinds looking sleek and functioning smoothly.
- By following the step-by-step process, you can confidently remove, clean, repair, and reinstall your Pella between the glass blinds. This ensures they continue to enhance your home’s aesthetic and functionality.
Read more: How To Fix Crooked Blinds Between Glass
Understanding Pella Between The Glass Blinds
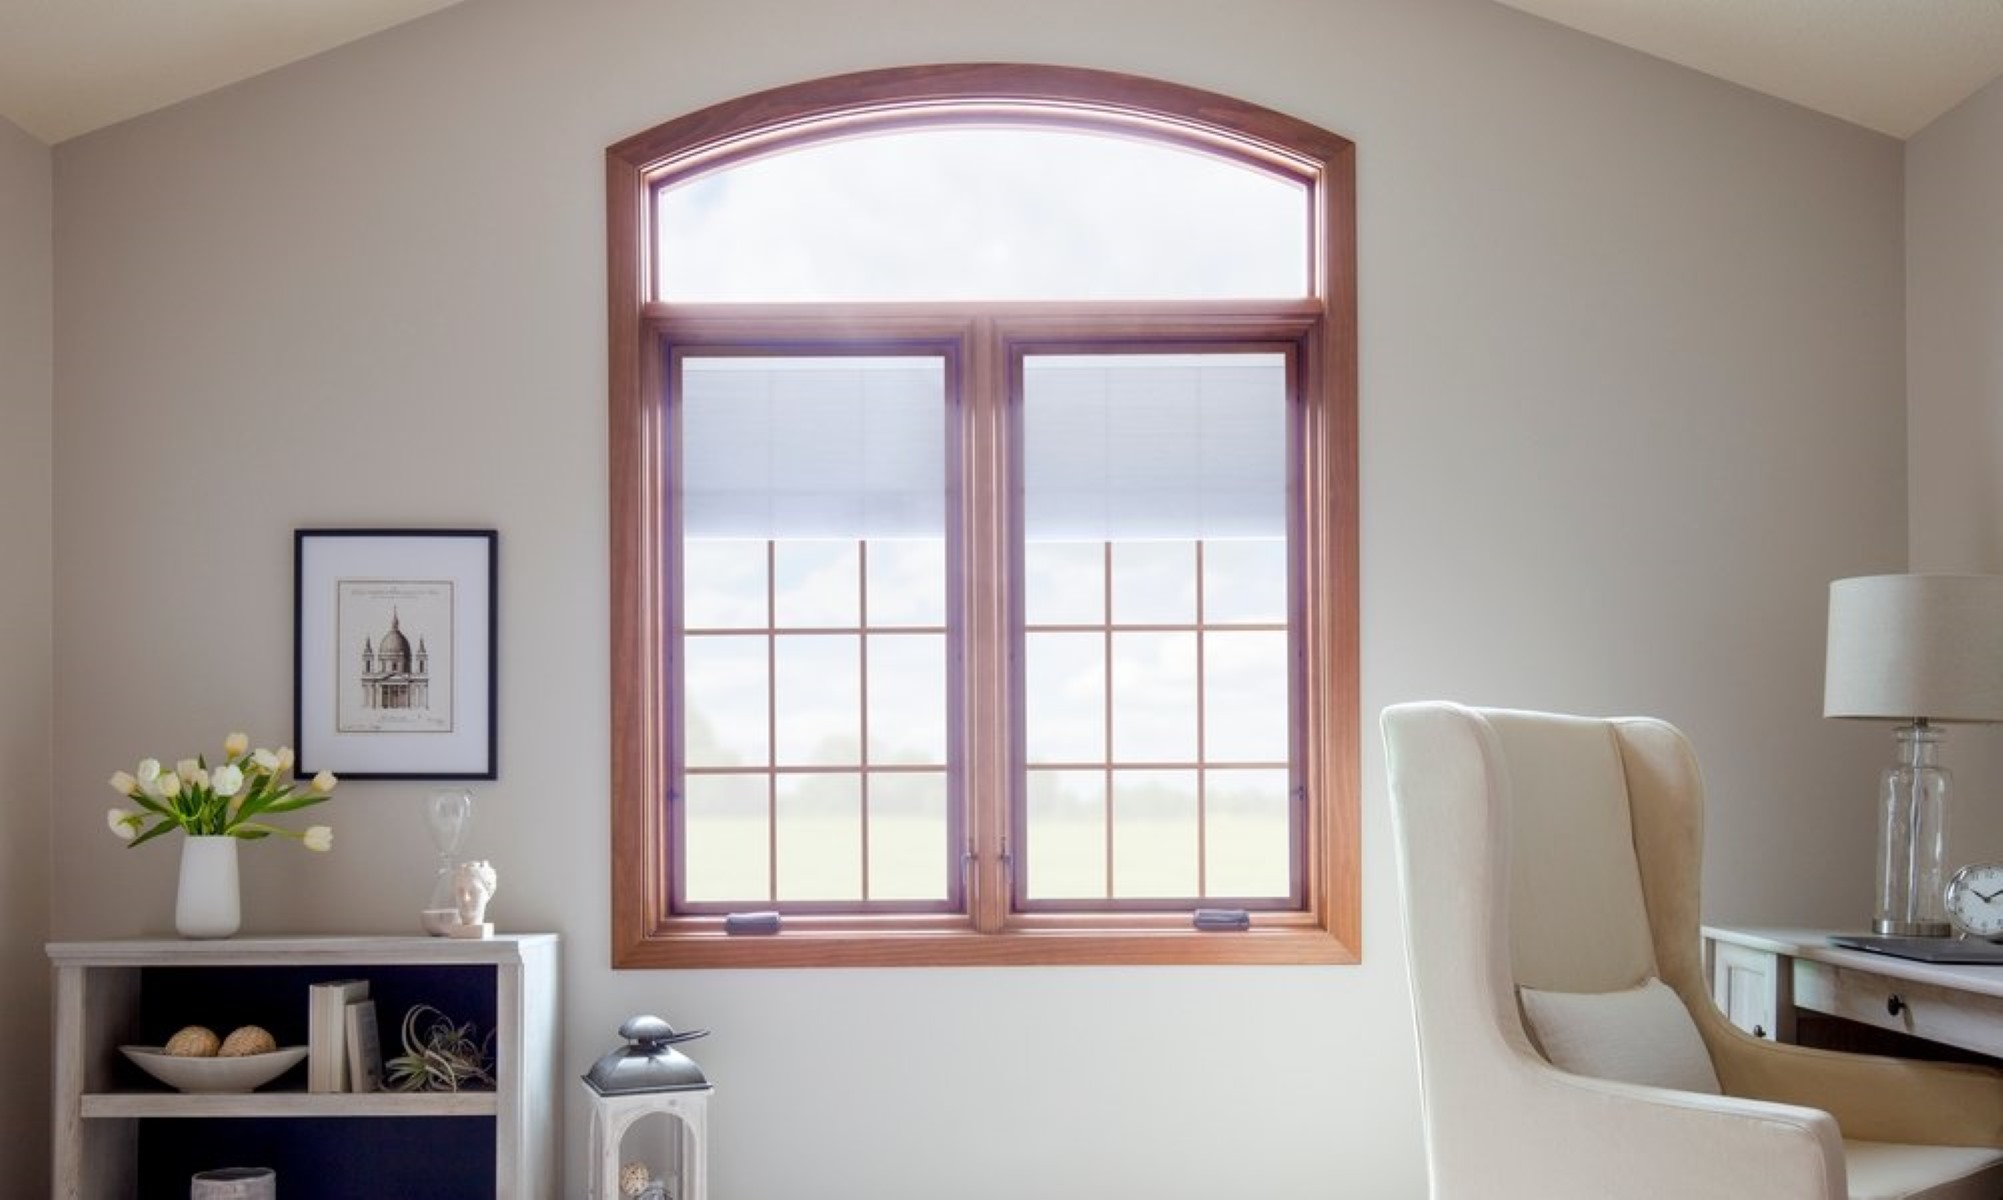
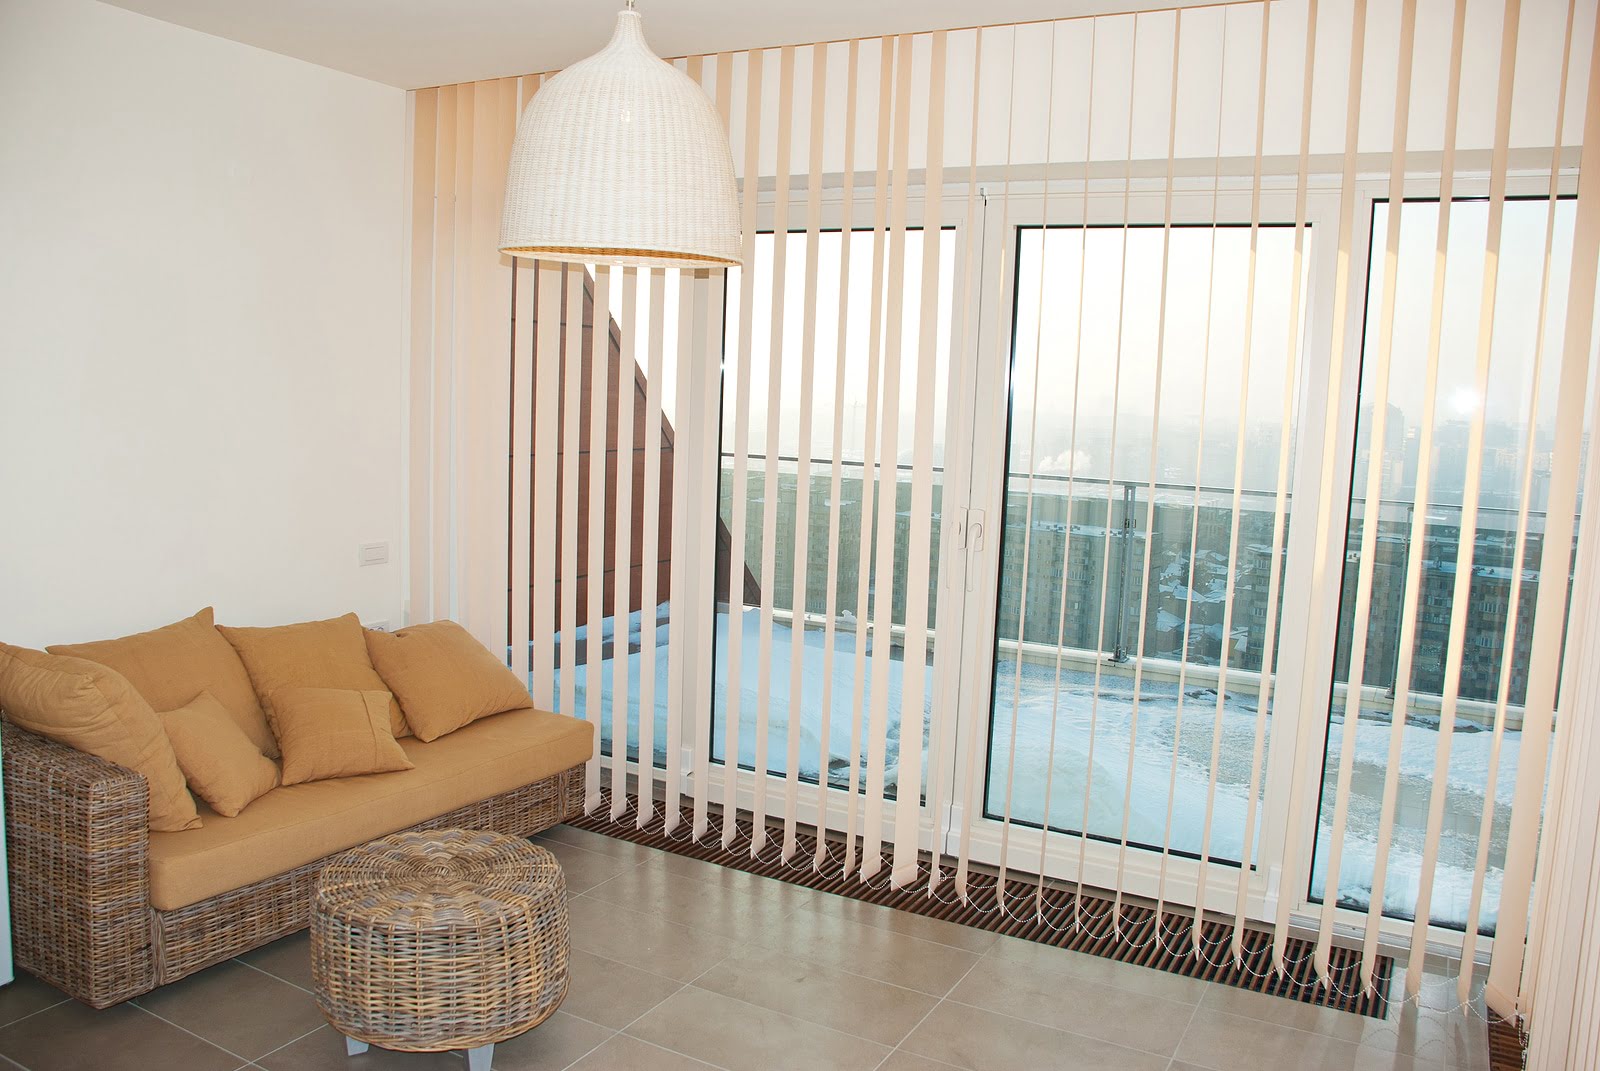
Pella between the glass blinds are a modern and innovative window treatment solution that seamlessly integrates blinds within the glass panes of windows and doors. This unique design offers a clean and uncluttered look, eliminating the need for traditional window treatments that can gather dust and obstruct views. The blinds are positioned between two panes of glass, providing protection from dust, damage, and the elements, while allowing for easy operation and maintenance.
The blinds are operated using a convenient control knob or lever, allowing users to effortlessly adjust the slats to control light and privacy. This mechanism also eliminates the hassle of dealing with cords or wands, contributing to a sleek and minimalist appearance. The seamless integration of the blinds within the glass not only enhances the aesthetic appeal of the windows but also simplifies cleaning and maintenance, making them an attractive choice for homeowners seeking a modern and functional window treatment solution.
Understanding the construction and operation of Pella between the glass blinds is essential for effectively maintaining and repairing them. Whether you're dealing with a malfunctioning slat, a tangled mechanism, or simply want to give the blinds a thorough cleaning, having a clear grasp of how these blinds are designed and installed will empower you to address any issues that may arise.
In the next sections, we will delve into the tools and materials needed for fixing Pella between the glass blinds, followed by a step-by-step guide to dismantling, cleaning, repairing, and reinstalling the blinds. By gaining a comprehensive understanding of these blinds and following the detailed instructions provided, you'll be well-equipped to tackle any maintenance or repair tasks with confidence, ensuring that your Pella between the glass blinds continue to enhance the functionality and aesthetic appeal of your living spaces.
Tools and Materials Needed
Before embarking on the task of fixing Pella between the glass blinds, it's essential to gather the necessary tools and materials to ensure a smooth and efficient repair process. Here's a comprehensive list of items you'll need to have on hand:
Tools:
- Flathead Screwdriver: This versatile tool will be used for prying and removing components during the disassembly of the blinds.
- Phillips Screwdriver: Essential for handling any screws that secure the blinds in place.
- Needle-Nose Pliers: Useful for manipulating small components and untangling cords or mechanisms.
- Microfiber Cloth: Ideal for gentle cleaning of the blinds and glass surfaces without leaving lint or residue.
- Compressed Air Canister: Helpful for blowing away dust and debris from hard-to-reach areas within the blinds.
- Tape Measure: Useful for taking accurate measurements if replacement parts are required.
- Scissors: For cutting and trimming any new slats or cords if replacements are necessary.
- Rubber Gloves: Protect your hands during the cleaning and repair process.
Materials:
- Replacement Slats: If any slats are damaged or need to be replaced, having the correct size and color on hand is crucial.
- Cord or Wand Replacement Kit: In case the control mechanism needs repair, having a replacement kit ensures you have the necessary components.
- Glass Cleaner: A non-abrasive glass cleaner will help restore the clarity and shine of the glass panes.
- Blind Cleaner Solution: Specifically formulated for cleaning blinds, this solution will help remove dirt and grime from the slats.
- Replacement Screws: If any screws are damaged or lost during the repair process, having replacements available is essential.
- Safety Glasses: Protect your eyes while working with tools and components.
- Small Container for Screws and Components: Keeping track of small parts is crucial, and a container will prevent them from getting lost.
By ensuring that you have these tools and materials at your disposal, you'll be well-prepared to tackle the repair and maintenance of your Pella between the glass blinds. With everything in place, you can proceed with confidence, knowing that you have the necessary resources to address any issues that may arise during the repair process.
Step 1: Removing the Blinds
Removing the Pella between the glass blinds is the initial step in the process of fixing or maintaining them. Before you begin, ensure that you have gathered all the necessary tools and materials listed in the previous section. Here's a detailed guide on how to effectively remove the blinds:
-
Prepare the Work Area: Start by clearing the area around the window or door where the blinds are installed. Remove any obstacles or furniture that may obstruct your access to the blinds. Creating a clear and spacious work area will facilitate the removal process and minimize the risk of damage to the blinds or surrounding surfaces.
-
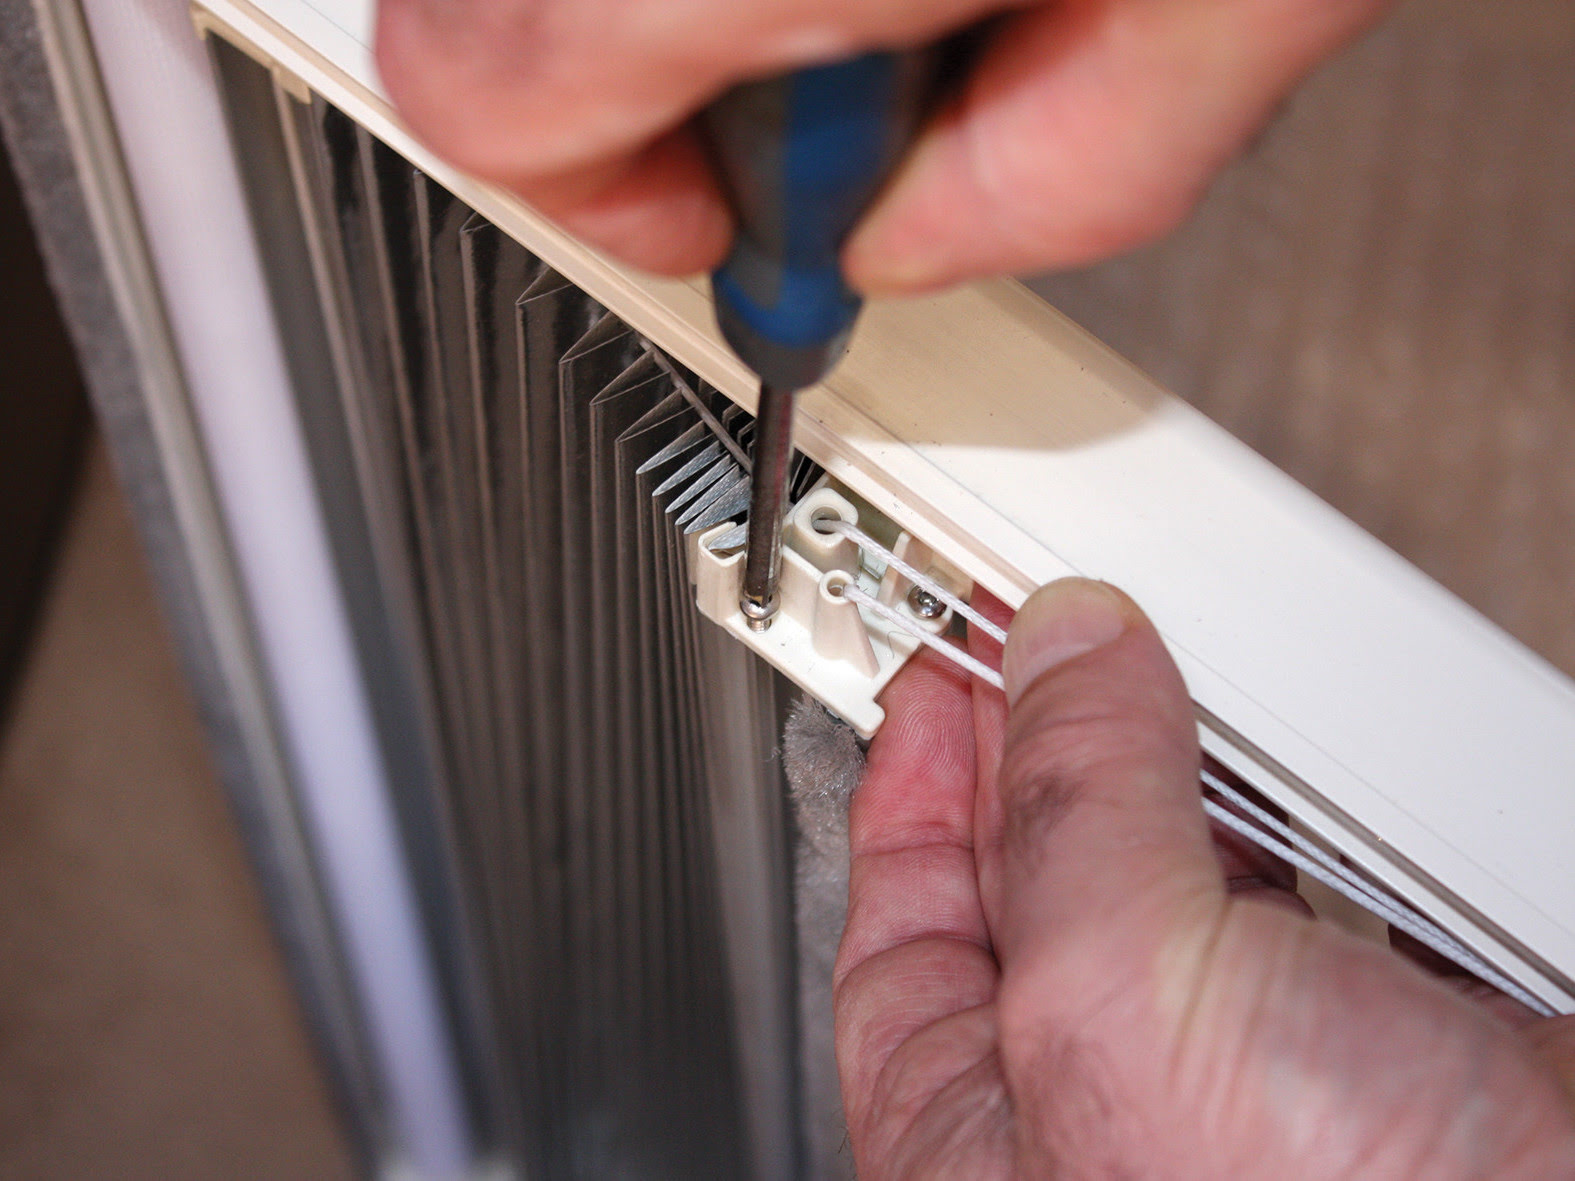
Identify the Mounting Clips: Examine the edges of the glass panes to locate the mounting clips that secure the blinds in place. These clips are typically positioned along the top and bottom edges of the glass. Use a flashlight if necessary to ensure clear visibility.
-
Use the Flathead Screwdriver: Once the mounting clips are identified, carefully insert a flathead screwdriver between the clip and the glass. Gently pry the clip away from the glass to release it. Take caution to avoid applying excessive force, as this may cause damage to the clips or the glass.
-
Release the Bottom Rail: With the top mounting clips removed, proceed to release the bottom rail of the blinds. Depending on the specific design, the bottom rail may be secured in place using additional clips or fasteners. Use the flathead screwdriver to carefully disengage these attachments, allowing the bottom rail to be freed from the mounting brackets.
-
Lift and Remove the Blinds: Once the mounting clips and bottom rail are detached, carefully lift the blinds upward to release them from the window or door. Exercise caution to prevent any sudden movements that may cause damage to the blinds or surrounding areas.
-
Secure the Blinds Safely: After removing the blinds, place them on a clean and stable surface, ensuring that they are positioned in a secure and upright manner to prevent any bending or damage to the slats.
By following these steps, you can effectively remove the Pella between the glass blinds in preparation for cleaning, repair, or replacement. Proceed to the next section to learn about cleaning and inspecting the blinds to ensure they are in optimal condition before proceeding with any necessary repairs.
Step 2: Cleaning and Inspecting the Blinds
After successfully removing the Pella between the glass blinds, the next crucial step is to thoroughly clean and inspect them to assess their condition and identify any areas that require attention. This process not only enhances the visual appeal of the blinds but also ensures that they function optimally after reinstallation.
Cleaning the Blinds
Begin by gently wiping the slats with a microfiber cloth to remove any surface dust or debris. For more stubborn dirt or grime, a blind cleaner solution can be applied to the cloth to effectively lift and remove the buildup. Care should be taken to clean both sides of the slats, ensuring a comprehensive and thorough cleaning process.
To address dust and debris that may have accumulated within the blinds, a compressed air canister can be used to blow air through the slats, dislodging and removing any particles that are trapped within. This step contributes to a more comprehensive cleaning process, ensuring that the blinds are free from internal buildup that may affect their functionality.
Inspecting for Damage
While cleaning the blinds, it's essential to closely inspect each slat for any signs of damage, such as cracks, warping, or discoloration. Additionally, check the control mechanism for any issues, ensuring that the cords or wands operate smoothly and without tangles or obstructions.
During the inspection, take note of any slats that may require replacement due to irreparable damage. Similarly, if the control mechanism shows signs of wear or malfunction, it may be necessary to consider a repair or replacement to ensure the blinds operate seamlessly once reinstalled.
Read more: How To Open Pella Windows With Blinds Inside
Cleaning the Glass Panes
In addition to cleaning the blinds themselves, it's important to address the glass panes between which the blinds are situated. A non-abrasive glass cleaner can be used to remove any smudges, fingerprints, or residue that may have accumulated on the glass surfaces. This step contributes to restoring the clarity and transparency of the glass, enhancing the overall aesthetic appeal of the blinds.
By meticulously cleaning and inspecting the blinds and the surrounding glass panes, you can ensure that they are in optimal condition before proceeding with any necessary repairs or replacements. This diligent approach sets the stage for a successful restoration of the Pella between the glass blinds, allowing you to address any issues with precision and confidence.
Step 3: Repairing or Replacing the Blinds
After cleaning and inspecting the Pella between the glass blinds, the next crucial phase involves addressing any issues that were identified during the inspection. Whether it's repairing damaged slats, untangling the control mechanism, or replacing components that are beyond repair, this step is essential for restoring the functionality and visual appeal of the blinds.
Repairing Damaged Slats
If any slats were found to be cracked, warped, or otherwise damaged during the inspection, repairing them may be a viable option. Small cracks can often be remedied by applying a clear adhesive specifically designed for glass or plastic surfaces. Carefully apply the adhesive along the crack and allow it to dry thoroughly, reinforcing the structural integrity of the slat.
For more extensive damage that cannot be effectively repaired, replacing the damaged slats is the recommended course of action. Ensure that the replacement slats are the correct size and color to seamlessly integrate with the existing blinds. Using scissors, trim the replacement slats to match the dimensions of the original slats, ensuring a precise fit.
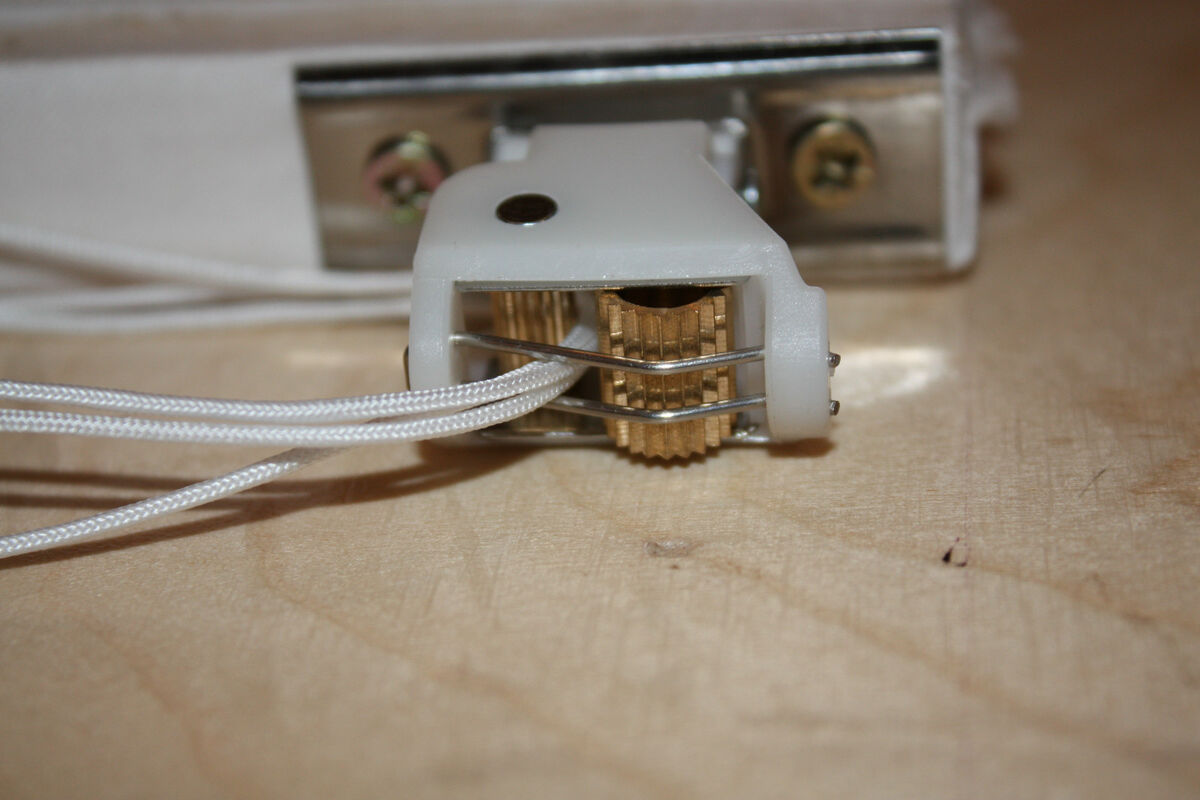
Addressing Control Mechanism Issues
If the control mechanism, whether it's a cord or wand, exhibits signs of wear, tangles, or malfunctions, it's crucial to address these issues to ensure smooth operation of the blinds. Untangle any knots or snags in the cords, carefully guiding them back into their intended path within the blinds. For wands, ensure that they rotate smoothly and without resistance, addressing any stiffness or obstructions that may hinder their movement.
In cases where the control mechanism is irreparably damaged, a replacement kit can be utilized to install a new cord or wand, restoring the functionality of the blinds. Follow the manufacturer's instructions included in the replacement kit to ensure a proper and secure installation.
Reassembling the Blinds
Once the necessary repairs and replacements have been completed, carefully reassemble the blinds, ensuring that the slats are aligned and the control mechanism operates smoothly. Take care to secure the mounting clips and bottom rail back into position, ensuring a secure and stable installation.
By effectively addressing any issues and performing the necessary repairs or replacements, you can ensure that the Pella between the glass blinds are restored to optimal condition, ready to be reinstalled and enhance the functionality and aesthetic appeal of your living spaces.
Step 4: Reinstalling the Blinds
With the Pella between the glass blinds now cleaned, inspected, and any necessary repairs or replacements completed, the final step involves the careful reinstallation of the blinds. This phase is critical in ensuring that the blinds are securely and precisely positioned, allowing them to function optimally and enhance the visual appeal of the windows or doors.
Aligning the Blinds
Before reinstalling the blinds, it's essential to ensure that they are aligned and oriented correctly to facilitate a seamless installation. Begin by carefully positioning the blinds in front of the window or door, taking note of the top and bottom edges to ensure proper alignment. This step is crucial in preventing any misalignment or uneven placement that may affect the functionality and aesthetic appeal of the blinds.
Securing the Mounting Clips
Once the blinds are aligned, proceed to secure the mounting clips back onto the edges of the glass panes. Carefully position the clips and gently press them against the glass to ensure a secure attachment. Take caution to avoid applying excessive force that may lead to damage or misalignment. Ensuring that the mounting clips are firmly in place is essential for stabilizing the blinds and preventing any movement or instability after reinstallation.
Read more: How To Fix Magnetic Blinds
Attaching the Bottom Rail
With the mounting clips secured, proceed to attach the bottom rail of the blinds back into position. Depending on the specific design, this may involve engaging additional clips or fasteners to ensure that the bottom rail is stably affixed to the window or door. Take care to verify that the bottom rail is aligned and level, contributing to a uniform and polished appearance of the blinds.
Testing the Operation
Before completing the reinstallation process, it's advisable to test the operation of the blinds to ensure that they function smoothly and without any issues. Use the control mechanism to adjust the slats, allowing them to open and close seamlessly. Additionally, verify that the cords or wands operate without resistance, ensuring that the blinds respond to adjustments with ease and precision.
Final Inspection
Once the blinds are successfully reinstalled and their operation verified, conduct a final inspection to ensure that they are securely positioned and free from any visible defects or misalignments. Take a moment to appreciate the refreshed appearance of the blinds and the enhanced ambiance they bring to the space.
By meticulously following these steps, you can effectively reinstall the Pella between the glass blinds, allowing them to fulfill their function as a stylish and functional window treatment solution. With the blinds securely in place, you can now enjoy the renewed aesthetic appeal and practical benefits they offer, adding a touch of elegance and functionality to your living environment.
Conclusion
In conclusion, the process of fixing Pella between the glass blinds encompasses a series of essential steps that enable homeowners to maintain, repair, and reinstall these innovative window treatments with confidence and precision. By understanding the construction and operation of Pella between the glass blinds, homeowners can effectively address issues such as damaged slats, tangled control mechanisms, or the need for thorough cleaning. The comprehensive guide provided equips individuals with the knowledge and skills necessary to undertake these tasks, ensuring that the blinds continue to enhance the functionality and aesthetic appeal of their living spaces.
The meticulous process begins with the removal of the blinds, requiring careful attention to detail and the use of appropriate tools to prevent damage during disassembly. Cleaning and inspecting the blinds are crucial steps that not only enhance their visual appeal but also allow homeowners to identify any areas that require repair or replacement. From addressing damaged slats to untangling control mechanisms, the repair phase ensures that the blinds are restored to optimal condition, ready to be reinstalled.
Reinstalling the blinds marks the final phase of the process, demanding precision and attention to detail to ensure that the blinds are securely and seamlessly positioned. By aligning the blinds, securing the mounting clips, and testing their operation, homeowners can verify that the blinds function smoothly and enhance the ambiance of their living spaces.
Ultimately, the process of fixing Pella between the glass blinds empowers homeowners to take proactive measures in maintaining and restoring these modern window treatments. By following the detailed steps outlined in this guide and leveraging the necessary tools and materials, individuals can preserve the functionality and aesthetic appeal of their Pella between the glass blinds, allowing them to continue enjoying the benefits of these innovative window treatments for years to come.
Frequently Asked Questions about How To Fix Pella Between The Glass Blinds
Was this page helpful?
At Storables.com, we guarantee accurate and reliable information. Our content, validated by Expert Board Contributors, is crafted following stringent Editorial Policies. We're committed to providing you with well-researched, expert-backed insights for all your informational needs.
0 thoughts on “How To Fix Pella Between The Glass Blinds”