
Articles
How To Install Flush Mount Floor Register
Modified: December 7, 2023
Learn how to easily install a flush mount floor register in your home with this step-by-step guide. Discover tips and tricks for a seamless installation. Browse other helpful articles for more DIY projects and home improvement tips.
(Many of the links in this article redirect to a specific reviewed product. Your purchase of these products through affiliate links helps to generate commission for Storables.com, at no extra cost. Learn more)
Introduction
Having a properly functioning heating and cooling system is essential for maintaining a comfortable indoor environment. One important component of this system is the floor register, also known as a floor vent or air vent, which allows air to flow in and out of the HVAC ductwork. Over time, floor registers can become worn out or outdated, requiring replacement to ensure proper air circulation.
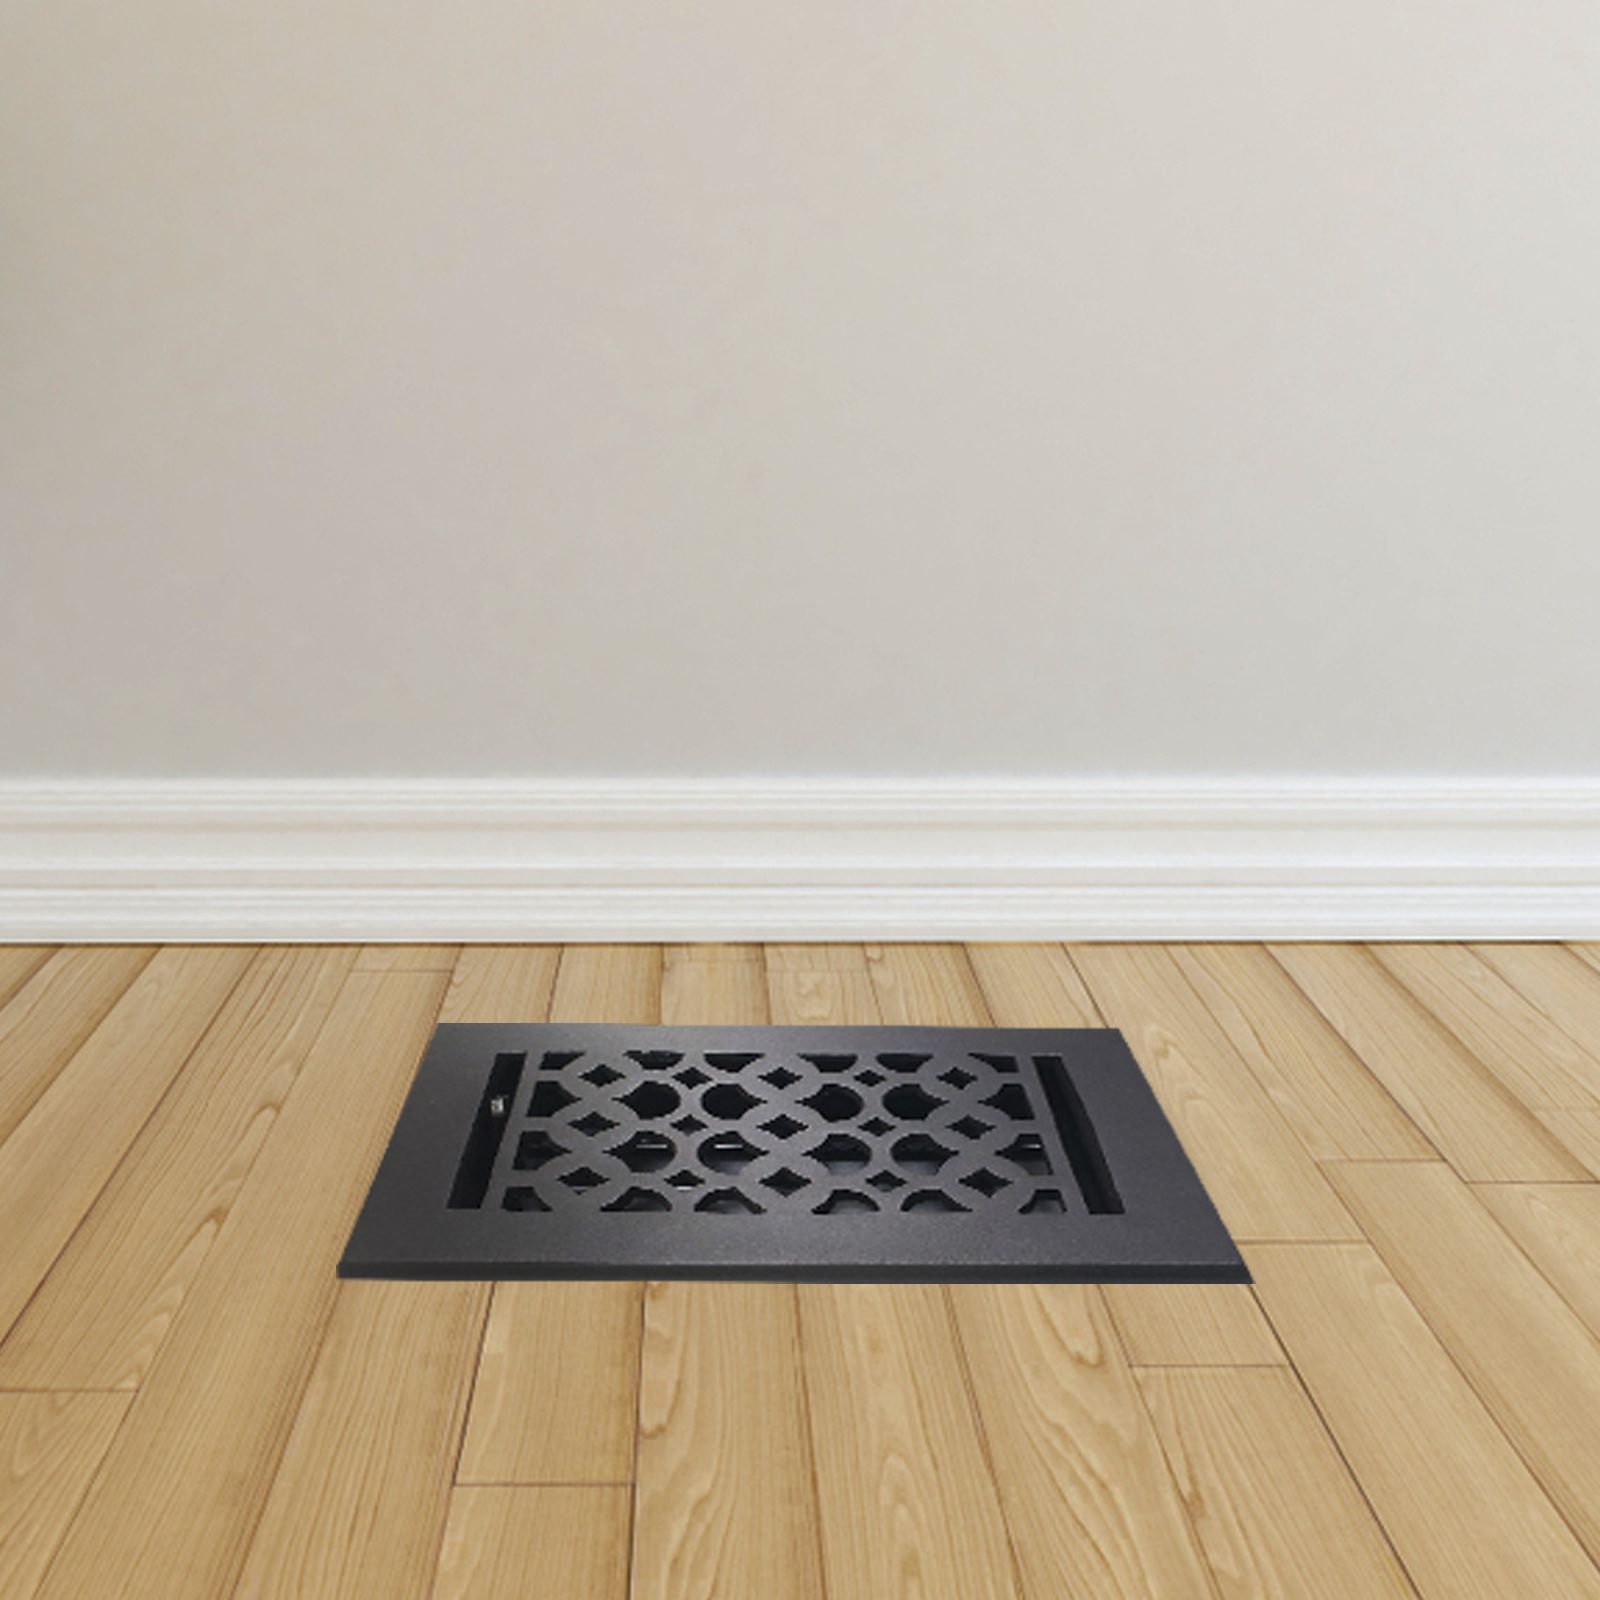
If you’re looking to update the look of your home or simply need to replace a damaged or inefficient floor register, a flush mount floor register can be an excellent choice. These registers are designed to sit flush with the floor, providing a seamless and aesthetically pleasing appearance.
In this article, we will guide you through the step-by-step process of installing a flush mount floor register. From measuring the register opening to securing the new register in place, we will cover all the necessary steps to ensure a successful installation.
To successfully complete this installation project, you will need a few tools and materials. Let’s take a look at what you’ll need before getting started.
Key Takeaways:
- Installing a flush mount floor register is a straightforward process that involves measuring the opening, removing the old register, preparing the floor, and securing the new register. Attention to detail and proper measurements are crucial for a successful installation.
- Connecting the ductwork and testing for proper airflow are essential steps in ensuring the functionality of the new flush mount floor register. Attention to detail and thorough testing will result in an efficient and aesthetically pleasing addition to your home.
Read more: How To Install A Flush Mount Light
Tools and Materials Needed
Before you begin installing a flush mount floor register, gather the following tools and materials:
- Measuring tape
- Screwdriver (flathead or Phillips, depending on the type of screws)
- Utility knife
- Drill
- 3/8-inch drill bit
- Pencil or marker
- Safety goggles
- Dust mask
- Gloves
- New flush mount floor register
- Screws or nails (specific to your register)
Make sure you have all these tools and materials ready before you begin the installation process. Having everything on hand will streamline the process and ensure you can complete the installation without interruptions.
Step 1: Measure the Register Opening
The first step in installing a flush mount floor register is to accurately measure the opening where the new register will be placed. This ensures that you purchase the correct size and style of register for your space.
Here’s how to measure the register opening:
- Remove the old register, if applicable, by unscrewing or lifting it out of the floor.
- With a measuring tape, measure the length and width of the opening. Take these measurements at the widest points to ensure a proper fit.
- Write down the measurements or keep them handy for reference when selecting the new register.
It’s important to note that floor registers come in various sizes, so it’s crucial to measure accurately to ensure compatibility. Once you have the measurements, you can move on to selecting the appropriate flush mount floor register.
If you are unable to remove the old register or are unsure about the size, you can take the register itself to a home improvement store. The staff can assist you in finding a suitable replacement by matching it with the correct size and style.
With the measurement in hand or an old register as a reference, you can now proceed to the next step: removing the old register, if necessary.
Step 2: Remove the Old Register
Now that you have measured the register opening, it’s time to remove the old register. This step may not be necessary if you are installing a flush mount floor register for the first time in a new construction or if there is no existing register in place.
Follow these steps to remove the old register:
- Locate the screws or clips that are holding the register in place.
- Using a screwdriver or your hands, carefully unscrew or unclip the register from the floor.
- Once the screws or clips are removed, gently lift the old register out of the opening.
- Inspect the floor opening for any debris, such as dust or dirt, and clean it if necessary.
If the old register is damaged or worn, be sure to dispose of it properly. If it is in good condition, you may consider keeping it as a spare or for use in another area of your home.
With the old register removed and the floor opening clear, you can now move on to preparing the floor opening for the installation of the new flush mount floor register.
Step 3: Prepare the Floor Opening
After removing the old register, it’s important to prepare the floor opening to ensure a proper installation of the new flush mount floor register. This step involves cleaning the opening and making any necessary adjustments to accommodate the new register.
Follow these steps to prepare the floor opening:
- Inspect the floor opening for any dust, debris, or obstructions. Use a vacuum or a broom to thoroughly clean the area.
- If the floor opening is significantly damaged or uneven, you may need to make some adjustments. Use a utility knife or a chisel to trim or level the edges of the opening as needed.
- Ensure that the floor opening is clear and free from any obstacles that may hinder the installation of the new register.
It’s important to have a clean and smooth surface to properly install the flush mount floor register. By preparing the floor opening, you create a solid foundation for the next steps of the installation process.
Once the floor opening is cleaned and prepared, you can proceed to the next step: installing the mounting frame for the new register.
When installing a flush mount floor register, make sure to measure the opening accurately and choose a register that fits snugly. Use the appropriate tools to secure the register in place for a clean and professional finish.
Read more: How To Install A Flush Mount Ceiling Fan
Step 4: Install the Mounting Frame
With the floor opening prepared, it’s time to install the mounting frame for the new flush mount floor register. The mounting frame provides support and stability for the register, ensuring a secure and seamless installation.
Follow these steps to install the mounting frame:
- Place the mounting frame over the floor opening, aligning it properly.
- Using a pencil or marker, trace the outline of the mounting frame on the floor. This will act as a guide for the next steps.
- Remove the mounting frame and set it aside.
- Using a drill and a 3/8-inch drill bit, create pilot holes at the corners of the traced outline.
- Take the mounting frame and align it with the pilot holes. Ensure that the frame is positioned correctly.
- Secure the mounting frame to the floor by driving screws or nails through the pilot holes. Make sure to use the appropriate fasteners for your specific floor type.
Once the mounting frame is securely installed, you can move on to the next step: connecting the ductwork to the new register.
Properly installing the mounting frame is crucial for the stability and functionality of the flush mount floor register. Take your time to ensure it is securely in place before proceeding to the next step.
Step 5: Connect the Ductwork
After installing the mounting frame, it’s time to connect the ductwork to the new flush mount floor register. This step ensures that air can flow freely between the HVAC system and the room, providing efficient heating and cooling.
Follow these steps to connect the ductwork:
- Locate the duct opening on the mounting frame of the new register.
- Measure the diameter of the duct opening to ensure a proper fit for the ductwork.
- If needed, use a utility knife or a pair of tin snips to adjust the size of the duct opening to match the diameter of the ductwork.
- Once the duct opening is the correct size, connect the ductwork to the opening. Ensure a snug fit to prevent air leaks.
- If necessary, use foil tape or duct sealant to secure the connection and prevent air leakage.
Connecting the ductwork is a critical step in the installation process. It ensures that air is properly directed through the register and into the room. Make sure to double-check the connections and ensure they are secure before proceeding to the next step.
With the ductwork connected, you can now move on to securing the new floor register in place.
Step 6: Secure the Floor Register
Now that the mounting frame and ductwork are in place, it’s time to secure the new flush mount floor register. This step ensures that the register is firmly held in position and prevents it from moving or becoming loose over time.
Follow these steps to secure the floor register:
- Hold the floor register over the mounting frame, aligning it with the screw holes on the frame.
- Using a screwdriver, drive screws through the screw holes on the register and into the mounting frame. Be sure to tighten the screws securely to ensure a tight fit.
- Check the register to ensure that it is level and sits flush with the floor surface.
- If necessary, use the screwdriver to adjust the position of the screws to achieve a proper alignment.
Securing the floor register is vital to maintain its stability over time. Properly tightened screws will prevent the register from shifting or becoming loose, ensuring a seamless and long-lasting installation.
Once the floor register is securely in place, you can move on to the final step: testing for proper air flow.
Step 7: Test for Proper Air Flow
After installing the flush mount floor register, it’s important to test for proper air flow to ensure that your heating and cooling system is functioning optimally. This step allows you to identify any potential issues and make adjustments if necessary.
Follow these steps to test for proper air flow:
- Turn on your HVAC system to allow air to start flowing through the ductwork.
- Observe the airflow coming through the floor register. It should be steady and consistent.
- Check for any obstructions or restrictions that may impede the air flow, such as furniture or rugs placed over the register.
- Feel the temperature of the air coming through the register. It should match the temperature set on your thermostat.
- If you notice weak or inconsistent airflow, make sure the ductwork is properly connected and there are no air leaks.
- If necessary, consult with a professional HVAC technician to troubleshoot and resolve any airflow issues.
Testing for proper air flow ensures that your heating and cooling system operates efficiently, providing optimal comfort in your home. If you encounter any issues during the testing process, it’s important to address them promptly to maintain the effectiveness of your HVAC system.
Congratulations! You have successfully installed a flush mount floor register.
Conclusion
Installing a flush mount floor register is a great way to enhance the appearance and functionality of your heating and cooling system. By following the steps outlined in this guide, you can ensure a seamless and successful installation process.
In this article, we discussed the importance of measuring the register opening accurately and selecting the correct size and style of register. We also covered the steps involved in removing the old register, preparing the floor opening, installing the mounting frame, connecting the ductwork, securing the floor register, and testing for proper air flow.
Throughout the installation process, it’s essential to pay attention to detail and ensure that each step is done correctly. Proper measurements, secure connections, and thorough testing will result in a floor register that functions effectively and adds a touch of elegance to your home.
If you encounter any difficulties during the installation process or if you’re unsure about any step, don’t hesitate to seek guidance from a professional or consult with an expert in the field.
Remember, a properly installed flush mount floor register not only provides efficient air circulation but also enhances the aesthetic appeal of your space. By improving the functionality and appearance of your heating and cooling system, you can create a more comfortable and inviting environment for you and your family.
We hope that this guide has been helpful, and we wish you success in your flush mount floor register installation project!
Frequently Asked Questions about How To Install Flush Mount Floor Register
Was this page helpful?
At Storables.com, we guarantee accurate and reliable information. Our content, validated by Expert Board Contributors, is crafted following stringent Editorial Policies. We're committed to providing you with well-researched, expert-backed insights for all your informational needs.


0 thoughts on “How To Install Flush Mount Floor Register”