Home>Furniture>Living Room Furniture>How To Mount A TV Stand On The Wall
Living Room Furniture
How To Mount A TV Stand On The Wall
Modified: March 16, 2024
Learn how to mount a TV stand on the wall for your living room furniture. Step-by-step guide to create a stylish and space-saving setup.
(Many of the links in this article redirect to a specific reviewed product. Your purchase of these products through affiliate links helps to generate commission for Storables.com, at no extra cost. Learn more)
Introduction
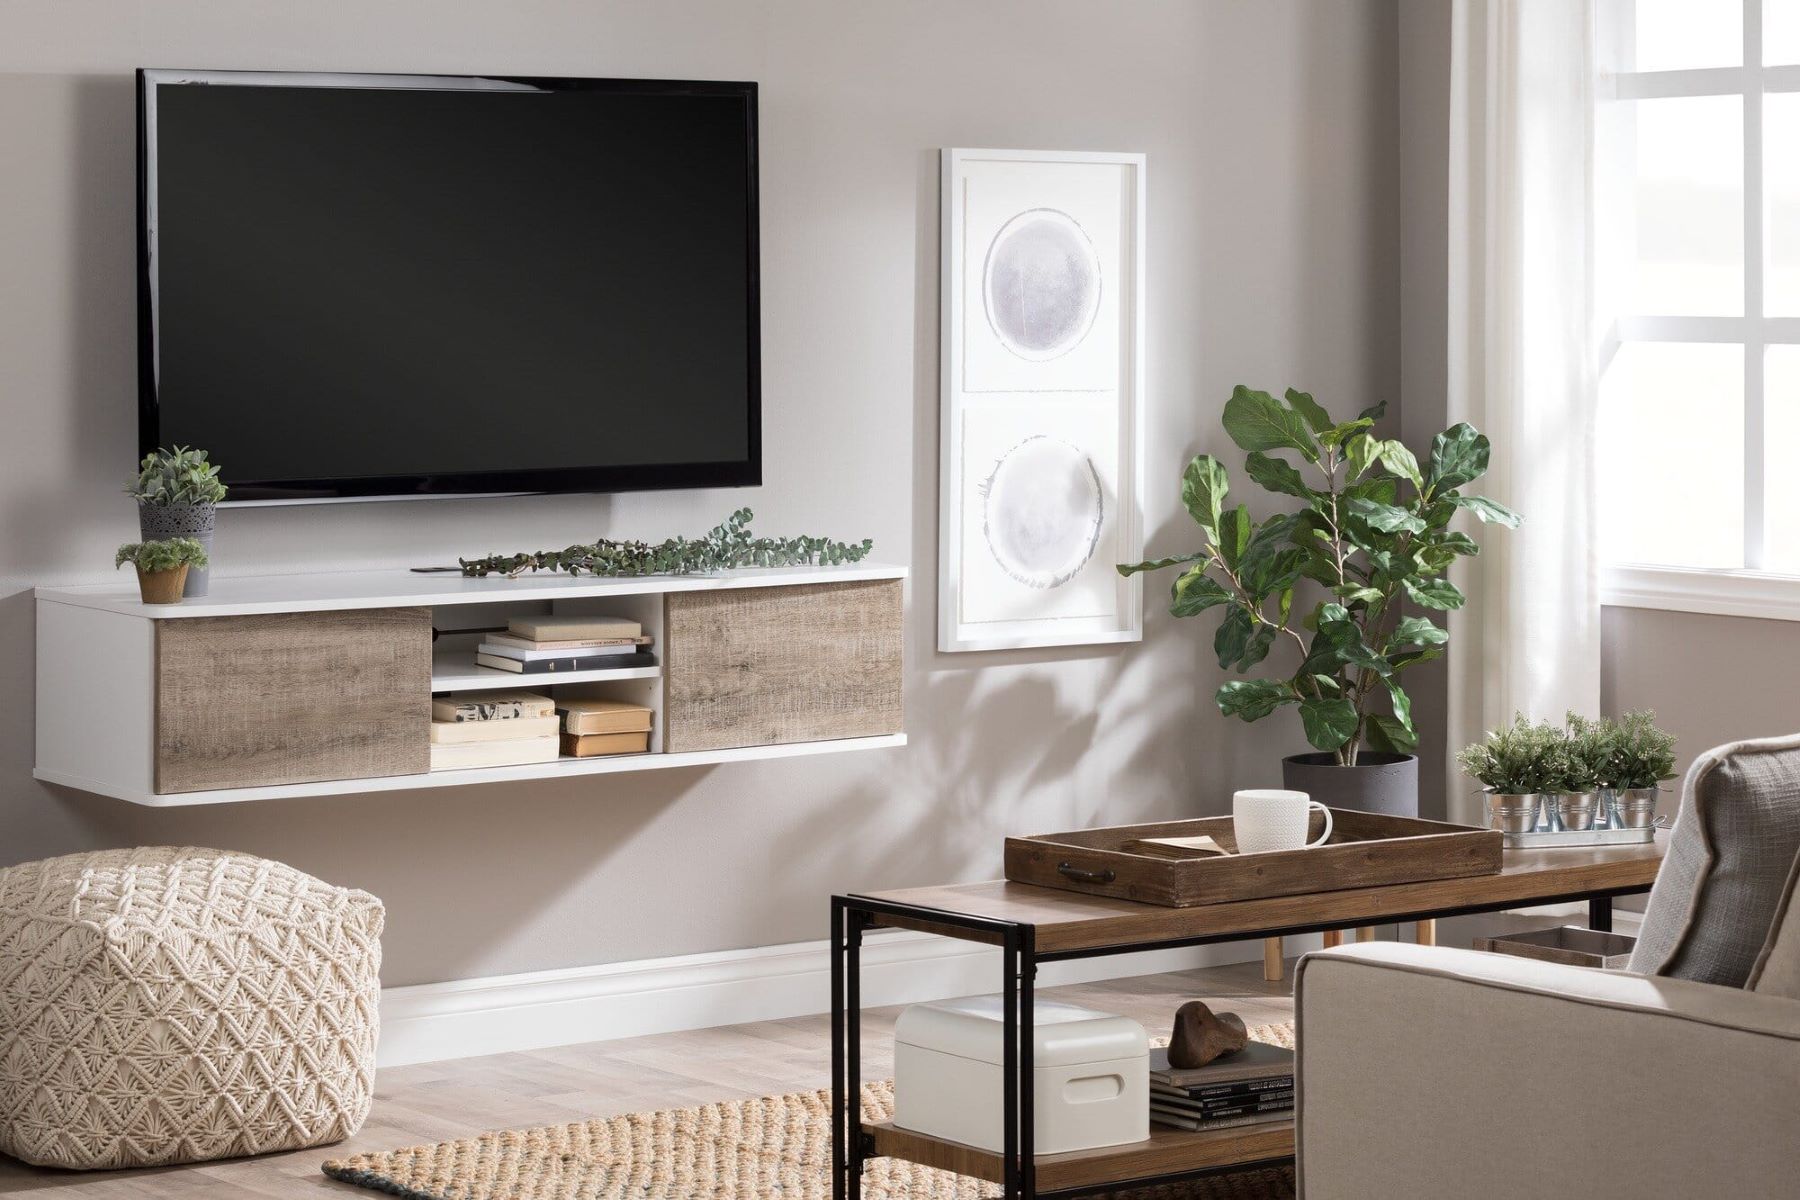
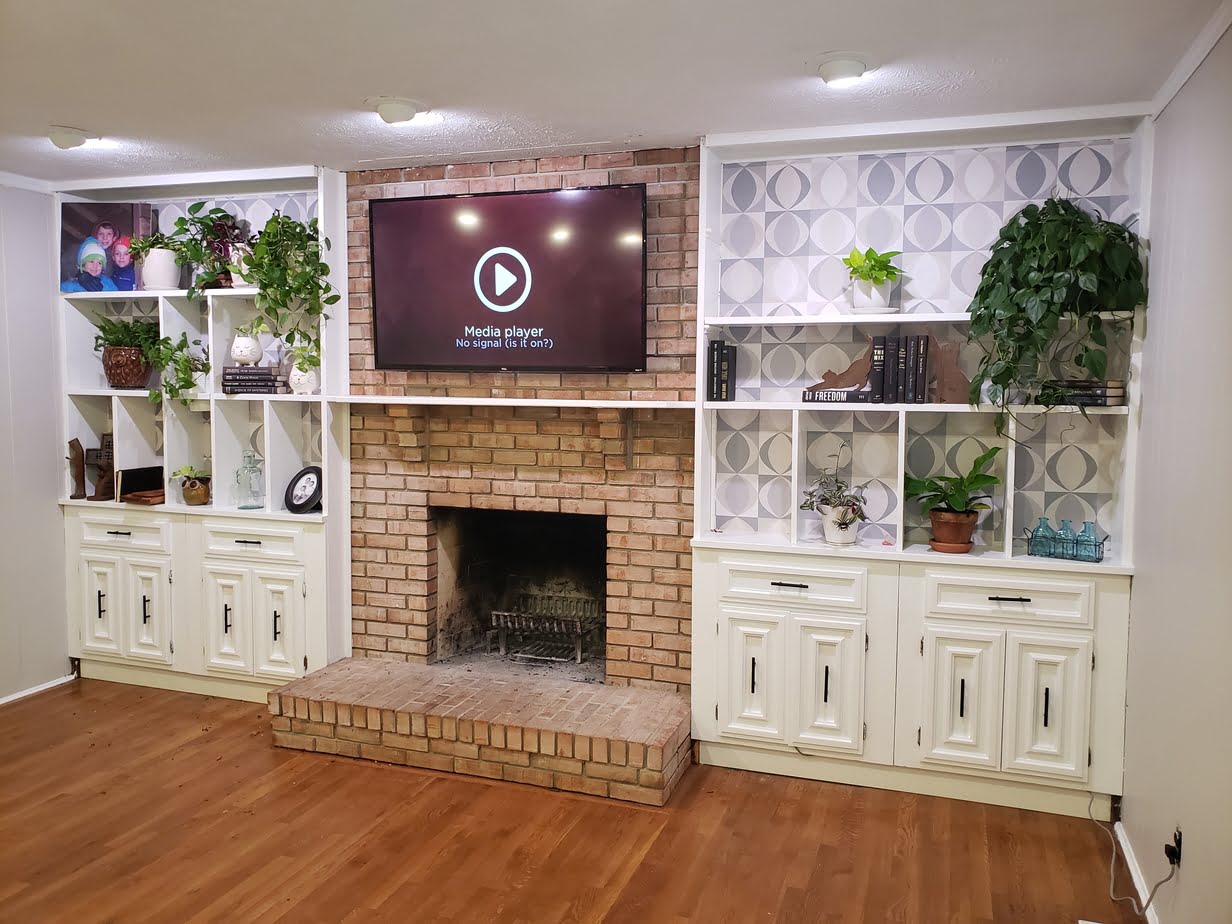
Mounting a TV stand on the wall is a great way to save space and create a sleek and modern look in your living room. Whether you have a small space or simply prefer the aesthetic of a wall-mounted TV, this step-by-step guide will walk you through the process of mounting a TV stand on the wall with ease.
Before diving into the installation process, it’s important to gather all the necessary tools and materials. This will ensure a smooth and successful installation. Additionally, taking the time to properly prepare the wall and assess the location for mounting the TV stand will help guarantee a secure and stable installation.
In this guide, we will explore each step in detail, providing you with the knowledge and confidence to mount your TV stand on the wall like a pro. So, let’s get started!
Key Takeaways:
- Save space and create a modern look by mounting a TV stand on the wall. Follow the step-by-step guide to ensure a secure and visually appealing installation.
- Prioritize safety, accuracy, and attention to detail throughout the installation process. Test the TV stand to ensure stability and functionality for an enjoyable viewing experience.
Read more: How To Mount A TV On A TV Stand
Step 1: Gather the necessary tools and materials
To begin the process of mounting a TV stand on the wall, it is essential to gather all the required tools and materials. Having everything at hand will streamline the installation and ensure a smooth workflow. Here are the key elements you will need:
– Choosing the right TV stand for wall mounting: Before you start gathering the tools, it’s important to choose the right TV stand that is specifically designed for wall mounting. Look for a stand that is compatible with your TV size and weight, and provides the necessary brackets or mounting hardware.
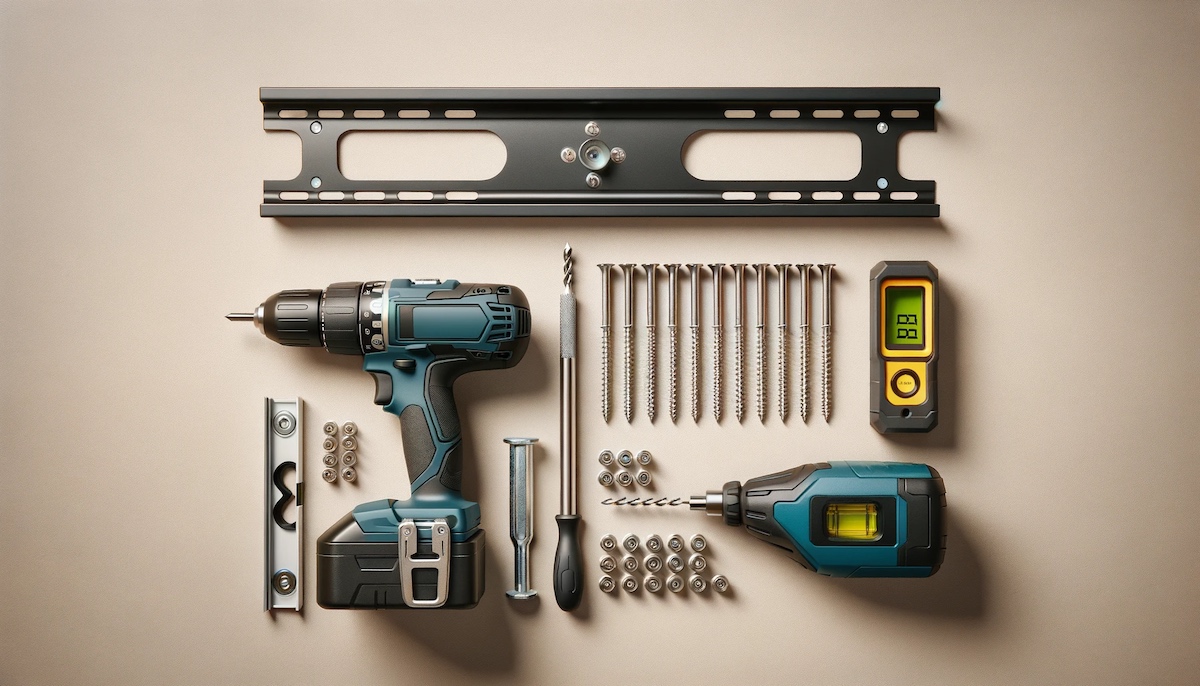
– Tools required for installation: You’ll need a set of basic tools to complete the installation process. These typically include a drill, screwdriver, wrench, level, and a socket set. Also, have some screws and anchors on hand in case they are not provided with the TV stand.
– Measuring tape and stud finder: Accurate measurements are crucial for a successful installation. Use a measuring tape to determine the height and width of the TV stand and mark the position on the wall accordingly. A stud finder is another essential tool to locate the wooden studs in the wall, ensuring a secure and stable mount.
Once you have gathered all the necessary tools and materials, you’ll be fully equipped to move on to the next steps of the installation process. By having everything prepared in advance, you can save time and avoid any unnecessary interruptions during the mounting process.
Step 2: Locate and mark the position of the TV stand
Once you have all your tools and materials ready, the next step is to locate and mark the position where you will mount the TV stand on the wall. This involves finding the suitable height for the TV and accurately marking the position on the wall. Here’s how to do it:
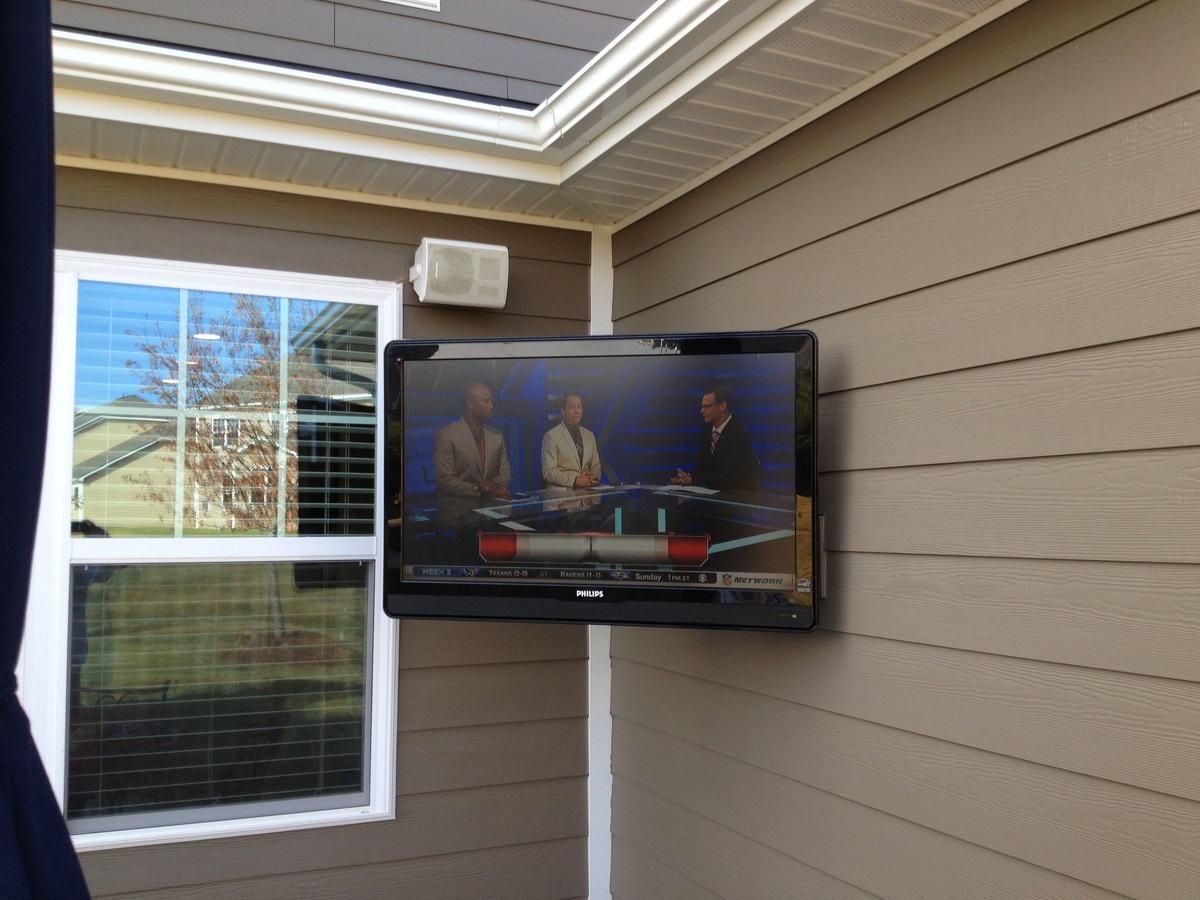
– Finding the suitable height for the TV: Consider the viewing angle and comfort when determining the height at which you want to mount your TV stand. A general guideline is to position the center of the TV screen at eye level when seated. This ensures optimal viewing experience and reduces strain on the neck.
– Marking the position on the wall: Use a pencil or a marker to mark the desired position on the wall. Start by measuring the width of the TV stand and mark the center point on the wall. Then, measure the height from the floor to the desired height for the TV stand and mark it on the wall as well. Use a level to ensure that the marks are straight and aligned.
It’s important to take into consideration any furniture or other elements in the room that might affect the positioning of the TV stand. Also, make sure to leave enough space around the TV stand for proper ventilation and easy access to the connections.
By locating and marking the position of the TV stand accurately, you can ensure that the installation is visually appealing and comfortable for viewing. This step sets the foundation for the rest of the installation process, so take your time to measure and mark the position correctly before proceeding to the next step.
Step 3: Prepare the wall for installation
Before proceeding with the installation of the TV stand on the wall, it is crucial to prepare the wall to ensure a safe and secure mount. This involves checking for electrical wires and plumbing, removing any obstacles or obstructions, and determining the type of wall surface. Follow these steps to prepare the wall:
– Checking for electrical wires and plumbing: It is essential to be aware of any electrical wires or plumbing that may be hidden within the wall. Turn off the power supply to the room and use a stud finder to scan the wall for any electrical wires or plumbing. If you detect any, it is best to consult a professional electrician or plumber to assess the situation and make any necessary adjustments.
– Removing any obstacles or obstructions: Clear the area around the marked position on the wall by removing any furniture, artwork, or other obstacles. This will provide you with enough space to work and ensure a clean installation.
– Determining the type of wall surface: Different wall surfaces require different installation techniques. Determine whether the wall is made of drywall, concrete, or brick. This will help you choose the appropriate tools and hardware for a secure installation. Drywall may require anchors, while concrete or brick may require specific masonry screws or anchors.
Taking the time to prepare the wall before installation is crucial for a successful and safe mounting of the TV stand. By checking for electrical wires and plumbing, removing obstacles, and understanding the wall surface, you can proceed with the installation with confidence, knowing that you have taken the necessary precautions for a secure mount.
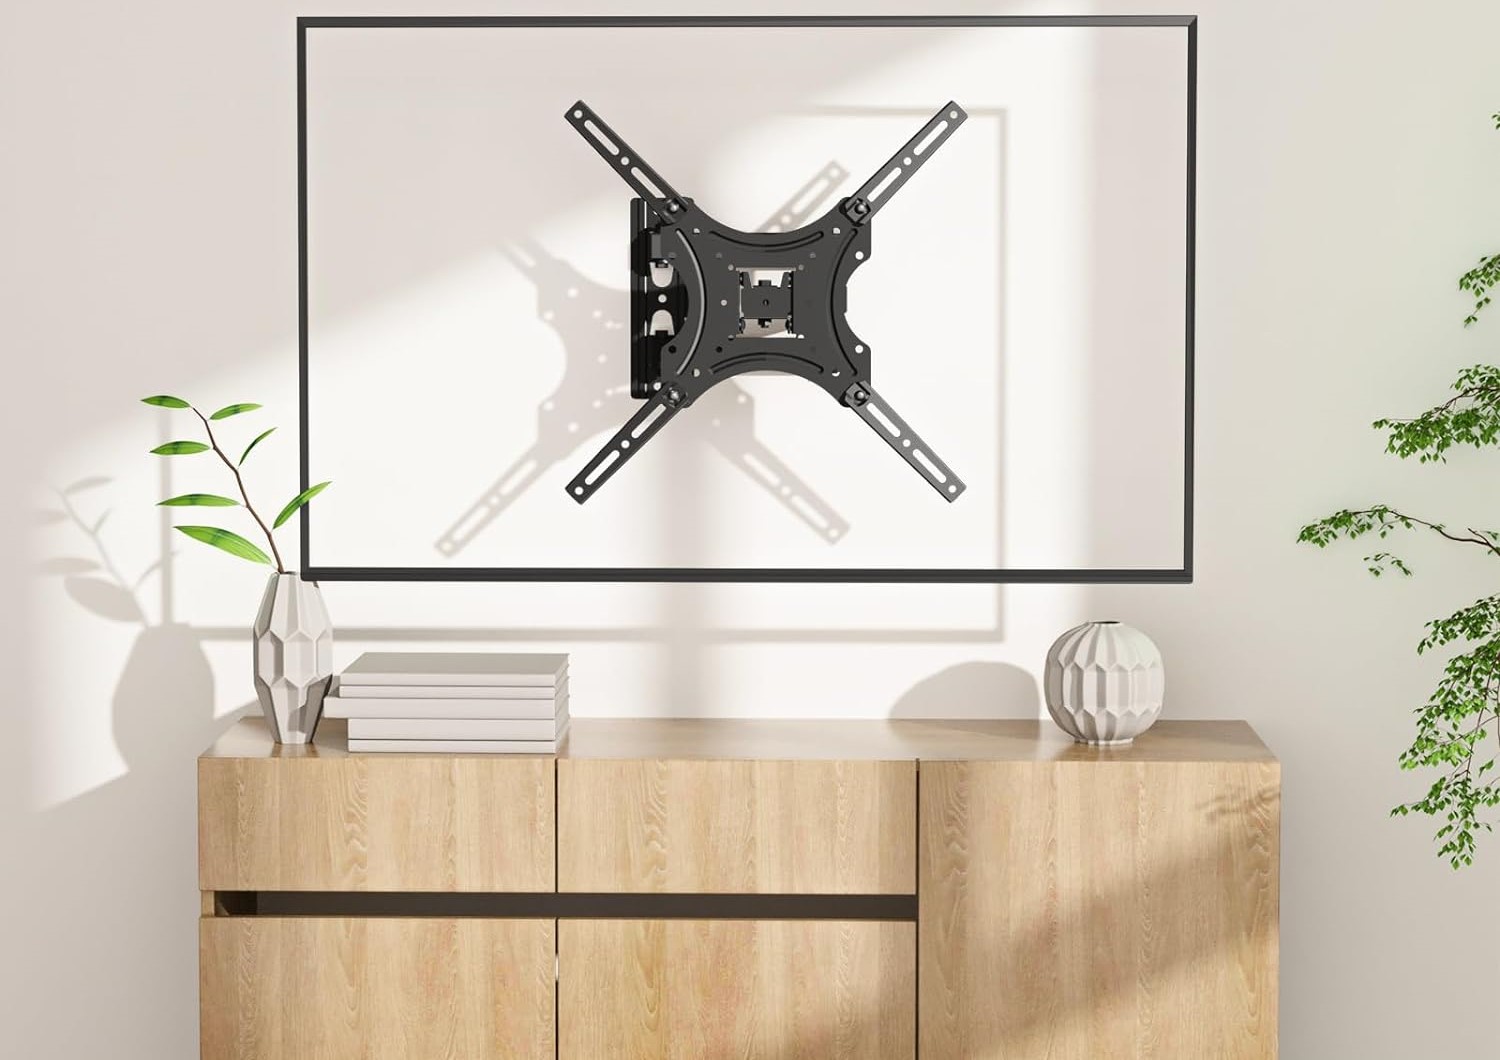
Step 4: Install the mounting bracket
Now that the wall is prepared, it’s time to install the mounting bracket for the TV stand. This step involves attaching the bracket to the TV stand, positioning and securing the bracket on the wall, and ensuring proper alignment and stability. Follow these steps for a successful installation:
– Attaching the bracket to the TV stand: Carefully follow the manufacturer’s instructions to attach the bracket to the TV stand. This usually involves using screws or bolts to securely affix the bracket to the designated mounting points on the back of the TV stand. Make sure the bracket is firmly attached and aligned properly.
– Positioning and securing the bracket on the wall: Position the bracket on the wall according to the marks you made in Step 2. Use a level to ensure that the bracket is perfectly aligned. Once the bracket is in the desired position, mark the mounting holes on the wall using a pencil or marker. Then, use a drill and appropriate screws or anchors to secure the bracket to the wall. Ensure that the screws or anchors are tightly fastened for stability.
– Ensuring proper alignment and stability: Once the bracket is securely attached to the wall and the TV stand, double-check its alignment and stability. Use a level to ensure that the bracket is perfectly horizontal or tilted as desired. Gently shake the bracket to check for any loose connections or wobbling. If necessary, make adjustments to ensure proper alignment and stability.
Proper installation of the mounting bracket is crucial for a secure and stable TV stand. By following the manufacturer’s instructions, positioning and securing the bracket accurately, and double-checking the alignment and stability, you can ensure a solid foundation for mounting your TV stand on the wall.
When mounting a TV stand on the wall, make sure to use a stud finder to locate the wall studs for secure installation. Always follow the manufacturer’s instructions and use the appropriate hardware for your specific TV and wall type.
Read more: How To Mount A Floating TV Stand
Step 5: Mount the TV stand onto the wall
Now that the mounting bracket is securely in place, it’s time to mount the TV stand onto the wall. This step involves lifting and placing the TV stand onto the bracket, securing it in place, and double-checking for stability and adjustments. Follow these steps for a successful installation:
– Lifting and placing the TV stand onto the bracket: Carefully lift the TV stand and align it with the mounting bracket on the wall. It’s recommended to have someone assist you in this process to ensure ease and safety. Slowly lower the TV stand onto the bracket, making sure it fits securely without any wobbling or misalignment.
– Securing the TV stand in place: Once the TV stand is in position on the bracket, use the provided screws or bolts to secure it in place. Follow the manufacturer’s instructions to ensure the TV stand is properly connected to the bracket. Make sure to tighten the screws or bolts firmly, but be careful not to overtighten and damage the TV stand or the bracket.
– Double-checking for stability and adjustments: After securing the TV stand, double-check its stability by gently shaking it. Ensure that it is firmly attached to the wall and does not wobble or move excessively. If you notice any instability, make any necessary adjustments, such as tightening screws or leveling the TV stand. It’s important to ensure a stable and secure mount to prevent any accidents or damage.
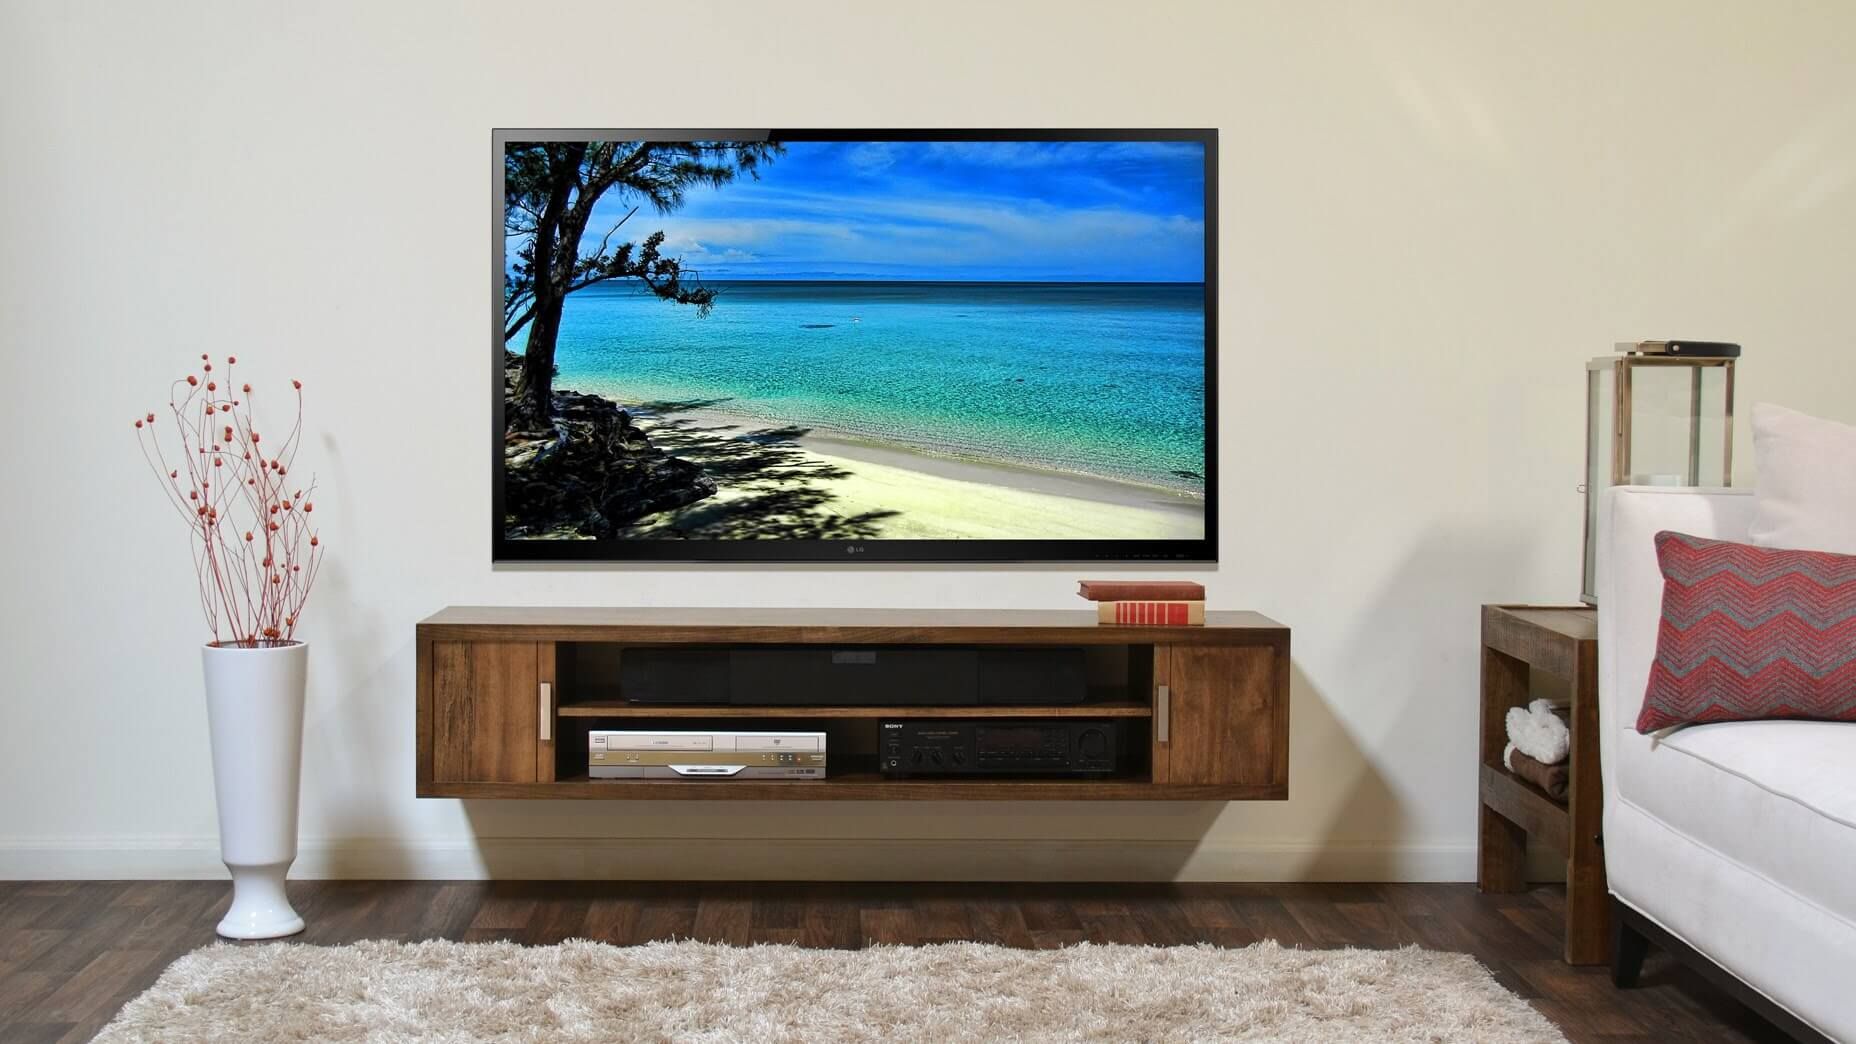
By successfully mounting the TV stand onto the wall, you’ll create a clean and modern look in your living room while optimizing space. Remember to prioritize safety and stability during this step, and don’t hesitate to seek assistance if needed. Once you are satisfied with the stability and adjustments, you can move on to the next step of organizing and concealing cables.
Step 6: Organize and conceal cables
After mounting the TV stand onto the wall, the next step is to organize and conceal the cables for a clean and organized look. This step involves managing and hiding the cables behind the wall and utilizing cable management solutions to maintain a neat appearance. Here’s how to effectively organize and conceal the cables:
– Managing and hiding cables behind the wall: Start by identifying the cables that need to be connected to your TV and other devices. Carefully feed the cables through the cable management holes or channels provided in the TV stand and the wall. If there are no built-in cable management options, consider using cable management sleeves or raceways that can be attached to the wall to guide and conceal the cables.
– Using cable management solutions: Cable management solutions, such as cable clips, cable ties, or cable covers, can help keep the cables organized and prevent them from becoming tangled or unsightly. Use these solutions to secure the cables and route them along the wall or furniture in a neat and organized manner. Additionally, label each cable or use color-coded cable ties to easily identify and trace them in the future.
– Maintaining a clean and organized appearance: Once the cables are organized and secured, make sure they are neatly tucked away behind the TV stand or along the wall. Use adhesive hooks or cable clips to secure any excess cable length and prevent them from hanging down or cluttering the space. Regularly check and adjust the cables as needed to maintain a clean and organized appearance.
By effectively managing and concealing the cables, you can achieve a clutter-free look and enhance the overall aesthetics of your living room. Organized cables not only create a visually appealing environment but also make it easier to maintain and access your devices.
Step 7: Test the TV stand installation
After completing the installation and organizing the cables, the final step is to test the TV stand to ensure it is securely mounted and fully functional. This step involves checking the stability of the TV stand, inspecting for any loose connections or wobbling, and testing the functionality of the TV stand. Follow these steps to ensure a successful installation:
– Making sure the TV stand is securely mounted: Start by visually inspecting the TV stand and the mounting bracket to ensure they are securely mounted to the wall. Check if all screws and bolts are tight and there are no signs of instability or misalignment.
– Checking for any loose connections or wobbling: Gently shake the TV stand to check for any loose connections or wobbling. Pay close attention to the brackets, screws, and other parts of the TV stand. If you notice any instability or movement, carefully tighten the necessary connections to ensure a secure mount.
– Testing the functionality of the TV stand: Connect your TV and other devices to the TV stand and test their functionality. Ensure that all cables are properly connected and that the TV is displaying properly. Test the functionality of any additional features, such as swiveling or tilting, if applicable.
It’s important to thoroughly test the TV stand installation to ensure it meets your expectations in terms of stability and functionality. Taking the time to conduct these tests will give you peace of mind and help identify any issues that may need to be addressed before fully enjoying your wall-mounted TV stand.
If everything checks out and the TV stand is securely mounted and functioning as expected, congratulations! You have successfully completed the installation. Now, sit back, relax, and enjoy your newly mounted TV stand in your living room.
Conclusion
Mounting a TV stand on the wall can transform your living room and create a sleek and modern look. By following the step-by-step guide outlined in this article, you can successfully mount your TV stand and enhance your viewing experience. Here is a recap of the key steps:
In Step 1, you gathered all the necessary tools and materials, ensuring you have everything you need for the installation. Step 2 involved locating and marking the position of the TV stand, ensuring it is placed at the optimal height for comfortable viewing. Step 3 focused on preparing the wall for installation, checking for any electrical wires or plumbing, and removing any obstacles or obstructions.
In Step 4, you installed the mounting bracket for the TV stand, attaching it securely to both the TV stand and the wall. Step 5 involved the actual mounting of the TV stand onto the bracket, making sure it is properly secured and stable. In Step 6, you organized and concealed the cables using cable management solutions to maintain a clean and organized appearance.
The final step, Step 7, was to test the TV stand installation, ensuring that it is securely mounted and fully functional. By doing so, you verified that the TV stand is stable, all connections are secure, and the TV is working properly.
Throughout the process, it is important to prioritize safety, accuracy, and attention to detail. Taking the time to thoroughly prepare, install, and test the TV stand will result in a reliable and visually appealing setup.
Remember, if you are unsure about any step or encounter specific challenges during the installation, it is always advisable to consult a professional. They can provide guidance, ensure the proper installation of the TV stand, and address any unique circumstances or requirements.
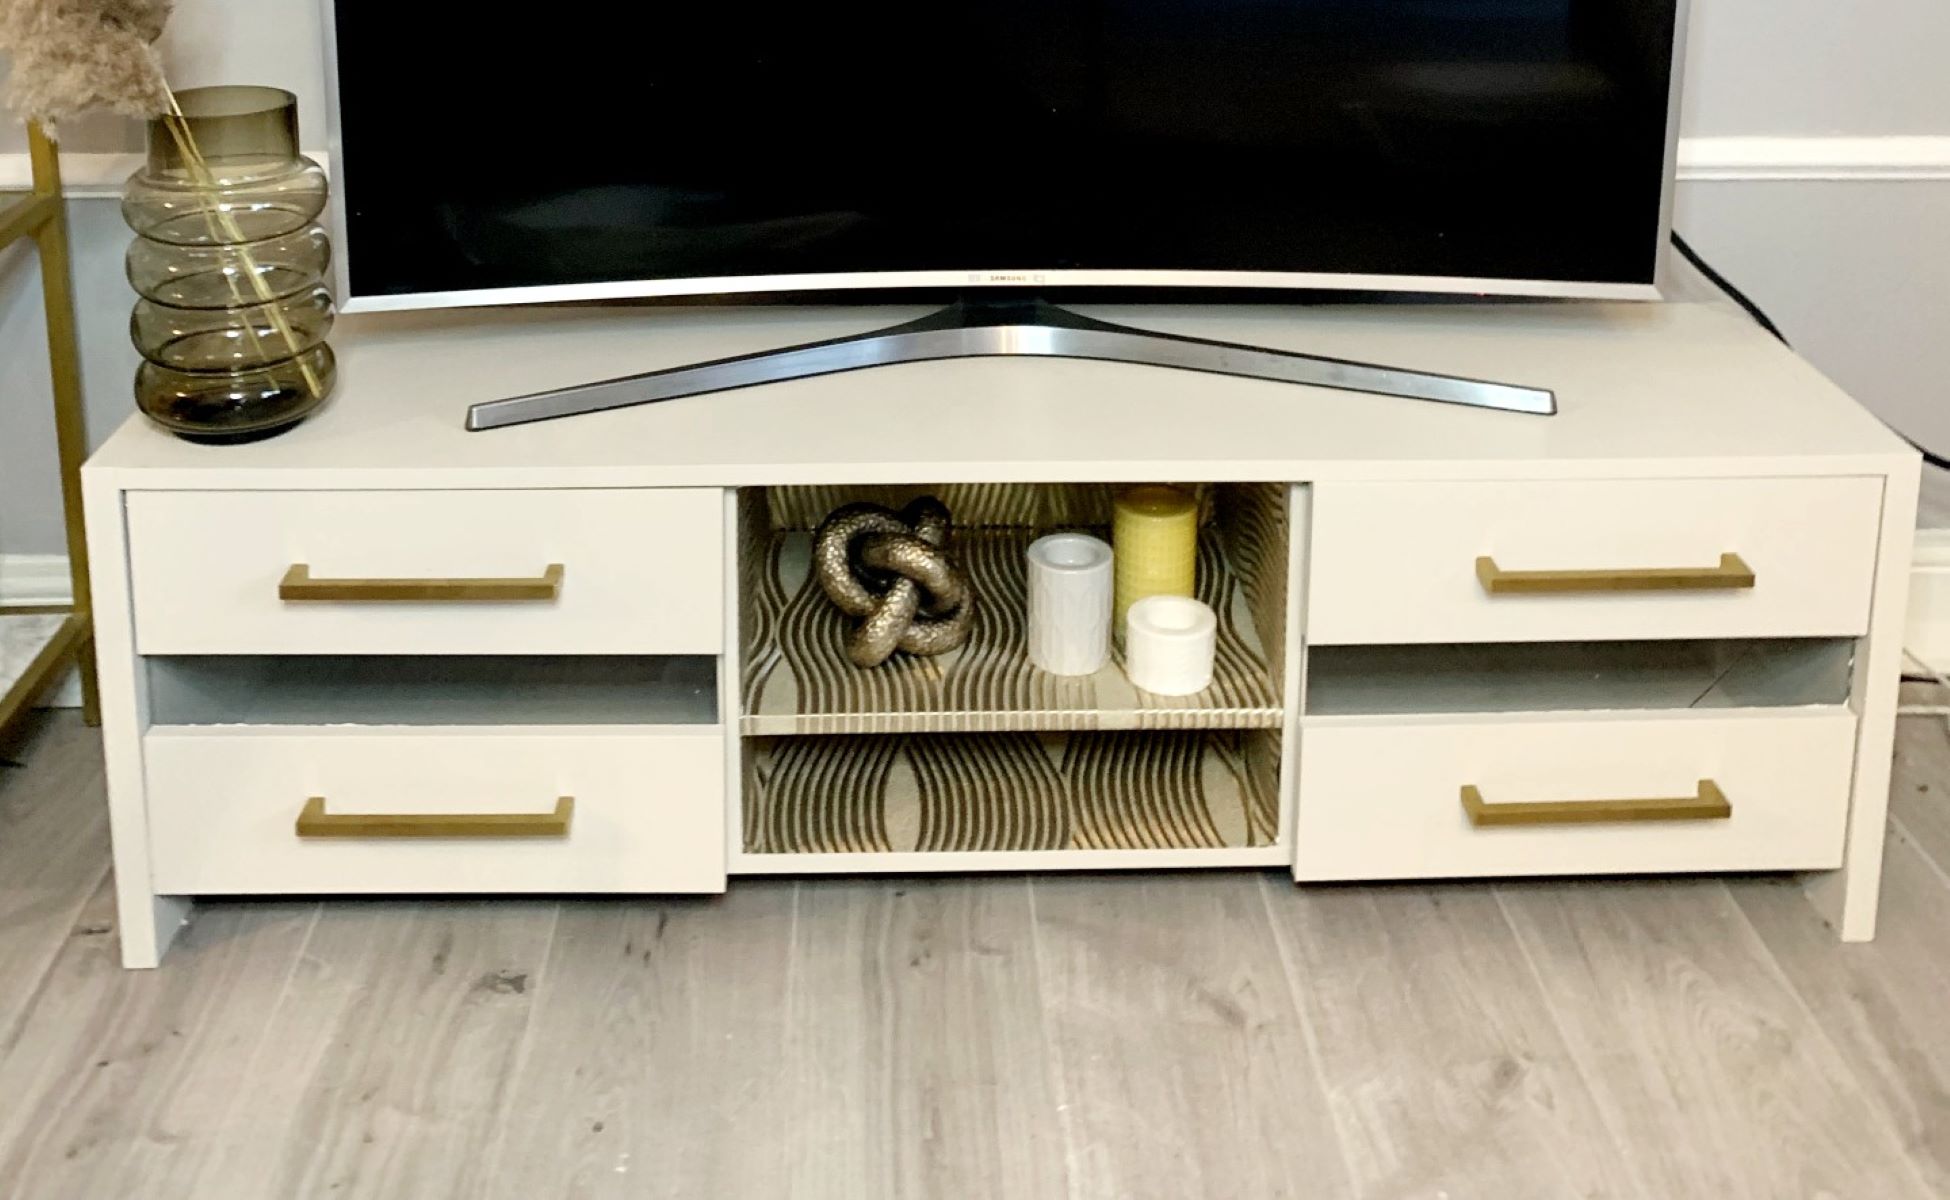
Now that you have successfully mounted your TV stand on the wall, it’s time to sit back, relax, and enjoy the immersive entertainment experience it offers. Say goodbye to bulky TV stands that take up valuable floor space and say hello to a sleek, modern, and space-saving setup in your living room.
Frequently Asked Questions about How To Mount A TV Stand On The Wall
Was this page helpful?
At Storables.com, we guarantee accurate and reliable information. Our content, validated by Expert Board Contributors, is crafted following stringent Editorial Policies. We're committed to providing you with well-researched, expert-backed insights for all your informational needs.


0 thoughts on “How To Mount A TV Stand On The Wall”