Articles
How To Mount TV To Vinyl Siding
Modified: May 6, 2024
Learn how to mount your TV to vinyl siding with our informative articles. Step-by-step instructions and helpful tips to ensure a secure installation.
(Many of the links in this article redirect to a specific reviewed product. Your purchase of these products through affiliate links helps to generate commission for Storables.com, at no extra cost. Learn more)
Introduction
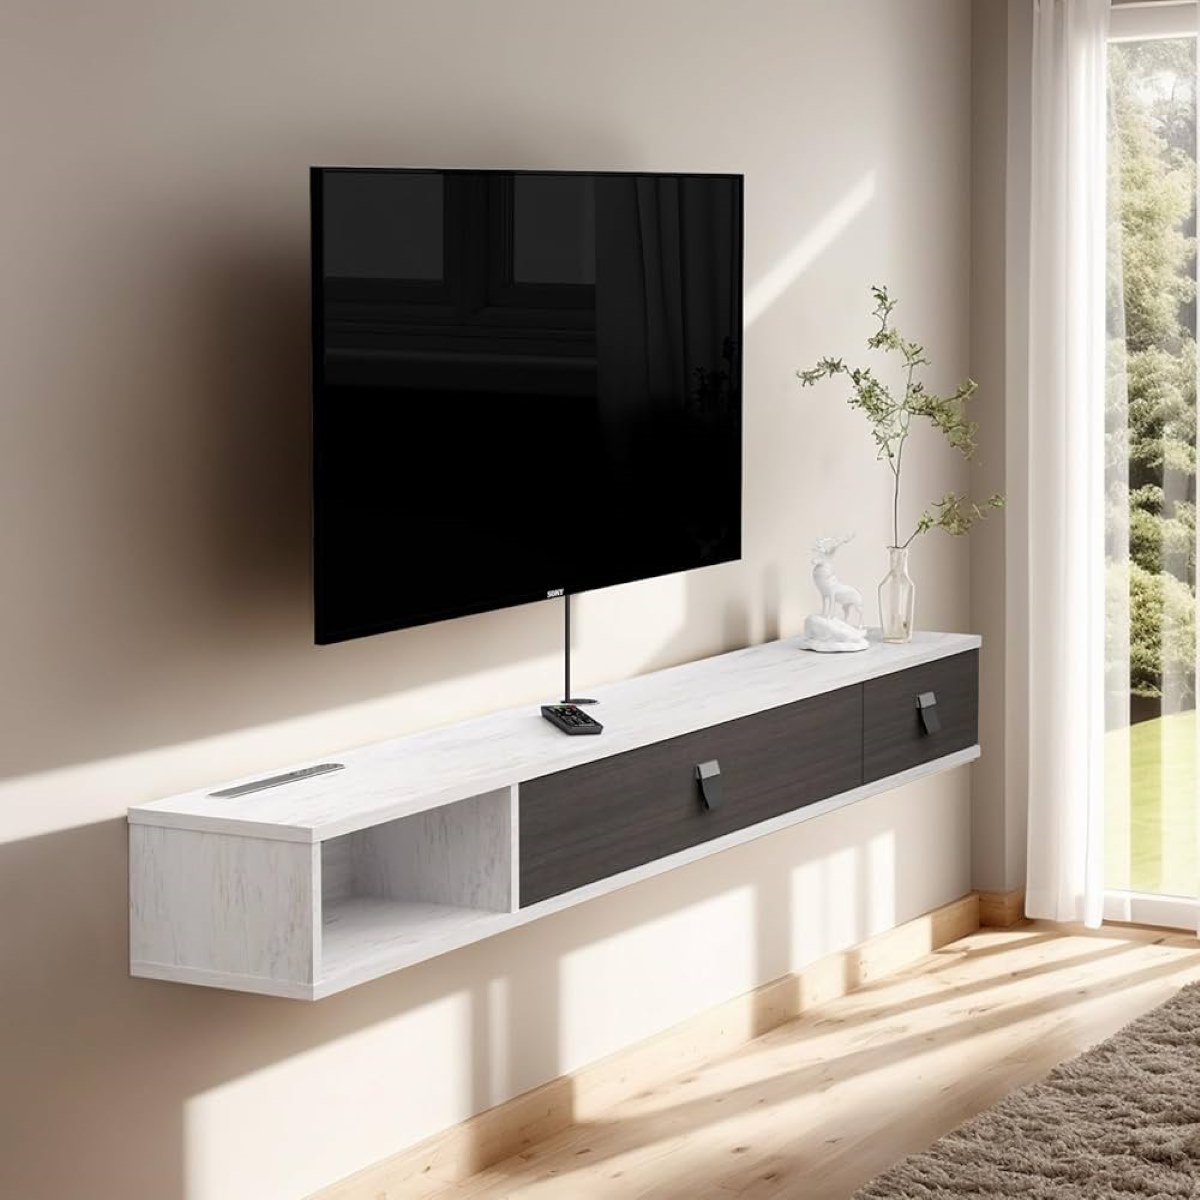
Mounting a TV to vinyl siding can be a convenient and space-saving solution for homeowners looking to enhance their entertainment experience. Whether you want to create a home theater setup or simply improve the viewing angles in your living room, mounting a TV on vinyl siding requires careful planning and execution.
In this article, we will guide you through the step-by-step process of mounting a TV to vinyl siding. We will discuss the tools and materials needed, as well as provide detailed instructions on how to securely attach the TV to the siding. By following these instructions, you can ensure a professional-looking installation that will stand the test of time.
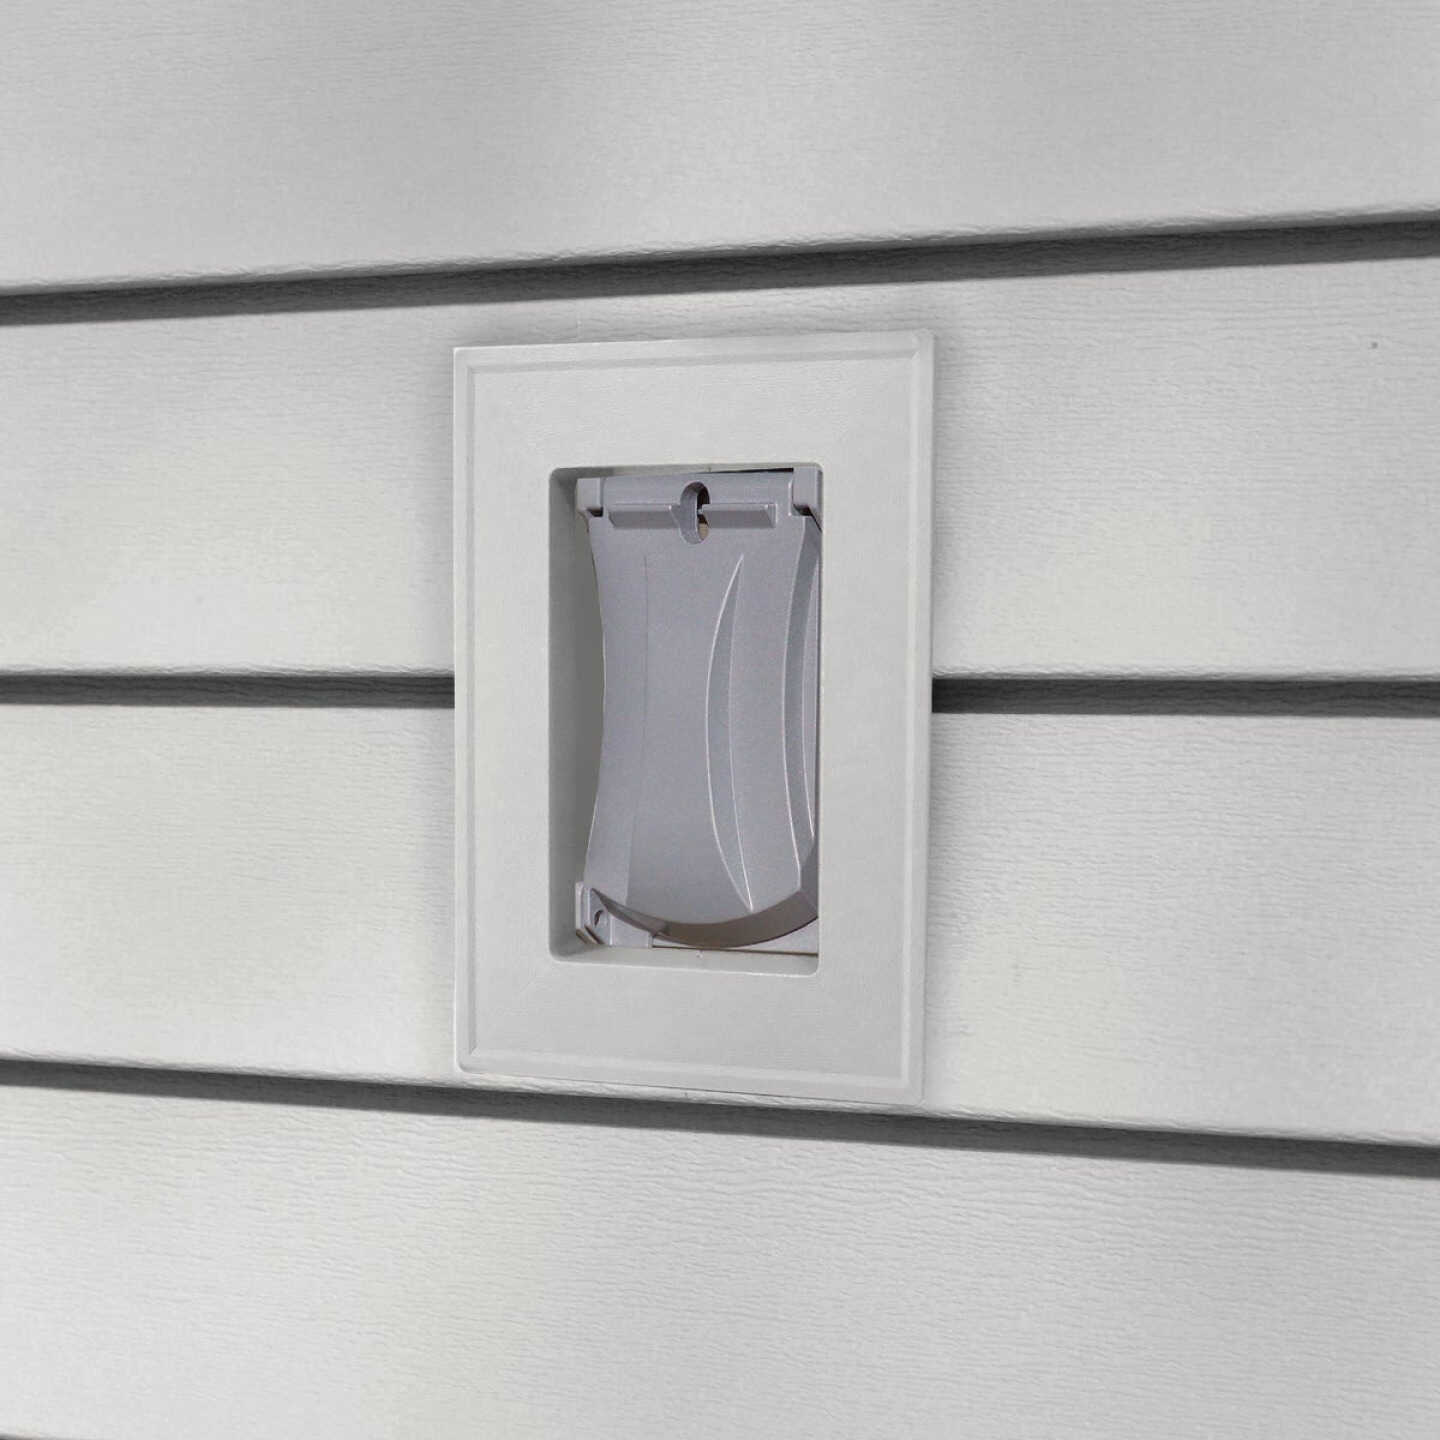
Before we dive into the process, it’s important to note that properly mounting a TV on vinyl siding requires a solid understanding of the material and its limitations. Vinyl siding is not as sturdy as other types of siding, such as brick or concrete, so extra precautions must be taken to ensure a secure and safe installation.
Now, let’s gather the necessary tools and materials before we begin!
Key Takeaways:
- Mounting a TV to vinyl siding requires careful planning, precise measurements, and secure installation to ensure a professional-looking result that enhances both functionality and aesthetics.
- Prioritize safety, attention to detail, and following manufacturer’s instructions to successfully mount a TV to vinyl siding, creating a space-saving and visually appealing entertainment setup.
Read more: How To Mount To Vinyl Siding
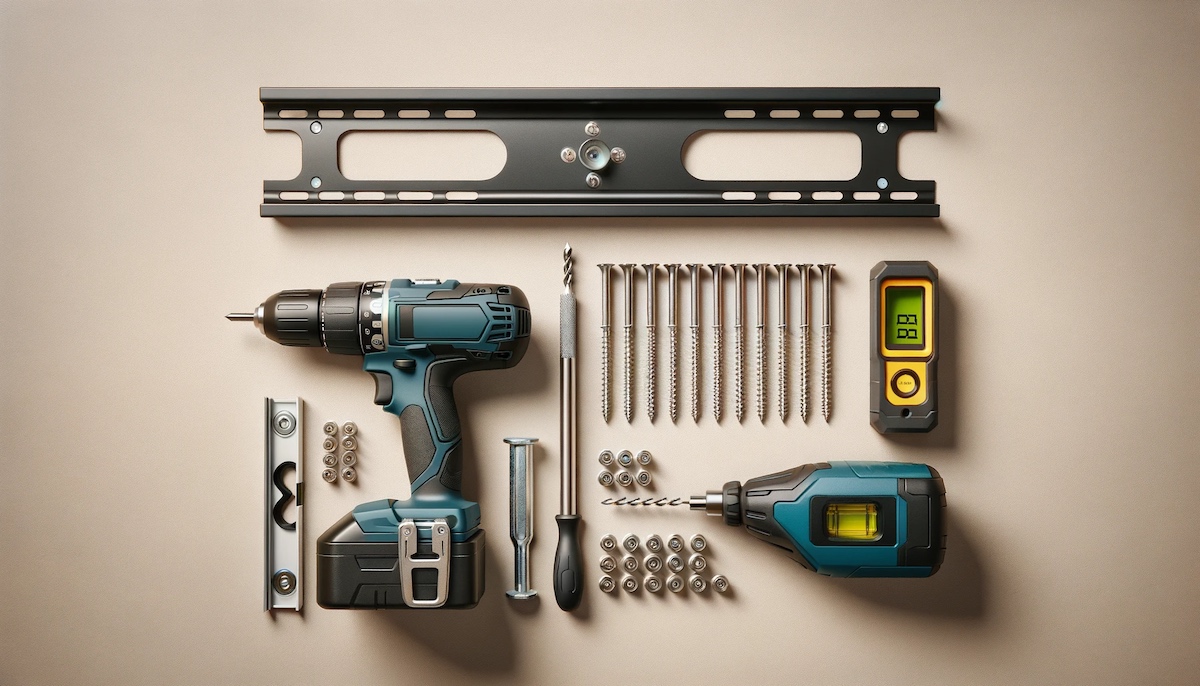
Tools and Materials Needed
Before you start the process of mounting your TV to vinyl siding, make sure you have the following tools and materials:
- TV mount: Choose a mount that is compatible with your TV’s size and weight. Make sure it is designed for outdoor use and can withstand varying weather conditions.
- Drill: A power drill will be needed to make holes in the siding.
- Drill bits: Select the appropriate drill bits for your specific siding material. For vinyl siding, a drill bit specifically designed for vinyl will prevent cracking or damaging the siding.
- Screwdriver: A screwdriver will be used to tighten the screws that secure the TV mount to the siding.
- Level: A level will help ensure that the TV mount is straight and properly aligned.
- Tape measure: Use a tape measure to determine the precise placement of the TV mount on the vinyl siding.
- Pencil or marker: Marking the placement of the TV mount is important for accuracy during the installation process.
- Anchors: If your TV mount does not come with suitable anchors, you may need to purchase them separately. These will provide additional support and stability.
- Cable management system: To keep your cables organized and hidden, consider using a cable management system such as adhesive clips or conduit.
It is crucial to have all the necessary tools and materials on hand before you begin, as this will ensure a smooth and efficient installation process. Once you have gathered everything, you are ready to move on to the next step: determining the mounting location.
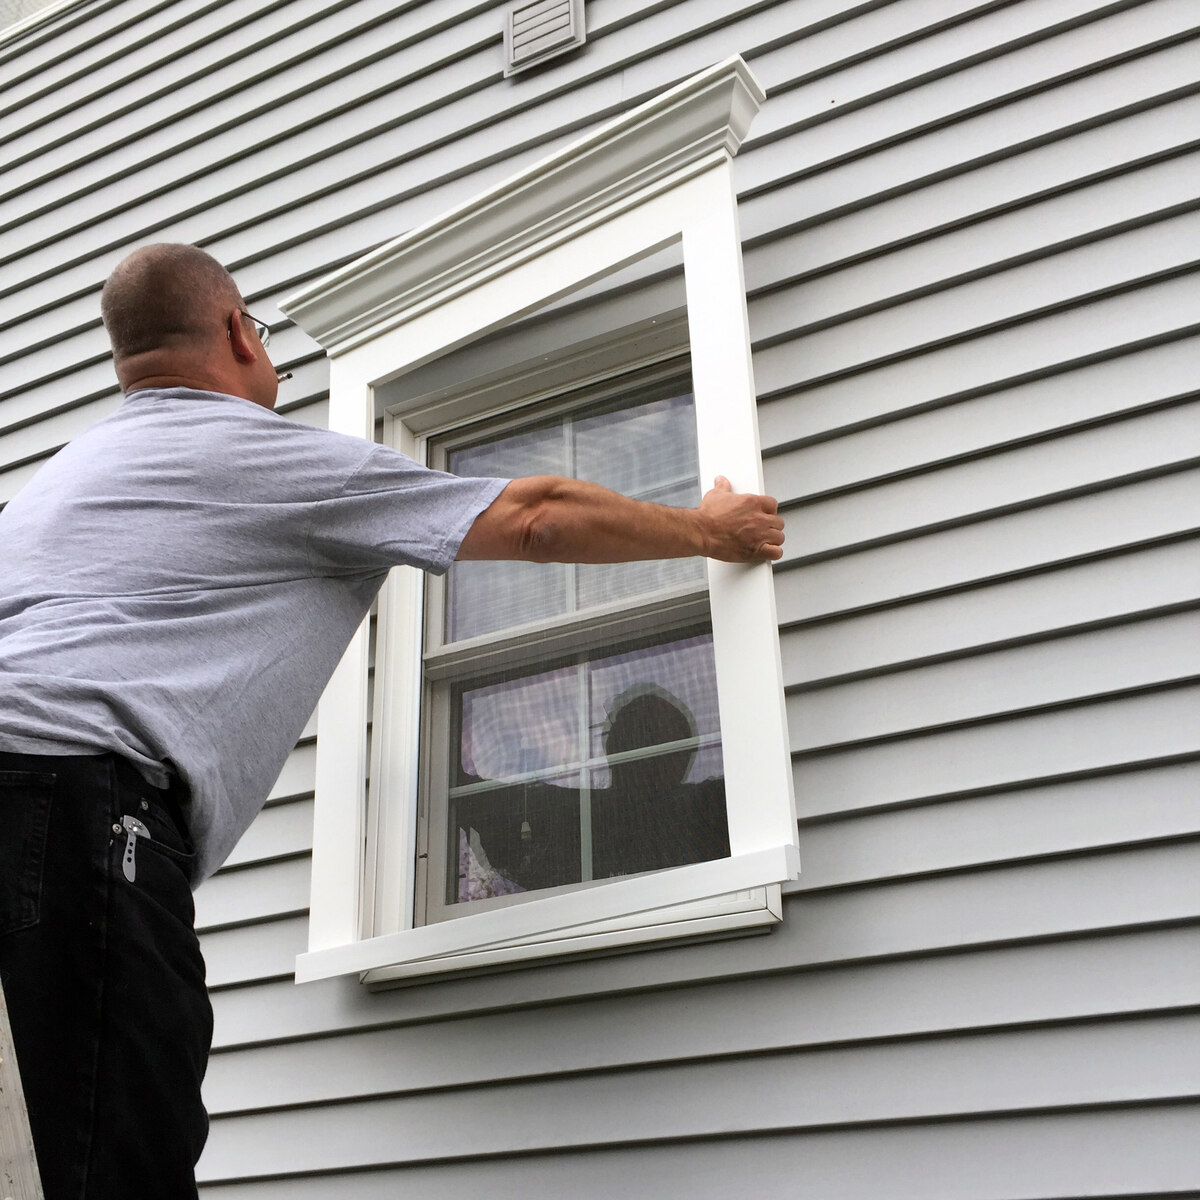
Step 1: Determine the Mounting Location
The first step in mounting your TV to vinyl siding is to determine the ideal location for installation. Consider the following factors when choosing the mounting location:
- Visibility: Select a location that provides a clear line of sight to the viewing area. Ensure that there are no obstructions, such as furniture or wall decorations, that could block the view.
- Stability: Identify an area on the vinyl siding that is structurally sound and can support the weight of the TV and mount. Avoid mounting on areas with loose or damaged siding.
- Accessibility: Choose a location that allows easy access to the TV’s ports and connections for cable management and future adjustments.
- Weather protection: Opt for a spot that offers some level of protection from direct sunlight and harsh weather elements, such as rain or snow.
Once you have considered these factors, you can proceed to physically assess potential mounting locations. Use the following guidelines:
- Identify a flat area on the vinyl siding with ample space to accommodate the TV and mount.
- Ensure there is enough clearance around the mounting location to prevent interference with doors, windows, or other fixtures.
- Check for any electrical outlets nearby for convenient access to power.
Keep in mind that the mounting location may vary depending on the size and layout of your space. Take your time to evaluate different options before finalizing the placement. Once you have determined the ideal location, mark it with a pencil or marker for reference during the installation process.
Now that you have identified the mounting location, you can proceed to the next step: measuring and marking the placement.
Step 2: Measure and Mark the Placement
Once you have determined the mounting location for your TV on the vinyl siding, the next step is to measure and mark the exact placement. This will ensure accuracy and precision during the installation process.
Follow these steps to measure and mark the placement:
- Using a tape measure, measure the dimensions of your TV mount. Take into account the width, height, and any additional brackets or extensions.
- Based on the measurements, determine the center point of the TV mount and mark it with a pencil or marker on the vinyl siding. This will serve as your reference point during installation.
- Using the level, align the reference point vertically and horizontally to ensure that the TV mount will be straight and level.
- Double-check the measurements and placement before proceeding to the next step.
It’s important to note that the measurements and markings should be precise to ensure a proper and balanced installation. Take your time to ensure accuracy, as any misalignment or miscalculation can impact the stability and aesthetics of the mounted TV.
Once you have measured and marked the placement of the TV mount, you are ready to move on to the next step: preparing the mounting plate.
Step 3: Preparing the Mounting Plate
In this step, we will focus on preparing the mounting plate that will be attached to the vinyl siding. The mounting plate serves as the anchor point for the TV mount, ensuring a secure and stable installation.
Follow these steps to prepare the mounting plate:
- Place the mounting plate against the vinyl siding, aligning it with the previously marked reference point.
- Using a pencil or marker, trace the outline of the mounting plate onto the siding. This will provide a visual guide for drilling holes.
- Double-check the alignment and positioning of the mounting plate to ensure it is level and centered.
- Using a power drill, select the appropriate drill bit for your vinyl siding. It is crucial to choose a bit specifically designed for vinyl to prevent cracking or damaging the siding.
- Align the drill bit with the traced hole outlines on the vinyl siding and gently drill the required number of holes through the siding.
It’s essential to exercise caution while drilling to avoid applying excessive pressure or drilling through the siding. Apply consistent, moderate pressure to prevent damage to the vinyl material.
Once the holes are drilled, remove any excess debris or vinyl shards from the drilling process. This will ensure a clean surface for attaching the mounting plate.
With the mounting plate prepared and the holes drilled, you are now ready to move on to the next step: installing the mounting plate onto the vinyl siding.
Read more: How To Mount TV On Siding
Step 4: Install the Mounting Plate
Now that you have prepared the mounting plate and drilled the necessary holes in the vinyl siding, it’s time to install the mounting plate onto the siding. This step is crucial as it provides a secure anchor for the TV mount.
Follow these steps to install the mounting plate:
- Position the mounting plate against the vinyl siding, aligning the holes on the plate with the drilled holes in the siding.
- Insert screws or anchors through the mounting plate and into the drilled holes in the siding. Ensure that the screws or anchors are centered in the holes for a secure fit.
- Tighten the screws or anchors until the mounting plate is flush against the vinyl siding, making sure it is firmly secured in place.
- Using a level, check that the mounting plate is still straight and level. Adjust if necessary.
It’s essential to use the appropriate screws or anchors that are designed for outdoor use and can withstand the weight of the TV and mount. Be careful not to overtighten the screws or anchors, as this can damage the vinyl siding.
Once the mounting plate is securely installed, give it a gentle tug to ensure that it is stable and cannot be easily dislodged from the siding.
Congratulations! You have successfully installed the mounting plate onto the vinyl siding. However, the process is not yet complete. In the next step, we will guide you through the process of mounting the TV onto the vinyl siding.
When mounting a TV to vinyl siding, use a mounting bracket specifically designed for outdoor use. Make sure to locate the studs behind the siding for a secure installation.
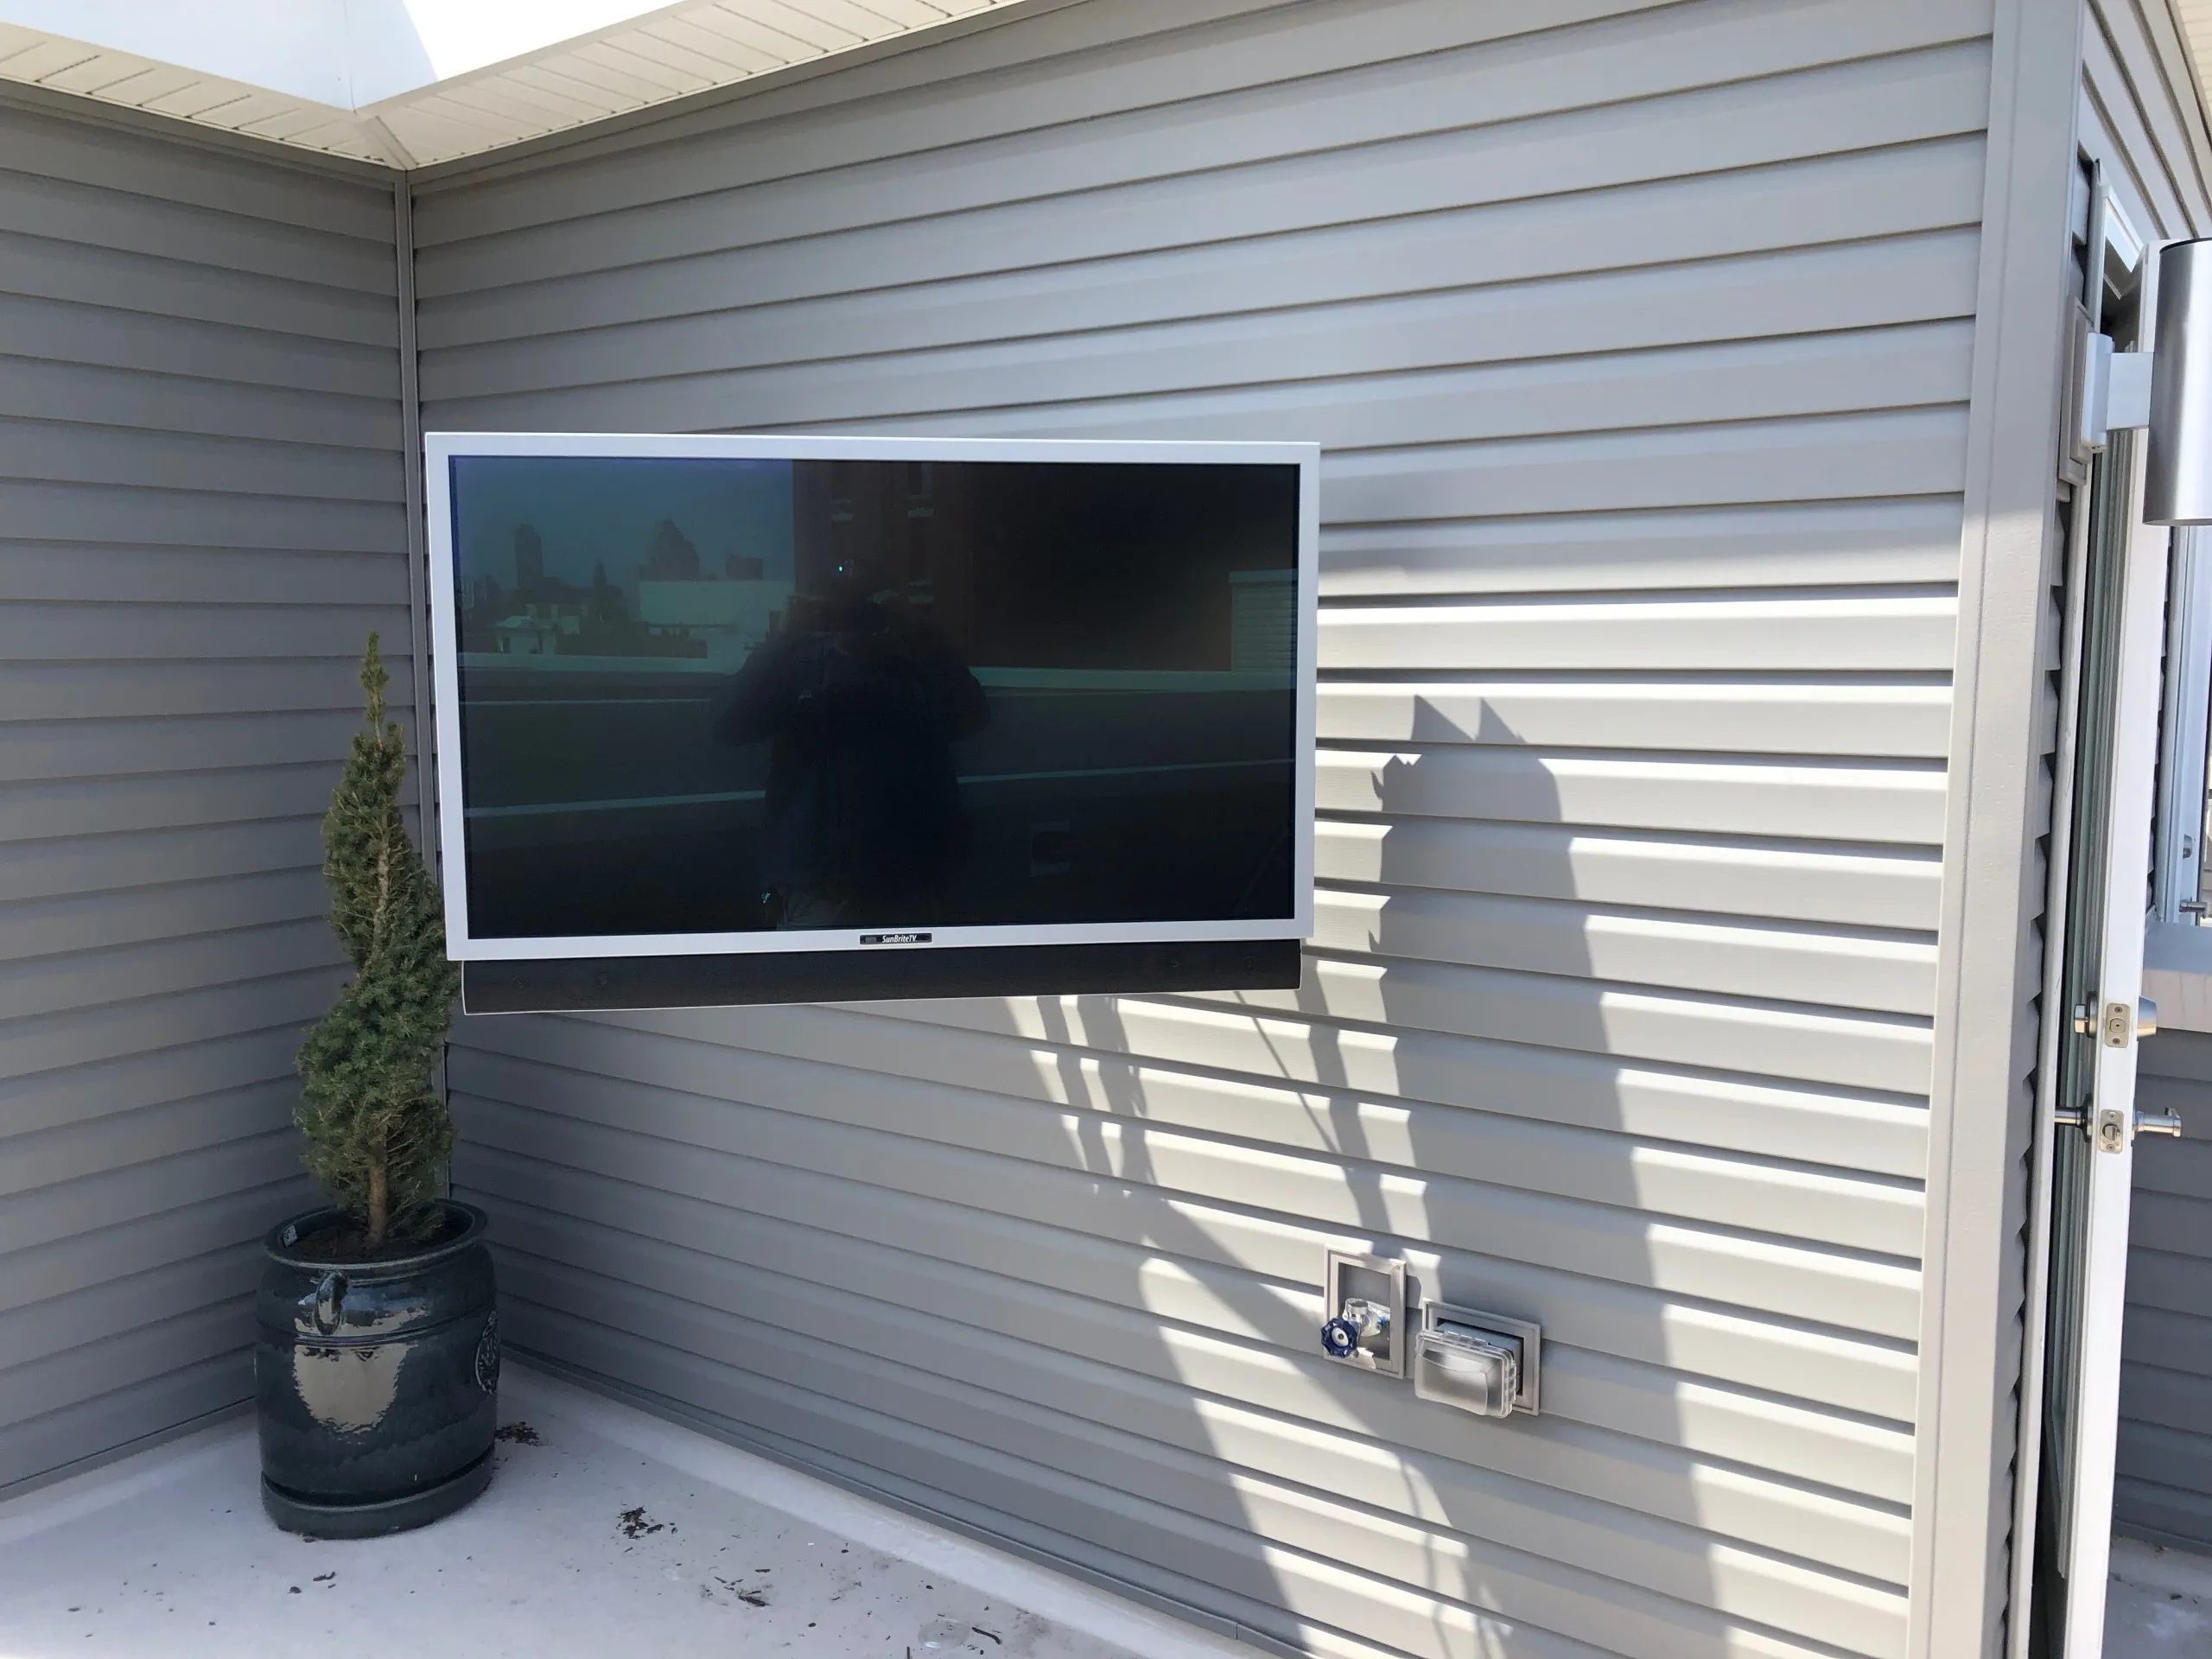
Step 5: Mounting the TV onto the Vinyl Siding
Now that the mounting plate is securely installed onto the vinyl siding, it’s time to mount the TV onto the siding. This step requires careful attention to detail to ensure a safe and secure attachment.
Follow these steps to mount the TV onto the vinyl siding:
- Align the TV mount with the mounting plate on the vinyl siding, ensuring that the mounting holes on the TV mount line up with the corresponding holes on the mounting plate.
- Using the appropriate screws or bolts, fasten the TV mount onto the mounting plate. Make sure the screws are tightened securely, but be careful not to overtighten them.
- Check the alignment of the TV mount to ensure it is straight and level. Adjust if necessary.
- Double-check that all screws are tightened and secure, providing a stable foundation for the TV.
It’s important to follow the manufacturer’s instructions for your specific TV mount, as different models may have slightly different installation processes. Additionally, it’s recommended to have an extra set of hands to assist with holding the TV mount while securing it to the mounting plate.
Once the TV mount is securely attached to the mounting plate, give it a gentle tug to ensure that it is stable and properly anchored to the vinyl siding.
Congratulations! You have successfully mounted the TV onto the vinyl siding. However, there are a few more steps to complete the installation process. In the next step, we will guide you through securing the TV mount to enhance stability.
Step 6: Securing the TV Mount
Now that the TV is mounted onto the vinyl siding, it’s important to take additional measures to ensure the stability and security of the TV mount. This step involves securing the TV mount to minimize any potential movement or vibrations.
Follow these steps to secure the TV mount:
- Inspect the TV mount to identify any additional holes or slots for securing the mount.
- Using the appropriate screws or bolts, fasten the TV mount to any additional holes or slots provided. These additional points of contact will help distribute the weight evenly and enhance the stability of the mount.
- Tighten all screws or bolts securely, ensuring that the TV mount is firmly attached to the mounting plate.
- Gently test the stability of the TV mount by applying a slight pressure or giving it a gentle shake. The TV mount should remain stable and secure.
It’s crucial to pay attention to the manufacturer’s instructions and recommendations for securing the TV mount. Some TV mounts may require additional brackets or accessories to ensure proper attachment.
Once you have securely fastened the TV mount and tested its stability, you can proceed to the next step: concealing the cables for a clean and organized appearance.
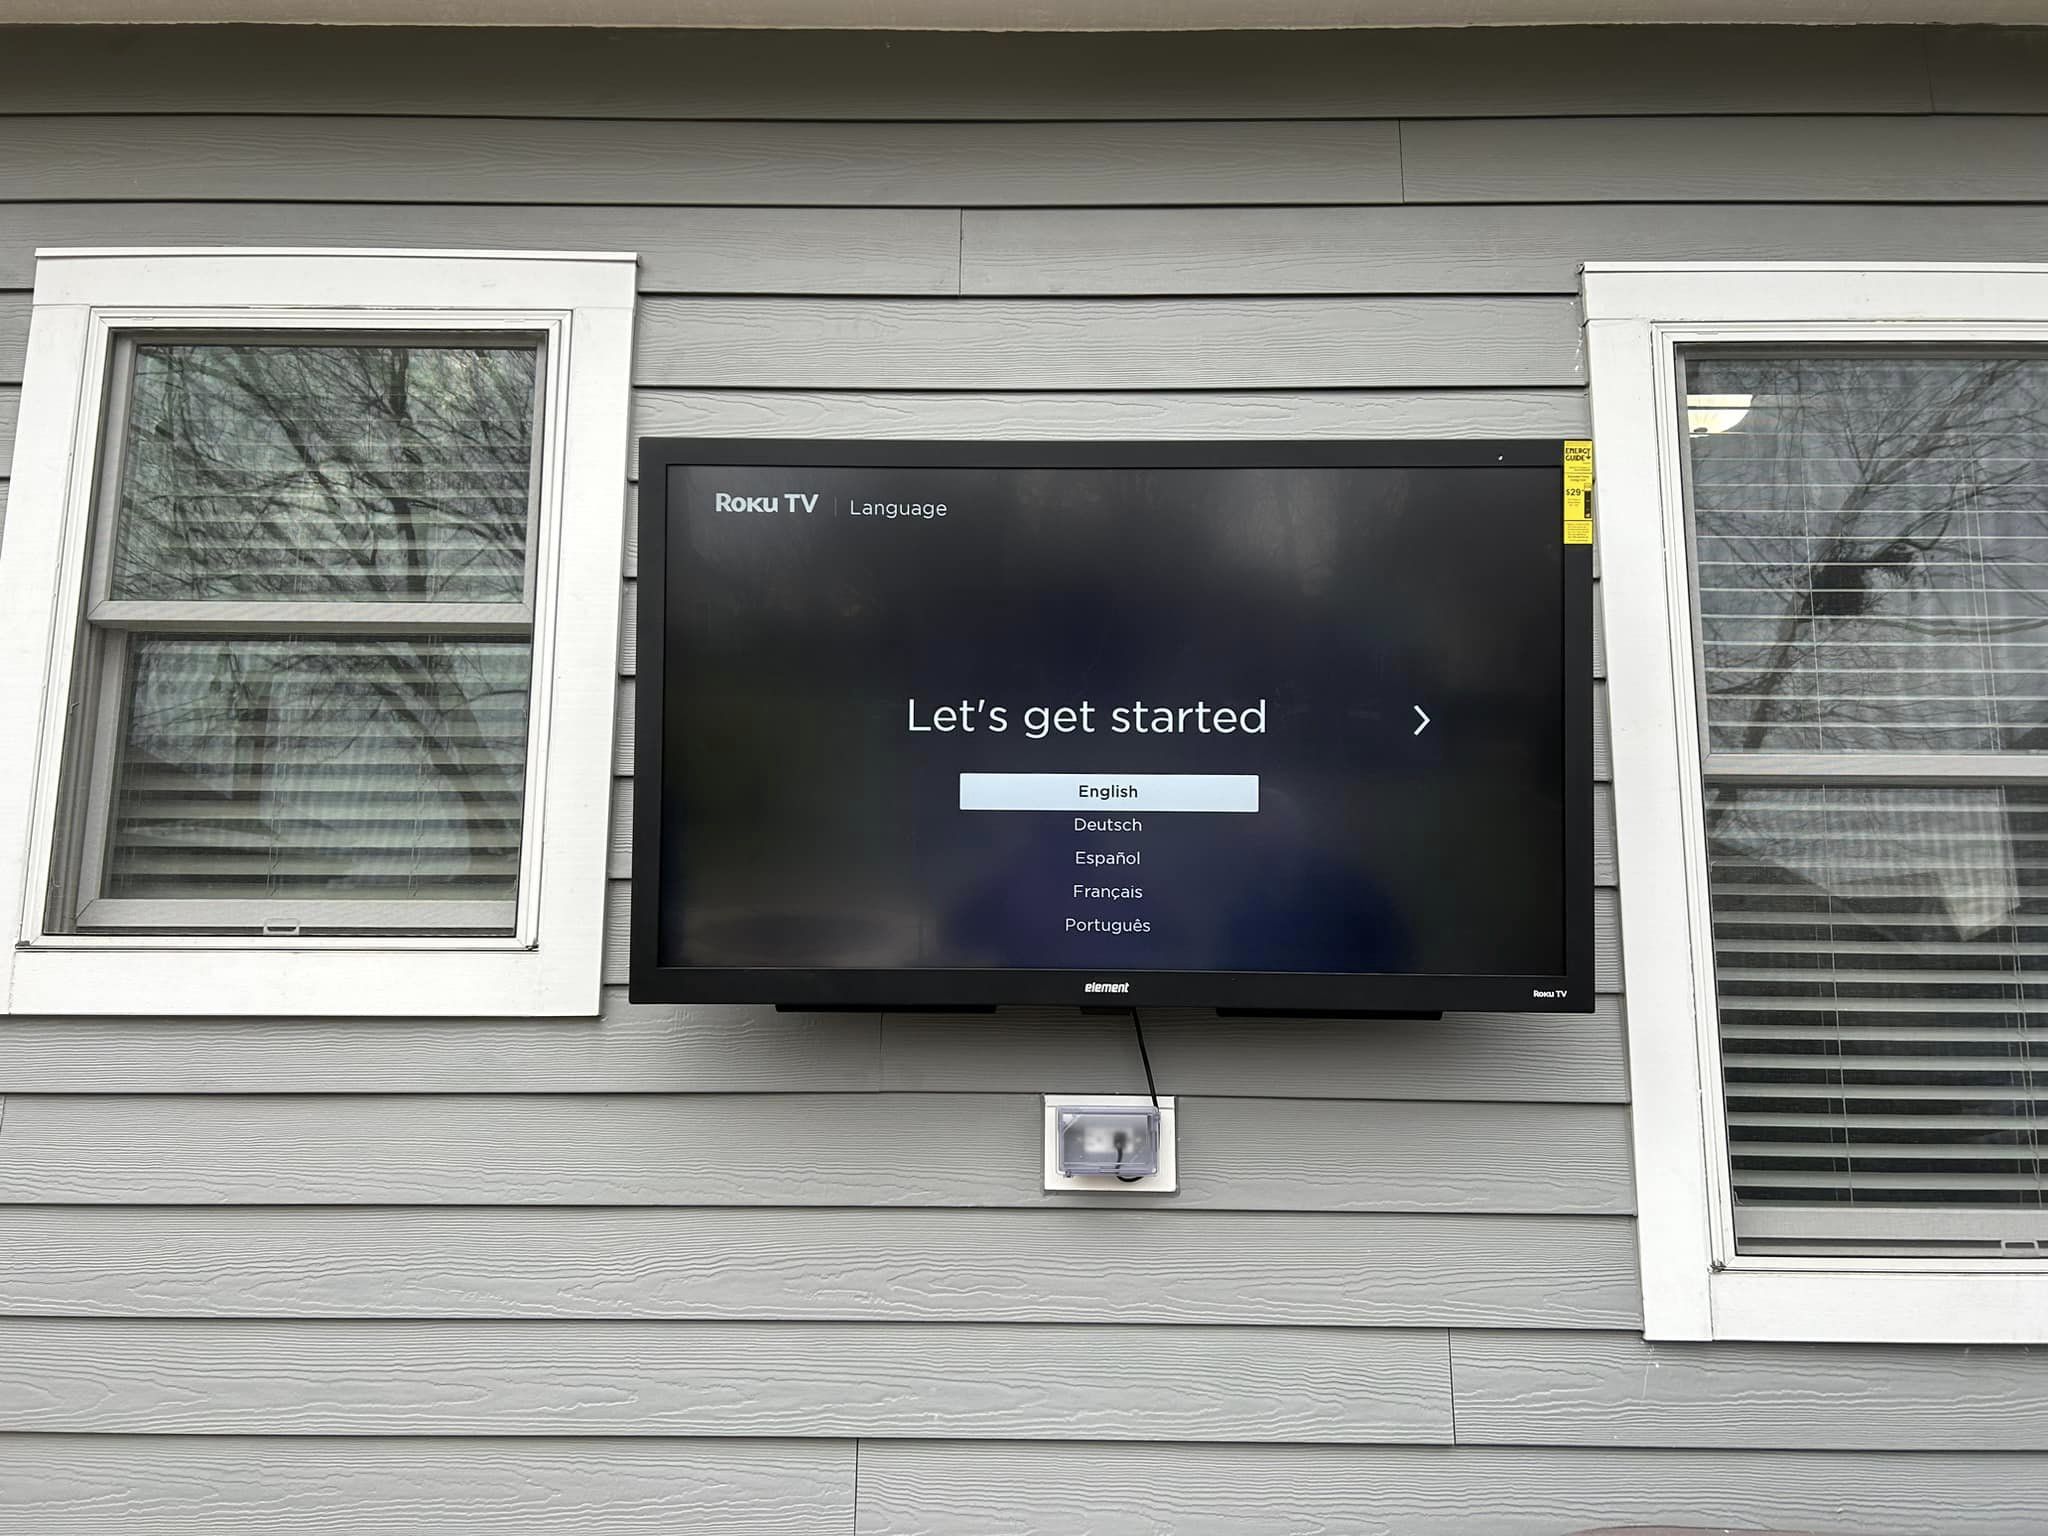
Step 7: Conceal the Cables
One of the final steps in mounting a TV to vinyl siding is concealing the cables to create a tidy and organized appearance. This not only enhances the overall aesthetic of the installation but also helps protect the cables from potential damage.
Follow these steps to conceal the cables:
- Determine the best route for the cables to connect to the TV. Consider nearby power outlets or cable management solutions.
- Use cable clips or adhesive cable management clips to secure the cables along the surface of the vinyl siding. Position the clips in a discrete and visually appealing manner to create a clean look.
- Guide the cables towards their intended destination, such as a power outlet or cable box. Ensure that the cables remain firmly secured and neatly organized along the vinyl siding.
- If desired, use a cable management system such as conduit or cable covers to encase the cables and provide an additional layer of protection.
When concealing the cables, it’s important to avoid tightly bending or stretching them, as this can cause signal interference or damage to the cables. Additionally, make sure the cables are easily accessible in case you need to make adjustments or disconnect any connections in the future.
Once the cables are properly concealed and organized, take a step back and admire the clean and clutter-free appearance of your TV installation.
With the cables hidden away, it’s time for the final step: testing the mounting to ensure everything is properly set up.
Step 8: Test the Mounting
The final step in mounting a TV to vinyl siding is to test the installation to ensure that everything is properly set up and functioning as intended. This step is essential to confirm that the TV is securely mounted and that all connections are working correctly.
Follow these steps to test the mounting:
- Check the stability of the TV mount by gently shaking or nudging the TV. It should remain firmly in place without any wobbling or shifting.
- Inspect the cables to ensure they are securely connected to the TV and any external devices, such as cable boxes or audio systems.
- Turn on the TV and check the screen for any visual anomalies, such as flickering or distortion.
- Test the sound output to ensure that it is clear and at the desired volume level.
- Switch between different channels or inputs to confirm that all connections are working correctly.
- Adjust the viewing angle to ensure that it provides optimal visibility and comfort.
If you encounter any issues during the testing process, double-check the connections, ensure that the TV mount is securely attached, and consult the TV’s user manual for troubleshooting steps.
Once you have confirmed that the mounting is successful and the TV is functioning properly, you can sit back, relax, and enjoy your favorite shows and movies with the added convenience and aesthetics of a mounted TV on your vinyl siding.
Congratulations! You have successfully completed the process of mounting a TV to vinyl siding. Sit back, relax, and enjoy your enhanced entertainment experience!
Disclaimer: It’s important to note that this guide provides general instructions for mounting a TV to vinyl siding. It is always recommended to consult the specific instructions provided by the TV manufacturer and seek professional assistance if needed.
That concludes our step-by-step guide! We hope you found it helpful and that it assists you in successfully mounting your TV to vinyl siding. Enjoy your new TV setup!
Conclusion
Mounting a TV to vinyl siding can be a fantastic way to optimize your viewing experience and create a sleek and modern look in your space. By following the step-by-step process outlined in this guide, you can ensure a secure and professional installation that will enhance both the functionality and aesthetics of your TV setup.
From determining the ideal mounting location to concealing the cables, each step plays a crucial role in achieving a successful installation. Taking the time to carefully plan, measure, and execute each step will result in a sturdy and visually appealing TV mount that seamlessly integrates with your vinyl siding.
Remember to gather all the necessary tools and materials before you begin, and always refer to the manufacturer’s instructions for your specific TV mount. Paying attention to details such as leveling, screw tightness, and cable management will contribute to a clean and organized final result.
Additionally, it’s important to prioritize safety throughout the process. Always exercise caution when drilling into the siding, and be mindful of the weight limitations and manufacturer’s guidelines related to your TV mount and vinyl siding.
By mounting your TV to vinyl siding, you can free up valuable floor space, improve viewing angles, and create a more immersive entertainment experience in your home. Take pride in your accomplishment and enjoy the benefits of a professionally installed TV mount.
Remember, if you encounter any difficulties or are unsure about any step in the process, it’s always best to consult a professional or seek guidance from the TV and mounting manufacturers. They will be able to provide specific recommendations and address any concerns you may have.
Now, armed with the knowledge and understanding of how to mount a TV to vinyl siding, it’s time to bring your entertainment setup to the next level. Sit back, relax, and enjoy your favorite shows and movies in the comfort of your updated viewing space!
Now that you've mastered mounting TVs on vinyl siding, why stop there? Dive into our article on 8 amazing vinyl siding for 2024 to discover some of the most impressive options available. These selections not only boost curb appeal but also offer enduring quality. Meanwhile, if you're itching to tackle more hands-on tasks around your home, our guide on how to DIY home projects provides all the necessary steps and tips to get you started with confidence. Both reads are packed with practical advice to help enhance your living space!
Frequently Asked Questions about How To Mount TV To Vinyl Siding
Was this page helpful?
At Storables.com, we guarantee accurate and reliable information. Our content, validated by Expert Board Contributors, is crafted following stringent Editorial Policies. We're committed to providing you with well-researched, expert-backed insights for all your informational needs.


0 thoughts on “How To Mount TV To Vinyl Siding”