
Articles
How To Mount A TV On The Ceiling
Modified: December 7, 2023
Learn the step-by-step process of mounting a TV on the ceiling with our informative articles. Expert tips and advice to ensure a secure and stylish installation.
(Many of the links in this article redirect to a specific reviewed product. Your purchase of these products through affiliate links helps to generate commission for Storables.com, at no extra cost. Learn more)
Introduction
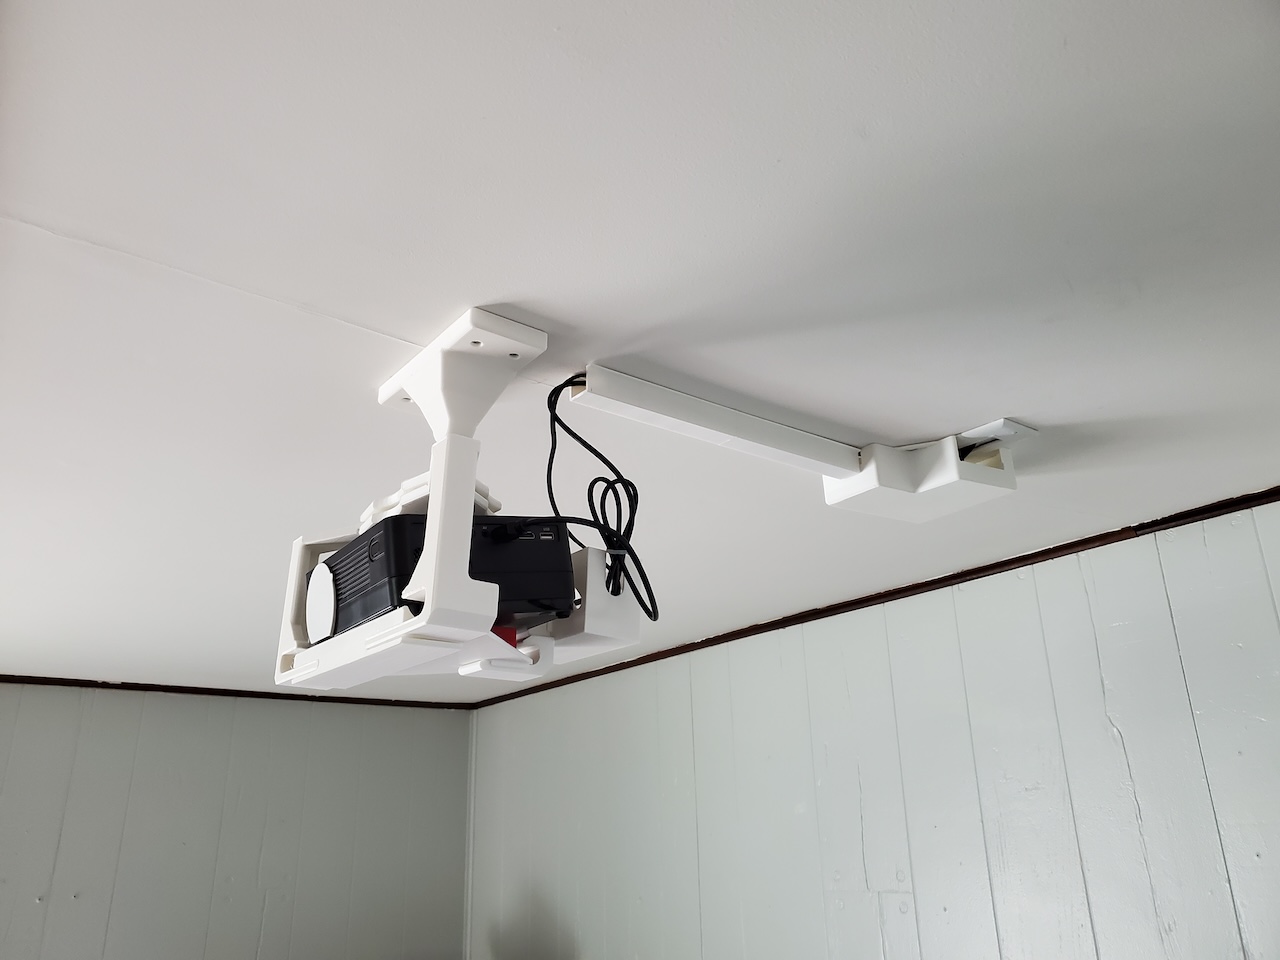
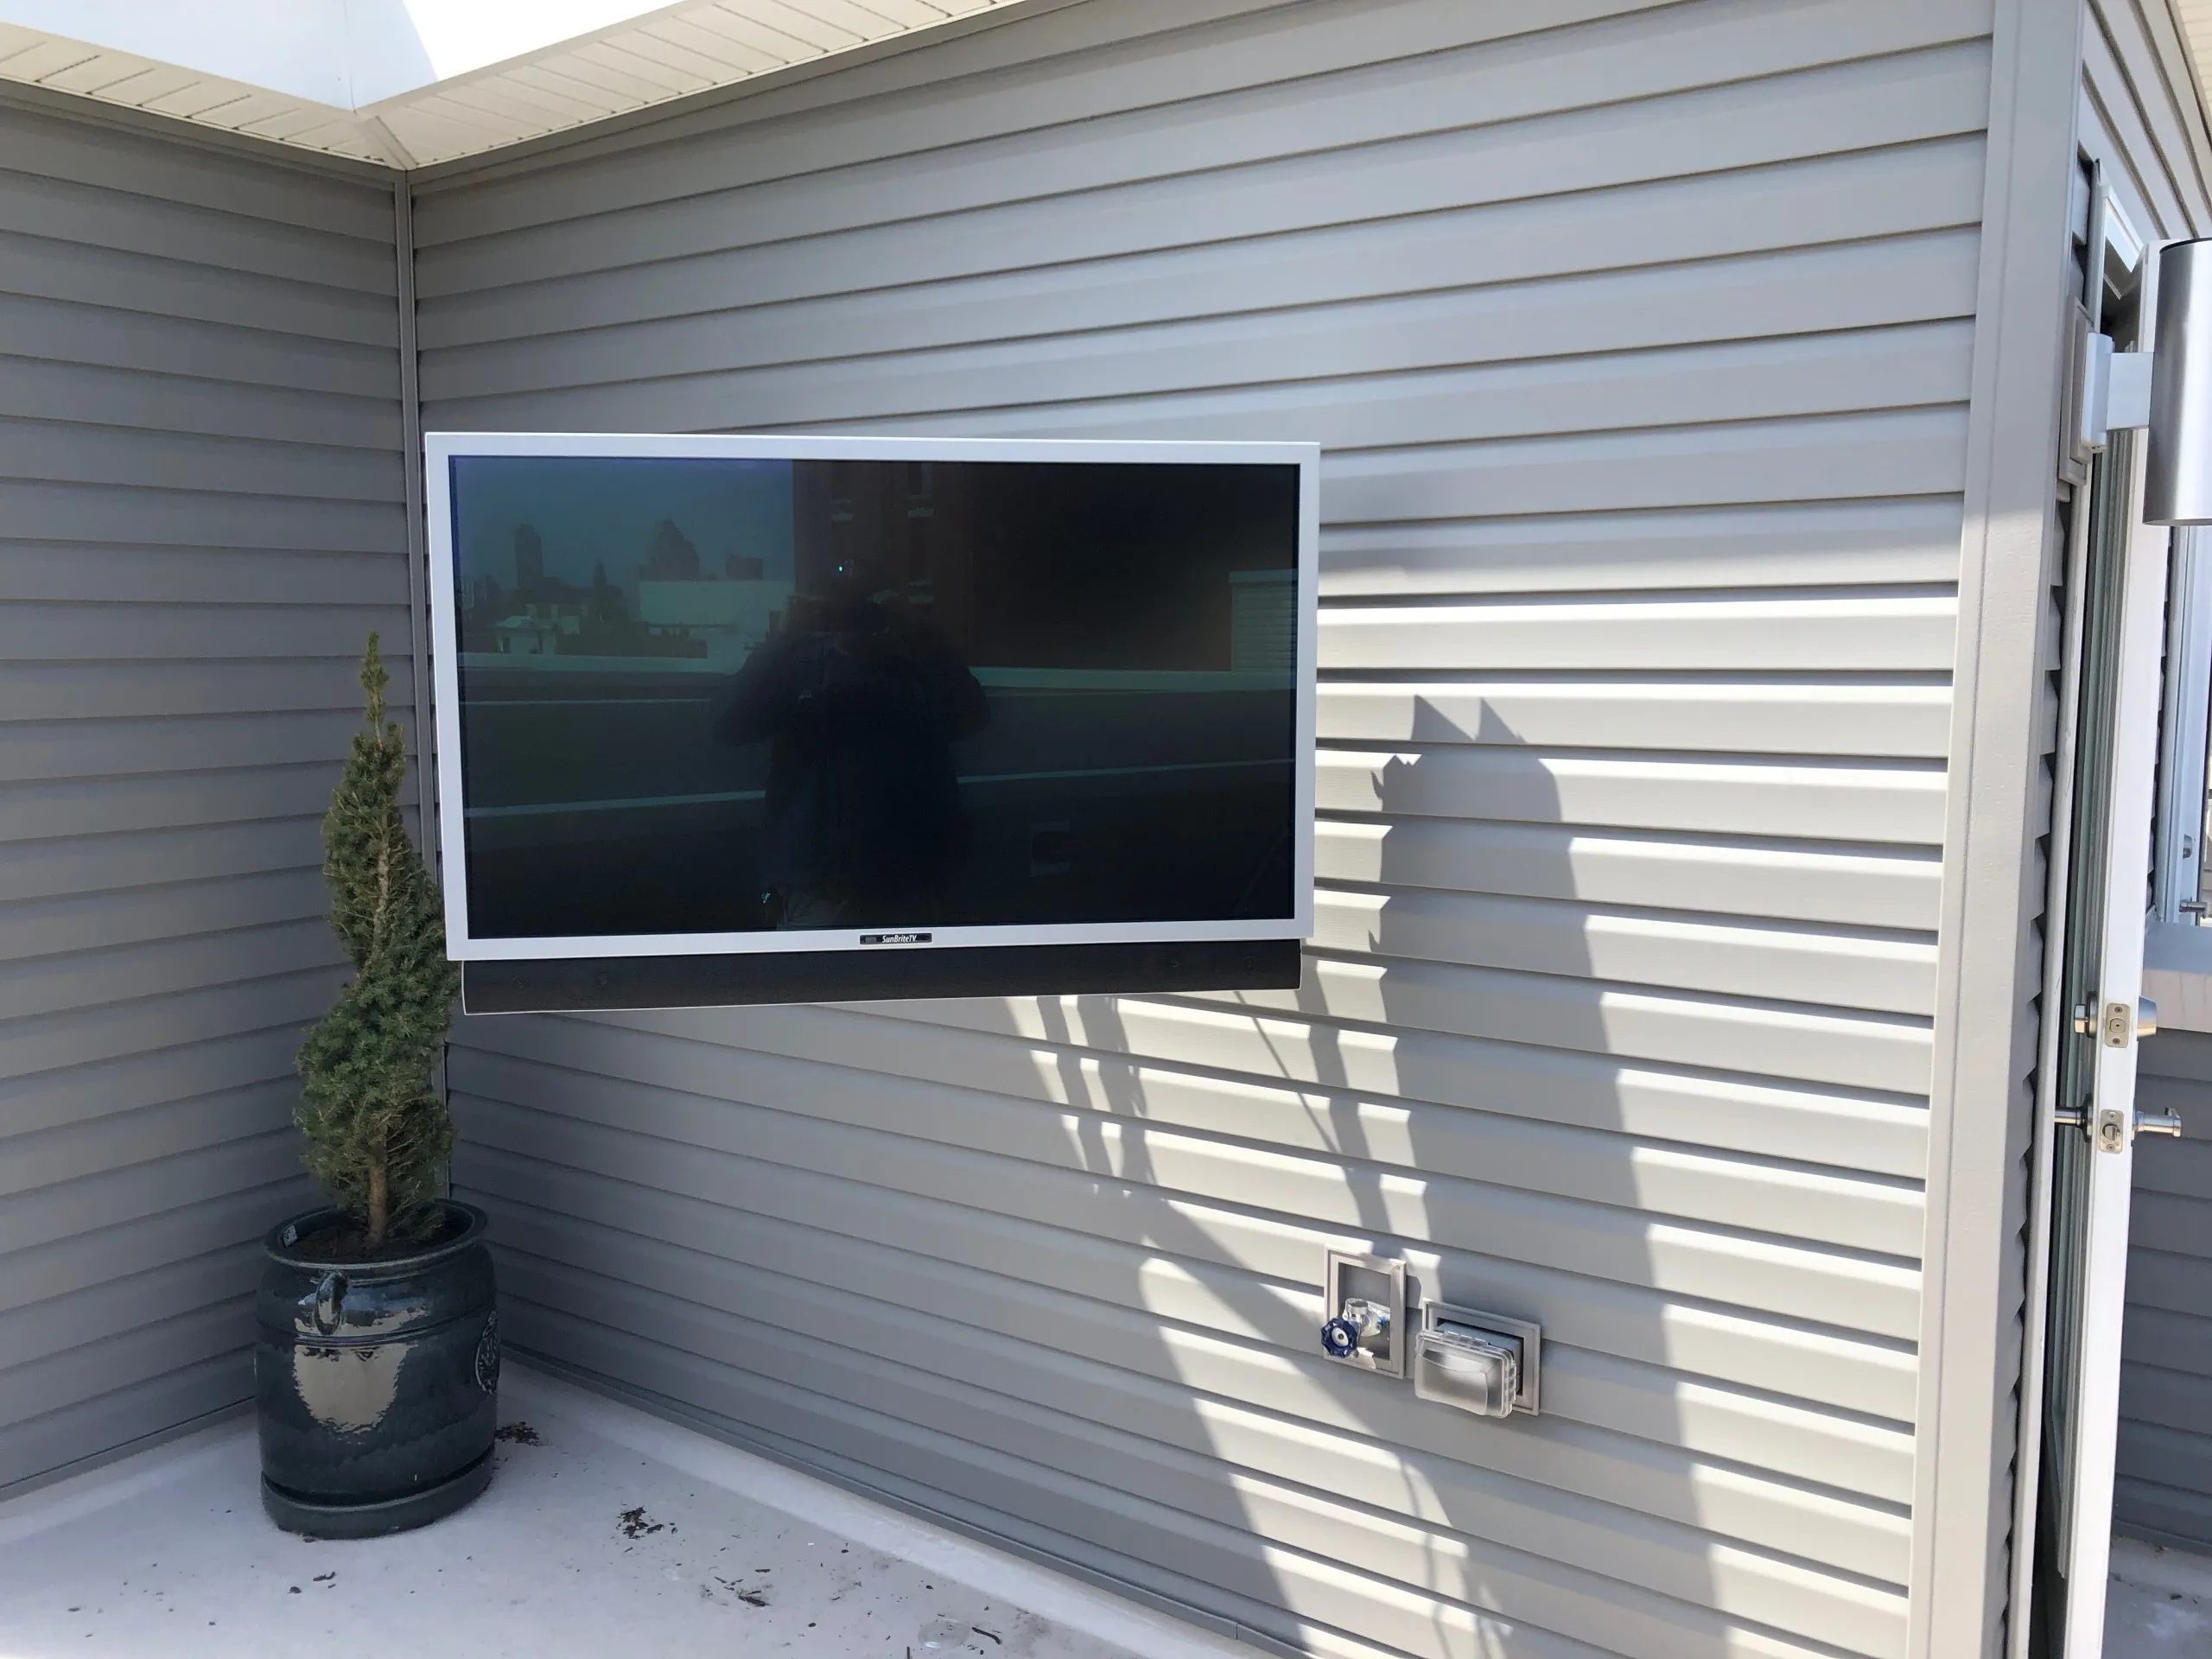
Mounting a TV on the ceiling can be a great solution for those who want to save space or achieve a unique viewing experience. Whether you have a small living room where wall space is limited or you simply prefer the aesthetic of a ceiling-mounted TV, this guide will walk you through the process.
Before you begin, it’s important to note that mounting a TV on the ceiling requires careful planning and preparation. You’ll need to consider the structural integrity of your ceiling, the weight of your TV, and the appropriate mounting hardware. With the right tools and materials, however, you can safely and securely mount your TV on the ceiling and enjoy your favorite shows and movies from a whole new perspective.
In this guide, we will outline the necessary steps to mount a TV on the ceiling. From determining the ideal location to securing cables and wires, here’s everything you need to know to successfully complete the project.
Key Takeaways:
- Mounting a TV on the ceiling requires careful planning, precise installation, and consideration of viewing angles and obstructions. Following the step-by-step guide ensures a secure and stylish entertainment setup.
- Securing cables, testing TV position, and optimizing the viewing experience are crucial steps in enjoying a ceiling-mounted TV. Regular maintenance and safety checks prolong the longevity of the installation.
Read more: How To Mount A TV On A TV Stand
Necessary Tools and Materials
Before you start the process of mounting a TV on the ceiling, gather the following tools and materials:
- TV mount: Choose a ceiling TV mount that is compatible with your TV’s size and weight. Ensure that it has adjustable brackets to accommodate different VESA patterns.
- Stud finder: Use a reliable stud finder to locate the ceiling studs where you’ll install the mounting bracket. This will ensure a secure and stable mount for your TV.
- Pencil or marker: Use a pencil or marker to mark the locations for the studs, as well as for reference points for the mounting bracket.
- Drill: A drill with the appropriate drill bits will be needed to make pilot holes for the mounting screws.
- Screwdriver: A screwdriver, either manual or electric, will be necessary to tighten the screws and secure the TV mount.
- Level: To ensure that your TV is mounted straight, have a level on hand to check the horizontal alignment.
- Cable management solutions: Depending on your preference, you may want to invest in cable management solutions such as cable clips or conduits to keep your cables organized and hidden.
- Safety equipment: It’s always important to prioritize your safety. Wear safety goggles to protect your eyes and consider using a ladder or step stool if necessary.
- Assistant: This step is optional but highly recommended. Having someone to help you lift and position the TV will make the process easier and safer.
Before you get started, double-check that you have all the necessary tools and materials. Having everything prepared will ensure a smooth and efficient installation process, allowing you to enjoy your ceiling-mounted TV in no time.
Step 1: Determine the Mounting Location
The first step in mounting a TV on the ceiling is to carefully choose the location where you want to install it. Consider the layout of your room, the viewing angle, and any potential obstructions that could affect your viewing experience.
Here are a few things to keep in mind when determining the mounting location:
- Room layout: Take into account the size and shape of your room. Consider where you and your family members usually sit and how the TV will be positioned for optimal viewing.
- Viewing angle: Think about the angle at which you’ll be viewing the TV. Ensure that the location you choose provides a comfortable viewing angle for everyone in the room.
- Height considerations: Consider the height of the ceiling and the height of the people who will be watching TV. Make sure that the TV is not positioned too high or too low, causing strain on the neck and eyes.
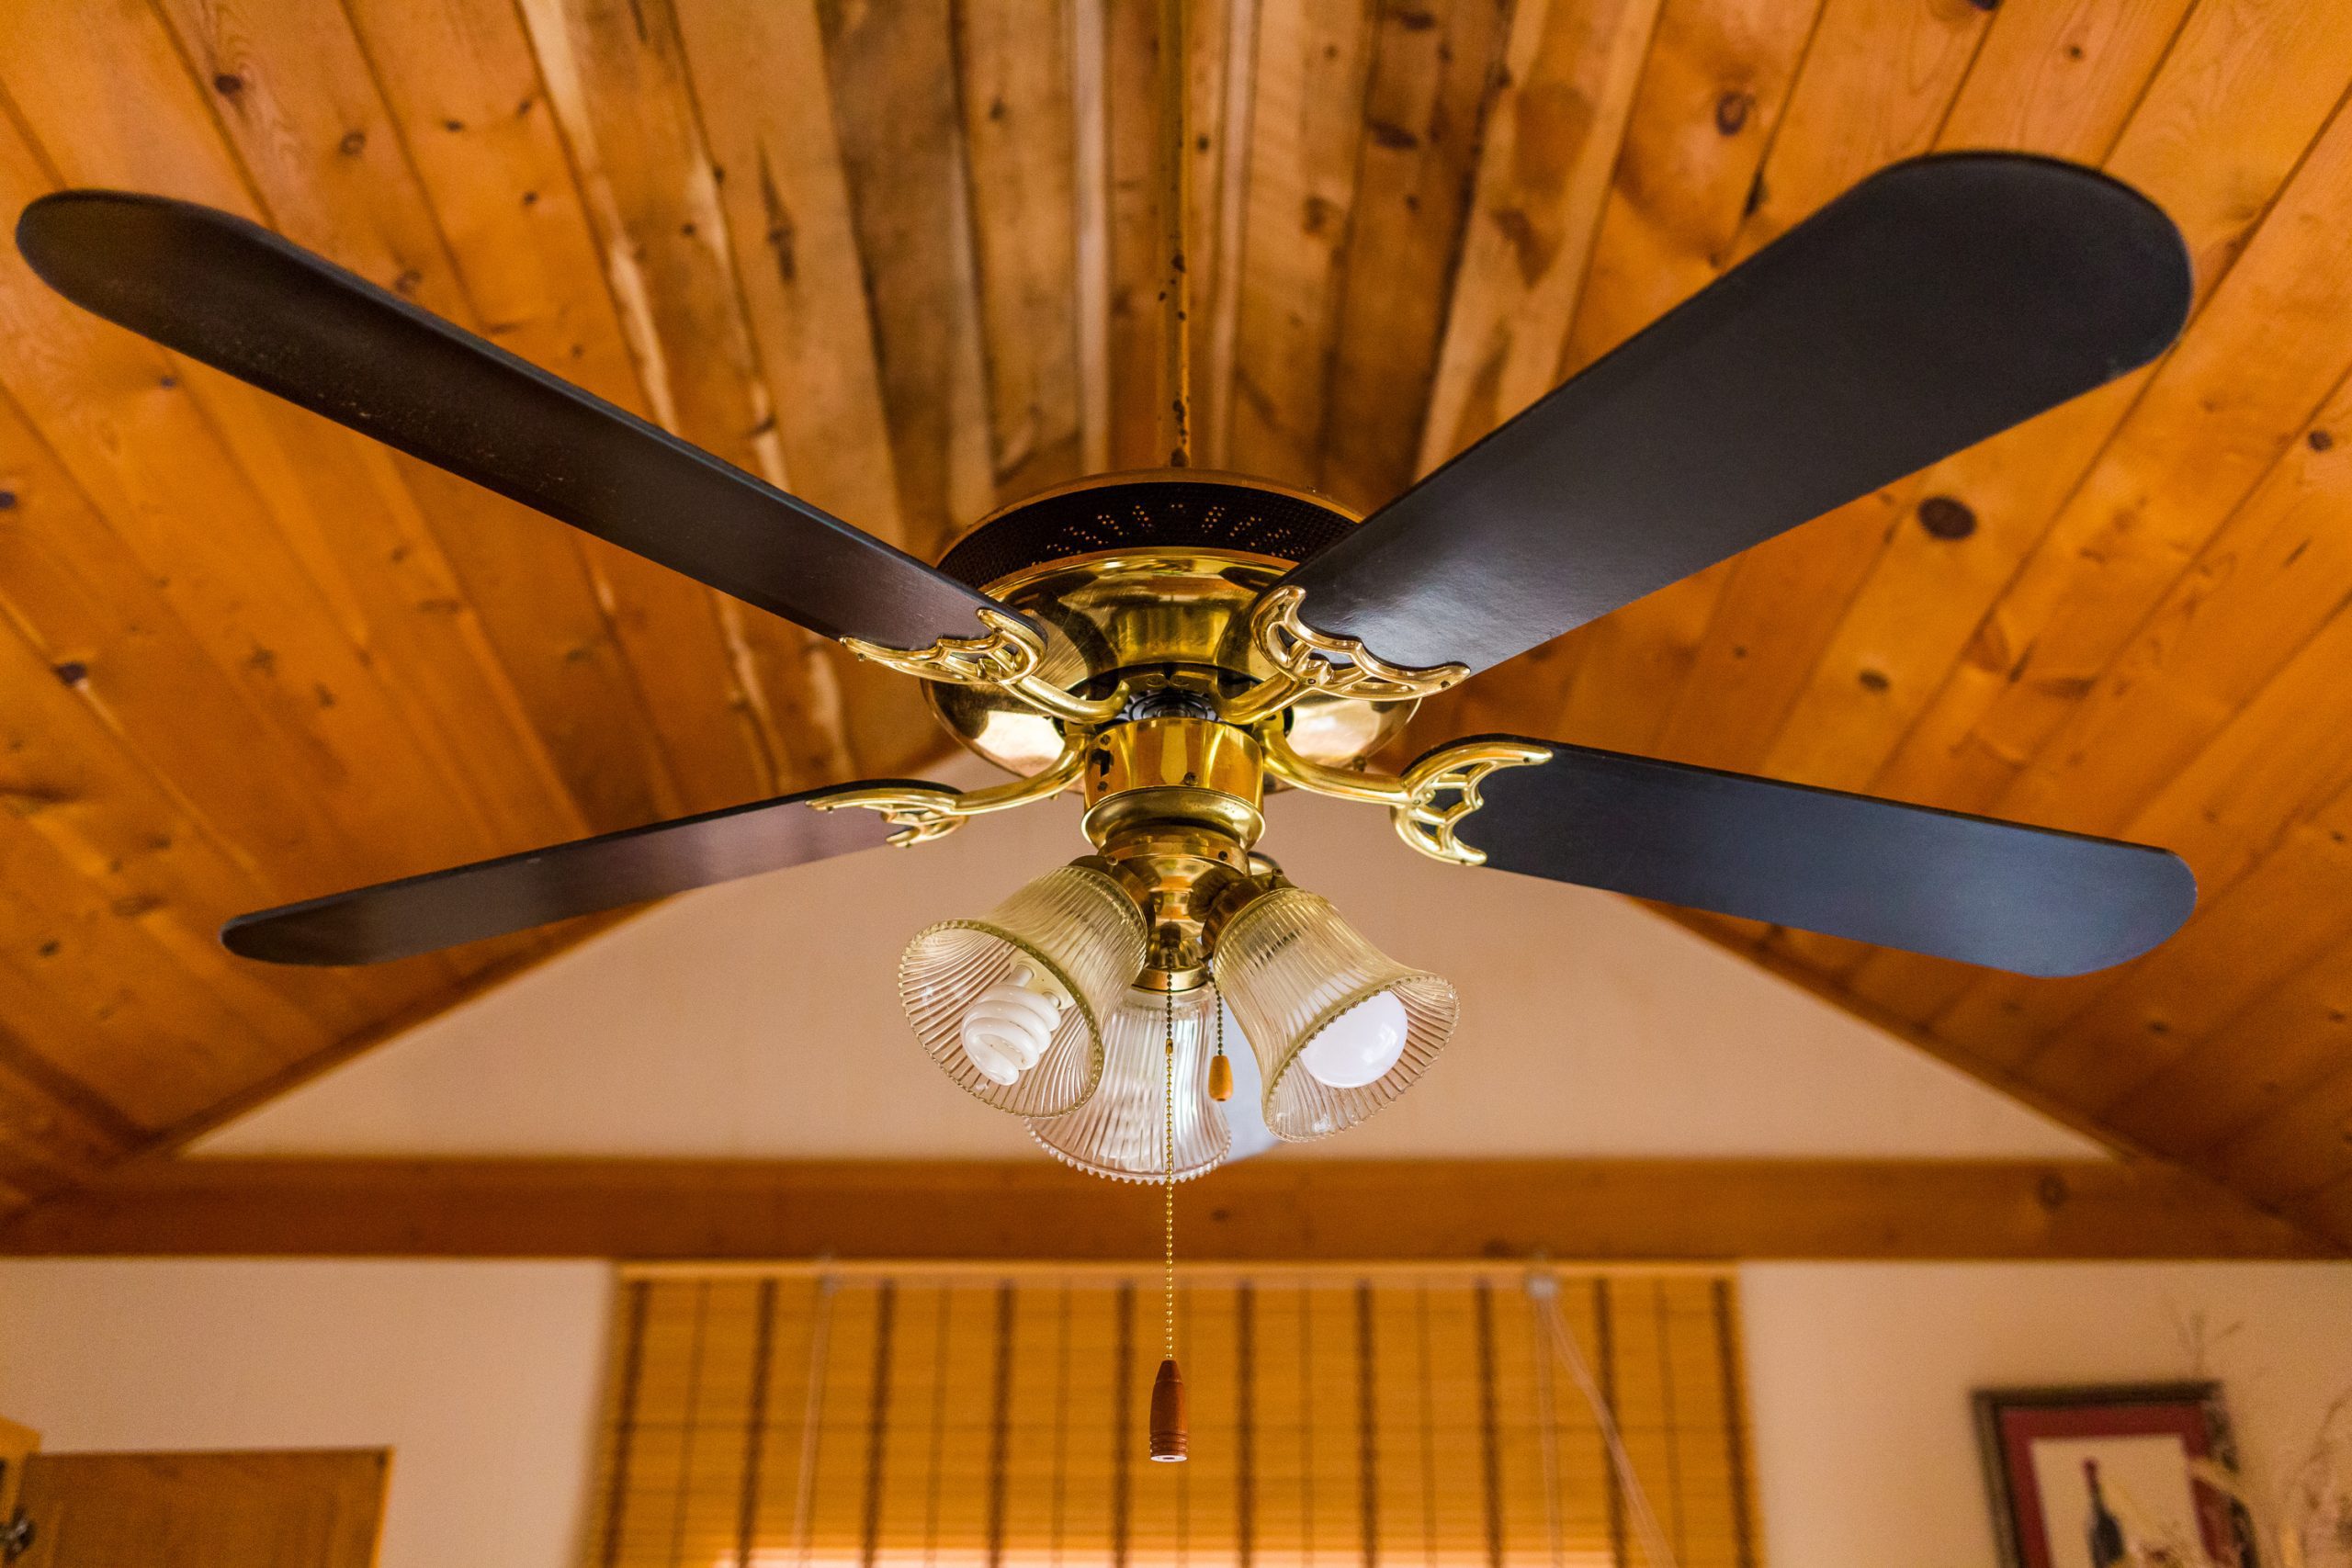
- Obstructions: Look out for any potential obstructions such as light fixtures, ceiling fans, or air vents. Ensure that there is enough clearance around the mounting location to avoid interference.
Once you have determined the ideal location, use a pencil or marker to mark the spot on the ceiling. This will serve as your reference point when installing the TV mount.
Remember, it’s essential to carefully plan and take your time in this step. Choosing the right mounting location will enhance your viewing experience and ensure that your ceiling-mounted TV is strategically positioned in your room.
Step 2: Locate and Mark Studs
After determining the mounting location, the next step is to locate and mark the ceiling studs. This is crucial for ensuring a secure and stable mount for your TV.
Here’s how you can locate and mark the studs:
- Use a stud finder: Use a stud finder to locate the ceiling studs. Slide the stud finder along the ceiling in the area around your chosen mounting location. The stud finder will detect the presence of studs by measuring changes in density.
- Mark the stud locations: Once you’ve located the studs, use a pencil or marker to mark their positions on the ceiling. Make sure to mark both the edges of the studs for reference later.
- Verify stud position: To ensure accuracy, use a measuring tape to measure the distance between the marks for each stud. Ceiling studs are typically spaced 16 or 24 inches apart, but it’s always best to double-check.
By locating and marking the studs, you’ll have a clear guideline for installing the TV mounting bracket securely into the ceiling.
If you’re having trouble locating the studs with a stud finder, there are alternative methods you can try. One method is to look for electrical outlet boxes on the wall below and above the desired mounting location. The studs are usually located next to these boxes. Alternatively, you can use a thin nail or awl to gently probe the ceiling until you hit a solid surface, indicating the presence of a stud.
Remember, it’s crucial to mount the TV on the studs for a safe and secure installation. Avoid mounting directly into the drywall, as it may not be able to support the weight of the TV over time.
Step 3: Install Mounting Bracket
With the stud locations marked, it’s time to install the mounting bracket onto the ceiling. The mounting bracket serves as the secure anchor point for your TV.
Follow these steps to install the mounting bracket:
- Align the bracket: Hold the mounting bracket against the ceiling, aligning it with the marked stud locations. Ensure that the bracket is level.
- Mark pilot hole locations: Once the bracket is aligned, use a pencil or marker to mark the pilot hole locations on the ceiling. Typically, brackets will have multiple holes to choose from. Mark at least two holes that align with the studs.
- Drill pilot holes: Using an appropriate drill bit, drill pilot holes into the marked locations. The size of the drill bit should match the size of the mounting screws provided with the bracket.
- Attach the bracket: Position the bracket back onto the ceiling, aligning it with the pilot holes. Insert screws through the bracket holes into the pilot holes and tighten them using a screwdriver. Ensure that the bracket is securely fastened to the ceiling.
It’s important to note that the mounting bracket might have additional locking mechanisms or arms to secure the TV. Follow the manufacturer’s instructions to properly install these components.
Once the mounting bracket is firmly installed, give it a gentle tug to ensure that it’s securely attached to the ceiling. The bracket should not move or feel loose.
With the mounting bracket in place, you’re now ready to move on to the next step of attaching the TV to the bracket.
When mounting a TV on the ceiling, be sure to use a sturdy ceiling mount that can support the weight of the TV. It’s also important to secure the mount to a ceiling joist for added stability.
Read more: How To Mount TV On Siding
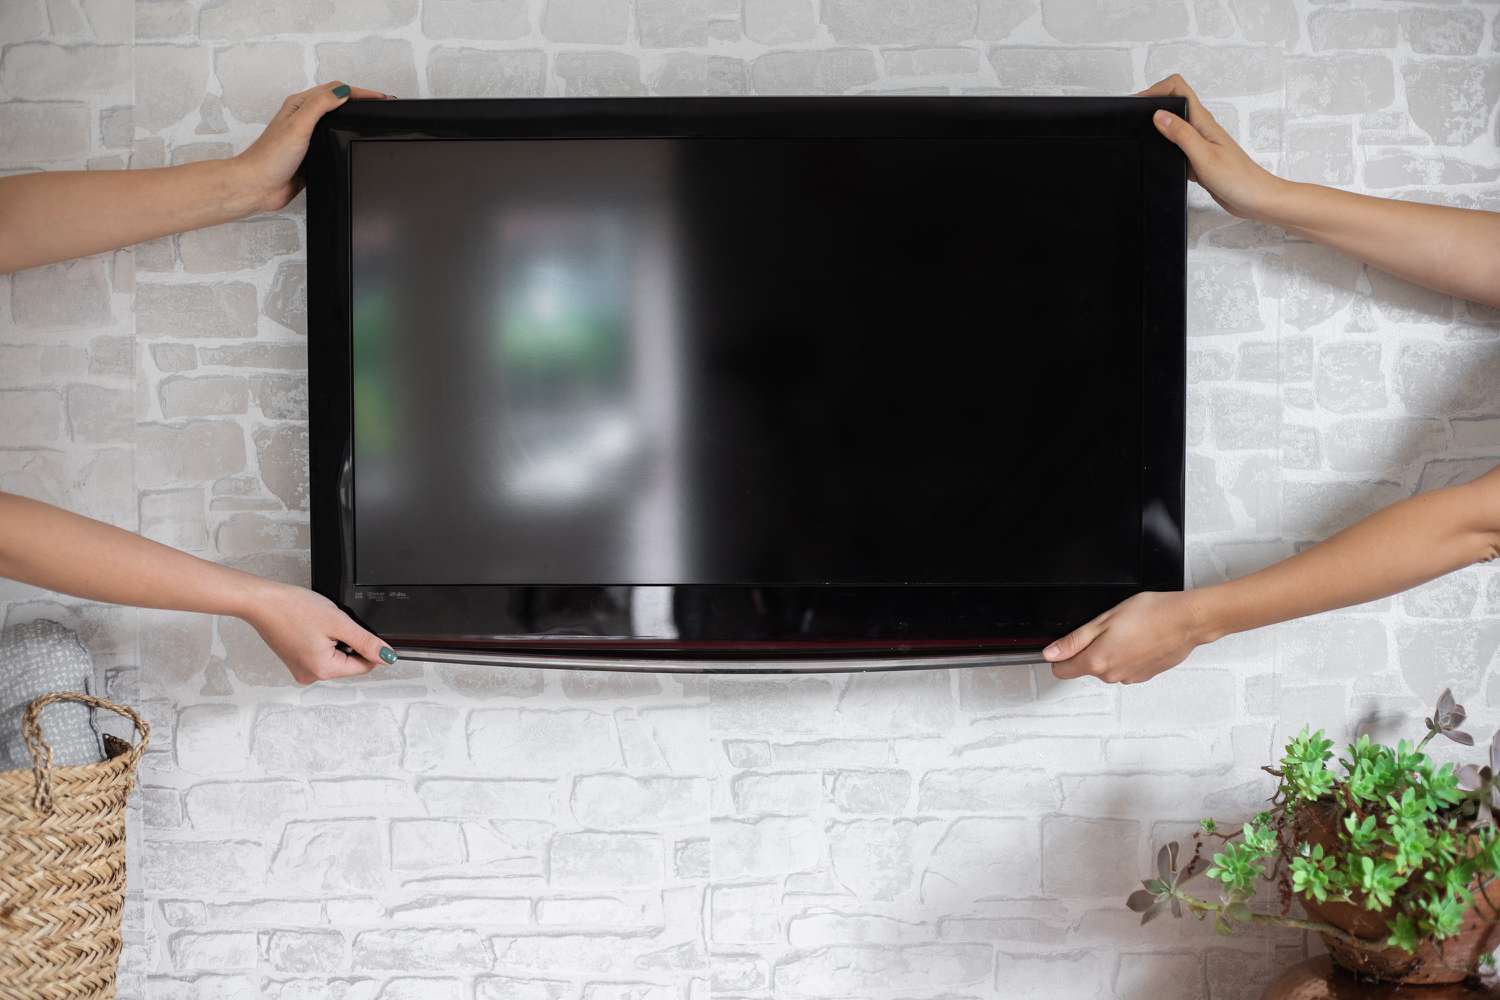
Step 4: Attach TV to Mounting Bracket
Now that the mounting bracket is securely installed on the ceiling, you can proceed to attach your TV to the bracket. This step requires careful handling to ensure a safe and secure connection.
Follow these steps to attach your TV to the mounting bracket:
- Prepare the TV: Place a soft cloth or blanket on a flat and stable surface to protect the screen of your TV. Carefully lay the TV face down on the cloth, ensuring that it’s stable and won’t slip.
- Locate the mounting holes: Look for the mounting holes on the back of your TV. These holes are generally arranged in a square or rectangular pattern and are used to attach the TV to the mounting bracket.
- Attach the mounting plate: Depending on the type of TV mount you have, you may need to attach a mounting plate to the back of your TV. Line up the mounting plate with the mounting holes on the back of the TV and use the screws provided to secure it in place.
- Align the TV with the bracket: With the help of another person if needed, carefully lift the TV and align the mounting plate or the mounting holes on the back of the TV with the corresponding brackets or arms on the mounting bracket.
- Secure the TV to the bracket: Once the TV is properly aligned, use the screws provided with the mounting bracket to attach the TV to the bracket. Make sure to tighten the screws securely, but avoid overtightening which could damage the TV.
It’s important to reference your TV’s user manual for specific instructions on attaching it to a mounting bracket. Different TV models may have slightly different mounting mechanisms.
After attaching the TV to the mounting bracket, give it a gentle shake to ensure that it’s securely in place. If necessary, make any adjustments to ensure the TV is level and straight.
Now that your TV is securely attached to the mounting bracket, you can move on to the next step of securing the cables and wires.
Step 5: Secure Cables and Wires
Once your TV is securely mounted on the ceiling, it’s time to take care of the cables and wires to ensure a clean and organized setup. Securing the cables and wires not only improves the aesthetics but also prevents them from becoming tangled or damaged.
Follow these steps to secure the cables and wires:
- Identify cable management solutions: Evaluate the available options for cable management, such as cable clips, cable covers, or conduit. Choose the solution that best suits your needs and preferences.
- Plan the cable route: Decide on the desired path for your cables and wires. Consider the location of power outlets, A/V equipment, and any other devices connected to the TV. Aim for a neat and tidy arrangement.
- Attach cable clips or covers: Install cable clips or covers along the route to hold and conceal the cables. Ensure that the clips or covers are secured to the ceiling and walls, keeping the cables in place.
- Organize and bundle cables: Group the cables together using zip ties, cable ties, or Velcro straps. This helps to minimize cable clutter and makes it easier to manage and maintain the setup.
- Route cables through cable management solutions: Carefully guide the cables through the installed cable clips, covers, or conduits, keeping them hidden and protected.
- Test cable connections: Once all the cables are properly routed, check the connections to ensure that they are secure and providing the necessary functionality. Make sure the power cable, HDMI cables, audio cables, and any other connections are securely plugged in.
By securing the cables and wires, you not only improve the overall appearance of your ceiling-mounted TV but also maintain a cleaner and safer environment.
It’s important to note that while organizing and bundling the cables, be careful not to bend them excessively or create sharp angles. This can potentially damage the cables and impact their performance.
With the cables and wires properly secured, you’re almost ready to start enjoying your ceiling-mounted TV. However, before you do, it’s essential to test and adjust the TV’s position for optimal viewing.
Step 6: Test and Adjust TV Position
Now that your TV is mounted and the cables are securely in place, it’s time to test and adjust the TV’s position to ensure optimal viewing from your desired seating area.
Follow these steps to test and adjust the TV’s position:
- Power on the TV: Connect the power cord to the TV and plug it into a nearby outlet. Turn on the TV to ensure that it powers up and displays a clear picture.
- Adjust the viewing angle: Stand or sit in your desired viewing position and evaluate the TV’s angle. If necessary, adjust the tilt or rotation of the TV to achieve the best viewing experience.
- Check for glare and reflections: Look for any glare or reflections on the TV screen caused by nearby windows, light sources, or shiny surfaces. Adjust the TV’s position or consider using blackout curtains or anti-glare filters to minimize these distractions.
- Test the visibility from different areas: Move around the room and check the visibility of the TV from different angles and seating areas. Ensure that the screen is easily visible and there are no significant obstructions.
- Make any necessary adjustments: If you notice any issues with the TV’s positioning or visibility, make the appropriate adjustments. This may involve repositioning the TV on the mounting bracket or fine-tuning the angle and height.
Take your time during this step to find the best position for your TV. Do multiple tests and adjustments until you are satisfied with the viewing experience from your chosen seating area.
It’s important to note that if you have chosen a ceiling mount with adjustable arms or mechanisms, you’ll have more flexibility in positioning the TV to suit your preferences.
With the TV properly positioned and adjusted, you’re now ready to enjoy your ceiling-mounted TV and experience a whole new level of entertainment.
Step 7: Enjoy Your Ceiling-Mounted TV
Congratulations! You have successfully mounted your TV on the ceiling and completed all the necessary steps for a secure installation. Now it’s time to sit back, relax, and enjoy your ceiling-mounted TV.
Here are a few tips to enhance your TV viewing experience:
- Arrange the seating area: Position your furniture in a way that optimizes the viewing angle and ensures everyone can comfortably see the screen.
- Set up audio equipment: Connect your TV to a soundbar, surround sound system, or other audio equipment for a more immersive audio experience.
- Adjust lighting: Consider the lighting in the room and adjust it to create a comfortable ambiance while minimizing glare on the TV screen. You may use curtains, blinds, or dimmer switches to control the lighting.
- Utilize smart features: If your TV has smart capabilities, explore and take advantage of the various features and apps available to enhance your entertainment options.
- Maintain proper viewing habits: Remember to take breaks and practice good viewing habits to avoid eye strain. Follow recommended viewing distances and adjust the TV settings for optimal contrast and brightness.
It’s worth noting that periodically checking the TV’s stability and ensuring that the mounting bracket remains secure is important for long-term safety and enjoyment.
Sit back, relax, and enjoy your favorite shows, movies, and games from the comfort of your ceiling-mounted TV. The unique perspective and space-saving benefits will surely enhance your entertainment experience.
By following the steps outlined in this guide, you have successfully mounted your TV on the ceiling and created a stylish and functional setup for your home.
Now, grab some popcorn, dim the lights, and immerse yourself in the world of entertainment with your ceiling-mounted TV!
Read more: How To Flush Mount A TV
Conclusion
Mounting a TV on the ceiling can be an excellent solution for saving space and achieving a unique viewing experience in your home. By following the step-by-step guide outlined in this article, you have learned how to successfully mount your TV on the ceiling.
Throughout the process, you have gained insights into determining the ideal mounting location, locating and marking studs, installing the mounting bracket, attaching the TV securely, securing cables and wires, testing and adjusting the TV’s position, and ultimately, enjoying your ceiling-mounted TV.
Remember to prioritize safety by using the appropriate tools and materials, securing the TV to the ceiling studs, and following the manufacturer’s instructions. Taking the time to carefully plan and execute each step will ensure a secure and reliable installation.
Once your TV is mounted on the ceiling, pay attention to viewing angles, adjust lighting conditions, and optimize your seating arrangement for the best possible viewing experience. Explore additional audio equipment and smart features to further enhance your entertainment setup.
Regularly inspect the stability of the TV mount and ensure cables and wires remain organized and secure. These small maintenance steps will prolong the longevity of your ceiling-mounted TV and keep your entertainment area looking tidy.
In conclusion, mounting a TV on the ceiling offers numerous benefits, including space-saving, improved viewing angles, and a unique aesthetic appeal. Whether you have a small living room or simply want to create a cinema-like experience, mounting your TV on the ceiling can transform your entertainment setup. By following the steps outlined in this guide and exercising caution throughout the process, you can confidently enjoy your ceiling-mounted TV for years to come.
Frequently Asked Questions about How To Mount A TV On The Ceiling
Was this page helpful?
At Storables.com, we guarantee accurate and reliable information. Our content, validated by Expert Board Contributors, is crafted following stringent Editorial Policies. We're committed to providing you with well-researched, expert-backed insights for all your informational needs.


0 thoughts on “How To Mount A TV On The Ceiling”