Articles
How to Get a Tool Chest In A Truck?
Modified: October 27, 2024
Looking for articles on how to get a tool chest in your truck? Discover expert tips and advice on organizing and securing your tools for easy access.
(Many of the links in this article redirect to a specific reviewed product. Your purchase of these products through affiliate links helps to generate commission for Storables.com, at no extra cost. Learn more)
Introduction
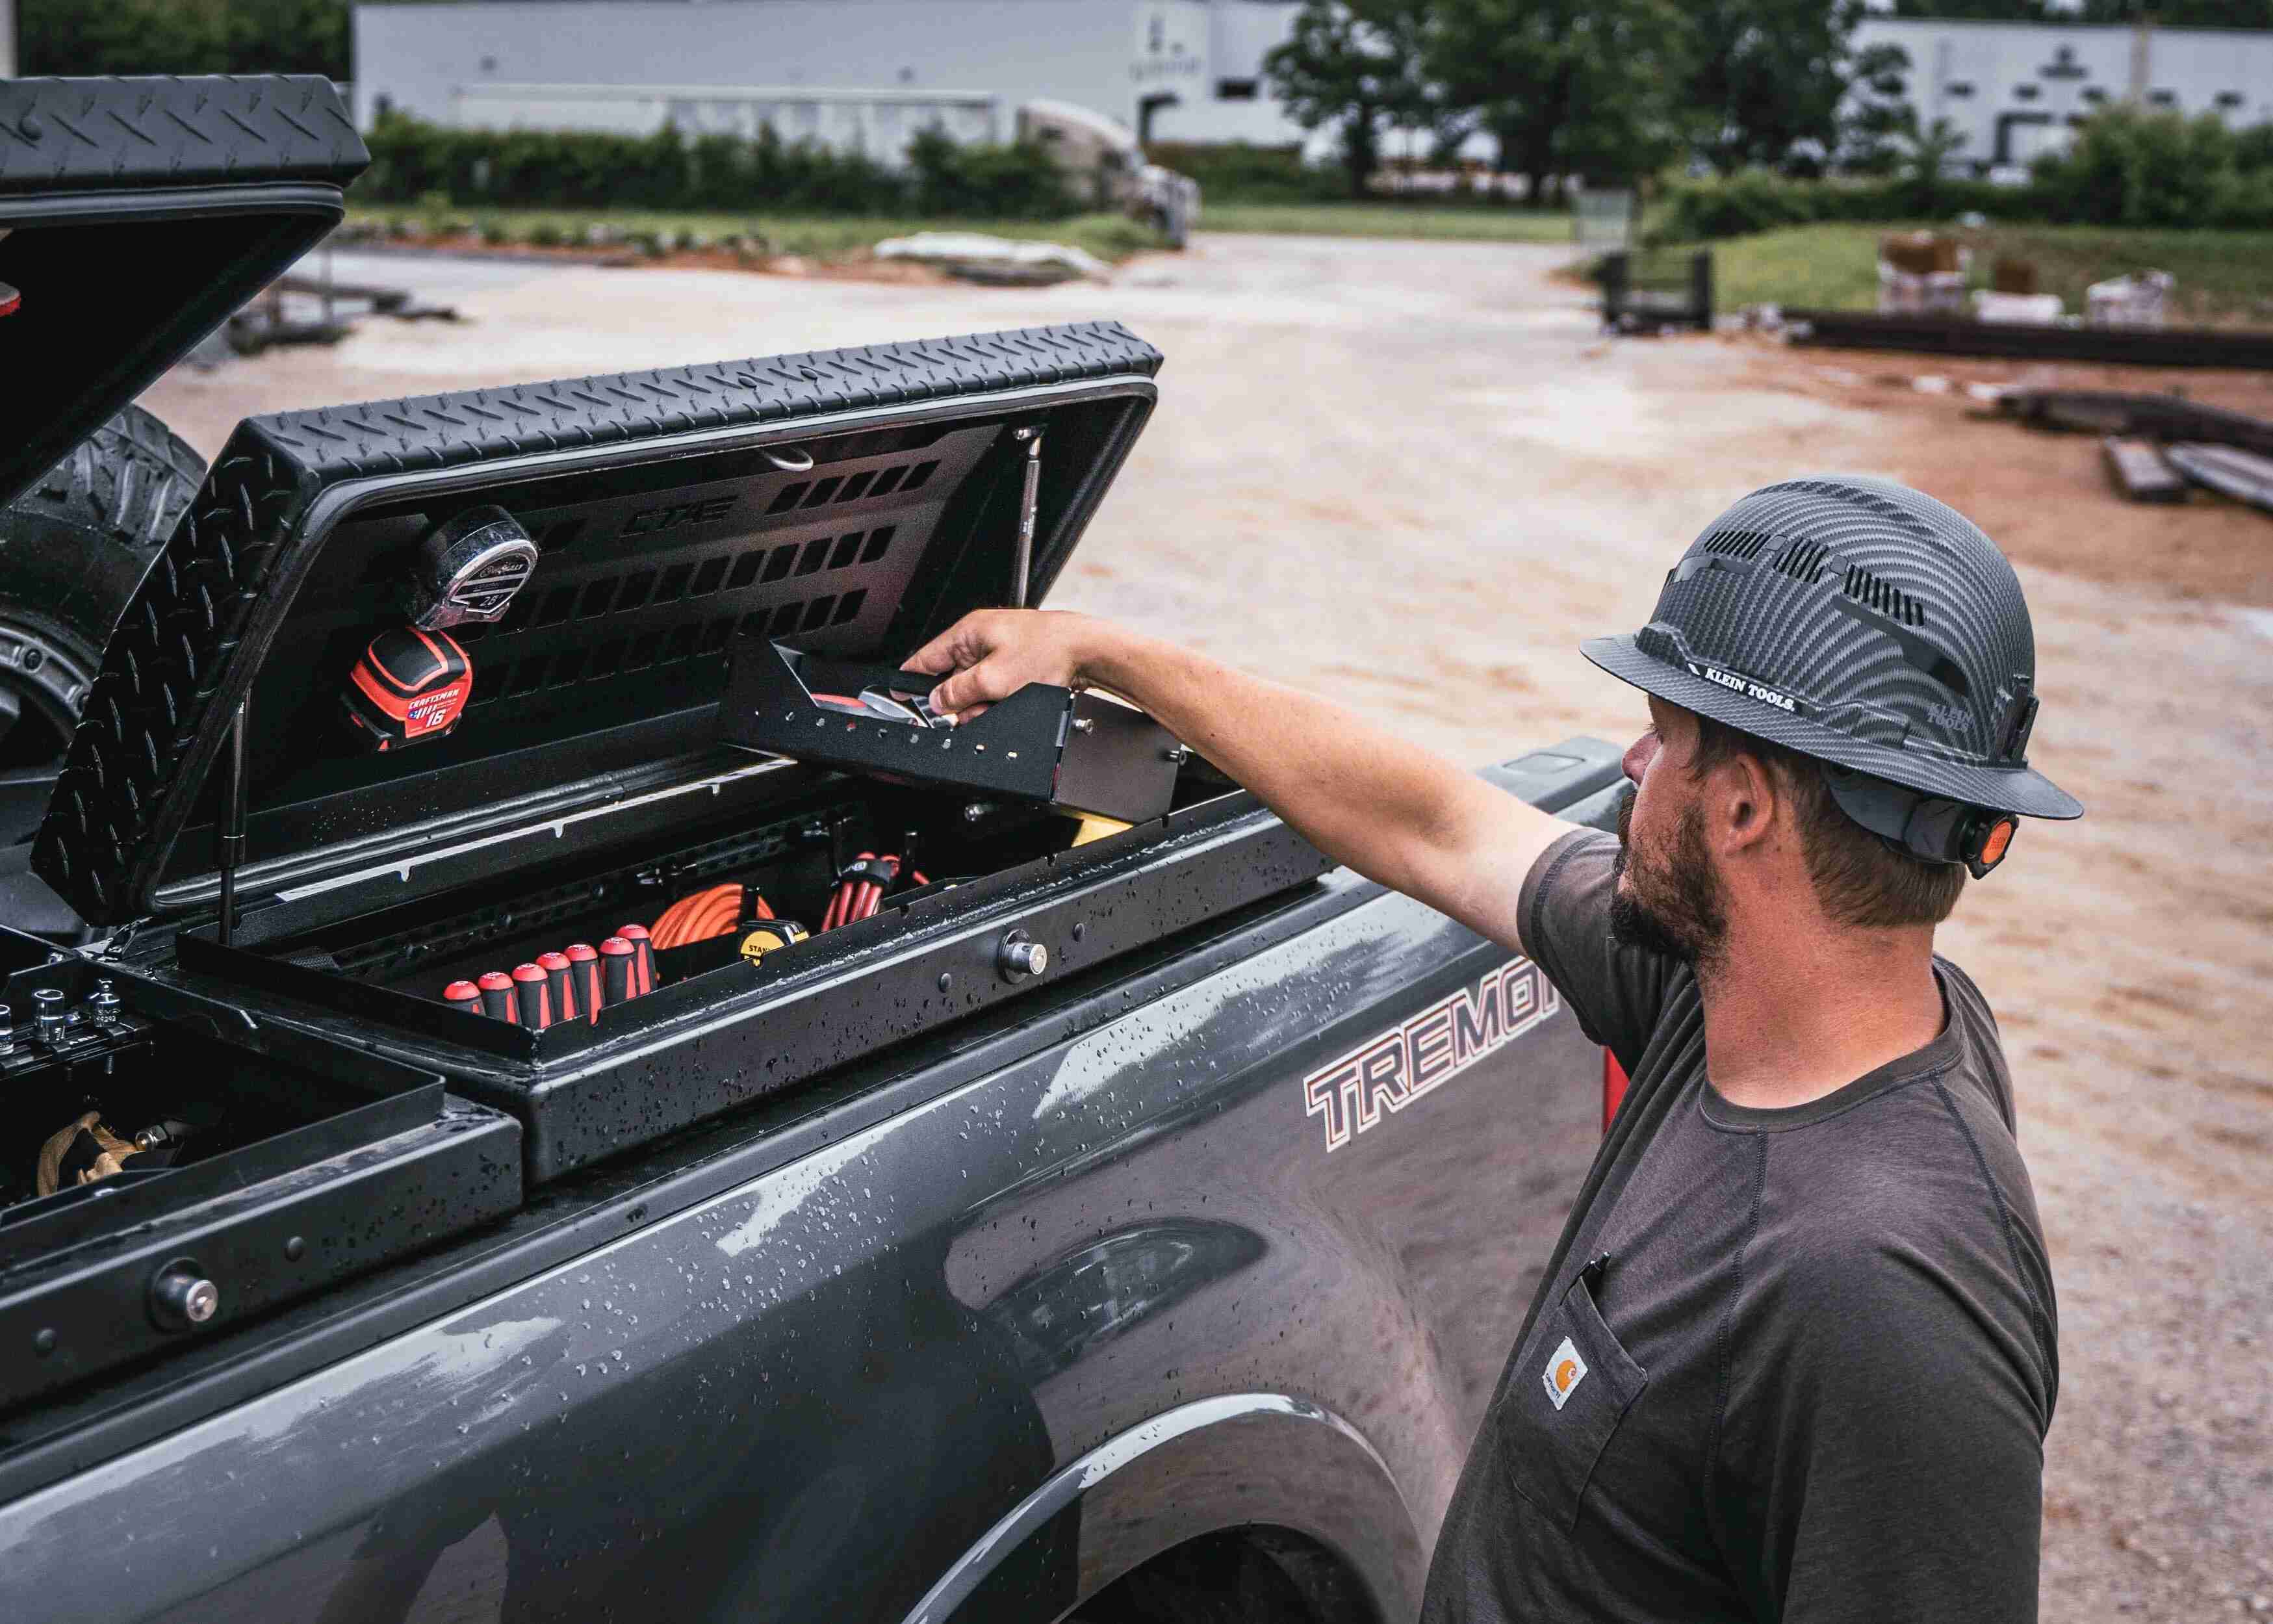
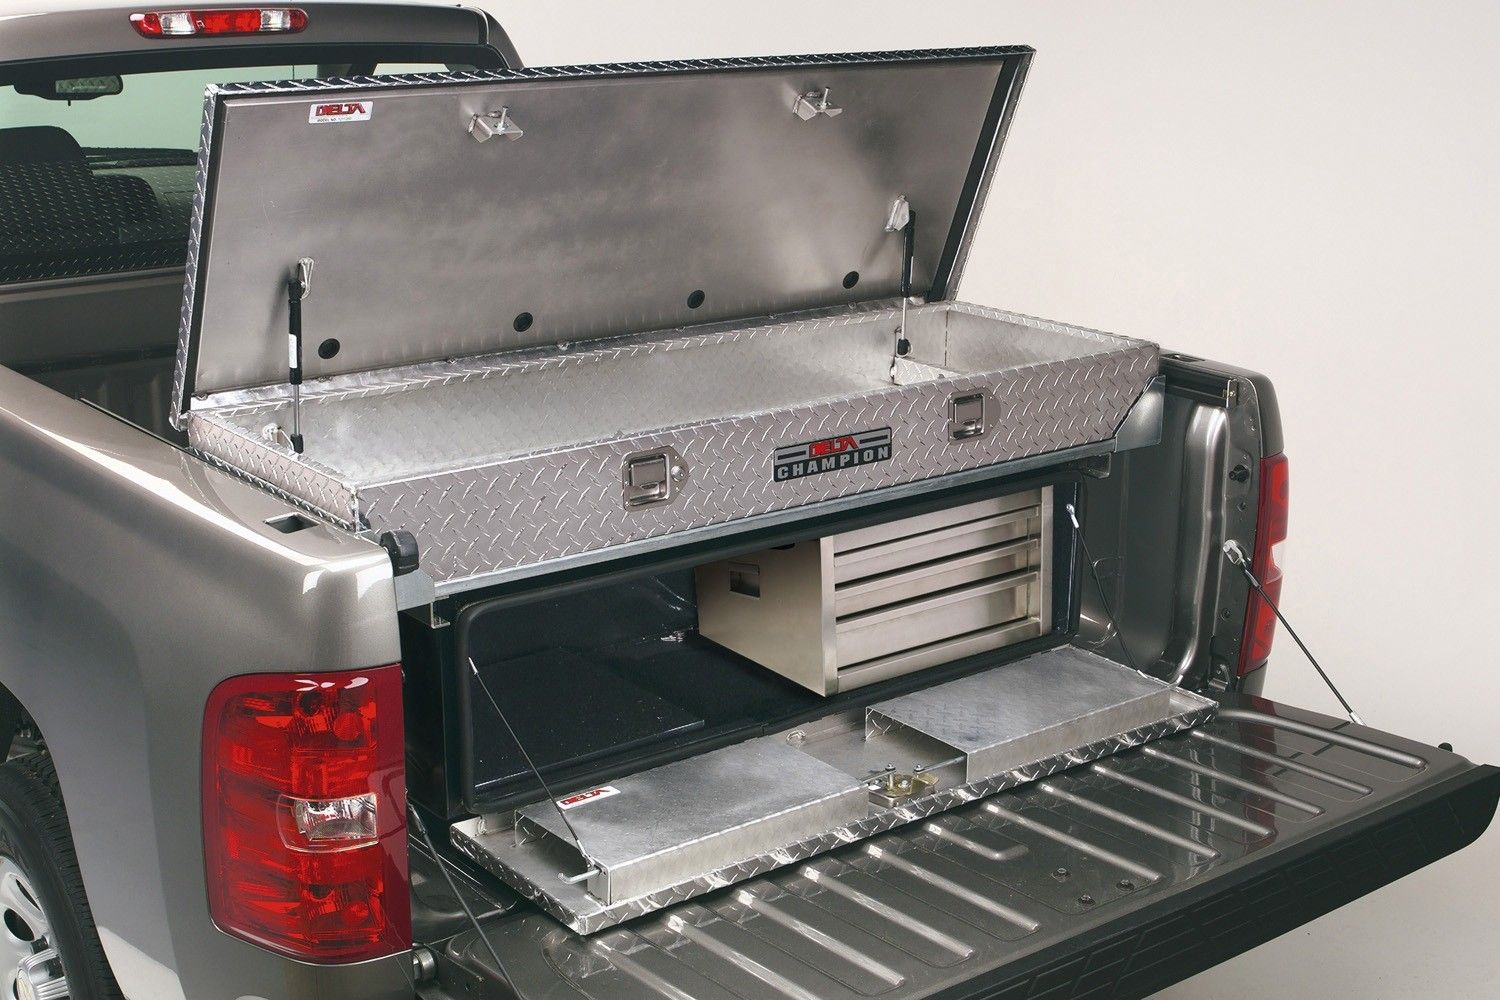
Having a tool chest in your truck can be incredibly beneficial. It not only provides a secure and organized space to store your tools but also enables easy access whenever you need them. Whether you’re a professional contractor, a DIY enthusiast, or someone who frequently needs tools while on the go, a truck tool chest is a must-have accessory.
In this article, we will guide you through the process of getting a tool chest for your truck. We’ll provide step-by-step instructions on how to measure your truck bed, choose the right tool chest, prepare your truck bed, install the tool chest, and ensure it is properly secured.
Before we delve into the specifics, it is important to note that different truck models and bed sizes may require different approaches. Therefore, it is crucial to consult your truck’s manufacturer or refer to the user manual for any specific instructions or limitations.
Now, let’s get started on how to get a tool chest in your truck!
Key Takeaways:
- Properly measuring your truck bed and choosing the right tool chest based on size, material, and features are crucial steps to ensure a secure and convenient storage solution for your tools.
- After installing the tool chest, securing it with additional hardware, utilizing locking mechanisms, and organizing your tools will provide peace of mind and protection for your valuable equipment while on the go.
Read more: How To Organize A Truck Tool Box
Step 1: Measure your truck bed
Before you can select the right tool chest for your truck, it’s important to accurately measure your truck bed. This will ensure that the tool chest fits securely and optimally in your truck.
Here’s a simple guide on how to measure your truck bed:
1. Start by clearing out any items that are currently in your truck bed. 2. Measure the length of your truck bed. Begin at the inside edge of the bed closest to the cab and extend the measuring tape all the way to the inside edge of the tailgate. Make sure to measure along the bed floor and not just the top surface. Note down this measurement. 3. Measure the width of your truck bed. Measure the width between the inside edges of the bed walls. Again, measure along the bed floor for accuracy. Write down this measurement. 4. Measure the height of your truck bed. Measure from the bed floor to the top edge of the bed walls. This will help you determine the appropriate height clearance for the tool chest. Take note of this measurement. 5. If your truck bed has wheel well notches or other irregularities, measure the distance between these notches. This will help you determine where the tool chest will sit in the truck bed.
Once you have these measurements, you will have a better understanding of the dimensions needed for your tool chest. This will make it easier to choose a tool chest that fits precisely in your truck bed.
With the measurements in hand, you are now ready to move on to the next step: choosing the right tool chest for your truck.
Step 2: Choose the right tool chest
Now that you have measured your truck bed, it’s time to choose the perfect tool chest that will fit your needs and the dimensions of your truck bed. Here are some factors to consider:
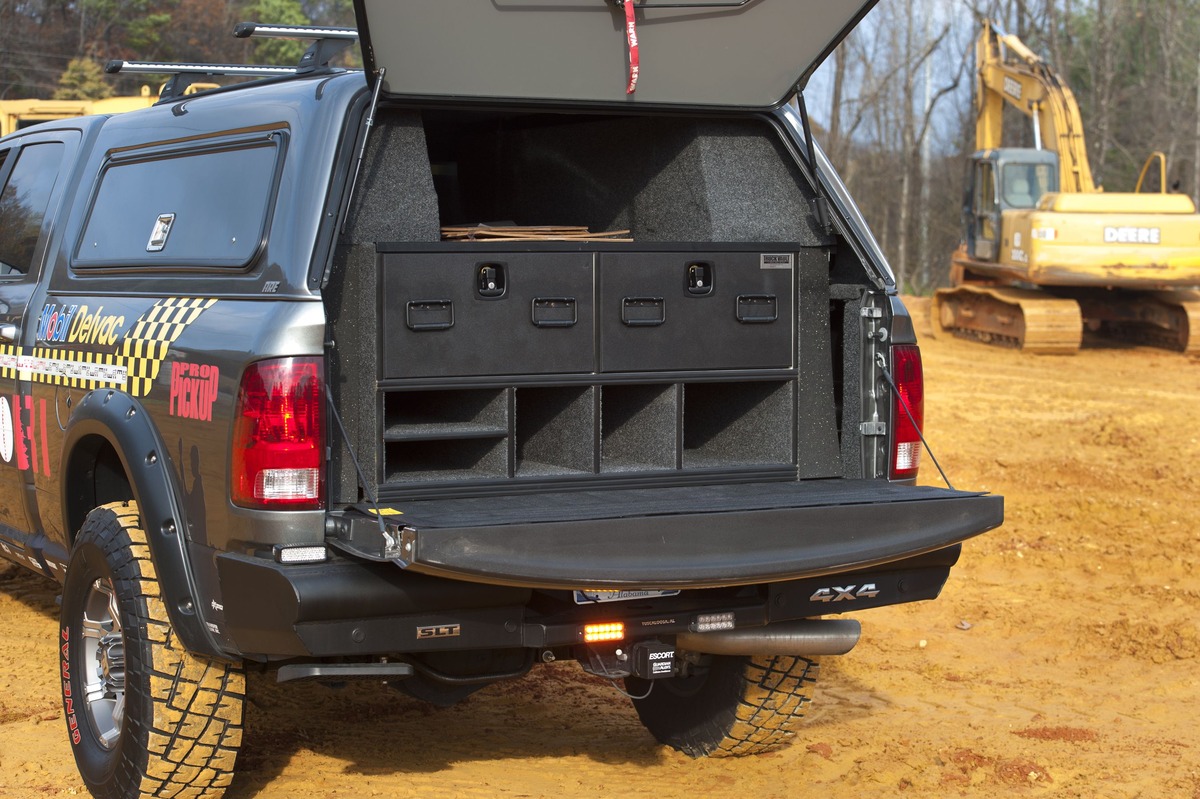
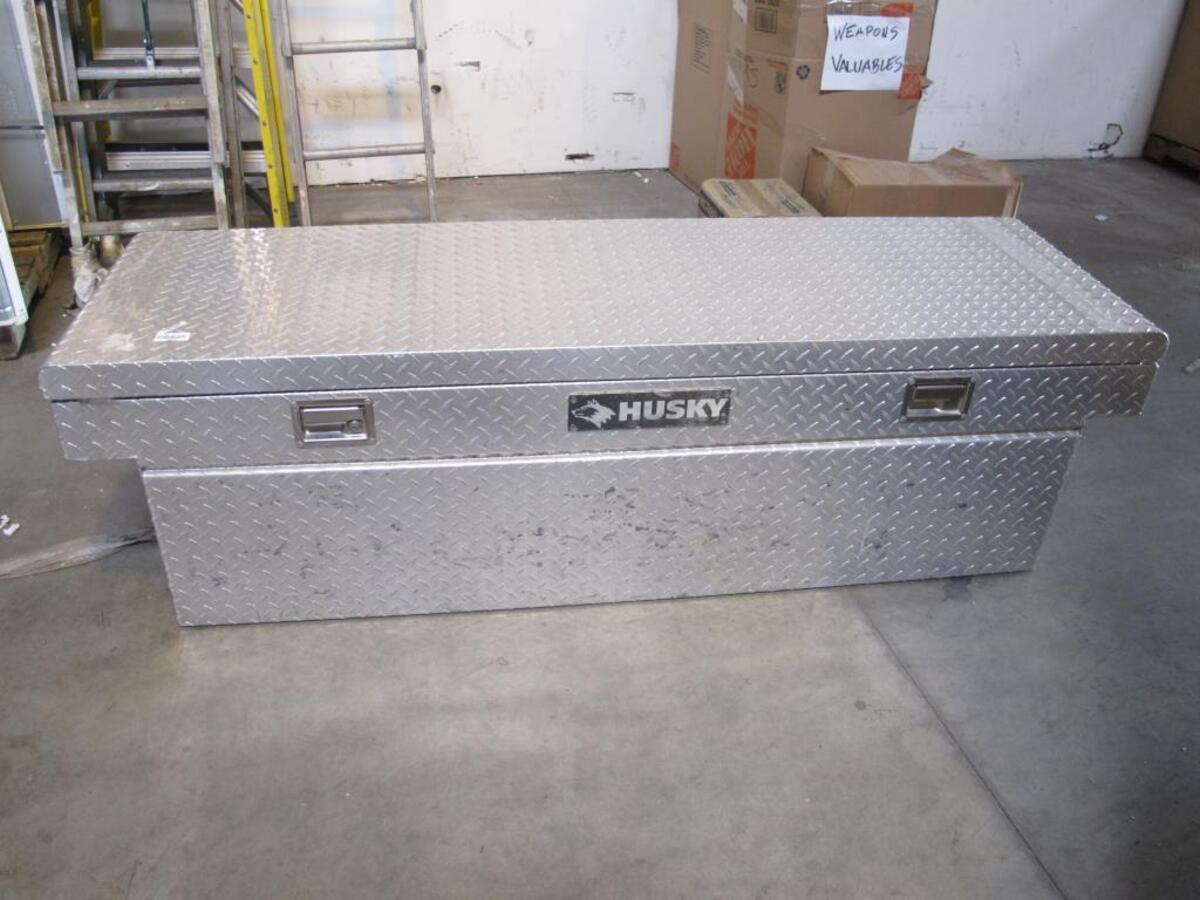
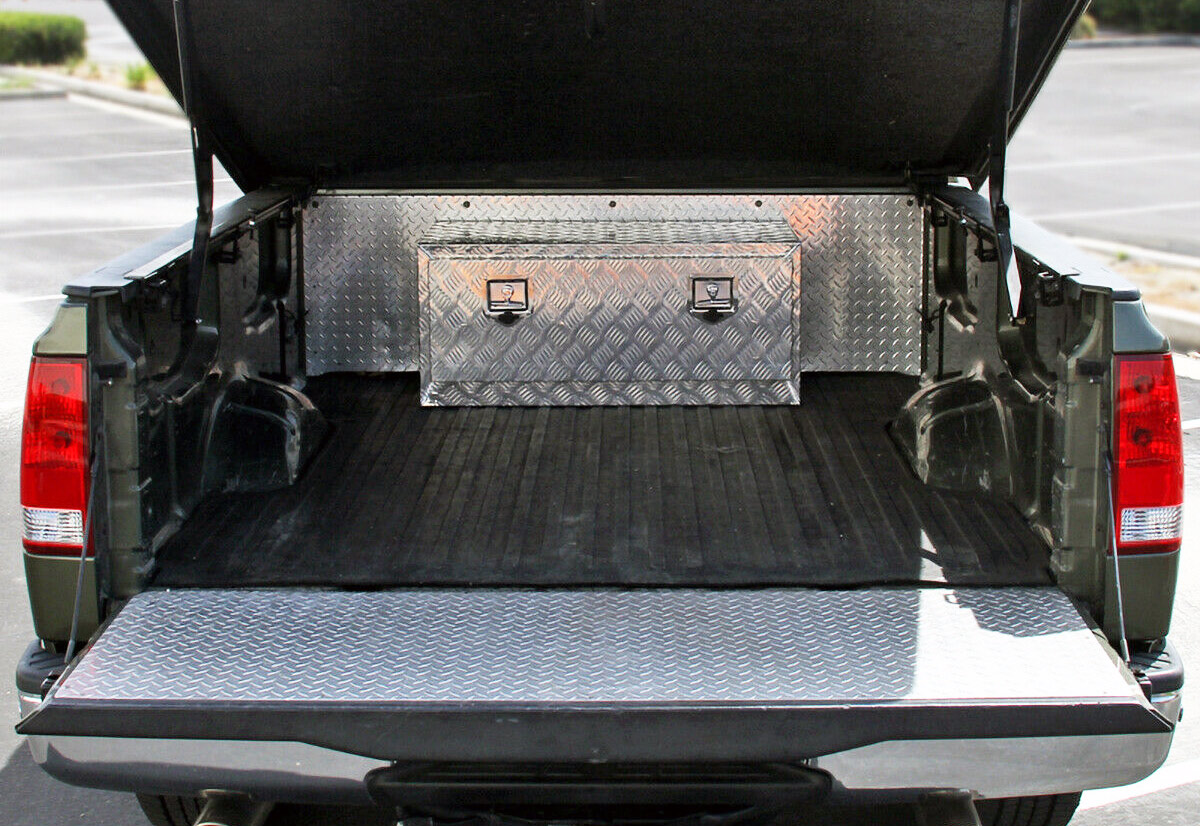
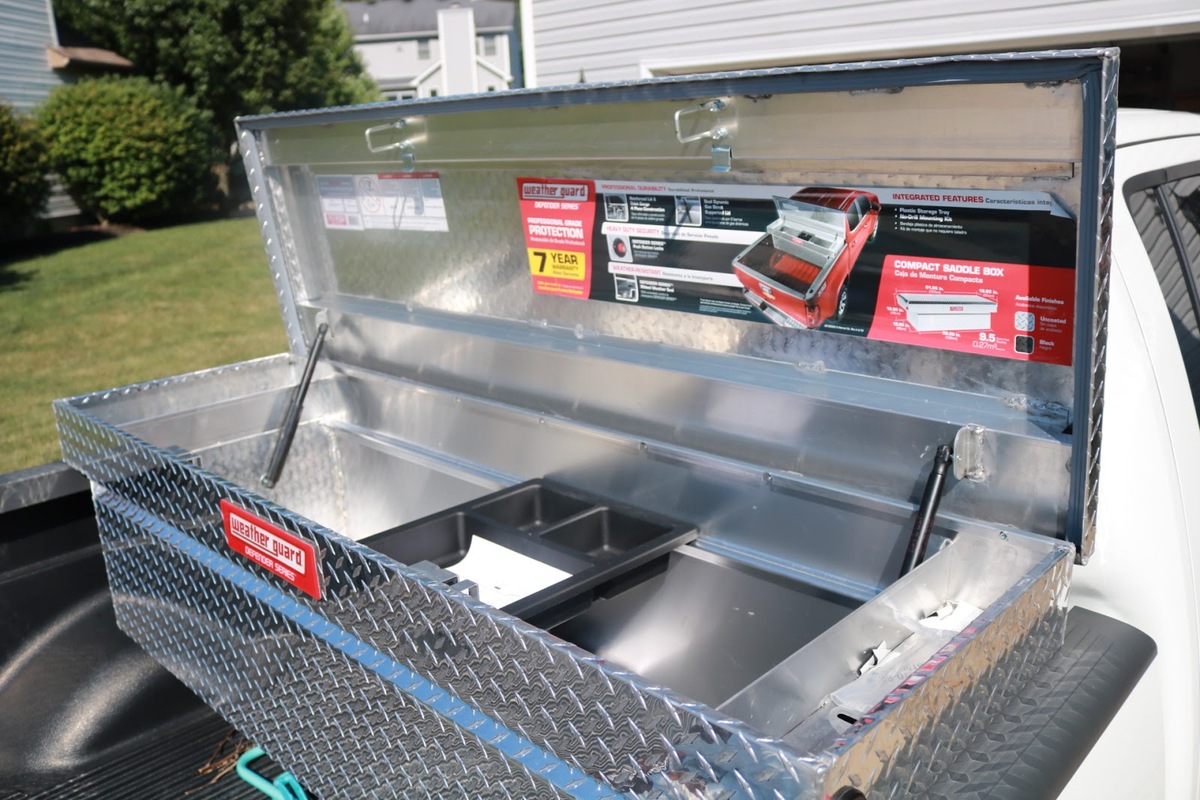
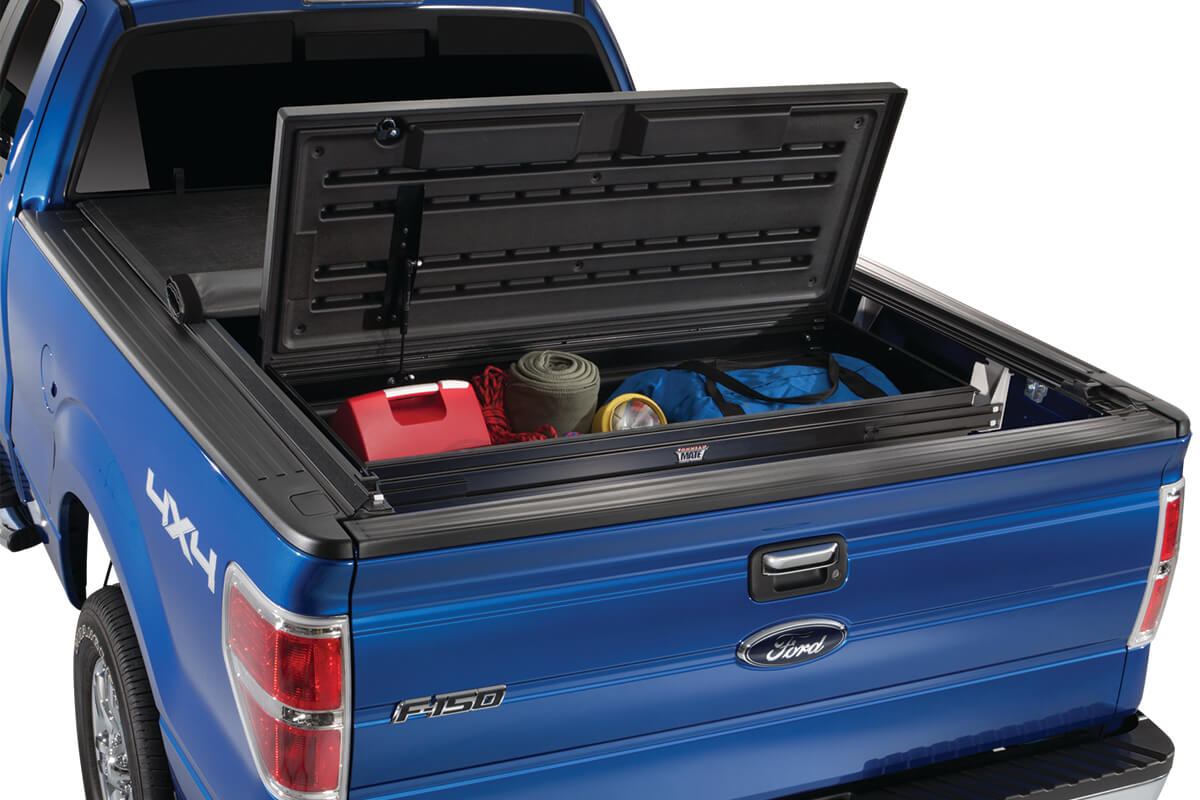
1. Size: Consider the measurements you took earlier and look for a tool chest that matches those dimensions. You want a chest that fits snugly in your truck bed without any wasted space or excessive protrusion. 2. Material: Tool chests are typically made from steel, aluminum, or plastic. Steel chests offer durability and security, but they can be heavier. Aluminum chests are lightweight and resistant to rust and corrosion. Plastic chests are lightweight and affordable but may not be as secure or durable as metal chests. 3. Features: Consider the features you need in a tool chest. Some common features include drawers, adjustable dividers, locking mechanisms, weatherproof seals, and a gas strut lid for easy opening and closing. Choose a chest that has the features that best suit your requirements. 4. Accessibility: Think about how you want to access your tools. Do you prefer a top-opening chest or a chest with drawers? Consider your workflow and the types of tools you typically use to determine which style will be most convenient for you. 5. Budget: Set a budget for your tool chest. Determine how much you are willing to spend and look for options within that price range. Keep in mind that the cost of a tool chest can vary depending on the material, size, and features. 6. Brand reputation: Research different brands and read reviews from other truck owners to get an idea of their reputation and the quality of their tool chests. Look for brands that have a history of manufacturing durable and reliable products.
Once you consider these factors, you will be able to narrow down your options and choose the right tool chest for your truck. Remember, it’s important to select a tool chest that not only fits well in your truck bed but also meets your needs in terms of durability, security, and accessibility.
Once you have chosen the tool chest, it’s time to move on to the next step: preparing your truck bed for installation.
Step 3: Prepare your truck bed
Before you can install the tool chest in your truck, you need to prepare your truck bed to ensure a proper and secure fit. Here are the steps to follow:
1. Clear out the bed: Remove any items or debris from your truck bed to create a clean and empty space. 2. Clean the bed: Use a broom or a vacuum to remove any dust, dirt, or loose particles from the truck bed. Make sure the surface is clear and ready for installation. 3. Apply bed liner (optional): If desired, you can apply a bed liner to protect the bed from scratches and provide additional grip for the tool chest. Bed liners can be spray-on or drop-in, depending on your preference and budget. 4. Test fit the tool chest: Before fully installing the tool chest, place it in the truck bed to ensure that it fits properly and aligns with the measurements you took earlier. Pay attention to any wheel well notches or other obstructions and make any necessary adjustments. 5. Mark the mounting holes: Once you are satisfied with the fit, use a marker or chalk to mark the locations of the mounting holes on the truck bed. This will serve as a guide when installing the tool chest.
Preparing your truck bed is an essential step to ensure a smooth installation process. By cleaning the bed, considering a bed liner, and test fitting the tool chest, you can ensure a secure and proper fit for the tool chest.
Now that your truck bed is prepared, let’s move on to the next step: installing the tool chest in your truck.
When looking for a tool chest for your truck, consider the size and weight capacity that will fit your needs. Measure the space in your truck bed to ensure a proper fit. Look for a tool chest with secure locking mechanisms to keep your tools safe while on the road.
Step 4: Install the tool chest in your truck
Now that you have prepared your truck bed, it’s time to install the tool chest. Follow these steps for a successful installation:
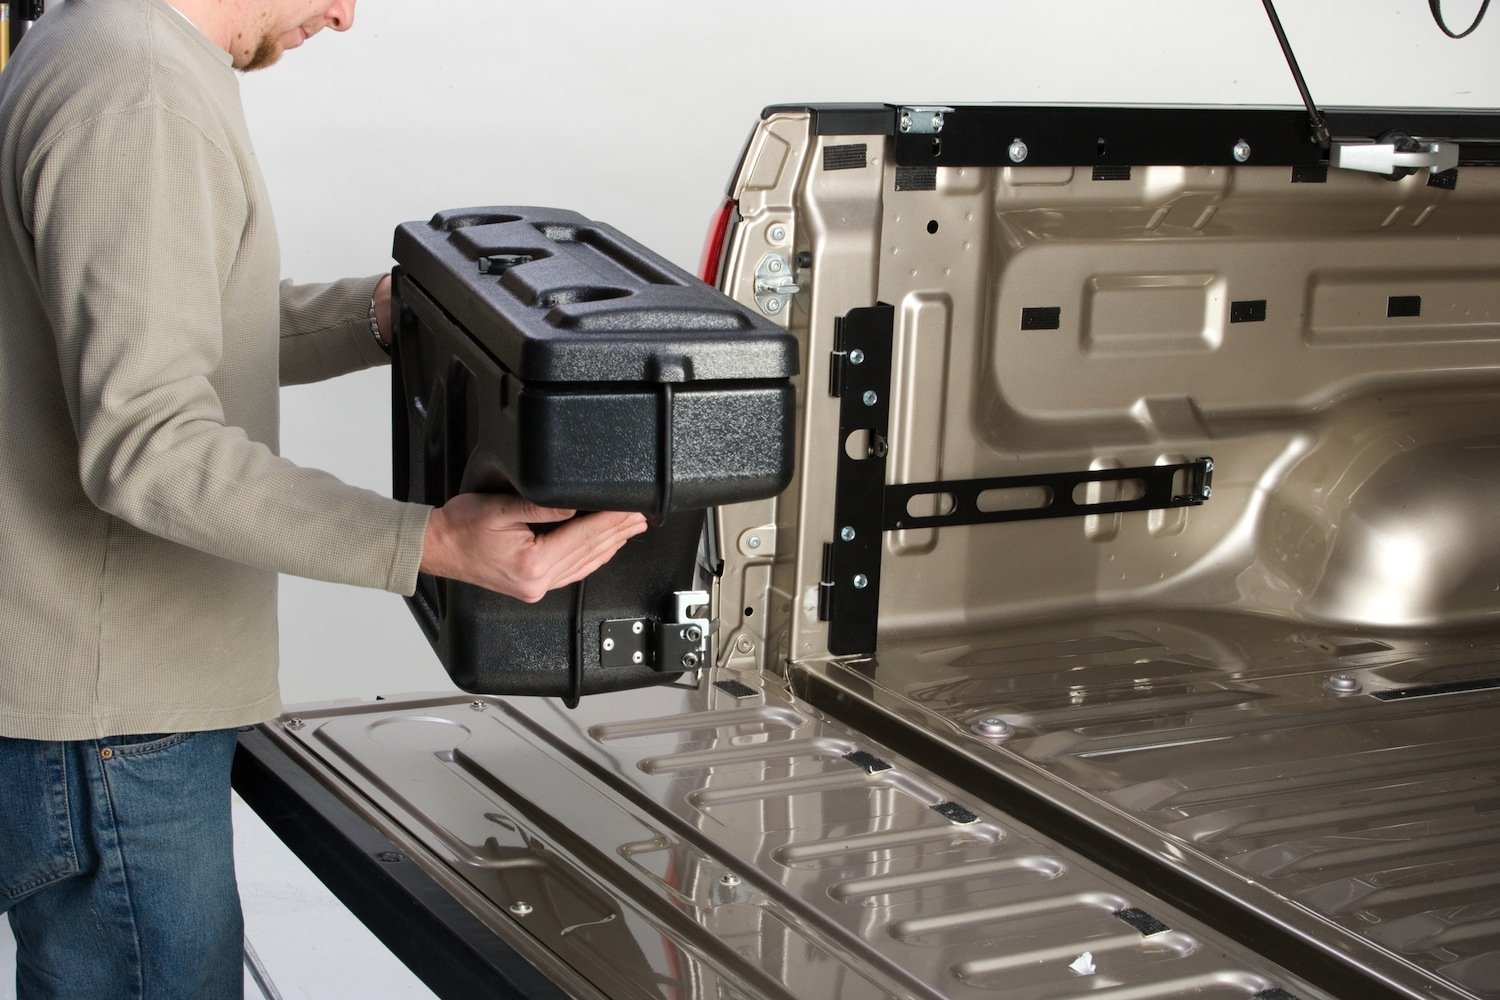
1. Position the tool chest: Lift the tool chest and align it with the previously marked mounting holes in your truck bed. Make sure the chest is centered and sits securely on the bed. 2. Attach mounting brackets (if applicable): Some tool chests come with specific mounting brackets or hardware. Follow the manufacturer’s instructions to attach these brackets securely to your truck bed. Ensure they are properly aligned with the tool chest. 3. Secure the tool chest: Once the mounting brackets are in place, carefully lower the tool chest onto the brackets or the mounting holes. Double-check that the chest is sitting evenly and flush against the truck bed. 4. Tighten the mounting hardware: Use the appropriate tools, such as wrenches or screwdrivers, to tighten the mounting hardware. Ensure that the tool chest is securely fastened to prevent any movement or shifting during transit. 5. Test the stability: Give the tool chest a gentle shake or push to ensure it is securely installed. If there is any wobbling or instability, recheck the mounting hardware and make necessary adjustments. 6. Follow manufacturer’s instructions: Always refer to the specific instructions provided by the tool chest manufacturer. They may have additional recommendations or guidelines for a proper installation process.
By following these steps, you will be able to easily and securely install the tool chest in your truck. Make sure to take your time and double-check everything for a safe and reliable installation.
Once the tool chest is properly installed, proceed to the final step: securing the tool chest properly.
Read more: How To Attach Tool Box To Truck
Step 5: Secure the tool chest properly
After installing the tool chest in your truck, it’s important to ensure that it is securely fastened and that your tools remain safe during transportation. Here are some tips to help you secure the tool chest properly:
1. Use additional mounting hardware: Depending on the specific tool chest and your truck’s configuration, you may need to use additional mounting hardware to further secure the chest in place. This could include bolts, screws, or clamps. Follow the manufacturer’s instructions and use the appropriate hardware to reinforce the installation. 2. Check for tightness: Regularly inspect the mounting hardware to ensure it remains tight. Over time, vibrations and movements can loosen the screws or bolts. If you notice any signs of looseness, tighten the hardware immediately. 3. Utilize locking mechanisms: If your tool chest has built-in locking mechanisms, make sure to use them. Locking the chest adds an extra layer of security and prevents unauthorized access to your tools. 4. Install bed cover or cap (optional): Consider installing a bed cover or cap to provide additional protection to your tool chest and tools. This will keep your tools shielded from the elements and reduce the risk of theft. 5. Arrange and organize your tools: To prevent tools from shifting and potentially causing damage during transit, arrange and organize them within the tool chest. Use dividers or foam inserts to secure smaller tools and prevent them from moving around. 6. Regularly inspect and maintain: Periodically inspect the tool chest and its mounting hardware to ensure everything remains in good condition. If you notice any signs of wear or damage, repair or replace the necessary components promptly.
Properly securing your tool chest is essential for the safety of both your tools and your truck. By following these tips, you can ensure that your tools remain secure and protected, even during bumpy rides or long-distance travels.
With the tool chest securely installed and adequately secured, you can now enjoy the convenience and peace of mind that comes with having your tools easily accessible in your truck.
Congratulations! You have successfully completed all the steps to get a tool chest in your truck. Now, you can confidently tackle any job knowing that your tools are organized, protected, and readily available whenever you need them.
Conclusion
Getting a tool chest in your truck is a smart decision that can greatly enhance your productivity and organization. With a properly installed and secured tool chest, you can easily access your tools whenever and wherever you need them. By following the steps outlined in this guide, you can ensure a successful and hassle-free process.
Start by measuring your truck bed accurately to determine the dimensions needed for your tool chest. Then, carefully select a tool chest that fits your truck bed size, material preferences, and desired features. Prepare your truck bed by clearing out any items and debris, cleaning the surface, and optionally applying a bed liner for added protection.
Once your truck bed is ready, install the tool chest by aligning it with the mounting holes and securely fastening it using the provided hardware. Make sure to double-check the stability and follow the manufacturer’s instructions for a proper installation.
After installing the tool chest, ensure it is properly secured by using additional mounting hardware, checking for tightness regularly, utilizing locking mechanisms, and considering a bed cover or cap for added security. Organize and arrange your tools within the chest to prevent shifting during transportation.
Remember to regularly inspect and maintain your tool chest to ensure its longevity and functionality. By following these steps, you can enjoy the convenience, safety, and peace of mind that come with having a well-equipped tool chest in your truck.
Investing in a tool chest for your truck is a worthwhile investment for any professional contractor, DIY enthusiast, or individual in need of a reliable storage solution. With your tools securely stored and easily accessible, you’ll be well-prepared for any project or job that comes your way.
So, go ahead and take the necessary steps to get a tool chest in your truck. Maximize your efficiency and productivity while keeping your tools safe and organized. Happy trucking!
Frequently Asked Questions about How To Get A Tool Chest In A Truck?
Was this page helpful?
At Storables.com, we guarantee accurate and reliable information. Our content, validated by Expert Board Contributors, is crafted following stringent Editorial Policies. We're committed to providing you with well-researched, expert-backed insights for all your informational needs.


0 thoughts on “How to Get a Tool Chest In A Truck?”