Articles
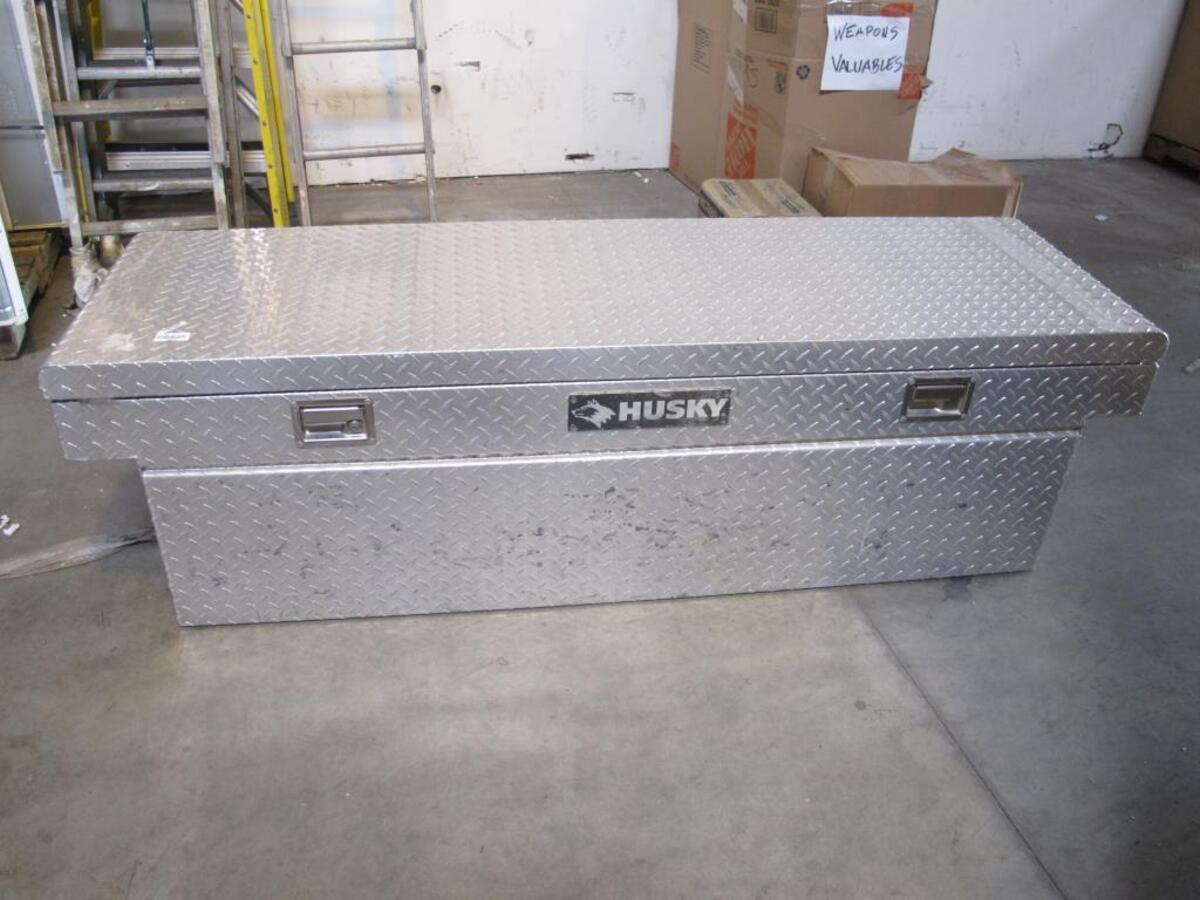
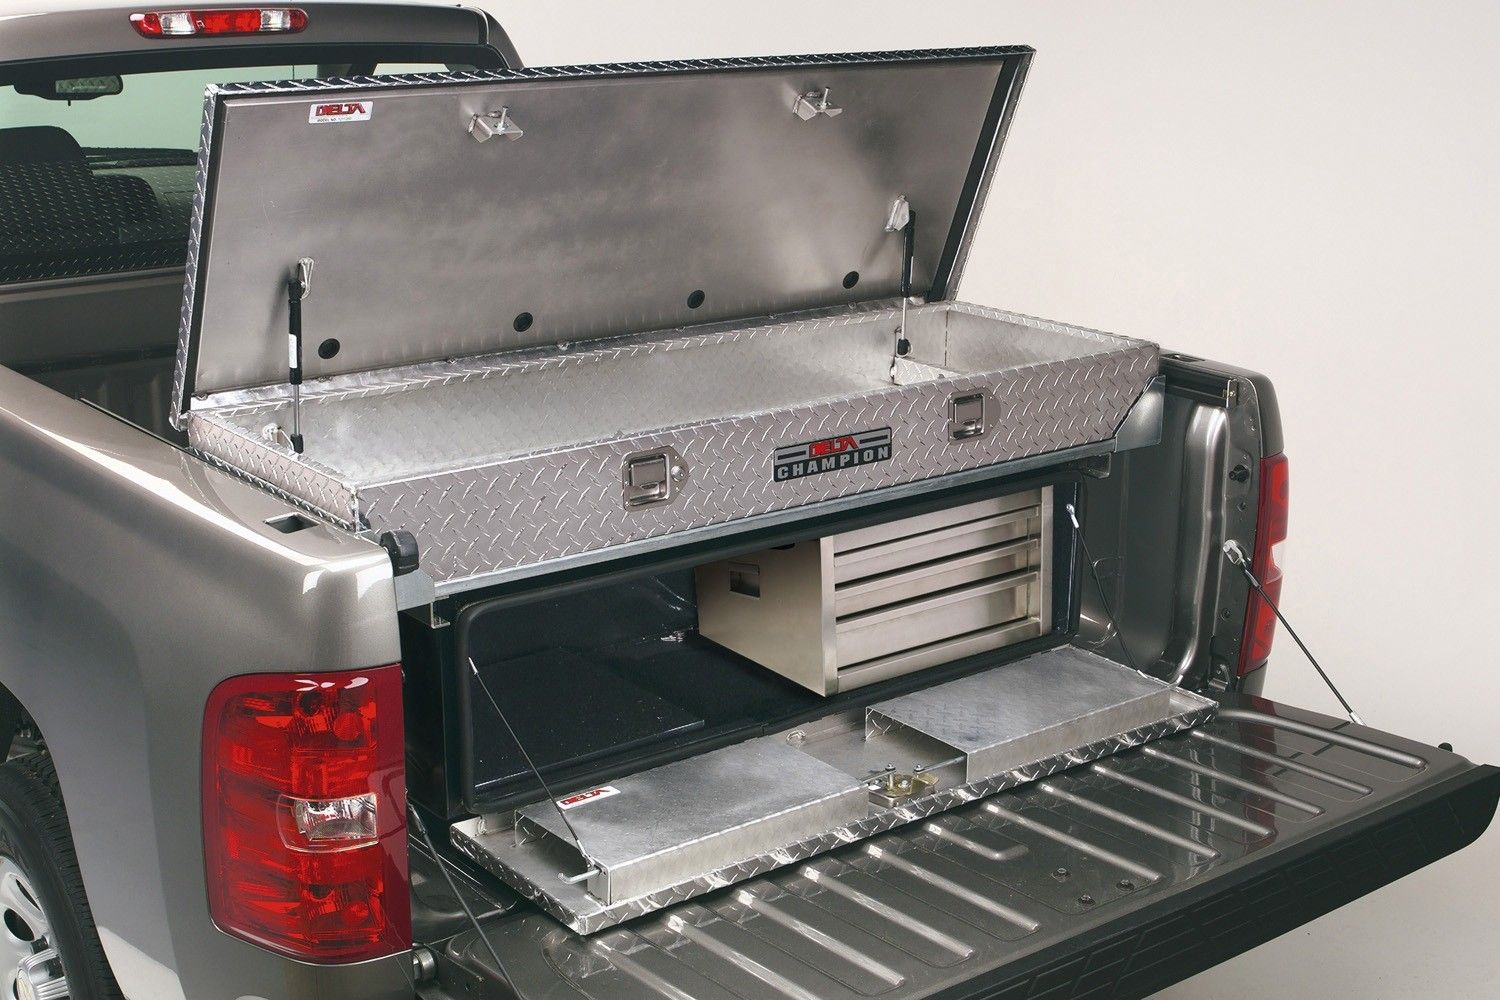
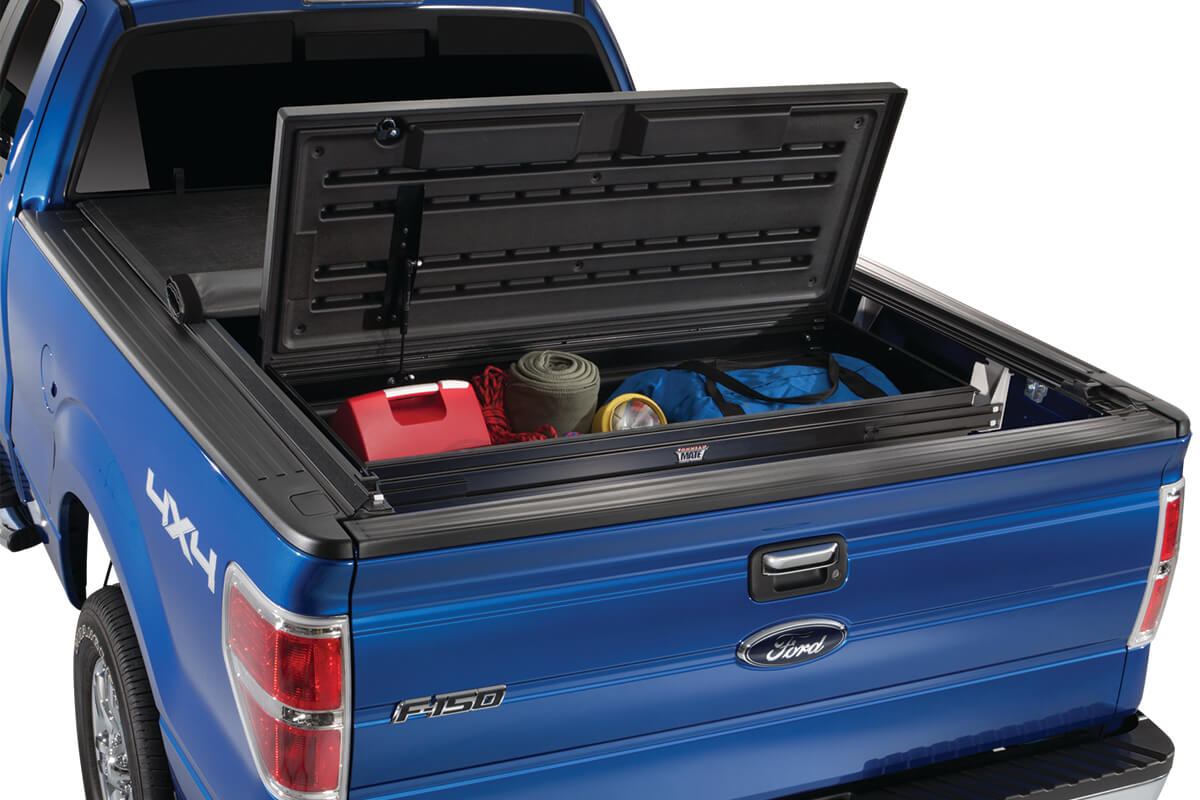
How To Organize A Truck Tool Box
Modified: January 8, 2024
Looking for articles on how to efficiently organize your truck tool box? Check out our comprehensive guide for helpful tips and tricks to maximize space and keep everything in order.
(Many of the links in this article redirect to a specific reviewed product. Your purchase of these products through affiliate links helps to generate commission for Storables.com, at no extra cost. Learn more)
Introduction
When it comes to working on the go, having a well-organized truck tool box can make all the difference. A cluttered and disorganized tool box not only wastes valuable time searching for the right tool, but it can also lead to damaged or lost tools. By taking the time to properly organize your truck tool box, you can increase efficiency, productivity, and keep your tools in top condition.
In this article, we will walk you through a step-by-step process on how to organize your truck tool box. From emptying out the box and sorting your tools to selecting the right storage solutions and arranging them for easy access, we will cover all the essential tips and tricks. So let’s dive in and transform your messy tool box into a well-ordered and functional space!
Key Takeaways:
- Efficient organization of a truck tool box is essential for saving time, preventing tool damage, and increasing productivity. By following a step-by-step process, you can transform a cluttered space into a well-ordered and functional workspace.
- Regular maintenance and reassessment of the organization system are crucial for adapting to changes in tool collection and optimizing space utilization. This ensures that the truck tool box remains an organized and efficient workspace for the long term.
Read more: How To Attach Tool Box To Truck
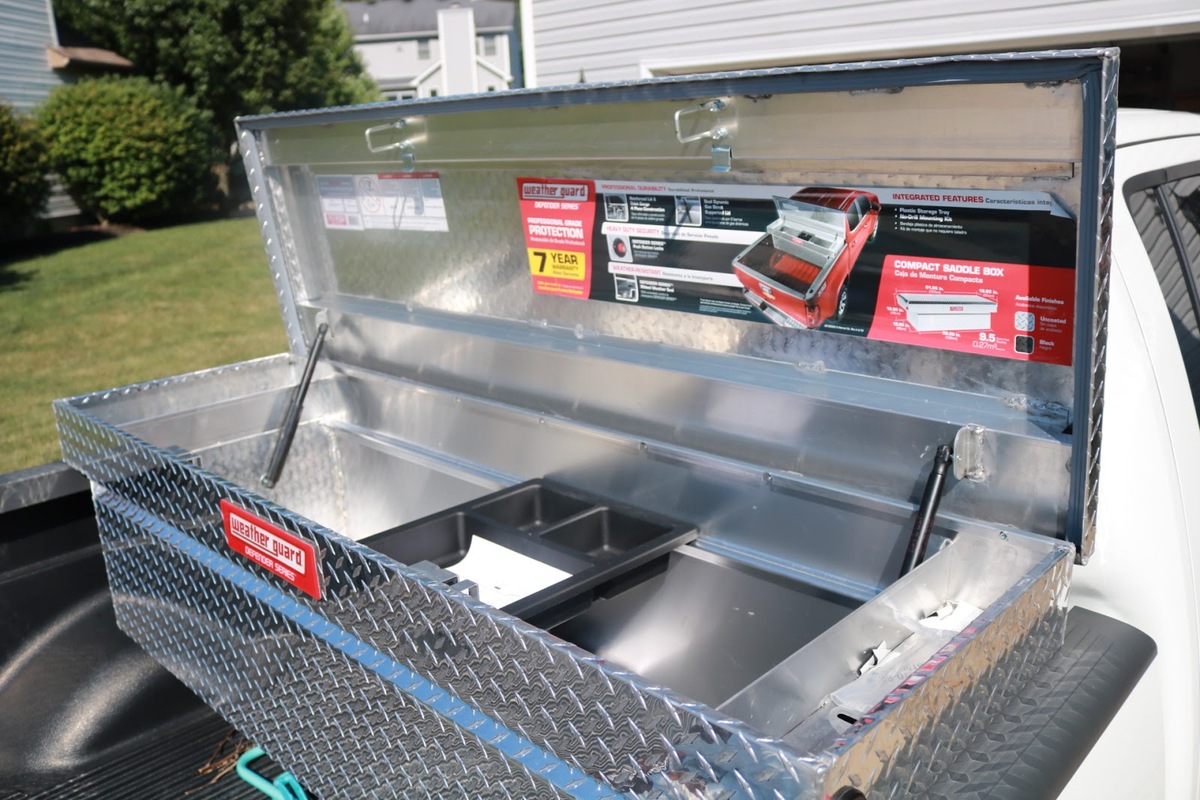
Step 1: Emptying the Truck Tool Box
The first step in organizing your truck tool box is to empty it completely. Remove all the tools, equipment, and items that are currently stored inside. This will allow you to start with a blank canvas and evaluate each item individually.
As you remove the tools, take the opportunity to inspect them for any signs of damage or wear. Set aside any tools that need repairs or replacements. This will ensure that you only put back functional and safe tools into your truck tool box.
In addition to tools, you may also find other items in your tool box such as loose screws, nails, or small parts. Separate these items and either discard them if they are no longer useful or store them in separate containers for later use.
Once the truck tool box is empty, take the time to clean the interior thoroughly. Use a vacuum cleaner or a brush to remove any dirt, debris, or dust. Wipe down the surfaces with a damp cloth to ensure a clean and fresh working environment.
Emptying the tool box not only allows you to assess each item, but it also gives you a better understanding of the available space and how it can be optimized for efficient organization. With a clean and empty tool box, you are ready to move on to the next step.
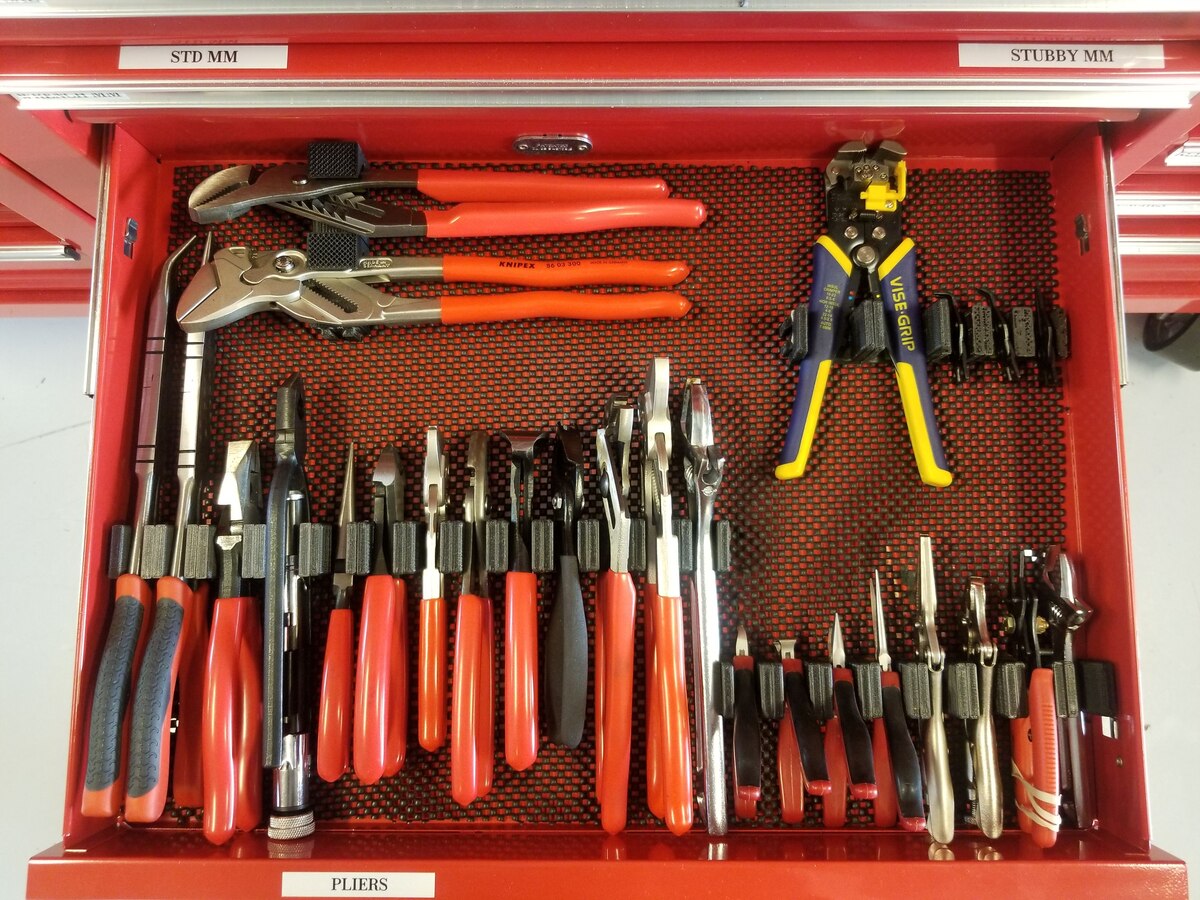
Step 2: Sorting and Grouping Tools
Once you have emptied and cleaned your truck tool box, it’s time to start sorting and grouping your tools. This step is crucial as it helps you identify and categorize your tools based on their function and size.
Begin by gathering all your tools and laying them out in a well-lit area where you have enough space to sort through them. As you go through each tool, consider its purpose and how often you use it. Sort the tools into different piles or categories such as screwdrivers, wrenches, pliers, and so on.
Next, further refine your sorting by considering the size of each tool. Group together smaller tools like screwdrivers and precision instruments, and place larger tools like hammers and saws in a separate group. This will help you determine the best storage solutions for each group of tools.
As you sort and group your tools, it’s also helpful to take note of any duplicates or tools that you no longer use. Consider donating or selling these extra tools to clear up space in your tool box.
Once your tools are sorted and grouped, you can assess how much space each group occupies and start visualizing their placement in the tool box. This step sets the foundation for effective organization and ensures that you can easily access the tools you need when you need them.
In the next step, we will explore the different storage solutions available to efficiently arrange your tools in the truck tool box. So let’s move on to Step 3!
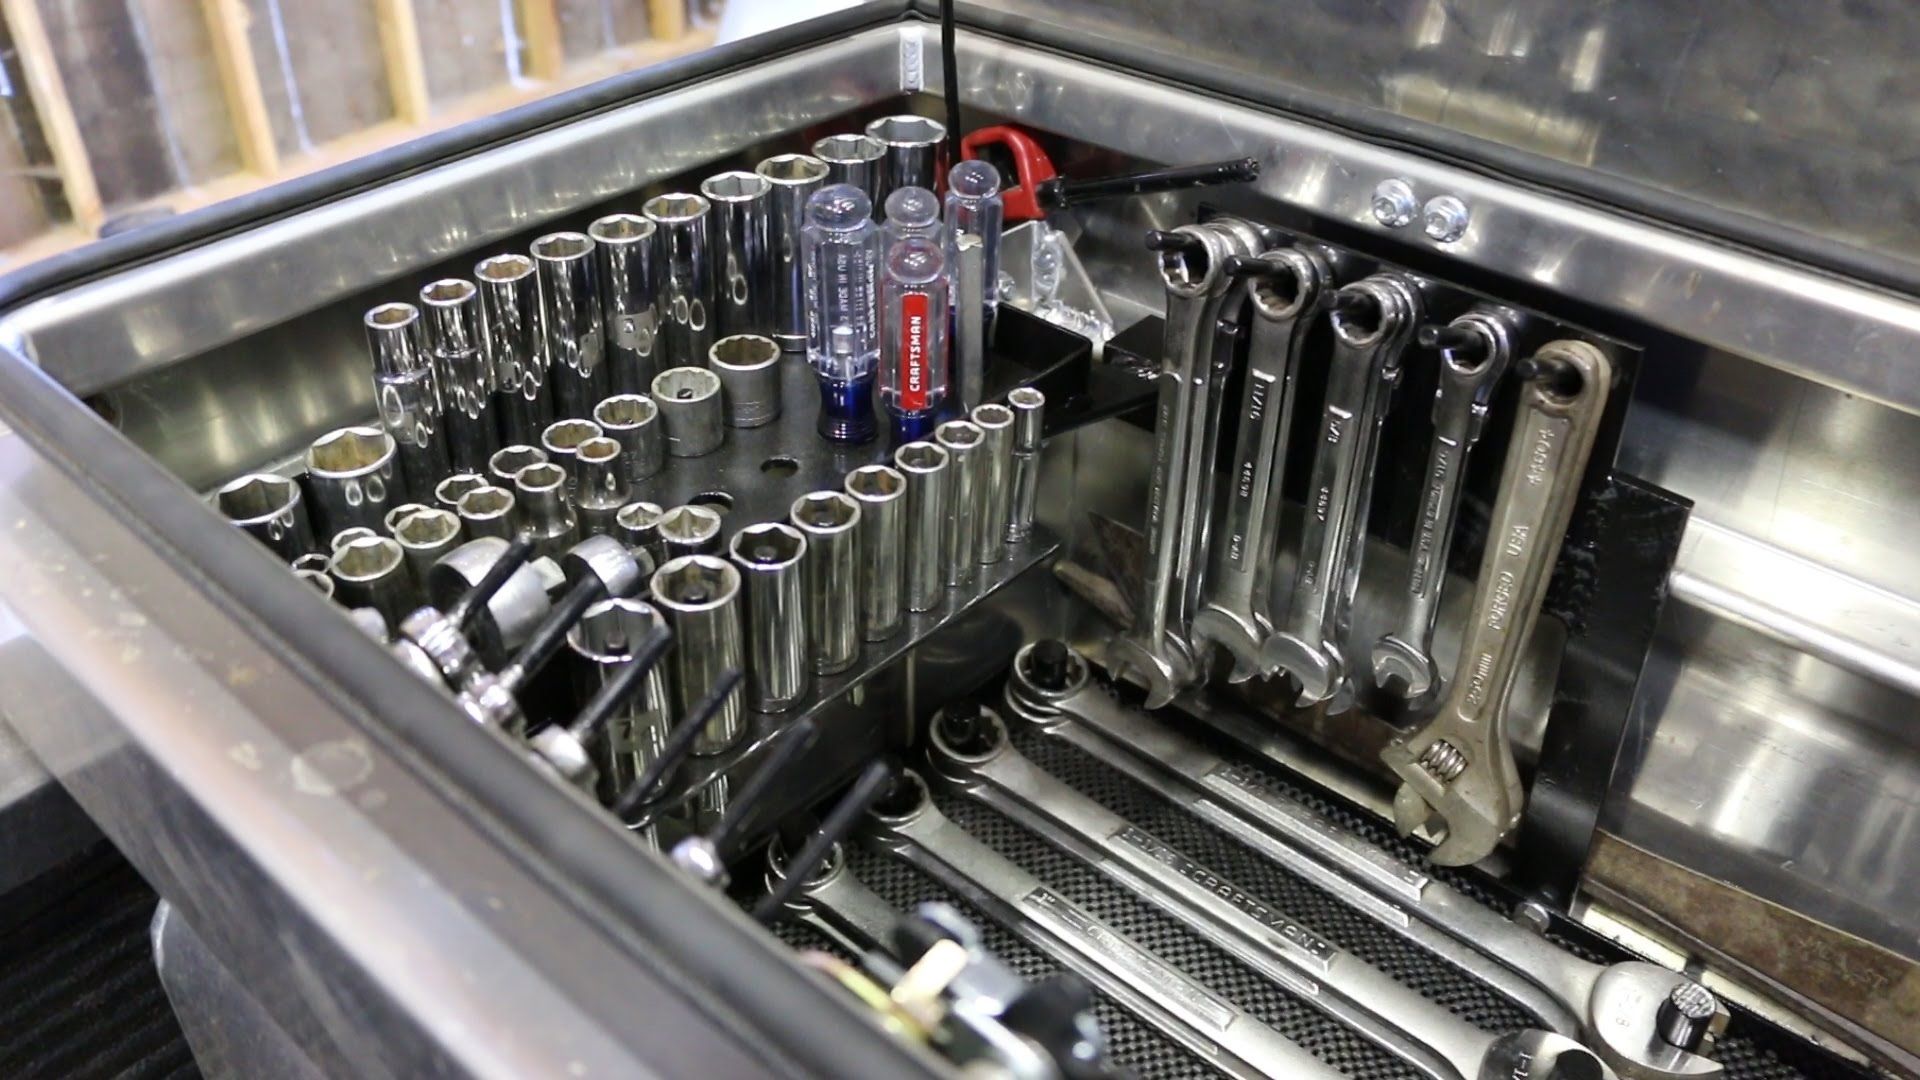
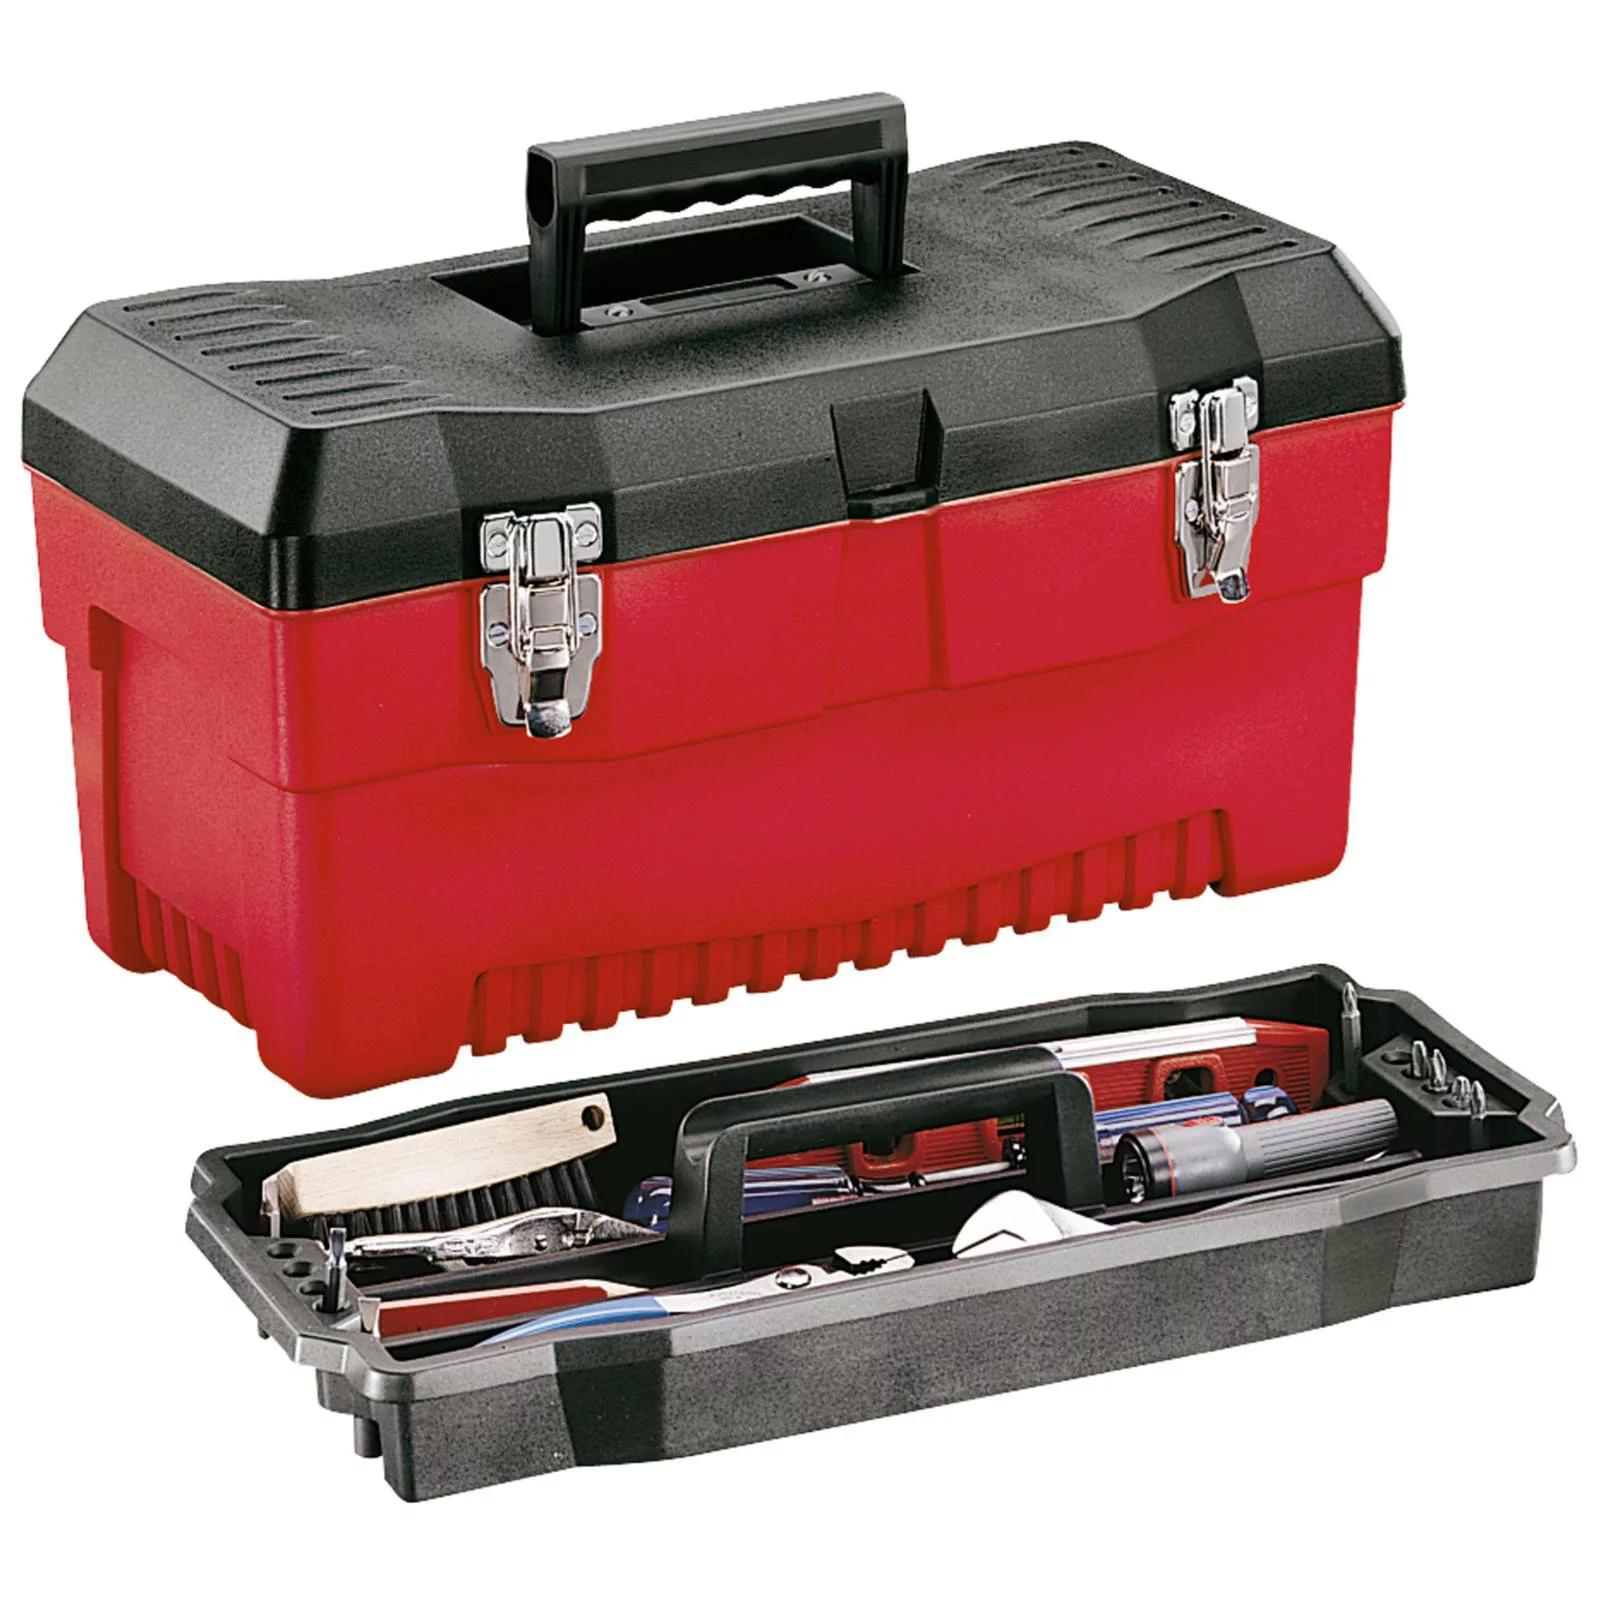
Step 3: Selecting the Right Storage Solutions
Now that you have sorted and grouped your tools, it’s time to select the right storage solutions to keep them organized inside your truck tool box. The goal is to find storage options that maximize space utilization while providing easy access to your tools.
There are various storage solutions available, depending on the size and type of tools you have. Here are a few commonly used options:
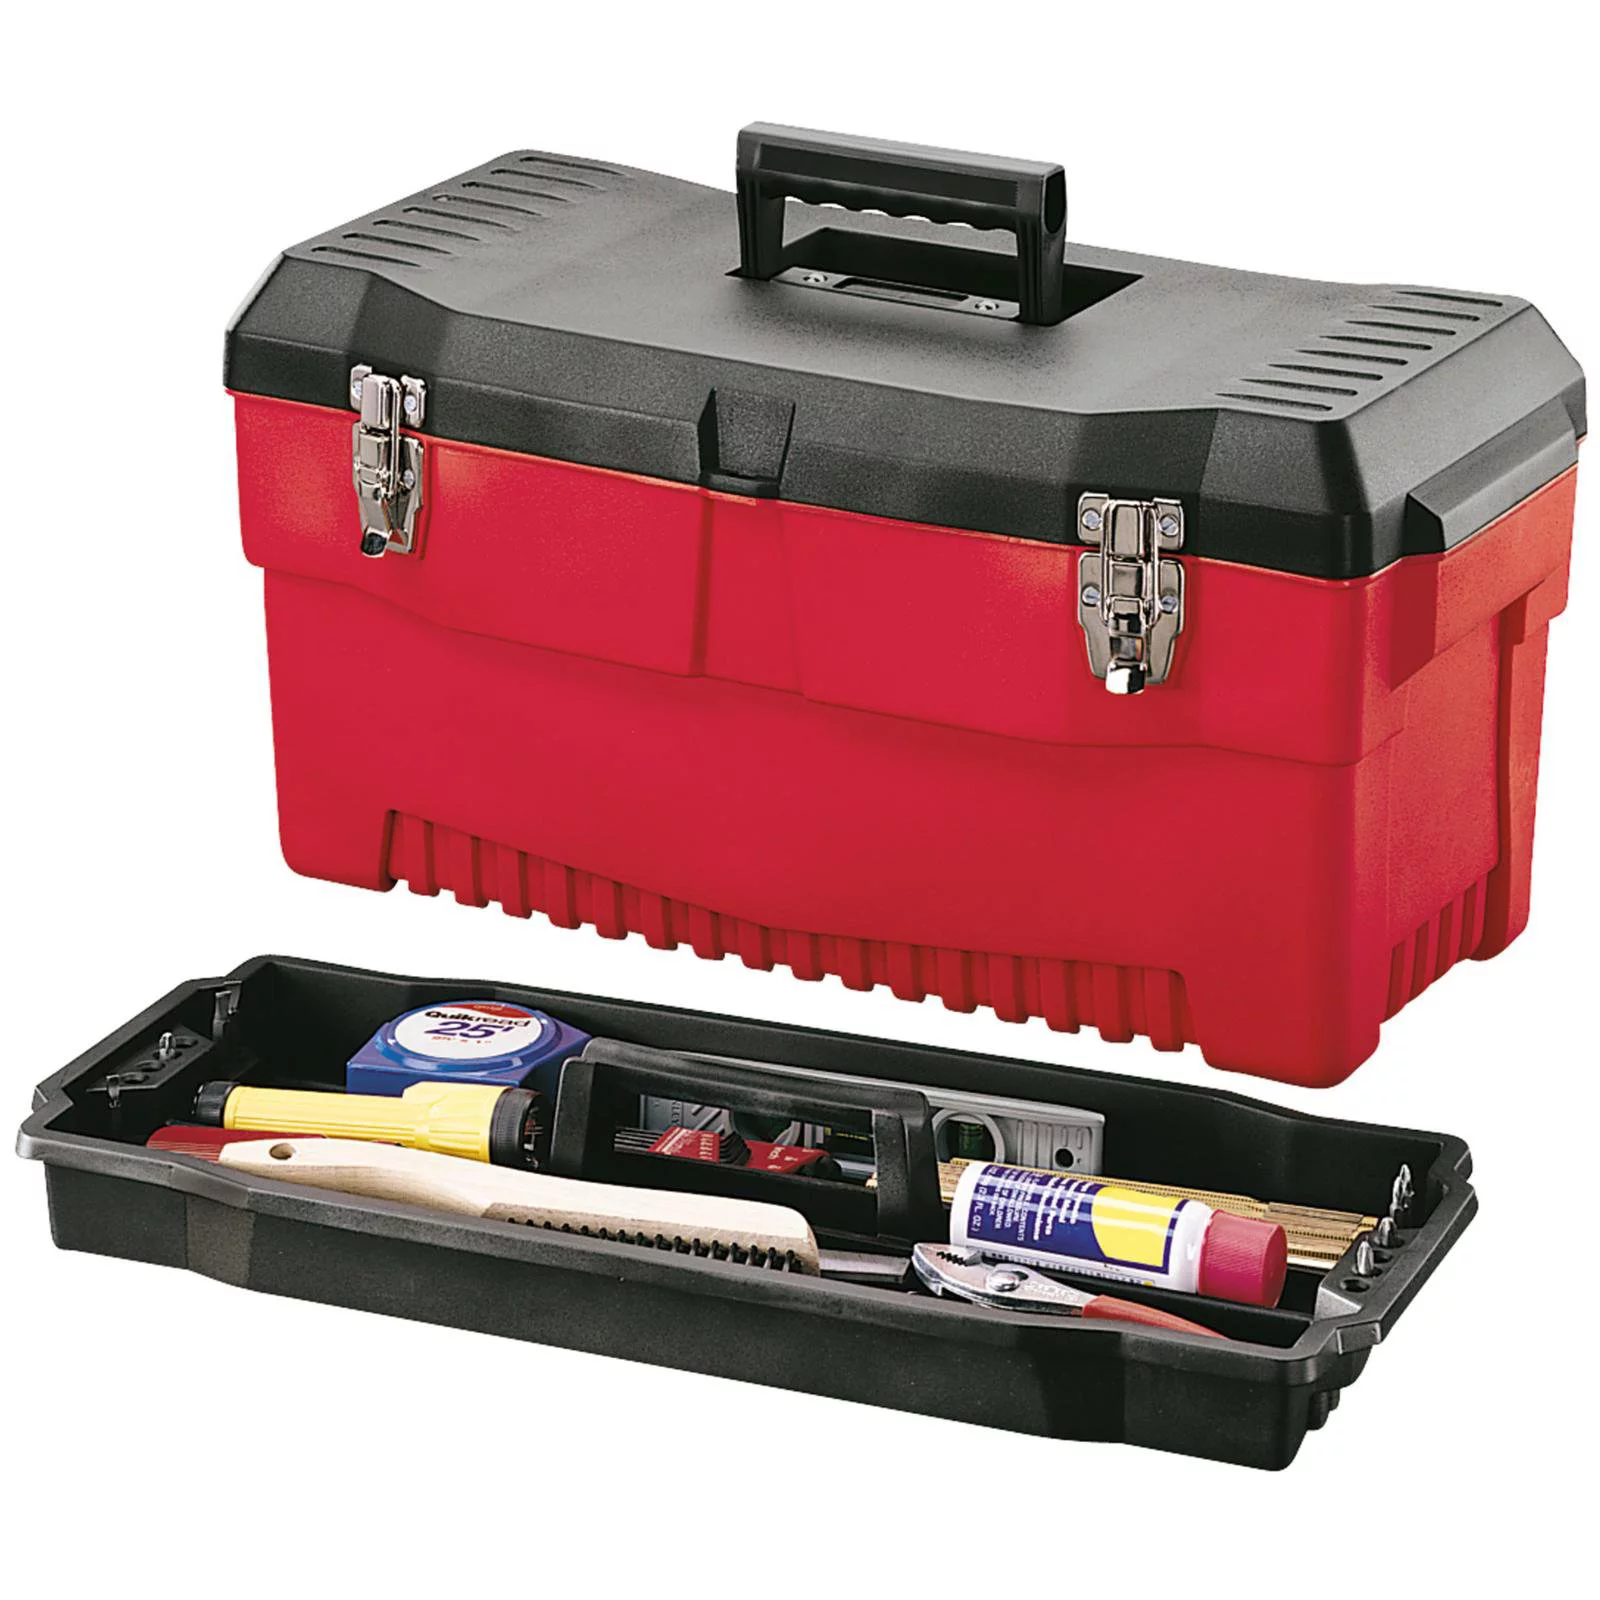
- Tool Trays: Tool trays are versatile and fit well in most tool boxes. They come in different sizes and have compartments or slots to hold specific tools. The trays can be stacked or arranged side by side to make the best use of space.
- Tool Foam: Tool foam is a customizable option that allows you to create cutouts for each tool. By tracing the outline of each tool onto the foam and cutting it out, you can create a snug and secure fit for each tool. Tool foam is especially useful for delicate or precision tools.
- Pegboards and Hooks: If you have larger or heavier tools, consider using a pegboard with hooks. This allows you to hang your tools on the board, keeping them easily accessible and visible. Pegboards can be mounted on the inside of the tool box or on the walls of your truck.
- Tool Bags and Pouches: For smaller tools or tools that are frequently used together, tool bags and pouches can be a convenient option. These can be easily placed in your tool box and offer portability when you need to carry specific tools to different locations.
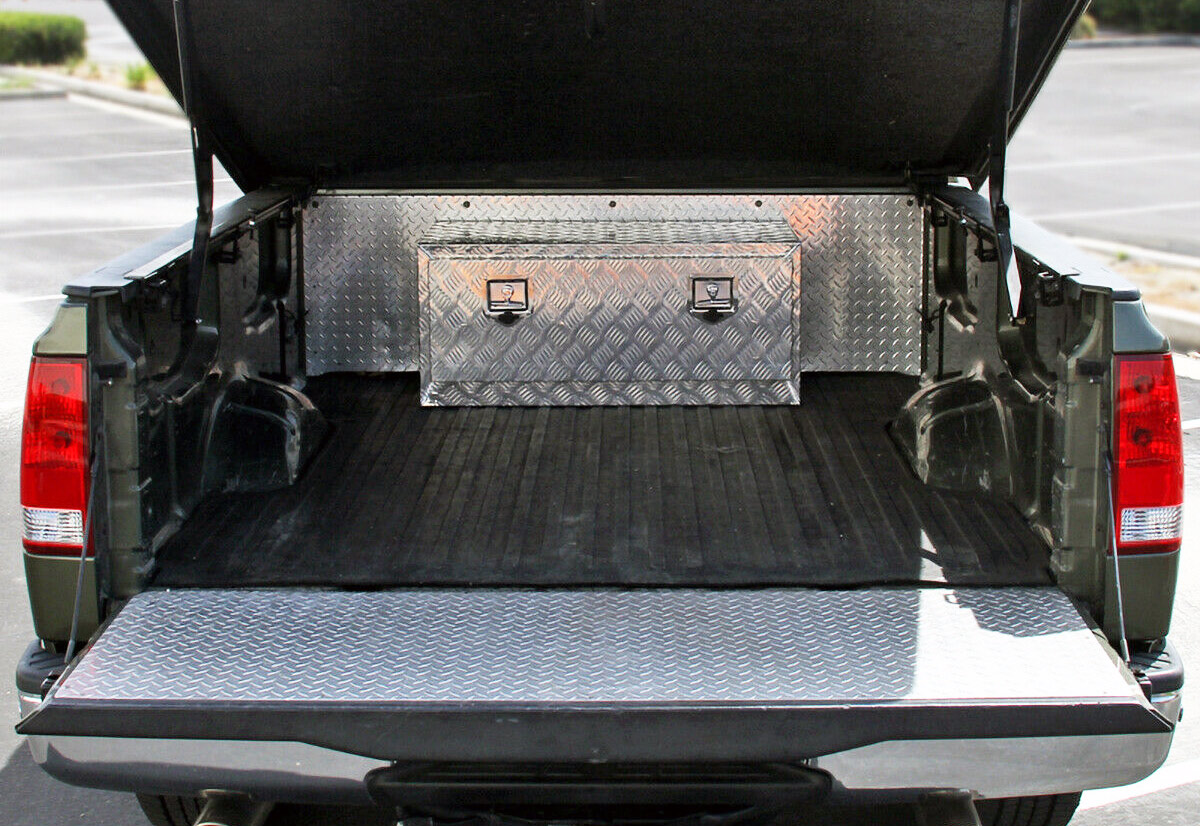
- Dividers and Compartments: Many tool boxes come with built-in dividers or compartments. These can be adjusted or removed to create custom-sized compartments to accommodate your tools.
When selecting storage solutions, consider the size and shape of your tools, as well as the available space in your truck tool box. Optimize the layout by using a combination of different storage options to maximize efficiency and ensure that each tool has its designated spot.
In the next step, we will delve into arranging the tools in the truck tool box. So let’s move on to Step 4!
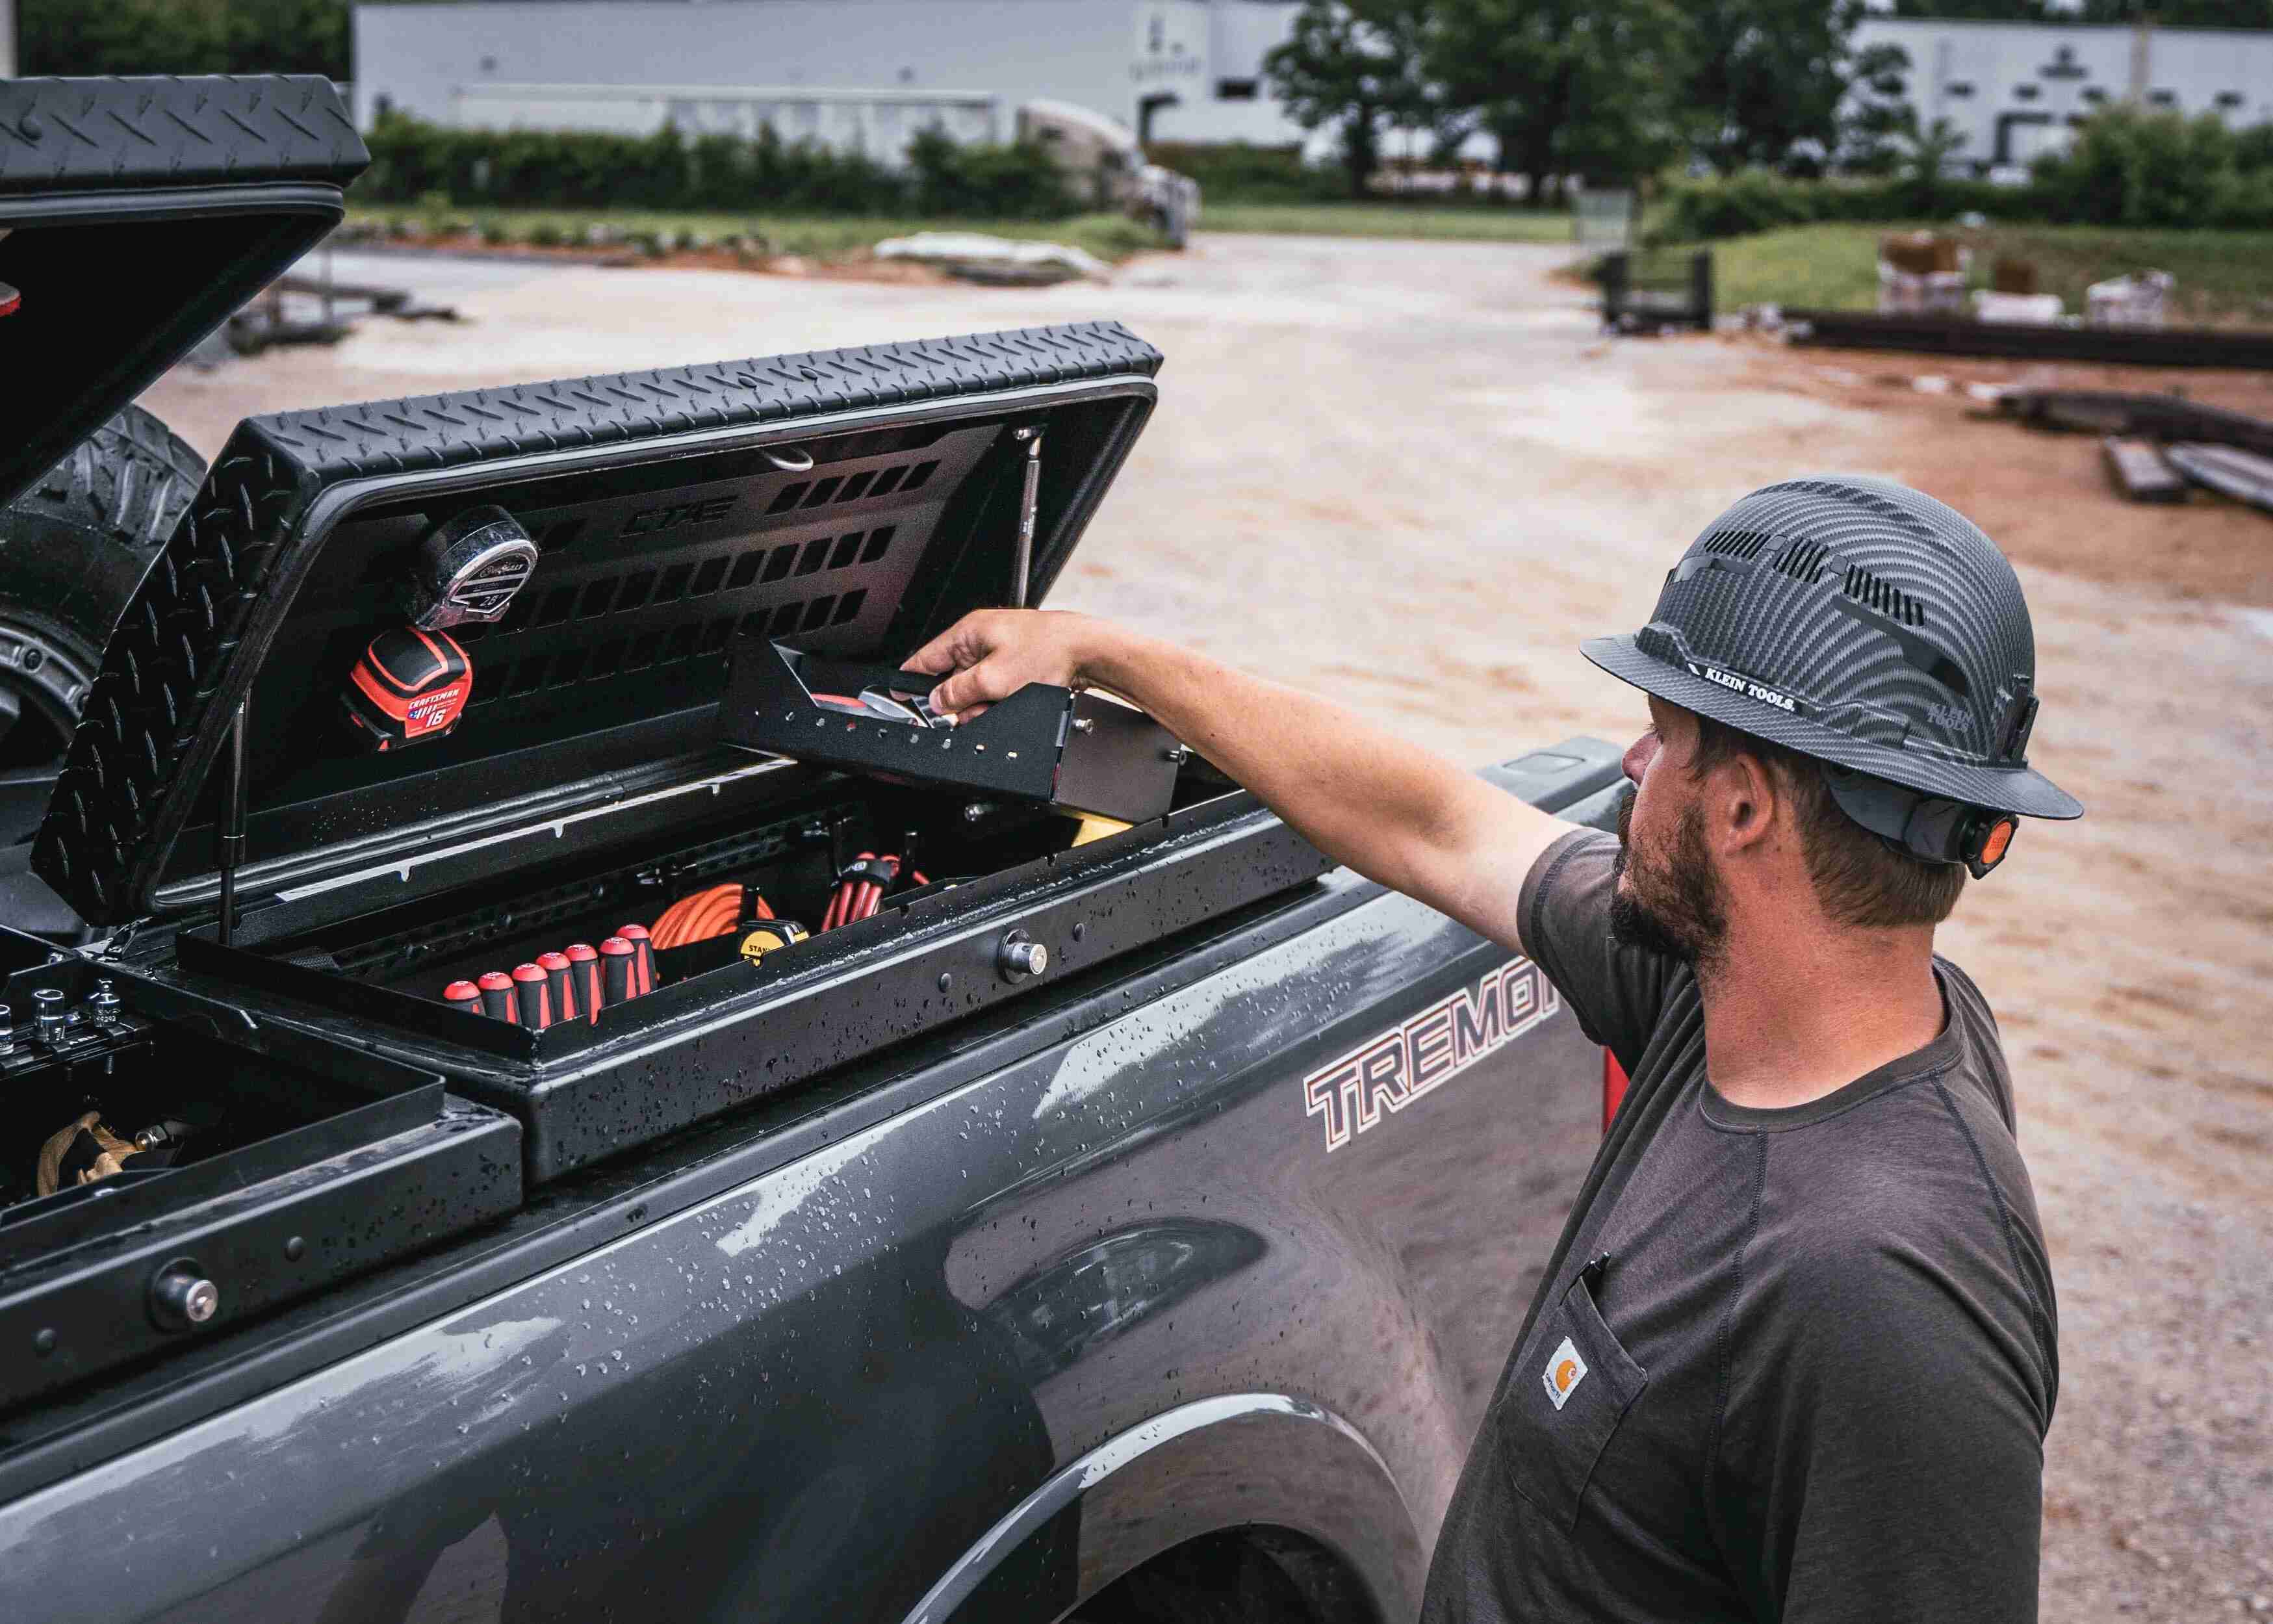
Step 4: Arranging Tools in the Truck Tool Box
With the right storage solutions selected, it’s time to start arranging your tools in the truck tool box. The key is to create a layout that allows for easy access to your tools while making the most efficient use of space.
Start by placing the larger or heavier tools at the bottom of the tool box. This provides a stable foundation and prevents them from shifting around during transportation. Use dividers or compartments to keep them organized and prevent them from damaging each other.
Next, arrange the tool trays or foam inserts for your smaller tools. Place them in a way that maximizes space efficiency and allows you to see and access each tool easily. Consider placing frequently used tools towards the top or front of the tool box for quick and convenient access.
If you are using a pegboard, hang your larger tools on the hooks. Ensure that they are secure and won’t move or fall during transportation. Place the pegboard on a side wall of the tool box for easy visibility and reach.
As you arrange your tools, be mindful of keeping similar tools or tools used for specific tasks together. This makes it easier to locate them when needed. For example, keep all your screwdrivers in one section and all your wrenches in another.
Take advantage of any additional compartments or storage areas inside the tool box to store smaller items such as screws, nuts, or drill bits. Use small containers or bags to keep them organized and prevent them from getting lost or mixed up with the tools.
Remember to leave space for any additional tools or equipment that may be added to your tool box in the future. It’s always better to have some extra room rather than overcrowding the tool box and making it difficult to find or remove tools.
Once you have completed arranging your tools, take a moment to step back and assess the layout. Ensure that everything is securely in place and that there is minimal movement when the tool box is closed and during transportation.
In the next step, we will explore how to maximize space and accessibility in the truck tool box. So let’s move on to Step 5!
Use dividers or trays to separate different types of tools and keep them organized. Label each section to easily find what you need.
Read more: How To Secure Truck Tool Box
Step 5: Maximizing Space and Accessibility
Once you have arranged your tools in the truck tool box, it’s important to maximize the available space and ensure easy accessibility. This step will help you make the most efficient use of the tool box, allowing you to quickly locate and retrieve the tools you need.
Here are some tips to maximize space and improve accessibility:
- Utilize vertical space: Make use of the vertical space inside your tool box by adding shelves or utilizing the top area. This can be done by attaching small containers or boxes to the top of the tool box lid or installing shelves within the box itself.
- Consolidate small items: Use small containers or storage solutions to consolidate small items like screws, bolts, or drill bits. This helps to prevent them from taking up unnecessary space and makes them easier to find.
- Label everything: Labeling your tools and storage compartments makes it easier to locate items quickly. Use labels or markers to identify the contents of each section, making it easier to grab the right tool without searching for it.
- Consider tool rotation: If you have a large collection of tools and limited space in your truck tool box, consider rotating the tools based on your current projects or needs. Store less frequently used tools in a secondary storage location and swap them out as needed.
- Secure loose items: Use bungee cords or straps to secure loose items like power tools or larger equipment to prevent them from shifting during transportation. This helps to maintain the organization and prevent potential damage to your tools.
- Keep frequently used tools easily accessible: Arrange frequently used tools in a way that allows you to grab them without having to move or remove other tools. This saves time and prevents the frustration of disorganizing the entire tool box to reach a single tool.
By maximizing space and improving accessibility, you can create an efficient and functional tool box that saves you time and effort on the job.
In the next step, we will learn how to secure your tools inside the truck tool box to prevent damage or loss. So let’s move on to Step 6!
Step 6: Securing Tools in the Truck Tool Box
To ensure the safety of your tools and prevent damage or loss during transportation, it’s important to secure them inside the truck tool box. Properly securing your tools will give you peace of mind and protect your investment.
Here are some tips for securing your tools:
- Use foam inserts or tool trays: If you’re using foam inserts or tool trays, make sure they fit snugly and securely inside the tool box. This will prevent tools from moving around and colliding with each other during transit.
- Use dividers or compartments: Dividers or compartments within the tool box can help keep tools separated and prevent them from sliding or shifting. Adjust the dividers as needed to create secure sections for your tools.
- Secure larger tools: Larger tools such as power drills or saws should be fastened or secured with straps or bungee cords to prevent them from moving or falling during transportation. You can attach hooks or loops within the tool box to secure these items.
- Consider using a toolbox liner: Adding a tool box liner can provide additional grip and cushioning for your tools. This helps to reduce movement and provides protection against scratches or damage.
- Check for loose items: Before closing the tool box, double-check for any loose items that may have shifted during transportation. Secure them properly to prevent damage or loss.
- Lock your tool box: If your truck tool box has a built-in lock or can be fitted with a padlock, make sure to lock it after securing your tools. This adds an extra layer of protection against theft and ensures that your tools stay safe.
By taking these measures to secure your tools, you can minimize the risk of damage or loss, allowing you to focus on your work with confidence.
In the final step, we will discuss the importance of regular maintenance and organization to keep your truck tool box in optimal condition. So let’s move on to Step 7!
Step 7: Maintenance and Regular Organization
Once you have organized your truck tool box, it’s important to maintain it to ensure its longevity and functionality. Regular maintenance and organization will help you keep your tools in good condition and prevent any issues from arising.
Here are some tips for maintaining and regularly organizing your truck tool box:
- Clean and inspect your tools: Regularly clean your tools to remove any dirt or debris that may accumulate. Inspect them for signs of wear or damage and address any issues promptly.
- Remove and replace damaged tools: If you come across any damaged or broken tools during your inspection, remove them from your tool box and replace them as needed. This will prevent further damage and maintain the overall organization of your tool box.
- Revisit and revise your organization: As your collection of tools grows or changes, periodically revisit your organization system. Adjust the layout and storage solutions to accommodate new tools or remove tools that are no longer needed.
- Regularly clean and declutter: Schedule regular cleaning sessions for your tool box to remove any dirt or dust that may accumulate. Take the opportunity to declutter by removing any unnecessary items and reorganizing as needed.
- Review and optimize space utilization: Over time, you may find that certain storage solutions or layouts can be improved for better space utilization. Assess your tool box periodically and make adjustments to make the most efficient use of space.
- Maintain a tool inventory: Keep a list or inventory of the tools in your truck tool box for easy reference. This will help you keep track of your tools and identify any missing items more quickly.
By regularly maintaining and organizing your truck tool box, you can ensure that your tools are always in top condition and readily accessible when you need them. It will save you time and effort in the long run.
With these seven steps, you now have the knowledge and guidance to efficiently organize your truck tool box. Remember to regularly assess and adjust your organization system as needed to meet your changing needs.
Now, get ready to enjoy the benefits of a well-organized truck tool box and streamlined workflow!
Are you ready to get started?
Conclusion
Organizing your truck tool box is a crucial step in maintaining a productive and efficient work environment on the go. By following the steps outlined in this article, you can transform your cluttered and disorganized tool box into a well-ordered and functional space.
From emptying the tool box and sorting your tools to selecting the right storage solutions and arranging your tools, each step plays a vital role in creating an organized system. Maximizing space and accessibility, securing your tools, and maintaining regular organization are essential to ensure the longevity and functionality of your tool box.
By taking the time to properly organize your truck tool box, you will experience the benefits of improved efficiency, time savings, and reduced frustration. You’ll no longer waste precious minutes searching for the right tool or risk damage to your valuable equipment.
Remember, organizing your truck tool box is not a one-time task. Regular maintenance, cleaning, and reassessment of your organization system are necessary to adapt to changes in your tool collection and optimize space utilization.
So, take the knowledge and tips provided in this article and apply them to transform your truck tool box into an organized and functional workspace. Enjoy the benefits of increased productivity, easy access to your tools, and a clutter-free environment that will enhance your work experience.
Now, it’s time to roll up your sleeves, get organized, and make your truck tool box a tool haven that elevates your work to new heights!
Frequently Asked Questions about How To Organize A Truck Tool Box
Was this page helpful?
At Storables.com, we guarantee accurate and reliable information. Our content, validated by Expert Board Contributors, is crafted following stringent Editorial Policies. We're committed to providing you with well-researched, expert-backed insights for all your informational needs.


0 thoughts on “How To Organize A Truck Tool Box”