Articles
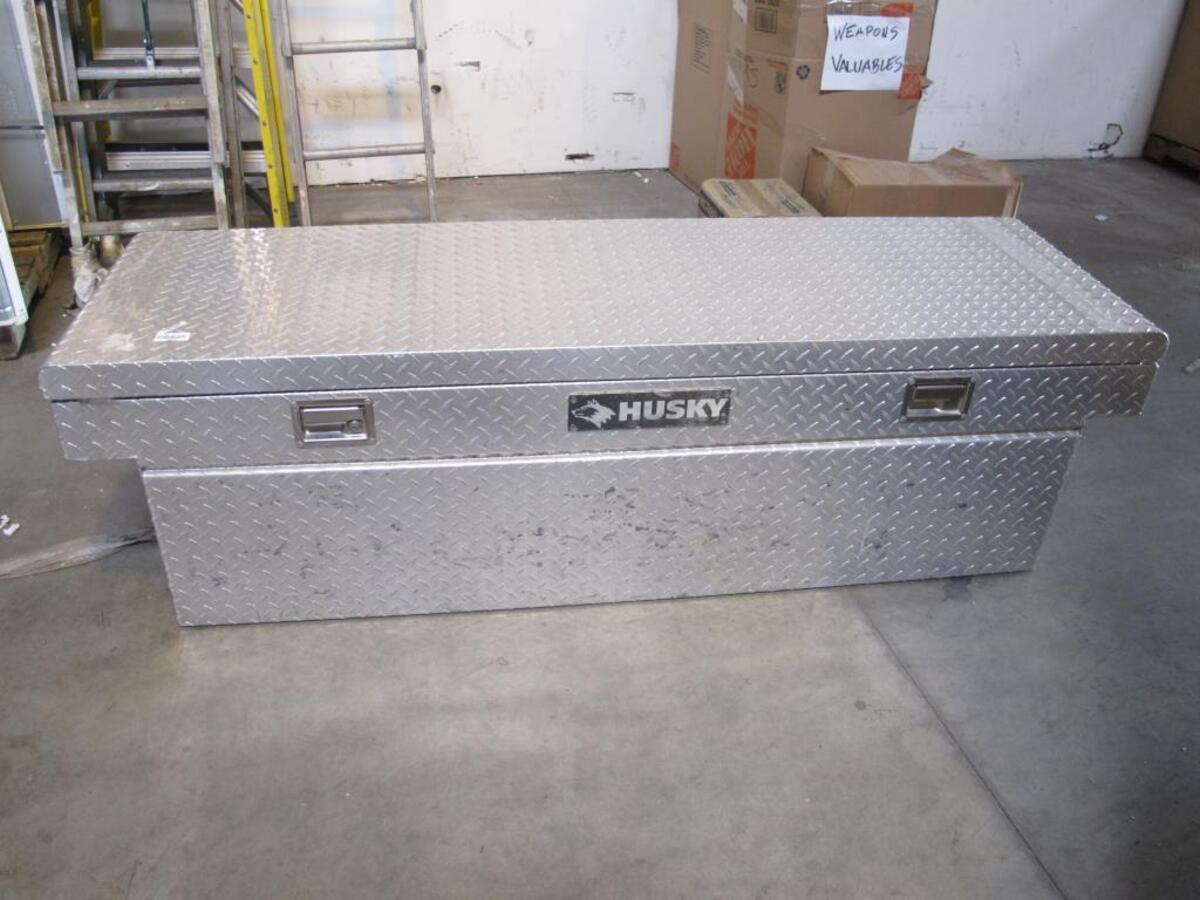
How To Open Husky Truck Tool Box
Modified: August 23, 2024
Learn how to open a Husky truck tool box easily with our informative articles. The step-by-step guides and tips will help you access your tools effortlessly.
(Many of the links in this article redirect to a specific reviewed product. Your purchase of these products through affiliate links helps to generate commission for Storables.com, at no extra cost. Learn more)
Introduction
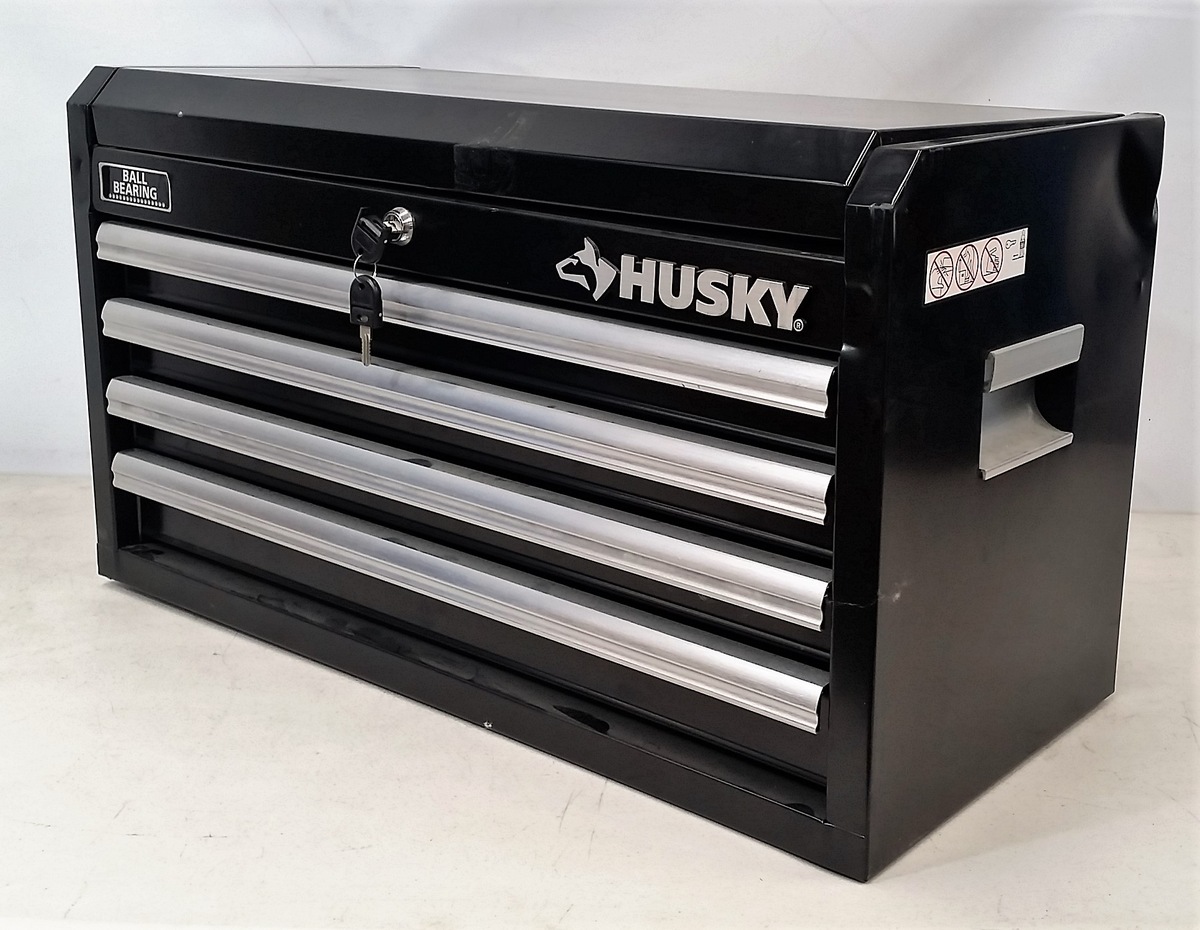
Welcome to our comprehensive guide on how to open a Husky truck tool box. The Husky truck tool box is a popular choice among truck owners for its durability, security, and storage capacity. However, there may be times when you find yourself locked out of your tool box, whether you’ve misplaced the key or forgotten the combination. Don’t worry – in this article, we will walk you through the step-by-step process on how to open your Husky truck tool box and regain access to your valuable tools and equipment.
Before we begin, it’s important to note that there are various models of Husky truck tool boxes, each with its own unique locking mechanism. Therefore, the specific steps provided here may vary depending on the model you own. However, the general principles and techniques discussed in this guide can be applied to most Husky truck tool boxes.
So, let’s get started! Whether you’re a seasoned handyman or a first-time truck owner, by following the instructions in this article, you’ll be able to open your Husky truck tool box and get back to work in no time.
Key Takeaways:
- Easily open your Husky truck tool box by gathering necessary tools, removing the lock cylinder, and unlocking the toolbox with the key. Follow the step-by-step process to access and reassemble your tools with confidence.
- Ensure the smooth operation of your Husky truck tool box by reassembling and testing the lock mechanism. Keep your tools secure and accessible for your next project.
Read more: How To Open A Truck Tool Box Without The Key
Step 1: Gather Necessary Tools and Equipment
Before you begin opening your Husky truck tool box, it’s important to gather all the necessary tools and equipment. Having everything ready will ensure a smooth and efficient process. Here’s a list of items you’ll need:
- A pair of gloves: Gloves will protect your hands and provide a better grip while handling the tool box.
- A flashlight: A flashlight will come in handy if you’re working in low light conditions, allowing you to see the lock and internal components clearly.
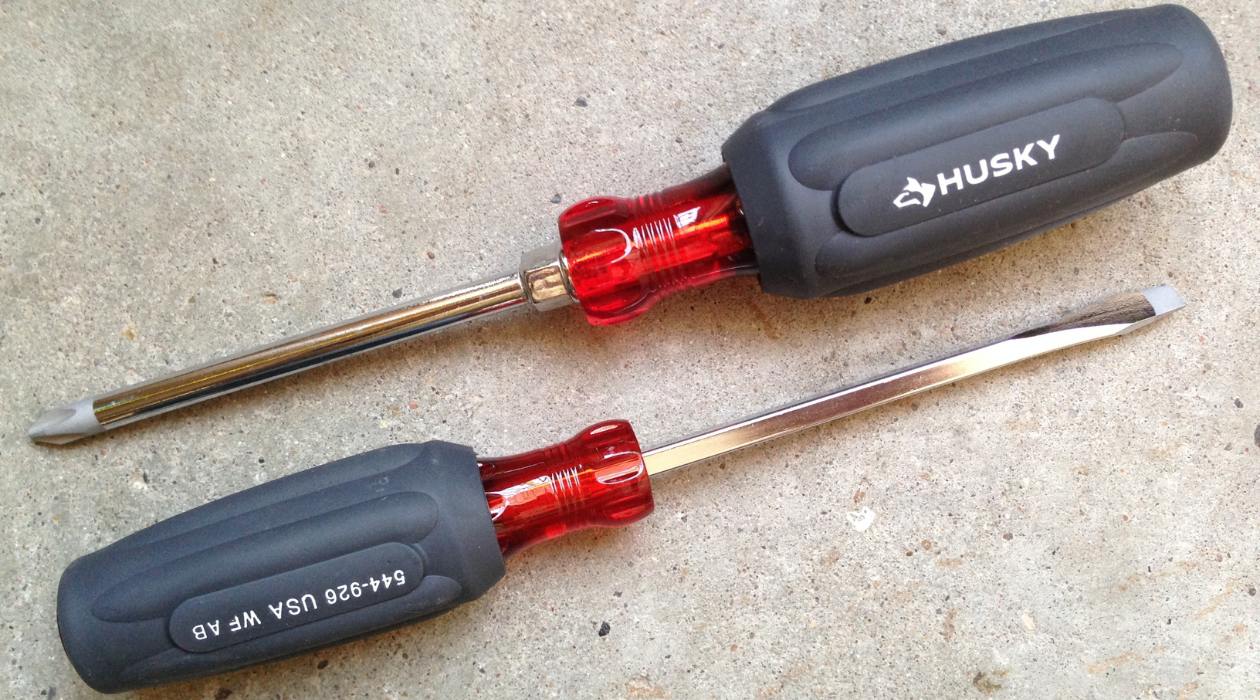
- A set of screwdrivers: Depending on the type of screws or bolts used in your Husky truck tool box, you’ll need a set of screwdrivers with various sizes and types, such as Phillips and flathead.
- A lubricant spray: If your lock mechanism is jammed or sticky, a lubricant spray can help loosen it up for easier opening.
- A replacement lock cylinder (optional): If you’ve lost your key and cannot unlock the tool box, you may need to replace the lock cylinder. Having a replacement cylinder ready will save you time and effort in case it’s necessary.
Once you have gathered all the required tools and equipment, you’re ready to proceed to the next step in opening your Husky truck tool box.
Step 2: Locate and Remove the Lock Cylinder
Now that you have gathered the necessary tools and equipment, it’s time to locate and remove the lock cylinder from your Husky truck tool box. The lock cylinder is the component that secures the lid of the tool box and prevents unauthorized access. Here’s how you can remove it:
- Inspect the lock: Examine the front of the lock cylinder and look for a small retaining screw or clip. This screw or clip holds the lock cylinder in place and needs to be removed before you can proceed.
- Remove the retaining screw or clip: Use the appropriate screwdriver or pliers to remove the retaining screw or clip. Be careful not to lose or damage the screw or clip, as you’ll need it for reassembly later on.
- Slide out the lock cylinder: Once the retaining screw or clip is removed, you should be able to slide out the lock cylinder from its housing. Gently grasp the cylinder and pull it straight outwards. Depending on the model of your Husky truck tool box, you may need to rotate the cylinder slightly to align it with the removal slot.
After following these steps, you should now have the lock cylinder removed from your Husky truck tool box. Keep the cylinder in a secure location to prevent misplacement. With the lock cylinder out of the way, you’re ready to move on to the next step in opening your tool box.
Step 3: Insert the Key and Unlock the Toolbox
Now that you have successfully removed the lock cylinder from your Husky truck tool box, it’s time to insert the key and unlock the toolbox. Here’s how you can do it:
- Retrieve the key: Locate the key that is designed to fit your particular Husky truck tool box model. The key should have a unique pattern or shape that corresponds to the lock mechanism.
- Insert the key: Take the key and insert it into the keyhole on the lock cylinder. Ensure that the key is fully inserted and aligned correctly with the cylinder.
- Turn the key: With a firm grip on the key, gently turn it in a clockwise or counterclockwise direction. Apply steady pressure and listen for a click or feel for a slight resistance as the lock mechanism disengages.
- Unlock the toolbox: Once the lock mechanism has been successfully disengaged, you should be able to unlock the toolbox by lifting the lid. Depending on the model of your Husky truck tool box, you may need to press a latch or handle to release the lid.
If the key doesn’t seem to turn or the lock mechanism remains locked, there may be an issue with the key itself or the internal components of the lock. In such cases, it’s recommended to seek professional locksmith assistance or contact the manufacturer for further guidance.
Once you have successfully unlocked the toolbox, you’re now ready to move on to the next step in opening your Husky truck tool box.
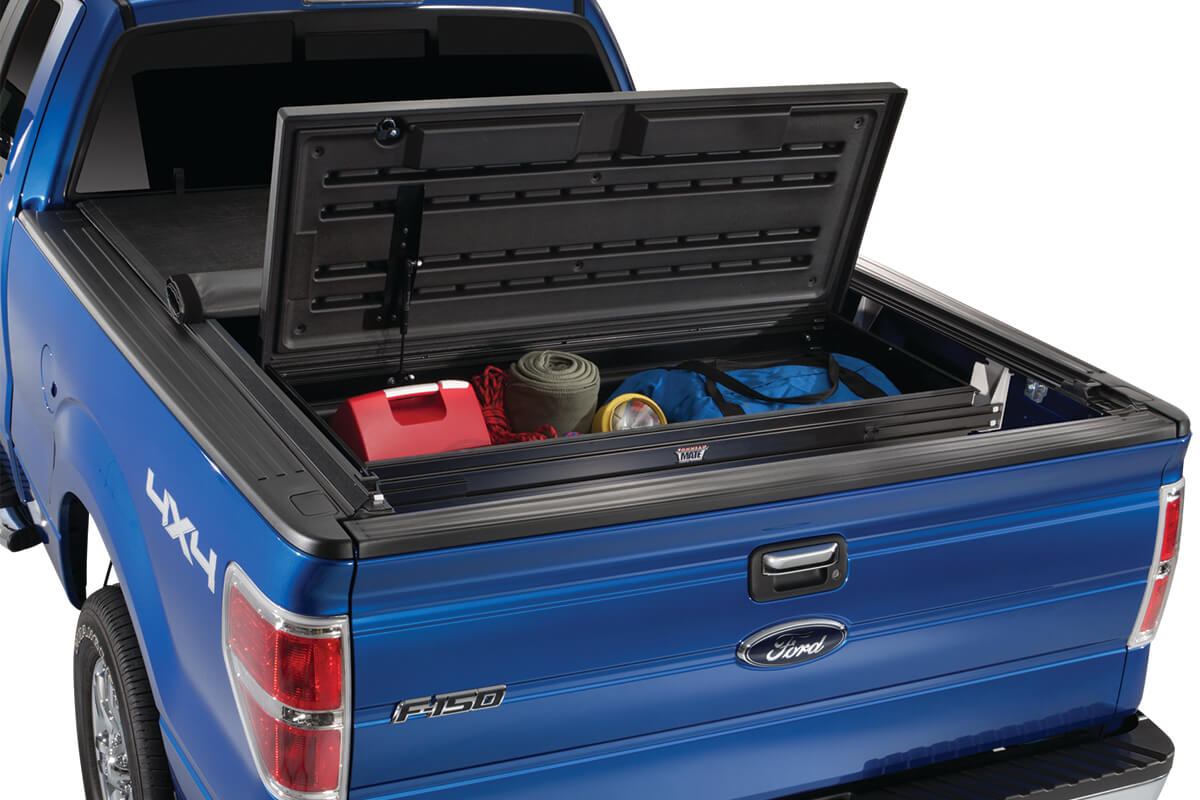
When opening a Husky truck tool box, make sure to unlock it using the provided key or combination. Then, lift the lid carefully to avoid any damage to the hinges or the box itself.
Step 4: Remove the Retaining Bolts or Screws
With the toolbox unlocked, it’s time to proceed to the next step of removing the retaining bolts or screws that hold the lid in place. Depending on the model of your Husky truck tool box, there may be different types of retaining mechanisms. Here’s how you can remove them:
- Inspect the lid: Examine the edges of the lid and locate the retaining bolts or screws. They are usually positioned along the sides or corners of the toolbox.
- Choose the right tool: Depending on the type of bolts or screws used, select the appropriate screwdriver or wrench. It’s important to use the right tool to ensure a secure fit and prevent damage to the fasteners.
- Remove the bolts or screws: Place the screwdriver or wrench onto the heads of the bolts or screws and turn counterclockwise to loosen them. Remove each bolt or screw one at a time until they are completely freed from the toolbox.
- Set aside the bolts or screws: As you remove each bolt or screw, set them aside in a safe place. It’s crucial to keep them organized and prevent misplacement to ease the reassembly process later on.
Once you have successfully removed all the retaining bolts or screws, you are ready to move on to the next step in opening your Husky truck tool box.
Read more: How To Organize A Truck Tool Box
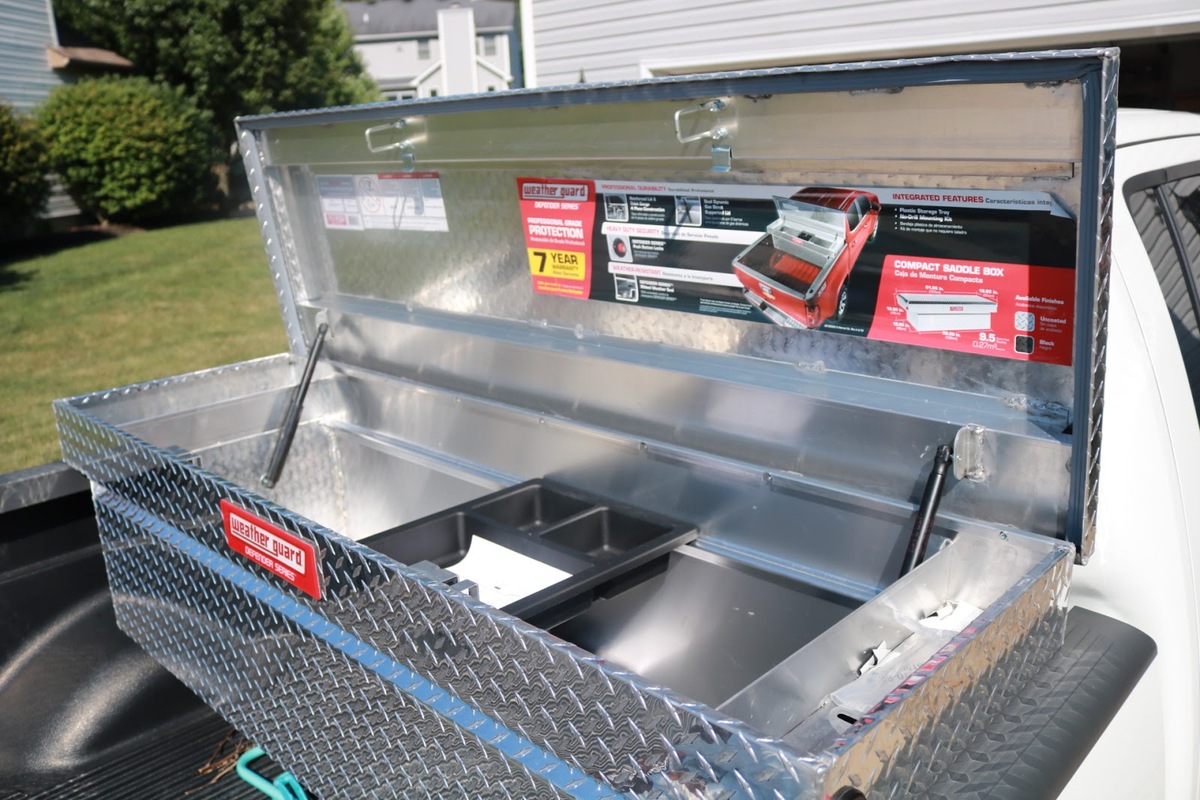
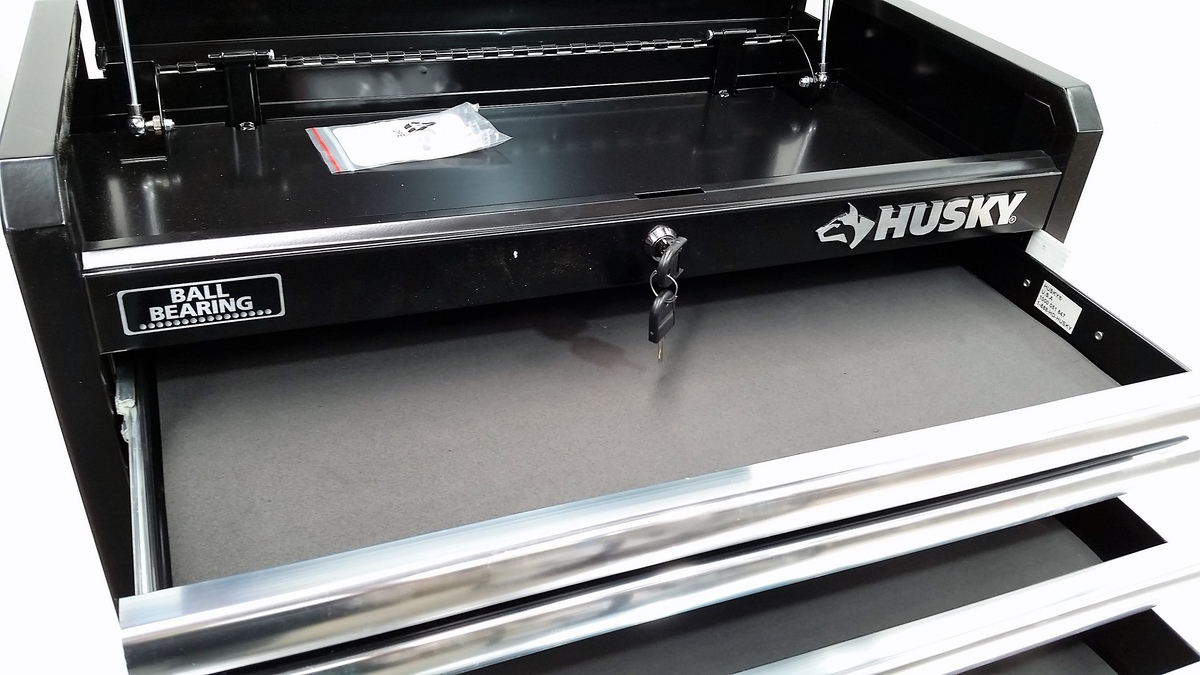
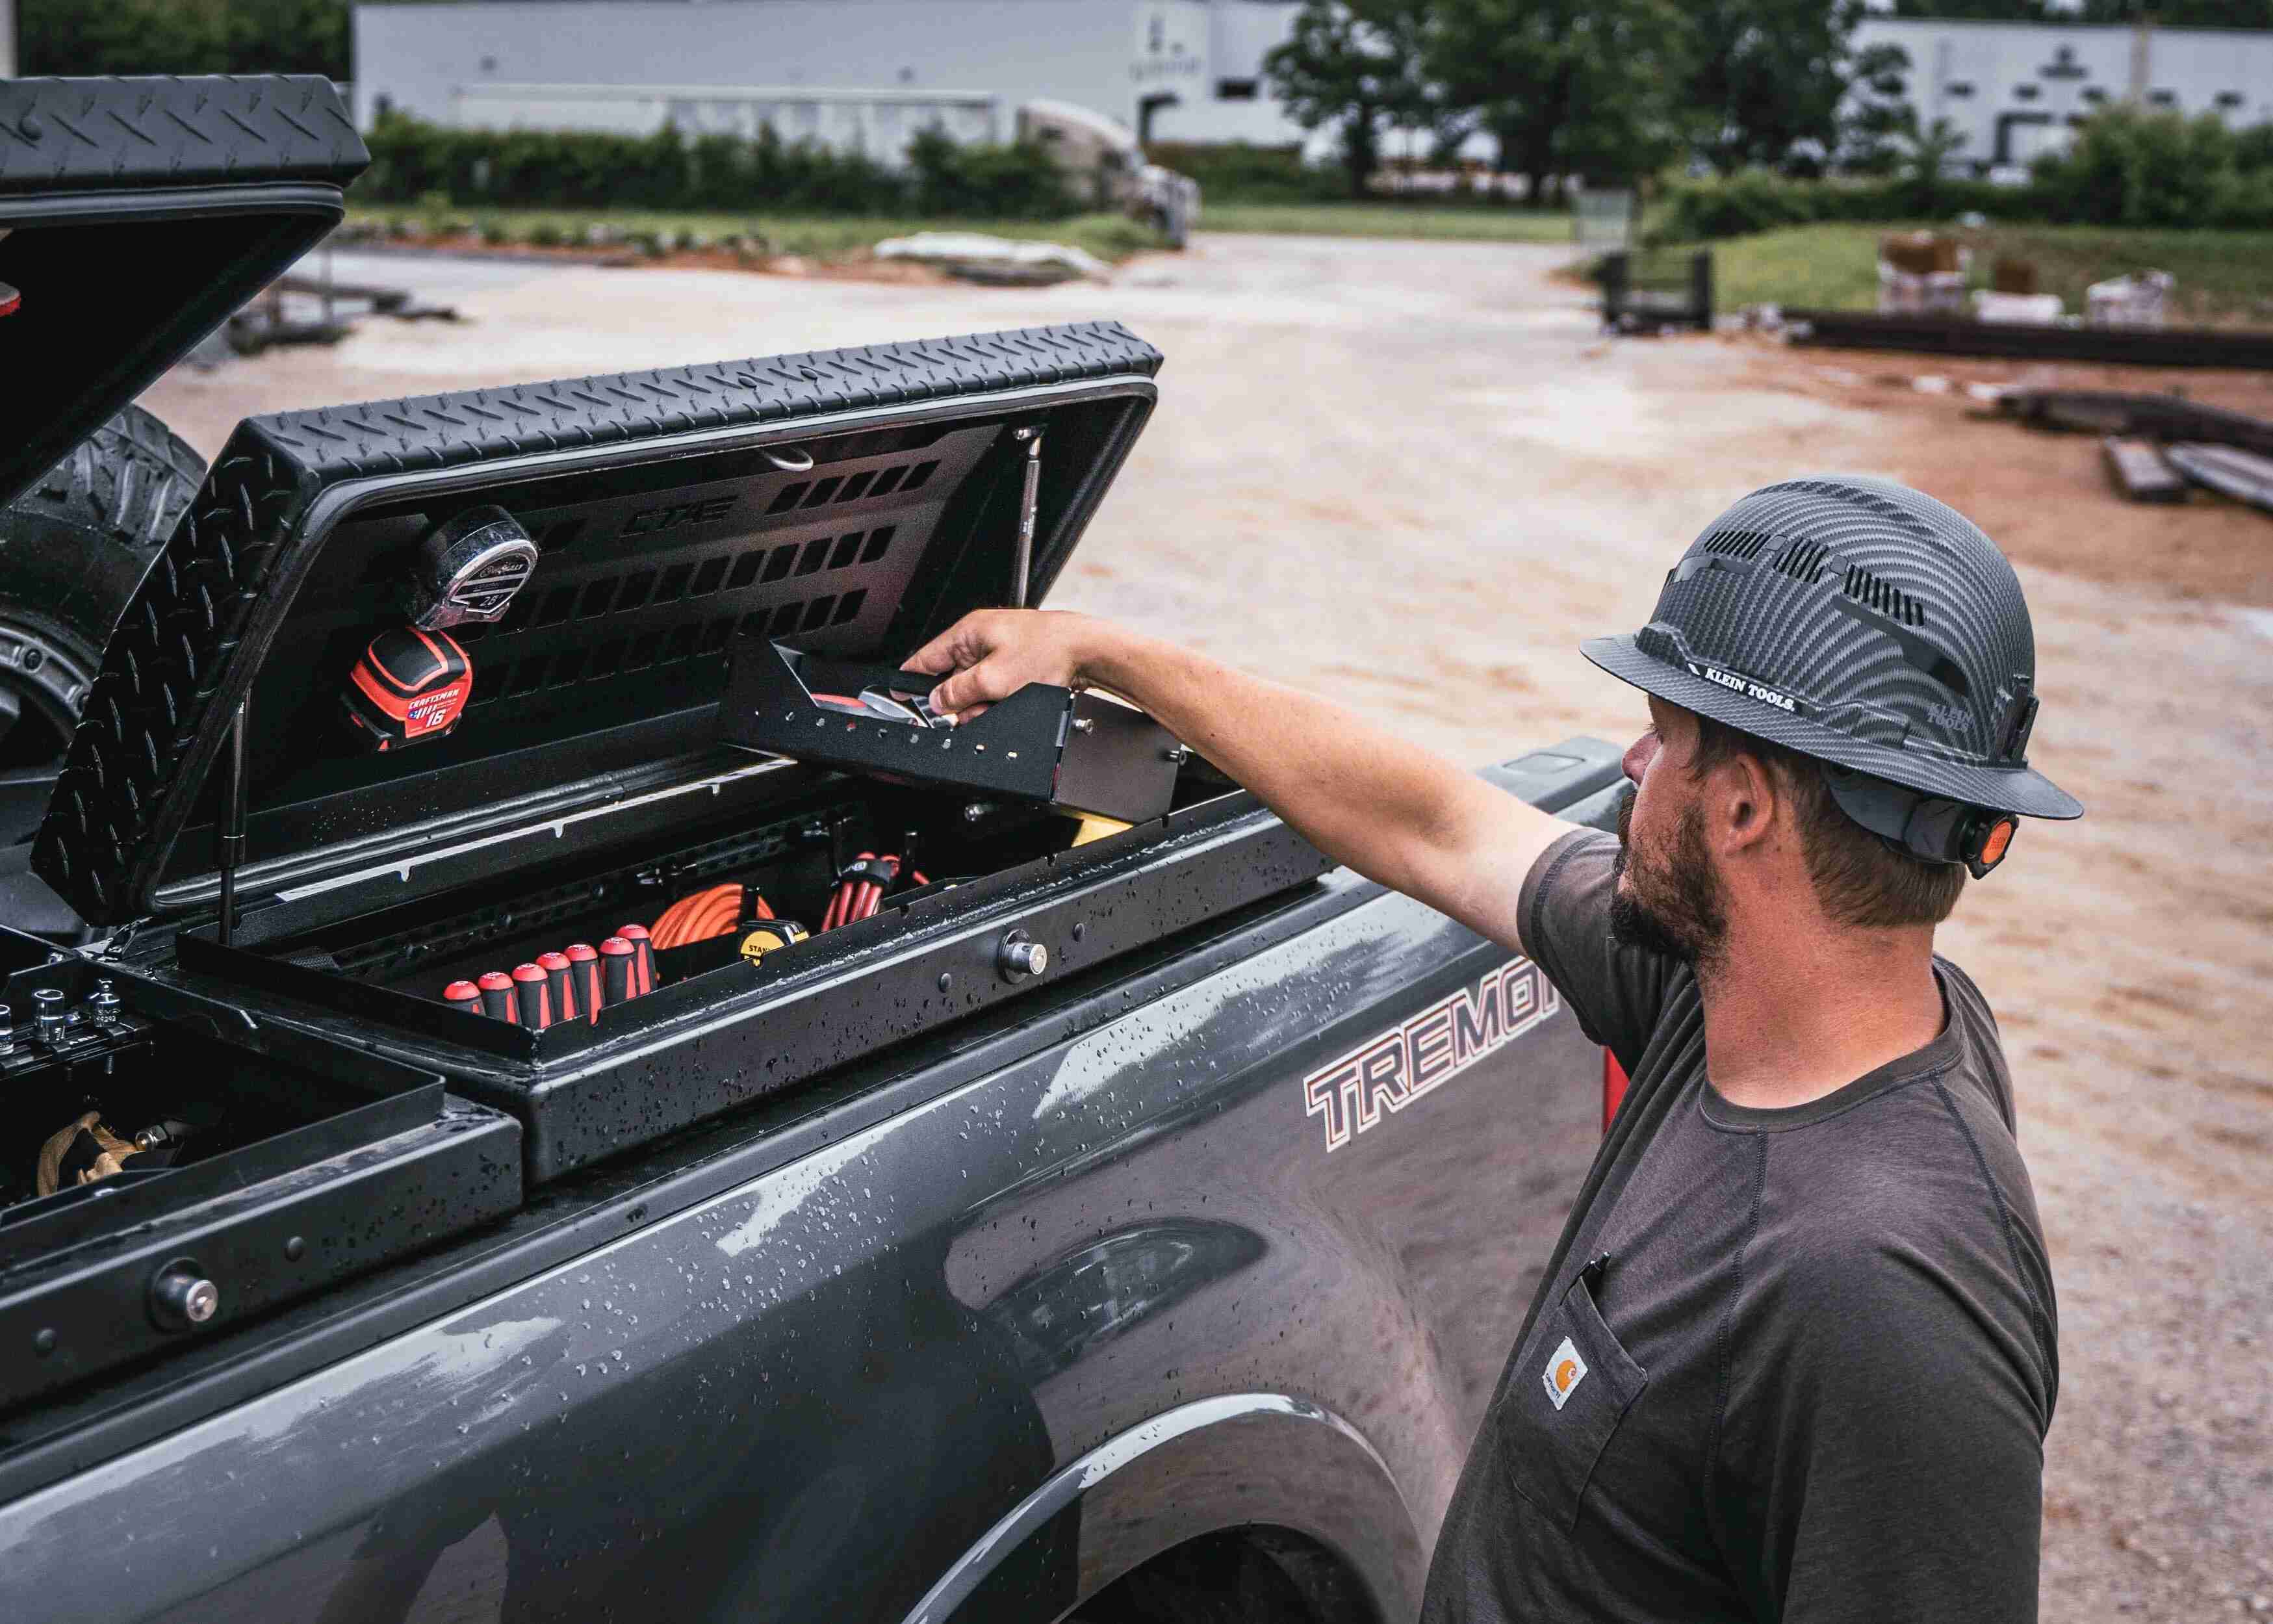
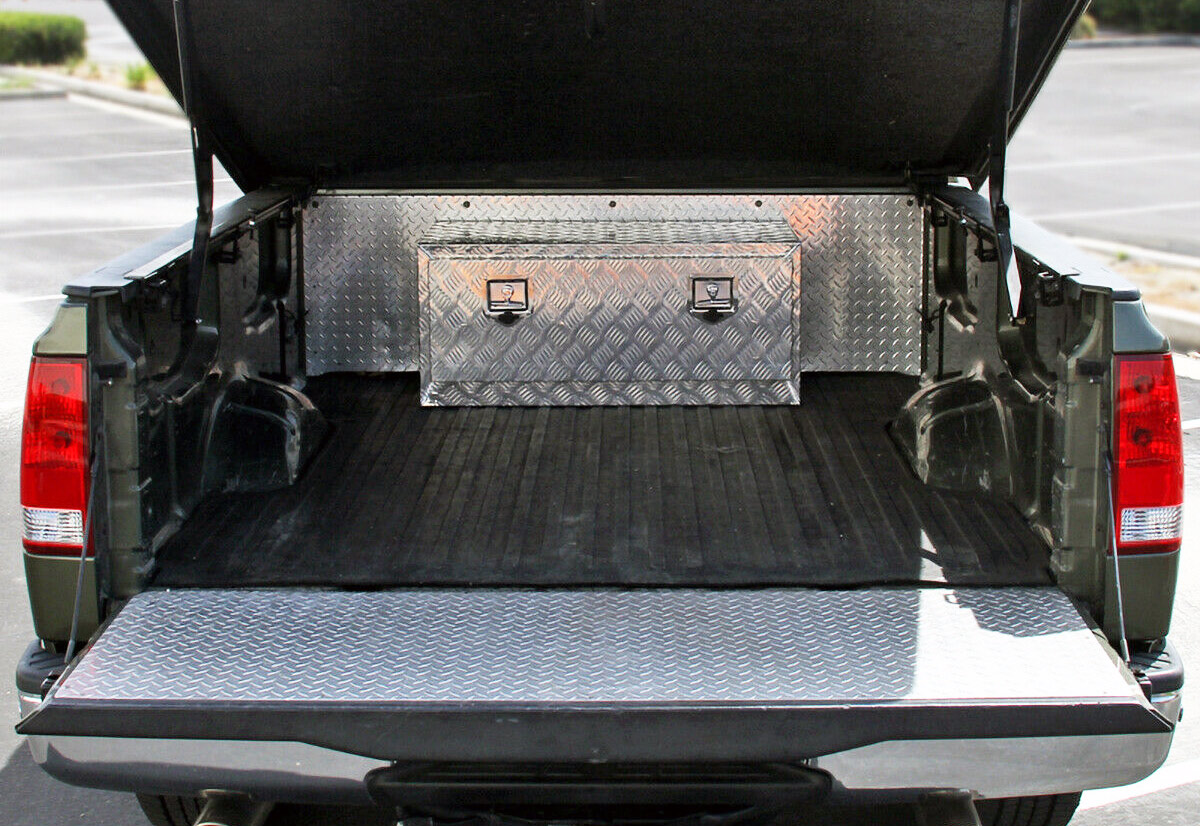
Step 5: Lift the Lid and Access the Inside of the Toolbox
Now that the retaining bolts or screws have been removed, it’s time to lift the lid and gain access to the inside of your Husky truck tool box. Follow these steps to open the lid:
- Position yourself correctly: Stand facing the front of the toolbox and position yourself in a way that allows you to have a firm grip on the lid.
- Grab the lid: Place your hands on the sides or designated handles of the lid. Ensure that you have a secure grip and your fingers are away from any potential pinch points.
- Lift the lid: Apply upward force to the lid while maintaining a controlled and steady lifting motion. Lift the lid until it is fully opened and in an upright position.
With the lid lifted, you now have access to the inside of your Husky truck tool box. Take a moment to inspect the interior and ensure that everything is in order. If you encounter any issues or abnormalities, such as damaged compartments or broken hinges, it may be necessary to address these before proceeding.
Now that you have successfully opened the lid and accessed the inside of the toolbox, you can retrieve or store your tools and equipment as needed.
Once you have finished working with your tools, close the lid securely and proceed to the next step to reassemble the toolbox.
Step 6: Reassemble the Toolbox and Test the Lock Mechanism
Now that you have accessed the inside of your Husky truck tool box and completed your work, it’s time to reassemble the toolbox and test the lock mechanism to ensure everything is functioning properly. Follow these steps to reassemble and test your toolbox:
- Place the lid back in position: Align the lid with the toolbox body and ensure that it sits flush and evenly. Take care not to pinch any cables or items inside the toolbox as you lower the lid.
- Secure the retaining bolts or screws: Retrieve the retaining bolts or screws that you set aside earlier. Insert each bolt or screw into its corresponding hole and tighten them using the appropriate screwdriver or wrench. Ensure that they are securely fastened but avoid overtightening to prevent damage.
- Test the lock mechanism: Insert the key into the lock cylinder and turn it to lock the toolbox. Then, unlock the toolbox by turning the key in the opposite direction. Pay attention to the smoothness of the lock mechanism and listen for any unusual sounds. The lock should engage and disengage easily without any hitches or obstructions.
- Check the lid’s alignment: Close and open the lid a few times to ensure that it aligns properly with the toolbox body and closes securely. Make any necessary adjustments to ensure a proper fit.
Once you have reassembled the toolbox and tested the lock mechanism, you can be confident that your Husky truck tool box is functioning as intended. Your tools and equipment will be stored securely, ready for your next project.
Remember to keep your key in a safe place and ensure that it is easily accessible whenever you need to open the toolbox. Regular maintenance and lubrication of the lock mechanism will also help ensure its smooth operation.
By following these steps, you have successfully opened, accessed, and reassembled your Husky truck tool box. Congratulations! You can now continue working with confidence, knowing that your tools are secure and easily accessible.
Conclusion
Opening a Husky truck tool box can be a straightforward process when you have the right knowledge and tools. In this comprehensive guide, we have walked you through the step-by-step instructions on how to open your Husky truck tool box. By following these steps, you can regain access to your valuable tools and equipment efficiently and securely.
Remember to gather all the necessary tools and equipment before starting, and take precautions such as wearing gloves and using a flashlight for better visibility. Locating and removing the lock cylinder is an essential step that allows you to proceed to insert the key and unlock the toolbox.
Removing the retaining bolts or screws is the next step, followed by lifting the lid and accessing the inside of the toolbox. Take your time to organize your tools and ensure everything is in order before moving on to reassembling the toolbox.
Lastly, reassemble the toolbox, secure the retaining bolts or screws, and test the lock mechanism. This final step ensures that everything is functioning properly and that your tools will be stored securely.
Now that you have successfully opened your Husky truck tool box, you can confidently tackle any project or repair knowing that your tools are accessible and protected. Remember to keep your key in a safe place and perform regular maintenance on the lock mechanism to ensure its longevity.
We hope this guide has been helpful in assisting you with opening your Husky truck tool box. If you encounter any difficulties or have further questions, it is always recommended to consult the manufacturer or seek professional assistance.
Thank you for reading, and best of luck with your future projects!
Now that you've mastered opening your Husky truck tool box, why not expand your knowledge and outfit your vehicle with the best gear available? If you're looking for optimal organization, check out our recommendations on top truck storage solutions. Those in need of robust yet stylish options might appreciate our curated list of Husky tool boxes. For maximizing space efficiency, our selection of truck bed tool boxes is perfect. Equip yourself with all the right tools and storage solutions to make work easier and more efficient.
Frequently Asked Questions about How To Open Husky Truck Tool Box
Was this page helpful?
At Storables.com, we guarantee accurate and reliable information. Our content, validated by Expert Board Contributors, is crafted following stringent Editorial Policies. We're committed to providing you with well-researched, expert-backed insights for all your informational needs.


0 thoughts on “How To Open Husky Truck Tool Box”