Articles
How To Get Drawers Out Of Snap On Tool Box
Modified: January 21, 2024
Learn how to easily remove drawers from your Snap On tool box with step-by-step instructions. Read our informative articles for helpful tips and tricks.
(Many of the links in this article redirect to a specific reviewed product. Your purchase of these products through affiliate links helps to generate commission for Storables.com, at no extra cost. Learn more)
Introduction
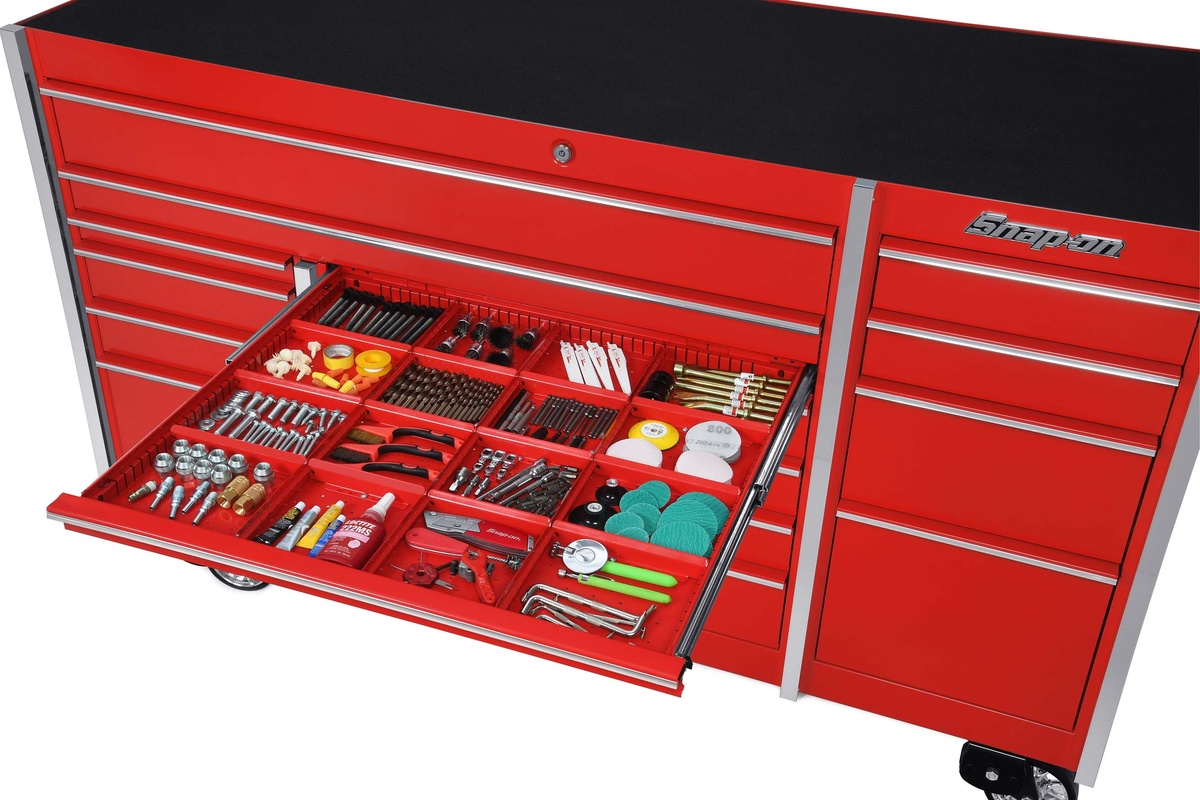
When it comes to organizing your tools, a Snap-On tool box is second to none. With its durable construction and versatile storage options, it’s no wonder that Snap-On is the go-to choice for professionals and DIY enthusiasts alike. But what happens when you need to remove a drawer from your Snap-On tool box? Whether it’s for cleaning, reorganizing, or repairing, knowing how to get drawers out of a Snap-On tool box is essential.
In this article, we will guide you through a step-by-step process on how to safely and easily remove drawers from your Snap-On tool box. We will also provide tips on reinstallation, ensuring that you can confidently navigate this task without any hassle.
Before we begin, make sure you have the necessary tools ready to ensure a smooth process. Here’s what you’ll need:
Key Takeaways:
- Safely remove drawers from your Snap-On tool box by unlocking, removing the handle, releasing the slides, and carefully pulling out the drawer. Reinstallation involves aligning the drawer with the slides, reconnecting any wires, and securing the handle.
- Prepare your workspace, gather the necessary tools, and follow a step-by-step process to confidently remove and reinstall drawers from your Snap-On tool box. Prioritize safety, take your time, and enjoy a well-organized tool box for your projects.
Read more: How Much Is A Snap On Tool Box
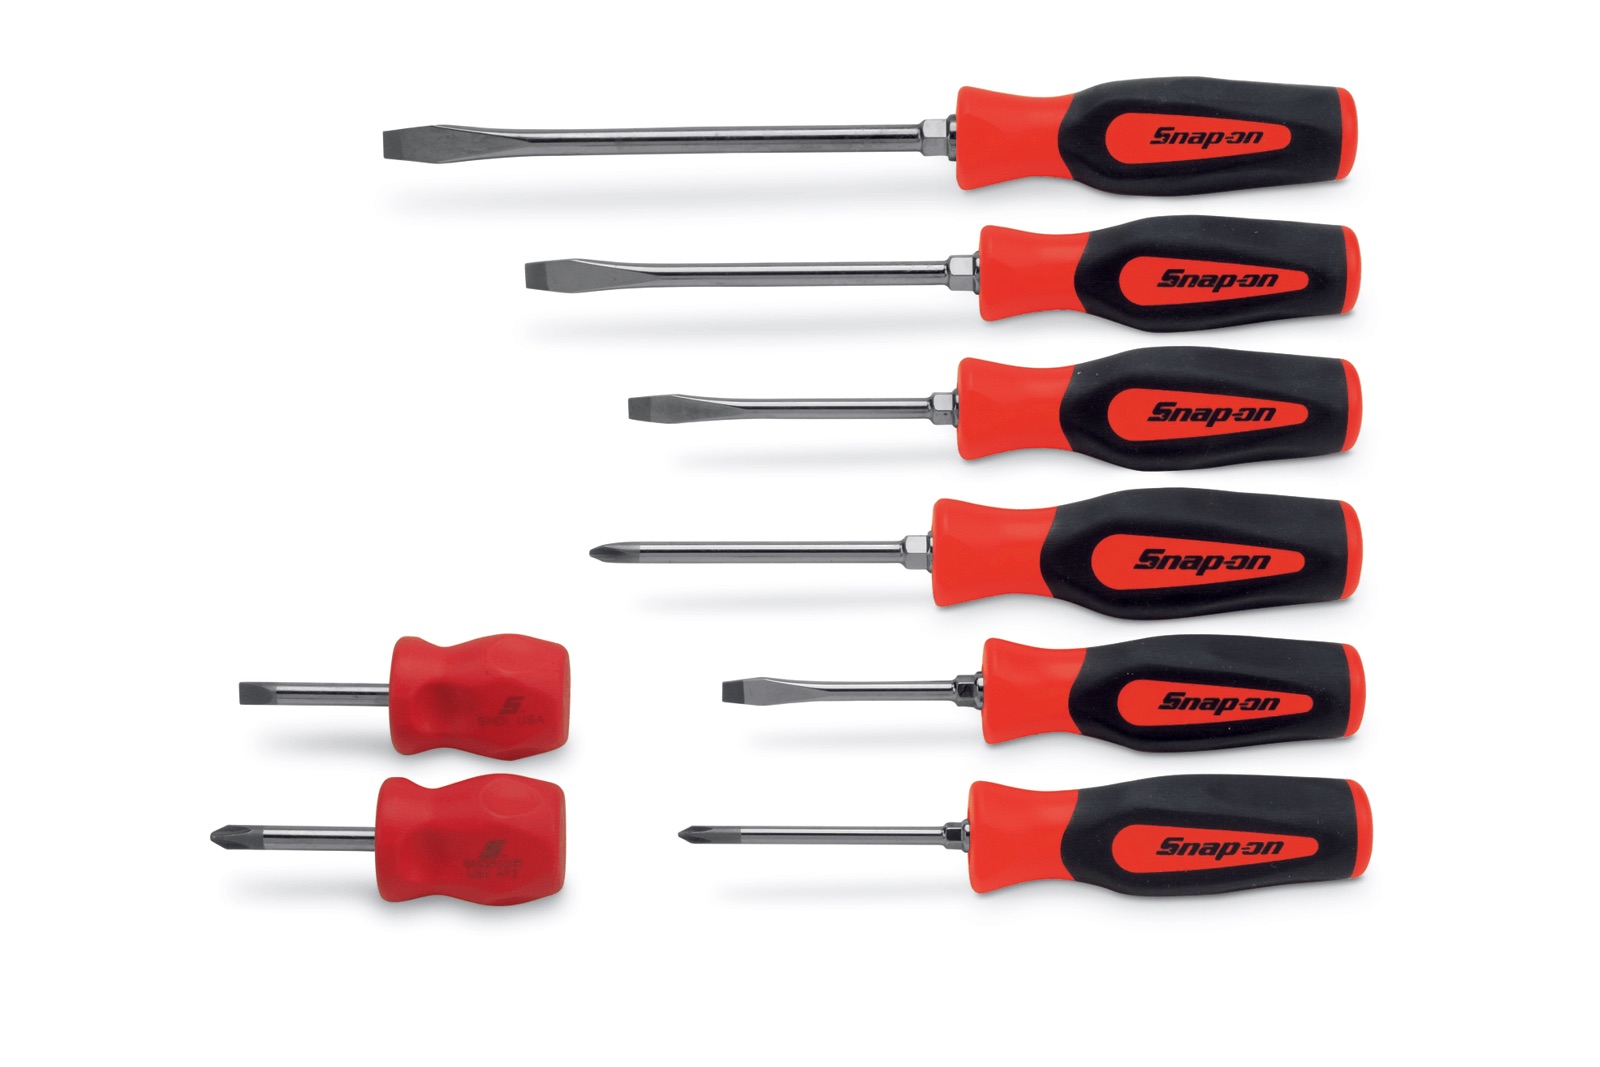
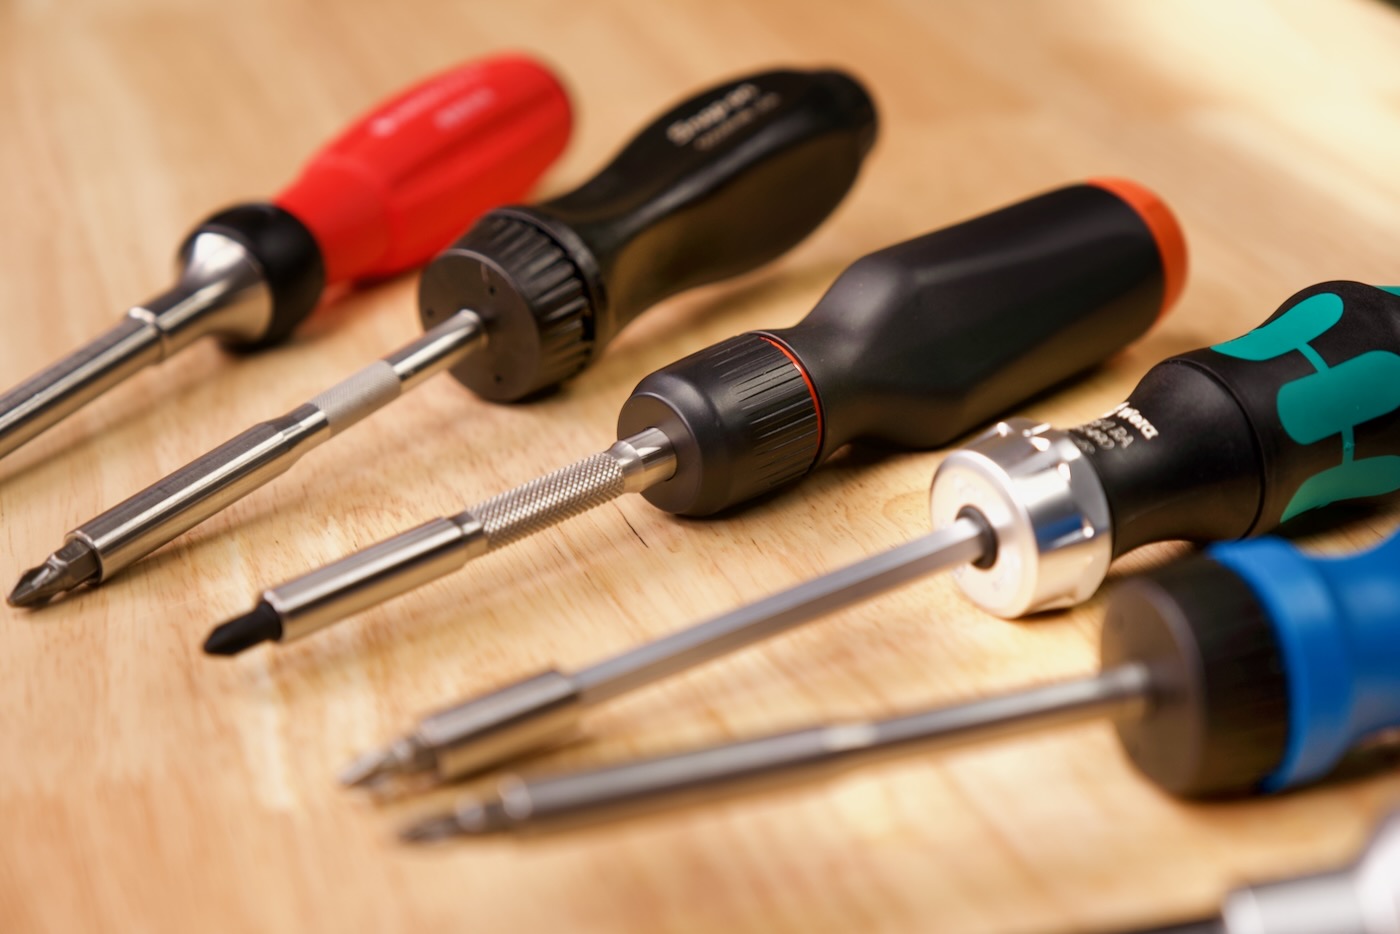
Tools Needed
- Screwdriver (typically Phillips or flathead)
- Allen wrenches (as needed)
- Soft cloth or towel
Now that you’re prepared, let’s dive into the step-by-step process of removing drawers from your Snap-On tool box.
Key Takeaways:
- Safely remove drawers from your Snap-On tool box by unlocking, removing the handle, releasing the slides, and carefully pulling out the drawer. Reinstallation involves aligning the drawer with the slides, reconnecting any wires, and securing the handle.
- Prepare your workspace, gather the necessary tools, and follow a step-by-step process to confidently remove and reinstall drawers from your Snap-On tool box. Prioritize safety, take your time, and enjoy a well-organized tool box for your projects.
Read more: How Much Is A Snap On Tool Box
Tools Needed
Before you embark on the process of removing drawers from your Snap-On tool box, it’s important to gather the necessary tools. Having these tools on hand will ensure a smooth and efficient removal process. Here’s what you’ll need:
- Screwdriver: A screwdriver is an essential tool for removing the screws that secure the drawer slides or handles. Depending on your specific Snap-On tool box model, you may need either a Phillips or flathead screwdriver. Make sure to have both types on hand to cover all bases.
- Allen wrenches: Some Snap-On tool boxes may require the use of Allen wrenches to loosen screws or bolts that hold the drawer slides in place. Check your tool box manual or inspect the drawer slides to determine if you need Allen wrenches for the removal process, and have them available in various sizes.
- Soft cloth or towel: While not necessarily a tool, a soft cloth or towel is handy to have nearby during the removal process. You can use it to clean any dust or debris from the drawer or to protect the surface of your tool box from scratches as you work.
Having these tools ready will ensure that you can proceed with confidence and efficiency when removing drawers from your Snap-On tool box. Remember to always exercise caution and follow safety guidelines while working with tools.
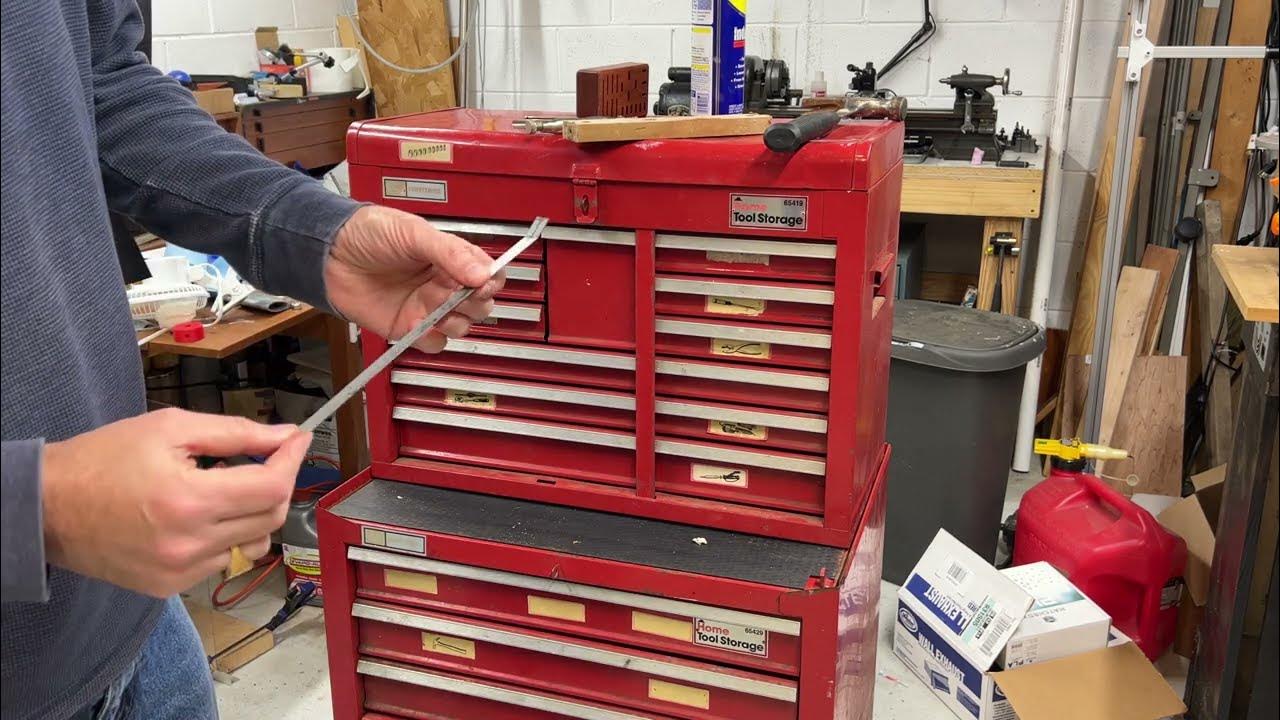
Step 1: Clearing the Workspace
Before you begin the process of removing a drawer from your Snap-On tool box, it’s important to clear the workspace to ensure a safe and unobstructed work area. Follow these steps to prepare your workspace:
- Start by removing any tools, equipment, or other items that may be stored on or around the tool box. This will prevent any accidental damage or obstructions during the removal process.
- Find a clean and flat surface where you can place the removed drawer. This can be a workbench, table, or any other stable surface that can support the weight of the drawer.
- If your tool box has multiple drawers, it’s a good idea to remove any drawers above or below the one you’re planning to remove. This will provide you with more space to maneuver and make the removal process easier.
- Make sure that the area around your tool box is well-lit. Proper lighting will enable you to see the locking mechanisms, screws, and other components more clearly, ensuring a smoother removal process.
- Keep a small container or tray nearby to store any screws or small parts that you may remove during the process. This will help you stay organized and prevent the loss of any important components.
By clearing your workspace and ensuring a clutter-free and well-lit environment, you’ll have a more conducive setup for removing the drawer from your Snap-On tool box. This will make the process more efficient and reduce the chances of any accidental damage or injuries.
Step 2: Unlocking the Drawer
Once you have prepared your workspace, the next step in removing a drawer from your Snap-On tool box is to unlock it. Most Snap-On tool box drawers have a locking mechanism to prevent them from accidentally opening while in transit. Follow these steps to unlock the drawer:
- Inspect the front of the drawer for any visible locks or latches. These may be located on either side of the drawer or in the center.
- Depending on your Snap-On tool box model, the locking mechanism may vary. Look for a keyhole, a push-button latch, or a lever that can be engaged or disengaged.
- If your drawer has a keyhole, insert the appropriate key and turn it counterclockwise to unlock the drawer. If you do not have the key, proceed to the next step.
- If your drawer has a push-button latch, press the button inward to release the lock. This will allow you to pull the drawer out.
- If your drawer has a lever, lift or move the lever in the designated direction as indicated by arrows or other symbols. This will disengage the lock and allow you to remove the drawer.
- If your drawer does not have a visible lock or latch, gently try pulling the drawer open. In some cases, the drawer may not have a locking mechanism and can be easily opened.
By unlocking the drawer, you are ensuring that it is free to be removed from the Snap-On tool box. This step is crucial before proceeding to the next steps of the removal process. If you are unable to unlock the drawer or encounter any difficulties, consult your Snap-On tool box manual or contact customer support for guidance.
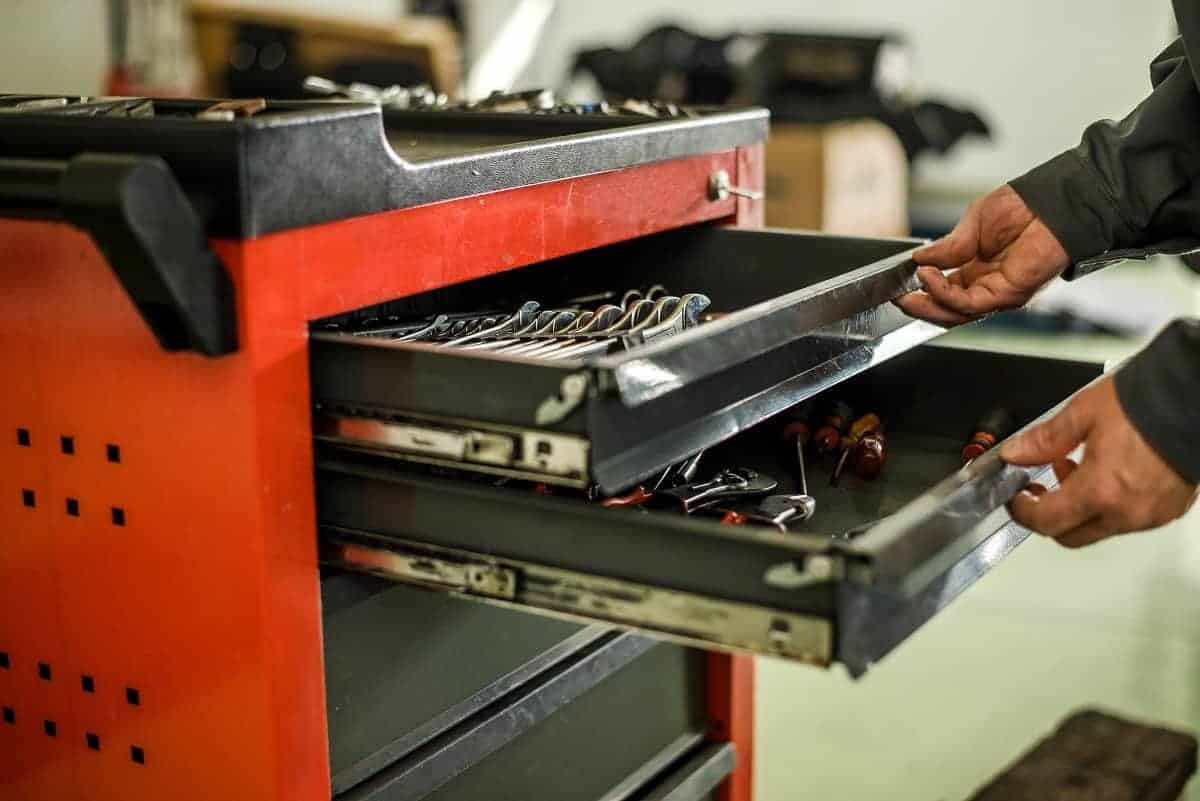
To remove drawers from a Snap On tool box, first open the drawer fully. Then, locate the release lever or tabs on the drawer slides and push or pull them to release the drawer from the slides. Finally, lift the drawer up and out of the tool box.
Step 3: Removing the Drawer Handle
After unlocking the drawer, the next step in removing a drawer from your Snap-On tool box is to remove the handle. The handle may obstruct the removal process, so it’s important to take it off before proceeding. Follow these steps to remove the drawer handle:
- Inspect the handle to identify how it is attached to the drawer. It may be secured with screws or bolts.
- Gently remove any screw covers or decorative caps to reveal the screws or bolts. These are typically located on the front face of the handle.
- Using a screwdriver or an appropriate wrench, loosen and remove the screws or bolts that secure the handle to the drawer. Place the screws or bolts in a safe place for later reinstallation.
- Once the screws or bolts are removed, carefully lift the handle off the drawer. Be mindful of any wires or cables that may be connected to the handle, if applicable.
- If there are wires or cables connected to the handle, detach them by gently pulling them away from the handle or using a small pair of pliers.
By removing the drawer handle, you are eliminating any obstructions that may hinder the smooth removal of the drawer. It’s important to handle the handle (pun intended) with care to prevent any damage or scratches to the handle or drawer. Set the handle aside in a safe place, as it will be reinstalled after the drawer is removed and any necessary maintenance or repairs are completed.
Step 4: Releasing the Drawer Slides
With the drawer handle removed, the next step in removing a drawer from your Snap-On tool box is to release the drawer slides. The slides are what allow the drawer to glide in and out of the tool box smoothly. Follow these steps to release the drawer slides:
- Inspect the sides of the drawer to locate the drawer slides. These are typically metal tracks that extend from the back of the drawer to the front.
- Look for any screws or bolts that secure the drawer slides to the tool box. These may be visible on the inside or outside of the tool box, depending on the model.
- Using a screwdriver or an appropriate wrench, loosen and remove the screws or bolts that attach the drawer slides to the tool box. Keep the screws or bolts in a secure location for later reinstallation.
- Once the screws or bolts are removed, carefully lift the drawer slightly to disengage it from the slides. It may require a bit of wiggling or gentle pulling to release the drawer completely.
- Repeat this process for both sides of the drawer, ensuring that it is fully detached from the drawer slides.
Releasing the drawer slides is a critical step in removing the drawer from your Snap-On tool box. It allows for the smooth and safe extraction of the drawer without causing any damage to the slides or the tool box. Take your time and ensure that the drawer is completely detached from the slides before proceeding to the next step of removal.
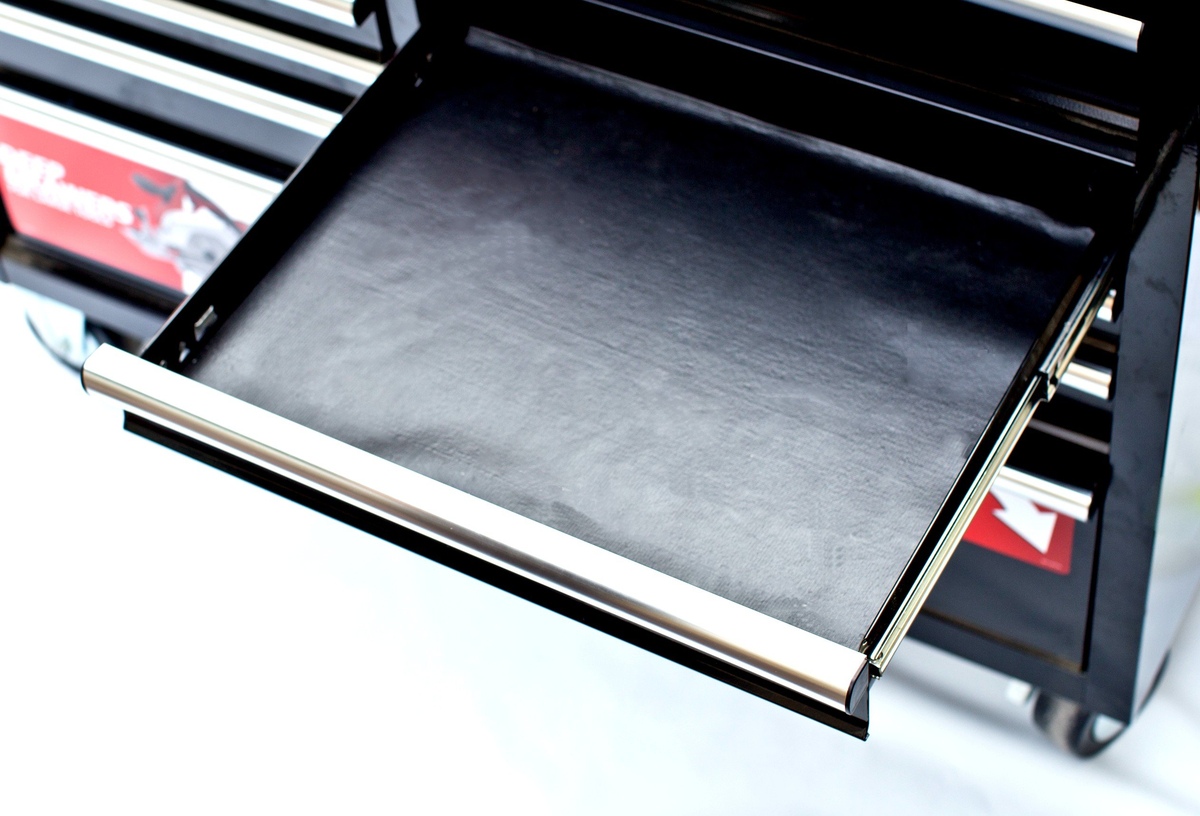
Step 5: Removing the Drawer
With the drawer slides released, you’re now ready to remove the drawer from your Snap-On tool box. Follow these steps to safely and effectively remove the drawer:
- With the drawer slides disengaged, carefully pull the drawer towards you, keeping it parallel to the ground.
- Pay attention to any wires, cables, or hoses that may be connected to the drawer. If there are any, gently disconnect them from the drawer by pulling them away or using a small pair of pliers.
- Continue pulling the drawer slowly and steadily until it is completely out of the tool box. Be mindful of the weight of the drawer and any items stored inside it, as they can affect the balance and stability of the removal process.
- If the drawer feels stuck or resistant when pulling, double-check that the drawer slides are fully released. Additionally, check for any obstructions or screws that may still be attached to the drawer or tool box.
- Once the drawer is fully removed, place it on a clean and flat surface, such as a workbench or table, to prevent any damage or scratches.
Removing the drawer from your Snap-On tool box can be a delicate process, especially if there are wires or other connections involved. Take your time and exercise caution to avoid any accidents or damage. By following these steps, you’ll ensure a successful removal and maintain the integrity of both the drawer and the tool box.
Step 6: Reinstalling the Drawer
Once you have completed any necessary maintenance, repairs, or cleaning, it’s time to reinstall the drawer back into your Snap-On tool box. Follow these steps to properly reinstall the drawer:
- Ensure that the drawer slides on the sides of the tool box are clean and free from any debris or obstructions.
- Carefully align the drawer with the drawer slides, making sure that they are properly engaged and aligned. The slides should fit securely into the groove of the drawer.
- Slowly push the drawer towards the back of the tool box, ensuring that it is properly aligned and gliding smoothly on the slides.
- Once the drawer is fully inserted, gently give it a slight tug to confirm that it is securely in place.
- If your drawer has a locking mechanism, such as a keyhole or a push-button latch, engage the lock to prevent the drawer from accidentally opening during transportation or use.
- If there were any wires, cables, or hoses connected to the drawer, carefully reconnect them to their respective ports, making sure they are properly secured and not tangled or obstructing the movement of the drawer.
- Finally, reattach the drawer handle or any other accessories that were removed during the initial removal process. Use the screws, bolts, or other fasteners that were originally used to secure them.
By following these steps, you will successfully reinstall the drawer back into your Snap-On tool box. It’s important to ensure that the drawer is properly aligned, secured, and glides smoothly on the slides. This will ensure that the drawer functions effectively and prevents any potential damage or accidents.
Before resuming normal use of the tool box, double-check that the drawer is securely installed and that all connections and fasteners are tightened. Take a moment to admire your organized and functional tool box, ready for your next project!
Read more: How To Open Snap-On Tool Box Without Key
Conclusion
Removing drawers from your Snap-On tool box may seem like a daunting task, but with the right tools and step-by-step guidance, it can be a straightforward process. By following the steps outlined in this article, you can safely and effectively remove a drawer from your Snap-On tool box for cleaning, reorganization, or repair purposes.
Remember to prepare your workspace by clearing any obstructions and ensuring proper lighting. Gather the necessary tools, such as a screwdriver, Allen wrenches, and a soft cloth or towel, to assist you in the removal process.
Unlock the drawer by locating and disengaging the locking mechanism, whether it’s a keyhole, push-button latch, or lever. Remove the handle, if applicable, by unscrewing the screws or bolts and gently lifting it off the drawer.
Release the drawer slides by loosening and removing any screws or bolts that secure them to the tool box. Carefully lift the drawer to disengage it from the slides on both sides.
With the slides released, pull the drawer out, ensuring to disconnect any wires, cables, or hoses connected to it. Place the drawer on a flat surface, keeping it parallel to the ground.
Once you have completed any necessary maintenance, repairs, or cleaning, reinstall the drawer by aligning it with the drawer slides and gently pushing it back into the tool box. Confirm that it is securely in place and engage any locking mechanisms, if applicable. Reconnect any wires, cables, or hoses and reattach the handle or accessories that were removed earlier.
By following these steps, you can confidently remove and reinstall drawers from your Snap-On tool box, ensuring the smooth operation and organization of your tools. Whether you are a professional or a DIY enthusiast, knowing how to properly handle your tool box will contribute to a more efficient and productive workspace.
Remember to always prioritize safety, take your time during the removal and reinstallation process, and refer to your tool box manual or contact customer support if you encounter any difficulties or have specific requirements.
With these skills and knowledge in your toolbox, you’ll be able to keep your Snap-On tool box in top condition and enjoy the convenience and functionality it provides for years to come.
Frequently Asked Questions about How To Get Drawers Out Of Snap On Tool Box
Was this page helpful?
At Storables.com, we guarantee accurate and reliable information. Our content, validated by Expert Board Contributors, is crafted following stringent Editorial Policies. We're committed to providing you with well-researched, expert-backed insights for all your informational needs.


0 thoughts on “How To Get Drawers Out Of Snap On Tool Box”