Articles
How To Measure The Depth Of A Tool Chest?
Modified: February 25, 2024
Learn how to measure the depth of a tool chest with our informative articles. Find useful tips and techniques to ensure the perfect fit for your tools.
(Many of the links in this article redirect to a specific reviewed product. Your purchase of these products through affiliate links helps to generate commission for Storables.com, at no extra cost. Learn more)
Introduction
Welcome to the world of DIY and home improvement! Whether you are a beginner or a seasoned professional, having a well-organized tool chest is crucial for any project. Knowing the depth of your tool chest is essential when it comes to storing and selecting the right tools for the job. In this article, we will guide you through the process of measuring the depth of a tool chest, step by step.
Having the accurate measurements of your tool chest’s depth will help you maximize your storage capacity and ensure that your tools fit properly. Not only will this save you time rummaging around for the right tool, but it will also contribute to maintaining your tools in good condition, preventing them from banging against each other in a cramped space.
While it may seem like a straightforward task, measuring the depth of a tool chest requires the right tools, techniques, and attention to detail. By following the steps outlined in this article, you will be able to measure the depth of your tool chest accurately, allowing you to optimize your workspace and keep your tools organized.
Whether you have a brand new tool chest or have had one for years, taking the time to measure its depth is a worthwhile endeavor. So, let’s gather our tools and get started on this practical project!
Key Takeaways:
- Accurate measurements of your tool chest’s depth are crucial for optimizing storage, preventing tool damage, and ensuring easy access. Clearing the chest, selecting the right tools, and recording measurements are essential steps.
- Utilize depth measurements to select, organize, and protect your tools effectively. This ensures an efficient and functional workspace, saving time and promoting productivity in your DIY projects.
Read more: How To Identify A Gerstner Tool Chest
Tools and Materials Needed
Before we begin measuring the depth of a tool chest, make sure you have the following tools and materials on hand:
- Tape Measure: A tape measure is a versatile tool that will allow you to accurately measure the depth of your tool chest. Opt for a tape measure with both imperial and metric units for convenience.
- Straight Edge: A straight edge, such as a ruler or a level, will help you keep your measurements precise.
- Pencil or Marker: A pencil or marker will allow you to mark your measurements on the tool chest for easy reference.
- Piece of Paper or Notebook: You’ll need a piece of paper or a notebook to record your measurements. This will come in handy when selecting tools based on their dimensions.
With these tools at your disposal, you’re ready to proceed with measuring the depth of your tool chest. Let’s dive in!
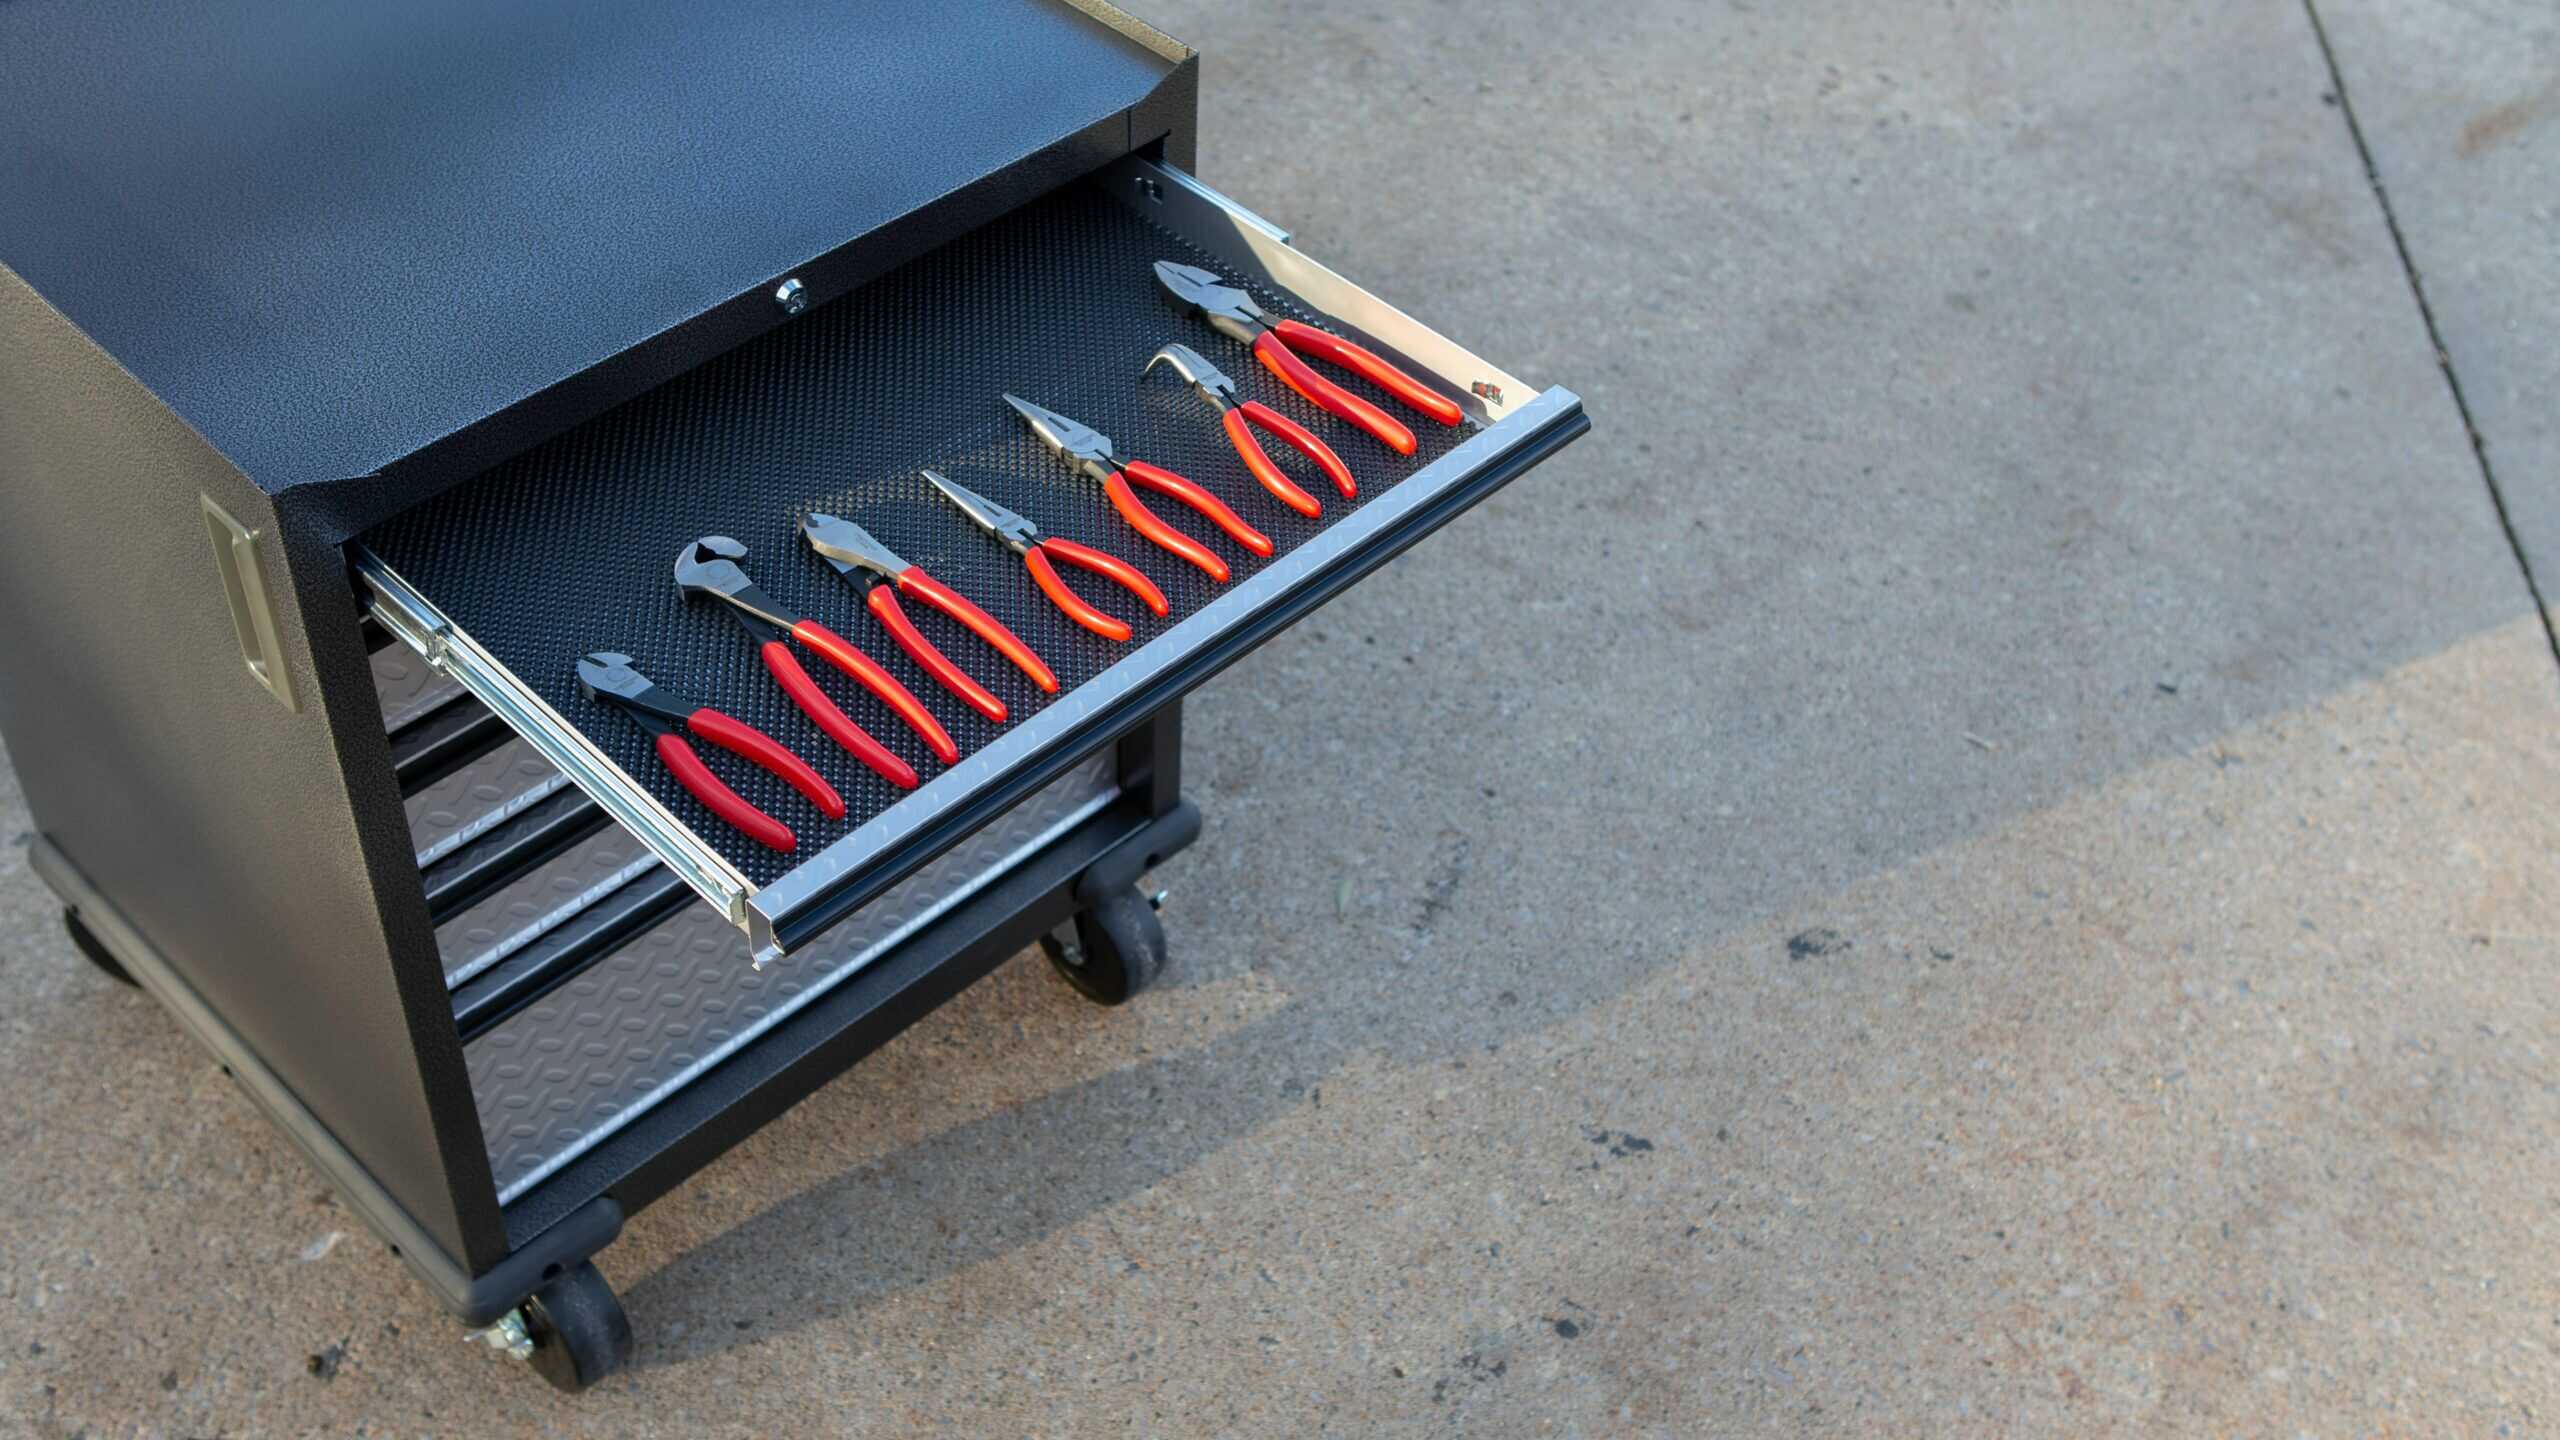
Step 1: Clearing the Tool Chest
Before starting the measurement process, it’s essential to clear out your tool chest. Remove all the tools, accessories, and any other items that may be stored inside. This will provide you with a clear and unobstructed area to take accurate measurements.
Take the time to organize and clean your tools as you empty the chest. This will not only make the measurement process easier but will also give you an opportunity to assess your tool collection and discard any items that are no longer functional or useful.
As you remove the tools from the chest, you can use this opportunity to create categories and group similar tools together. This will make it much easier to find specific tools when you need them in the future.
Once your tool chest is completely empty, take a moment to wipe down the interior surfaces to remove any dust or debris that may have accumulated over time. This will ensure a clean and tidy workspace for your tools.
Now that your tool chest is clear and prepped for measurement, we can move on to the next step in the process.
Step 2: Selecting the Right Measuring Tools
When it comes to measuring the depth of your tool chest, it’s important to use the right tools for accurate results. Here are the key measuring tools you’ll need:
- Tape Measure: A tape measure is the primary tool for measuring the depth of your tool chest. It allows you to extend the tape and measure distances precisely. Choose a tape measure that is long enough to span the entire depth of your chest.
- Straight Edge: A straight edge, such as a ruler or a level, will help ensure that your measurements are straight and precise. It provides a reference point against which you can align the tape measure.
- Pencil or Marker: You will need a pencil or marker to mark your measurements on the tool chest. Use a color that is highly visible against the surface of your chest.
Make sure that your measuring tools are in proper working condition before you begin. Check that your tape measure is firmly locked in place and that the markings on it are clear and accurate. If necessary, clean the tape measure to ensure accurate readings.
Having the right measuring tools will contribute to the accuracy of your measurements and ultimately help you select the right tools for your projects.
With the measuring tools selected, we’re ready to move on to measuring the depth of your tool chest. Let’s get started!
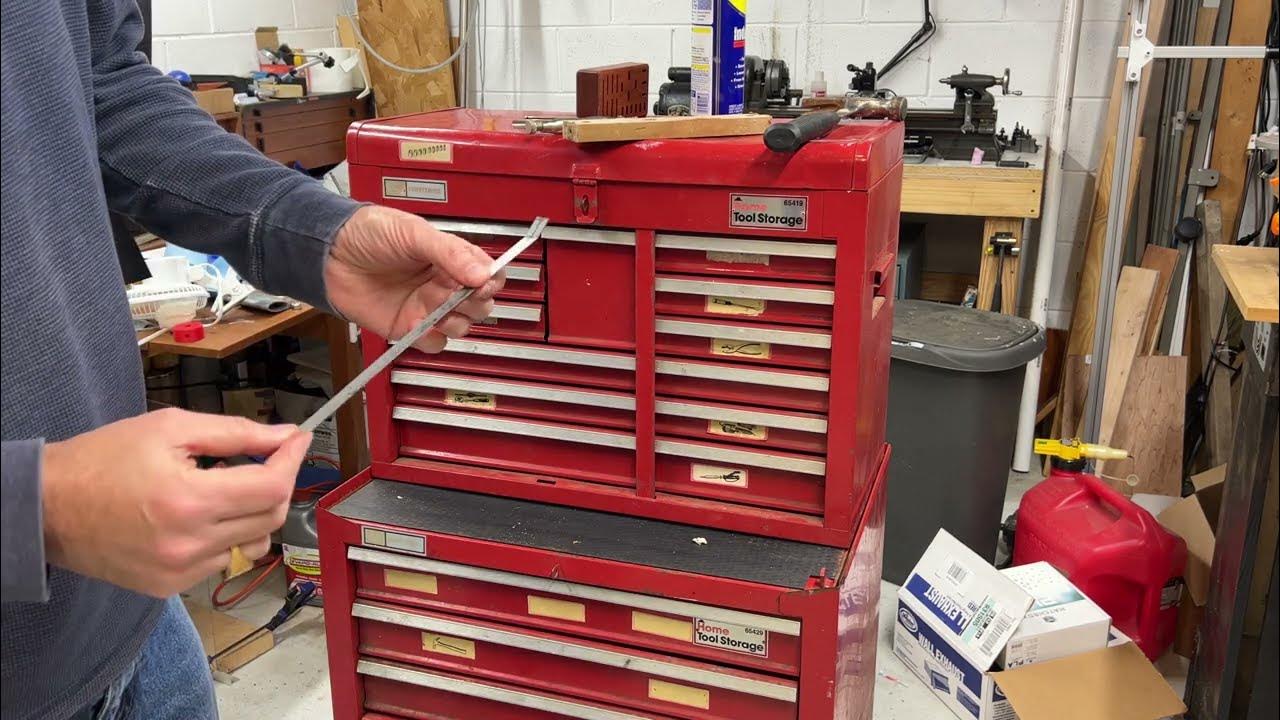
Step 3: Measuring the Exterior Depth
Now that your tool chest is cleared and you have the right measuring tools, it’s time to measure the exterior depth of your tool chest. This measurement will give you an idea of the overall dimensions of the chest, including any handles, locks, or other protruding features.
- Place your tool chest on a flat and stable surface, ensuring that it is level and balanced.
- Take your tape measure and extend it along the bottom of the chest. Position the tape measure so that it is parallel to the ground.
- Align the end of the tape measure with one edge of the chest, making sure it is firmly in place.
- Slowly extend the tape measure until it reaches the opposite edge of the chest, ensuring that it remains parallel to the ground throughout the process.
- Read the measurement on the tape measure at the point where it meets the opposite edge. This measurement represents the exterior depth of your tool chest.
Record this measurement on your piece of paper or notebook, noting that it is the exterior depth. This measurement will be useful when considering the overall size and storage requirements for your tool chest.
By measuring the exterior depth, you get a clear picture of the dimensions of your tool chest and can plan accordingly for storage and transportation. Remember to always handle the tape measure carefully to ensure accurate results.
With the exterior depth measured, let’s move on to measuring the interior depth of your tool chest.
When measuring the depth of a tool chest, be sure to measure from the back of the chest to the front, including any protruding handles or knobs. This will give you an accurate measurement for fitting in your space.
Read more: How To Put Wheels On A Craftsman Tool Chest
Step 4: Measuring the Interior Depth
To get a more precise understanding of the usable space inside your tool chest, it’s important to measure the interior depth. This measurement will help you determine how much space is available for storing tools, accessories, and other items.
- Open the lid or access doors of your tool chest.
- Take your tape measure and place it at the bottom of the chest, near the front.
- Extend the tape measure along the back wall of the chest, keeping it parallel to the ground.
- Make sure the tape measure is flush against the back wall, ensuring an accurate measurement.
- Read the measurement on the tape measure at the point where it meets the top edge of the chest. This measurement represents the interior depth of your tool chest.
Record this measurement on your piece of paper or notebook, noting that it is the interior depth. This measurement will be valuable when organizing and selecting tools based on their dimensions.
Measuring the interior depth of your tool chest gives you a clear understanding of the space available for storing your tools efficiently. It allows you to plan the arrangement of your tools and accessories, optimizing the use of space and making it easier to find what you need.
Once you have measured the interior depth, you are now ready to move on to the next step, where you will record and utilize the measurements you have taken.
Step 5: Recording the Measurements
Now that you have measured both the exterior and interior depth of your tool chest, it’s important to record these measurements for future reference. This will help you determine the appropriate tools to store in your chest and ensure a proper fit.
- Take out your piece of paper or notebook where you will record the measurements.
- Write down the exterior depth measurement that you obtained in Step 3. Clearly label it as the “Exterior Depth”.
- Next, write down the interior depth measurement from Step 4. Label it as the “Interior Depth”.
Having both measurements written down in a visible and easily accessible place will assist you when selecting tools that will fit comfortably in your tool chest. It will also help you determine if there are any limitations or restrictions on the size of tools you can store.
Additionally, you can create a simple diagram or sketch of your tool chest and label the measurements on it. This visual representation can act as a quick reference guide when organizing and selecting tools.
By recording the measurements, you ensure that you have accurate and readily available information when it’s time to store or retrieve tools from your chest.
With the measurements recorded, let’s move on to the final step, where you will learn how to use these measurements to optimize the use of your tool chest.
Step 6: Using the Depth Measurements for Tool Selection
Now that you have completed the measurements of your tool chest’s depth, it’s time to put those measurements to good use. By utilizing the depth measurements, you can select and organize your tools in a way that maximizes space and ensures easy access.
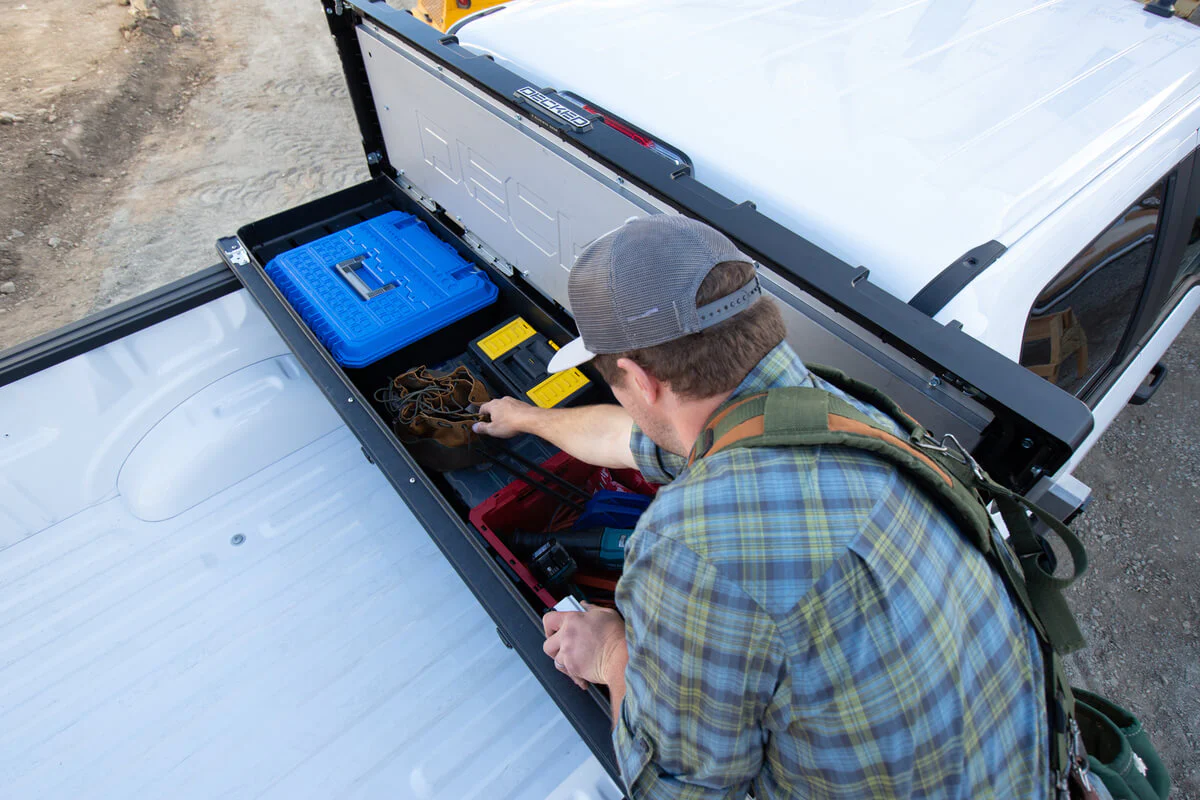
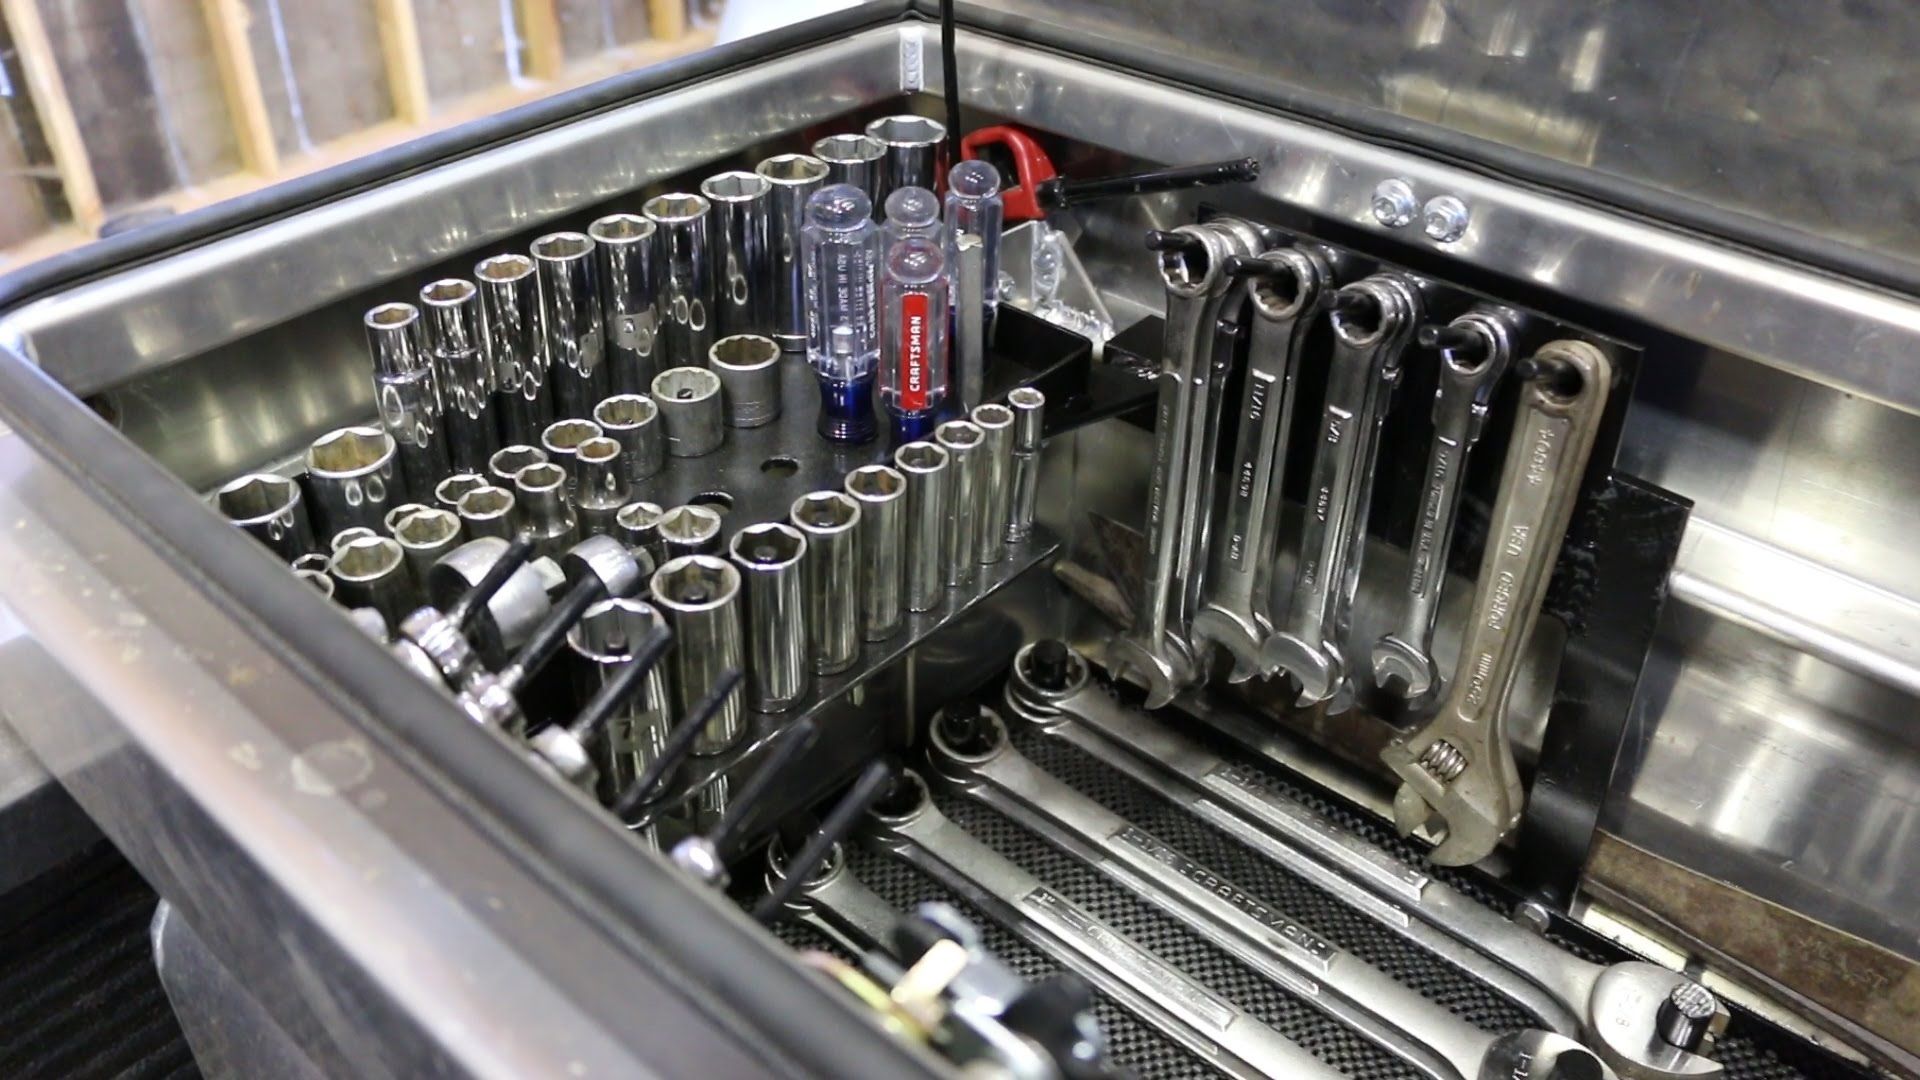
- Selecting Tools: When choosing tools to store in your tool chest, refer to the interior depth measurement as a guide. This will help you avoid selecting tools that are too long or too tall to fit comfortably in the chest. Consider the depth measurement when deciding which tools you can store vertically or horizontally. Optimize the space by arranging similar-sized tools together.
- Organizing Layout: Based on the measurements, plan out the layout of your tool chest. Consider the exterior depth measurement to determine if there are any constraints or limitations on the chest’s size. Arrange your tools in a way that allows for easy access and visibility. Utilize dividers, trays, or tool organizers to separate and categorize different types of tools.
- Protective Measures: Use the depth measurements to ensure that your tools are stored securely and protected. Avoid cramming tools together too tightly, as this can cause damage. Consider using foam inserts or other protective materials to cushion and protect your more delicate tools.
By utilizing the measurements, you can efficiently utilize the space inside your tool chest and keep your tools organized, accessible, and in good condition. This will save you time and frustration when searching for specific tools, as well as prevent damage to your valuable tools.
Remember to revisit and update your tool selection and organization periodically, especially when acquiring new tools or rearranging your work area. This will keep your tool chest optimized and ensure that it continues to meet your needs over time.
Congratulations! You have successfully measured the depth of your tool chest and learned how to use those measurements to optimize your storage space. Now, enjoy the benefits of a well-organized and efficient tool chest!
Conclusion
Measuring the depth of your tool chest is a vital step in keeping your tools organized and maximizing your workspace. By following the steps outlined in this article, you have learned how to accurately measure both the exterior and interior depth of your tool chest.
Clearing out your tool chest, selecting the right measuring tools, and recording the measurements are all crucial aspects of the process. By doing so, you can confidently select and store your tools in a way that optimizes space, ensures easy access, and protects your valuable tools.
Remember to regularly reassess and update your tool selection and organization, especially as your collection grows or your needs change. This will help you maintain an efficient and functional workspace that promotes productivity and creativity.
Now that you have mastered the art of measuring the depth of a tool chest, you can confidently tackle any project knowing that your tools are organized and accessible. Enjoy the benefits of a well-arranged tool chest and happy DIYing!
Frequently Asked Questions about How To Measure The Depth Of A Tool Chest?
Was this page helpful?
At Storables.com, we guarantee accurate and reliable information. Our content, validated by Expert Board Contributors, is crafted following stringent Editorial Policies. We're committed to providing you with well-researched, expert-backed insights for all your informational needs.


0 thoughts on “How To Measure The Depth Of A Tool Chest?”