Home>Articles>How To Install A Truck Tool Box Without Drilling
Articles
How To Install A Truck Tool Box Without Drilling
Modified: October 20, 2024
Learn how to install a truck tool box without drilling in this helpful article. Find step-by-step instructions and expert tips for a hassle-free installation.
(Many of the links in this article redirect to a specific reviewed product. Your purchase of these products through affiliate links helps to generate commission for Storables.com, at no extra cost. Learn more)
Introduction
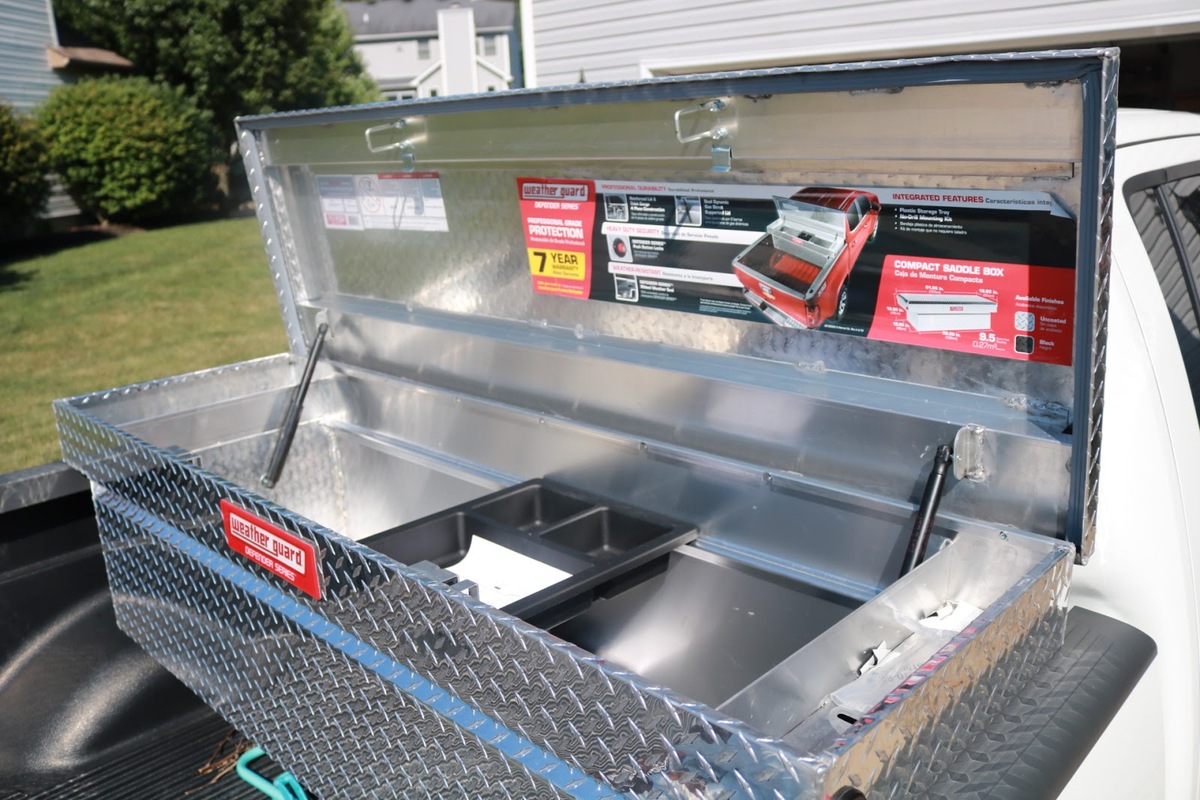
Truck tool boxes are a convenient and practical way to keep your tools and equipment organized and secure while on the go. However, many truck owners are hesitant to install a tool box due to concerns about drilling into their truck beds. The good news is that there are alternative methods to install a truck tool box without drilling, providing a versatile and hassle-free solution.
In this article, we will guide you through the steps to install a truck tool box without drilling. Whether you have a leased truck or simply prefer not to make permanent modifications to your vehicle, these methods will allow you to enjoy the benefits of a tool box without the need for drilling.
Before we dive into the installation process, it’s important to note that these methods may not be suitable for all types of trucks or tool boxes. Different truck models and tool box designs require different installation techniques, so be sure to check the compatibility beforehand.
Now, let’s get started on how to install a truck tool box without drilling!
Key Takeaways:
- Install a truck tool box without drilling by measuring the truck bed, choosing the right mounting option, and securing the box with clamps or tie-downs for a hassle-free and secure installation.
- Ensure stability and longevity of your truck tool box by cleaning the truck bed, applying foam tape or weatherstripping, and regularly testing the box’s stability to keep your tools secure on the go.
Read more: How To Open A Truck Tool Box Without The Key
Step 1: Measure the Truck Bed
The first step in installing a truck tool box without drilling is to measure the dimensions of your truck bed. This will help you choose a tool box that fits properly and ensure a secure installation.
Start by measuring the width of your truck bed from one side to the other. Use a measuring tape and ensure accurate measurements by pulling the tape tightly across the bed.
Next, measure the length of your truck bed from the bulkhead to the tailgate. This will determine the size of the tool box you need. Make sure to account for any obstacles or protrusions, such as wheel wells or bed liners, that may affect the fit of the tool box.
Once you have the width and length measurements, you can also measure the height of the truck bed sidewalls. This will help you choose a tool box with appropriate clearance, ensuring it sits properly on the bed.
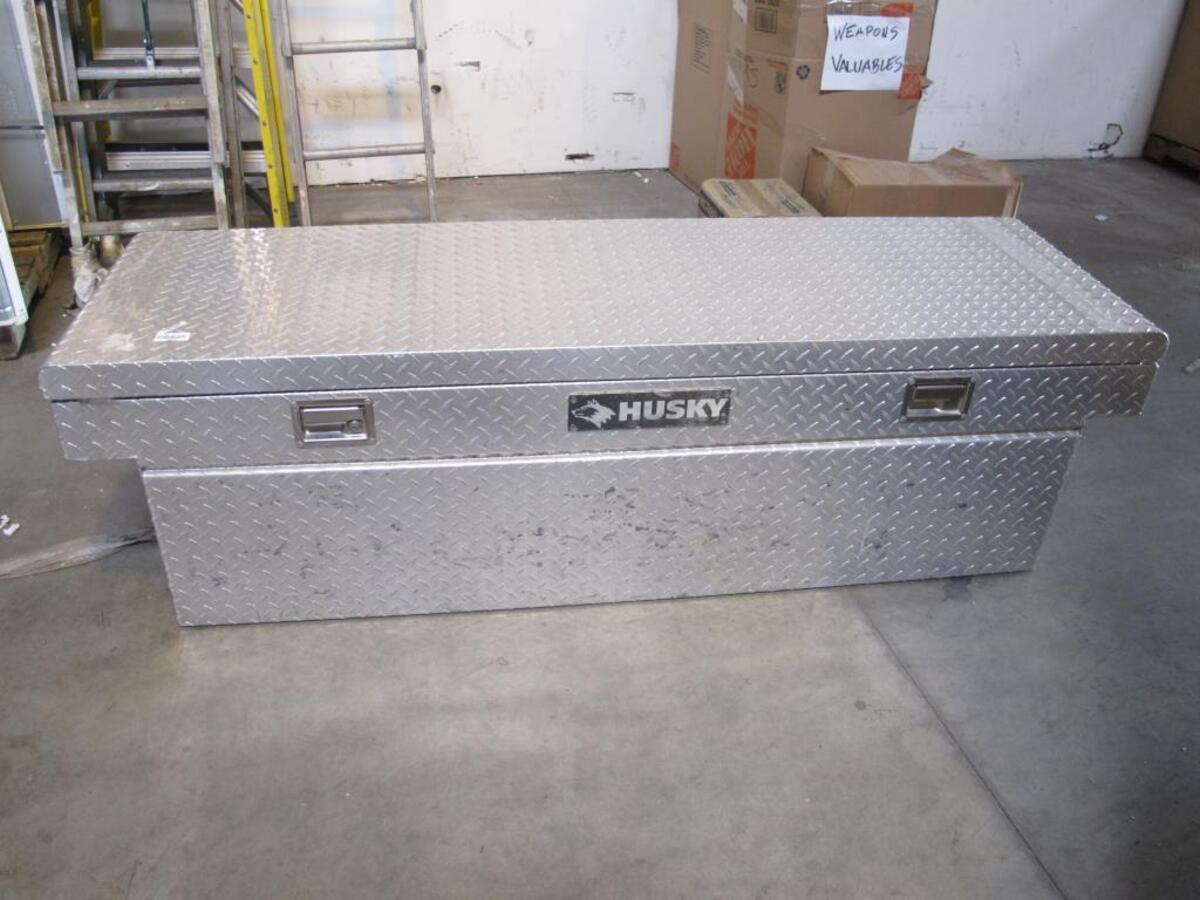
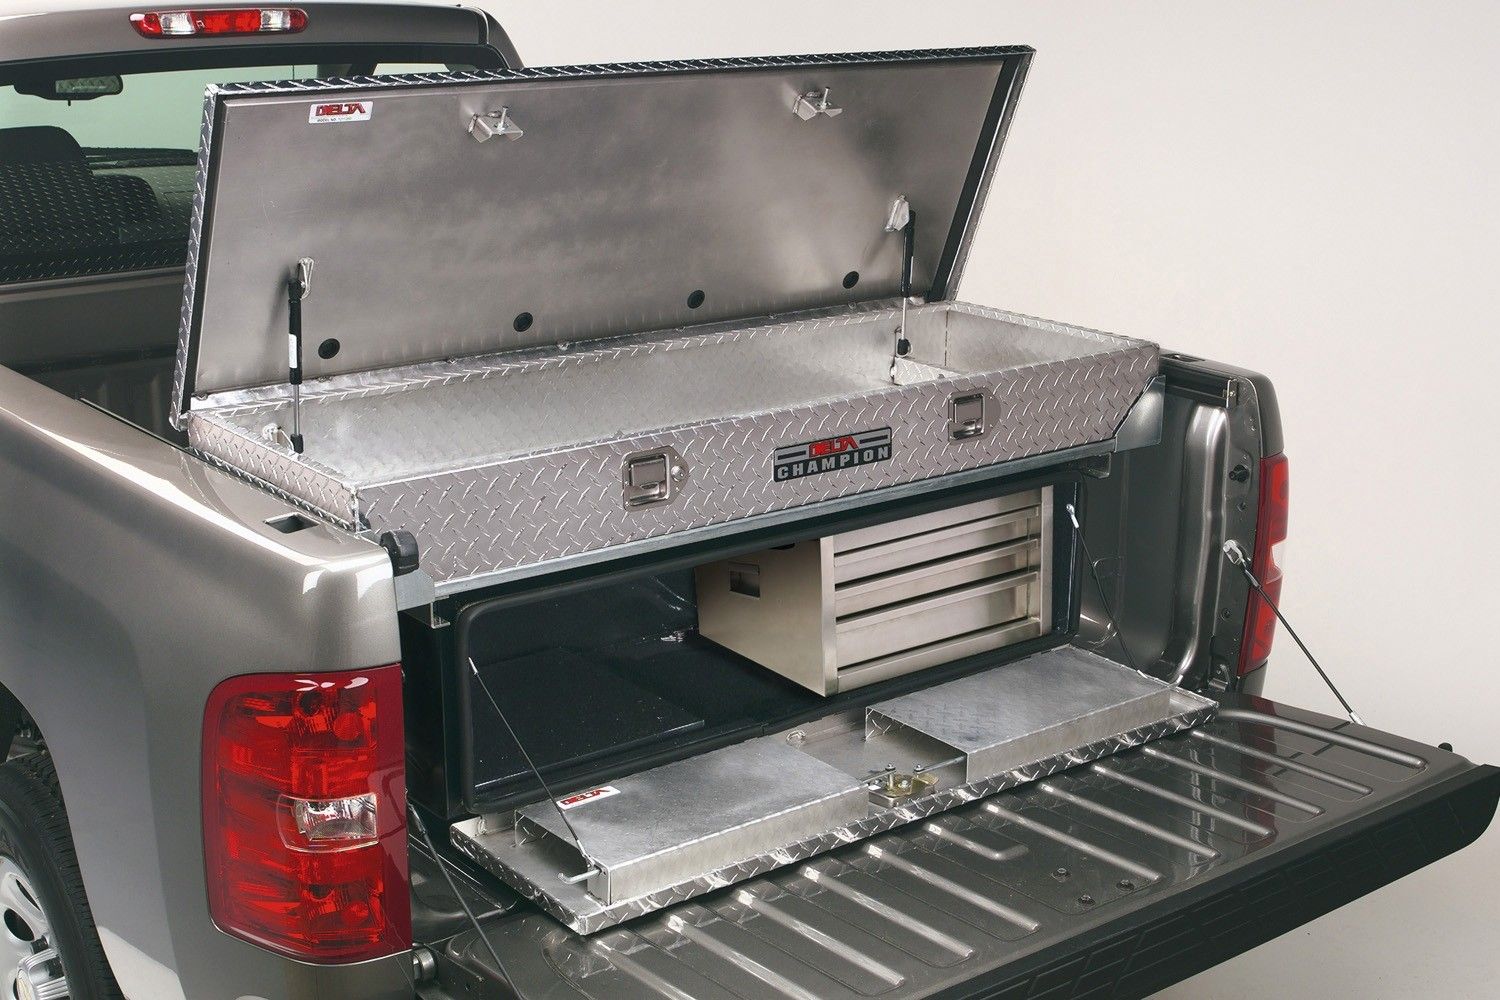
When selecting a tool box, it’s important to choose one that is compatible with your truck’s dimensions. Consider the style and design of the tool box as well, such as whether you prefer a crossover, side mount, or chest style box.
By accurately measuring your truck bed, you can find a tool box that fits snugly and securely without the need for drilling.
Step 2: Choose the Right Mounting Option
Once you have measured your truck bed, the next step is to choose the right mounting option for your tool box. There are several alternative methods that do not require drilling, providing flexibility and convenience in installation.
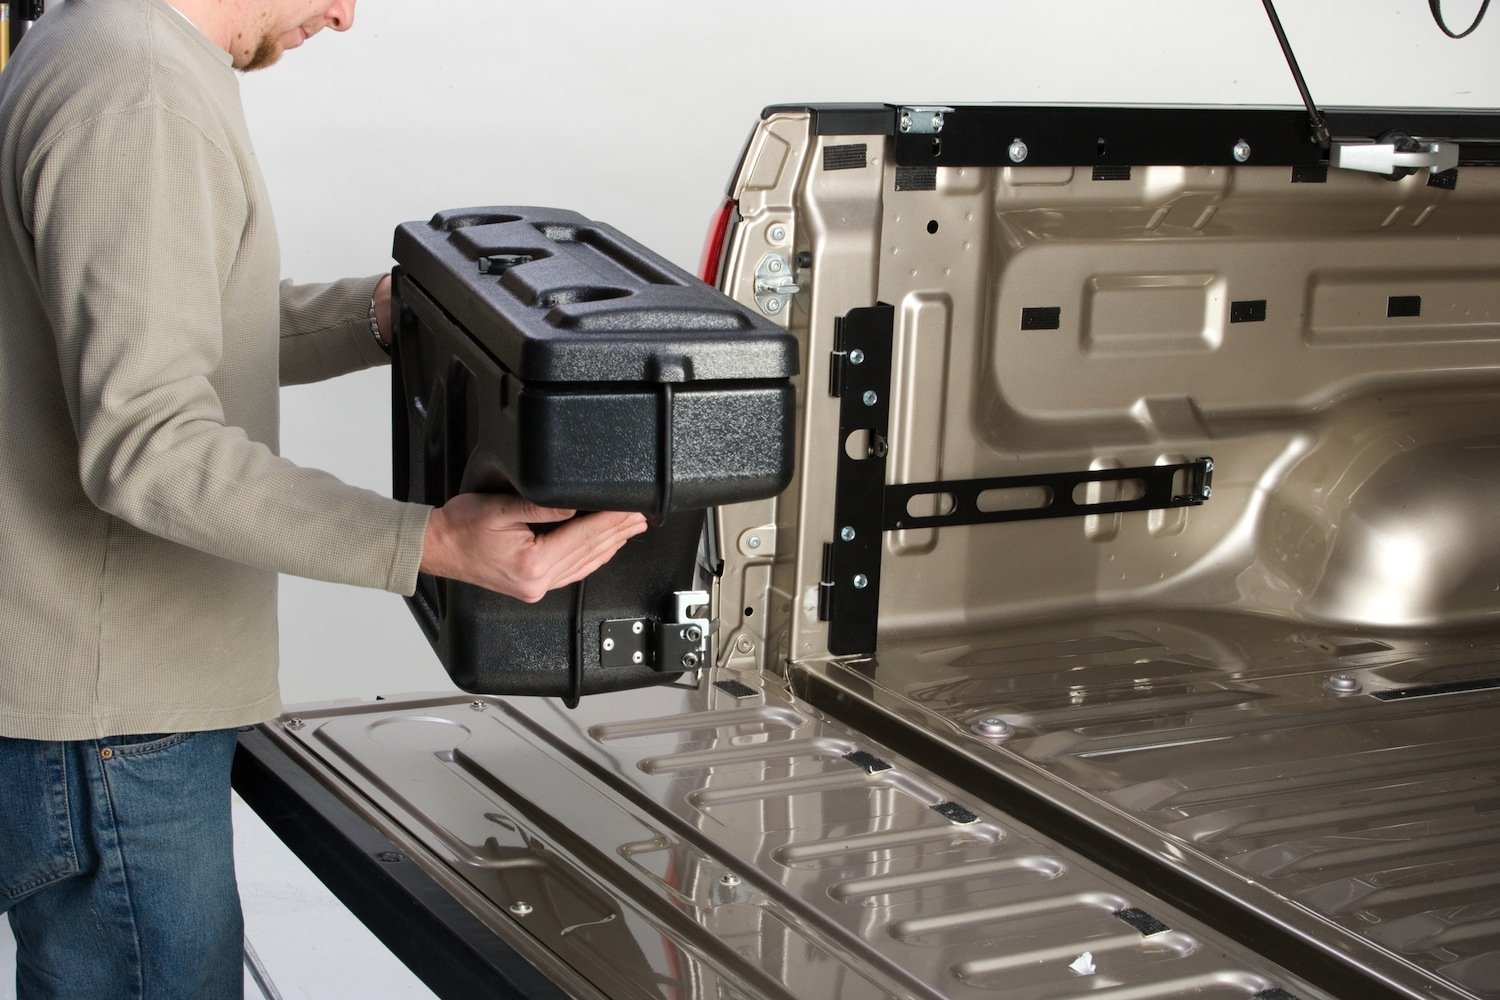
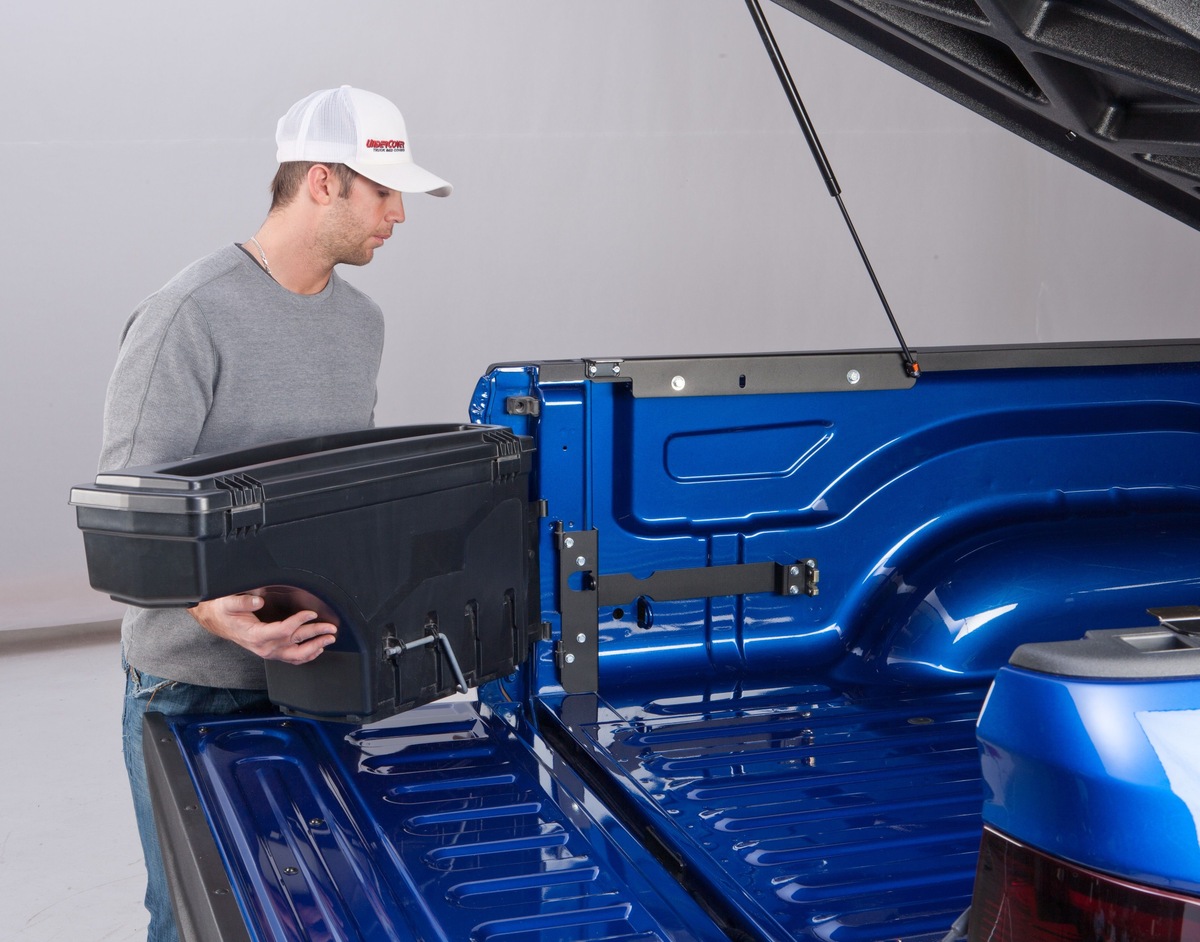
One popular mounting option is utilizing a bed rail mounting system. These systems typically consist of brackets or clamps that attach to the bed rails of your truck, allowing you to securely fasten the tool box in place. Look for bed rail mounting kits that are specifically designed for your truck make and model to ensure compatibility.
Another option is to use a no-drill mounting kit or mounting brackets. These kits typically include brackets and hardware that can be attached to existing holes or threaded points in your truck bed. This eliminates the need for drilling and provides a secure attachment point for your tool box.
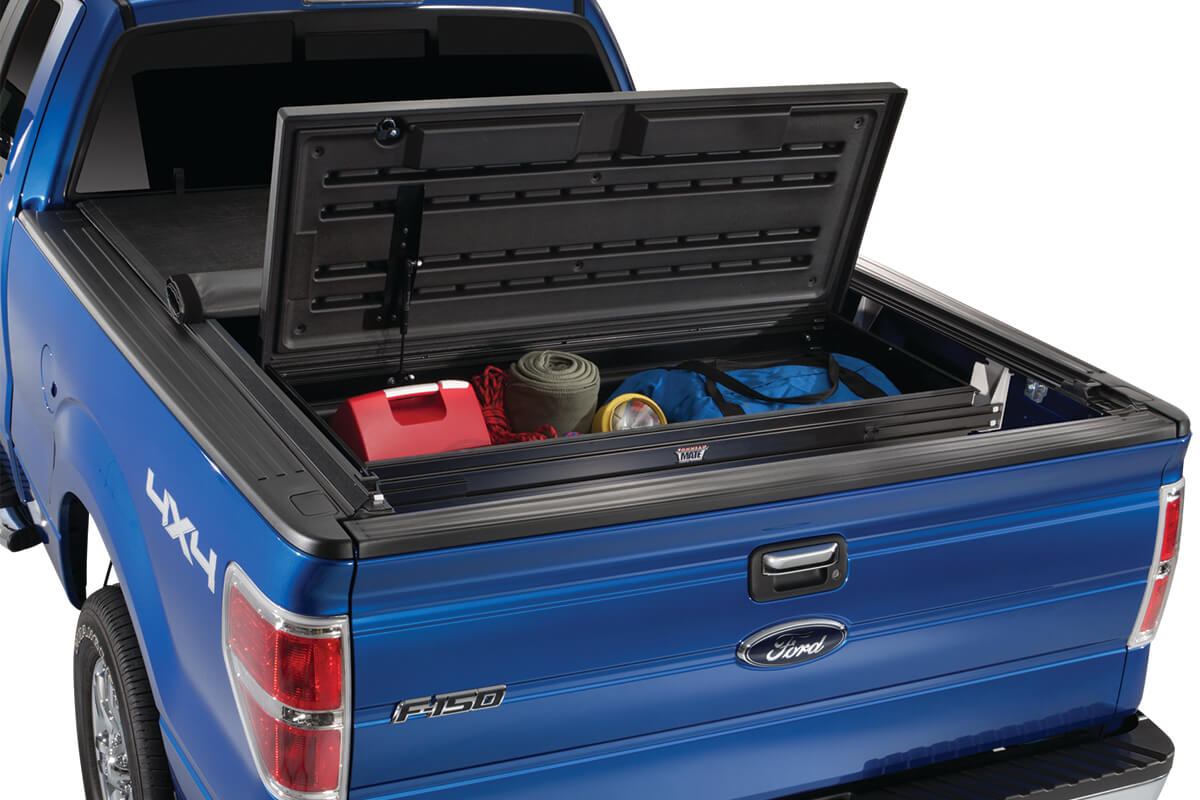
If your truck has a tonneau cover, you can also consider using a tonneau cover adapter kit. These kits often come with clamps or brackets that allow you to mount the tool box directly onto the tonneau cover rails, providing a convenient and integrated solution.
Before choosing a mounting option, make sure to read reviews and check the compatibility of the mounting system with your specific tool box and truck model. This will ensure a proper fit and secure installation.
Keep in mind that the chosen mounting option should provide stability and prevent the tool box from shifting or moving during transportation. It is essential to choose a reliable and sturdy mounting method to ensure the safety of your tools and equipment.
By selecting the right mounting option, you can confidently proceed with the installation of your truck tool box without the need for drilling.
Step 3: Clean the Truck Bed
Before installing your truck tool box without drilling, it is crucial to ensure that the truck bed is clean and free from any debris or dirt. This step will help create a smooth and secure surface for the tool box installation.
Start by removing any items from your truck bed, such as loose tools, cargo, or debris. Sweep or vacuum the bed to get rid of any loose dirt or particles that may interfere with the installation process.
Next, use a mild soap or detergent and water to clean the truck bed thoroughly. This will help remove any grease, oil, or stubborn stains that may have accumulated over time. Use a sponge or a soft cloth to scrub the surface gently.
Pay special attention to the areas where the tool box will be mounted. Ensure that these areas are free from any residue or dirt that could affect the adherence or stability of the installation.
After cleaning, rinse the truck bed with clean water and allow it to dry completely. Drying is important to ensure that the mounting surfaces are dry and that there is no moisture that could potentially compromise the adhesive or mounting brackets.
If necessary, you can also consider applying a protective coating or bed liner to the truck bed. This can offer an added layer of protection against scratches and provide a better grip for the tool box installation.
By thoroughly cleaning the truck bed, you create a clean and smooth surface for the tool box installation, ensuring a secure and stable mounting.
Step 4: Apply Foam Tape or Weatherstripping
To further enhance the stability and prevent any potential damage to your truck bed, it is recommended to apply foam tape or weatherstripping to the areas where the tool box will make contact with the bed.
The foam tape or weatherstripping acts as a cushioning material, providing a secure and snug fit between the tool box and the truck bed. It helps to minimize any movement, vibrations, or scratching that may occur during transportation.
Start by measuring the length and width of the contact areas on the truck bed where the tool box will sit. Cut strips of foam tape or weatherstripping to match these dimensions.
Apply the foam tape or weatherstripping along the edges of the truck bed or the lips where the tool box will rest. Make sure to press it firmly to ensure a good adhesion and create a seal between the tool box and the truck bed.
As you place the tool box onto the truck bed, the foam tape or weatherstripping will compress slightly, providing a secure and stable fit. This will prevent any potential rattling or shifting of the tool box while driving.
It is important to choose high-quality foam tape or weatherstripping that is suitable for outdoor use and can withstand the elements. This will ensure durability and longevity of the installation.
By applying foam tape or weatherstripping, you add an extra layer of protection and stability to the installation, ensuring a tight and secure fit between the tool box and the truck bed.
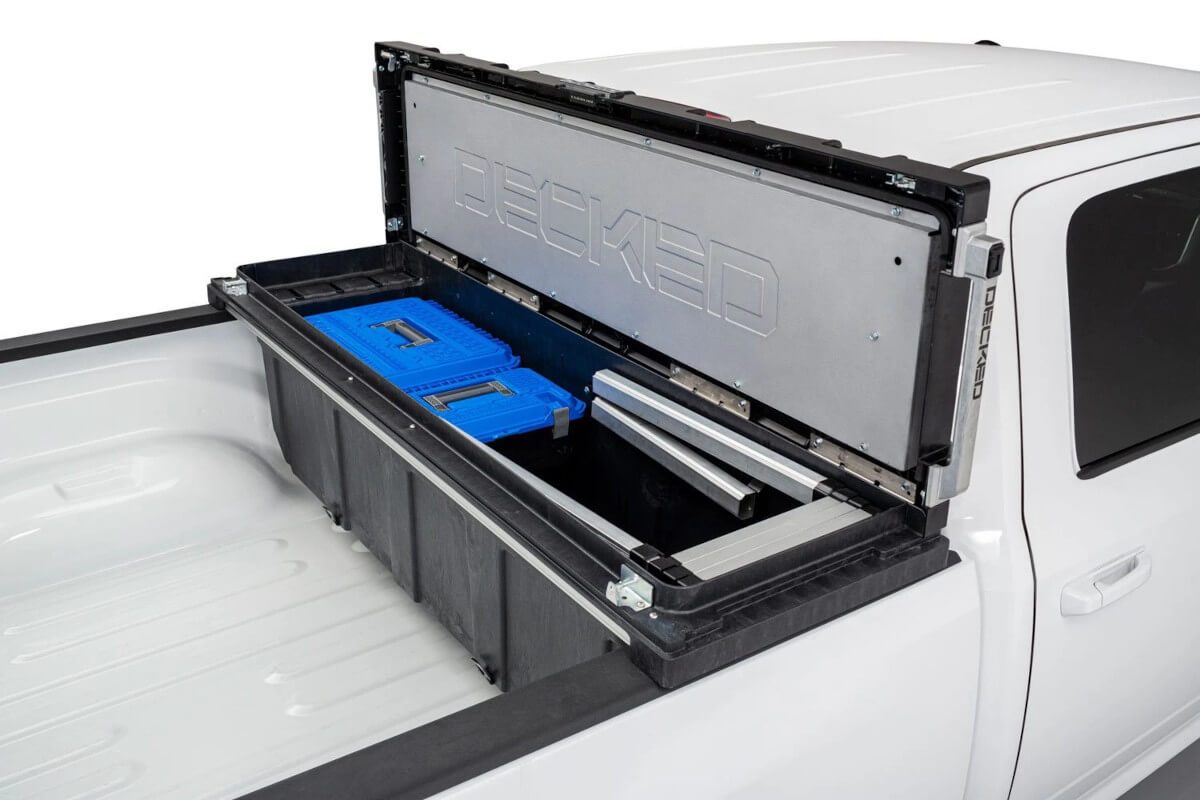
Look for a truck tool box with a no-drill installation system, such as a clamp or mounting brackets. This will allow you to securely install the tool box without having to drill into your truck bed.
Read more: How To Organize A Truck Tool Box
Step 5: Position the Tool Box
Now that you have prepared the truck bed and applied foam tape or weatherstripping, it’s time to position the tool box in the desired location.
Before placing the tool box onto the truck bed, ensure that the mounting brackets or clamps are properly aligned and ready to secure the box in place.
Carefully lift the tool box and position it onto the truck bed, aligning it with the foam tape or weatherstripping that you applied earlier.
Take your time to position the tool box properly, making sure it is centered and aligns with the sides and front of the truck bed. This will ensure a symmetrical and visually appealing installation.
You can also consider leaving a gap between the tool box and the truck bed sidewalls to allow for any potential bed movement or expansion.
If you have a crossover tool box, make sure it is positioned correctly to allow the truck bed cover or tonneau cover to open and close without any obstructions.
Double-check the measurements and placement of the tool box to ensure it fits properly and does not interfere with any other components or accessories of your truck.
Once you are satisfied with the positioning, proceed to the next step to secure the tool box using the chosen mounting method.
By carefully positioning the tool box on the truck bed, you lay the foundation for a secure and visually appealing installation.
Step 6: Secure the Tool Box with Clamps or Tie-Downs
To ensure that your truck tool box remains secure and stable during transportation, it is important to properly secure it using clamps or tie-downs.
If you have chosen a bed rail mounting system, use the provided clamps to attach the tool box securely to the bed rails. Position the clamps around the tool box and tighten them using a screwdriver or wrench, ensuring a snug fit.
Make sure to evenly distribute the clamps along the length of the tool box, considering the weight and load capacity of your tool box model. This will provide optimal stability and prevent any shifting or movement.
For tie-downs, use heavy-duty straps or bungee cords to secure the tool box to anchor points in the truck bed. Pass the straps or cords through the designated tie-down slots or secure them around the tool box and the truck bed, creating a tight and secure connection.
When securing the tool box, ensure that the clamps or tie-downs are tightened properly, but not overly tightened to avoid damaging the tool box or the truck bed. Check the stability by giving the tool box a gentle shake to ensure it is secure and immobile.
If you are using a tonneau cover adapter kit, follow the instructions provided to properly secure the tool box onto the tonneau cover rails.
By using clamps or tie-downs, you provide an additional layer of security, preventing the tool box from shifting or moving and keeping your tools and equipment safe while on the road.
Step 7: Test the Stability of the Tool Box
After securing the tool box with clamps or tie-downs, it is essential to test its stability to ensure a safe and secure installation.
Gently shake the tool box from different angles to assess if there is any movement or shifting. If the tool box feels loose or unstable, recheck the clamps or tie-downs to make sure they are properly tightened.
It’s also important to test the stability of the tool box while driving. Take your truck for a short drive, paying attention to any vibrations or rattling sounds that may indicate a loose or unstable installation.
If you notice any instability or issues, carefully stop the vehicle in a safe location and check the clamps, tie-downs, and mounting system. Make any necessary adjustments or tightening to ensure a secure fit.
Regularly check the tool box’s stability and the integrity of the mounting system, especially after driving on rough terrains or long distances. This will help prevent any potential accidents or damage to your tools and equipment.
Additionally, keep an eye on the tool box’s condition over time. Regularly inspect the mounting brackets, clamps, and tie-downs for signs of wear or corrosion. Replace any damaged or worn components to maintain a secure and stable tool box installation.
By testing the stability of the tool box, you can have peace of mind knowing that your tools and equipment are secure and protected during your journeys.
Conclusion
Installing a truck tool box without drilling is a practical solution for those who want to keep their truck beds organized without making permanent modifications. By following the steps outlined in this guide, you can successfully install a tool box on your truck bed while ensuring stability and security.
From measuring the truck bed and choosing the right mounting option to cleaning the truck bed and applying foam tape or weatherstripping, each step plays a crucial role in the installation process. Taking the time to properly position and secure the tool box with clamps or tie-downs is essential for a safe and stable installation.
Remember to periodically inspect the tool box’s stability and the integrity of the mounting system, as well as the overall condition of the tool box and its components. Making necessary adjustments or replacements will help maintain a secure and reliable tool box installation over time.
Before beginning the installation process, it’s important to ensure that the chosen tool box and mounting system are compatible with your truck’s dimensions and model. Always refer to the manufacturer’s instructions and recommendations for a successful installation.
By installing a truck tool box without drilling, you can enjoy the convenience and functionality of having your tools and equipment organized and easily accessible while on the go. Whether you have a leased truck or simply prefer not to drill into your truck bed, this method provides a flexible and hassle-free solution.
So, get ready to equip your truck with a tool box and enjoy the benefits of added storage and organization without the need for drilling. Start by measuring your truck bed, choosing the right mounting option, and following each step outlined in this guide for a successful and secure installation.
Your truck will be well-equipped to handle any task or adventure that comes your way, with your tools conveniently stored and readily accessible in your newly installed truck tool box.
Frequently Asked Questions about How To Install A Truck Tool Box Without Drilling
Was this page helpful?
At Storables.com, we guarantee accurate and reliable information. Our content, validated by Expert Board Contributors, is crafted following stringent Editorial Policies. We're committed to providing you with well-researched, expert-backed insights for all your informational needs.


0 thoughts on “How To Install A Truck Tool Box Without Drilling”