
Articles
How To Replace A Lock On A Truck Tool Box
Modified: August 16, 2024
Learn how to easily replace a lock on a truck tool box with our informative articles. Find step-by-step instructions and valuable tips to complete the task efficiently.
(Many of the links in this article redirect to a specific reviewed product. Your purchase of these products through affiliate links helps to generate commission for Storables.com, at no extra cost. Learn more)
Introduction
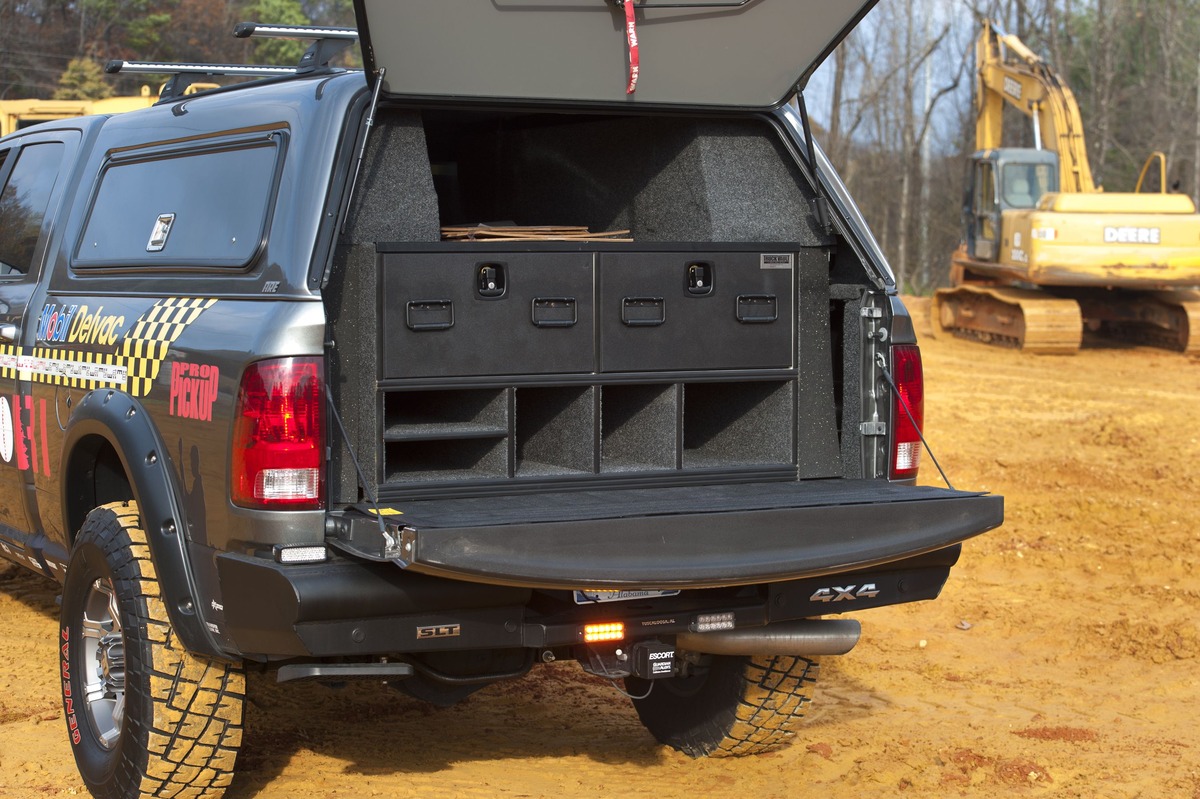
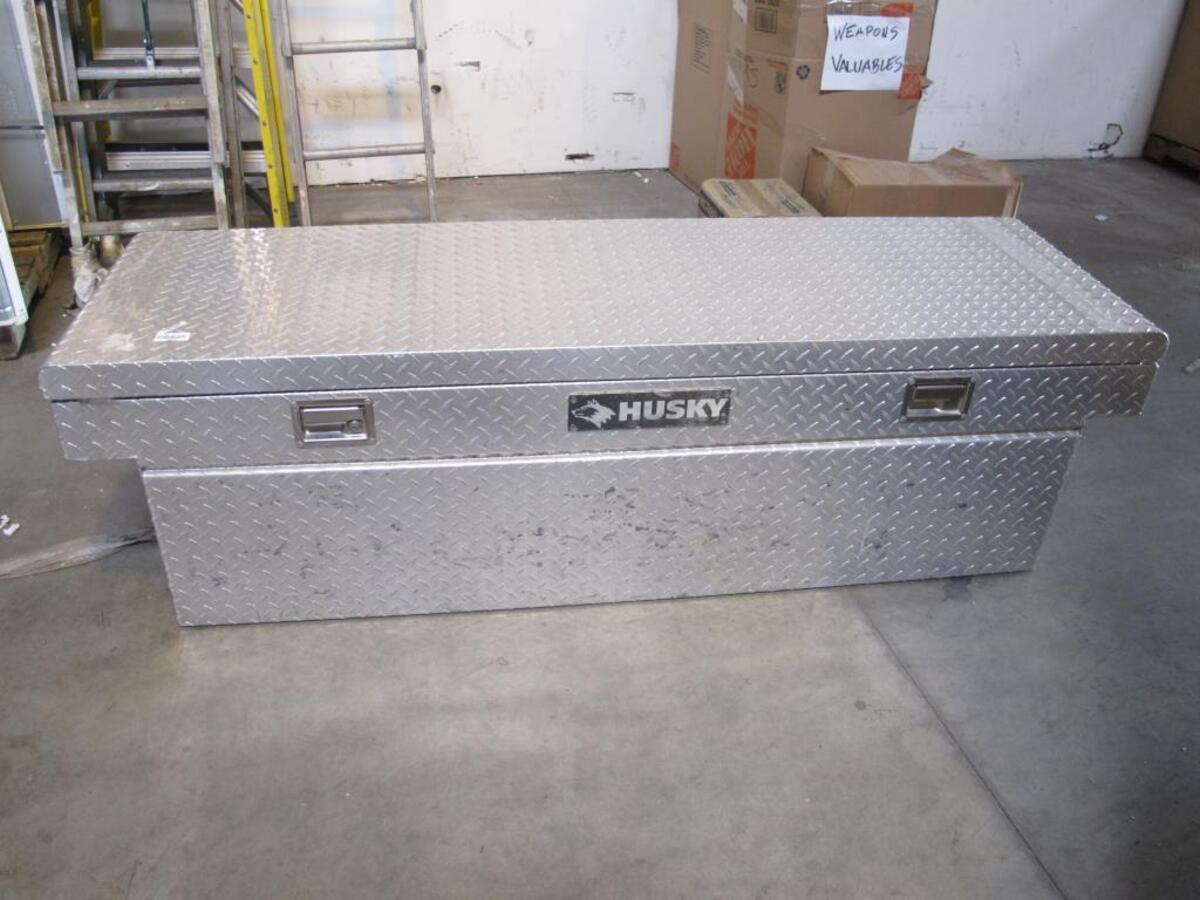
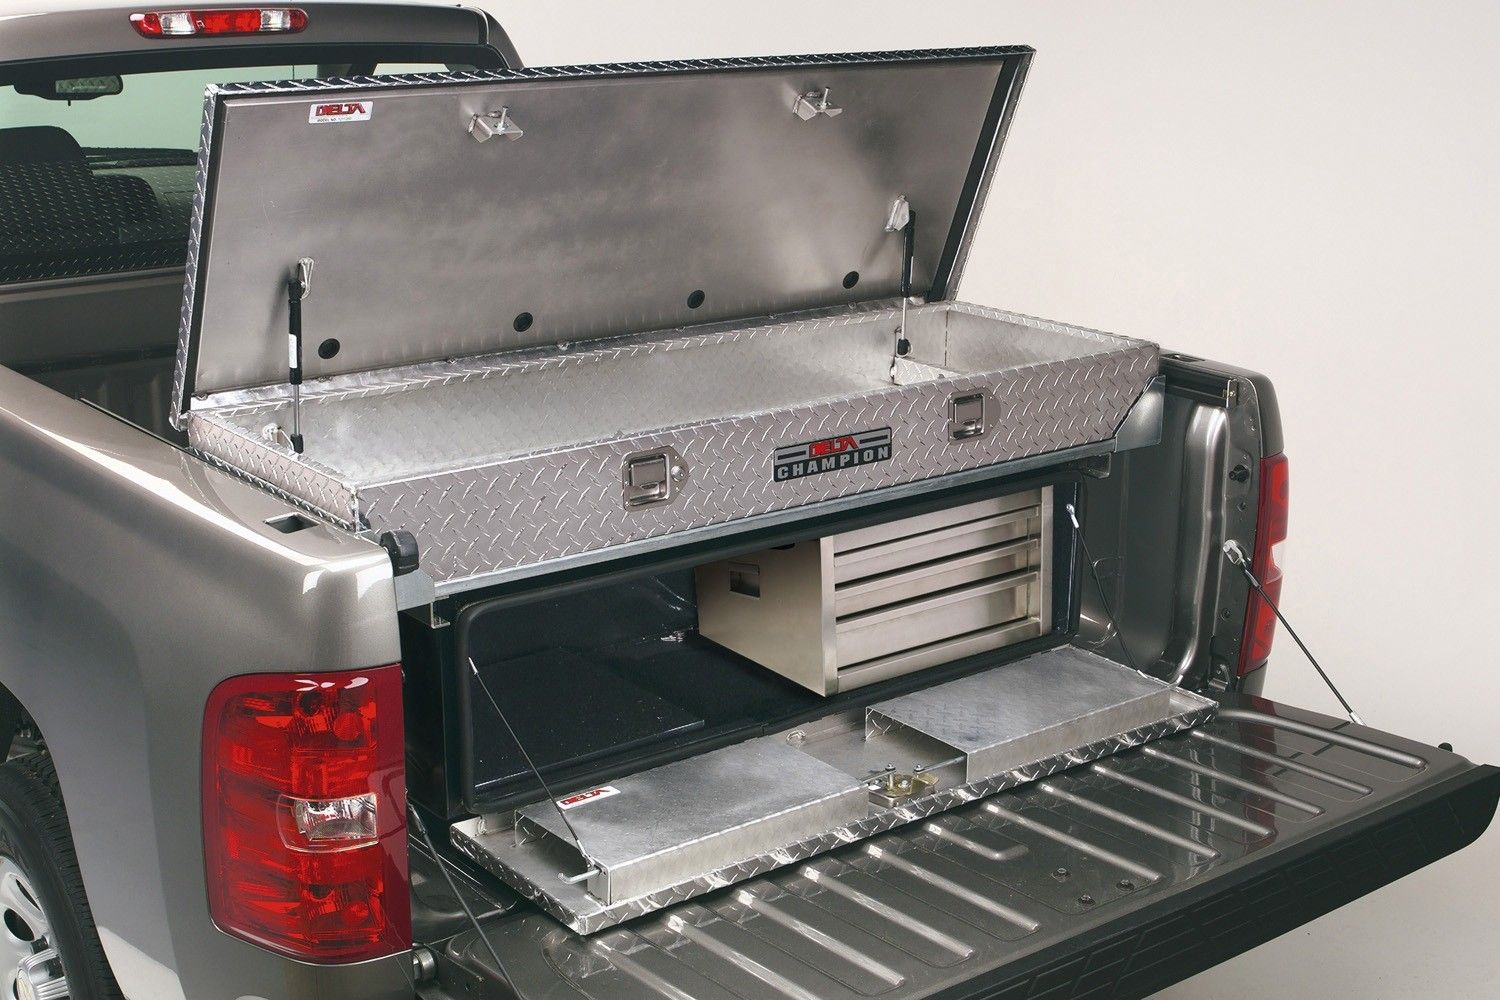
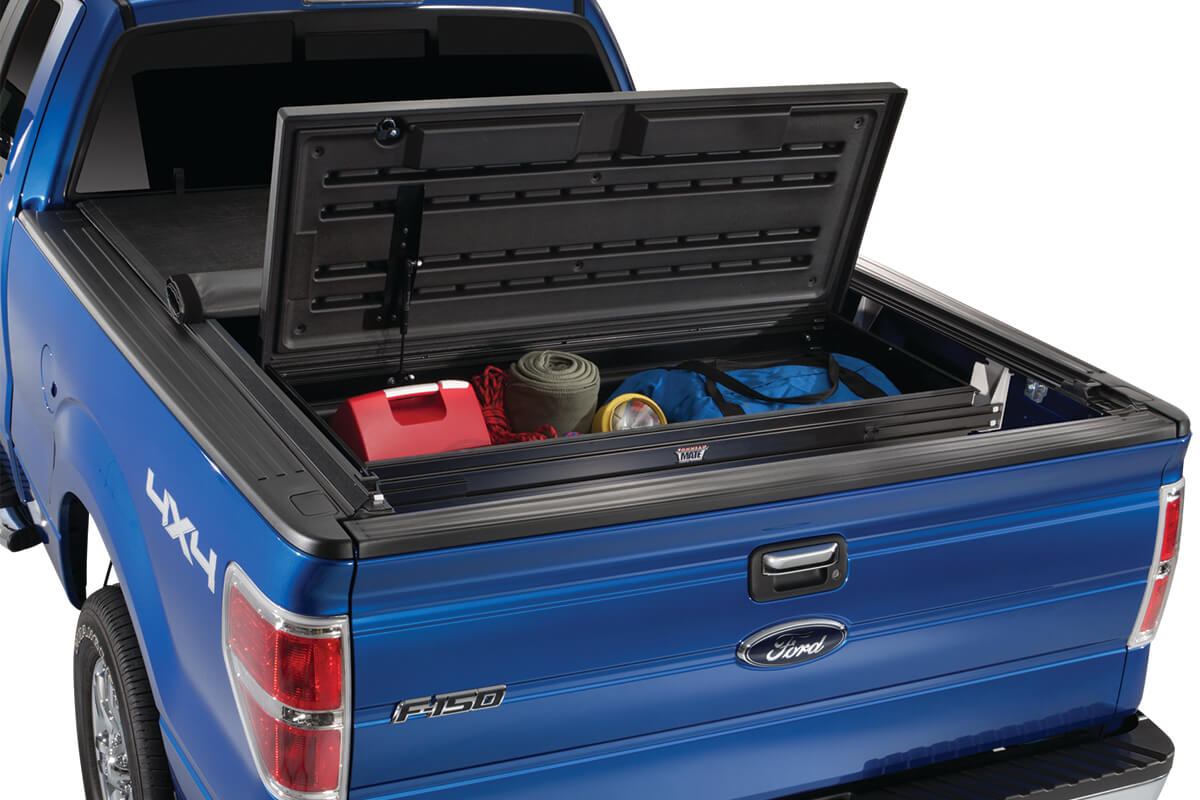
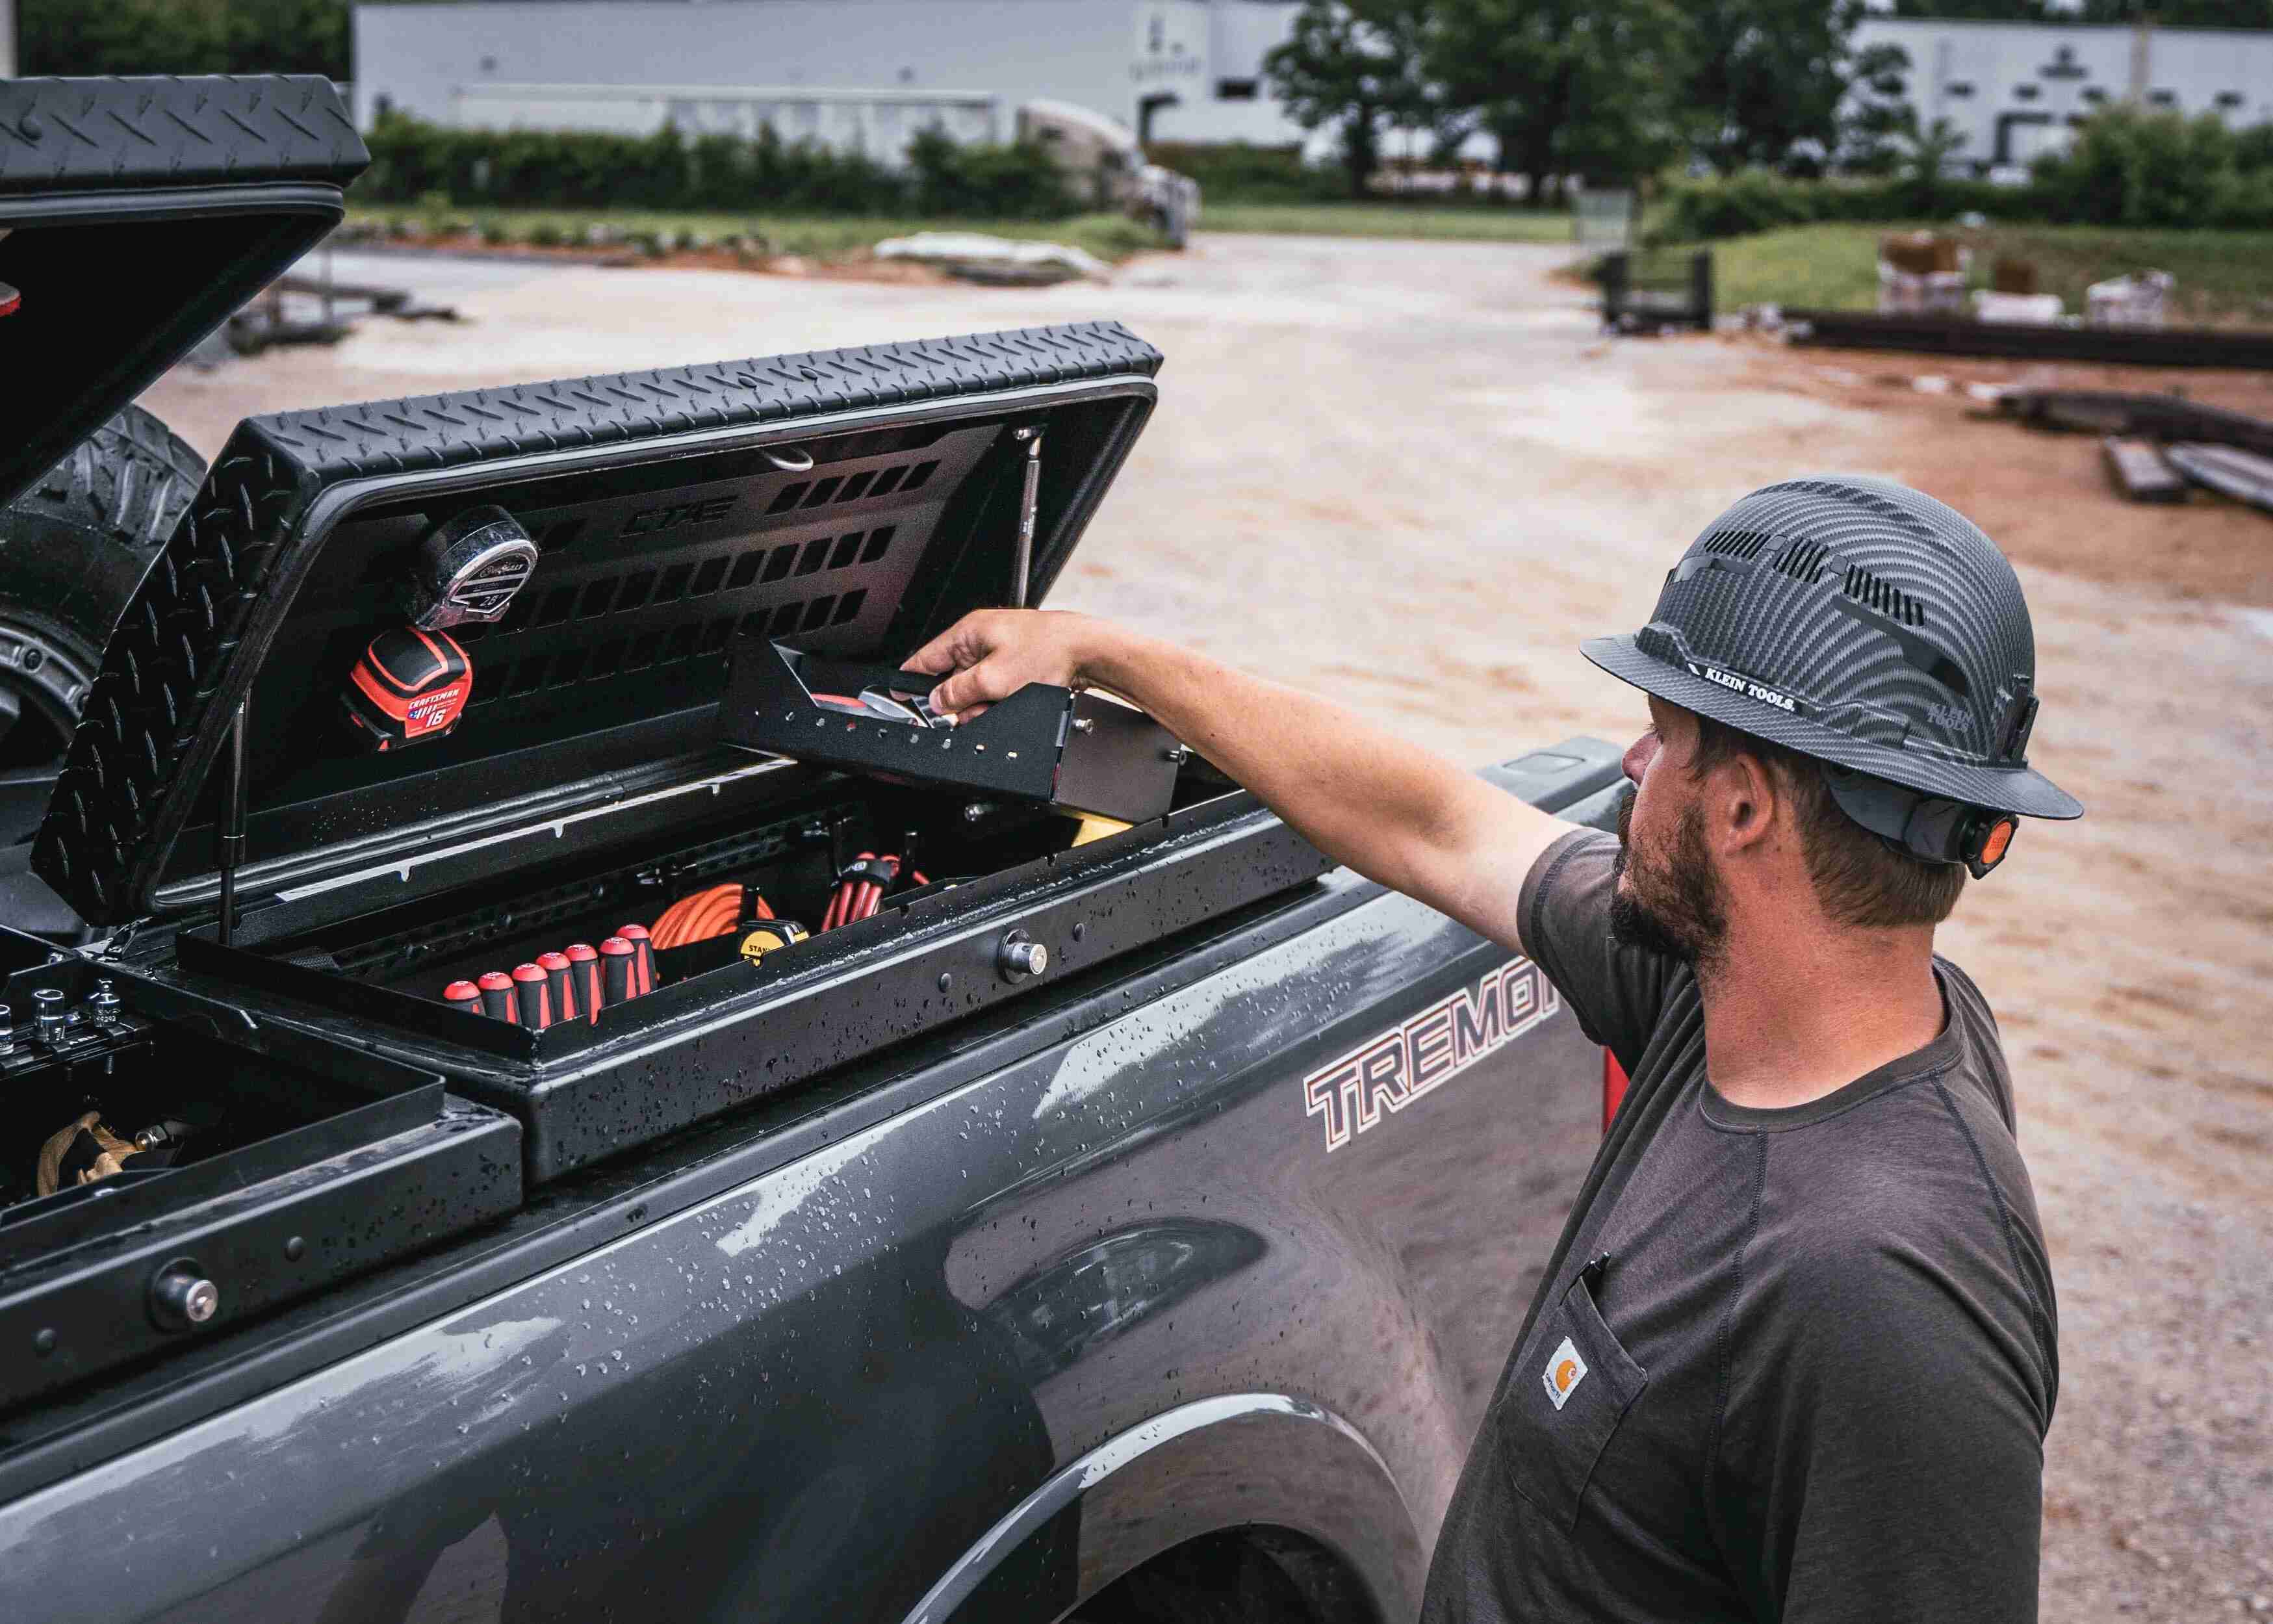
When it comes to securing your belongings in a truck tool box, having a reliable lock is of utmost importance. Over time, locks can become worn out or damaged, compromising the security of your tools and equipment. In such cases, it becomes necessary to replace the lock on your truck tool box.
Replacing a lock may seem like a daunting task, but with the right tools and guidance, you can easily accomplish it within a short period of time. In this article, we will guide you through the process of replacing a lock on a truck tool box, ensuring that your belongings remain protected.
Before we begin, it’s essential to ensure that you have the necessary tools and materials at hand. This will make the process smoother and more efficient.
Key Takeaways:
- Replacing a lock on a truck tool box is a manageable task with the right tools and guidance. By following the step-by-step process, you can ensure the security and protection of your valuable tools and equipment.
- Thoroughly testing and double-checking the functionality of the new lock is crucial for peace of mind. With proper preparation and attention to detail, you can confidently secure your truck tool box and its contents.
Read more: How To Organize A Truck Tool Box
Tools and Materials Needed
Before you begin replacing the lock on your truck tool box, gather the following tools and materials:
- Phillips screwdriver
- Flathead screwdriver
- Lock replacement kit
- Tape measure
- Pencil or marker
- Rubbing alcohol
- Clean cloth
Having these tools on hand will ensure that you have everything needed to complete the lock replacement process smoothly.
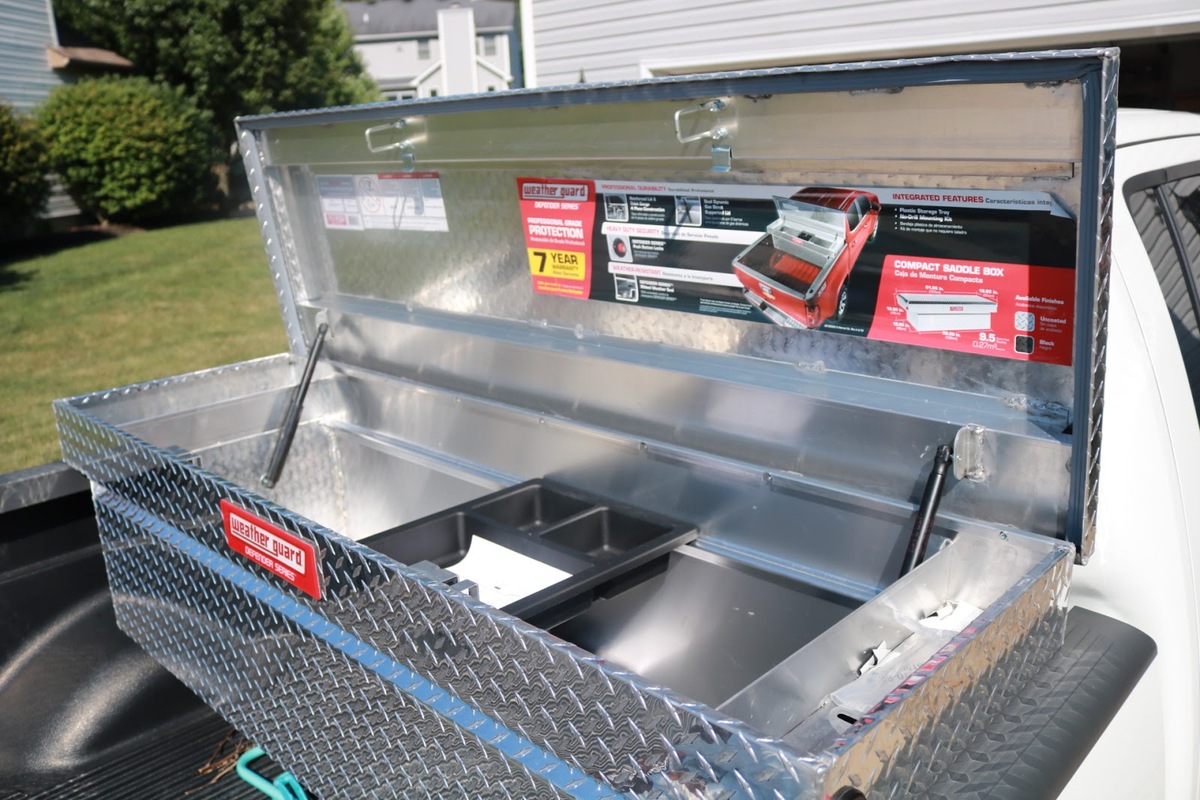
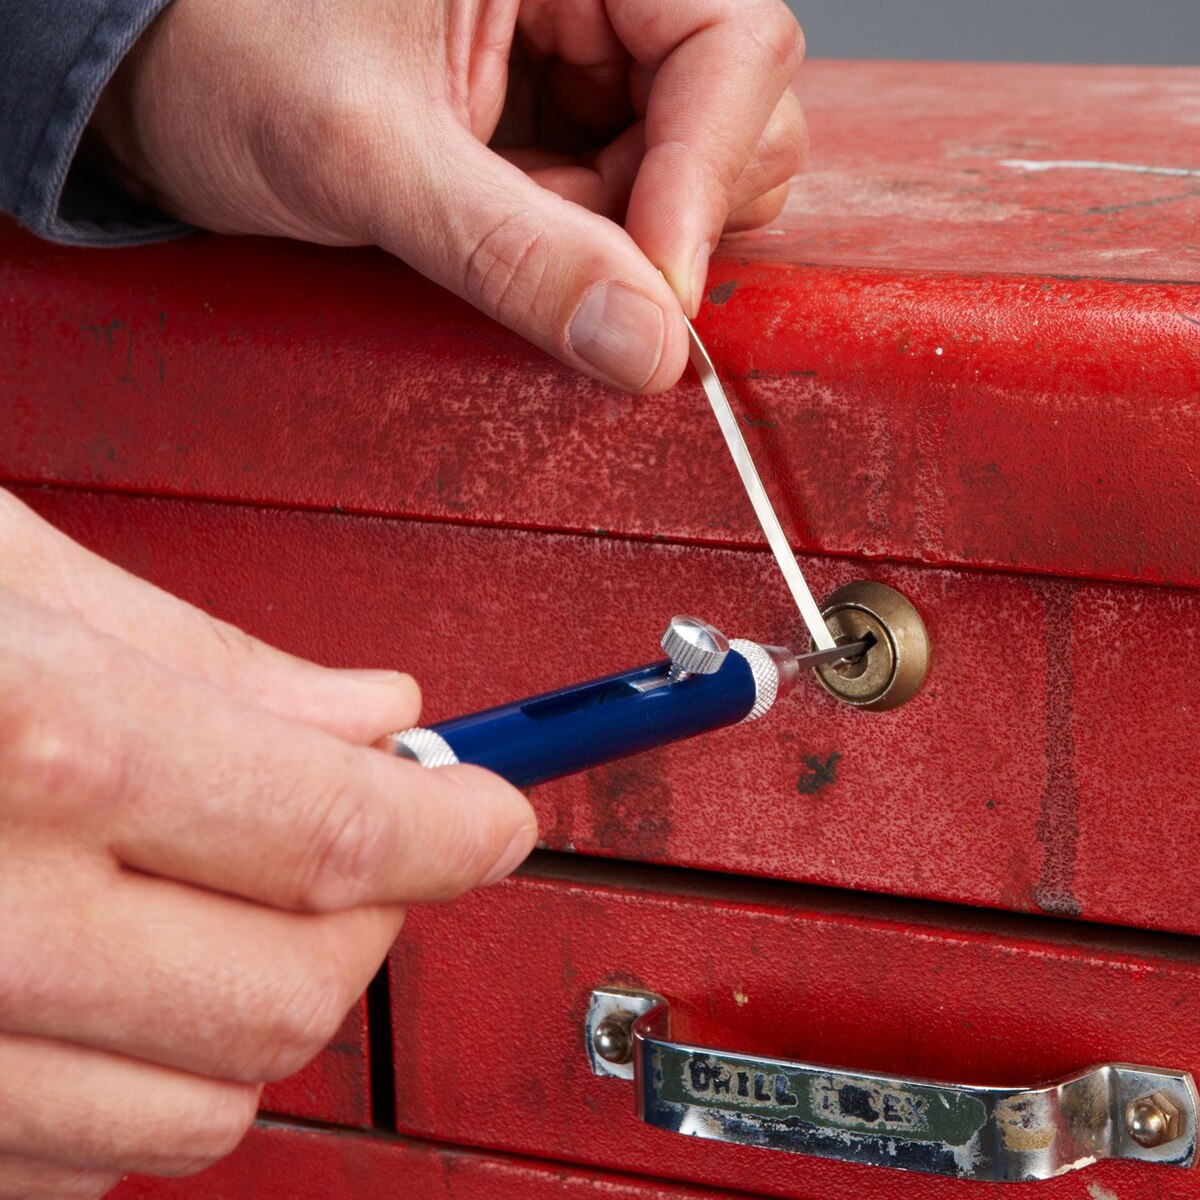
Step 1: Remove the Old Lock
The first step in replacing the lock on your truck tool box is to remove the old lock. Follow these steps:
- Open the truck tool box and locate the lock mechanism.
- Use a Phillips screwdriver to remove the screws holding the lock in place. These screws are usually located on the inside of the tool box door.
- If there is a latch or hook securing the lock, use a flathead screwdriver to release it.
- Once the screws and any latches are removed, gently pull the lock out of the tool box door.
- Inspect the lock and the surrounding area for any dirt or debris. Use rubbing alcohol and a clean cloth to clean the area before proceeding to the next step.
By following these steps, you will successfully remove the old lock from your truck tool box, making way for the installation of the new lock.
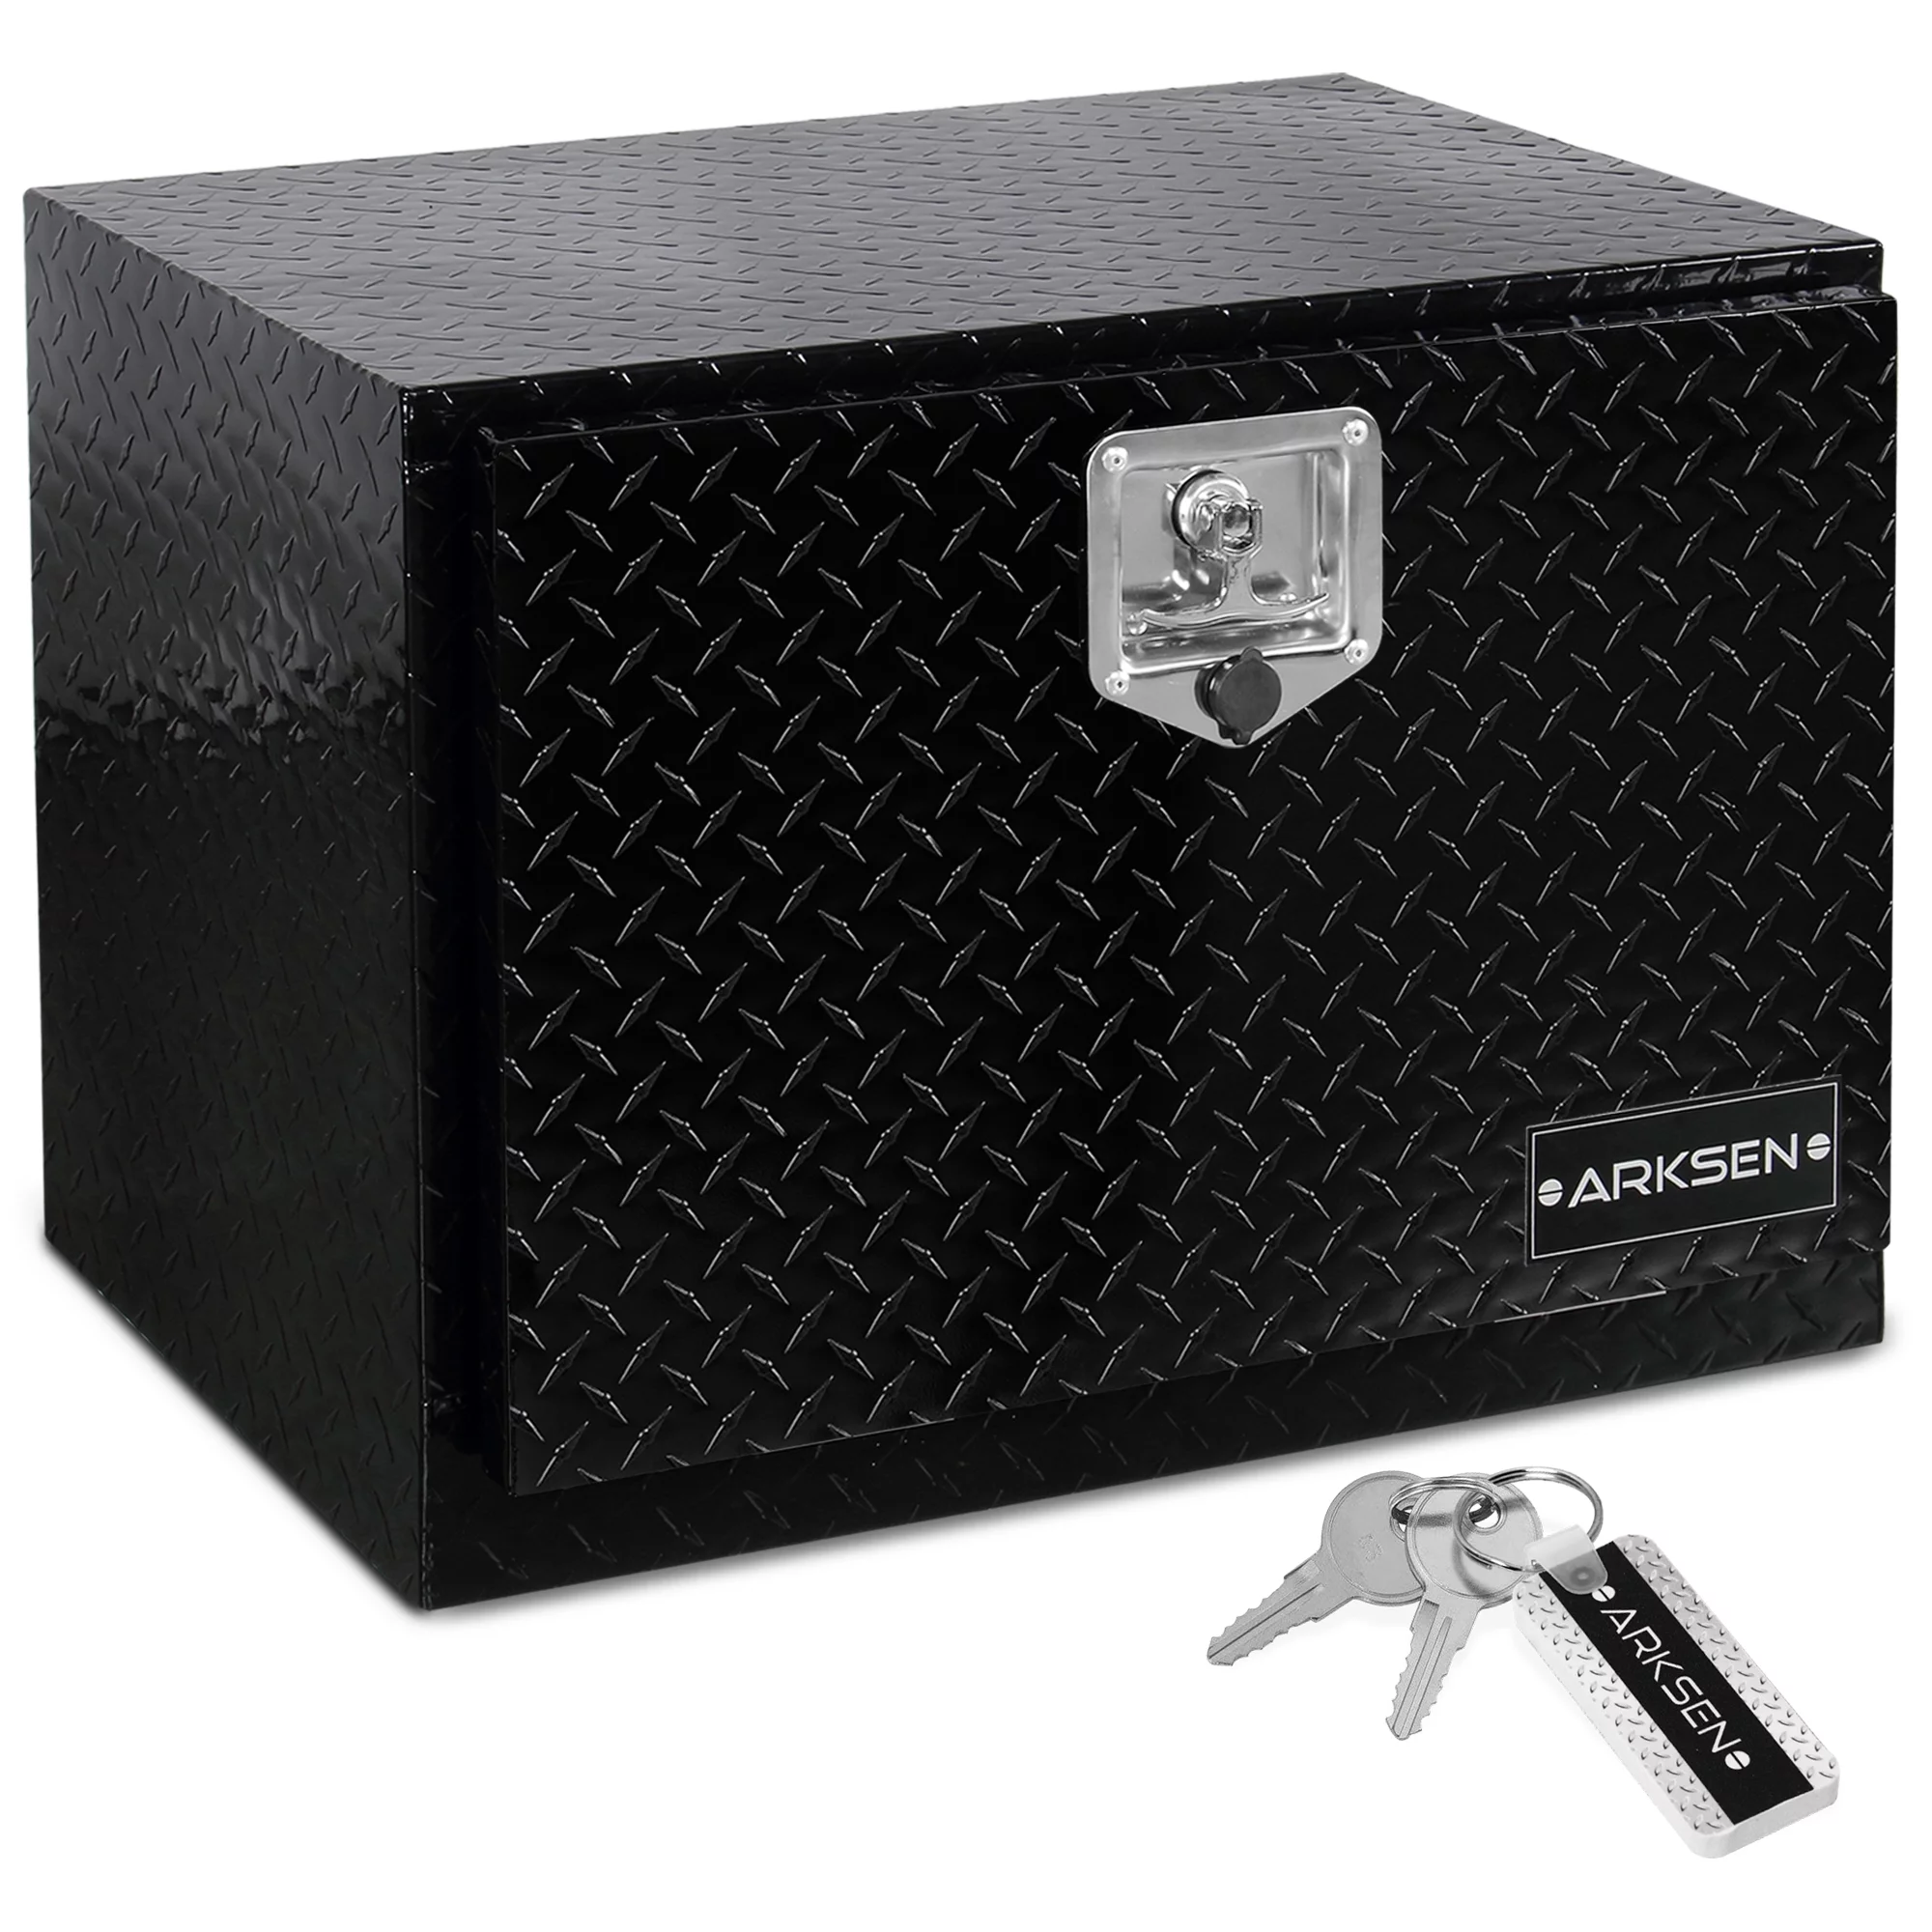
Step 2: Measure and Purchase the New Lock
Once the old lock is removed, it’s time to measure and purchase the new lock for your truck tool box. Follow these steps:
- Using a tape measure, measure the dimensions of the opening where the old lock was installed. Note down the height and width of the opening.
- Some locks come with adjustable components, while others are available in specific sizes. Ensure that you choose a lock that matches the dimensions you measured.
- Consider the type of lock you want to install. There are various options available, such as key locks, combination locks, or even electronic locks. Choose the one that best suits your preferences and needs.
- Once you have determined the size and type of lock you need, purchase it either from a local hardware store or online. Make sure to check customer reviews and ratings before making your purchase.
By following these steps, you will be able to select and purchase the appropriate lock for your truck tool box, ensuring a secure and functional replacement.
When replacing a lock on a truck tool box, make sure to measure the existing lock and purchase a replacement that matches the dimensions to ensure a proper fit.
Step 3: Prepare the Locking Mechanism
Now that you have the new lock in hand, it’s time to prepare the locking mechanism before installing it on your truck tool box. Follow these steps:
- Examine the new lock and familiarize yourself with its components. Take note of how the locking mechanism works and any specific instructions provided by the manufacturer.
- If there are any adjustable components on the lock, adjust them according to the dimensions of the opening you measured earlier. This will ensure a proper fit.
- Apply a small amount of lubricant or graphite powder to the moving parts of the locking mechanism. This will help ensure smooth operation and minimize the risk of future lock jams.
- Double-check that all the necessary components, such as screws or bolts, are included with the lock. If anything is missing, contact the manufacturer or return the product for a replacement.
By following these steps, you will properly prepare the locking mechanism of the new lock, ensuring that it is ready to be installed on your truck tool box.
Read more: How To Attach Tool Box To Truck
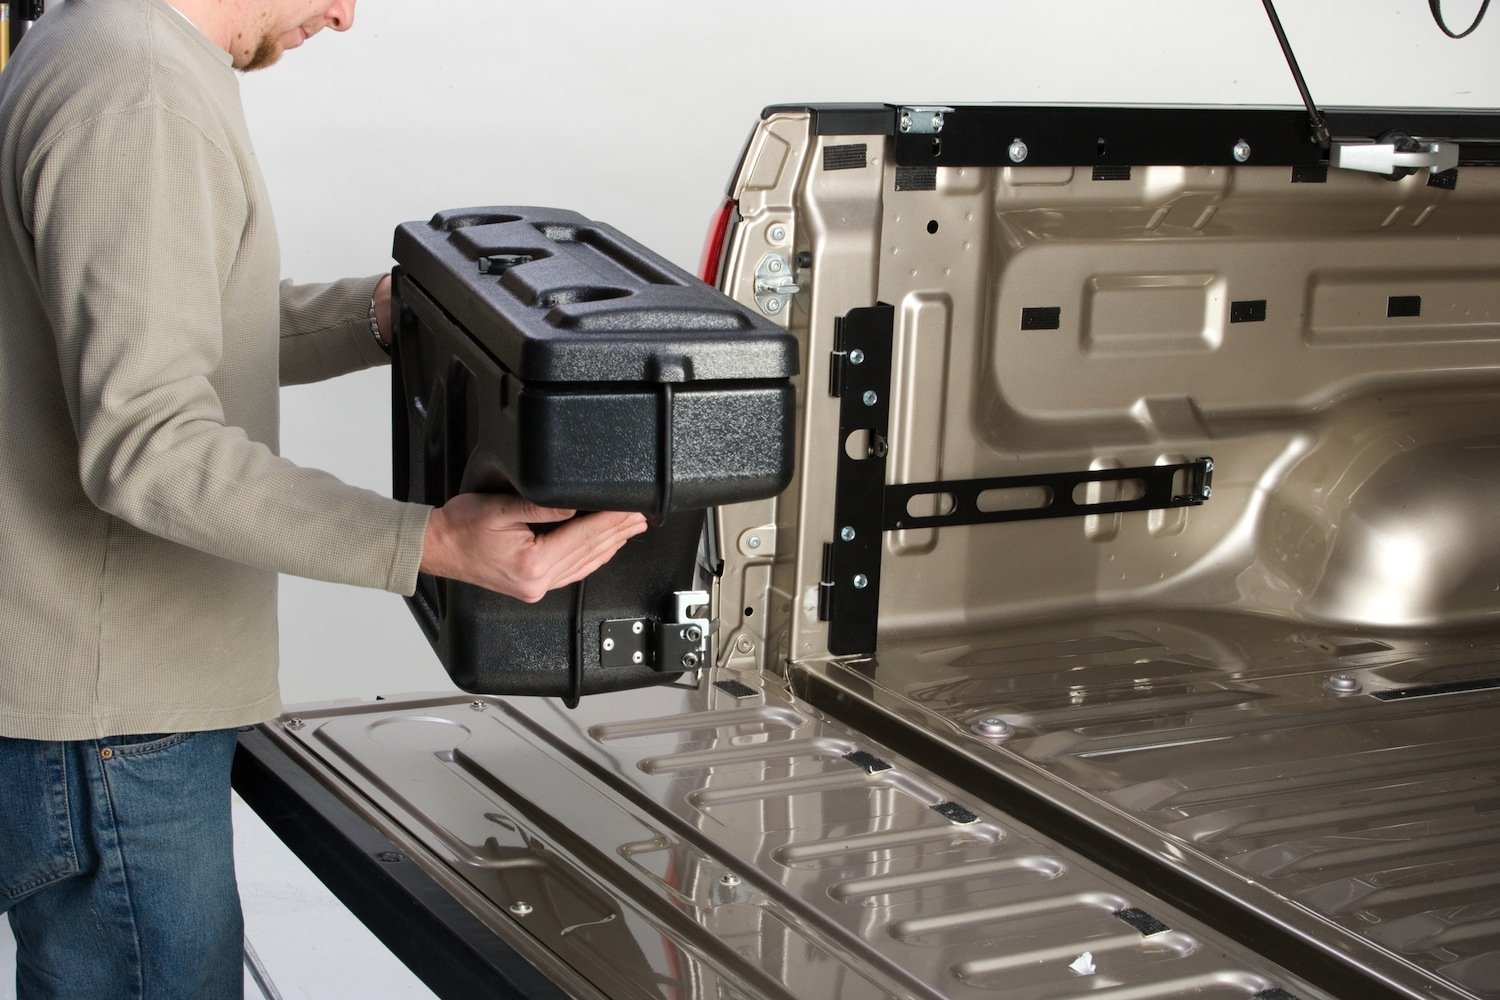
Step 4: Install the New Lock
With the locking mechanism prepared, it’s time to install the new lock onto your truck tool box. Follow these steps:
- Position the new lock in the opening where the old lock was removed. Ensure that it aligns properly and fits securely.
- Insert the screws or bolts provided with the lock through the holes on the inside of the tool box door, securing the lock in place. Use a screwdriver or wrench to tighten them, but be careful not to overtighten and damage the lock or the tool box door.
- If there are any additional components, such as a latch or hook, attach them according to the manufacturer’s instructions. Double-check that everything is secure and functioning properly.
- Test the lock to ensure that it is working correctly. Use the key or follow the instructions for combination locks to lock and unlock the tool box door. Make sure that the lock engages smoothly and securely.
By following these steps, you will successfully install the new lock onto your truck tool box, ensuring that your belongings remain safe and secure.
Step 5: Test and Double Check the Lock
After installing the new lock on your truck tool box, it is important to thoroughly test and double-check its functionality. Follow these steps:
- Lock the tool box using the new lock and ensure that it engages properly without any resistance or difficulty.
- Attempt to open the tool box using the key or following the instructions for combination locks. Confirm that the lock unlocks smoothly and without any issues.
- Check for any misalignment or loose components. If necessary, adjust the position of the lock or tighten any screws or bolts to ensure a secure fit.
- Test the lock multiple times to ensure its reliability and consistency.
- If you encounter any problems or concerns with the newly installed lock, refer to the manufacturer’s instructions or contact their customer support for assistance.
By thoroughly testing and double-checking the lock, you can have peace of mind knowing that your truck tool box is secure and protected.
Conclusion
Replacing a lock on your truck tool box is a task that may seem daunting at first, but with the right tools and guidance, it can be a straightforward process. By following the steps outlined in this guide, you can successfully replace the lock on your truck tool box, ensuring the security and protection of your valuable tools and equipment.
Remember to gather all the necessary tools and materials beforehand, measure and purchase the appropriate lock, and prepare the locking mechanism before installation. Take your time during the process, focusing on proper alignment and securing the lock in place.
Once the new lock is installed, it is crucial to thoroughly test and double-check its functionality to ensure that it operates smoothly and reliably. By taking these steps, you can have confidence in the security of your truck tool box and the protection of your belongings.
If you encounter any difficulties or have specific questions related to your truck tool box or the lock replacement process, it is always advisable to consult the manufacturer’s instructions or reach out to their customer support for further assistance.
Now that you have the knowledge and confidence to replace the lock on your truck tool box, you can enjoy the peace of mind that comes with knowing your valuable tools and equipment are well-protected.
Now that you've mastered replacing a lock on your truck tool box, why not ensure those tools are stored as securely and efficiently as possible? You'll find invaluable insights in our detailed guide on the best tool storage for 2024. Whether you're a professional mechanic or a DIY enthusiast, understanding how to maximize space and maintain order can transform your workflow and care for your equipment. Ready to upgrade your storage setup? Dive into our guide and make the most of your workspace.
Frequently Asked Questions about How To Replace A Lock On A Truck Tool Box
Was this page helpful?
At Storables.com, we guarantee accurate and reliable information. Our content, validated by Expert Board Contributors, is crafted following stringent Editorial Policies. We're committed to providing you with well-researched, expert-backed insights for all your informational needs.


0 thoughts on “How To Replace A Lock On A Truck Tool Box”