Articles
How To Secure Tool Chest To Truck Bed
Modified: August 28, 2024
Discover the best way to secure your tool chest to your truck bed with our informative articles.
(Many of the links in this article redirect to a specific reviewed product. Your purchase of these products through affiliate links helps to generate commission for Storables.com, at no extra cost. Learn more)
Introduction
When it comes to transporting tools and equipment, securing them properly is crucial for both safety and convenience. One of the most effective ways to secure your tools is by using a tool chest in your truck bed. Not only does it keep your tools organized and easily accessible, but it also protects them from potential damage during transportation.
In this article, we will guide you through the process of securing a tool chest to your truck bed, ensuring that it stays in place even during bumpy rides. By following these steps, you can have the peace of mind knowing that your tools are secure and that you can easily locate them whenever you need them.
Before we dive into the steps, it is important to note that the method of securing a tool chest may vary depending on the type of truck bed and the specific tool chest you have. However, the general principles outlined in this article should apply to most situations.
So, without further ado, let’s get started with the first step: gathering the necessary materials.
Key Takeaways:
- Secure your tool chest to your truck bed by gathering the right materials, preparing the truck bed, and positioning the chest correctly. Enhance security with clamps, brackets, and a cable lock for peace of mind during transportation.
- Test the security of your tool chest by checking for movement, smooth operation, and effectiveness of the cable lock. Regularly recheck the security to maintain the integrity of the installation and ensure the safety of your tools.
Read more: How To Secure Truck Tool Box
Step 1: Gather the Necessary Materials
Before you begin the process of securing your tool chest to your truck bed, it is important to gather all the materials you will need. Having everything ready beforehand will make the installation process smoother and more efficient.
Here are the materials you will need:
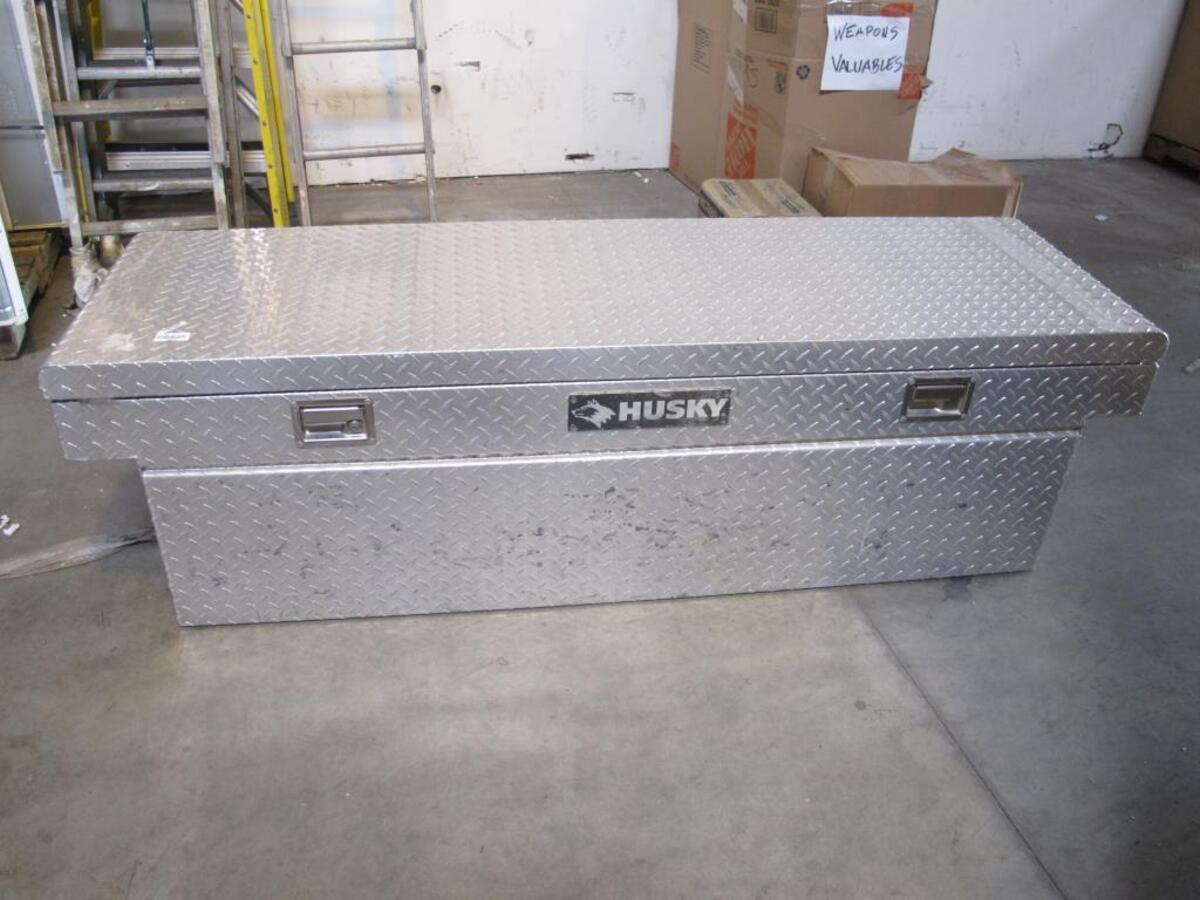
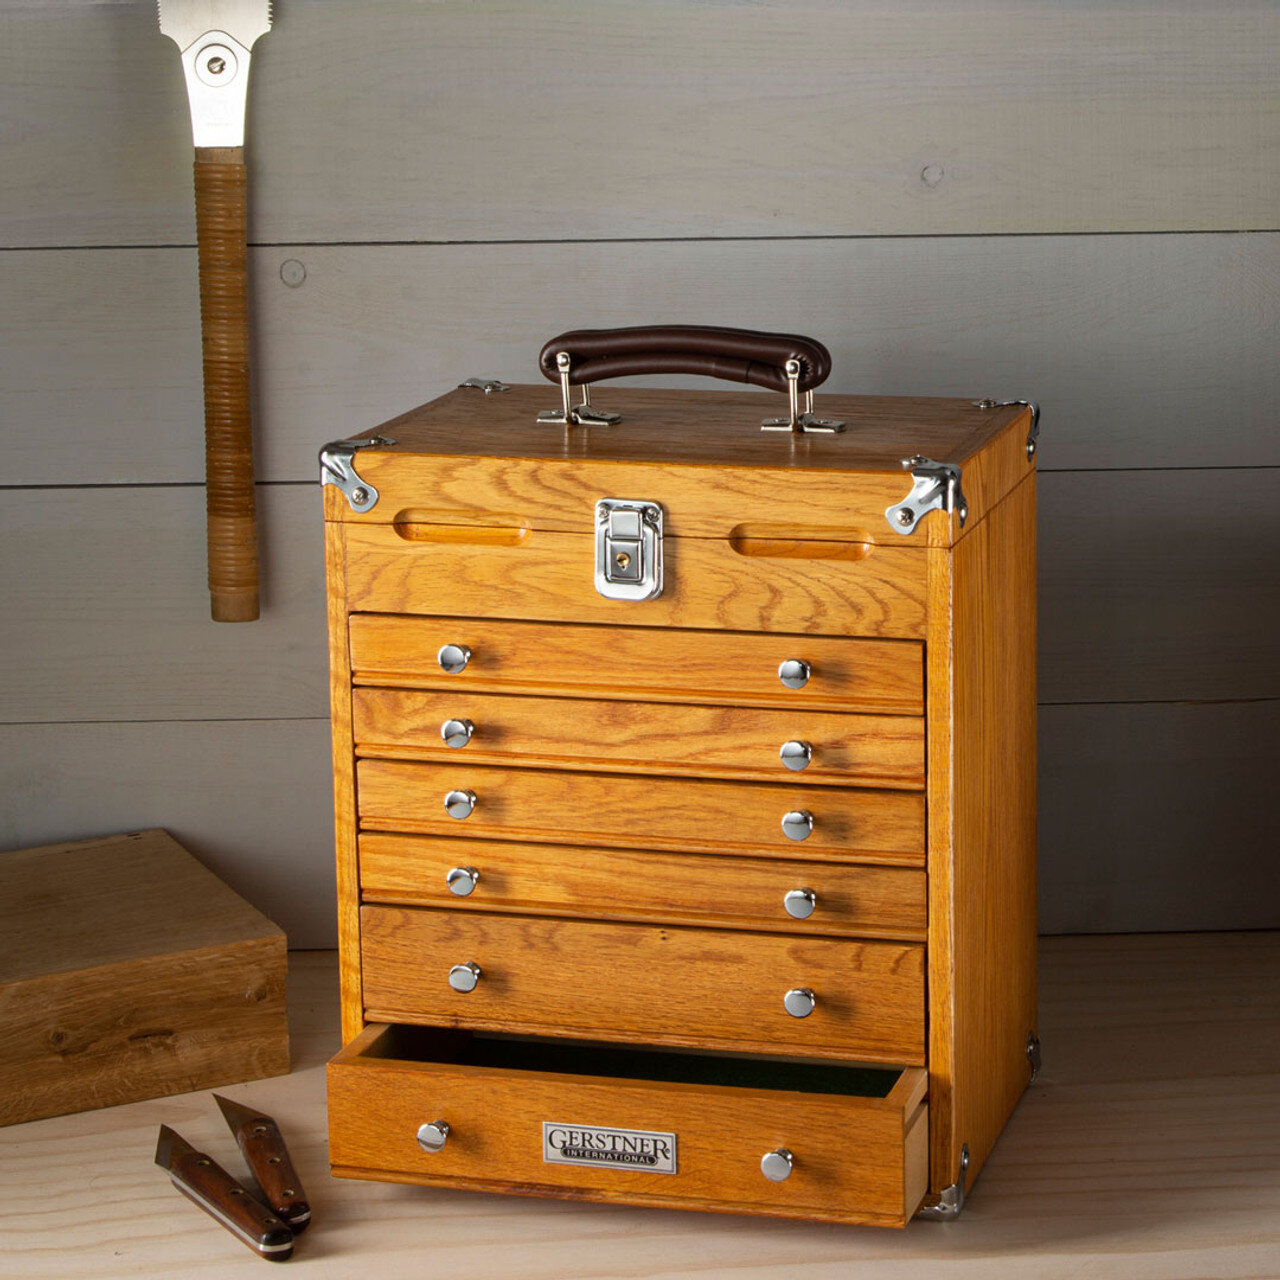
- A tool chest: Choose a tool chest that is suitable for your needs and the size of your truck bed. Consider the dimensions, weight capacity, and durability of the tool chest when making your selection.
- Mounting brackets or clamps: These will be used to secure the tool chest to the truck bed. Make sure to choose brackets or clamps that are compatible with your tool chest and truck bed.
- Bolts, nuts, and washers: You will need these to attach the mounting brackets or clamps to the tool chest and the truck bed. Ensure that the size and strength of the bolts, nuts, and washers are appropriate for the weight and dimensions of your tool chest.
- A cable lock: This is an optional but highly recommended accessory for added security. A cable lock will allow you to lock the tool chest to your truck bed, preventing unauthorized access.
- A drill and drill bits: These will be used to create holes for the bolts in the tool chest and truck bed. Make sure you have the appropriate drill bits for the material of your tool chest and truck bed.
- A socket wrench or adjustable wrench: This will be used to tighten the bolts and nuts during the installation process.
Once you have gathered all the necessary materials, you can proceed to the next step: preparing the truck bed.
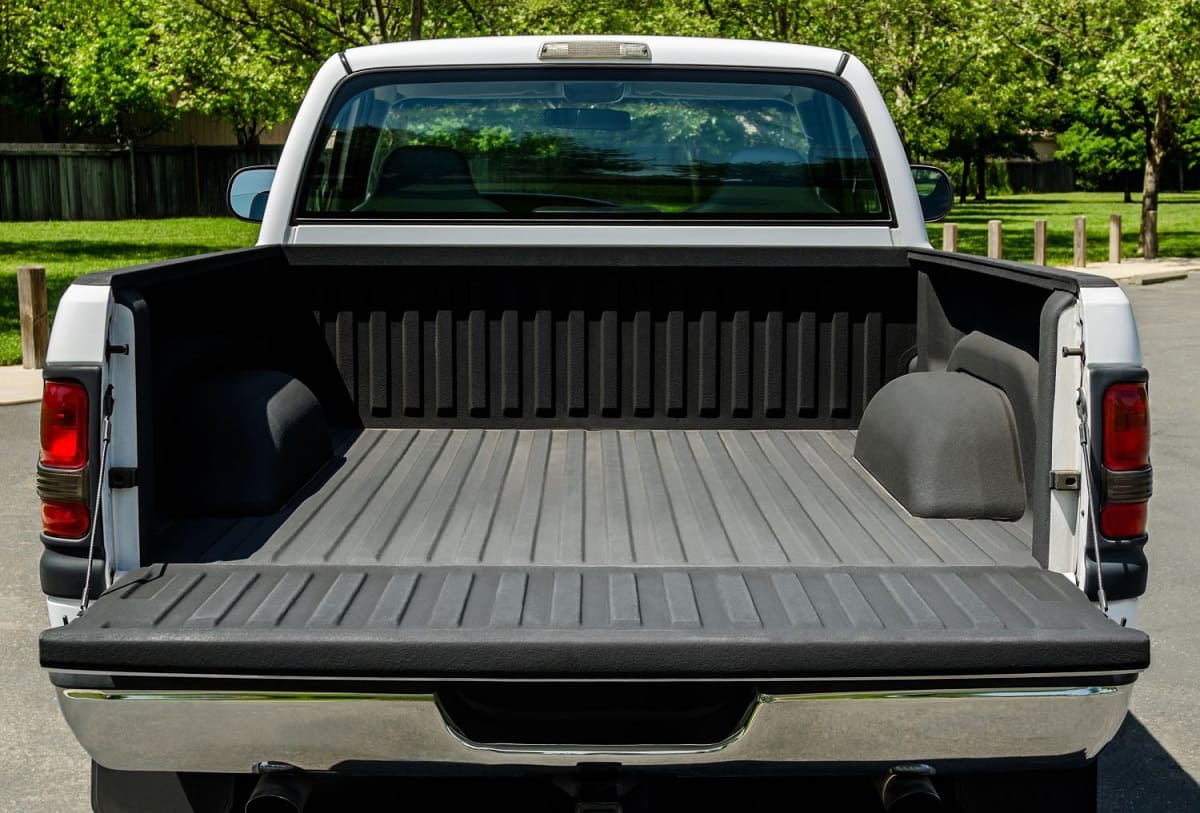
Step 2: Prepare the Truck Bed
Before you can secure the tool chest to your truck bed, it is essential to prepare the truck bed properly. This step will ensure that the tool chest is securely attached and remains stable during transportation.
Follow these steps to prepare the truck bed:
- Clean the truck bed: Remove any dirt, debris, or loose objects from the truck bed. This will create a clean and stable surface for the tool chest to be attached.
- Inspect the truck bed: Check for any existing damages or weak spots in the truck bed. It is important to address any issues prior to installing the tool chest to prevent further damage.
- Measure and mark the desired position: Determine where you want to place the tool chest in the truck bed. Take into consideration the accessibility and weight distribution. Use a measuring tape and mark the designated spot on the truck bed.
- Protect the truck bed: To prevent any scratches or damage to the truck bed, consider using a bed liner or adhesive rubber strips. Apply these protective materials to the marked area.
By properly preparing the truck bed, you create a stable and protected surface for the tool chest to be installed. Once you have completed these steps, you are ready to move on to the next step: positioning the tool chest.
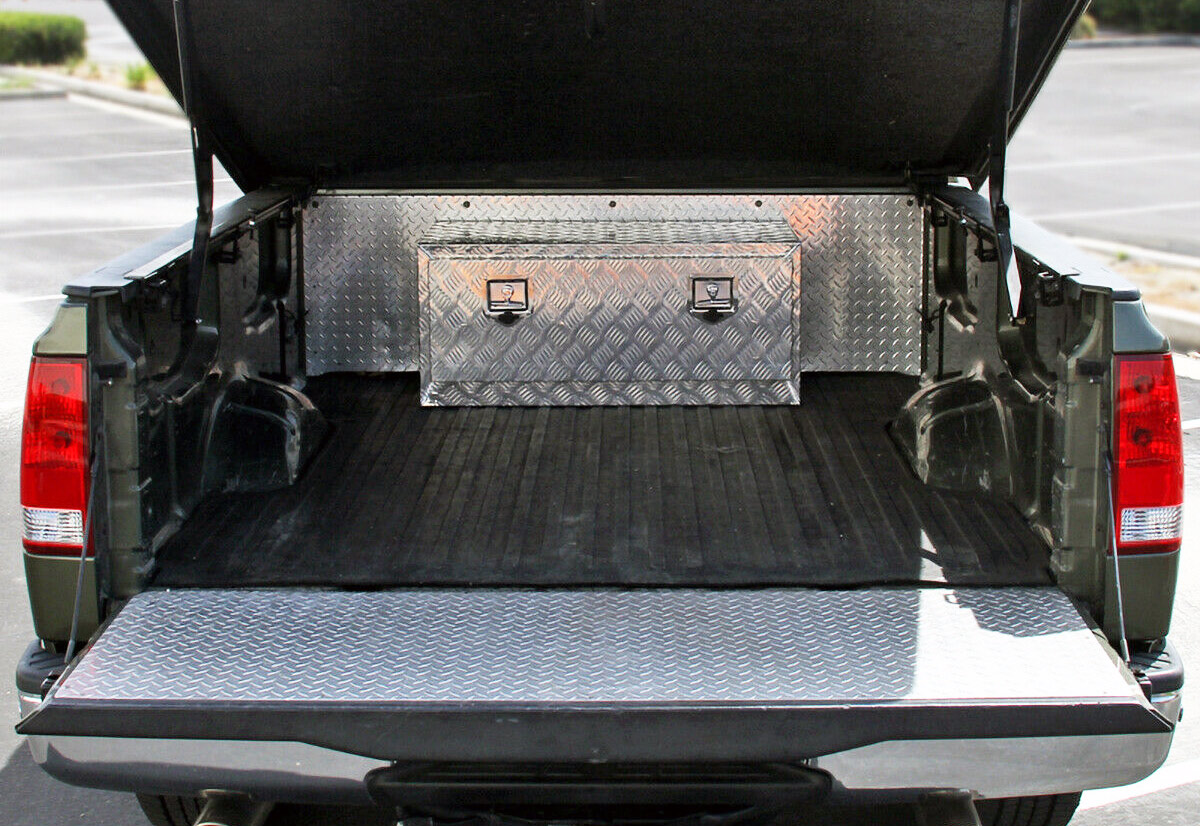
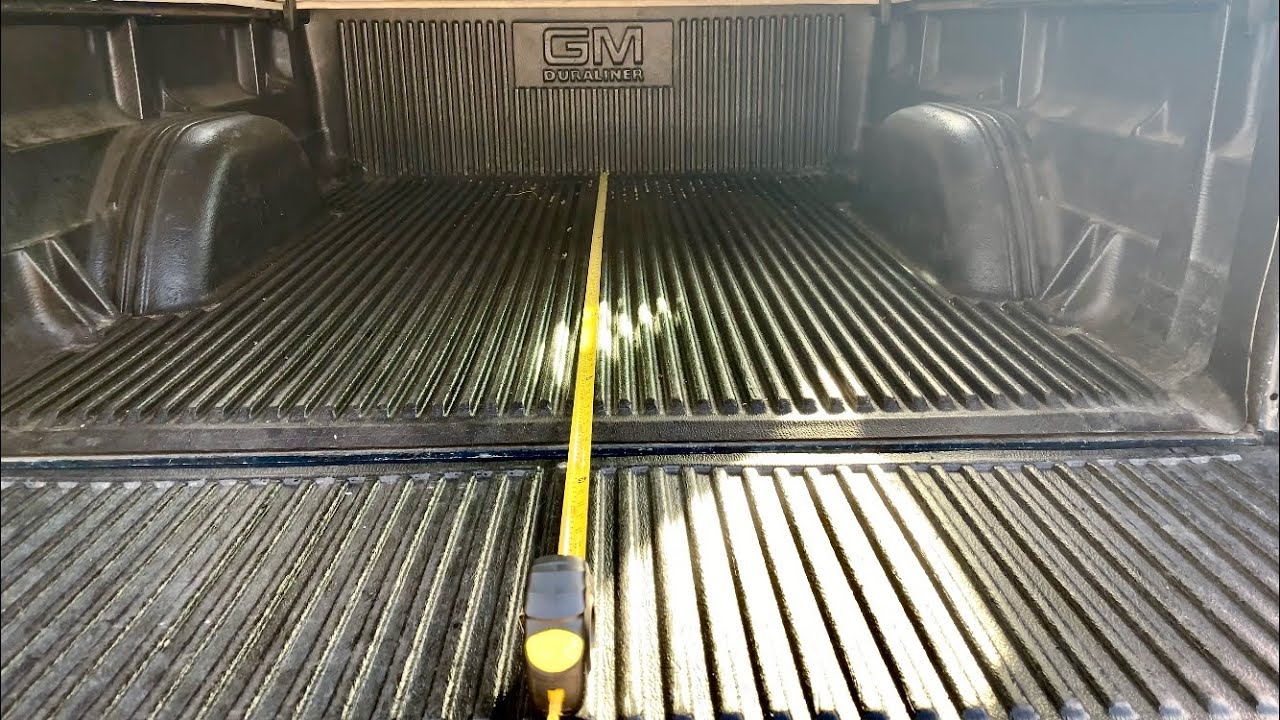
Step 3: Position the Tool Chest
Now that you have prepared the truck bed, it’s time to position the tool chest in the designated spot. This step is crucial as it determines the stability and accessibility of your tools during transportation.
Follow these steps to properly position the tool chest:
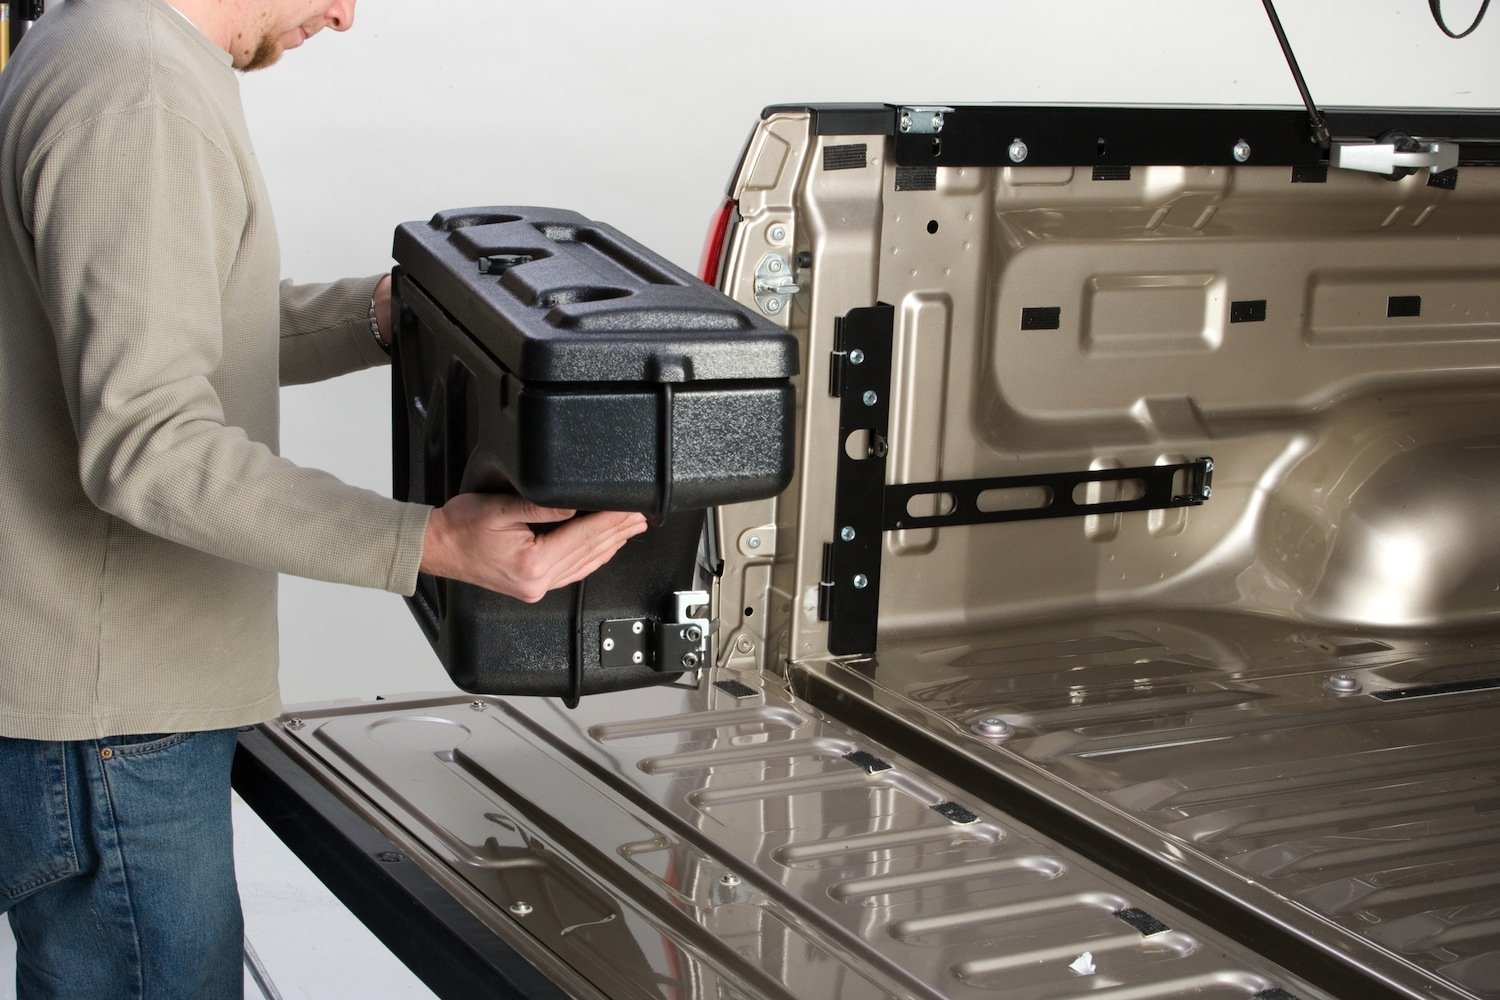
- With the help of a friend or by using a dolly, carefully lift the tool chest and place it onto the truck bed. Ensure that it is aligned with the previously marked spot.
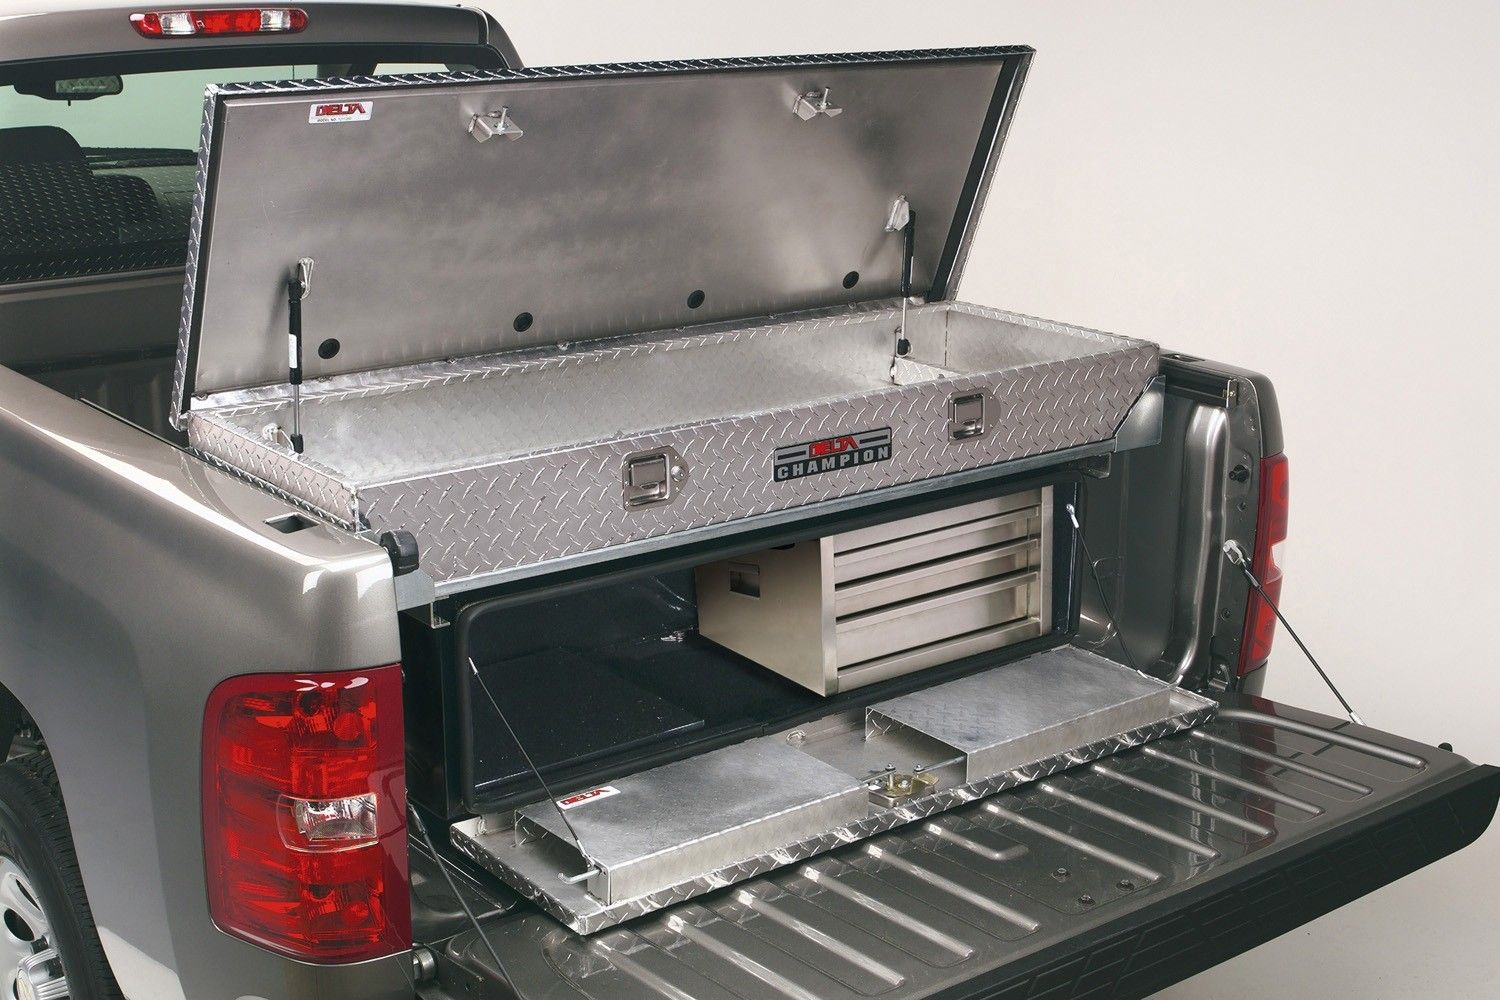
- Check the clearance: Make sure there is enough clearance between the tool chest and any other parts of the truck, such as the tailgate or bed rails. This will allow for smooth opening and closing of the tool chest without any obstructions. Adjust the position if necessary.
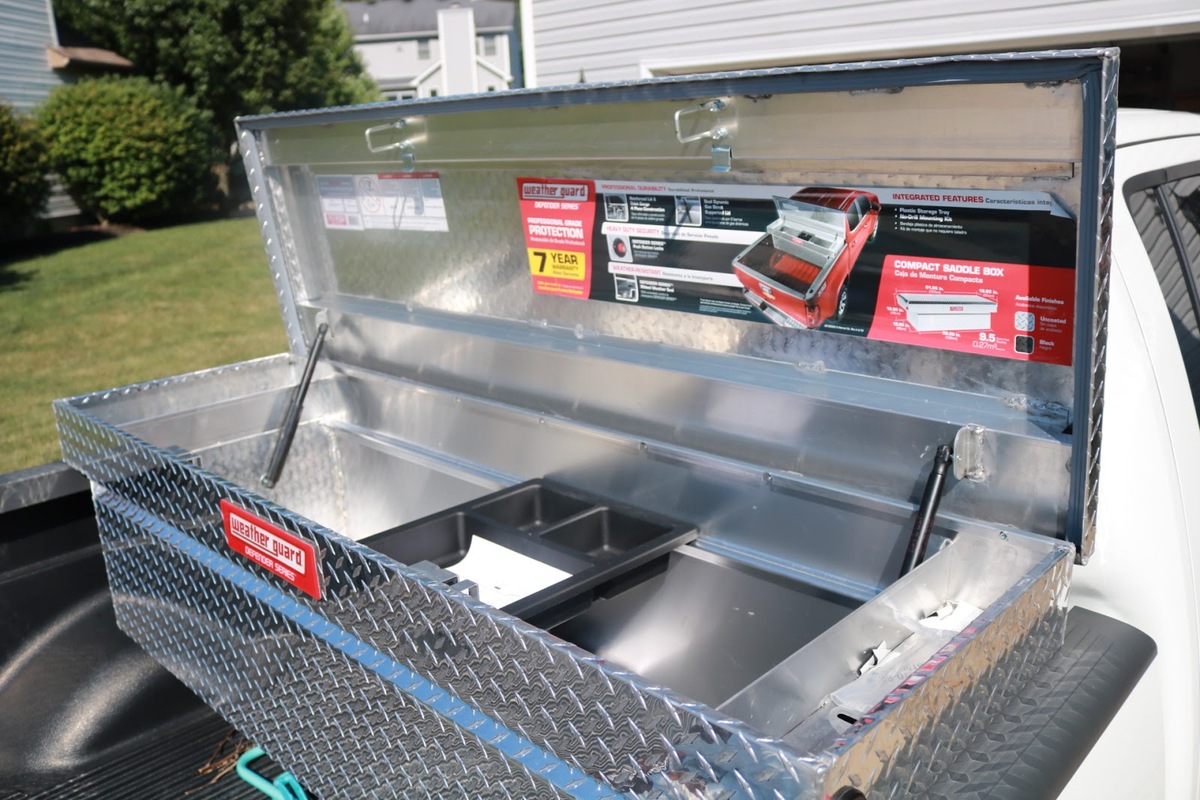
- Ensure a snug fit: The tool chest should fit securely in the truck bed. It should not be loose or wobble. If there are any gaps or movement, consider using shims or padding to create a snug fit.
Properly positioning the tool chest is crucial for its stability and functionality during transportation. Once you have ensured that it is in the correct position, you can proceed to the next step: securing the tool chest using clamps or brackets.
Use heavy-duty bolts and washers to secure the tool chest to the truck bed. Make sure to drill through both the chest and the bed for a secure fit.
Step 4: Secure the Tool Chest Using Clamps or Brackets
Securing the tool chest to the truck bed is essential to prevent it from shifting or moving during transportation. This step will provide the necessary stability and ensure the safety of your tools. There are two common methods you can use to secure the tool chest: clamps or brackets.
Follow these steps to secure the tool chest using clamps or brackets:
- Position the clamps or brackets: Place the clamps or brackets at strategic locations around the tool chest. Make sure to distribute them evenly to provide maximum support and stability.
- Align the holes: Align the holes in the clamps or brackets with the pre-drilled holes in the tool chest and the truck bed. This will ensure that they line up properly for installation.
- Insert the bolts and secure: Insert the bolts through the holes and secure them using the appropriate nuts and washers. Use a socket wrench or adjustable wrench to tighten them securely. Make sure not to overtighten, as it may damage the tool chest or the truck bed.
- Double-check the tightness: Once all the bolts are tightened, double-check the tightness of each one. Ensure that they are snug and secure to avoid any potential loosening during transportation.
By securing the tool chest using clamps or brackets, you provide the necessary support for it to remain stable in the truck bed. This step enhances the overall safety and prevents any potential damage to the tools or the truck bed itself.
In the next step, we will discuss an optional but highly recommended method to enhance the security of your tool chest: using a cable lock.
Read also: 12 Amazing Tool Box For Truck Bed for 2025
Step 5: Use a Cable Lock for Added Security
While securing the tool chest with clamps or brackets provides stability, using a cable lock adds an extra layer of security. This step is highly recommended to deter theft and keep your tools safe during transportation or when your truck is parked.
Here’s how you can use a cable lock for added security:
- Choose a sturdy and reliable cable lock: Look for a high-quality cable lock that is designed for securing valuable items. Ensure that it is long enough to wrap around the tool chest and reach a secure anchor point.
- Thread the cable lock through the designated holes or handles on the tool chest.
- Wrap the cable around a secure anchor point, such as a tie-down loop or a part of the truck bed. Make sure the anchor point is strong enough to withstand attempts to remove the tool chest.
- Insert the cable into the lock mechanism and securely lock it.
- Test the lock: Give the cable lock a gentle tug to ensure that it is securely fastened. This will provide peace of mind knowing that your tool chest is well-protected.
Using a cable lock adds an additional level of security to your tool chest, making it more difficult for thieves to steal or tamper with your tools. It provides an effective deterrent and allows you to leave your truck and tools unattended with greater confidence.
With the tool chest secured and the cable lock in place, it’s time for the final step: testing the security of the tool chest.
Step 6: Test the Security of the Tool Chest
After completing the installation and securing process, it’s important to test the security of the tool chest to ensure that it is properly attached and won’t shift or move during transportation.
Take the following steps to test the security of the tool chest:
- Gently push and pull the tool chest in different directions to check for any movement. If you notice any shifting or loose bolts, tighten them further.
- Try opening and closing the tool chest to ensure that it operates smoothly and without any obstructions. If you encounter any difficulties, it may indicate misalignment or interference with the truck bed.
- Give the tool chest a few firm shakes to simulate the bumps and vibrations it may experience during transportation. If you notice any excessive movement or rattling, revisit the installation process and make any necessary adjustments.
- If you have installed a cable lock, test its effectiveness by trying to remove the tool chest or tamper with the lock. The cable lock should provide a strong and secure barrier against theft.
By testing the security of the tool chest, you can address any potential issues before hitting the road. It gives you the opportunity to fine-tune the installation and ensure that your tools are well-protected and won’t pose a safety hazard during transportation.
Congratulations! You have successfully secured your tool chest to your truck bed. With the proper installation and security measures in place, you can now confidently transport your tools and equipment, knowing that they are safe and easily accessible when you need them.
Remember to periodically recheck the security of the tool chest, especially after long drives or if you notice any changes in stability or functionality. This will help maintain the integrity of the installation and preserve the safety of your tools in the long run.
With these steps and precautions, you can enjoy the convenience and peace of mind that a securely attached tool chest brings during your work journeys.
Safe travels!
Conclusion
Securing your tool chest to your truck bed is essential for the safe transportation of your tools and equipment. By following the steps outlined in this article, you can ensure that your tool chest remains stable, easily accessible, and protected from theft or damage.
Throughout the process, it is important to gather the necessary materials, prepare the truck bed, position the tool chest correctly, secure it using clamps or brackets, and consider adding a cable lock for added security.
By taking the time to properly prepare and secure your tool chest, you can avoid potential accidents or damage during transportation. Additionally, having a secure tool chest allows you to have peace of mind knowing that your valuable tools are protected and easily accessible whenever you need them.
Remember to periodically check and adjust the security of your tool chest, especially after long drives or if you encounter any changes in stability or functionality. Maintaining the integrity of the installation ensures that your tools remain safe during your work journeys.
Whether you’re a tradesperson, handyman, or simply someone who relies on their tools frequently, securing your tool chest to your truck bed is a crucial step in optimizing your workflow and ensuring the longevity of your tools.
So go ahead, gather your materials, prepare your truck bed, and follow the steps outlined in this article to securely attach your tool chest. With the combination of proper installation, sturdy clamps or brackets, and an optional cable lock, you can transport your tools with confidence, knowing they are well-protected and ready for the task at hand.
Happy and safe travels with your securely attached tool chest!
Now that you've got your tool chest securely fastened, why not check out the latest in gear organization? Our article on the best tool storage solutions offers a roundup of the most effective options available for keeping your tools safe and easily accessible. Whether you're a professional looking for robust options or a hobbyist needing a simple setup, this guide has something for everyone. Don’t miss out on this opportunity to upgrade your tool storage game.
Frequently Asked Questions about How To Secure Tool Chest To Truck Bed
Was this page helpful?
At Storables.com, we guarantee accurate and reliable information. Our content, validated by Expert Board Contributors, is crafted following stringent Editorial Policies. We're committed to providing you with well-researched, expert-backed insights for all your informational needs.


0 thoughts on “How To Secure Tool Chest To Truck Bed”