
Articles
How To Get Beer Carbonated In Kegerator
Modified: January 19, 2024
Learn how to carbonate beer in your kegerator with these informative articles. Get expert tips and step-by-step instructions for perfect carbonation every time.
(Many of the links in this article redirect to a specific reviewed product. Your purchase of these products through affiliate links helps to generate commission for Storables.com, at no extra cost. Learn more)
Introduction
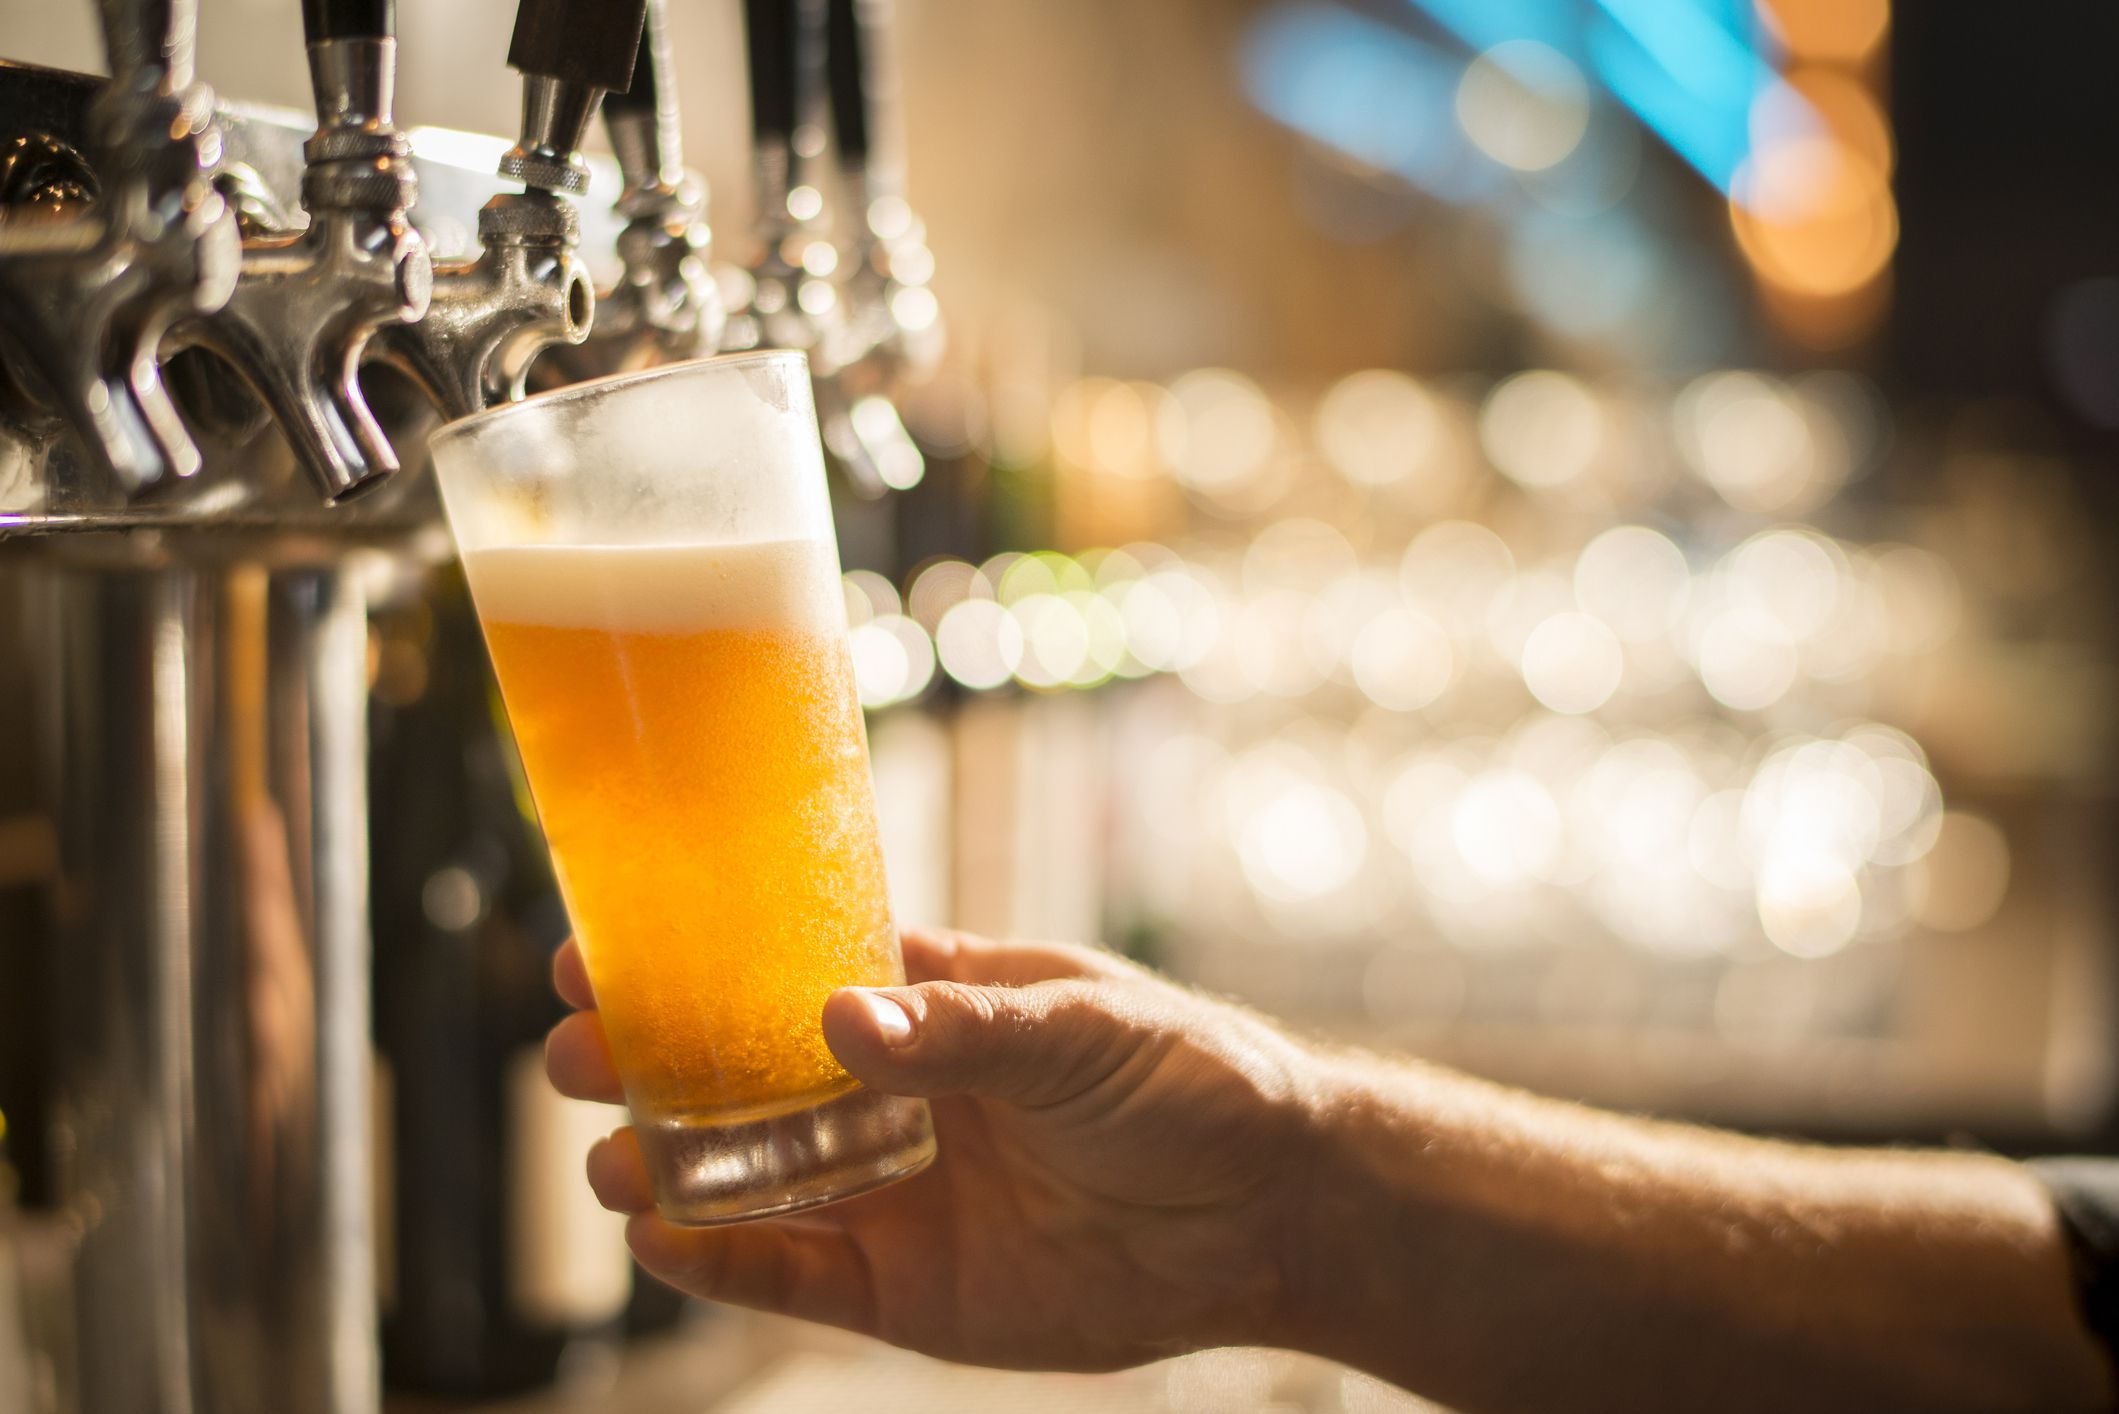
Welcome to the world of kegging your own beer! There’s nothing quite like pouring yourself a perfectly carbonated glass of your favorite brew straight from the tap. But how do you ensure that your beer is carbonated to perfection? In this article, we’ll explore different methods to get your beer carbonated in a kegerator.
Carbonation plays a vital role in the taste and overall experience of a beer. It provides a refreshing fizz, enhances aroma, and contributes to a smooth mouthfeel. While commercial breweries have precise equipment to control carbonation levels, homebrewers can achieve great results with a few simple techniques.
Whether you’re a seasoned homebrewer or just starting out, understanding the carbonation process and how to properly carbonate your beer is key to achieving that delicious, bubbly goodness. In this article, we’ll guide you through the steps necessary to get your beer carbonated in a kegerator, so you can enjoy the perfect pour every time.
Before we dive into the methods and techniques, it’s important to familiarize yourself with the two primary methods of carbonation: natural carbonation and force carbonation. Each method offers its own unique benefits, and the choice often depends on personal preference and brewing style.
When it comes to natural carbonation, the process involves adding a specific amount of fermentable sugar to the beer just before bottling or kegging. This sugar is consumed by the remaining yeast, which produces carbon dioxide as a byproduct. The carbon dioxide is trapped in the sealed container, leading to the desired level of carbonation.
On the other hand, force carbonation involves using pressurized gas, typically CO2, to rapidly carbonate the beer. This method is faster and more consistent, making it the preferred choice for many homebrewers. It allows for precise control over carbonation levels and eliminates the need for additional fermentation time.
Now that we have a basic understanding of the carbonation process and the two main methods involved, let’s move on to preparing your kegerator for carbonation. This step is crucial to ensure a clean, sanitary environment for your beer and helps to prevent any off-flavors or contamination.
Key Takeaways:
- Perfectly carbonated beer enhances the overall drinking experience, and understanding natural and force carbonation methods is crucial for achieving desired carbonation levels.
- By following step-by-step guides, troubleshooting common issues, and implementing tips and tricks, homebrewers can consistently achieve perfectly carbonated beer that matches their preferences and style.
Read more: How Cold Will A Beverage Air Kegerator Get
Understanding the Carbonation Process
Carbonation is the process of dissolving carbon dioxide (CO2) into liquid, creating bubbles and giving beverages like beer their characteristic fizz. In the case of beer, carbonation not only affects its taste but also influences its aroma, head retention, and mouthfeel.
During fermentation, yeast consumes sugars in the wort and produces alcohol and CO2. In a closed container, such as a keg or bottle, the CO2 remains trapped and dissolves into the beer, creating carbonation. This carbonation can occur naturally over time or can be accelerated using force carbonation methods.
Natural carbonation, also known as bottle conditioning, involves adding a small amount of sugar to the beer just before bottling or kegging. The remaining yeast in the beer consumes the added sugar and produces CO2 as a byproduct. This CO2 is then trapped in the sealed container, carbonating the beer gradually over a period of several days to weeks.
Force carbonation, on the other hand, utilizes pressurized gas, usually CO2, to carbonate the beer quickly. By applying pressure to the beer, the CO2 is forced to dissolve into the liquid within a much shorter timeframe compared to natural carbonation. This method allows brewers to have more control over the carbonation level and achieve consistent results.
The choice between natural and force carbonation depends on various factors, including the brewer’s preference, desired carbonation level, and the beer style being brewed. Some beer styles, such as Belgian ales or certain lagers, may benefit from natural carbonation as it can contribute to a more complex and nuanced flavor profile. Others, like IPAs or highly carbonated beers, may benefit from the speed and precision of force carbonation.
It’s important to note that carbonation levels can vary depending on the beer style and personal preference. Factors such as temperature, serving pressure, and the amount of carbonation sugar used can all impact the final carbonation level in the beverage. Experimentation and fine-tuning may be necessary to achieve the desired level of carbonation for your specific brew.
Now that we have a solid understanding of the carbonation process and the primary methods involved, let’s move on to the next step: preparing your kegerator for carbonation.
Preparing Your Kegerator for Carbonation
Before you can begin carbonating your beer, it’s essential to ensure that your kegerator is clean, properly calibrated, and ready for the carbonation process. Taking the time to prep your kegerator will help maintain the quality and taste of your beer while also preventing any unwanted contaminants.
Here are the steps to prepare your kegerator for carbonation:
- Clean and sanitize: Thoroughly clean and sanitize all kegging equipment, including the keg, gas lines, beer lines, and faucets. Use a suitable cleaning solution, rinsing thoroughly to remove any residue. Sanitize with a food-grade sanitizer to eliminate any potential bacteria or yeast that could affect the flavor and quality of your beer.
- Check temperature and pressure: Ensure that your kegerator is set at the correct temperature for carbonation. Different beer styles have different temperature requirements, so consult a brewing reference guide or the specific instructions for your beer style. Additionally, verify that your CO2 tank is properly filled and the pressure regulator is set to the recommended level for carbonation.
- Carbonation chart: Use a carbonation chart or calculator to determine the appropriate level of carbonation for your beer style and desired outcome. This chart takes into account factors like temperature and desired carbonation level to provide guidance on the correct amount of pressure to set for carbonation.
- Purge the keg: Before transferring your beer into the keg, purge it with CO2 to remove any oxygen. Oxygen can negatively impact the flavor and stability of your beer. Connect the gas line to the “gas in” post of the keg and let the CO2 flow until you no longer detect any off-gassing or oxygen being expelled.
- Transfer and seal the beer: Transfer your beer from the fermentation vessel to the keg, ensuring that the beer is free from any sediments or debris. Seal the keg tightly to maintain a closed system and prevent any leaks. Attach both the gas and beer lines securely to their respective posts on the keg.
Once your kegerator is clean, properly calibrated, and the beer is securely transferred, you’re ready to proceed with carbonation. Whether you choose the natural carbonation or force carbonation method, the key is to follow the specific steps and guidelines to achieve the desired carbonation level for your beer.
In the following sections, we’ll explore both natural carbonation and force carbonation methods in detail, providing step-by-step guides for each to help you achieve the perfect carbonation for your beer.
Choosing the Right Carbonation Method
When it comes to carbonating your beer in a kegerator, you have two primary options: natural carbonation and force carbonation. Each method has its advantages and considerations, so it’s important to understand them before making a decision.
Natural Carbonation: Natural carbonation, also known as bottle conditioning or priming, involves adding a small amount of fermentable sugar to the beer just before bottling or kegging. The remaining yeast in the beer consumes the added sugar, producing CO2 as a byproduct. This CO2 is then trapped in the sealed container, carbonating the beer over time.
Pros of Natural Carbonation:
- Traditional method: Natural carbonation is the traditional method used for carbonating beer, as it mimics the process that occurs during secondary fermentation in bottles.
- Enhanced flavor: Natural carbonation can contribute to a smoother and more rounded flavor profile in the beer, allowing the flavors to develop and mellow over time.
- Less equipment needed: With natural carbonation, you don’t need additional equipment like a CO2 tank or pressure regulator, making it a simpler and more accessible method for many homebrewers.
Considerations for Natural Carbonation:
- Longer wait time: Natural carbonation takes longer compared to force carbonation. It can take several days to weeks for the beer to fully carbonate.
- Potential inconsistency: Achieving consistent carbonation levels can be more challenging with natural carbonation, as it relies on factors such as yeast health, temperature, and the amount of priming sugar added.
Force Carbonation: Force carbonation involves using pressurized gas, typically CO2, to carbonate the beer quickly. The gas is applied to the beer at a specific pressure and temperature, forcing the CO2 to dissolve into the liquid more rapidly than natural carbonation.
Pros of Force Carbonation:
- Control and consistency: Force carbonation allows for precise control over the carbonation levels, ensuring consistent results with each batch of beer.
- Shorter carbonation time: With force carbonation, you can carbonate your beer within hours, unlike natural carbonation, which requires longer fermentation times.
- Flexibility: Force carbonation allows you to adjust the carbonation level to your preference and experiment with different carbonation levels for different beer styles.
Considerations for Force Carbonation:
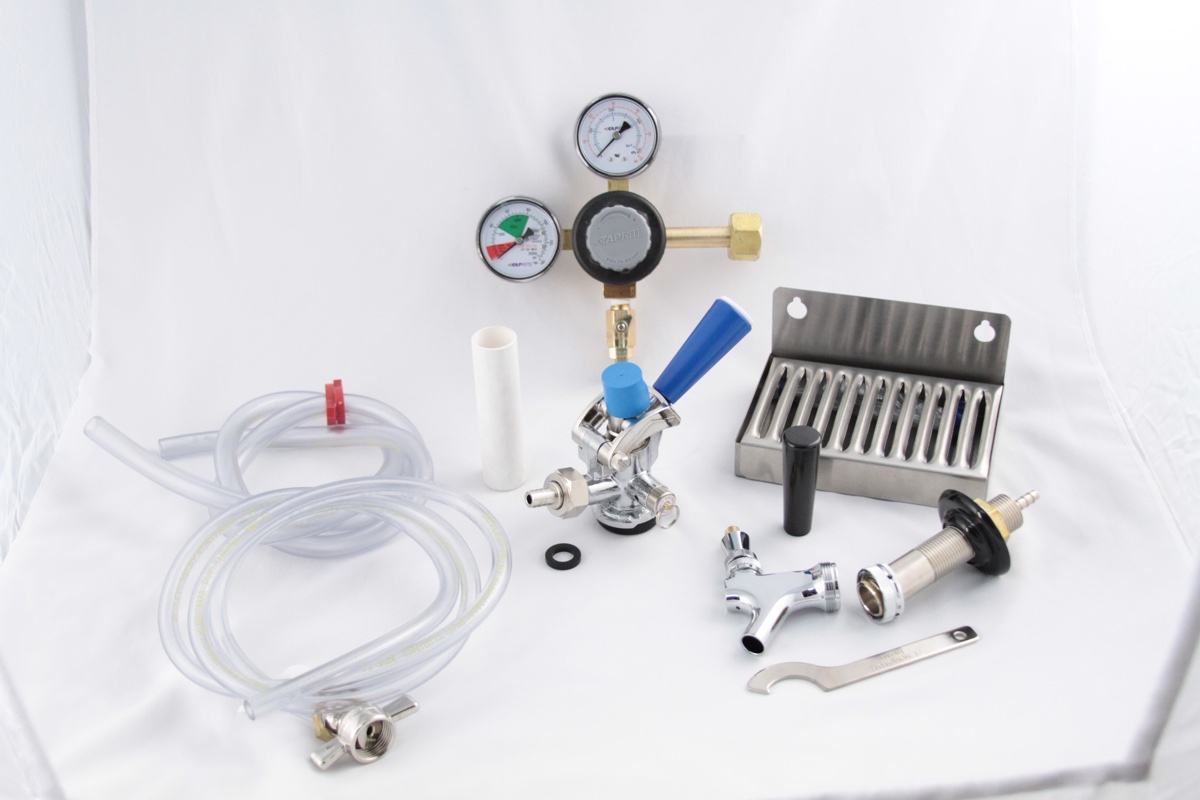
- Additional equipment required: Force carbonation requires a CO2 tank, pressure regulator, and appropriate gas lines and fittings. This means there is an initial investment in equipment.
- Potential risk of overcarbonation: Applying too much pressure during force carbonation can lead to overcarbonated beer, resulting in excessive foam or even explosive bottles. It’s important to follow guidelines and monitor the process closely.
Ultimately, the choice between natural carbonation and force carbonation comes down to personal preference, brewing style, and the specific requirements of the beer style you’re making. Many homebrewers experiment with both methods to find the approach that works best for them.
In the next sections, we’ll provide step-by-step guides for both natural carbonation and force carbonation methods, so you can choose the one that suits your needs and begin carbonating your beer with confidence.
Method 1: Natural Carbonation
Natural carbonation, also known as bottle conditioning or priming, is a traditional method of carbonating beer that involves adding a small amount of fermentable sugar to the beer just before bottling or kegging. The remaining yeast in the beer consumes the added sugar, producing carbon dioxide (CO2) as a byproduct, which creates the desired carbonation.
Here’s a step-by-step guide on how to naturally carbonate your beer:
- Calculate the priming sugar: Measure the volume of your beer in gallons or liters and determine the desired level of carbonation. Use a priming sugar calculator or carbonation chart to determine the appropriate amount of priming sugar for your specific beer style and desired carbonation level.
- Prepare the priming solution: Dissolve the calculated amount of priming sugar in a small amount of water and boil it for a few minutes to sterilize. Allow the solution to cool before adding it to the beer.
- Rack the beer: Transfer the beer from the fermentation vessel to a clean, sanitized bottling bucket or keg, leaving behind any sediment or trub at the bottom of the vessel. Avoid splashing to minimize oxygen exposure.
- Add the priming solution: Pour the cooled priming solution into the bottling bucket or keg. Use a sanitized racking cane or autosiphon to gently stir the beer, ensuring even distribution of the priming sugar. Avoid introducing excessive oxygen during this process.
- Bottle or keg: For bottling, use sanitized bottles and fill them, leaving enough headspace for carbonation. Cap the bottles securely with sanitized caps. If kegging, transfer the beer to a sanitized and purged keg, leaving sufficient headspace for carbonation. Seal the keg tightly.
- Store and condition: Place the bottles or keg in a warm, draft-free area, ideally around room temperature (65-75°F or 18-24°C). The yeast will consume the priming sugar, producing CO2 and carbonating the beer. Allow the beer to condition for the recommended time indicated for your beer style, typically 1-3 weeks.
- Chill and enjoy: After the conditioning period, refrigerate the bottles or keg for at least 24 hours to allow the carbonation to fully stabilize. Pour into a glass, avoiding any disturbance to the settled sediment. Each pour should showcase the carbonation and enhance the overall drinking experience.
It’s important to note that the temperature, yeast health, and other factors can affect the carbonation process during natural carbonation. Monitoring the progress and taste-testing the beer periodically will help ensure that it’s carbonated to your preference. Adjustments can be made by extending the conditioning time or tweaking the amount of priming sugar in future batches.
Now that you have a comprehensive guide to natural carbonation, you can experiment with this traditional method and enjoy the satisfaction of seeing your beer naturally carbonate over time. In the next section, we’ll explore method 2: force carbonation, where you can achieve quicker carbonation and more control over the carbonation level.
Read more: How Does A Mini Kegerator Work
Method 2: Force Carbonation
Force carbonation is a method of carbonating beer that involves using pressurized gas, typically carbon dioxide (CO2), to rapidly carbonate the beer. It offers quicker results and allows for precise control over the carbonation level, making it a popular choice among homebrewers. Here’s a step-by-step guide on how to force carbonate your beer:
- Ensure proper equipment: Make sure you have the necessary equipment for force carbonation, including a keg, CO2 tank, regulator, gas lines, and appropriate fittings. Ensure that all equipment is clean and in good working condition.
- Transfer the beer: Transfer your fully fermented beer from the fermentation vessel to a clean, sanitized keg. Use a racking cane or autosiphon to carefully transfer the beer, avoiding any splashing or exposure to oxygen.
- Purge the keg: Purge the keg with CO2 to remove any oxygen that may be present. Connect the gas line to the “gas in” post of the keg and let CO2 flow for a few seconds, then release the pressure. Repeat this process a few times to ensure the majority of the oxygen is displaced by CO2.
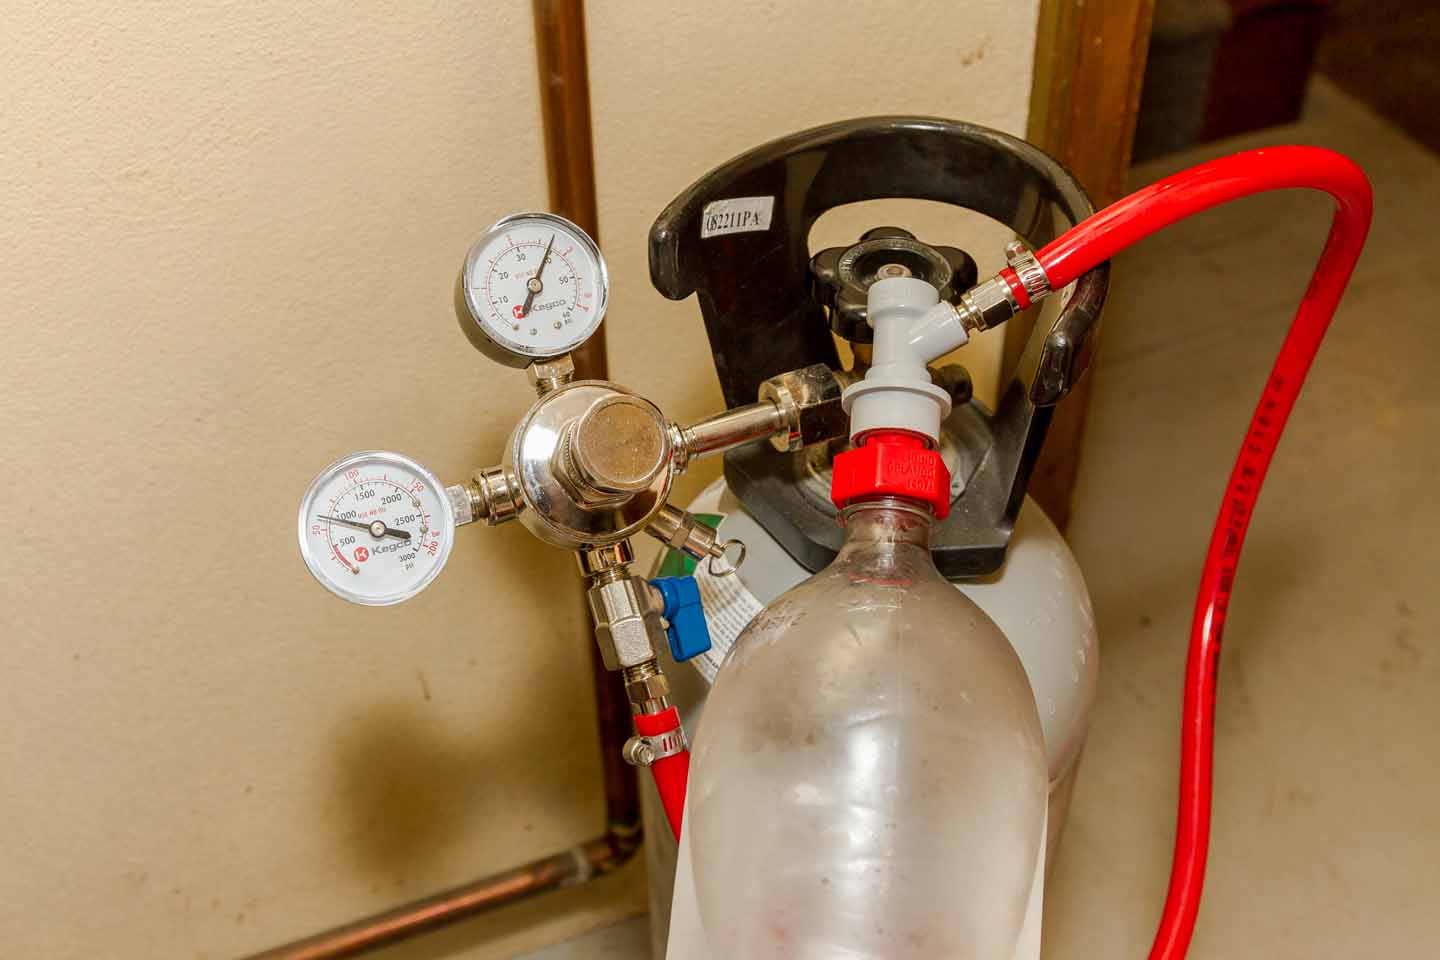
- Set the carbonation pressure: Consult a carbonation chart or calculator to determine the appropriate carbonation pressure for your desired style and carbonation level. Adjust the regulator on the CO2 tank to the recommended pressure.
- Prime the keg: Maintain the set pressure and keep the keg at a cool temperature, typically around 38°F (3°C) for optimal carbonation. The higher the pressure and the lower the temperature, the faster the carbonation process.
- Monitor carbonation level: Allow the beer to carbonate in the keg for a set period of time, typically 1-7 days depending on the desired carbonation level. Periodically sample the beer to check the carbonation progress and adjust the pressure if needed.
- Chill and stabilize: Once the desired carbonation level is reached, refrigerate the keg for at least 24 hours to allow the carbonation to stabilize. This also helps to clarify the beer and settle any sediment that may have been disturbed during the carbonation process.
- Dispense and enjoy: Connect the beer line and faucet to the keg, ensuring a tight seal. Open the faucet slowly and pour your perfectly carbonated beer into a glass. Adjust the pressure and faucet as needed to achieve the desired head and pour characteristics.
It’s important to note that temperature, pressure, and time are crucial factors when force carbonating your beer. Different beer styles may require varying carbonation levels, so it’s essential to refer to style guidelines or experiment to find the right balance for your brew.
Remember that carbonation levels can be adjusted by increasing or decreasing the pressure and duration of carbonation. It’s recommended to start with lower pressures and shorter durations and make incremental adjustments based on taste tests. Take notes during the process to help refine your technique for future batches.
With force carbonation, you can enjoy faster results and have greater control over the carbonation level in your beer. It’s a preferred method for those who value consistency and efficiency. Experiment with different pressure settings and techniques to find the sweet spot for carbonating your beer to perfection.
In the next section, we’ll cover common carbonation troubleshooting and provide tips and tricks for achieving perfectly carbonated beer.
To get beer carbonated in a kegerator, ensure the CO2 pressure is set to the appropriate level for the style of beer being served. Typically, a pressure of 10-12 psi is suitable for most beers. Keep the keg at a consistent temperature to maintain carbonation levels.
Step-by-Step Guide for Natural Carbonation
Natural carbonation, also known as bottle conditioning or priming, is a traditional method of carbonating beer that involves adding a small amount of fermentable sugar to the beer just before bottling or kegging. The remaining yeast in the beer consumes the added sugar, producing carbon dioxide (CO2) as a byproduct, which creates the desired carbonation. Follow this step-by-step guide to achieve natural carbonation for your beer:
- Calculate the priming sugar: Measure the volume of your beer in gallons or liters and determine the desired level of carbonation. Use a priming sugar calculator or carbonation chart to determine the appropriate amount of priming sugar for your specific beer style and desired carbonation level.
- Prepare the priming solution: Dissolve the calculated amount of priming sugar in a small amount of water and boil it for a few minutes to sterilize. Allow the solution to cool before adding it to the beer.
- Rack the beer: Transfer the beer from the fermentation vessel to a clean, sanitized bottling bucket or keg, leaving behind any sediment or trub at the bottom of the vessel. Avoid splashing to minimize oxygen exposure.
- Add the priming solution: Pour the cooled priming solution into the bottling bucket or keg. Use a sanitized racking cane or autosiphon to gently stir the beer, ensuring even distribution of the priming sugar. Avoid introducing excessive oxygen during this process.
- Bottle or keg: For bottling, use sanitized bottles and fill them, leaving enough headspace for carbonation. Cap the bottles securely with sanitized caps. If kegging, transfer the beer to a sanitized and purged keg, leaving sufficient headspace for carbonation. Seal the keg tightly.
- Store and condition: Place the bottles or keg in a warm, draft-free area, ideally around room temperature (65-75°F or 18-24°C). The yeast will consume the priming sugar, producing CO2 and carbonating the beer. Allow the beer to condition for the recommended time indicated for your beer style, typically 1-3 weeks.
- Chill and enjoy: After the conditioning period, refrigerate the bottles or keg for at least 24 hours to allow the carbonation to fully stabilize. Pour into a glass, avoiding any disturbance to the settled sediment. Each pour should showcase the carbonation and enhance the overall drinking experience.
It’s important to note that the temperature, yeast health, and other factors can affect the carbonation process during natural carbonation. Monitoring the progress and taste-testing the beer periodically will help ensure that it’s carbonated to your preference. Adjustments can be made by extending the conditioning time or tweaking the amount of priming sugar in future batches.
Remember to clean and sanitize all equipment used in the process to prevent any contamination that may affect the quality and taste of your beer. With natural carbonation, you can enjoy the traditional method of carbonating beer, allowing the flavors to develop and mellow over time.
Now that you have a comprehensive guide to natural carbonation, you can experiment with this traditional method and enjoy the satisfaction of seeing your beer naturally carbonate over time. In the next section, we’ll explore the step-by-step guide for force carbonation, which offers a quicker carbonation process with more control over the carbonation level.
Step-by-Step Guide for Force Carbonation
Force carbonation is a method of carbonating beer that involves using pressurized gas, typically carbon dioxide (CO2), to rapidly carbonate the beer. This method allows for precise control over the carbonation level and offers a quicker carbonation process compared to natural carbonation. Follow this step-by-step guide to achieve force carbonation for your beer:
- Ensure proper equipment: Make sure you have all the necessary equipment for force carbonation, including a keg, CO2 tank, regulator, gas lines, and appropriate fittings. Ensure that all equipment is clean and in good working condition.
- Transfer the beer: Transfer your fully fermented beer from the fermentation vessel to a clean, sanitized keg. Use a racking cane or autosiphon to carefully transfer the beer, avoiding any splashing or exposure to oxygen.
- Purge the keg: Purge the keg with CO2 to remove any oxygen that may be present. Connect the gas line to the “gas in” post of the keg and let CO2 flow for a few seconds, then release the pressure. Repeat this process a few times to ensure the majority of the oxygen is displaced by CO2.
- Set the carbonation pressure: Consult a carbonation chart or calculator to determine the appropriate carbonation pressure for your desired style and carbonation level. Adjust the regulator on the CO2 tank to the recommended pressure.
- Prime the keg: Maintain the set pressure and keep the keg at a cool temperature, typically around 38°F (3°C) for optimal carbonation. The higher the pressure and the lower the temperature, the faster the carbonation process.
- Monitor carbonation level: Allow the beer to carbonate in the keg for a set period of time, typically 1-7 days depending on the desired carbonation level. Periodically sample the beer to check the carbonation progress and adjust the pressure if needed.
- Chill and stabilize: Once the desired carbonation level is reached, refrigerate the keg for at least 24 hours to allow the carbonation to stabilize. This also helps to clarify the beer and settle any sediment that may have been disturbed during the carbonation process.
- Dispense and enjoy: Connect the beer line and faucet to the keg, ensuring a tight seal. Open the faucet slowly and pour your perfectly carbonated beer into a glass. Adjust the pressure and faucet as needed to achieve the desired head and pour characteristics.
It’s important to note that temperature, pressure, and time are crucial factors when force carbonating your beer. Different beer styles may require varying carbonation levels, so it’s essential to refer to style guidelines or experiment to find the right balance for your brew.
Remember that carbonation levels can be adjusted by increasing or decreasing the pressure and duration of carbonation. It’s recommended to start with lower pressures and shorter durations and make incremental adjustments based on taste tests. Take notes during the process to help refine your technique for future batches.
With force carbonation, you can enjoy faster results and have greater control over the carbonation level in your beer. It’s a preferred method for those who value consistency and efficiency. Experiment with different pressure settings and techniques to find the sweet spot for carbonating your beer to perfection.
In the next section, we’ll cover common carbonation troubleshooting and provide tips and tricks for achieving perfectly carbonated beer.
Troubleshooting Common Carbonation Issues
Carbonation is a crucial aspect of beer, providing the desired level of fizz and enhancing the overall drinking experience. While carbonating your beer, you may encounter common issues that affect the carbonation process. Here are some troubleshooting tips to help you overcome these challenges:
Issue: Insufficient carbonation
- Possible causes: Insufficient priming sugar, incomplete fermentation, not enough time for conditioning, or a leak in the keg or bottles.
- Solution: Check the carbonation sugar calculation and ensure it is appropriate for the beer style and desired level of carbonation. Allow for sufficient conditioning time, as some beers may require longer periods for proper carbonation. Check for leaks by inspecting seals, connections, and equipment. Tighten any loose connections or replace faulty seals.
Issue: Overcarbonation
- Possible causes: Excessive priming sugar, over-pressurization during force carbonation, or insufficient chilling time after carbonation.
- Solution: Double-check the priming sugar calculation and ensure it is accurate. Release excess pressure from the keg if force carbonating. Ensure sufficient chilling time after carbonating to allow CO2 to dissolve into the beer and prevent excessive foam when pouring.
Issue: Inconsistent carbonation
- Possible causes: Uneven distribution of priming sugar, varying fermentation temperatures, or inconsistent pressure during force carbonation.
- Solution: Stir the beer gently after adding the priming sugar to ensure even distribution. Maintain stable fermentation temperatures and avoid fluctuations that could affect yeast activity. Monitor and adjust pressure during force carbonation to achieve consistent results.
Issue: No carbonation
- Possible causes: Inactive yeast, insufficient priming sugar, or improper sealing of bottles or keg.
- Solution: Ensure that the yeast used is viable and active. Double-check the priming sugar quantity and adjust if necessary. Pay extra attention to properly sealing bottles or kegs to prevent CO2 from escaping.
Issue: Excessive foam when pouring
- Possible causes: Overcarbonation, high serving pressure, or improper glassware handling.
- Solution: Lower the serving pressure to reduce foaming. Use appropriate glassware and ensure it is clean and free from residues that may affect carbonation and foam. Pour at a gentle angle to minimize agitation.
Remember that troubleshooting carbonation issues may require some experimentation and adjustments to find the best solution for your specific circumstances. Keep notes on your brewing process and carbonation practices to help identify patterns and make refinements for future batches.
By addressing common carbonation issues, you can ensure that your beer is properly carbonated, resulting in a satisfying and enjoyable drinking experience. In the next section, we’ll provide tips and tricks to help you achieve perfectly carbonated beer consistently.
Read more: What Is a Kegerator and What Is It Used For?
Tips and Tricks for Perfectly Carbonated Beer
Carbonation plays a crucial role in the overall quality and enjoyment of your beer. To achieve perfectly carbonated beer consistently, consider implementing the following tips and tricks:
1. Use proper carbonation sugar: Calculate the appropriate amount of priming sugar or set the correct pressure for force carbonation based on the beer style and desired carbonation level. Use a trustworthy carbonation calculator or reference guide to ensure accuracy.
2. Be mindful of temperature: Carbonation is affected by temperature. Cooler temperatures allow CO2 to dissolve more easily, so ensure that the beer is at the appropriate temperature during the carbonation process. Consider chilling the bottles or keg prior to carbonation for better results.
3. Monitor fermentation: Ensure that fermentation is complete before attempting carbonation. Prematurely carbonating the beer can result in overcarbonation or off-flavors. Use a hydrometer or other reliable fermentation indicators to confirm that the beer has reached its final gravity.
4. Properly seal bottles and kegs: Ensure that bottles are capped tightly or kegs are sealed securely to prevent CO2 from escaping. Leaks can result in undercarbonation or flat beer. Check for any signs of leaks and fix them promptly.
5. Avoid excessive oxygen exposure: Minimize oxygen exposure during transfer and carbonation to prevent off-flavors and degradation of carbonation. Use gentle techniques when transferring beer and purge kegs with CO2 to displace oxygen.
6. Practice patience: Carbonation is a process that takes time. Whether using natural carbonation or force carbonation, give the beer sufficient conditioning time to allow carbonation to properly develop. Rushing the process can lead to inconsistent or improper carbonation.
7. Adjust carbonation levels gradually: If you’re not satisfied with the carbonation in a particular batch, make adjustments gradually in future batches. You can increase or decrease the amount of priming sugar or adjust the pressure incrementally until you achieve your desired carbonation level.
8. Seek feedback: Share your beer with fellow homebrewers or beer enthusiasts and ask for their feedback on the carbonation levels. Take note of their comments and adjust your carbonation technique accordingly.
9. Experiment and refine: Brewing is a journey of exploration and experimentation. Don’t be afraid to try different carbonation methods, such as varying the amount of priming sugar or adjusting the force carbonation pressure, to achieve your preferred level of carbonation.
10. Document and learn: Keep a brewing journal to record your carbonation methods, adjustments, and the results obtained. This documentation will serve as a reference for future batches and help you refine your technique over time.
By following these tips and tricks, you can consistently achieve perfectly carbonated beer that matches your desired carbonation level and enhances the overall drinking experience. Remember that carbonation is a key element in beer, contributing to its aroma, mouthfeel, and taste, so it’s worth investing time and effort to get it just right.
Now that you have these guidelines, go forth and enjoy the craft of carbonation in your brewing adventures!
If you have any further questions or need specific advice, feel free to consult a brewing reference guide or reach out to fellow homebrewers for assistance. Cheers to perfectly carbonated beers!
Conclusion
Carbonation is a vital aspect of beer, adding that refreshing fizz and enhancing the overall drinking experience. Whether you choose to use natural carbonation or force carbonation methods, the goal is to achieve perfectly carbonated beer that suits your taste and desired style. By understanding the carbonation process, preparing your kegerator properly, and following step-by-step guides, you can successfully carbonate your beer at home.
When it comes to natural carbonation, adding priming sugar and allowing the yeast to naturally produce CO2 creates a traditional and nuanced carbonation. On the other hand, force carbonation provides more control and faster results by using pressurized CO2 to carbonate the beer. Both methods have their advantages and considerations, and it’s up to you to choose the approach that aligns with your brewing preferences and goals.
Throughout the carbonation process, it’s essential to troubleshoot common issues and make adjustments as needed. Whether it’s insufficient or excessive carbonation, inconsistent results, or other challenges, by identifying potential causes and implementing appropriate solutions, you can overcome these hurdles and achieve the perfect carbonation for your beer.
Additionally, the tips and tricks shared in this article can help you fine-tune your carbonation technique. From using the right amount of priming sugar or pressure to controlling temperature, proper sealing, and maintaining patience, these recommendations will assist you in consistently achieving the carbonation levels that suit your preferences.
Remember, brewing beer is both an art and a science. It’s a journey of exploration and experimentation, where you have the freedom to create unique flavors and carbonation profiles. Embrace the process, document your findings, seek feedback, and continue to refine your technique to brew beers that are perfectly carbonated and a pleasure to drink.
Now, armed with the knowledge and guidance provided in this article, you are ready to embark on your carbonation journey. Whether you’re a seasoned homebrewer or just beginning to delve into the world of carbonation, enjoy the process, have fun, and raise a glass to perfectly carbonated beers!
Frequently Asked Questions about How To Get Beer Carbonated In Kegerator
Was this page helpful?
At Storables.com, we guarantee accurate and reliable information. Our content, validated by Expert Board Contributors, is crafted following stringent Editorial Policies. We're committed to providing you with well-researched, expert-backed insights for all your informational needs.

0 thoughts on “How To Get Beer Carbonated In Kegerator”