Articles
How To Make A Kegerator Out Of A Cooler
Modified: October 19, 2024
Learn how to transform a regular cooler into a kegerator with our step-by-step articles. Perfect for beer enthusiasts who want to enjoy draft beer at home.
(Many of the links in this article redirect to a specific reviewed product. Your purchase of these products through affiliate links helps to generate commission for Storables.com, at no extra cost. Learn more)
Introduction
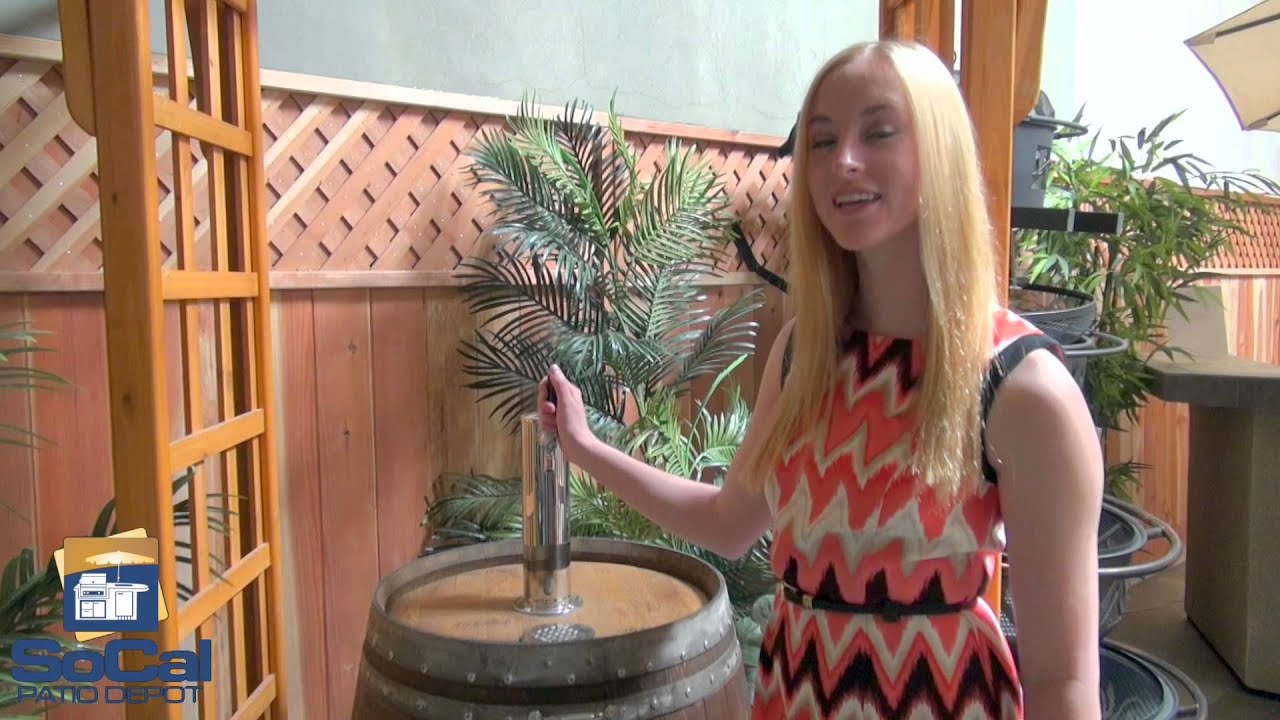
Are you tired of constantly replenishing your beer supply and dealing with the hassle of bottle caps? Imagine having your own kegerator, a device that allows you to have draft beer on tap at home. With a kegerator, you can enjoy freshly poured beer whenever you want, without the need for bottles or cans.
In this article, we’ll guide you through the process of making a kegerator out of a cooler. This DIY project is a great option for those who want to save money and have fun while building their own personalized kegerator.
Before we begin, it’s important to note that building a kegerator requires some basic DIY skills and tools. However, with some patience and the right materials, you can create a functional and stylish kegerator that will impress your friends and enhance your home bar experience.
Now, let’s dive into the materials you’ll need to get started on your kegerator construction.
Key Takeaways:
- Transforming a cooler into a kegerator is a rewarding DIY project that allows you to enjoy draft beer at home. From selecting the right cooler to testing the setup, this article provides a comprehensive guide for building your personalized kegerator.
- Building a kegerator out of a cooler not only saves money but also adds a unique touch to your home bar. With careful planning and attention to detail, you can impress your friends and elevate your beer drinking experience with freshly poured draft beer on tap.
Read more: How To Power Kegerator Tower Cooler Fan
Materials Needed
Before you start building your kegerator, gather the following materials:
- A cooler – Choose a cooler that is large enough to accommodate your keg and will provide adequate insulation to keep your beer cold. Make sure it has a flat and sturdy lid for easy installation of the tap tower.
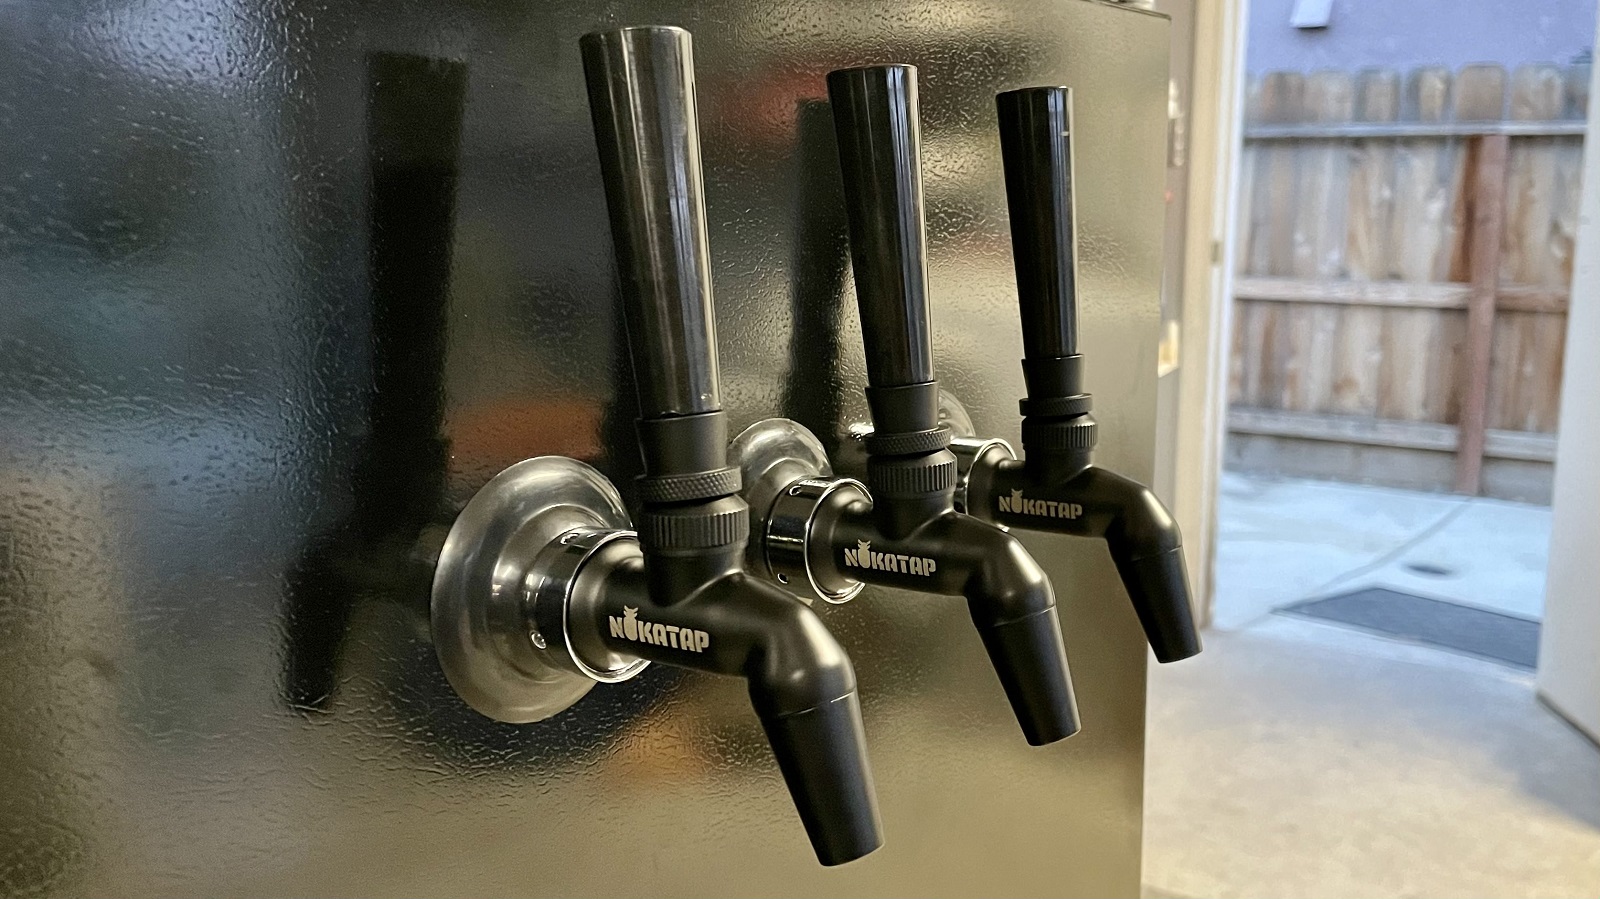
- Tap tower – This is the component where the faucet and handles are mounted. Look for a tap tower that fits the dimensions of your cooler and has enough taps for the number of kegs you plan to have.
- Beer lines and couplers – These are essential for connecting the keg to the tap tower. Make sure to measure the distance between your keg and the tap tower to determine the length of beer lines you’ll need and select the appropriate couplers for your keg type.
- Regulator and CO2 tank – The regulator controls the flow of CO2 into the keg, maintaining the carbonation level. The CO2 tank supplies the gas. Choose a regulator that fits your CO2 tank and has a pressure gauge for accurate control.
- Cutting tools – Depending on the material of your cooler, you may need a saw or utility knife to cut the lid opening for the tap tower. Ensure your tools are sharp and suitable for the task at hand.
- Drill – You’ll need a drill to create holes for the beer lines and couplers. Make sure to have various drill bits, including a hole saw bit if necessary.
- Wrenches and screwdrivers – These tools are necessary for assembling and tightening the various components of the kegerator. Have a selection of wrenches and screwdrivers in different sizes to accommodate different fittings.
- Teflon tape – This will be used to seal any threaded connections and prevent leaks.
- Cleaning supplies – When setting up your kegerator, it’s crucial to ensure everything is clean and sanitized. Have a cleaning solution, brushes, and sanitizing wipes ready for the task.
Once you have acquired all the necessary materials, you’re ready to start building your kegerator. In the next section, we’ll guide you through the first step of the process: selecting a cooler.
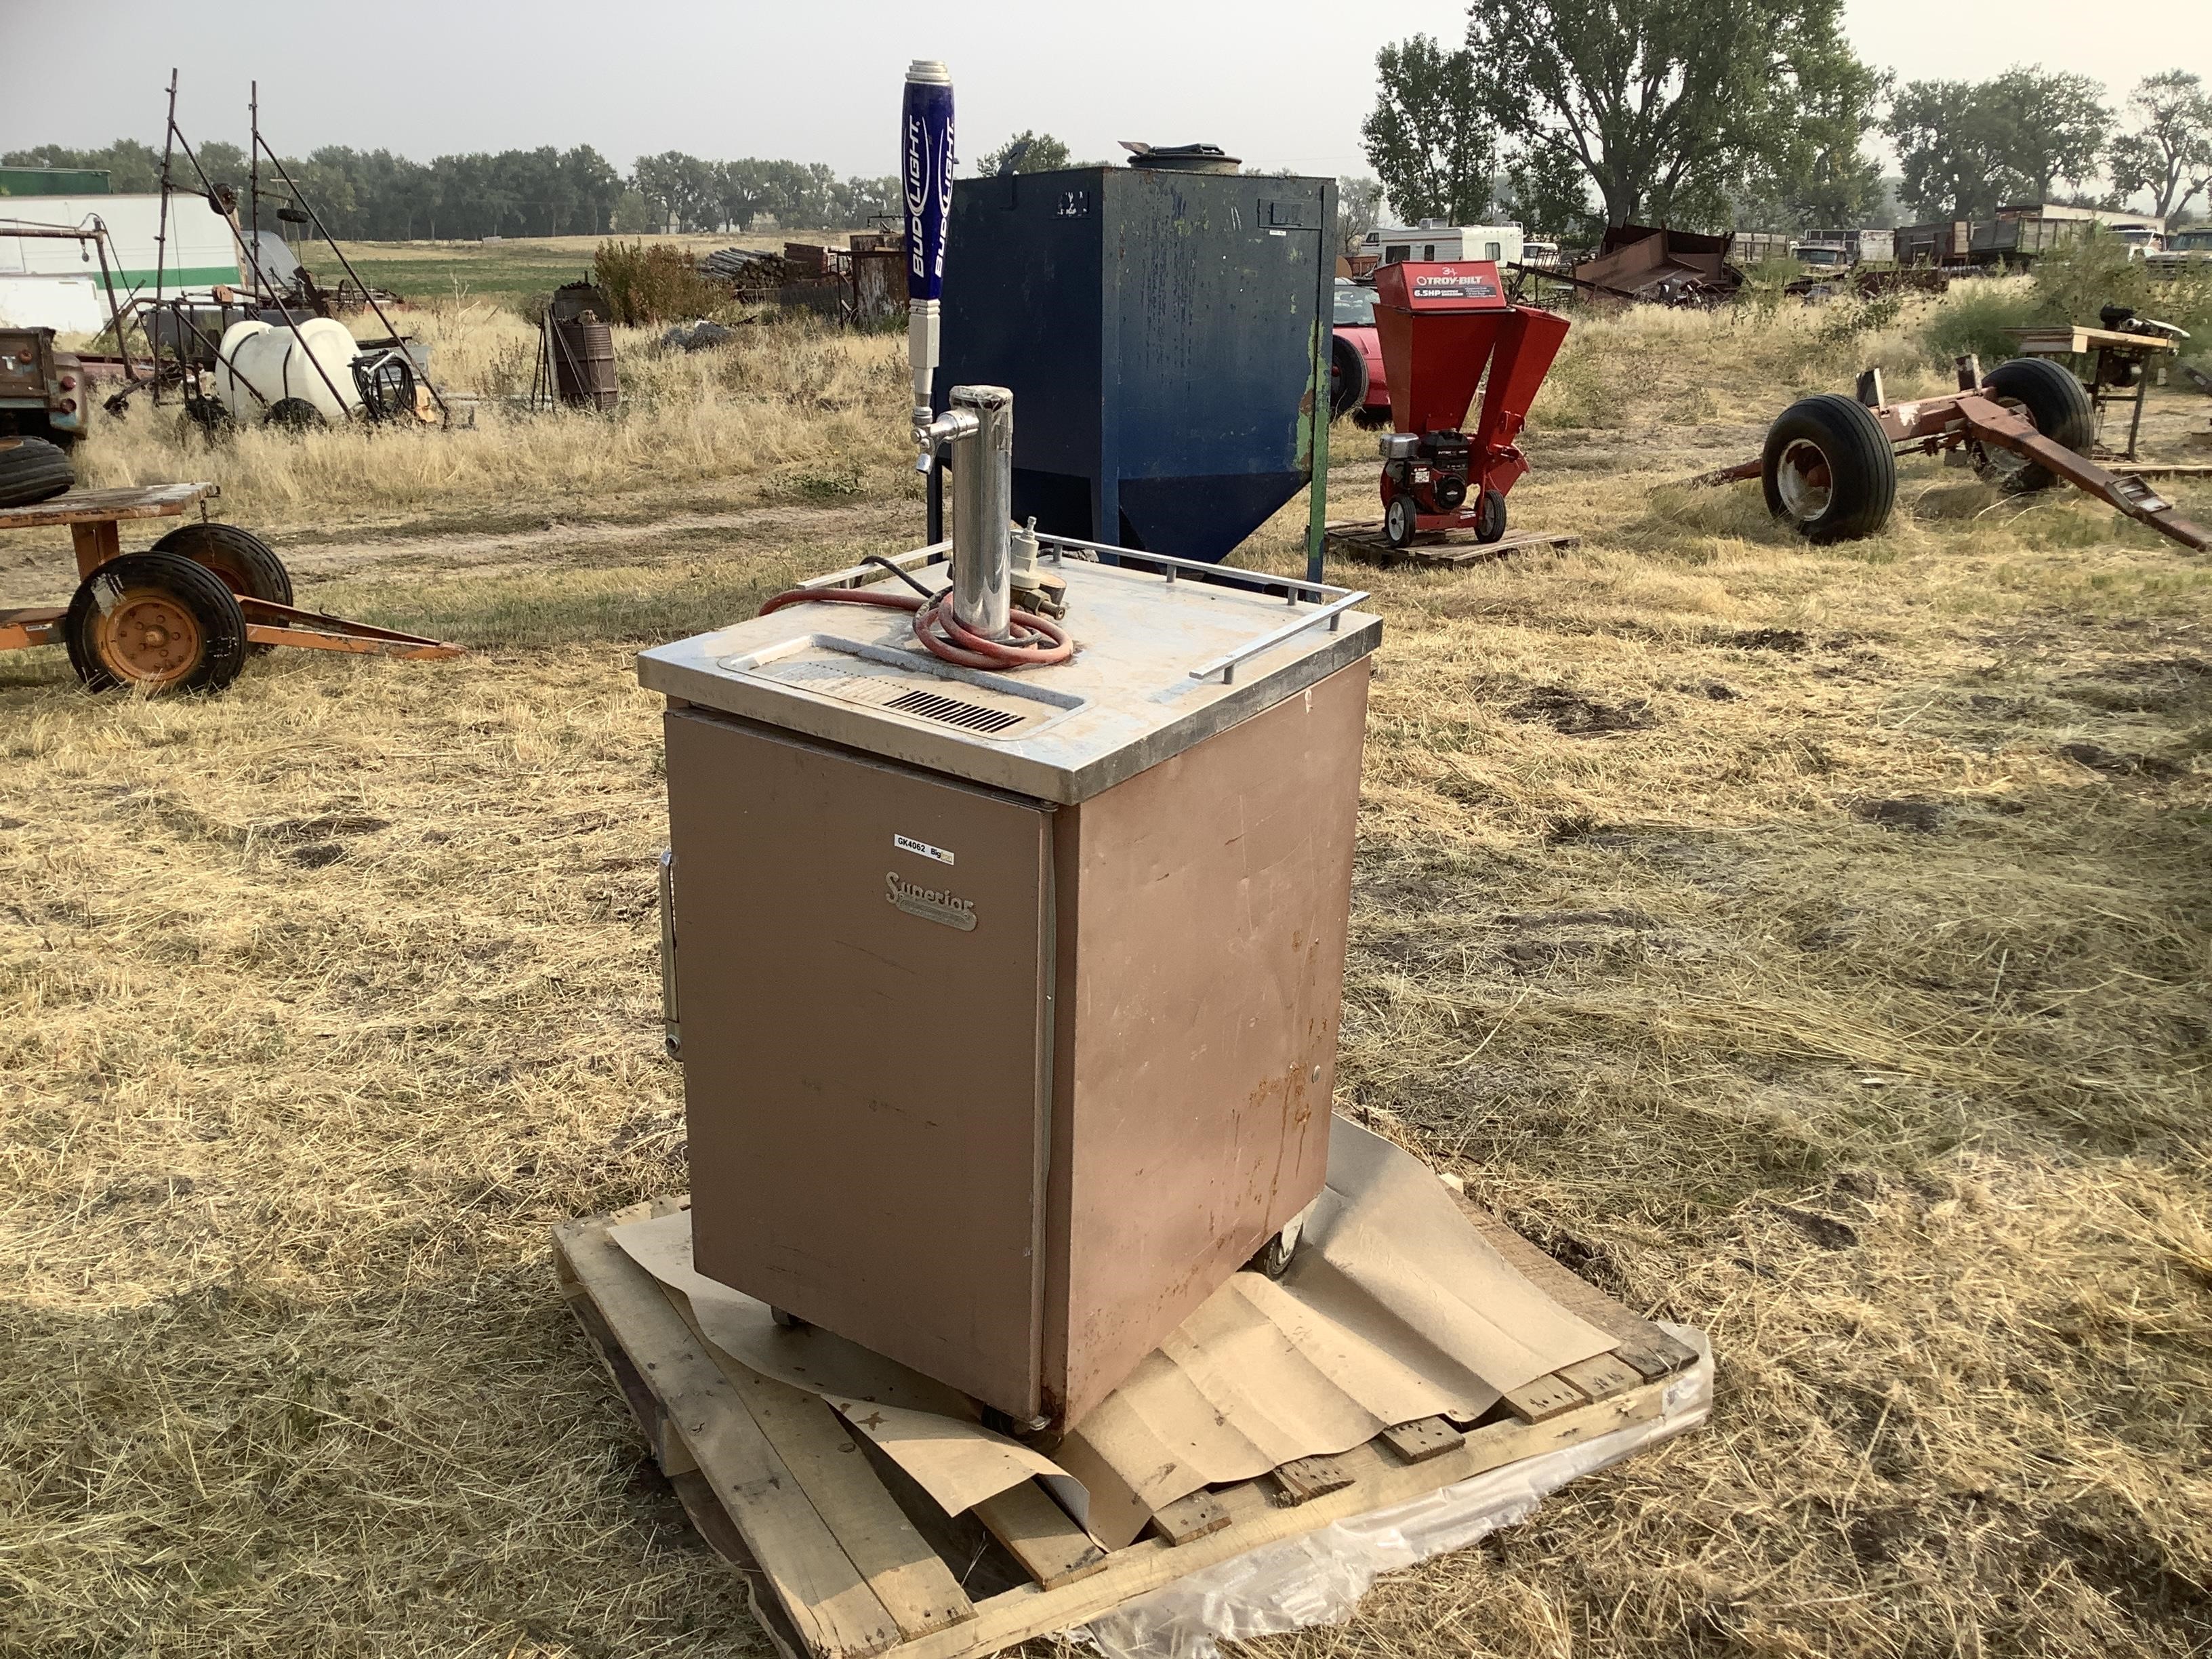
Step 1: Selecting a Cooler
The first step in creating your kegerator is selecting a suitable cooler. The cooler will serve as the base for your kegerator, providing insulation to keep your beer cold.
When choosing a cooler, consider the following factors:
- Size: Ensure the cooler is large enough to hold your desired keg size comfortably. Measure the dimensions of the keg you plan to use and compare it to the interior dimensions of the cooler.
- Insulation: Look for coolers with thick insulation to help maintain a consistent temperature. The better the insulation, the more energy-efficient your kegerator will be.
- Lid: Opt for a cooler with a flat and sturdy lid. This will make it easier to cut an opening for the tap tower installation. A hinged lid is also convenient for accessing the keg and making adjustments.
- Material: Consider the material of the cooler. Hard-sided coolers made of plastic or metal are generally more durable and provide better insulation compared to soft-sided coolers.
- Portability: If you plan to move your kegerator frequently, choose a cooler with sturdy handles or wheels for easy transportation.
Additionally, take into account your own personal preferences and aesthetic considerations. You may want to select a cooler that matches your home decor or has a specific color or design that appeals to you.
Once you have chosen the perfect cooler, you’re ready to move on to the next step: measuring and marking the lid for the tap tower installation.
Step 2: Measuring and Marking
After selecting your cooler, the next step in building your kegerator is measuring and marking the lid for the tap tower installation. This step is crucial to ensure accurate placement and a seamless fit.
Here’s how to measure and mark the lid:
- First, remove any items inside the cooler and clean the lid thoroughly.
- Next, position the tap tower on top of the lid, ensuring it is centered and aligned as desired.
- Use a measuring tape or ruler to measure the dimensions of the tap tower base. Take note of the width, length, and any other relevant measurements.
- With a pencil or marker, carefully mark the outline of the tap tower base on the lid. Take your time to ensure the markings are accurate and symmetrical.
- Double-check the marked outline to ensure it matches the dimensions of the tap tower base.
It’s important to be precise during this step, as any inaccuracies may result in a poorly fitting tap tower, compromising the functionality and appearance of your kegerator.
Once you have measured and marked the lid, you’re ready to move on to the next step: cutting the lid opening for the tap tower installation.
Step 3: Cutting the Lid Opening
With the lid of your chosen cooler marked for the tap tower installation, it’s time to cut the lid opening. This step requires careful precision to ensure a clean and accurate cut.
Here’s a step-by-step guide on cutting the lid opening:
- Gather the necessary tools for cutting, such as a saw or utility knife, based on the material of your cooler.
- Wear protective gloves and eye goggles to ensure your safety during the cutting process.
- If using a saw, use a fine-tooth blade suitable for cutting through the cooler material. For a utility knife, ensure the blade is sharp and replace it if necessary.
- Start cutting along the marked outline of the tap tower base. Take your time and make steady, controlled cuts to maintain accuracy.
- For hard-sided coolers, sawing can be more efficient, while utility knives work well for soft-sided coolers.
- Continue cutting along the marked outline until you have completed the lid opening. Make sure the opening is slightly smaller than the outline to allow for a snug fit of the tap tower base.
- Clean the edges of the cut opening, removing any rough or jagged areas. This will help ensure a smooth and professional-looking finish.
Remember to work slowly and carefully during this step. It’s better to take your time and achieve a precise cut rather than rush and risk damaging the lid or tap tower.
Once you have cut the lid opening, you’re ready to proceed to the next step: installing the tap tower in the cooler.
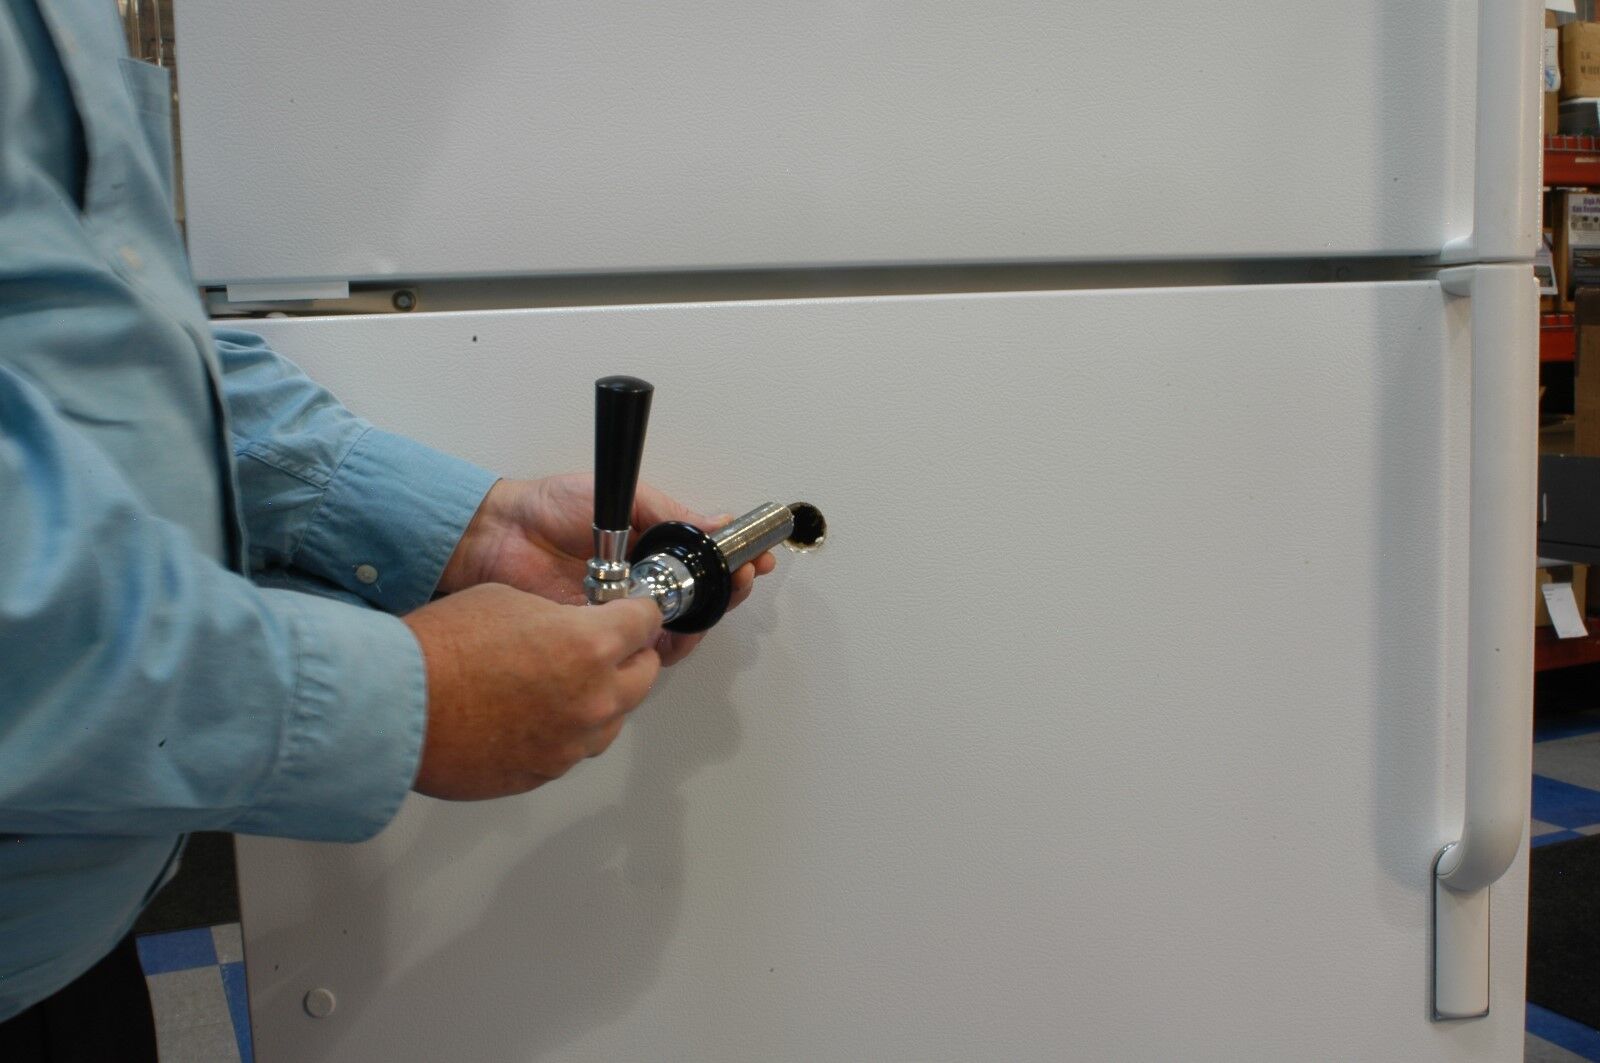
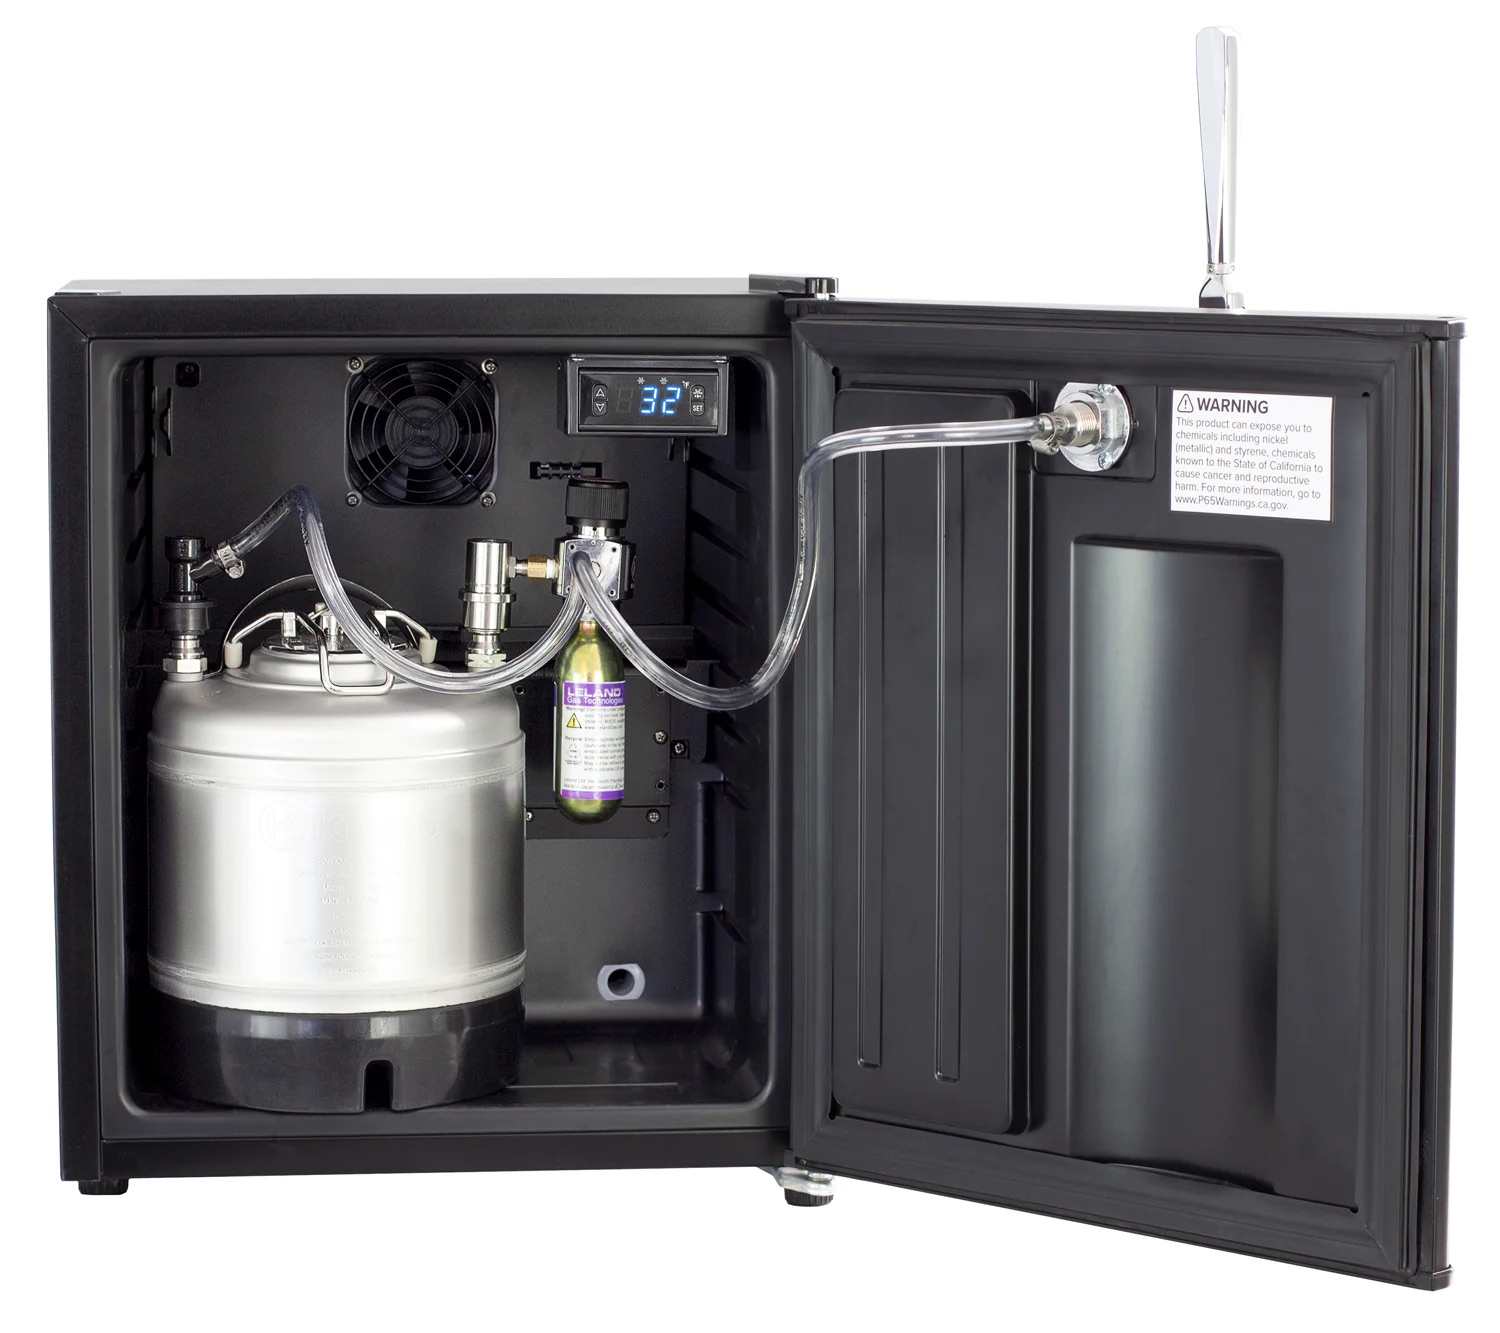
Step 4: Installing the Tap Tower
Now that you have successfully cut the lid opening for the tap tower, it’s time to install the tap tower into the cooler. The tap tower is a crucial component that houses the faucet and handles for dispensing your favorite draft beer.
Follow these steps to install the tap tower:
- Ensure the inside of the cooler lid and the base of the tap tower are clean and free from any debris.
- Insert the tap tower into the lid opening, aligning it with the marked outline.
- Apply a silicone sealant or food-grade adhesive around the base of the tap tower to create a watertight seal. This will prevent any moisture from entering the cooler.
- Secure the tap tower in place by tightening the provided mounting hardware or clamps. Make sure the tap tower is firmly attached and doesn’t wobble or move.
- Double-check the alignment and positioning of the tap tower to ensure it is straight and centered with the lid opening.
Congratulations! You have successfully installed the tap tower into your cooler. The tap tower serves as the focal point of your kegerator, bringing both functionality and style to your setup.
In the next step, we’ll guide you through the process of creating holes for the beer lines in the cooler.
When converting a cooler into a kegerator, make sure to properly insulate the inside to maintain the desired temperature and prevent condensation. This will help keep your beer cold and fresh for longer periods of time.
Step 5: Creating Holes for Beer Lines
Once you have installed the tap tower, the next step in building your kegerator is creating holes in the cooler for the beer lines. These holes will allow the beer lines to pass through and connect the keg to the tap tower.
Follow these steps to create holes for the beer lines:
- Identify the appropriate location on the cooler where the beer lines will enter. This is usually near the back or side of the cooler, close to the tap tower.
- Measure the diameter of your beer lines. This will determine the size of the holes you need to create.
- Using a drill with a hole saw attachment or an appropriately-sized drill bit, carefully create holes at the marked location. Start with a smaller hole and gradually increase the size until it matches the diameter of your beer lines.
- Ensure the holes are smooth and free from any rough edges or burrs. You can use sandpaper or a file to smooth out any uneven areas.
- After creating the holes, inspect the cooler to make sure the beer lines will pass through without any obstructions or interferences.
Properly positioned and sized holes are crucial for seamless beer line installation and efficient beer flow. Take your time during this step to ensure the holes are accurate and well-executed.
In the next step, we’ll guide you through inserting the beer lines and couplers into the cooler.
Step 6: Inserting the Beer Lines and Couplers
With the holes for the beer lines in place, it’s time to insert the beer lines and couplers into the cooler. This step is essential for connecting the keg to the tap tower, allowing for the smooth flow of beer.
Follow these steps to insert the beer lines and couplers:
- Start by ensuring the inside of the cooler is clean and free from any debris.
- Thread the beer lines through the holes you created in the previous step, ensuring they are secured and won’t kink or bend excessively.
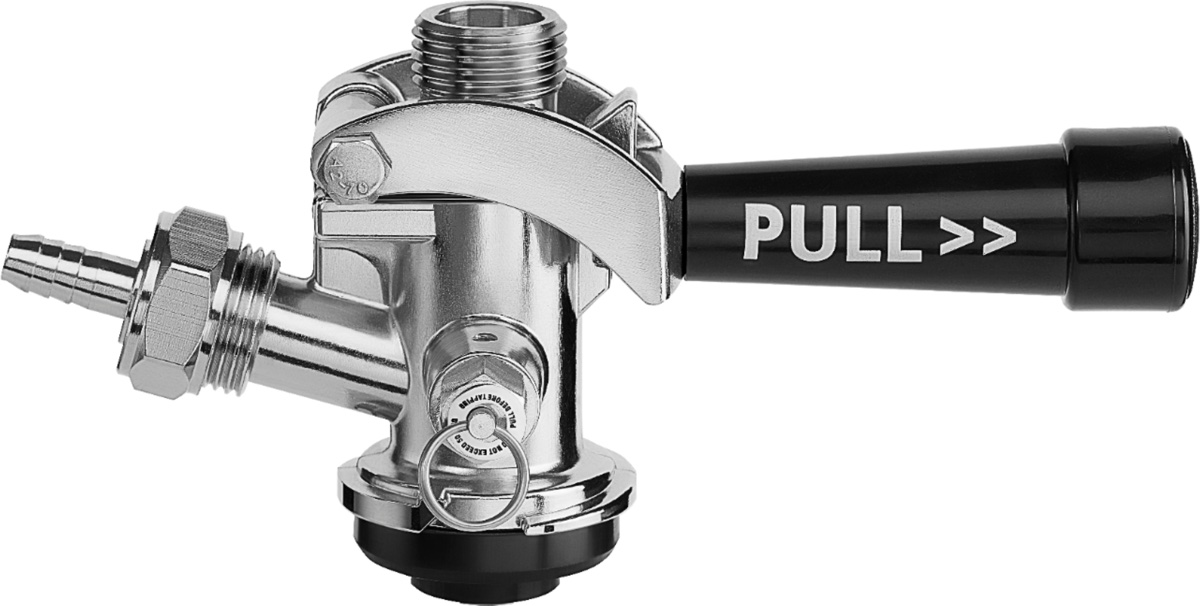
- Inside the cooler, attach the appropriate couplers to the beer lines. The type of couplers used will depend on the keg system you’re using. Ensure the couplers are securely connected to the beer lines.
- Position the couplers through the holes, making sure they are properly aligned and seated in place.
- Once the couplers are in position, attach them to the keg by following the manufacturer’s instructions. Make sure the connections are tight and leak-free.
- Double-check all the connections and ensure there are no kinks or twists in the beer lines. Any obstructions can impede the smooth flow of beer.
It’s important to handle the beer lines and couplers with care to avoid damaging them or causing leaks. Take your time during this step to ensure everything is properly connected and securely in place.
In the next step, we’ll guide you through attaching the regulator and CO2 tank to complete the setup of your kegerator.
Step 7: Attaching the Regulator and CO2 Tank
With the beer lines and couplers securely in place, the next step in building your kegerator is attaching the regulator and CO2 tank. The regulator controls the flow of CO2 gas into the keg, allowing for proper carbonation and dispensing of the beer.
Follow these steps to attach the regulator and CO2 tank:
- Ensure the CO2 tank is filled and ready for use. Consult the instructions provided with your CO2 tank to properly handle and store it.
- Position the CO2 tank in a secure and accessible location near the kegerator. Ensure it is upright and stable.
- Attach the regulator to the CO2 tank valve by aligning the threads and twisting it on clockwise. Ensure the connection is tight, but be cautious not to overtighten and damage the threads.
- Inspect the regulator to ensure it is in the “off” position. This is typically indicated by a closed valve or lever.
- Connect one end of a CO2 hose to the outlet or barb fitting on the regulator. Ensure it is securely fastened.
- Locate the gas inlet on the tap tower and connect the other end of the CO2 hose to it. Make sure the connection is tight and leak-free.
- Double-check all the connections to ensure they are secure.
- Gradually open the valve or lever on the regulator to allow the flow of CO2 gas into the keg. Be careful not to set the pressure too high, as it can cause foaming or overcarbonation.
- Adjust the pressure on the regulator according to the recommended levels for your specific beer. Consult the guidelines provided with your keg or seek advice from reputable sources.
With the regulator and CO2 tank attached, your kegerator is now ready to dispense delicious draft beer. However, before you can start enjoying your first pour, there’s one final step to ensure everything is set up correctly.
In the next step, we’ll guide you through testing the kegerator to ensure it is functioning properly.
Read more: How To Make Air Cooler
Step 8: Testing the Kegerator
After completing the setup of your kegerator, it’s crucial to perform a thorough test to ensure everything is functioning properly before enjoying your first refreshing glass of draft beer.
Follow these steps to test your kegerator:
- Ensure all connections and fittings are tight and secure. Check for any leaks or signs of gas escaping from the keg, tap tower, or CO2 connections.
- Open the faucet on the tap tower and allow a small amount of beer to flow. This helps purge the dip tube of any air and allows beer to flow freely.
- If the beer flow is too fast or slow, adjust the pressure on the regulator accordingly. Refer to the keg instructions or consult reputable sources for optimal pressure settings.
- Observe the foam level and consistency. If the beer is excessively foamy, adjust the pressure or tap technique to reduce foaming.
- Test the temperature inside the kegerator. Use a thermometer to ensure the beer is being chilled to the desired temperature. Adjust the temperature settings of the cooler if necessary.
- Check the functionality of the tap handle. Ensure it opens and closes properly, allowing for smooth and effortless pouring of beer.
- Monitor the carbonation level of the beer. Allow the keg to carbonate for the recommended time, typically around 24-48 hours, before testing the taste and carbonation level.
- Taste the beer and adjust the carbonation and temperature as desired. Everyone has different preferences, so adjust the settings to achieve your ideal draft beer experience.
By conducting a thorough testing process, you can identify and address any issues or adjustments needed to optimize the performance of your kegerator. Take your time and make necessary adjustments until you are satisfied with the taste, temperature, and carbonation level of the beer.
Congratulations! You have successfully built your own kegerator out of a cooler. Now, it’s time to sit back, relax, and enjoy having fresh, draft beer on tap right in the comfort of your own home.
As always, please remember to drink responsibly and adhere to any local laws and regulations regarding the consumption of alcohol.
Prost! Cheers to your homemade kegerator!
Conclusion
Congratulations on completing your journey to build a kegerator out of a cooler! By following the step-by-step process outlined in this article, you have created a personalized and functional kegerator that allows you to enjoy the luxury of draft beer at home.
Throughout the construction process, you have learned how to select the right cooler, measure and mark the lid, cut the opening for the tap tower, install the tap tower securely, create holes for the beer lines, insert the beer lines and couplers, attach the regulator and CO2 tank, and thoroughly test the kegerator for optimal performance.
Building your own kegerator not only saves you money compared to purchasing a pre-made one but also provides a sense of accomplishment and adds a unique touch to your home bar or entertainment area. It’s a great way to impress your friends and elevate your beer drinking experience.
Remember, practice makes perfect when it comes to pouring the perfect glass of beer. Experiment with the CO2 pressure, temperature, and pouring techniques to achieve the ideal balance of carbonation and flavor for your preferred beer styles.
Lastly, keep in mind that maintenance and cleaning are essential to ensure the longevity and hygiene of your kegerator. Regularly clean the tap tower, beer lines, and couplers to prevent any buildup of bacteria or residue. Follow the instructions provided by the keg manufacturer for proper cleaning and sanitization.
Now, grab your favorite brew and relish the convenience and freshness of having your own kegerator. Sit back, relax, and enjoy the taste of a perfectly poured draft beer whenever you desire.
Cheers and happy beer drinking!
Frequently Asked Questions about How To Make A Kegerator Out Of A Cooler
Was this page helpful?
At Storables.com, we guarantee accurate and reliable information. Our content, validated by Expert Board Contributors, is crafted following stringent Editorial Policies. We're committed to providing you with well-researched, expert-backed insights for all your informational needs.


0 thoughts on “How To Make A Kegerator Out Of A Cooler”