Articles
How Long Tubing On Home Kegerator
Modified: October 19, 2024
Discover the ultimate guide to tubing on your home kegerator, with helpful articles to enhance your experience and ensure maximum enjoyment.
(Many of the links in this article redirect to a specific reviewed product. Your purchase of these products through affiliate links helps to generate commission for Storables.com, at no extra cost. Learn more)
Introduction
Are you a beer enthusiast who loves to enjoy a refreshing pint of draft beer at home? If so, then upgrading your home kegerator with tubing can take your beer-drinking experience to a whole new level. With the right equipment and a few simple steps, you can easily install tubing on your kegerator to make pouring beer even more convenient and enjoyable.
In this article, we will guide you through the process of tubing on a home kegerator, providing you with the knowledge and step-by-step instructions you need to get started. Whether you’re a beginner or a seasoned homebrewer, this guide will help you enhance your home keg setup and make serving beer a breeze.
Before we dive into the installation process, let’s take a look at the equipment you’ll need to complete your tubing setup.
Key Takeaways:
- Upgrade your home kegerator with tubing to enhance your beer-drinking experience. Follow the step-by-step guide to install tubing and enjoy professional-quality draft beer at home.
- Ensure a smooth and reliable beer dispensing experience by properly measuring, cutting, and securing the tubing inside your kegerator. Test for leaks and make necessary adjustments for flawless beer pouring.
Read more: What Size Tubing For Kegerator
Equipment Needed for Tubing on Home Kegerator
Before you begin the process of tubing on your home kegerator, it’s important to ensure that you have all the necessary equipment on hand. Here’s a list of the key items you’ll need:
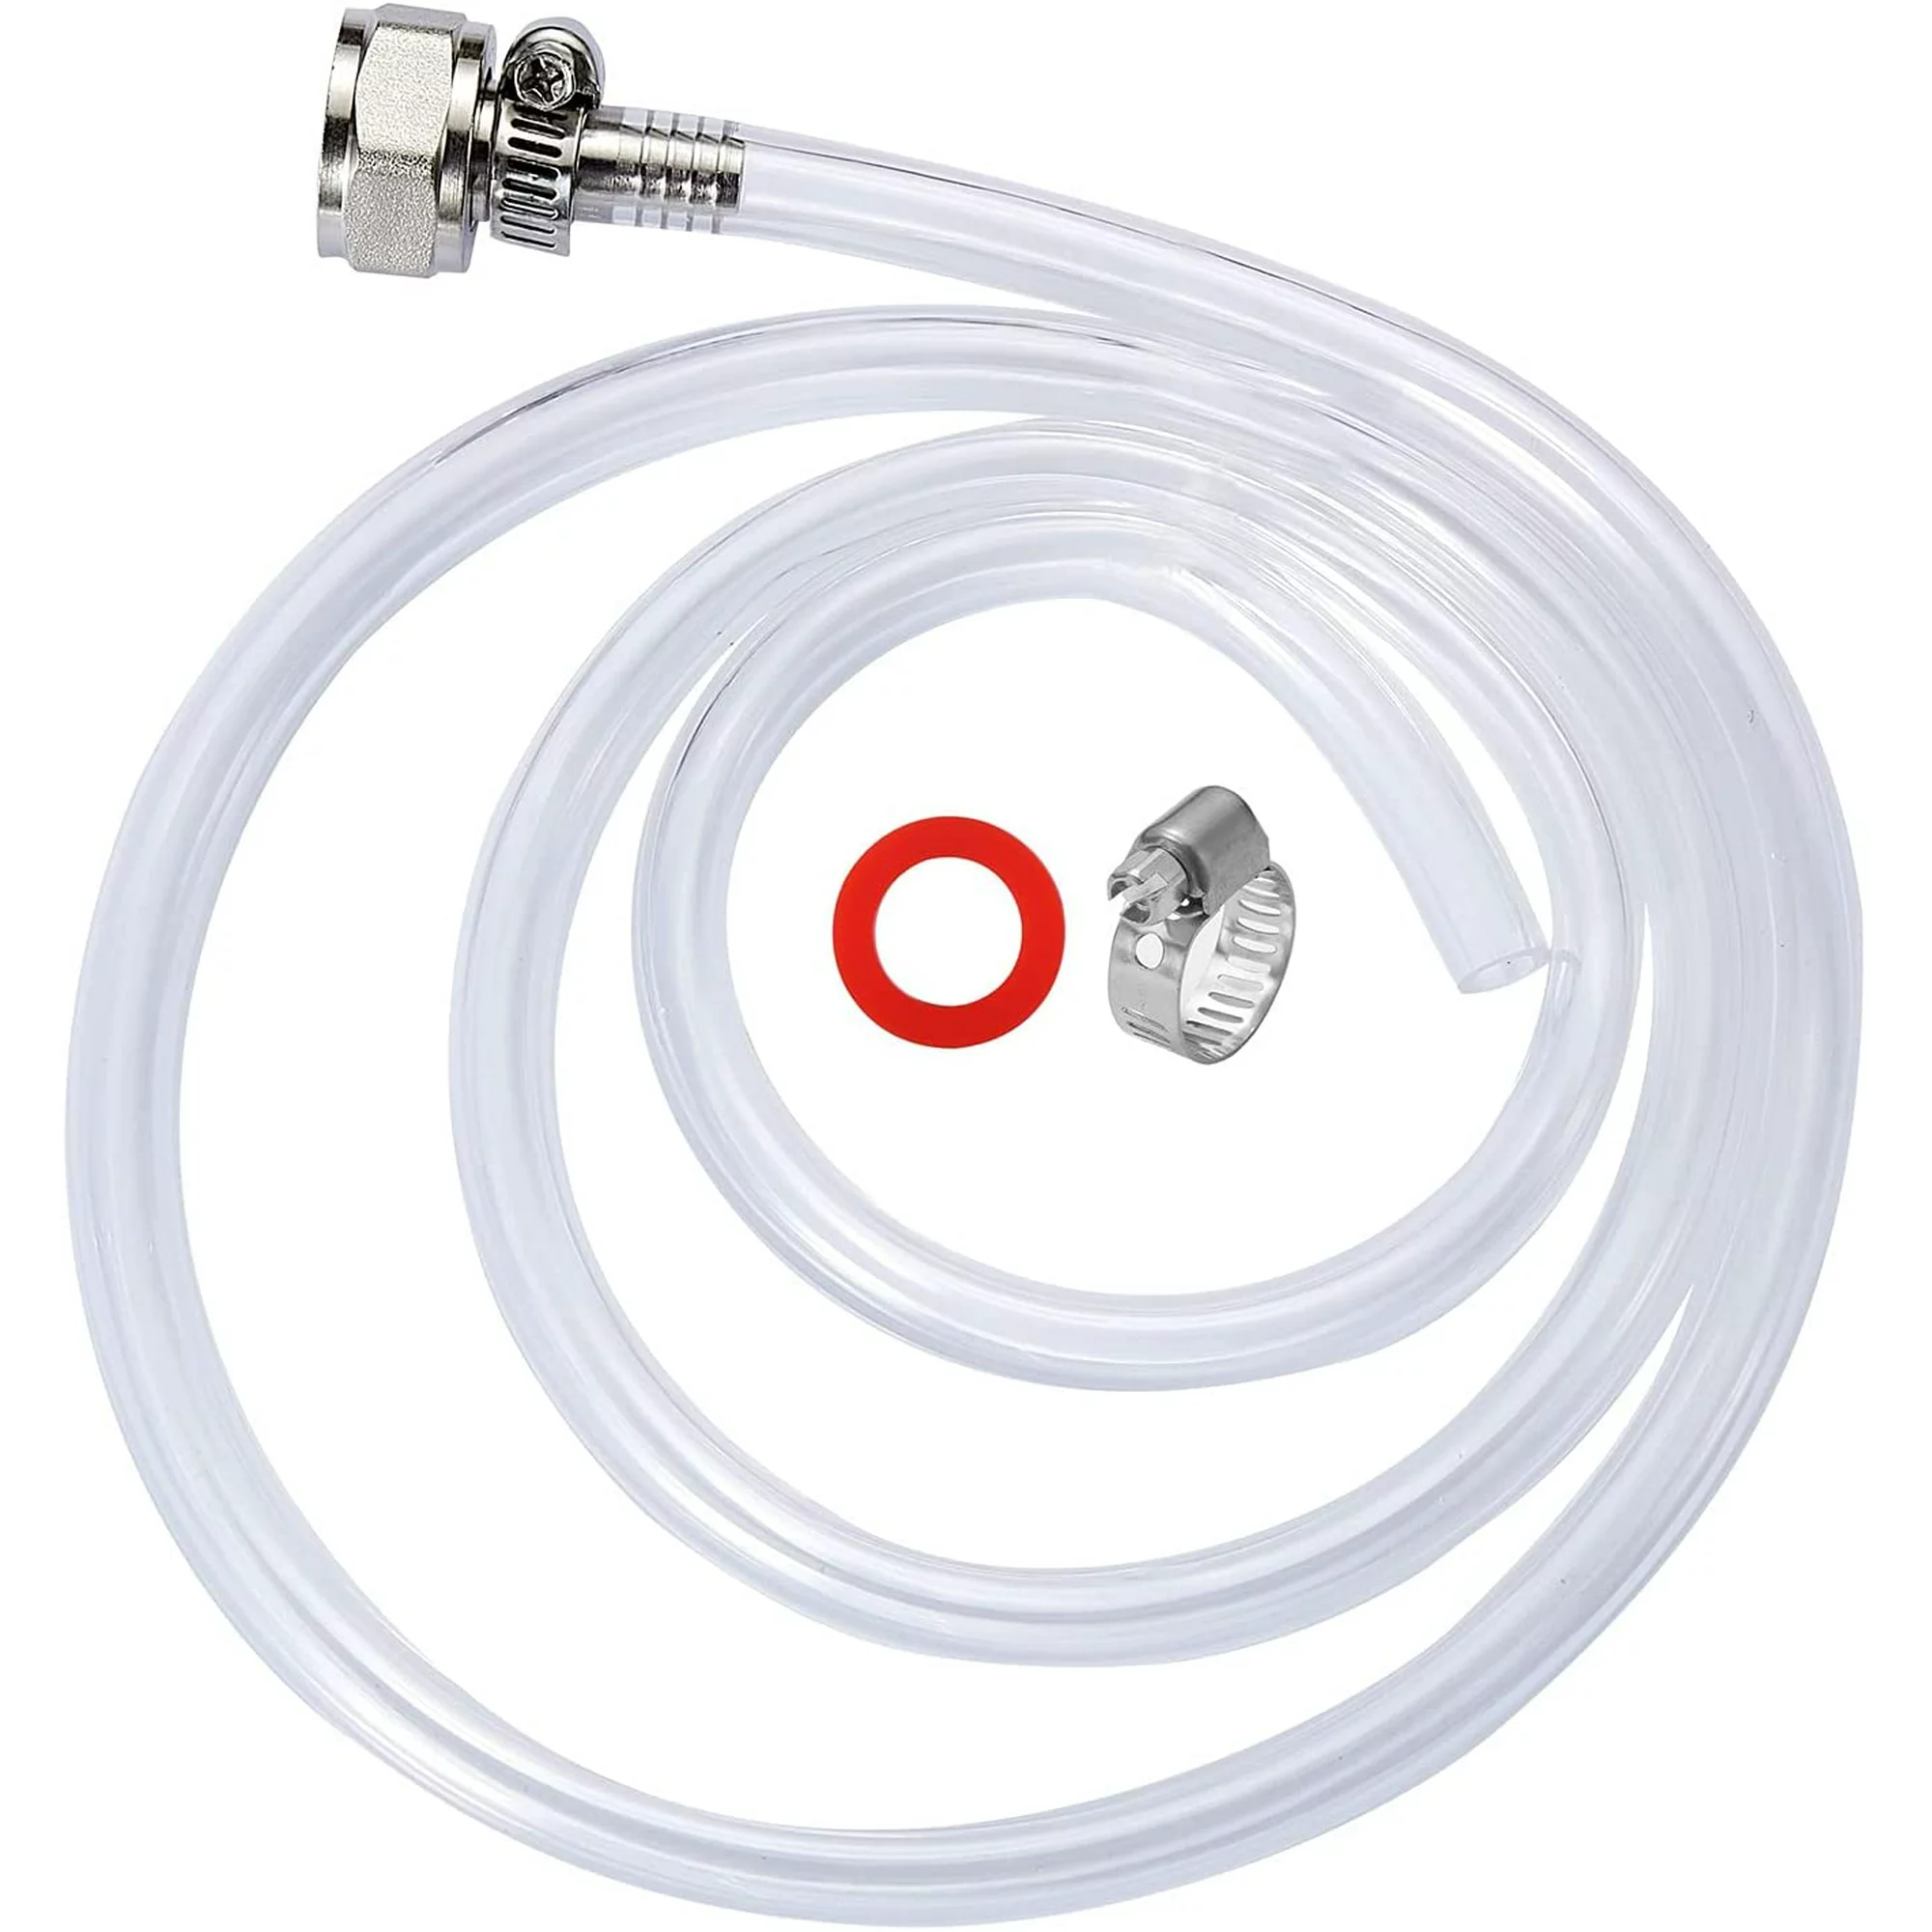
- Tubing: Choose a food-grade, beer-specific tubing with the appropriate diameter for your system. PVC tubing or silicone tubing are popular choices due to their durability and flexibility.
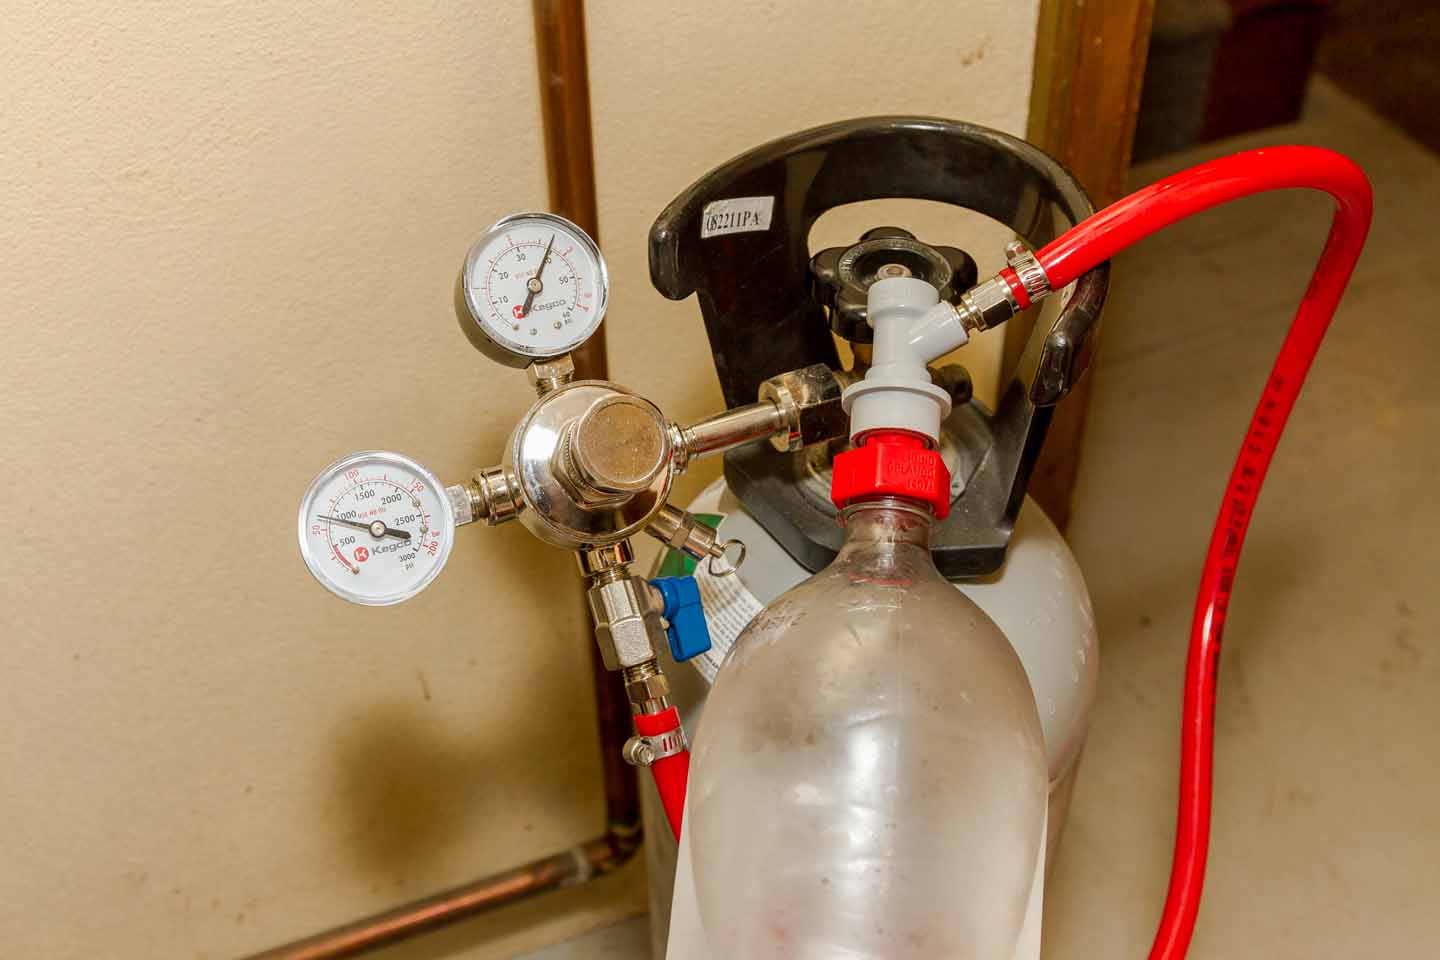
- Coupler: This is the device that connects the keg to the tubing. Make sure to select a coupler that matches the type of keg you’ll be using, whether it’s a ball lock or pin lock keg.
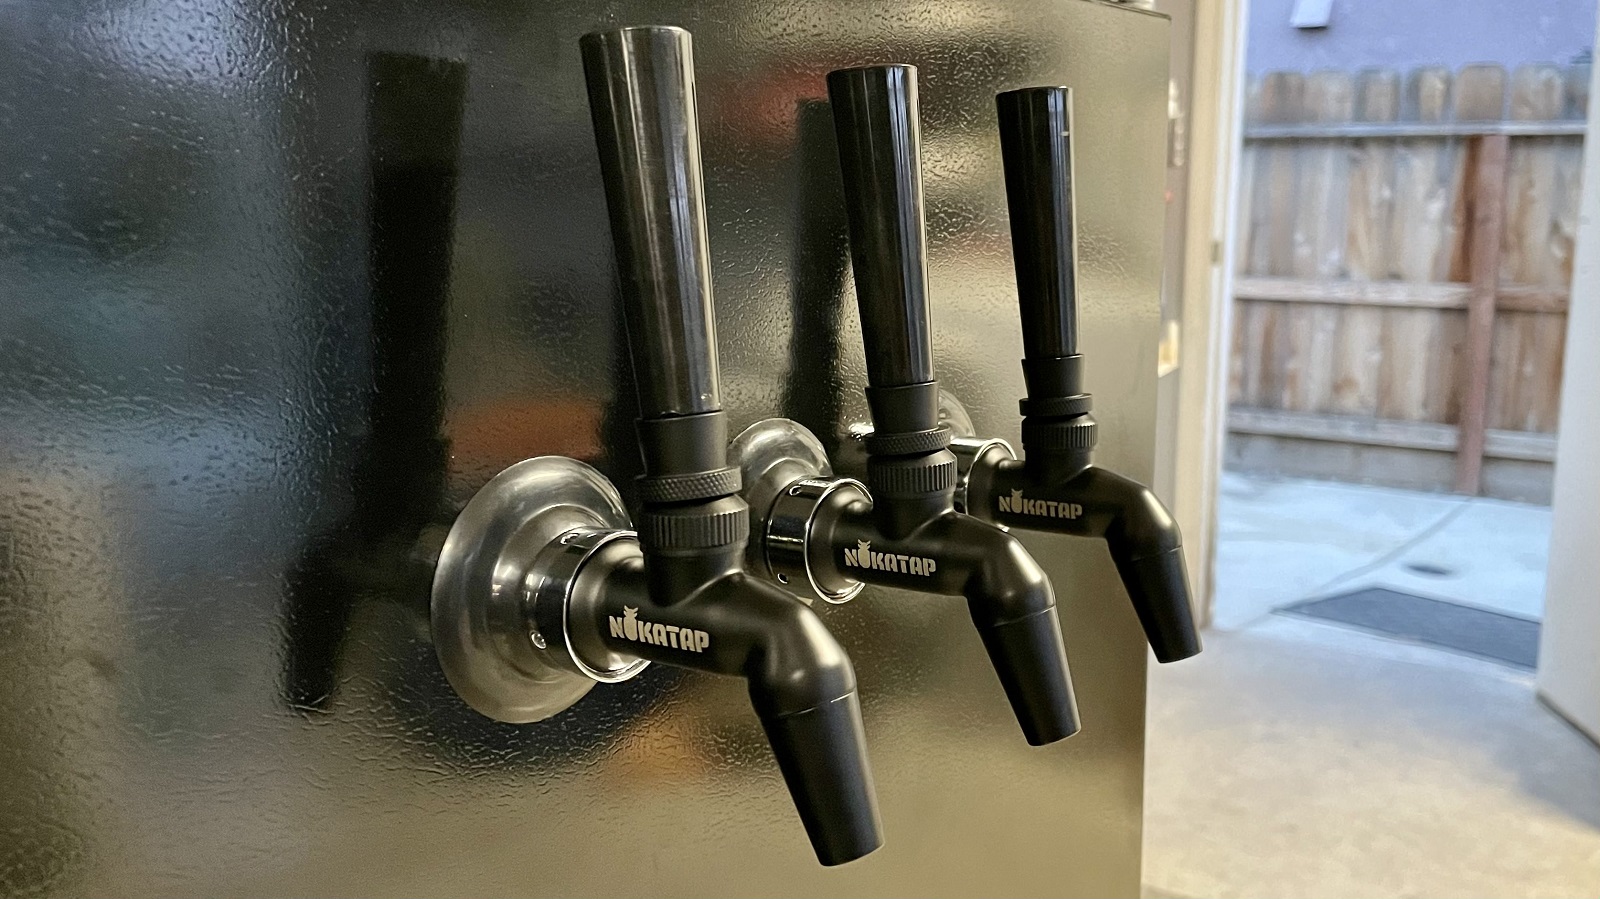
- Faucet: Select a high-quality faucet that matches your kegerator’s setup. Stainless steel faucets are a popular choice due to their durability and resistance to tarnishing.
- Clamps: Clamps are used to secure the tubing onto the coupler and the faucet. Choose stainless steel clamps that are easy to tighten and provide a secure fit.
- Cleaning Solution: A proper cleaning solution is essential for maintaining hygiene and preventing contamination. Look for a beer line cleaning solution that’s safe to use with your tubing material.
- Cleaning Brush: A long brush with soft bristles will help you clean the inside of the tubing effectively and remove any residue or buildup.
- Wrench: You’ll need a wrench to securely tighten the coupler and faucet connections.
- Bucket: A bucket will come in handy for cleaning and soaking the tubing, as well as catching any liquid that may spill during the installation process.
- Measuring Tape: Use a measuring tape to accurately measure and cut the tubing to the appropriate length.
- Persistent: Installing tubing on a home kegerator can be a slightly tricky process, so it’s important to be patient and persistent. Don’t hesitate to seek help from tutorials or friends who have prior experience.
Now that you have your equipment ready, let’s move on to the step-by-step process of tubing on your home kegerator.
Step 1: Measure and Cut Tubing to Appropriate Length
The first step in tubing on your home kegerator is to measure and cut the tubing to the appropriate length. This will ensure that the tubing reaches from the coupler inside the kegerator to the faucet outside, allowing you to pour your beer without any restrictions.
Here’s how you can measure and cut the tubing:
- Place the keg inside the kegerator and determine the location where the coupler will be attached. Keep in mind that the coupler should be easily accessible for connecting and disconnecting the keg.
- Measure the distance from the coupler to the faucet. This can be done using a measuring tape or a piece of string that you can later measure with a ruler.
- Add a few extra inches to the measured length. This will account for any curves or bends in the tubing that may occur during the installation process.
- Using a sharp knife or tubing cutter, carefully cut the tubing to the desired length based on your measurements.
- Ensure that the ends of the tubing are clean and free from any debris or rough edges. You can use a utility knife or sandpaper to smooth out any imperfections.
- Set the cut tubing aside and move on to the next step of attaching it to the coupler and faucet.
It’s important to note that the length of tubing may vary depending on the setup of your kegerator. Larger kegerator systems or those with longer distances between the coupler and faucet may require additional tubing length. Always refer to the specific instructions provided with your kegerator or consult with the manufacturer for any specific requirements.
With the tubing properly measured and cut, you’re now ready to move on to the next step of the installation process – attaching the tubing to the coupler and faucet.
Step 2: Attach Tubing to Coupler and Faucet
Now that you have measured and cut your tubing to the appropriate length, it’s time to move on to attaching the tubing to the coupler and faucet. This step is crucial as it ensures a secure connection and allows for smooth beer flow from the keg to the faucet.
Here’s a step-by-step guide on how to attach the tubing:
- Slide a stainless steel clamp onto one end of the tubing. Position the clamp about an inch away from the end to allow room for the connection.
- Push the tubing onto the barb fitting of the coupler until it fits snugly. Make sure the tubing is fully seated on the barb.
- Slide the stainless steel clamp over the tubing and onto the barb fitting. Use a screwdriver or a wrench to tighten the clamp securely. This will prevent any leaks or disconnections during use.
- For the other end of the tubing, repeat the same process. Slide a stainless steel clamp onto the tubing, then attach it to the threaded shank of the faucet. Again, ensure a snug fit and tighten the clamp securely.
- Double-check both connections to ensure they are tight and secure. Gently tug on the tubing near the coupler and faucet to ensure there is no movement or slippage.
- If your kegerator has multiple faucets, repeat this process for each faucet and tubing connection.
Properly attaching the tubing to the coupler and faucet is crucial for ensuring a smooth and reliable beer dispensing experience. A secure connection will minimize the risk of leaks and ensure that your beer flows effortlessly from the keg to the faucet.
With the tubing securely attached, you’re ready to move on to the next step – properly securing the tubing inside the kegerator.
To prevent foamy pours, keep the tubing on your home kegerator as short as possible, ideally no longer than 5-6 feet. This helps maintain proper pressure and carbonation levels.
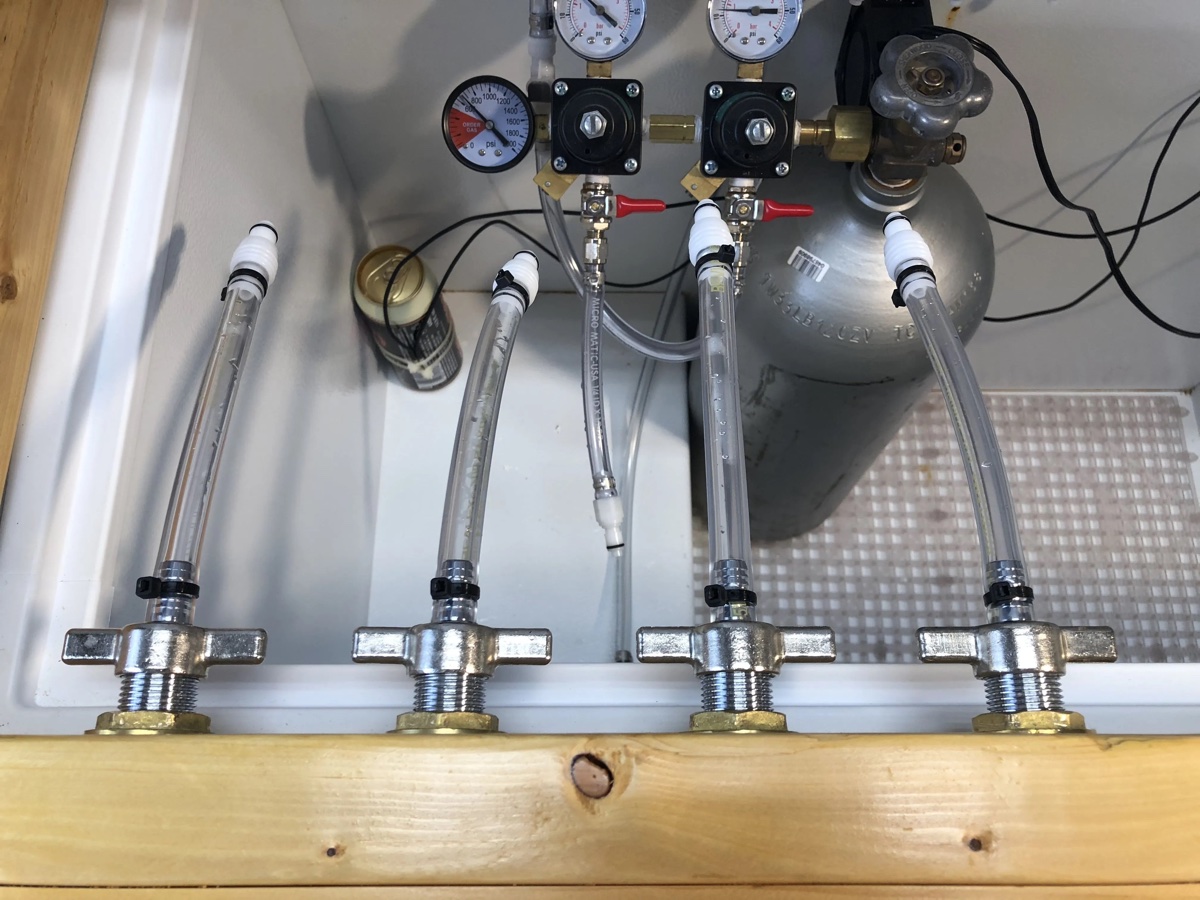
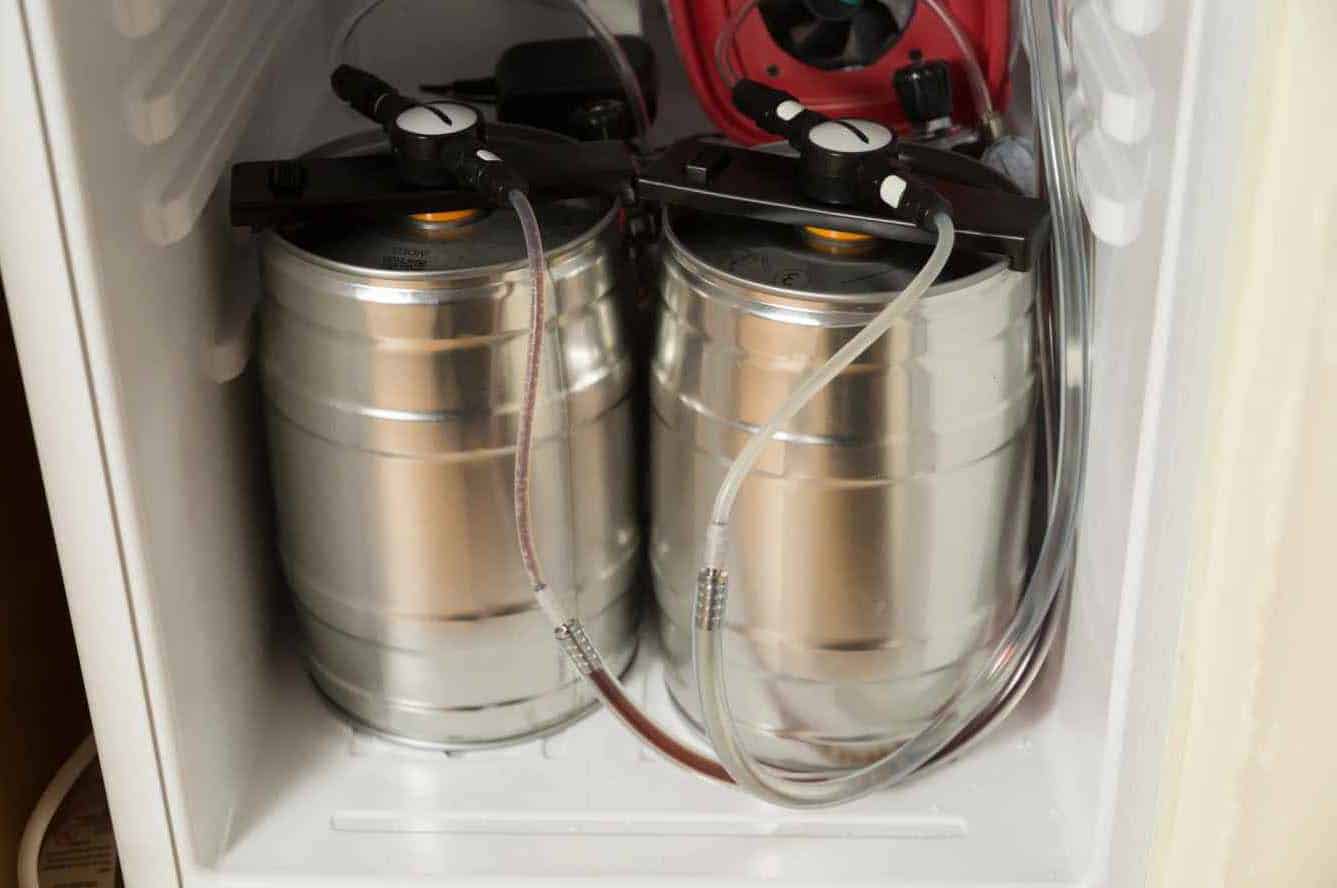
Step 3: Properly Secure Tubing Inside Kegerator
Once you have successfully attached the tubing to the coupler and faucet, the next step is to properly secure the tubing inside your kegerator. This step ensures that the tubing remains in place and doesn’t interfere with the cooling system or other components of your kegerator.
Here’s how you can properly secure the tubing inside your kegerator:
- Locate any existing tubing holders or clips inside your kegerator. These are built-in parts of some kegerator models and are designed to hold the tubing in place.
- If your kegerator does not have built-in tubing holders or clips, you can use zip ties or adhesive clips to secure the tubing. Place the zip ties or adhesive clips at appropriate intervals along the length of the tubing.
- Ensure that the tubing is neatly arranged and free from any kinks or bends. A smooth and straight layout will help maintain a consistent beer flow.
- Be mindful of the position of the tubing in relation to other components within the kegerator. Avoid placing the tubing near the cooling system or any moving parts that may puncture or damage it.
- Check that the tubing is not pulled too tightly or excessively stretched. It should have some flexibility to allow for movement without compromising its connection or causing any strain on the kegerator.
- Close the door of the kegerator and ensure that the tubing is properly positioned inside. Double-check that it does not come into contact with the door seal when closed.
Properly securing the tubing inside your kegerator is important for both functionality and safety. It ensures that the tubing remains in place, preventing any accidental disconnections or damage. Additionally, it helps maintain the overall aesthetics of your kegerator setup.
With the tubing securely in place, it’s time to move on to the next step – testing for leaks and making any necessary adjustments.
Read more: Where To Buy Tubing For Kegerator
Step 4: Test for Leaks and Adjust if Necessary
After successfully attaching and securing the tubing inside your kegerator, it’s essential to test for any potential leaks before enjoying your homebrewed beer. Identifying and fixing leaks early on will ensure that your keg system operates smoothly and that you can pour beer without any issues.
Follow these steps to test for leaks and make any necessary adjustments:
- Fill a spray bottle with a mixture of water and dish soap. Shake the bottle to create a soapy solution.
- Ensure that the tap is closed and the kegerator is pressurized.
- Spray the soapy solution onto the connections between the tubing and the coupler and faucet.
- Observe for any bubbles forming. Bubbles indicate a leak.
- If you notice any leaks, make sure the connections are securely tightened. Adjust the clamps if necessary to achieve a snug fit. Keep spraying the soapy solution and re-check for any new leaks after making adjustments.
- Repeat the process for all the connections, including any additional faucets or tubing.
- Once all connections are leak-free, wipe away any excess soapy solution and ensure the area is dry.
Testing for leaks is a crucial step in ensuring that your kegerator system is working flawlessly. By promptly identifying and resolving any issues, you can prevent wasted beer, maintain efficient operation, and enjoy your draft beer with peace of mind.
With the leaks addressed and the connections secure, you’re now ready for the final step – enjoying tubing on your home kegerator!
Step 5: Enjoy Tubing on Your Home Kegerator
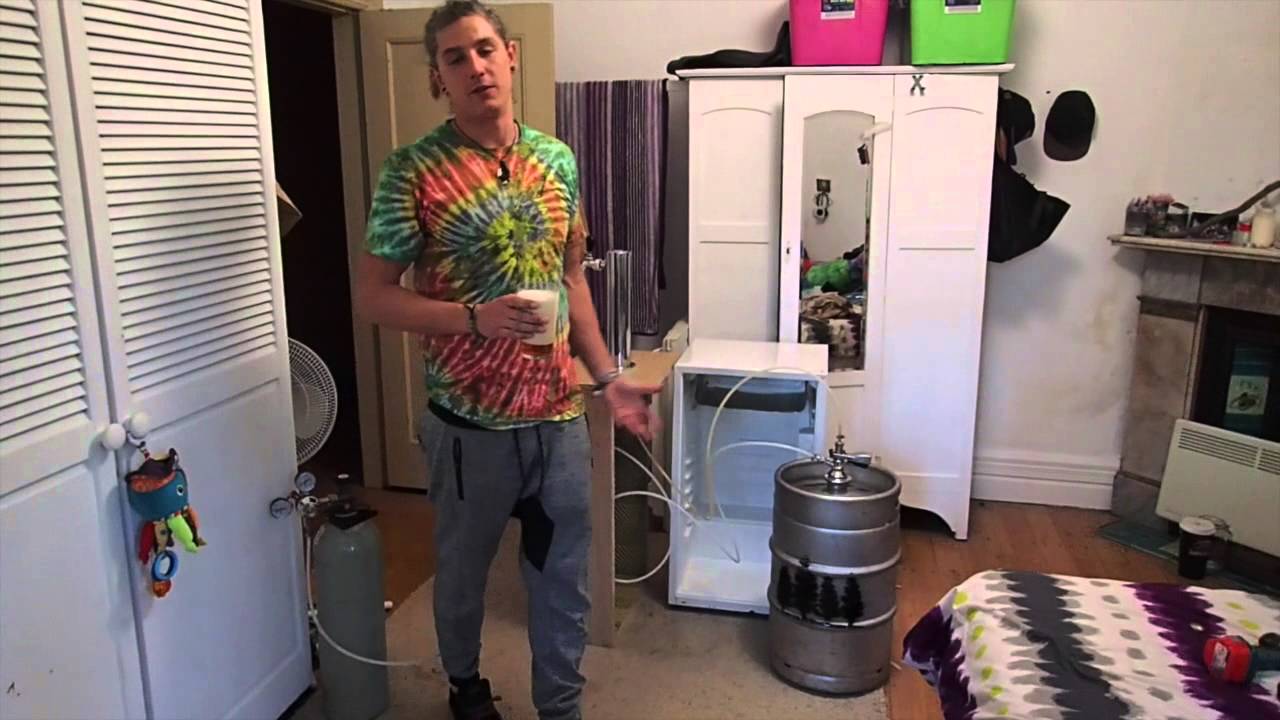
Congratulations! You have successfully installed tubing on your home kegerator, and now it’s time to sit back, relax, and enjoy your favorite draft beer in the comfort of your own home.
Here are a few tips to make the most of your tubing on a home kegerator:
- Ensure that your kegerator is properly cooled to the recommended temperature for your beer. This will help maintain the freshness and quality of your beer.
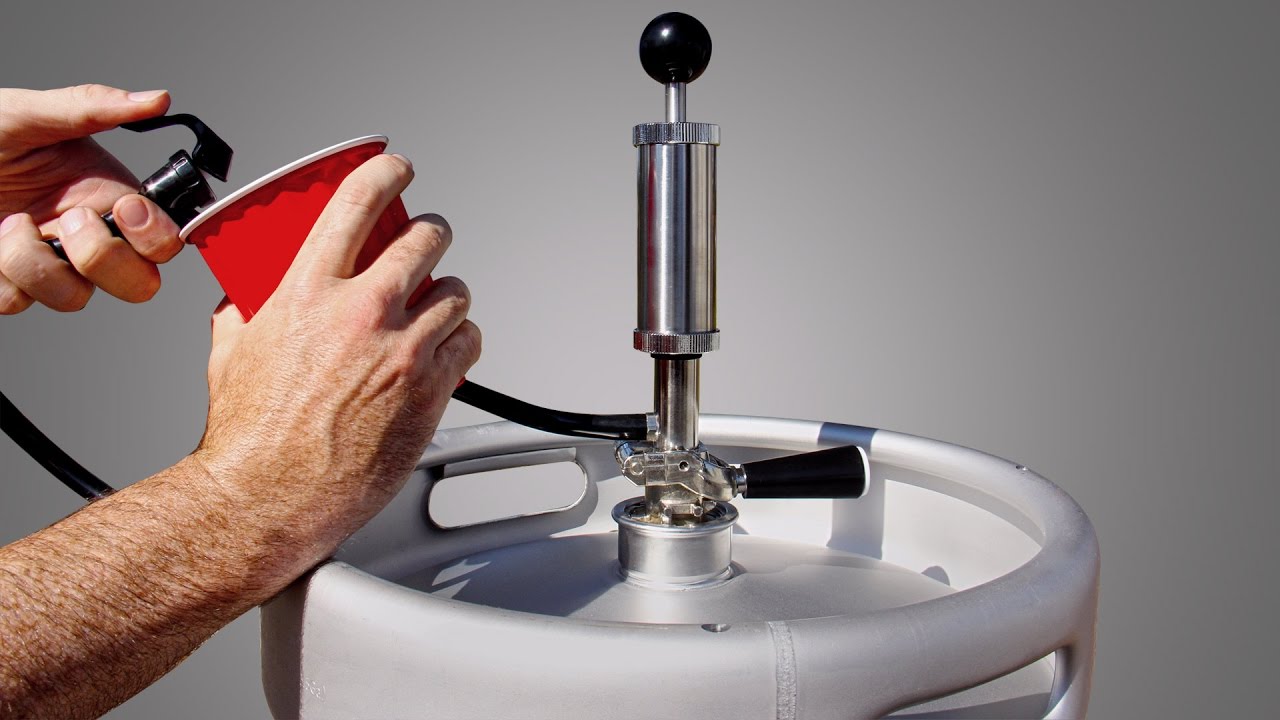
- Pull the tap forward to open it, and then slowly push it back to release the beer. Adjust the speed and angle of the pour to achieve the desired amount of foam in your glass.
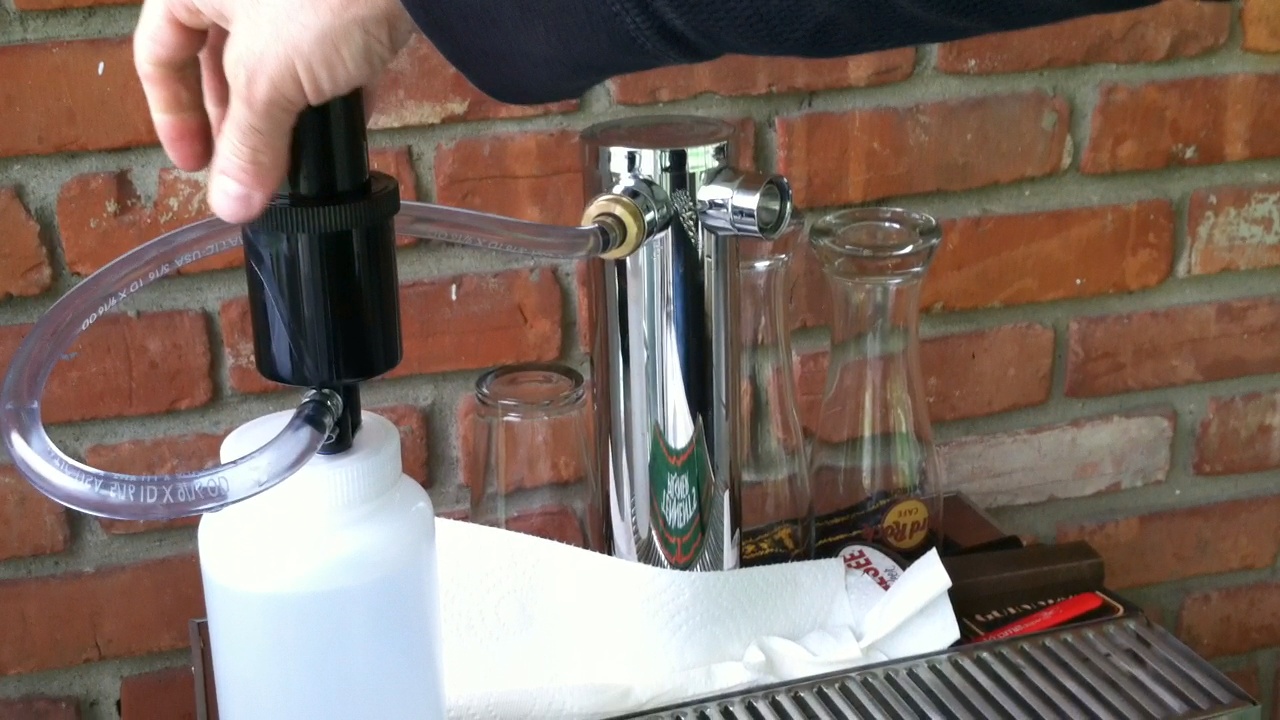
- Keep your beer lines clean by regularly flushing them with a beer line cleaning solution. This will prevent any buildup or off-flavors caused by bacteria or yeast.
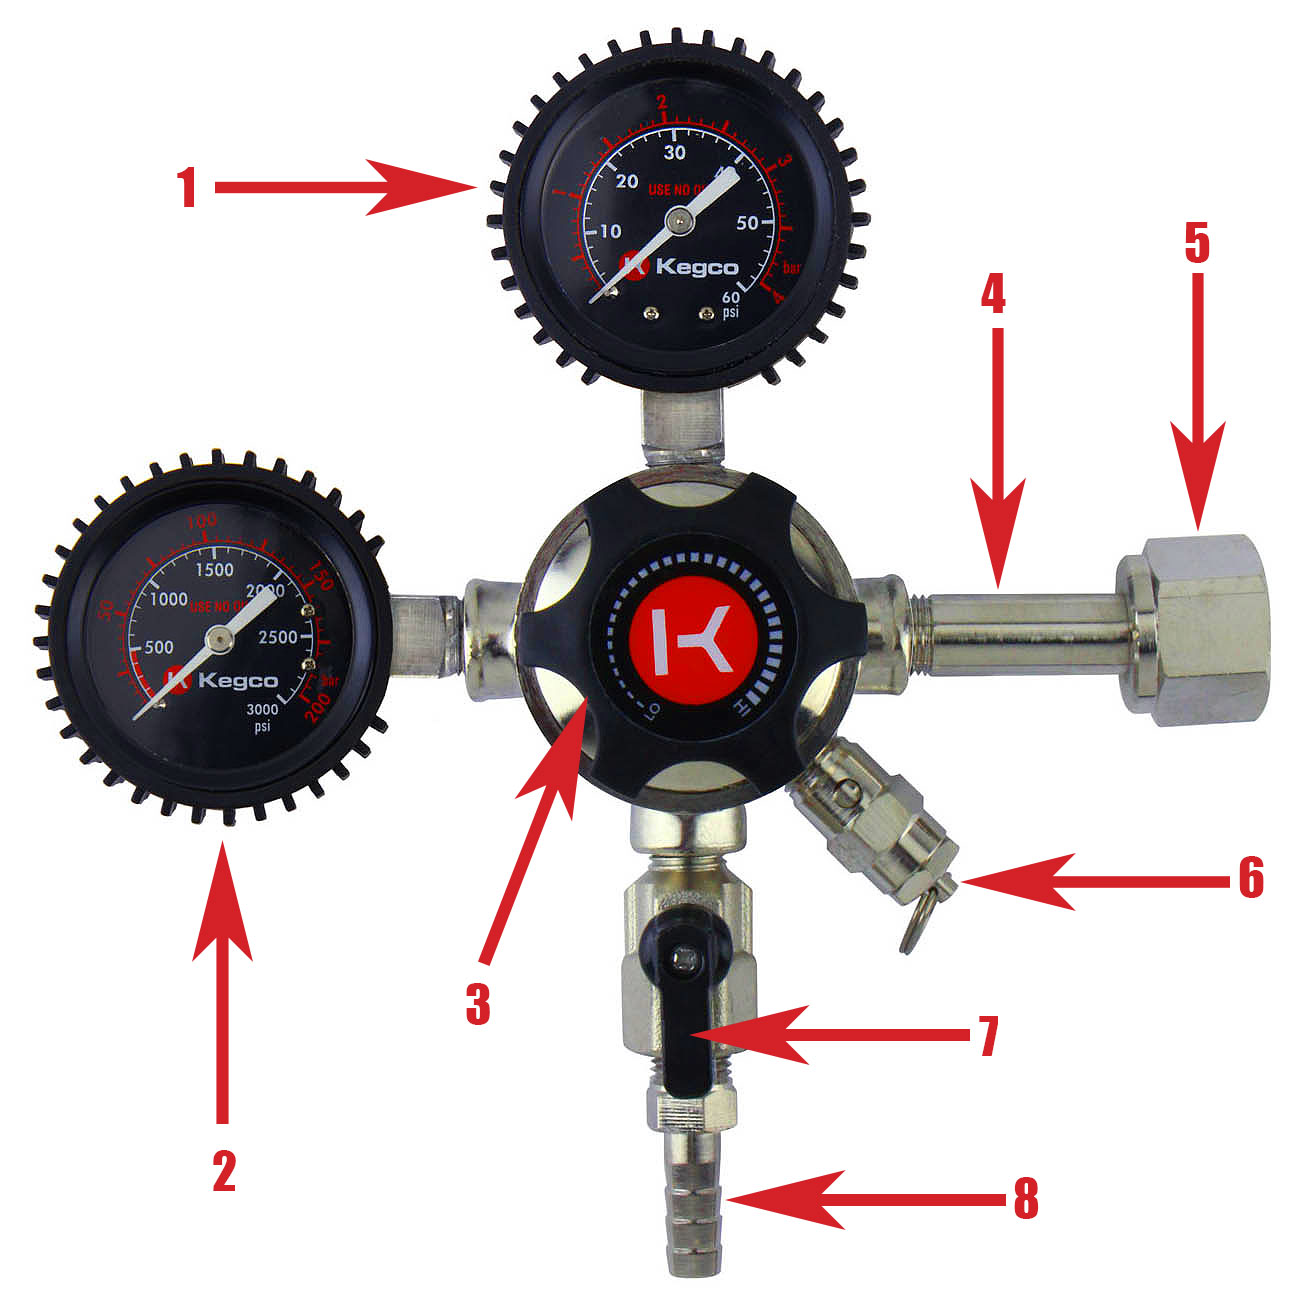
- Maintain the proper carbonation level of your beer by regularly monitoring and adjusting the CO2 pressure in your kegerator. This will ensure that your beer remains well-carbonated and flavorful.
- Experiment with different beer styles and flavors to expand your beer-tasting experience. The versatility of a home kegerator allows you to have a variety of beer options on tap.
- Invite friends and family over to share the joy of your home kegerator setup. It’s always more enjoyable to pour and savor a pint of beer with loved ones.
- Regularly maintain and clean your kegerator to ensure its longevity and optimal performance. Follow the manufacturer’s instructions for proper care and storage.
Tubing on your home kegerator not only enhances the ease of serving beer but also adds a touch of authenticity and freshness to your beer-drinking experience. With a properly installed and maintained setup, you can enjoy bar-quality beers right at home.
So, grab a glass, pull the tap, and raise a toast to your newfound love for tubing on your home kegerator. Cheers!
Note: Please remember to drink responsibly and in accordance with legal drinking age regulations in your area.
Conclusion
Tubing on your home kegerator opens up a world of possibilities for enjoying draft beer at home. With the right equipment and a simple installation process, you can enhance your beer-drinking experience and impress your friends with a professional-quality setup.
In this article, we have covered the step-by-step process of tubing on a home kegerator. We began by discussing the equipment needed, including tubing, couplers, faucets, clamps, cleaning solutions, and more. Properly measuring and cutting the tubing to the appropriate length was the first step, followed by attaching the tubing to the coupler and faucet securely. We then emphasized the importance of properly securing the tubing inside the kegerator to prevent any damage or disconnections. Testing for leaks and making any necessary adjustments ensures a seamless beer pouring experience. Finally, we provided tips on how to fully enjoy tubing on your home kegerator, such as maintaining the right temperature, cleaning the beer lines, and experimenting with different beer styles.
Remember, tubing on your home kegerator is not just about convenience; it’s about creating a unique and enjoyable beer-drinking experience. By investing time and effort into properly installing and maintaining your setup, you’ll be able to pour and enjoy fresh draft beer whenever you desire.
So, why wait? Take the plunge, gather your equipment, and start tubing on your home kegerator today. Cheers to delicious, perfectly poured pints of beer in the comfort of your own home!
Frequently Asked Questions about How Long Tubing On Home Kegerator
Was this page helpful?
At Storables.com, we guarantee accurate and reliable information. Our content, validated by Expert Board Contributors, is crafted following stringent Editorial Policies. We're committed to providing you with well-researched, expert-backed insights for all your informational needs.


0 thoughts on “How Long Tubing On Home Kegerator”