Articles
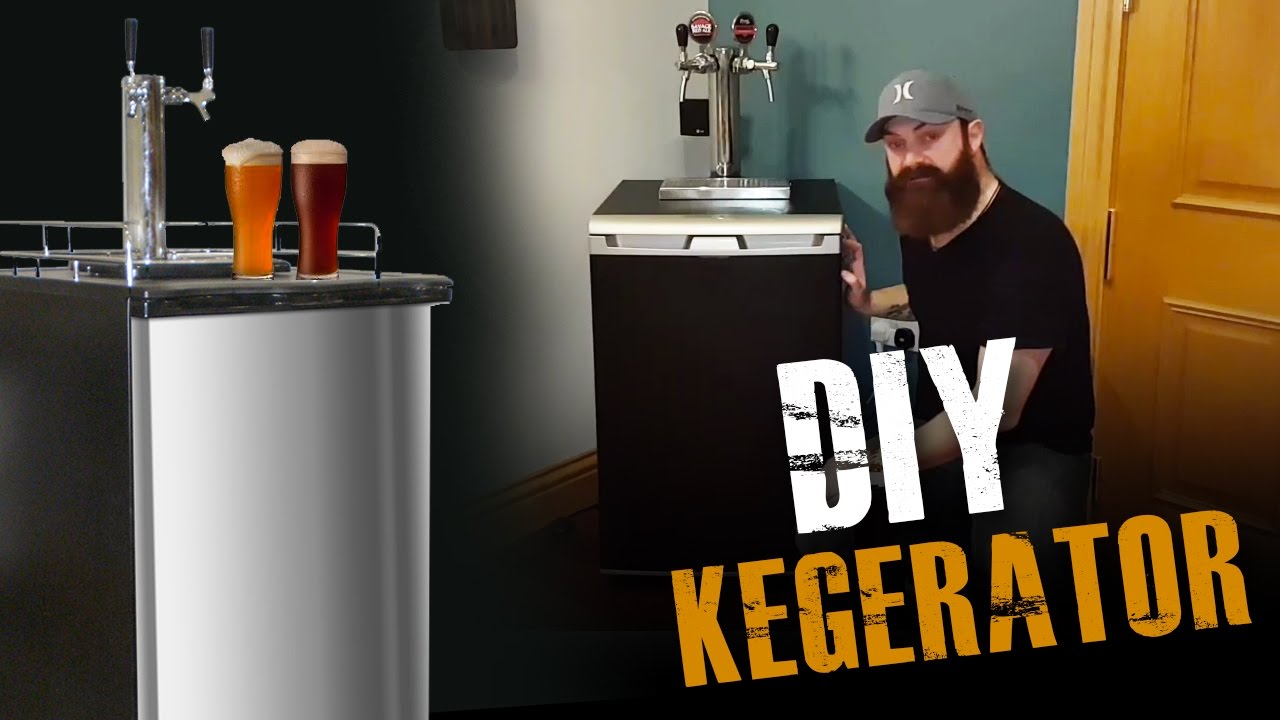
How To Turn A Refrigerator Into A Kegerator
Modified: August 31, 2024
Learn how to repurpose your refrigerator into a kegerator with our informative articles. Discover step-by-step instructions and practical tips to enjoy your favorite draft beer at home.
(Many of the links in this article redirect to a specific reviewed product. Your purchase of these products through affiliate links helps to generate commission for Storables.com, at no extra cost. Learn more)
Introduction
Are you tired of constantly refilling your beer bottles or cans? Do you dream of having your very own keg at home, dispensing perfectly chilled and freshly poured beer? Look no further – it’s time to turn that old refrigerator into a kegerator!
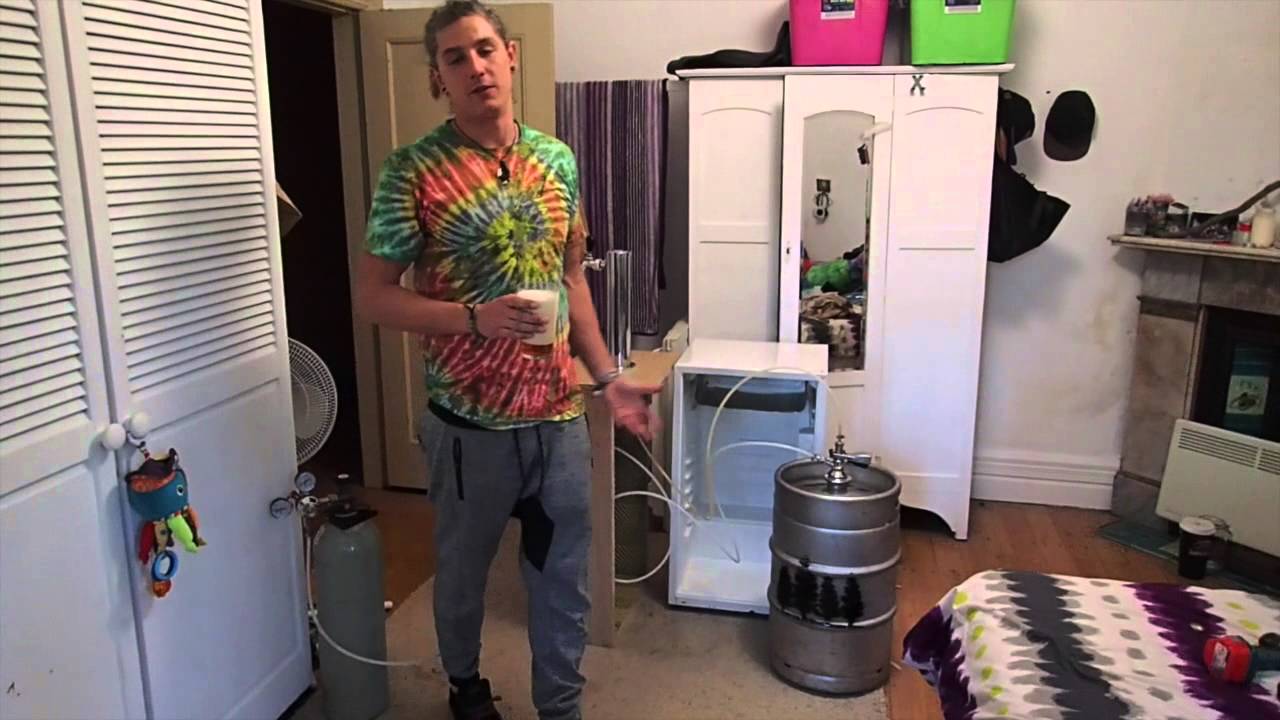
A kegerator is a refrigerator that has been modified to store and dispense kegs of beer. With just a few simple steps and some basic materials, you can transform your regular refrigerator into a kegerator, saving you money, time, and ensuring that you always have a refreshing beer on tap.
In this article, we will guide you through the process of converting a refrigerator into a kegerator, step by step. So, grab your tools, gather the necessary materials, and let’s get started!
Key Takeaways:
- Transform your old refrigerator into a kegerator and enjoy freshly poured beer at home. Save money, time, and customize your beer selection with this DIY project.
- Ensure a smooth and enjoyable beer drinking experience by properly connecting beer lines, securing the CO2 tank, and maintaining optimal temperature control in your newly converted kegerator. Cheers to your DIY success!
Read more: How To Turn My Mini Fridge Into A Kegerator
Materials Needed
Before diving into the conversion process, it’s important to gather all the necessary materials to ensure a smooth and successful transition from refrigerator to kegerator. Here’s a list of items you’ll need:
- A refrigerator – preferably an older model that you’re willing to repurpose
- A beer keg – choose your favorite beer or brew your own
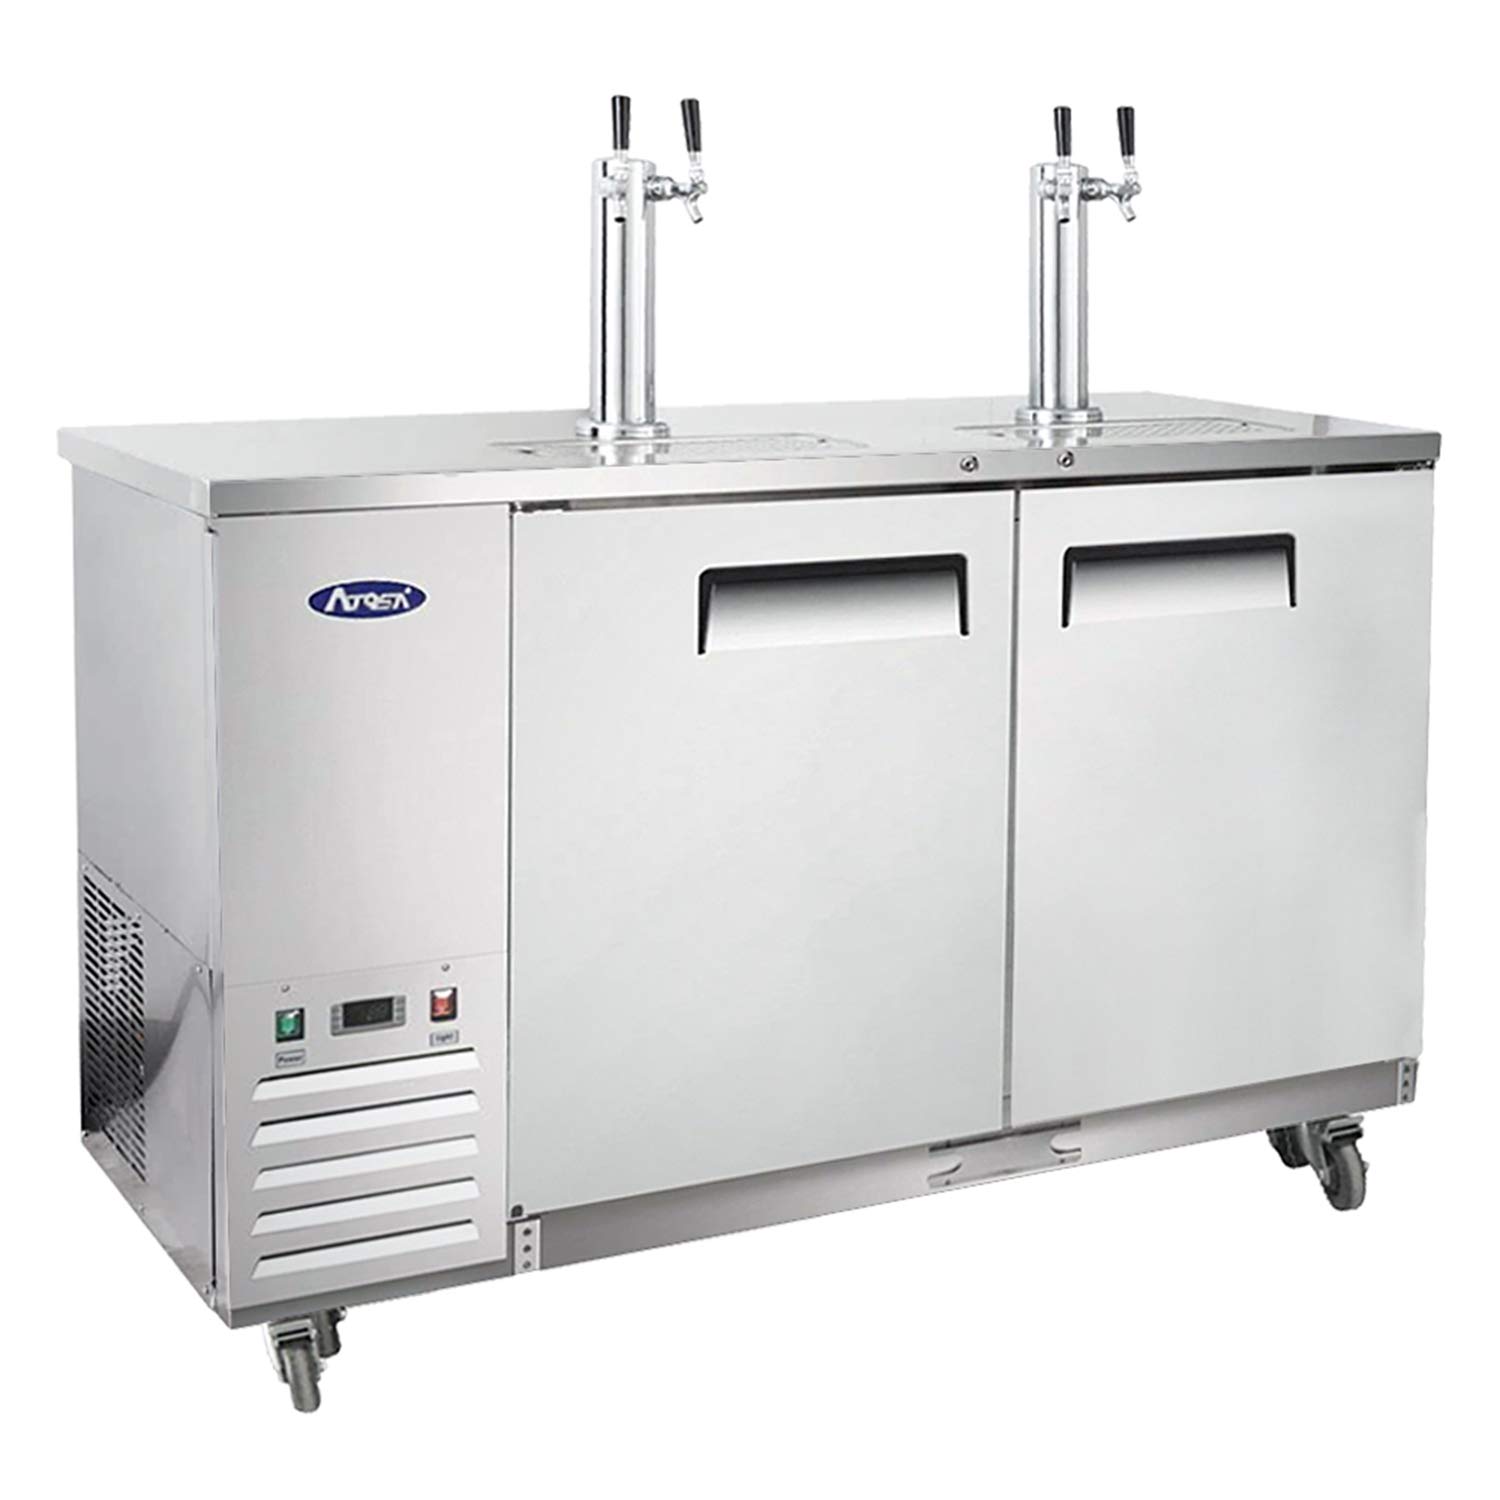
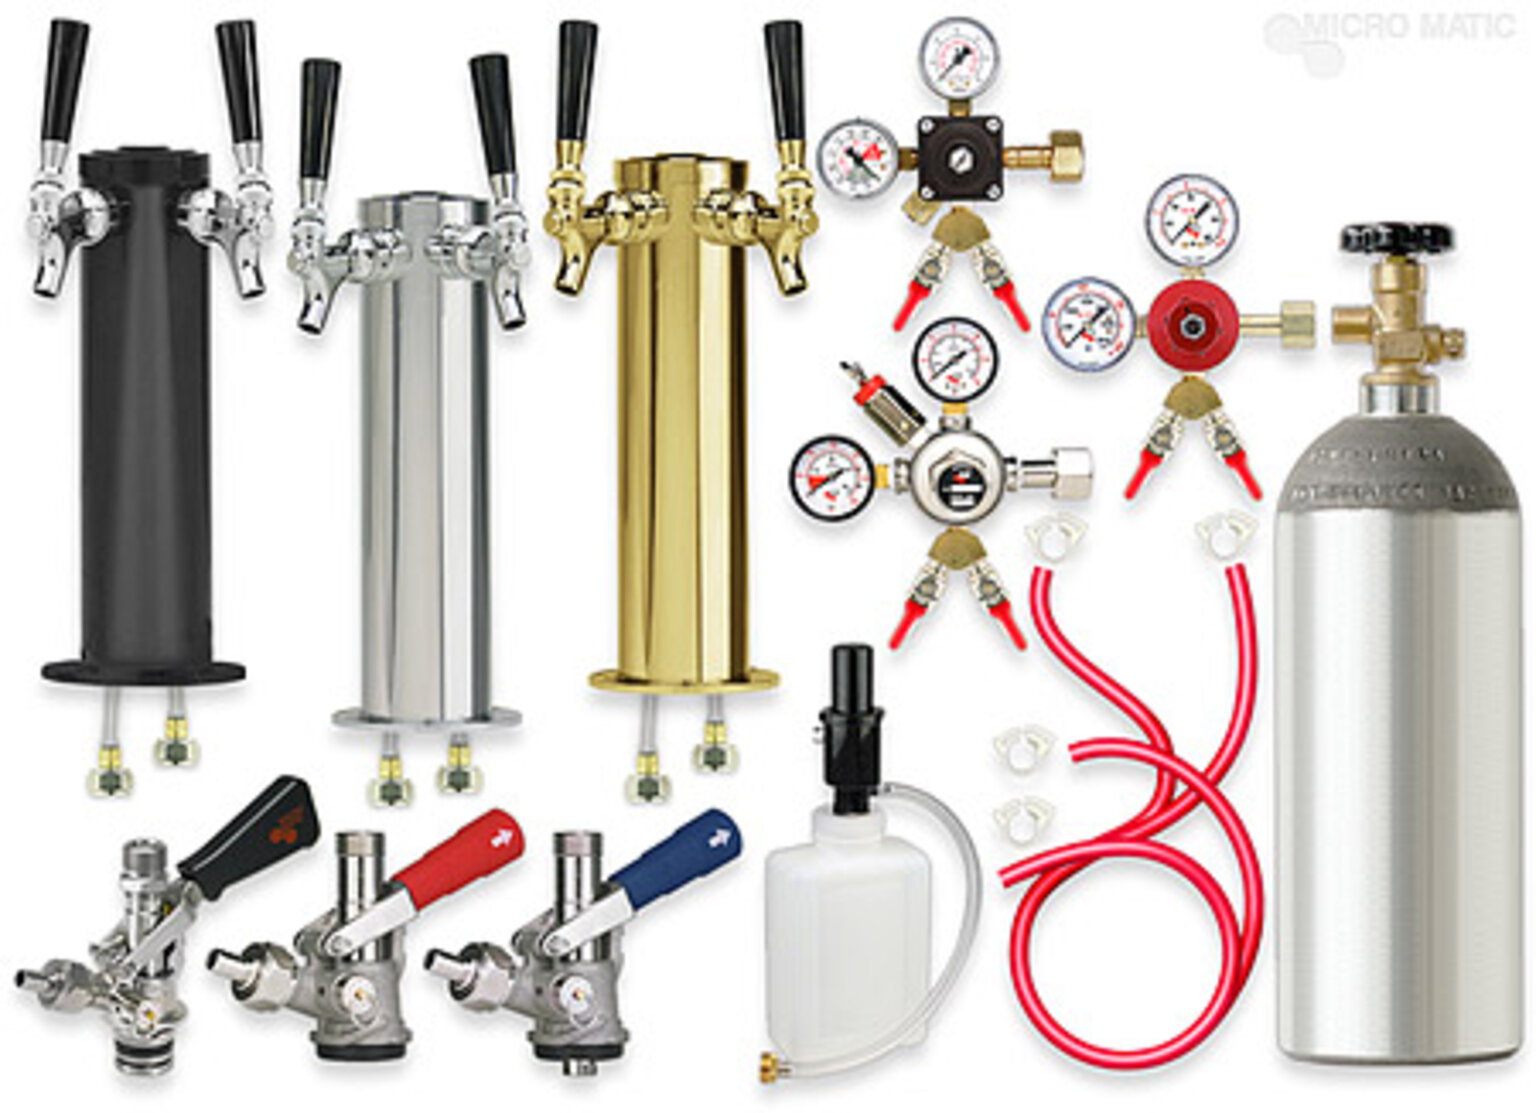
- A kegerator conversion kit – this will include essential components like a tap, beer lines, and CO2 regulator
- A drill
- A hole saw
- A thermometer
- A CO2 tank – check local regulations for refilling or exchanging
- A spanner wrench
- A drip tray
- An extension cord
Make sure to acquire all the materials before starting the conversion process. This will ensure that you have everything you need at your fingertips, saving you trips to the store during the middle of the conversion.
Steps to Convert a Refrigerator into a Kegerator
Now that you have all the necessary materials, it’s time to start the conversion process. Follow these step-by-step instructions to transform your refrigerator into a kegerator:
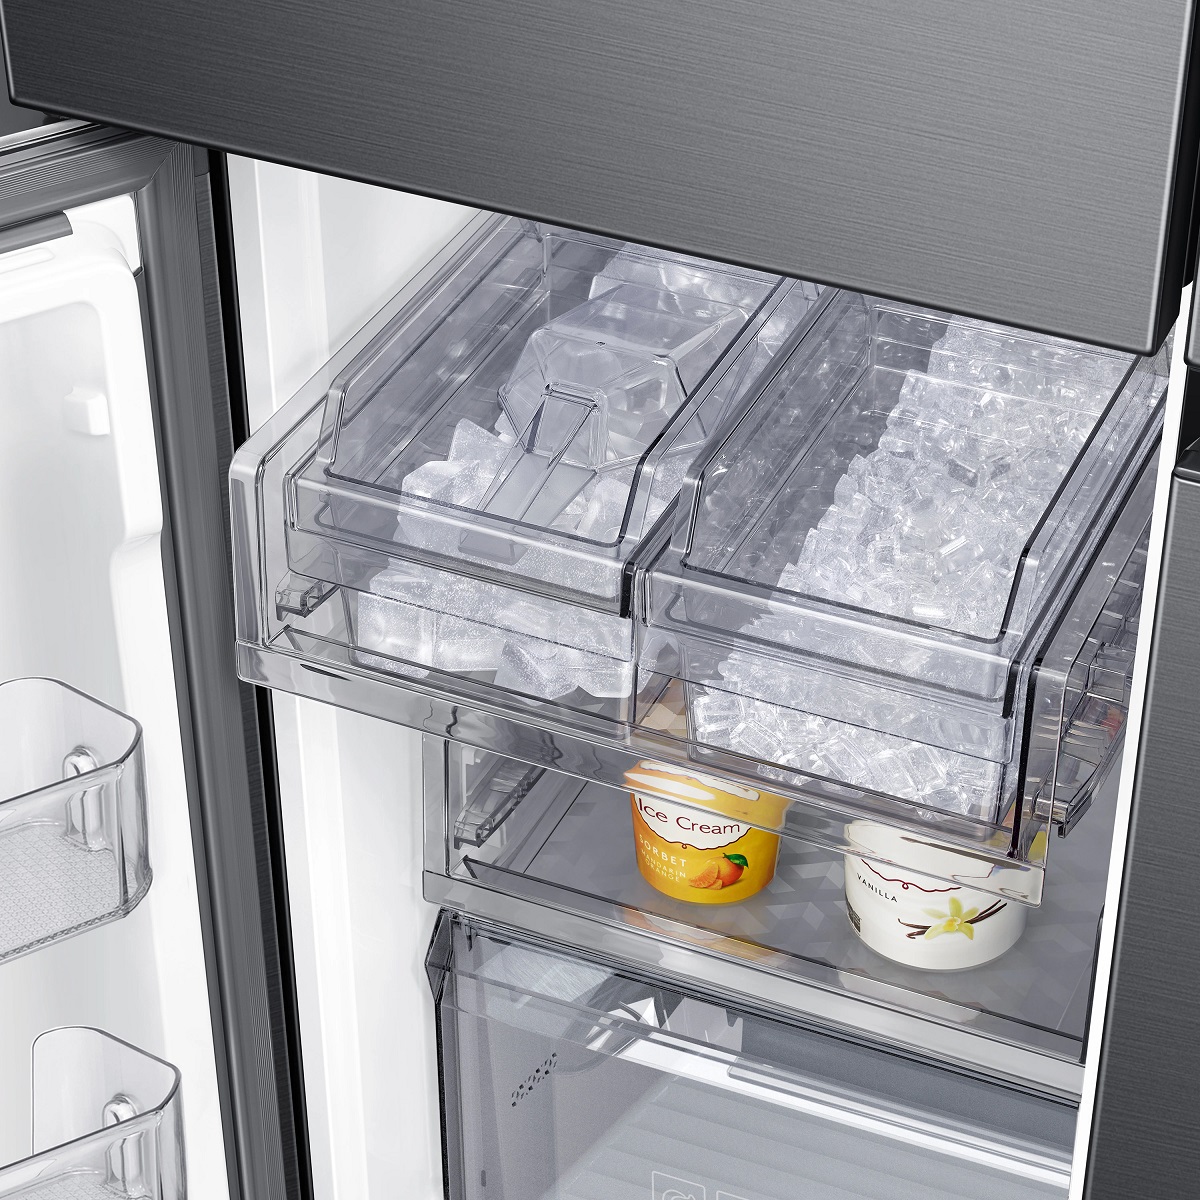
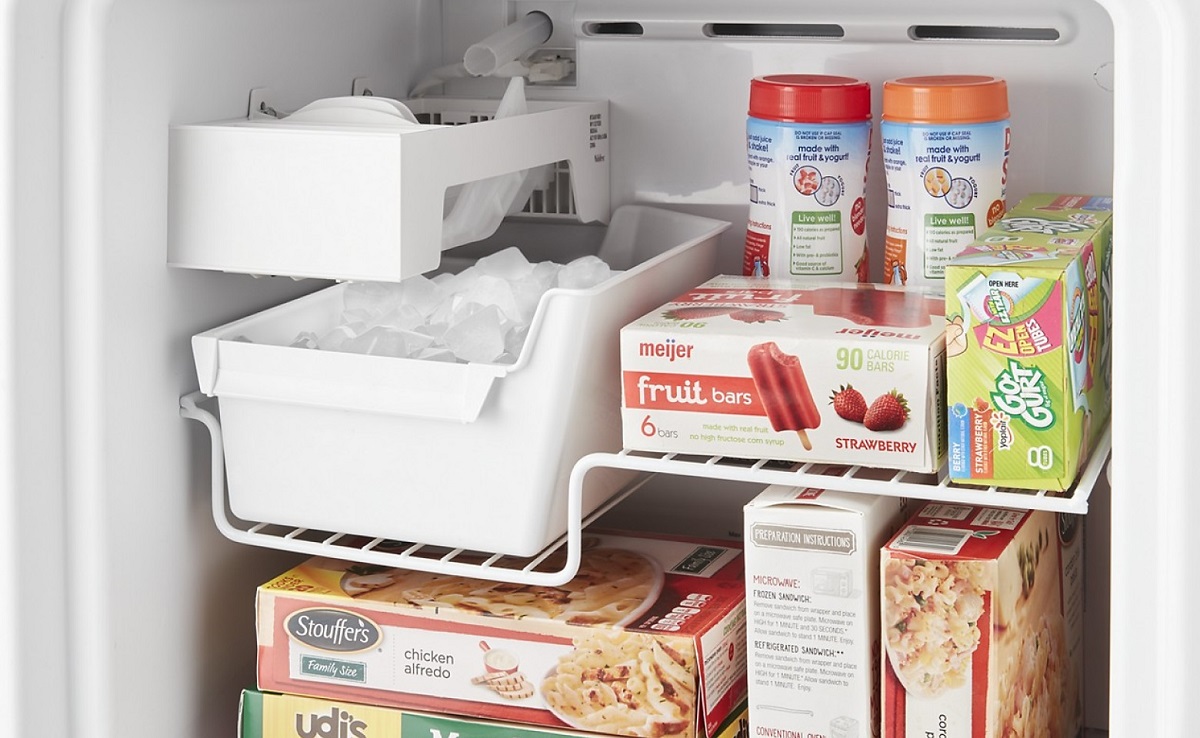
- Clean the refrigerator thoroughly: Start by emptying and cleaning the refrigerator. Remove any shelves, drawers, or accessories that are in the way.
- Decide on placement: Choose a location for your kegerator. Make sure it has enough space for the keg, CO2 tank, and beer lines. Preferably, place it in a well-ventilated area with easy access to an electrical outlet.
- Drill a hole: Use a drill and a hole saw to create a hole in the refrigerator. This hole will serve as the entry point for the beer lines.
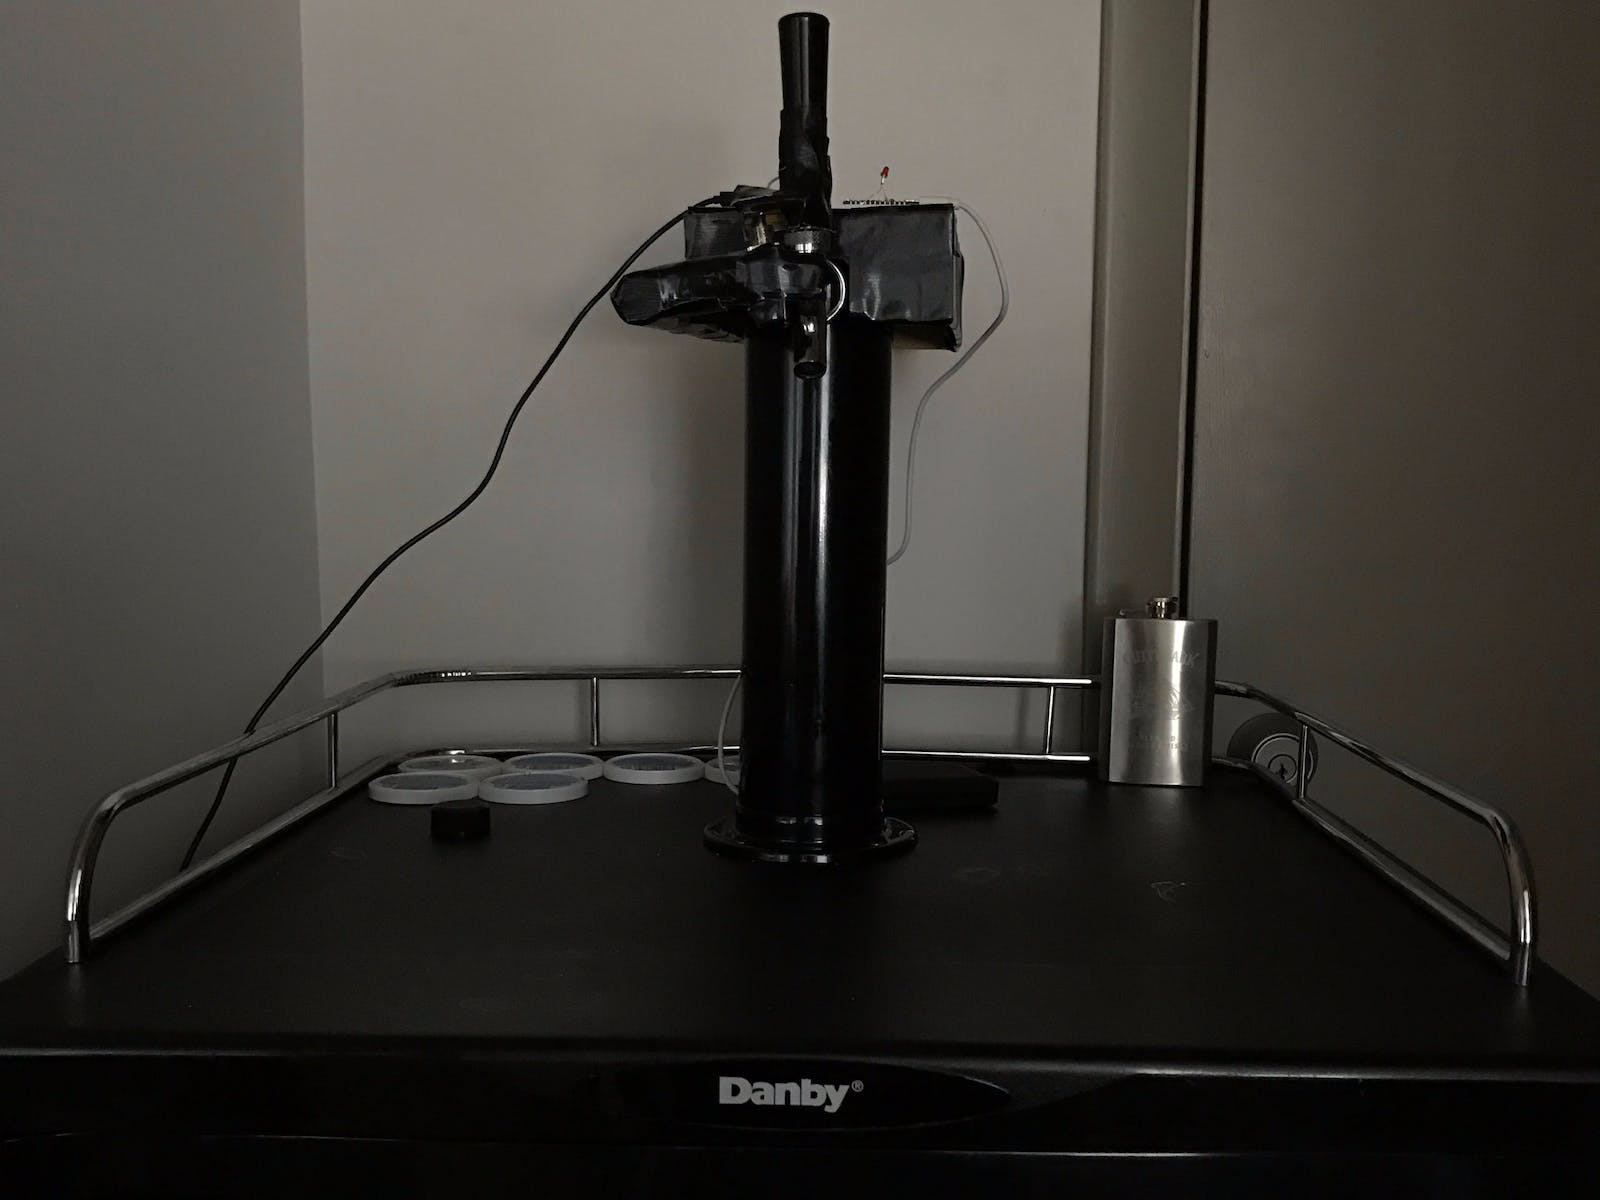
- Install the tap tower: Attach the tap tower to the top of the refrigerator. Make sure it fits snugly and is securely fastened to prevent any leaks.
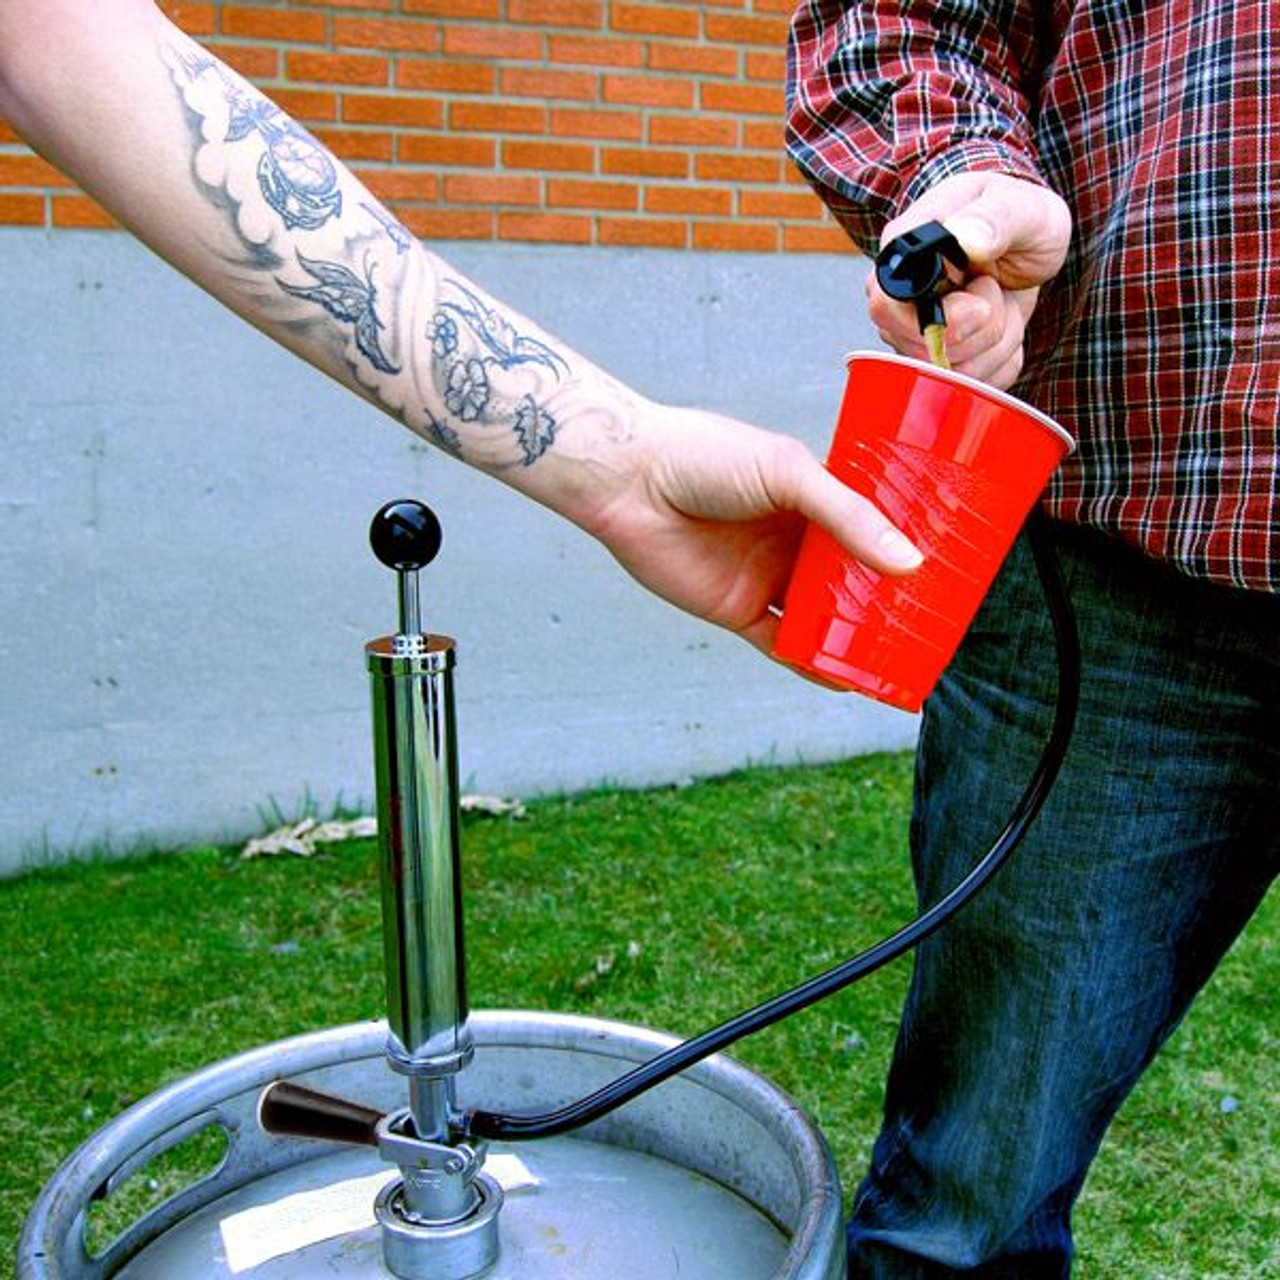
- Connect the beer lines: Connect one end of the beer line to the tap tower and the other end to the keg coupler. Ensure that the lines are properly connected and tightened to prevent any air or beer leaks.
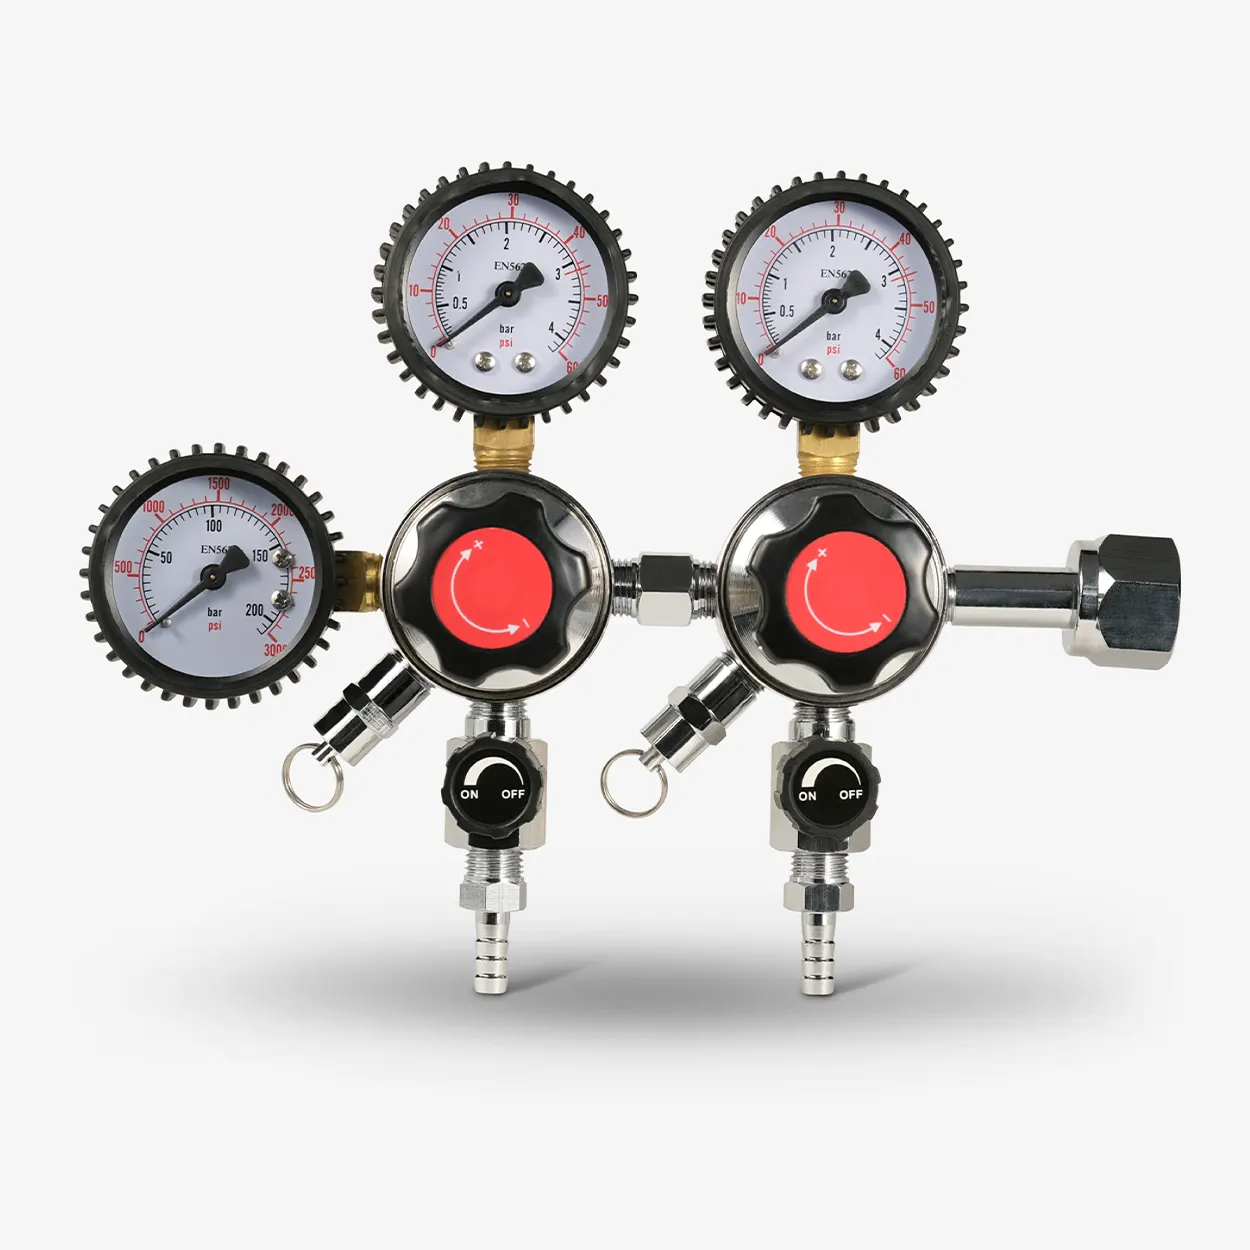
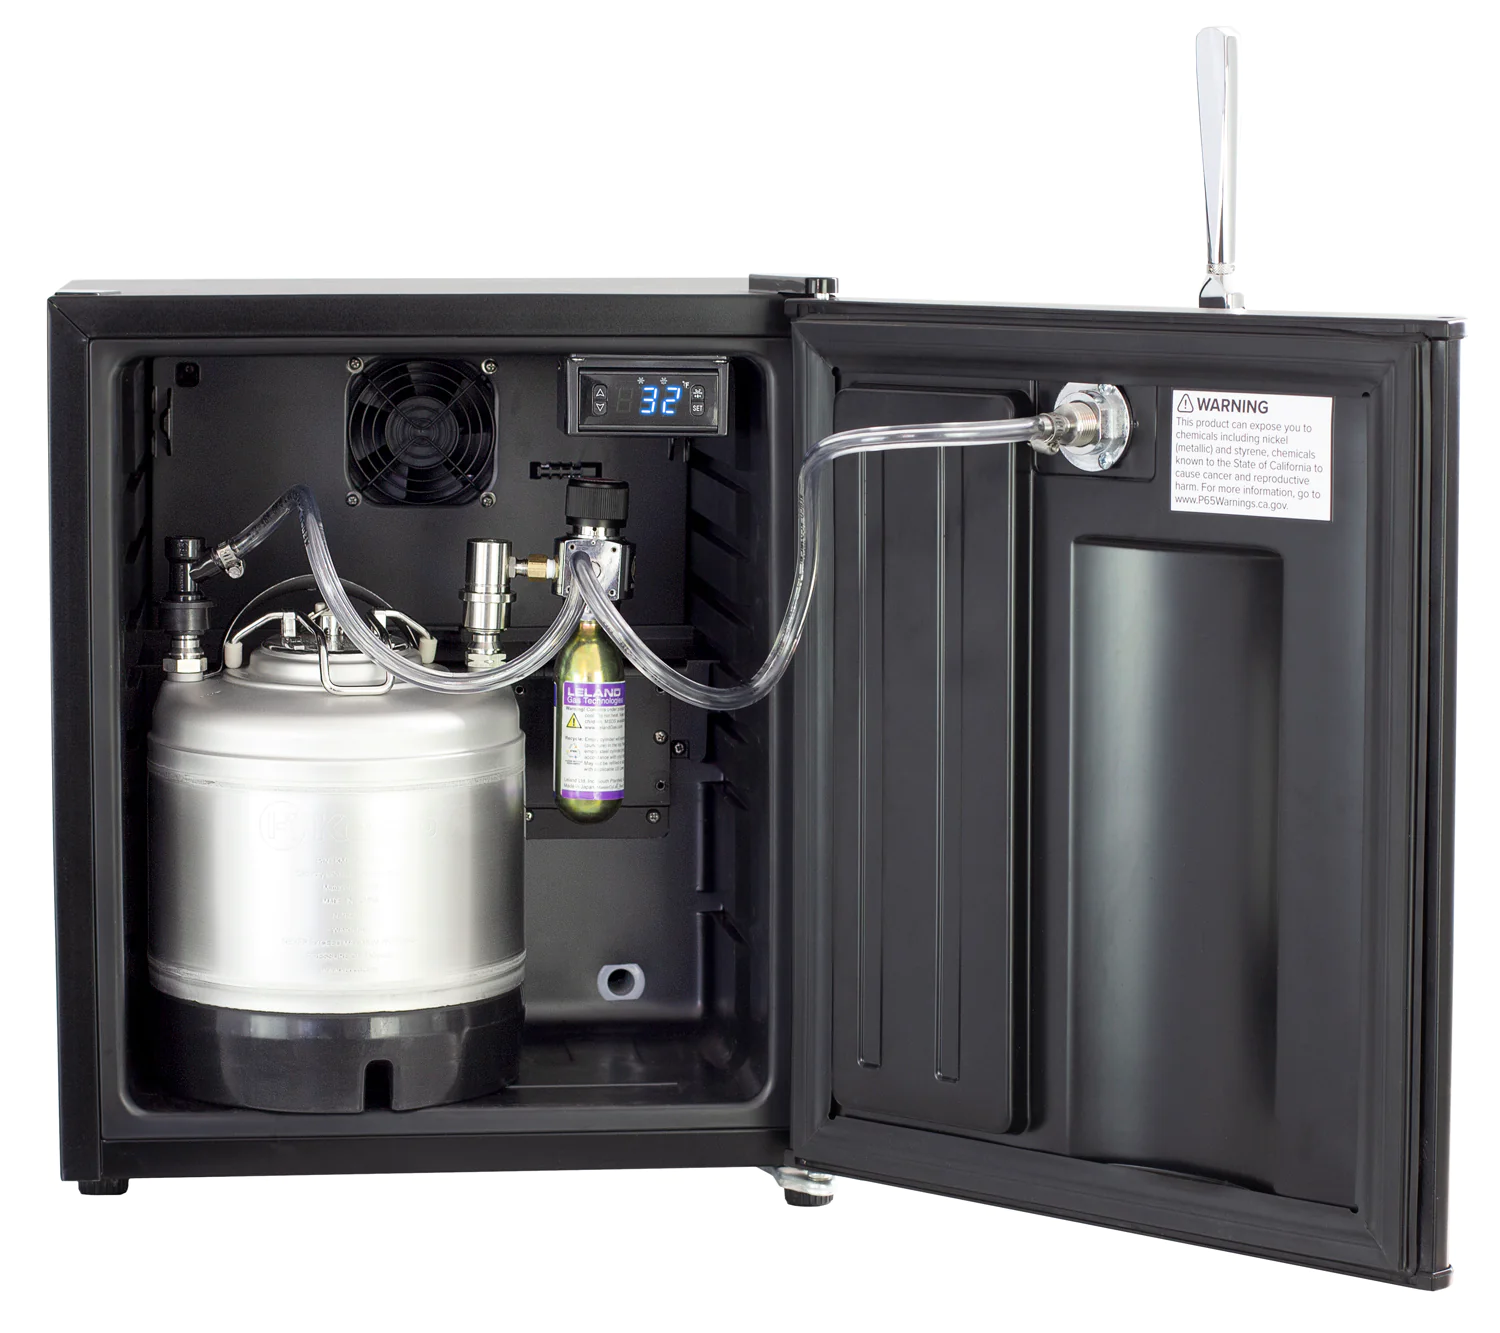
- Secure the CO2 tank: Find a suitable location to secure the CO2 tank inside the refrigerator. Use straps or brackets to keep it in place and prevent movement.
- Attach the CO2 regulator: Connect the CO2 regulator to the CO2 tank and adjust the pressure according to the beer manufacturer’s recommendations.
- Place the keg in the refrigerator: Carefully place the keg inside the refrigerator. Ensure that it is stable and secure.
- Check for leaks: Turn on the CO2 tank and carefully inspect all connections for any gas or beer leaks. If you spot any leaks, tighten the connections or replace any faulty components.
- Put back the shelves and accessories: Once everything is set up and functioning properly, put back the shelves, drawers, and any accessories you removed during the cleaning process.
Following these steps will help you convert your refrigerator into a fully functional kegerator. Take your time, double-check all connections, and make any necessary adjustments along the way to ensure a successful conversion.
Connecting the Beer Lines
Now that the basic conversion process is complete, it’s time to connect the beer lines to your kegerator. Properly connecting the beer lines is crucial to ensure a smooth flow and maintain the quality of your beer. Follow these steps:
- Measure the beer line: Before cutting the beer line, measure the distance from the keg coupler to the tap tower. Add a few extra inches for flexibility.
- Cut the beer line: Using a sharp utility knife or tubing cutter, carefully cut the beer line to the desired length.
- Attach the beer line to the keg coupler: Slide the beer line onto the barbed end of the keg coupler. Use a hose clamp to secure it tightly and prevent any leaks. Make sure the hose clamp is positioned past the barbs on the coupler.
- Attach the beer line to the tap tower: Slide the other end of the beer line onto the shank nipple located inside the tap tower. Again, use a hose clamp to secure it tightly and ensure a leak-free connection.
- Tighten all connections: Double-check all connections, including the hose clamps and coupler fittings, to ensure they are secure. Tighten any loose connections to prevent any leaks.
- Test the beer flow: Turn on the CO2 tank and open the tap handle to allow beer to flow. Check for any leaks or irregularities in the beer flow. Adjust the pressure and temperature settings as needed.
Remember, proper installation of the beer lines is crucial for a smooth and enjoyable beer drinking experience. Take your time, check for leaks, and make any necessary adjustments to ensure a perfect pour every time.
When converting a refrigerator into a kegerator, make sure to measure the interior space to ensure it can accommodate the keg and CO2 tank. Also, consider adding a temperature controller to maintain the ideal serving temperature for your beer.
Securing the CO2 Tank
Securing the CO2 tank in your kegerator is an essential step to ensure the safety and stability of your setup. Here are some guidelines to help you securely position the CO2 tank:
- Select a suitable location: Choose a spot inside the kegerator where the CO2 tank can be securely positioned. It should be easily accessible and allow for proper connection to the regulator.
- Use straps or brackets: To prevent the CO2 tank from moving or falling, use straps or brackets to secure it. Fasten the straps or brackets tightly around the tank and attach them firmly to a stable part of the kegerator walls.
- Position the tank upright: Ensure that the CO2 tank is positioned upright at all times. This not only prevents any potential leakage but also promotes optimal gas flow.
- Check for clearance: Make sure there is enough space around the CO2 tank for easy connection and disconnection of the regulator. Avoid placing the tank in a cramped or overcrowded location.
- Regularly inspect the tank: Periodically check the condition of the CO2 tank, including the valve and gauge. Look for any signs of damage or wear and promptly address any issues.
By properly securing the CO2 tank, you’ll have peace of mind knowing that it is safely positioned within your kegerator. This ensures a stable and reliable source of carbon dioxide for dispensing your refreshing beer.
Read more: How To Turn Off Samsung Refrigerator
Temperature Control
Temperature control is a crucial aspect of maintaining the quality and taste of your beer in your kegerator. Here are some important points to consider when it comes to temperature control:
- Optimal temperature: Most beers are best served at temperatures ranging from 38°F to 45°F (3°C to 7°C). However, certain beer styles may have specific temperature recommendations, so it’s always good to refer to the brewer’s guidelines.
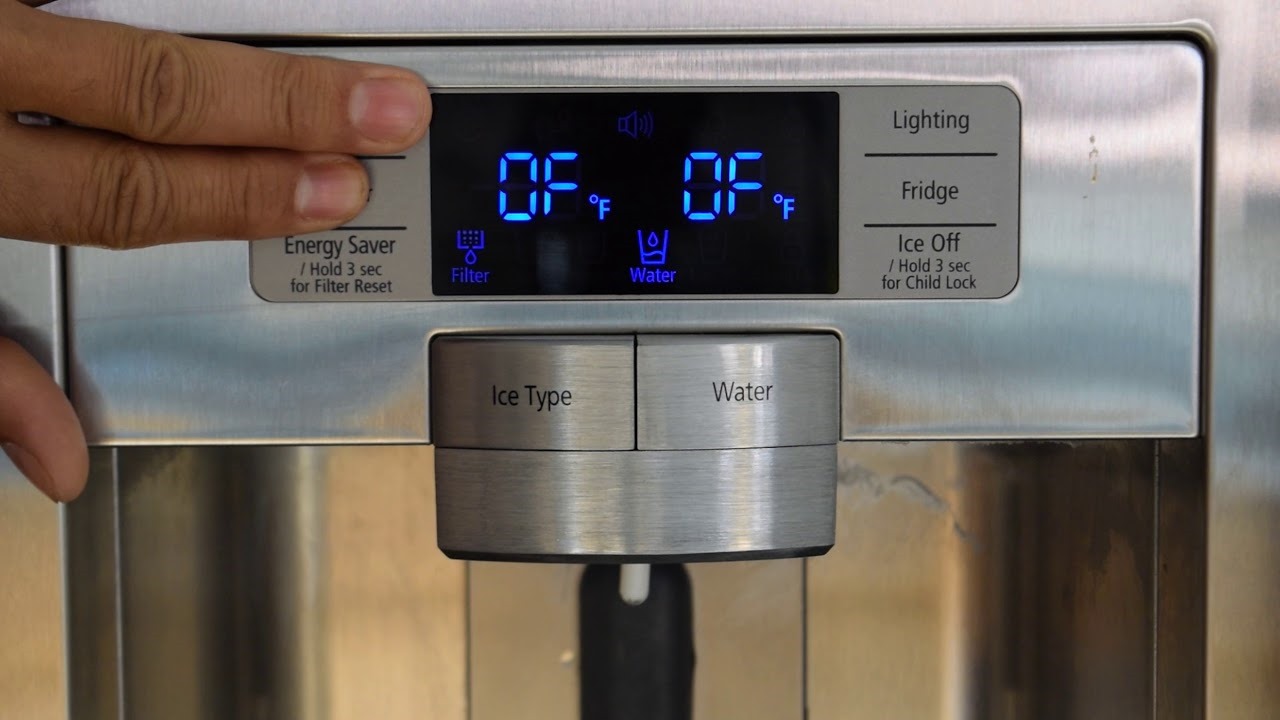
- Use a thermometer: Place a thermometer inside your kegerator to monitor the temperature accurately. Ensure the thermometer is positioned at the same height as the keg to get an accurate reading of the beer’s temperature.
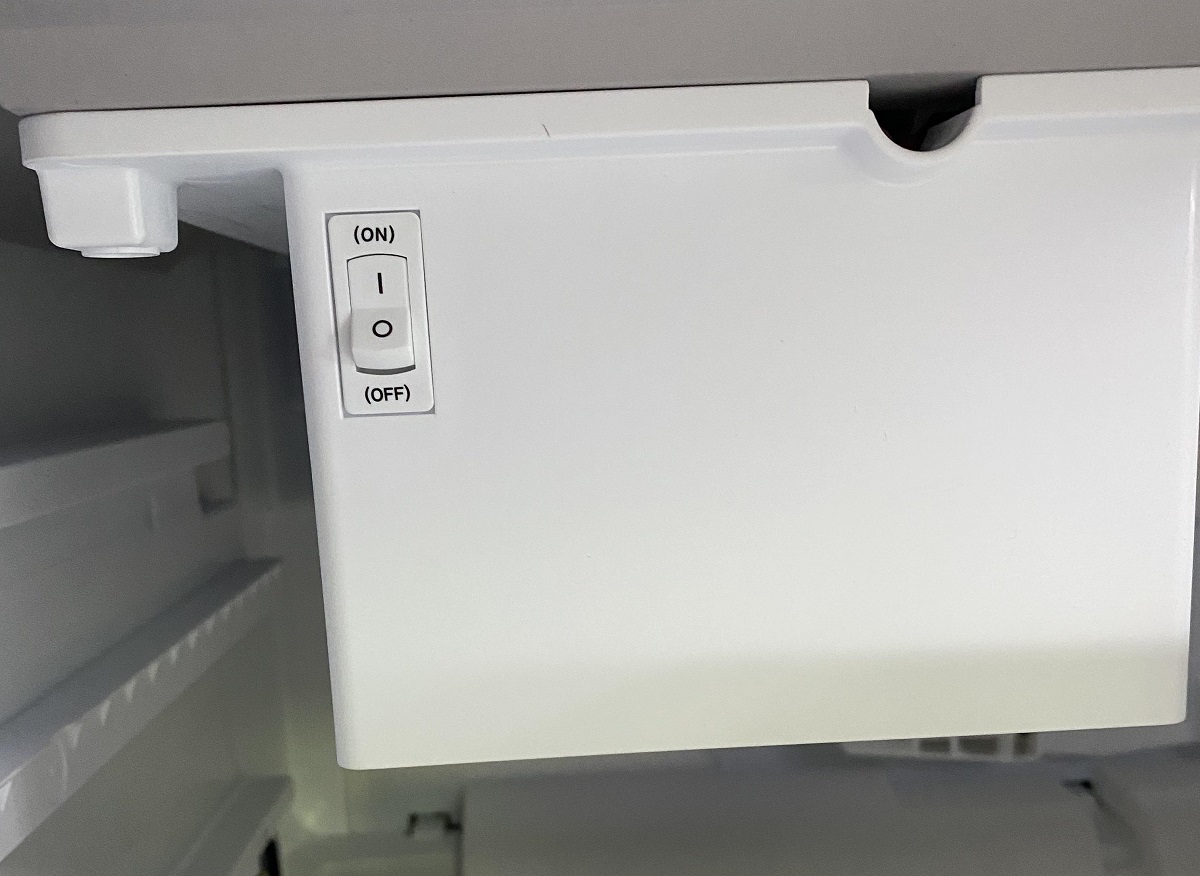
- Adjust the refrigerator settings: Depending on your refrigerator model, you may need to adjust the temperature settings to achieve the desired temperature range. Consult the refrigerator manual for instructions on adjusting the settings.
- Avoid temperature fluctuations: Temperature stability is crucial to maintaining the quality of your beer. Avoid frequent opening and closing of the kegerator door to prevent temperature fluctuations. Additionally, if you live in a region with fluctuating ambient temperatures, consider insulating the kegerator to help regulate the internal temperature.
- Regularly check and clean the cooling system: Ensure that the cooling system of your kegerator is clean and free from any obstructions. Dust or debris can reduce the efficiency of the cooling process, affecting the temperature inside the kegerator.
By carefully monitoring and controlling the temperature inside your kegerator, you’ll be able to enjoy your beer at its best. Keeping your beer in the optimal temperature range will help maintain its flavor, carbonation, and overall quality.
Troubleshooting Tips
While converting a refrigerator into a kegerator is a relatively straightforward process, you may encounter some issues along the way. Here are a few troubleshooting tips to help you address common problems:
- Leaky connections: If you notice any leaks at the beer line connections or around the tap, tighten the fittings using a spanner wrench. Ensure that all connections are secure and properly tightened.
- Poor beer flow: If the beer is not flowing smoothly or if it’s coming out too foamy, check the CO2 pressure. Adjust the regulator to increase or decrease the pressure, depending on the desired flow rate. Additionally, make sure the beer lines are not kinked or blocked, impeding the flow.
- Temperature fluctuations: If you experience frequent temperature fluctuations or difficulty maintaining the desired temperature, check the refrigerator’s cooling system. Clean any debris or dust that may be affecting its efficiency. Additionally, consider insulating the kegerator to stabilize the internal temperature.
- Condensation buildup: If you notice excessive condensation inside the kegerator, check the door seals for any damage or gaps. Ensure that the door seals are properly aligned and provide a tight seal. If necessary, replace the door seals to prevent moisture buildup.
- Carbonation issues: If your beer is overcarbonated or undercarbonated, adjust the CO2 pressure accordingly. Consult the beer style guidelines or manufacturer’s recommendations for the ideal carbonation level, and make adjustments to the pressure as needed.
Remember, troubleshooting may require some trial and error, but with patience and persistence, you’ll be able to overcome any issues that arise during the conversion process. Don’t hesitate to consult online resources, forums, or seek advice from experienced homebrewers or kegerator enthusiasts if you need additional support.
Conclusion
Congratulations! You have successfully converted your refrigerator into a kegerator, allowing you to enjoy freshly poured beer right at home. By following the step-by-step process outlined in this article, you have transformed an ordinary appliance into a convenient and stylish beer dispensing system.
Converting a refrigerator into a kegerator not only saves you money in the long run but also gives you the freedom to choose and serve your favorite beers on tap. It enhances your beer-drinking experience and adds a touch of sophistication to your home bar or entertainment area.
Remember to clean and maintain your kegerator regularly to ensure the longevity and quality of the beer dispensed. Keep an eye on the temperature, pressure, and connections to ensure optimal performance and enjoy a perfect pour every time.
Now that you have your kegerator up and running, invite friends over and share the joy of freshly poured beer. Experiment with different beer styles and flavors to take your beer game to the next level. Cheers to your DIY kegerator success!
Frequently Asked Questions about How To Turn A Refrigerator Into A Kegerator
Was this page helpful?
At Storables.com, we guarantee accurate and reliable information. Our content, validated by Expert Board Contributors, is crafted following stringent Editorial Policies. We're committed to providing you with well-researched, expert-backed insights for all your informational needs.


0 thoughts on “How To Turn A Refrigerator Into A Kegerator”