Articles
How To Stain A Garage Door
Modified: December 7, 2023
Learn how to stain a garage door with these helpful articles. Follow step-by-step instructions and get expert tips for a professional finish.
(Many of the links in this article redirect to a specific reviewed product. Your purchase of these products through affiliate links helps to generate commission for Storables.com, at no extra cost. Learn more)
Introduction
Staining a garage door is a great way to enhance its appearance and protect it from the elements. Whether you want to refresh the look of your garage or give it a new lease on life, staining can transform the door into a focal point of your property. In this article, we will guide you through the process of staining a garage door, from the materials and tools you’ll need to the final touches and maintenance tips.
Before you start, it’s important to note that staining a garage door requires some time and effort. However, the results are well worth it, as a properly stained garage door can significantly enhance your home’s curb appeal.
So, let’s roll up our sleeves and get started on rejuvenating your garage door with a fresh coat of stain!
Key Takeaways:
- Transform your garage door into a stunning focal point by following the steps to properly prepare, choose the right stain, and apply it with care. Enjoy the process and the enhanced curb appeal of your home.
- Achieve professional-looking results and protect your garage door from the elements by investing time and effort in staining. With the right materials, preparation, and ongoing maintenance, you can enjoy a beautiful and long-lasting finish.
Read more: How To Maintain Garage Door
Materials and Tools Needed
Before you begin the staining process, gather the following materials and tools:
- Stain: Choose an exterior wood stain that is specifically formulated for garage doors. Opt for a color that complements the overall aesthetic of your home.
- Paintbrush: Use a high-quality, synthetic bristle brush that is suitable for applying stain.
- Stain pad or roller: A stain pad or a paint roller with a microfiber cover can be used to evenly apply the stain to larger areas of the garage door.
- Drop cloths or plastic sheets: Protect the surrounding area from stain drips or spills by covering it with drop cloths or plastic sheets.
- Sandpaper: Use sandpaper with a grit of 120 or 150 to smooth out any rough areas on the garage door surface.
- Clean cloth: Have a clean cloth on hand for wiping away excess stain or for touch-ups.
- Painter’s tape: Use painter’s tape to mask off any areas that you want to avoid staining, such as windows or hardware.
- Wood cleaner: If the garage door is dirty or has existing stains, you may need a wood cleaner to prepare the surface before staining.
- Gloves and safety goggles: Protect your hands and eyes with gloves and safety goggles when working with stain.
Make sure you have all the necessary materials and tools ready before you start the staining process, as this will help ensure a smooth and efficient workflow.
Preparing the Garage Door
Before applying the stain, you need to properly prepare the garage door to ensure the best results. Follow these steps to prepare the surface:
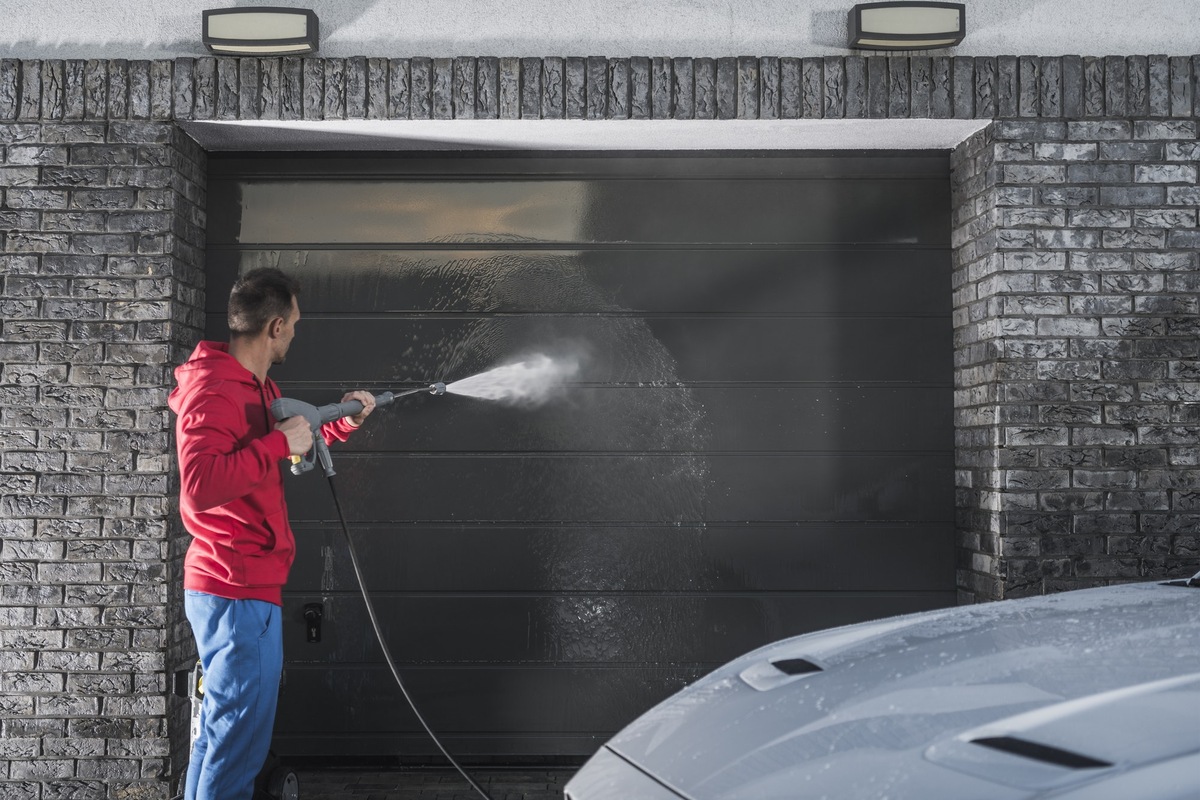
- Clean the door: Start by thoroughly cleaning the garage door. Remove any dirt, dust, or debris using a brush or a damp cloth. For tougher stains or grime, use a wood cleaner according to the manufacturer’s instructions.
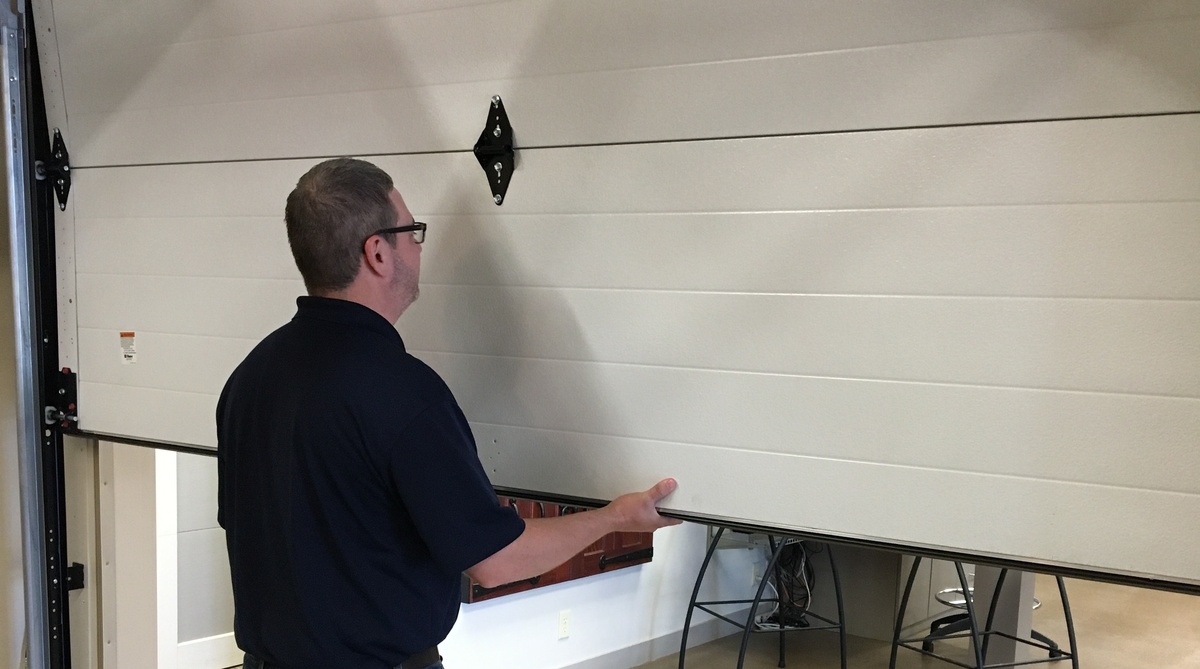
- Repair any damages: Inspect the garage door for any damages, such as cracks, dents, or rotting wood. Repair these issues before proceeding with the staining process. Fill in cracks and holes with wood putty and sand them down until smooth.
- Sand the surface: Use fine-grit sandpaper (120 or 150 grit) to lightly sand the entire surface of the garage door. This will help remove any rough patches and create a smooth surface for the stain to adhere to. Make sure to sand in the direction of the wood grain.
- Clean again: After sanding, remove any dust or residue from the surface of the garage door. Use a clean cloth or a tack cloth to wipe away any particles that might affect the application of the stain.
- Protect the surrounding areas: Cover the areas surrounding the garage door with drop cloths or plastic sheets to protect them from any potential drips or spills.
- Mask off areas: If there are any areas of the garage door that you want to avoid staining, such as windows or hardware, use painter’s tape to mask off those areas. This will ensure clean lines and prevent accidental staining.
By following these preparatory steps, you will create a clean and smooth canvas for applying the stain. Taking the time to properly prepare the garage door will help the stain adhere better and result in a more professional-looking finish.
Choosing the Right Stain
When it comes to choosing the right stain for your garage door, there are a few factors to consider:
- Color: Selecting the right color of stain is crucial in achieving the desired look for your garage door. Consider the overall aesthetic of your home and choose a stain color that complements it. Keep in mind that darker stains may show less dirt and grime, while lighter stains can give a more natural and rustic appearance.
- Type of stain: There are two common types of exterior wood stain: oil-based and water-based. Oil-based stains tend to penetrate deeper into the wood, providing better protection and durability. Water-based stains, on the other hand, offer easy cleanup and low VOC emissions. Consider your personal preferences and the specific needs of your garage door when choosing between the two.
- Transparency: Stains come in different levels of transparency, ranging from transparent to semi-transparent to solid. Transparent stains allow the natural grain of the wood to show through, while solid stains provide extensive coverage and hide imperfections. Consider the level of transparency you desire and how much of the wood texture you want to be visible.
- UV protection: If your garage door is exposed to direct sunlight, consider a stain that offers UV protection. UV rays can cause the wood to fade and deteriorate over time, so selecting a stain with built-in UV protection will help prolong the life of your garage door.
- Brand and quality: Opt for a reputable brand of stain that is known for its quality and durability. Read reviews and check for any specific recommendations for garage doors to ensure you choose a reliable product.
Take the time to research and compare different stain options before making a final decision. Consider consulting with a professional or seeking advice from a local hardware or paint store to help you make an informed choice.
Before staining a garage door, make sure to thoroughly clean and sand the surface to ensure the stain adheres properly. Use a high-quality exterior wood stain and apply it in thin, even coats for the best results.
Applying the Stain
Now that you have prepared the garage door and chosen the right stain, it’s time to apply the stain. Follow these steps to ensure a smooth and even application:
- Read the instructions: Before you begin, carefully read the instructions provided by the stain manufacturer. This will give you specific guidance on how to apply the stain for the best results.
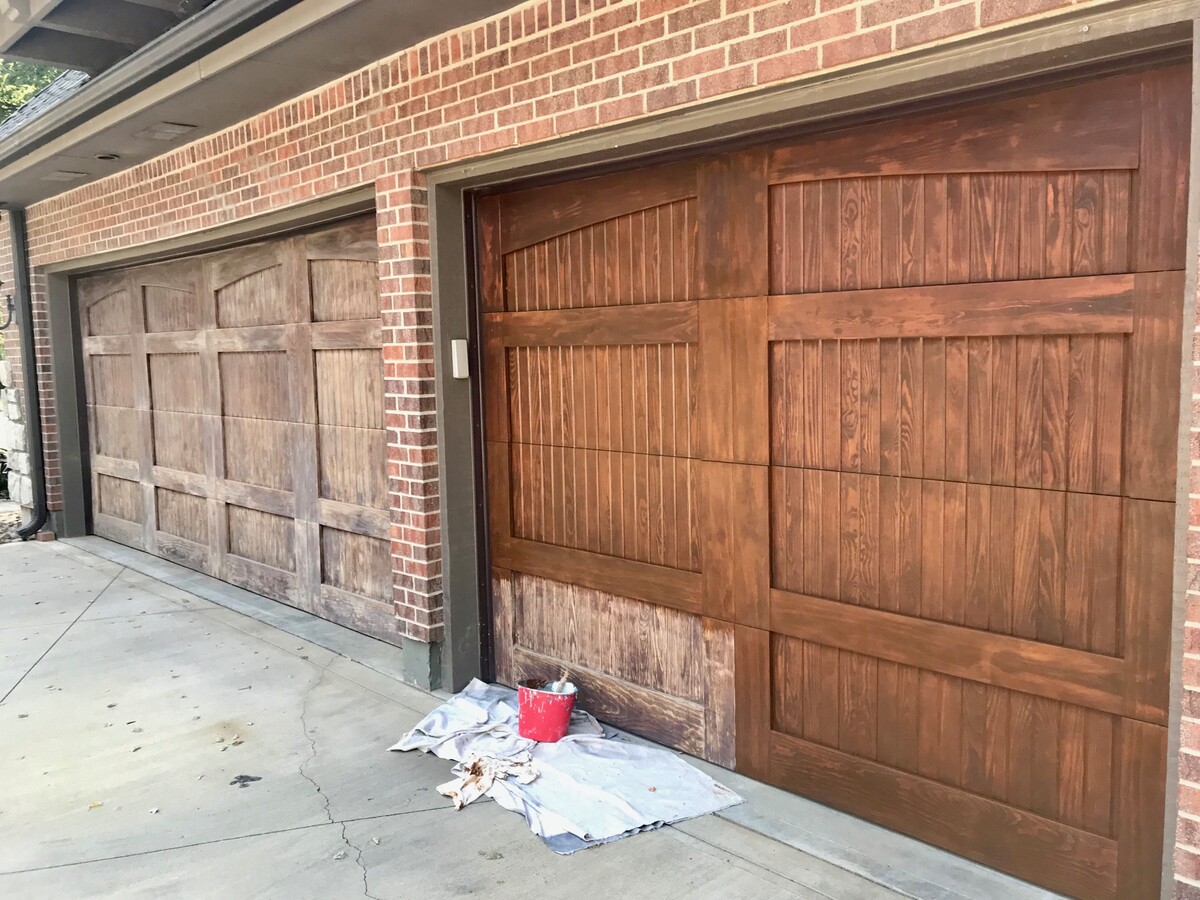
- Start from the top: Begin applying the stain from the top of the garage door, working your way down. This will help prevent any drips or streaks from forming on already stained areas.
- Use a brush or stain pad: Dip your paintbrush or stain pad into the stain, making sure to remove any excess. Apply the stain in long, smooth strokes, following the direction of the wood grain. Work in small sections to ensure that the stain is evenly applied.
- Pay attention to corners and edges: Use a smaller brush or an artist brush to reach into corners and edges of the garage door. Apply the stain carefully to ensure complete coverage.
- Wipe off excess stain: After applying the stain, use a clean cloth to wipe off any excess stain that has not been absorbed by the wood. This will help prevent uneven drying and ensure a more even finish.
- Allow proper drying time: Follow the manufacturer’s guidelines for drying time. It’s important to allow the stain to fully dry and cure before any further steps or handling of the door.
Remember to work in a well-ventilated area and to wear gloves and safety goggles to protect yourself from the stain and any potential fumes. It’s also a good idea to check the stain periodically during application to ensure consistent color and coverage.
By following these steps, you’ll achieve a professional and flawless finish on your garage door.
Read more: How To Remove A Garage Door
Curing and Drying the Stain
After you have applied the stain to your garage door, it’s important to allow it to properly cure and dry. This will ensure that the stain adheres well and provides long-lasting protection. Follow these tips for effective curing and drying:
- Check the manufacturer’s instructions: Refer to the stain manufacturer’s guidelines for the recommended curing and drying time. This information can vary depending on the type of stain you’re using and the weather conditions.
- Avoid touching or moving the door: Once the stain is applied, avoid touching or moving the garage door to prevent any smudging or damage. It’s best to allow the stain to set undisturbed.
- Allow ample drying time: Depending on the type of stain and weather conditions, you may need to wait anywhere from 24 hours to several days for the stain to fully dry. Ensure that the door is placed in a well-ventilated area during this time.
- Protect the door from moisture: While the stain is curing, it’s important to protect the door from any moisture or rain. If possible, keep the garage door closed during this time to prevent any water damage to the newly stained surface.
- Be patient: It’s tempting to start using the garage right away, but patience is key. Allow the stain to fully cure before subjecting the door to normal wear and tear.
- Inspect the finish: Once the stain has dried, inspect the finish to ensure it has a smooth and consistent appearance. If you notice any areas that require touch-ups, follow the manufacturer’s instructions for reapplying the stain.
By allowing the stain to properly cure and dry, you’ll be able to enjoy a beautiful and long-lasting finish on your garage door.
Final Touches and Maintenance Tips
Now that your garage door has been stained and is looking refreshed and rejuvenated, it’s important to perform some final touches and ongoing maintenance to keep it in optimal condition. Here are some tips:
- Remove masking tape: If you used painter’s tape to mask off any areas, carefully remove it once the stain has dried. This will reveal clean lines and edges.
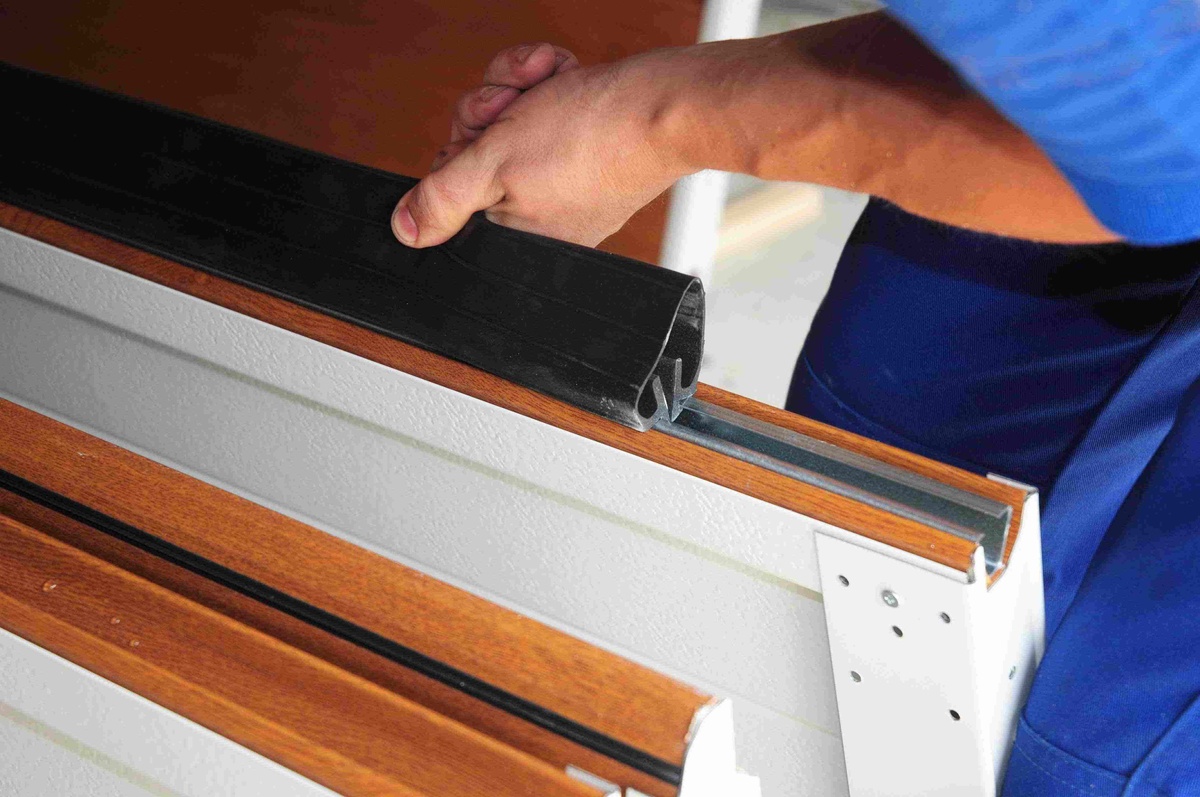
- Inspect the hardware: Take the time to inspect the hardware on your garage door, such as hinges, handles, and decorative elements. Ensure that they are securely in place and functioning properly.
- Regular cleaning: To keep your stained garage door looking its best, regularly clean it with a mild soap and water solution. Avoid using harsh chemicals or abrasive cleaners that could damage the stain or the door’s surface.
- Protect from direct sunlight: If your garage door is exposed to direct sunlight, consider installing a shade or awning to minimize UV exposure. This will help prevent any fading or damage to the stain over time.
- Perform periodic maintenance: Inspect your garage door every few months for any signs of wear, such as peeling or cracking. If you notice any issues, address them promptly by reapplying stain or performing touch-ups.
- Consider resealing: Depending on the type of stain you used, you may need to reseal the garage door every few years. This will help maintain its appearance and protect it from the elements.
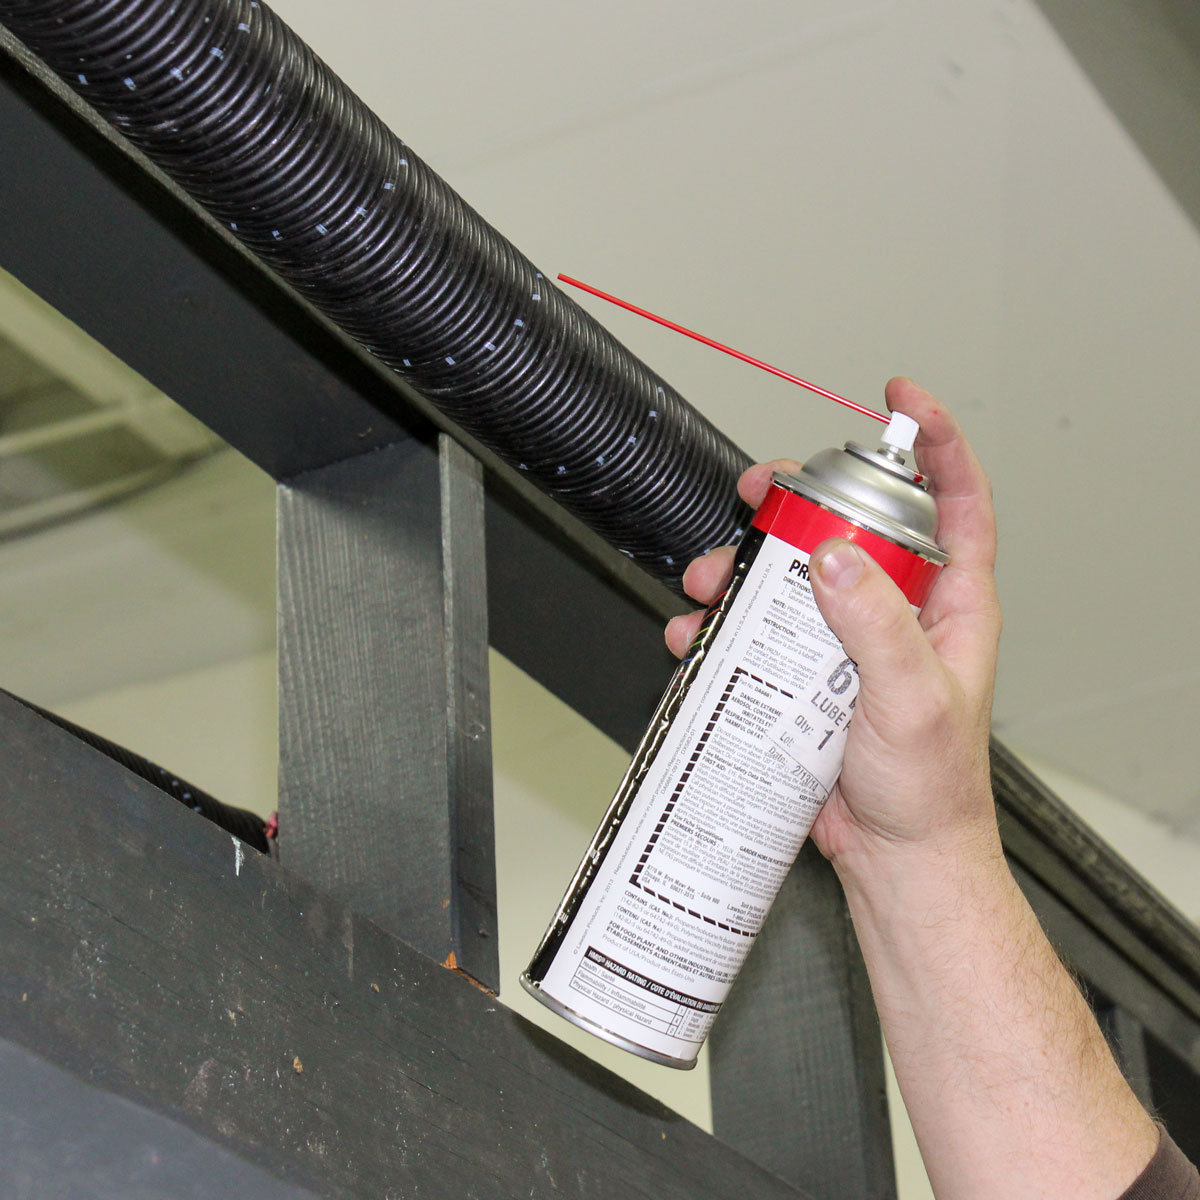
- Keep the door functioning smoothly: Lubricate the moving parts of the garage door, such as hinges and rollers, to ensure smooth operation. This will help prevent any unnecessary strain on the door.
- Address any water damage: If you notice any water damage or discoloration on the garage door, investigate and rectify the source of the problem. Repair any leaks or fix drainage issues to prevent further damage.
By following these final touches and ongoing maintenance tips, you’ll ensure that your stained garage door remains in excellent condition and continues to enhance the overall aesthetic of your home.
Conclusion
Staining a garage door is a rewarding and worthwhile project that can greatly enhance the appearance and durability of your garage. By following the steps outlined in this article, you can achieve professional-looking results and transform your garage door into a focal point of your property.
First, gather all the necessary materials and tools, including the stain, brushes, drop cloths, and sandpaper. Properly preparing the garage door by cleaning, repairing any damages, and sanding the surface will ensure a smooth and even application of the stain.
Choosing the right stain is crucial to achieve the desired color, transparency, and UV protection. Consider the overall aesthetic of your home and consult with professionals or local hardware stores for guidance.
When applying the stain, work in small sections, focusing on the top and using long, smooth strokes in the direction of the wood grain. Wipe off excess stain to avoid uneven drying, then allow ample time for the stain to cure and dry before touching or using the door.
Performing final touches such as removing masking tape and inspecting the hardware will give your stained garage door a polished look. Ongoing maintenance, including regular cleaning, protecting from direct sunlight, and performing periodic inspections and touch-ups, will ensure the longevity and beauty of your stained garage door.
Staining your garage door requires some time and effort, but the end result is well worth it. Not only will it enhance the curb appeal of your home, but it will also protect the door from the elements, prolonging its lifespan.
So, why wait? Roll up your sleeves, gather the materials, and get ready to transform your garage door with a fresh coat of stain. Enjoy the process and the sense of accomplishment that comes with beautifying your home.
Frequently Asked Questions about How To Stain A Garage Door
Was this page helpful?
At Storables.com, we guarantee accurate and reliable information. Our content, validated by Expert Board Contributors, is crafted following stringent Editorial Policies. We're committed to providing you with well-researched, expert-backed insights for all your informational needs.


0 thoughts on “How To Stain A Garage Door”