
Articles
How To Maintain Garage Door
Modified: August 22, 2024
Discover essential articles for maintaining your garage door and keeping it in optimal condition. Learn tips and tricks from experts to ensure its longevity and functionality.
(Many of the links in this article redirect to a specific reviewed product. Your purchase of these products through affiliate links helps to generate commission for Storables.com, at no extra cost. Learn more)
Introduction
Welcome to the ultimate guide on how to maintain your garage door. Your garage door is not only an essential component of your home’s security, but it also plays a crucial role in enhancing your home’s curb appeal. To keep your garage door in optimal condition, regular maintenance is key. This article will provide you with step-by-step instructions to ensure that your garage door remains functional, safe, and aesthetically pleasing.
A well-maintained garage door not only prolongs its lifespan but also prevents costly repairs in the future. By following the maintenance tips in this guide, you can save money, time, and effort while ensuring that your garage door operates smoothly and reliably for years to come.
So, without further ado, let’s dive into the steps required to keep your garage door in top shape.
Key Takeaways:
- Regular maintenance, including cleaning, lubrication, and safety checks, is essential to ensure your garage door’s optimal performance, longevity, and safety. It also adds value to your home and provides peace of mind.
- Professional maintenance and tune-ups by trained technicians help catch minor issues early, extend the lifespan of your garage door, and minimize unexpected breakdowns. It’s a worthwhile investment for optimal functionality and safety.
Read more: How To Remove A Garage Door
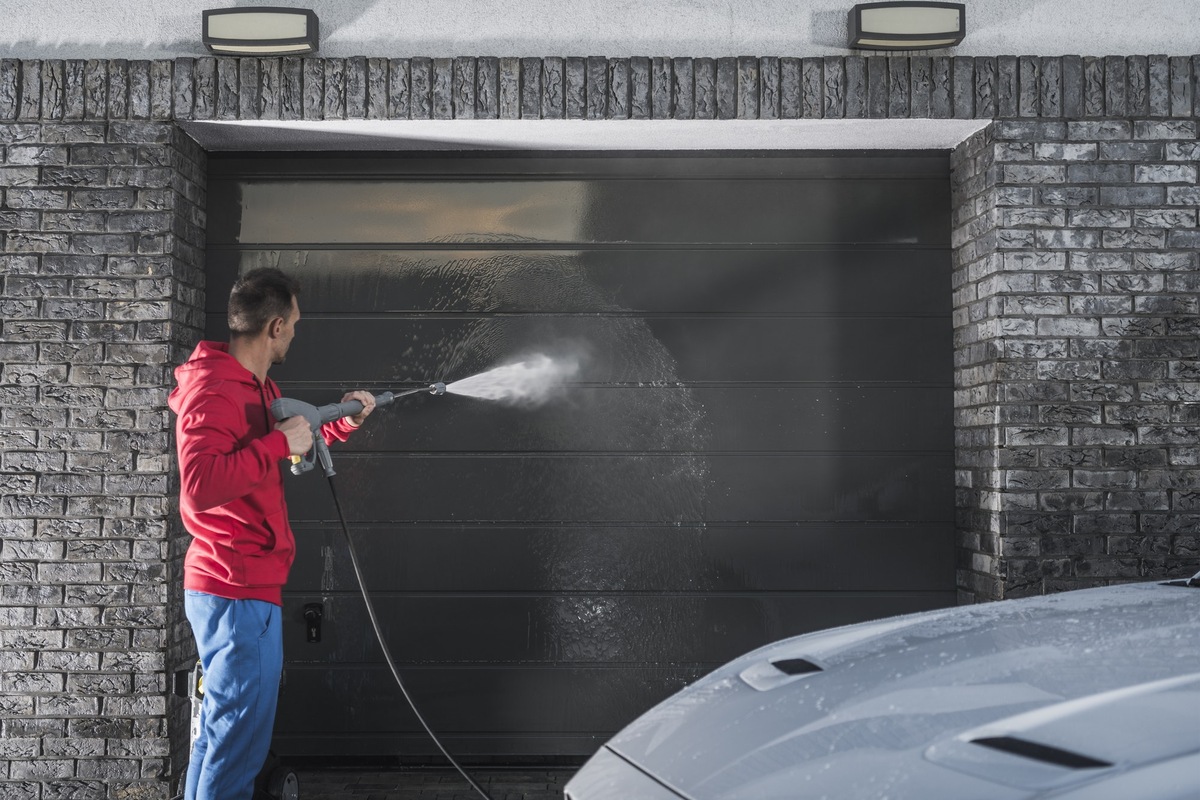
Step 1: Regular Cleaning
The first step in maintaining your garage door is regular cleaning. Over time, dust, dirt, and debris can accumulate on the door’s surface and in the tracks, which can hinder the door’s smooth operation. Here’s how you can effectively clean your garage door:
- Start by rinsing the door with a hose to remove loose dirt and debris. Be sure to use a gentle spray to avoid causing any damage to the door or its components.
- Next, mix a solution of mild detergent and water in a bucket. Dip a soft cloth or sponge into the soapy water and gently scrub the door’s surface. Pay close attention to any stubborn stains or spots.
- Rinse the door thoroughly with clean water to remove any residue from the detergent.
- For the tracks, use a damp cloth or a soft brush to remove any dirt or debris. Be sure to wipe both the inside and outside of the tracks.
- Once all the cleaning is done, dry the door and tracks with a clean towel or allow them to air dry naturally.
Regular cleaning not only keeps your garage door looking attractive but also helps to prevent the buildup of dirt and grime that can interfere with the door’s smooth operation. Aim to clean your garage door at least twice a year or more frequently if you live in an area with heavy dust or pollution.
Now that your garage door is clean, it’s time to move on to the next step: lubrication of moving parts.
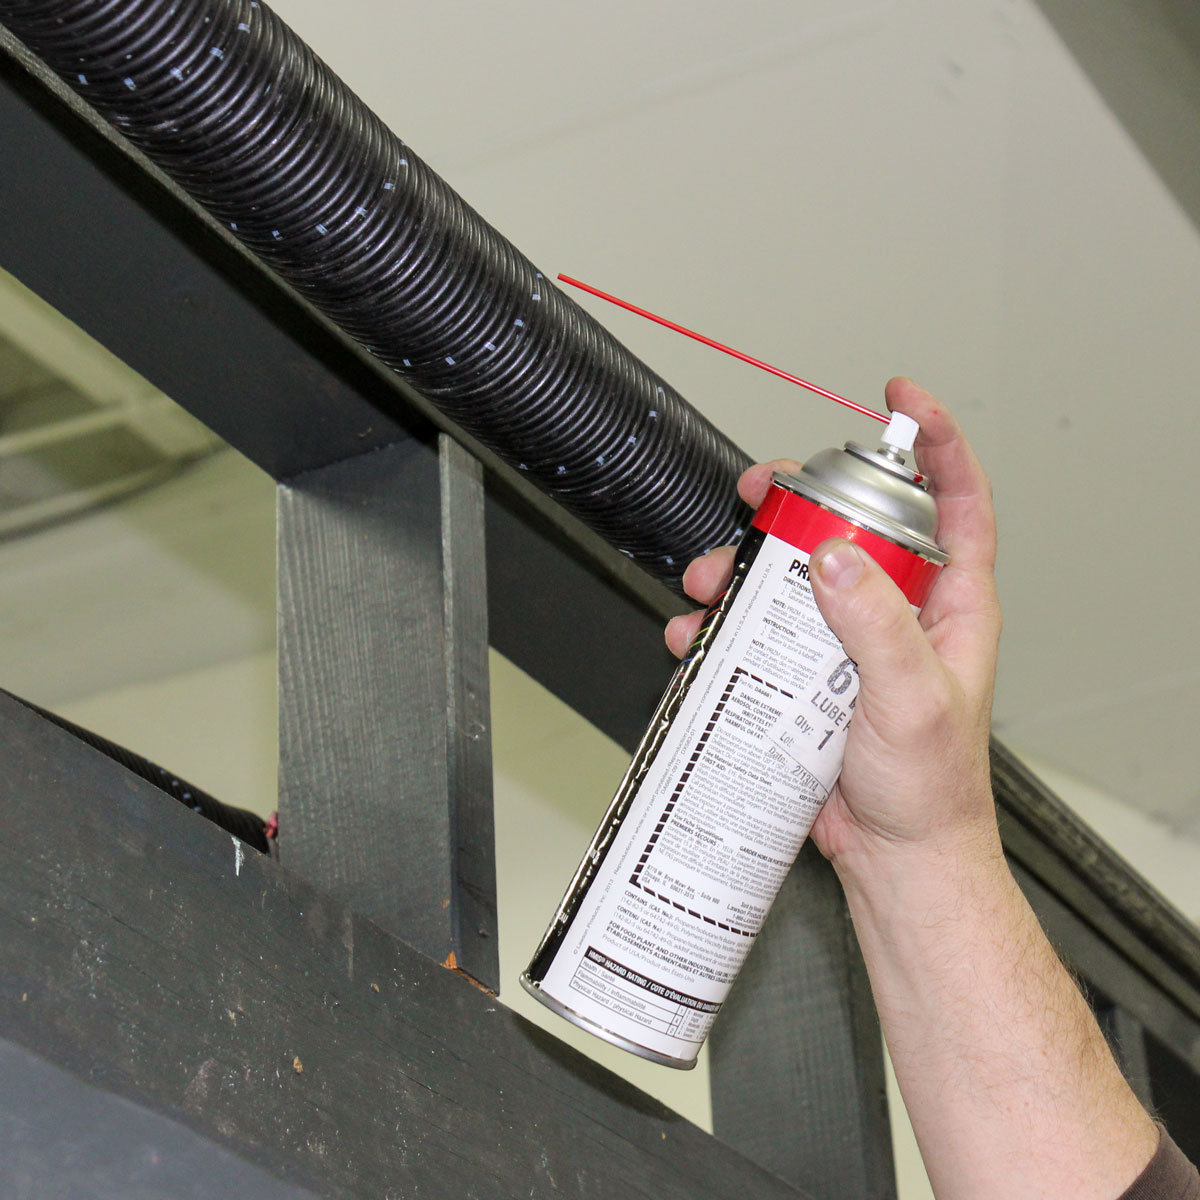
Step 2: Lubrication of Moving Parts
Proper lubrication is crucial for ensuring that the moving parts of your garage door operate smoothly and quietly. This step should be performed every six months to maintain optimal performance. Here’s how you can lubricate the moving parts of your garage door:
- Begin by inspecting the rollers, hinges, and tracks for any signs of wear or damage. Replace any worn-out or damaged parts before proceeding with the lubrication process.
- Next, use a silicone-based spray lubricant or garage door lubricant specifically designed for this purpose. Avoid using oil or WD-40, as they may attract dirt and create a sticky residue.
- Apply a small amount of lubricant to the rollers, hinges, and tracks. Be sure to reach all the moving parts, including the pivot points and springs. Use a rag to remove any excess lubricant.
- Operate the garage door a few times to allow the lubricant to distribute evenly. This will help to ensure smooth operation.
Lubricating the moving parts of your garage door helps to reduce friction, noise, and wear, prolonging the life of the components. It also prevents rust and corrosion, especially in humid or coastal areas. Remember to follow the manufacturer’s recommendations for lubrication intervals and the type of lubricant to be used.
Now that you have lubricated the moving parts, let’s move on to step 3: checking and replacing worn-out cables and springs.
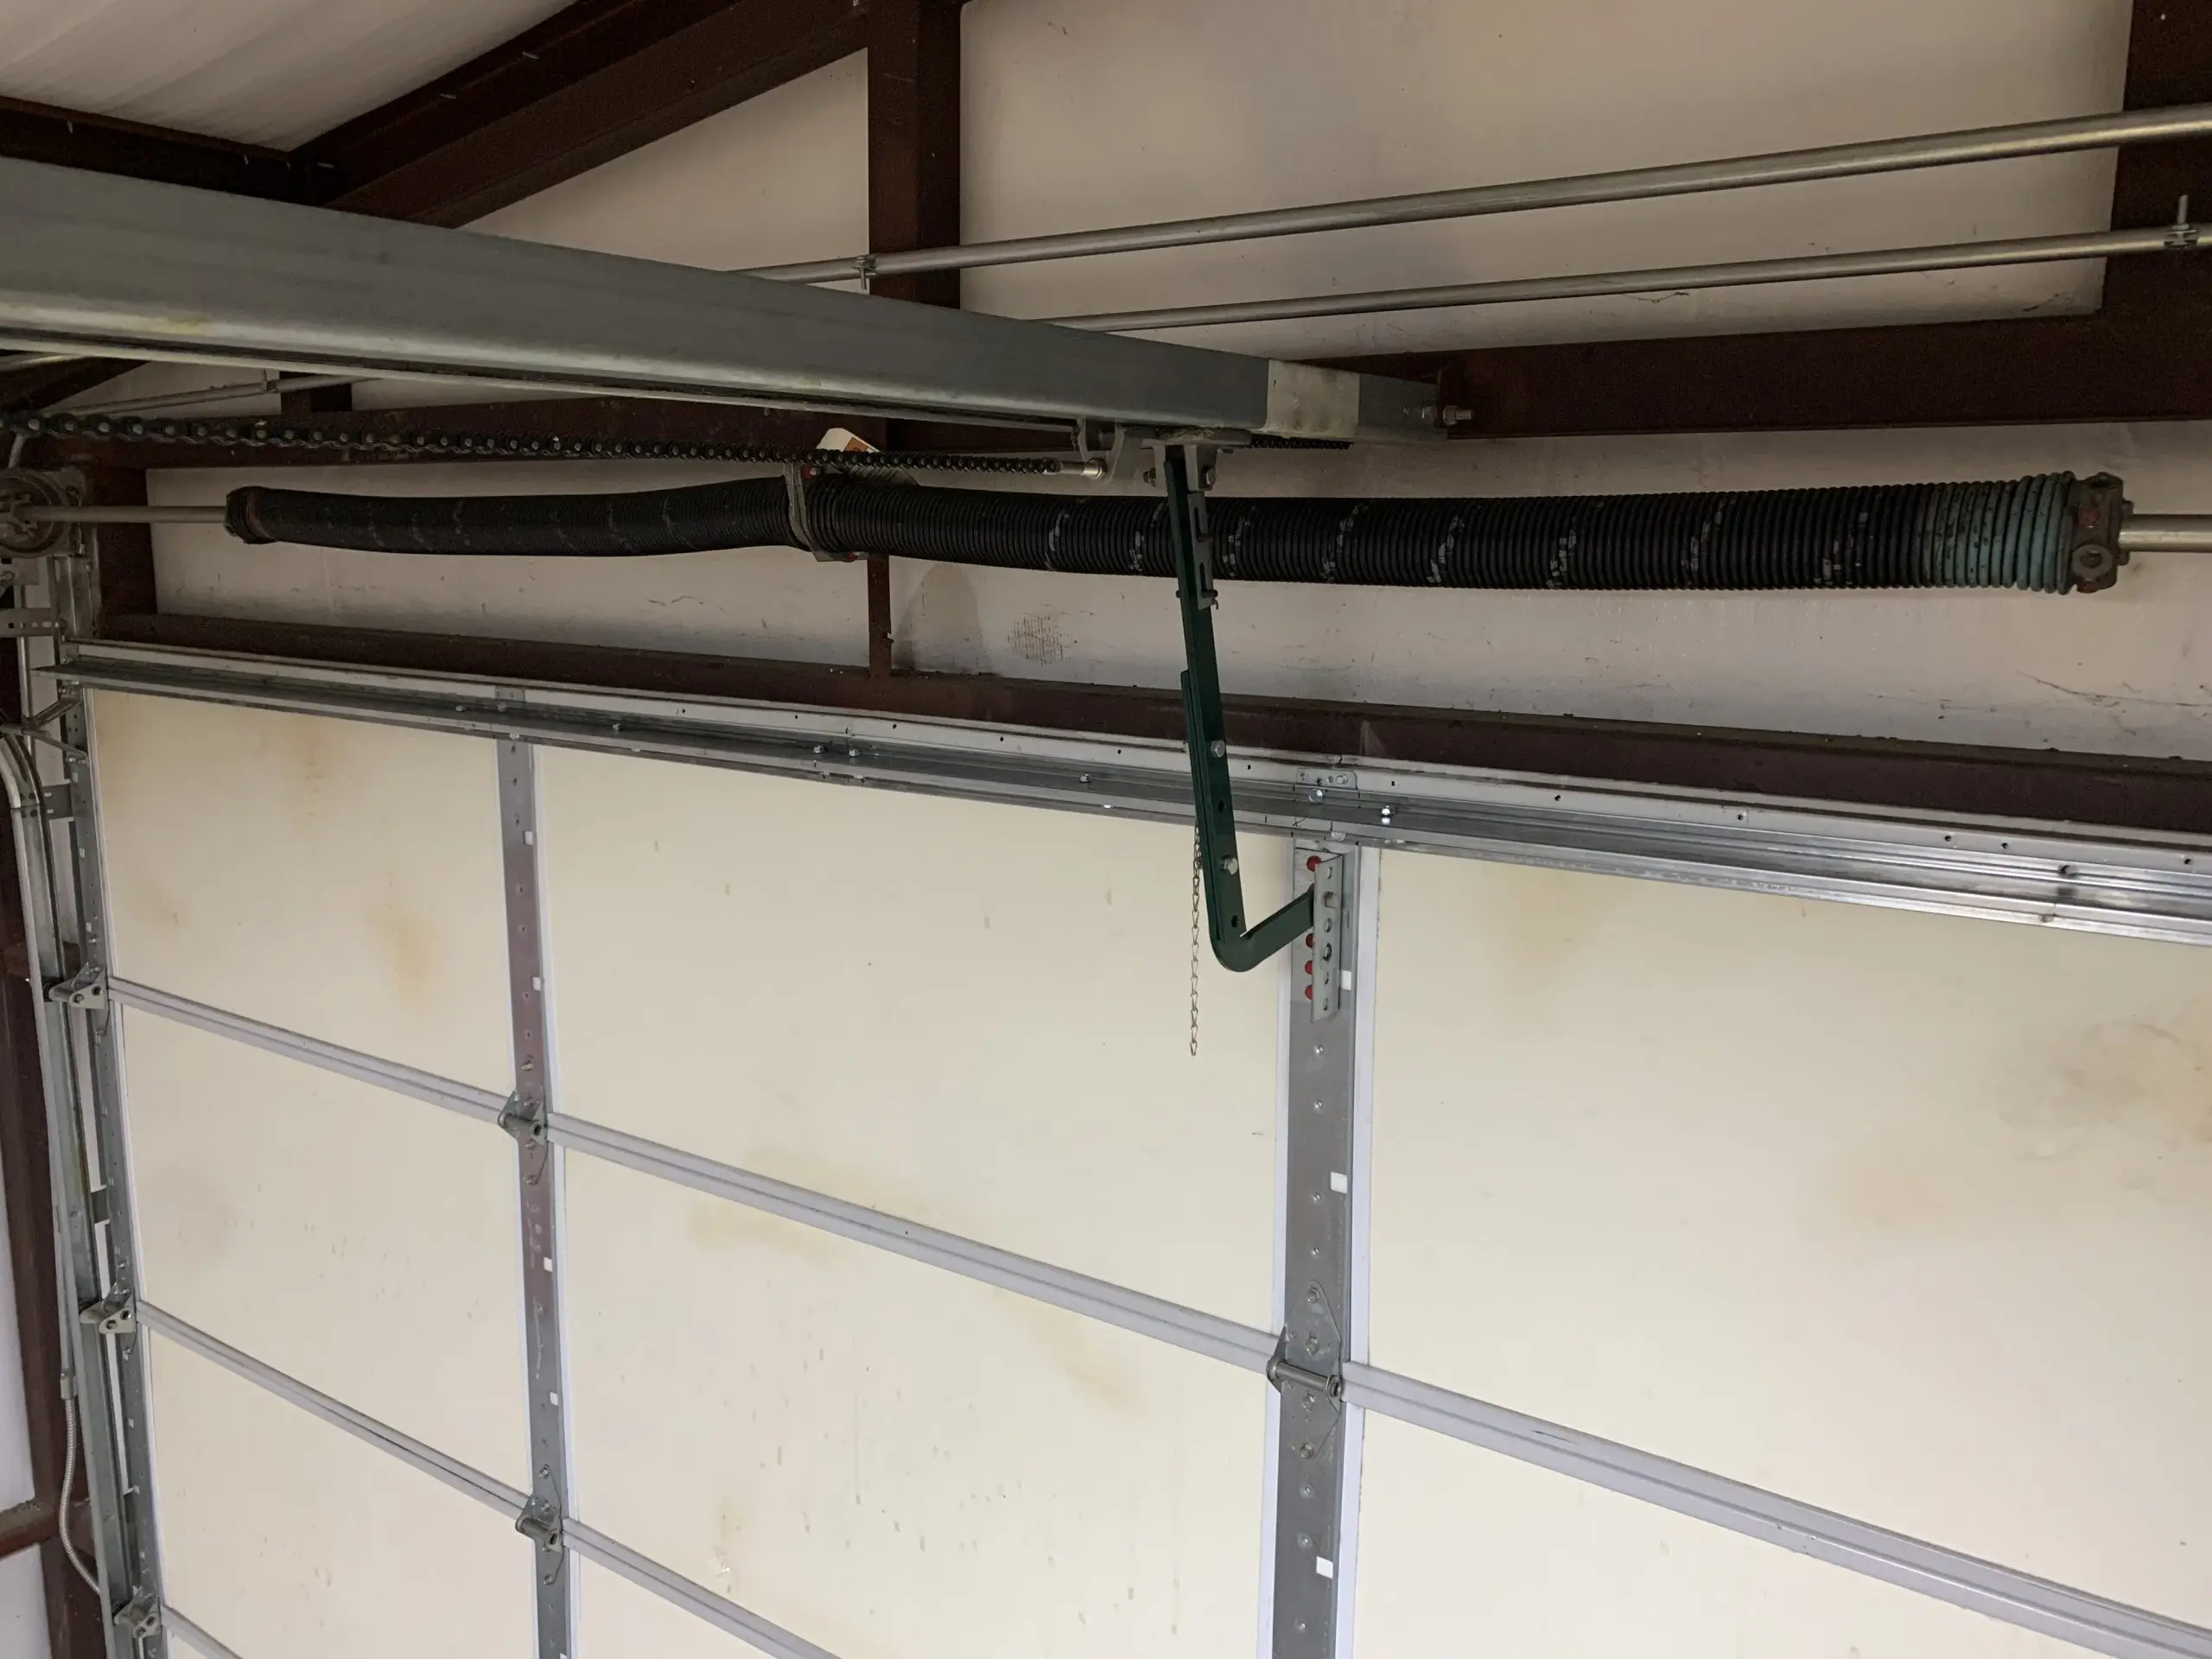
Step 3: Checking and Replacing Worn-out Cables and Springs
The cables and springs of your garage door play a vital role in its operation and safety. Over time, these components can wear out or become damaged, leading to issues such as uneven door movement or even complete failure. Regular inspection and timely replacement of worn-out cables and springs are essential for smooth and safe operation. Here’s what you need to do:
- Start by visually inspecting the cables and springs for any signs of wear, fraying, or damage. Look for rust, loose strands, or any visible signs of deterioration.
- If you notice any issues with the cables or springs, it’s crucial to have them replaced by a professional garage door technician. These components are under high tension and can be dangerous to handle without the proper knowledge and tools.
- It’s recommended to have a professional garage door inspection at least once a year. They will thoroughly check the cables, springs, and other components for wear and make any necessary repairs or replacements.
Checking and replacing worn-out cables and springs is vital for maintaining the safety and functionality of your garage door. These components are responsible for counterbalancing the weight of the door, and any damage or wear can lead to accidents or a malfunctioning door.
With step 3 complete, let’s move on to step 4: tightening loose hardware.
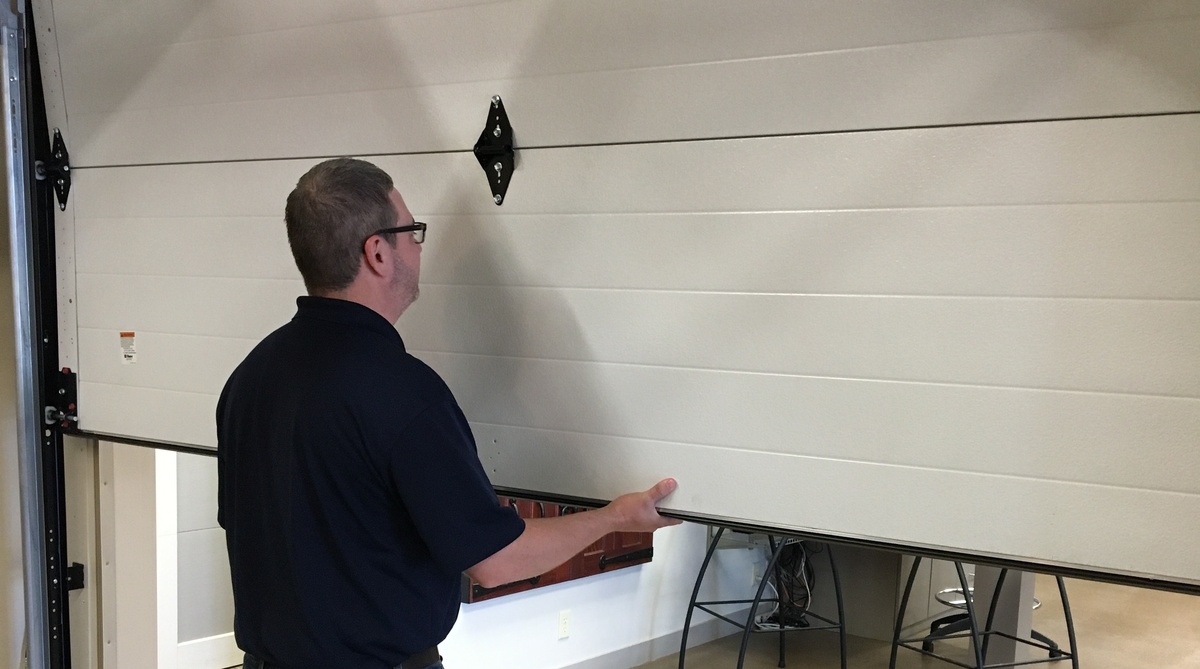
Step 4: Tightening Loose Hardware
A garage door has numerous hardware components that can become loose over time due to the constant movement and vibrations. Loose hardware can not only cause the door to operate inefficiently but also pose a safety risk. Regularly checking and tightening the hardware ensures that your garage door remains secure and operates smoothly. Here’s how you can tighten the loose hardware:
- Start by examining all the nuts, bolts, screws, and brackets that hold the various components of your garage door together. Pay close attention to the hinges, rollers, tracks, and brackets.
- Using a socket wrench or an adjustable wrench, tighten any loose hardware you come across. Ensure that you don’t overtighten them, as it can lead to damage to the door or its components.
- Inspect the tracks and brackets for any signs of misalignment. If you notice any, loosen the screws holding the brackets in place and gently tap them back into position. Then, tighten the screws to secure the brackets in their correct alignment.
- Check the weatherstripping and replace any damaged or worn-out sections. Properly installed weatherstripping helps to prevent drafts, dust, and insects from entering your garage.
Tightening loose hardware not only prevents the door from shaking or rattling during operation but also ensures that it stays properly aligned. This step contributes to the overall safety, efficiency, and longevity of your garage door.
With step 4 complete, let’s move on to step 5: testing the safety features.
Regularly lubricate the moving parts of your garage door, such as the rollers, hinges, and springs, to keep it operating smoothly and prevent premature wear and tear.
Read more: How To Make A Garage Door
Step 5: Testing Safety Features
Ensuring that your garage door’s safety features are functioning correctly is essential for the safety of you and your family. Modern garage doors are equipped with various safety features, such as photoelectric sensors and auto-reverse mechanisms, to prevent accidents and injuries. Regularly testing these features will give you peace of mind and ensure that your garage door operates safely. Here’s how you can test the safety features:
- Start by inspecting the photoelectric sensors, which are usually located near the bottom of the door tracks. Check for any dirt, debris, or obstructions that may prevent the sensors from functioning correctly. Clean them if necessary.
- To test the sensors, close the garage door and wave a long object, such as a broomstick, in front of the sensors. The door should automatically reverse its movement. If it doesn’t, there may be an issue with the sensors, and you should consult a professional for further inspection and repair.
- Next, test the auto-reverse mechanism of the garage door. Place a small object, like a roll of paper towels, on the ground in the door’s path and attempt to close it. The door should detect the object and reverse its movement. If it doesn’t, you should contact a professional to inspect and adjust the mechanism.
- Finally, test the emergency release function of your garage door opener. This feature allows you to manually open the door in case of a power outage or malfunction. Pull the release cord and manually lift the door. It should move smoothly and remain open when released. If it doesn’t, contact a professional for assistance.
Testing the safety features of your garage door ensures that they are in proper working order, providing protection against accidents and injuries. Regularly performing these tests will help maintain a safe environment for you and your loved ones.
With step 5 complete, let’s move on to step 6: inspecting and repairing weatherstripping.
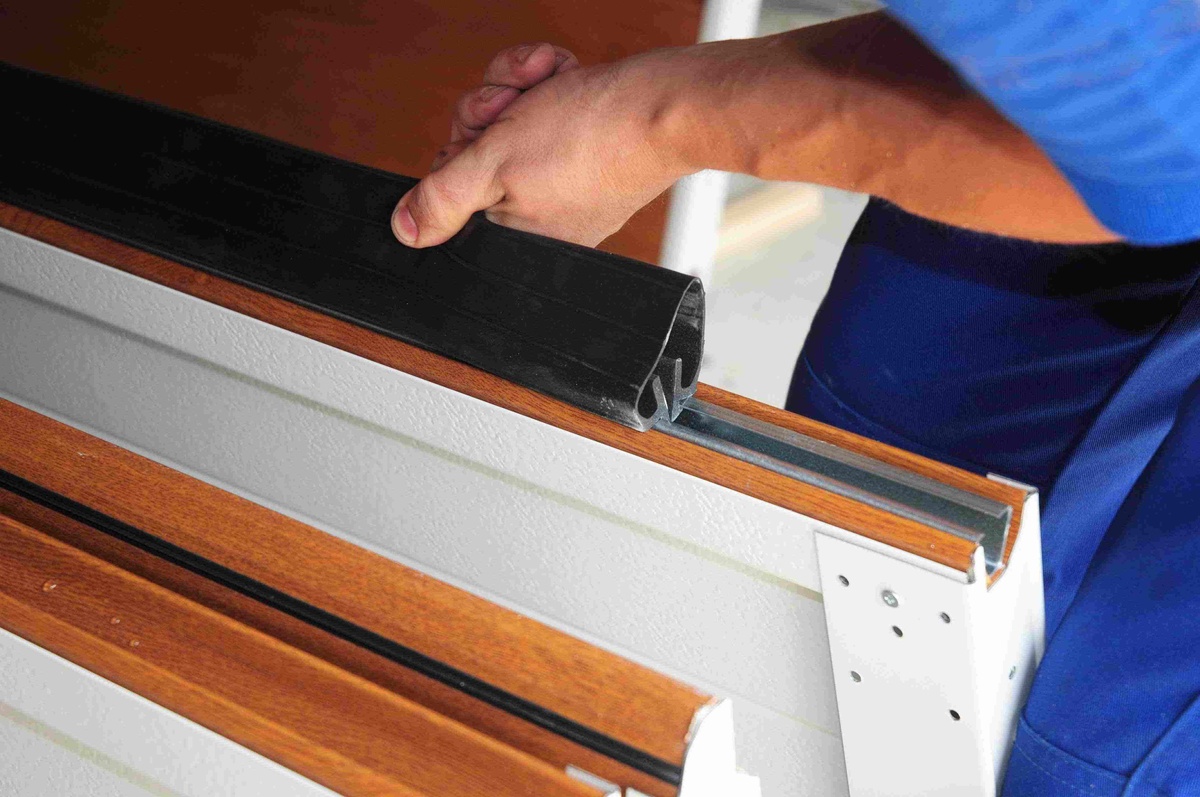
Step 6: Inspecting and Repairing Weatherstripping
Weatherstripping is an important component of your garage door that helps to keep out drafts, dust, and pests. Over time, weatherstripping can become worn or damaged, compromising its effectiveness. Regularly inspecting and repairing the weatherstripping ensures that your garage remains well-insulated and protected from the external elements. Here’s what you need to do:
- Start by visually inspecting the weatherstripping along the sides and bottom of the garage door. Look for any signs of wear, cracks, or gaps in the seal.
- If you notice any damage, carefully remove the old weatherstripping using a putty knife or scraper. Be cautious not to damage the door’s surface during this process.
- Clean the area where the old weatherstripping was removed using a mild detergent and water solution. Allow it to dry completely before proceeding.
- Measure the length of the area where the new weatherstripping needs to be installed. Cut the new weatherstripping to size using a utility knife or scissors.
- Apply a small amount of adhesive to the back of the weatherstripping and press it firmly into place along the sides and bottom of the garage door. Make sure it creates a tight seal when the door is closed.
- Allow the adhesive to dry according to the manufacturer’s instructions before operating the garage door.
Inspecting and repairing the weatherstripping helps to maintain energy efficiency, prevents the entry of unwanted elements, and keeps your garage clean and well-insulated. Regularly check the weatherstripping at least once a year and replace it as needed.
With step 6 complete, let’s move on to step 7: repainting or refinishing the door.
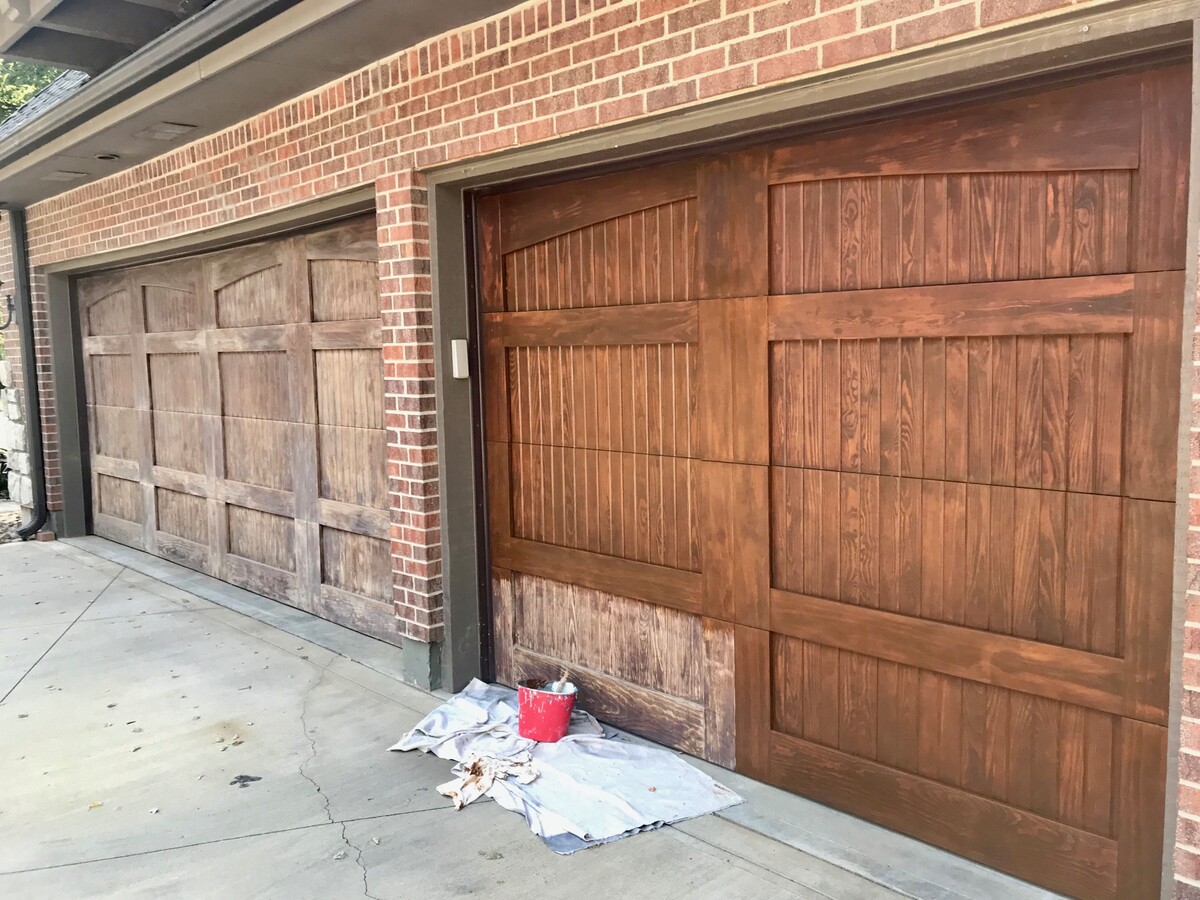
Step 7: Repainting or Refinishing the Door
The appearance of your garage door contributes significantly to your home’s curb appeal. Over time, the sun’s UV rays, weather conditions, and general wear and tear can cause the paint or finish on your garage door to fade or deteriorate. Repainting or refinishing the door not only enhances its aesthetic appeal but also provides protection against the elements. Here’s how you can repaint or refinish your garage door:
- Start by thoroughly cleaning the surface of the door using a mild detergent and water solution. Remove any dirt, grime, or loose paint. Rinse the door and allow it to dry completely.
- If there is any peeling or flaking paint, use a scraper to remove the loose paint until you reach a smooth surface.
- Inspect the door for any rust spots. Use sandpaper or a wire brush to remove the rust, and then apply a rust-inhibiting primer to the affected areas.
- If you are repainting, apply a coat of exterior paint to the entire surface of the door using a brush or roller. Allow it to dry according to the manufacturer’s instructions, and apply additional coats if necessary.
- If you are refinishing, apply a wood stain or varnish to enhance the natural beauty of the door. Follow the instructions on the product label for application and drying times.
- Once the paint or finish has dried completely, inspect the door for any missed spots or uneven coverage. Touch up those areas as needed.
Repainting or refinishing your garage door not only revitalizes its appearance but also provides necessary protection from the elements. Consider choosing a color or finish that complements the overall aesthetic of your home.
With step 7 complete, let’s move on to step 8: professional maintenance and tune-up.
Step 8: Professional Maintenance and Tune-up
While regular DIY maintenance is essential, it is also highly recommended to schedule professional maintenance and tune-ups for your garage door at least once a year. A trained technician can inspect all the components, perform necessary adjustments, and identify any issues that require attention. Here’s how professional maintenance and tune-up can benefit your garage door:
- A professional technician has the expertise to thoroughly inspect and evaluate the overall condition of your garage door. They can identify any worn-out or damaged parts that need replacement.
- Professional maintenance includes lubricating the moving parts with specialized garage door lubricants to ensure smooth and quiet operation.
- The technician will check the balance of the door and make any necessary adjustments to ensure that it moves smoothly and evenly. They will also inspect the tension of the springs and adjust them if needed.
- Professional tune-ups involve testing and calibrating the safety features of your garage door, such as the auto-reverse mechanism and photoelectric sensors, to ensure their proper functioning.
- During the maintenance visit, the technician will also check the condition of the garage door opener and its accessories, such as the remote control or keypad. They will make any necessary adjustments or repairs to ensure reliable performance.
Professional maintenance and tune-ups help to catch minor issues before they develop into major problems. Regular servicing by a trained technician can extend the lifespan of your garage door, enhance its safety, and minimize the risk of unexpected breakdowns. It is a worthwhile investment to keep your garage door functioning at its best.
Congratulations! By following these eight steps to maintain your garage door, you can ensure its optimal performance, prolong its lifespan, and enhance the overall safety and functionality of your garage. Regular cleaning, lubrication, inspection, and professional maintenance will keep your garage door in top shape for years to come.
Remember, a well-maintained garage door not only adds value to your home but also provides you with convenience, security, and peace of mind.
Read more: How To Trim Garage Door
Conclusion
Maintaining your garage door is crucial for its longevity, functionality, and safety. By following the eight steps outlined in this guide, you can ensure that your garage door remains in optimal condition for years to come.
Regular cleaning helps to remove dirt and debris that can hinder the door’s smooth operation. Lubricating the moving parts reduces friction and prevents wear and tear. Checking and replacing worn-out cables and springs ensures proper functioning and safety. Tightening loose hardware keeps the door secure and properly aligned. Testing the safety features provides protection against accidents and injuries. Inspecting and repairing weatherstripping helps to maintain insulation and keep out unwanted elements. Repainting or refinishing the door enhances its appearance and offers protection against the elements. Finally, professional maintenance and tune-ups provide a thorough evaluation and adjustments by trained technicians.
Remember to perform these maintenance tasks regularly and consult a professional when needed. The investment of time and effort in maintaining your garage door will pay off in its long-term performance and durability.
By keeping your garage door in top shape, you not only ensure its smooth operation but also enhance the overall aesthetic appeal of your home. Additionally, a well-maintained garage door provides you with convenience, security, and peace of mind.
So, take the necessary steps to maintain your garage door and enjoy the benefits of a well-functioning and attractive entrance to your home.
Frequently Asked Questions about How To Maintain Garage Door
Was this page helpful?
At Storables.com, we guarantee accurate and reliable information. Our content, validated by Expert Board Contributors, is crafted following stringent Editorial Policies. We're committed to providing you with well-researched, expert-backed insights for all your informational needs.


0 thoughts on “How To Maintain Garage Door”