
Articles
How To Remove A Garage Door
Modified: August 27, 2024
Learn how to remove a garage door easily with step-by-step articles. Get expert tips and tricks for a successful DIY project.
(Many of the links in this article redirect to a specific reviewed product. Your purchase of these products through affiliate links helps to generate commission for Storables.com, at no extra cost. Learn more)
Introduction
Removing a garage door may seem like a daunting task, but with the right preparations and approach, it can be accomplished effectively and safely. Whether you’re replacing an old door or making room for renovations, knowing how to remove a garage door is essential.
In this article, we will guide you through the step-by-step process of removing a garage door. From disconnecting the opener to detaching the torsion springs, we will cover all the necessary steps to make your garage door removal seamless and hassle-free.
Before we begin, it’s important to note that garage door removal can vary depending on the type and model of your door. It’s always recommended to consult the manufacturer’s instructions or seek professional assistance if you’re unsure about any steps in the process.
Now, let’s get started with the preparations for removing your garage door safely and efficiently.
Key Takeaways:
- Proper preparations, safety precautions, and step-by-step dismantling are essential for safely removing a garage door. Enlist a friend, follow manufacturer’s instructions, and handle components with care for a seamless removal process.
- After successfully removing the garage door, take time to clean and organize the area. Dispose of the door responsibly, inspect hardware, and prepare the space for future installations or renovations.
Preparations
Before you dive into removing your garage door, it’s crucial to ensure that you have the necessary tools and take the proper safety precautions. Here are some preparations you should make:
- Ensure that you have all the necessary tools handy, such as a socket wrench, pliers, screwdrivers, and a ladder.
- Put on safety gear, including gloves and safety glasses, to protect yourself from any potential hazards.
- Read and familiarize yourself with the manufacturer’s instructions for your specific garage door model. This will help you understand any unique requirements or nuances of the removal process.
- Clear the area around the garage door, removing any obstacles that may hinder the removal process.
- Disconnect the power source to the garage door opener to prevent any accidental activation during the removal process.
- Enlist the help of a friend or family member. Removing a garage door can be a two-person job, as it can be heavy and require steady support.
By ensuring you have the necessary tools, understanding the specific requirements of your garage door model, and taking the proper safety precautions, you’ll be well-prepared to tackle the process of removing your garage door smoothly.
Step 1: Disconnect the Garage Door Opener
The first step in removing a garage door is to disconnect the garage door opener. This ensures that the door won’t be accidentally activated while you’re working on it. Here’s how you can safely disconnect the opener:
- Locate the power source for the garage door opener. This is typically a cord attached to an outlet on the ceiling or wall of the garage.
- Unplug the power cord from the outlet. This will disconnect the power supply to the opener, preventing it from operating.
- For added safety, it’s also recommended to turn off the circuit breaker or remove the fuse that controls the garage door opener.
Once you have disconnected the opener, you can proceed to the next step of removing the door panels.
Note: If you have a smart garage door opener, consult the manufacturer’s instructions to ensure you follow the proper steps to disconnect it.
It’s essential to take the time to disconnect the garage door opener correctly. This precautionary measure ensures your safety and prevents any unintended movements while working on the door.
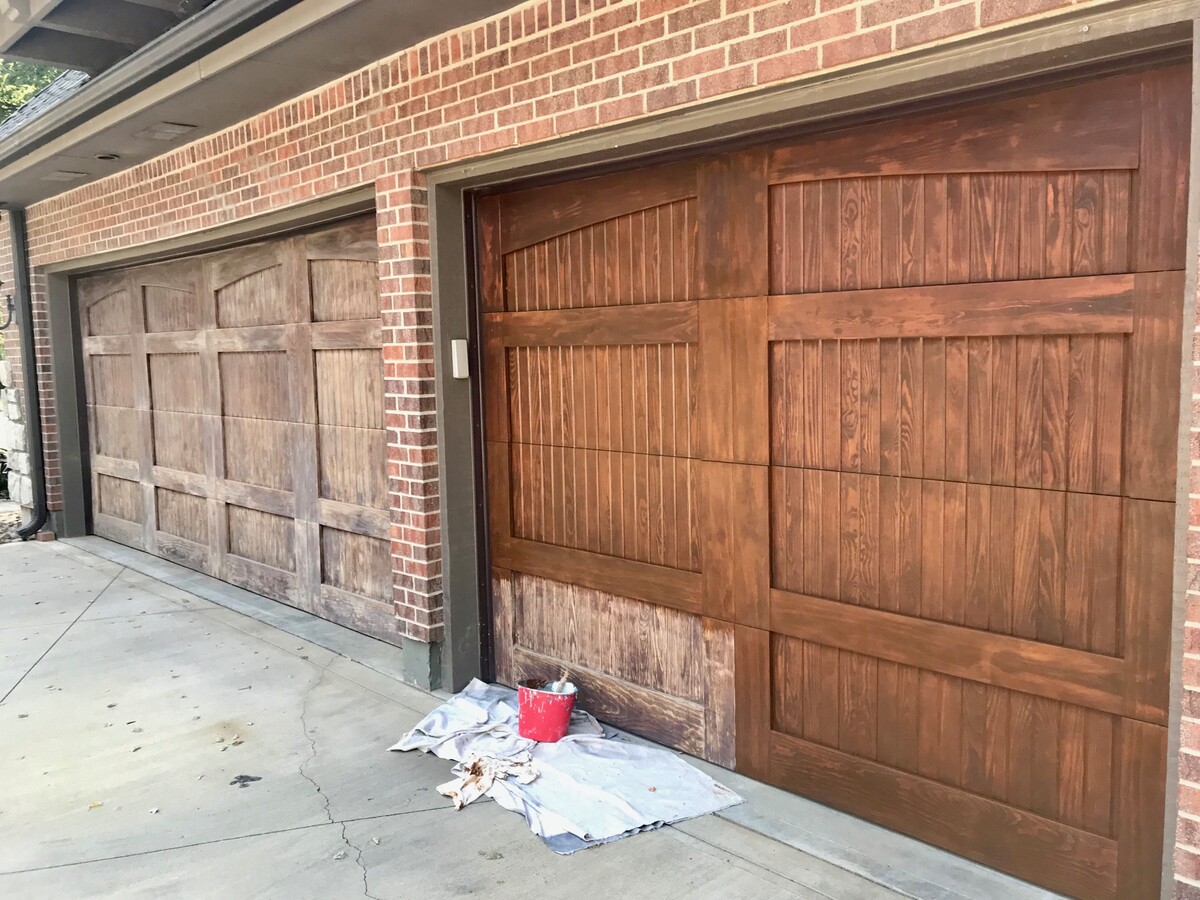
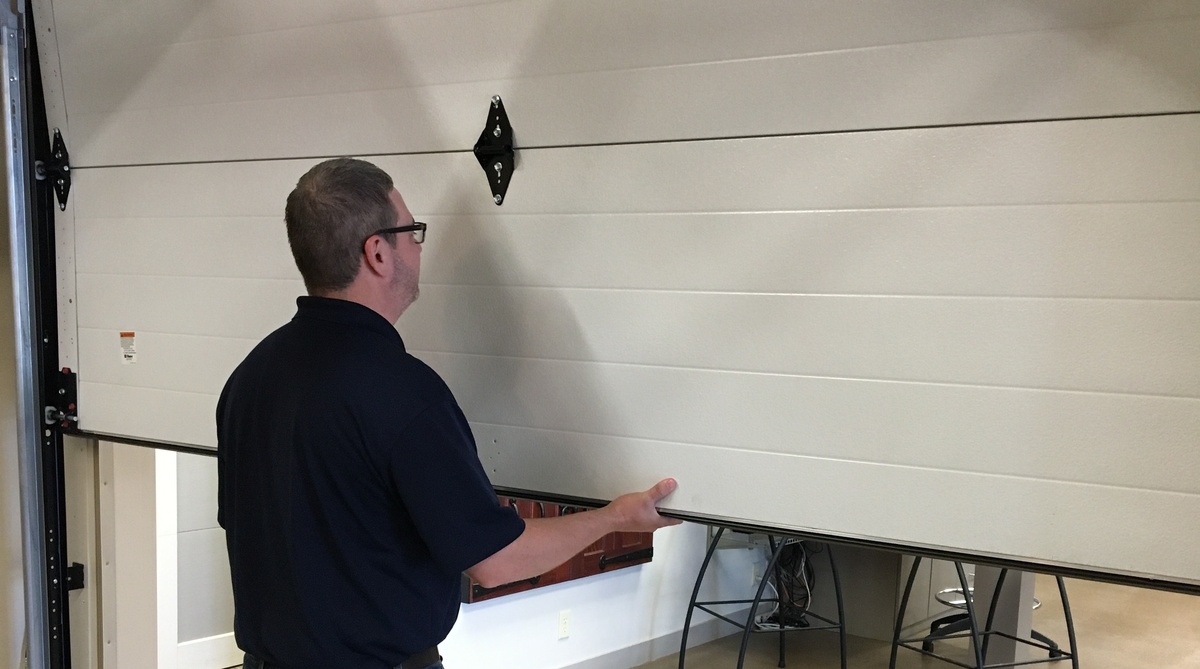
Step 2: Remove the Door Panels
Once you have disconnected the garage door opener, the next step is to remove the door panels. This will allow you to access the other components of the garage door for proper removal. Follow these steps to remove the door panels:
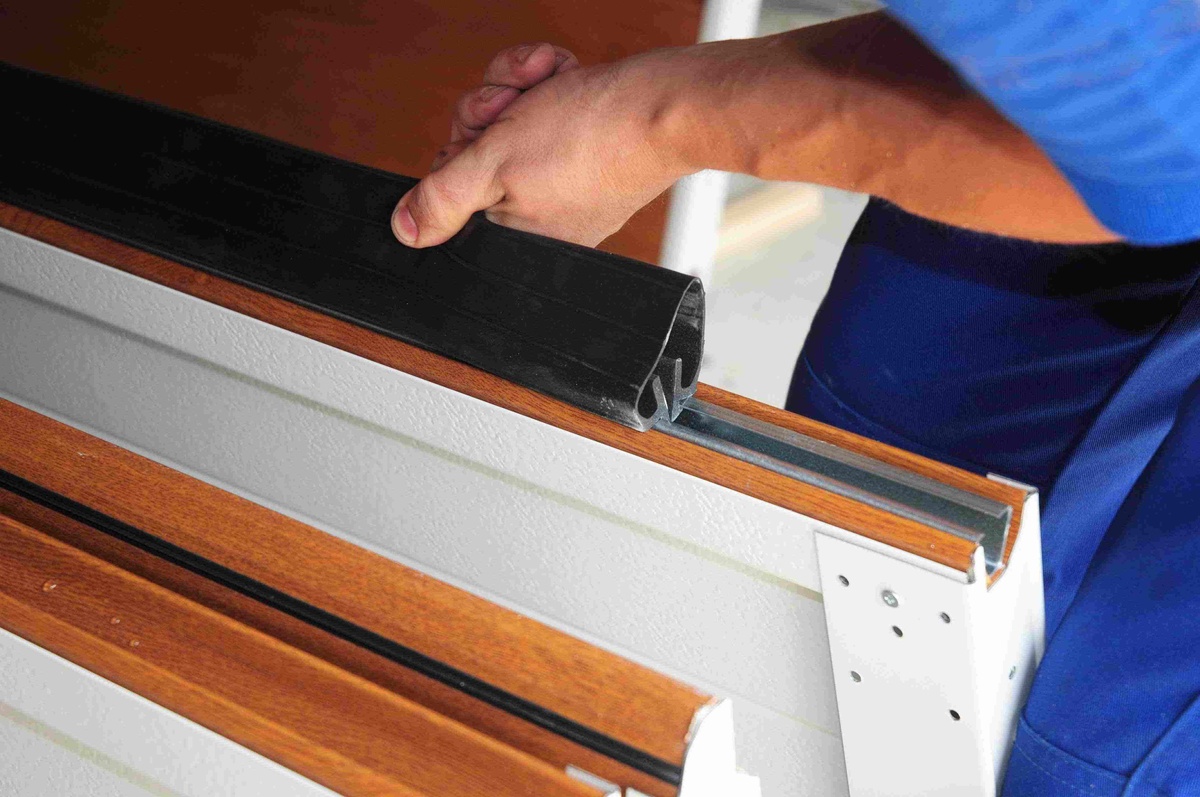
- Start by removing any decorative trim or weatherstripping around the edges of the door panels. Use a screwdriver or pry bar to carefully detach these components.
- Next, locate the hinges that connect the door panels together. There are typically several hinges along the height of the door.
- Using a socket wrench or screwdriver, loosen and remove the bolts or screws securing the hinges to the door panels. Keep the hardware in a safe place, as you may need it for reinstallation.
- With the hinges removed, carefully lift and separate each door panel from the tracks. It’s advisable to have a friend or family member assist you in supporting the weight of the door panels as you remove them.
- Continue removing and stacking the door panels until all panels have been detached from the tracks.
As you remove each panel, be cautious of any cables or wires connected to the panels. Disconnect these cables if necessary, ensuring they are safely out of the way.
Removing the door panels can be a bit labor-intensive, as they can be heavy and bulky. Take care to lift and handle the panels properly to avoid any injuries. Once all the panels are removed, you can move on to the next step of taking out the door tracks.
Step 3: Take Out the Door Tracks
With the door panels removed, it’s time to tackle the door tracks. The tracks guide the movement of the garage door and must be removed to fully detach the door from the opening. Follow these steps to safely take out the door tracks:
- Begin by identifying the brackets that secure the door tracks to the ceiling and walls of the garage. These brackets are usually attached with bolts or screws.
- Using a socket wrench or screwdriver, loosen and remove the bolts or screws that hold the brackets in place.
- Gently pull or pry the brackets away from the ceiling and walls, detaching them from their mounting points.
- Once the brackets are removed, carefully slide the door tracks out of the opening. The tracks may be in multiple sections, so be sure to remove all sections completely.
- Inspect the area where the tracks were mounted and remove any remaining hardware or debris.
It’s important to note that in some cases, the door tracks may be fastened to the floor as well. If this is the case for your garage door, follow the same process of removing the bolts or screws securing the brackets to the floor.
As you remove the door tracks, exercise caution to avoid any damage to the walls or ceiling of the garage. Properly support and handle the tracks to prevent any injuries or accidents.
By completing this step, you have successfully removed the door tracks, bringing you closer to fully detaching the garage door. The next step involves detaching the torsion springs, which are essential for the functioning of the door.
Disconnect the garage door opener from the power source and release the tension on the springs before removing the door panels. This will ensure safety and prevent any accidents during the removal process.
Read more: How To Maintain Garage Door
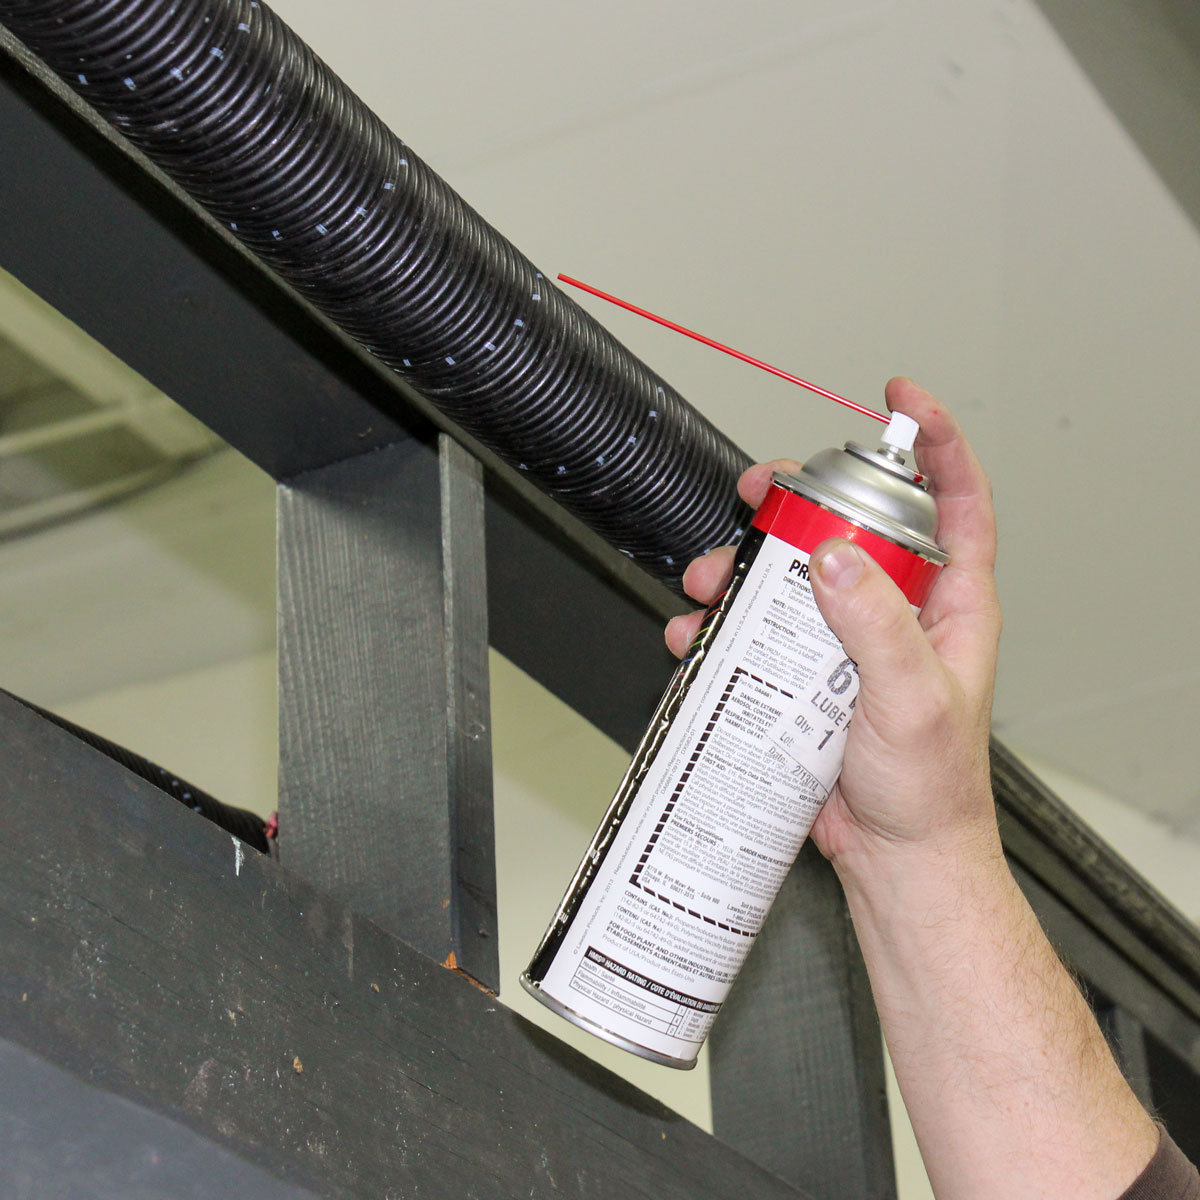
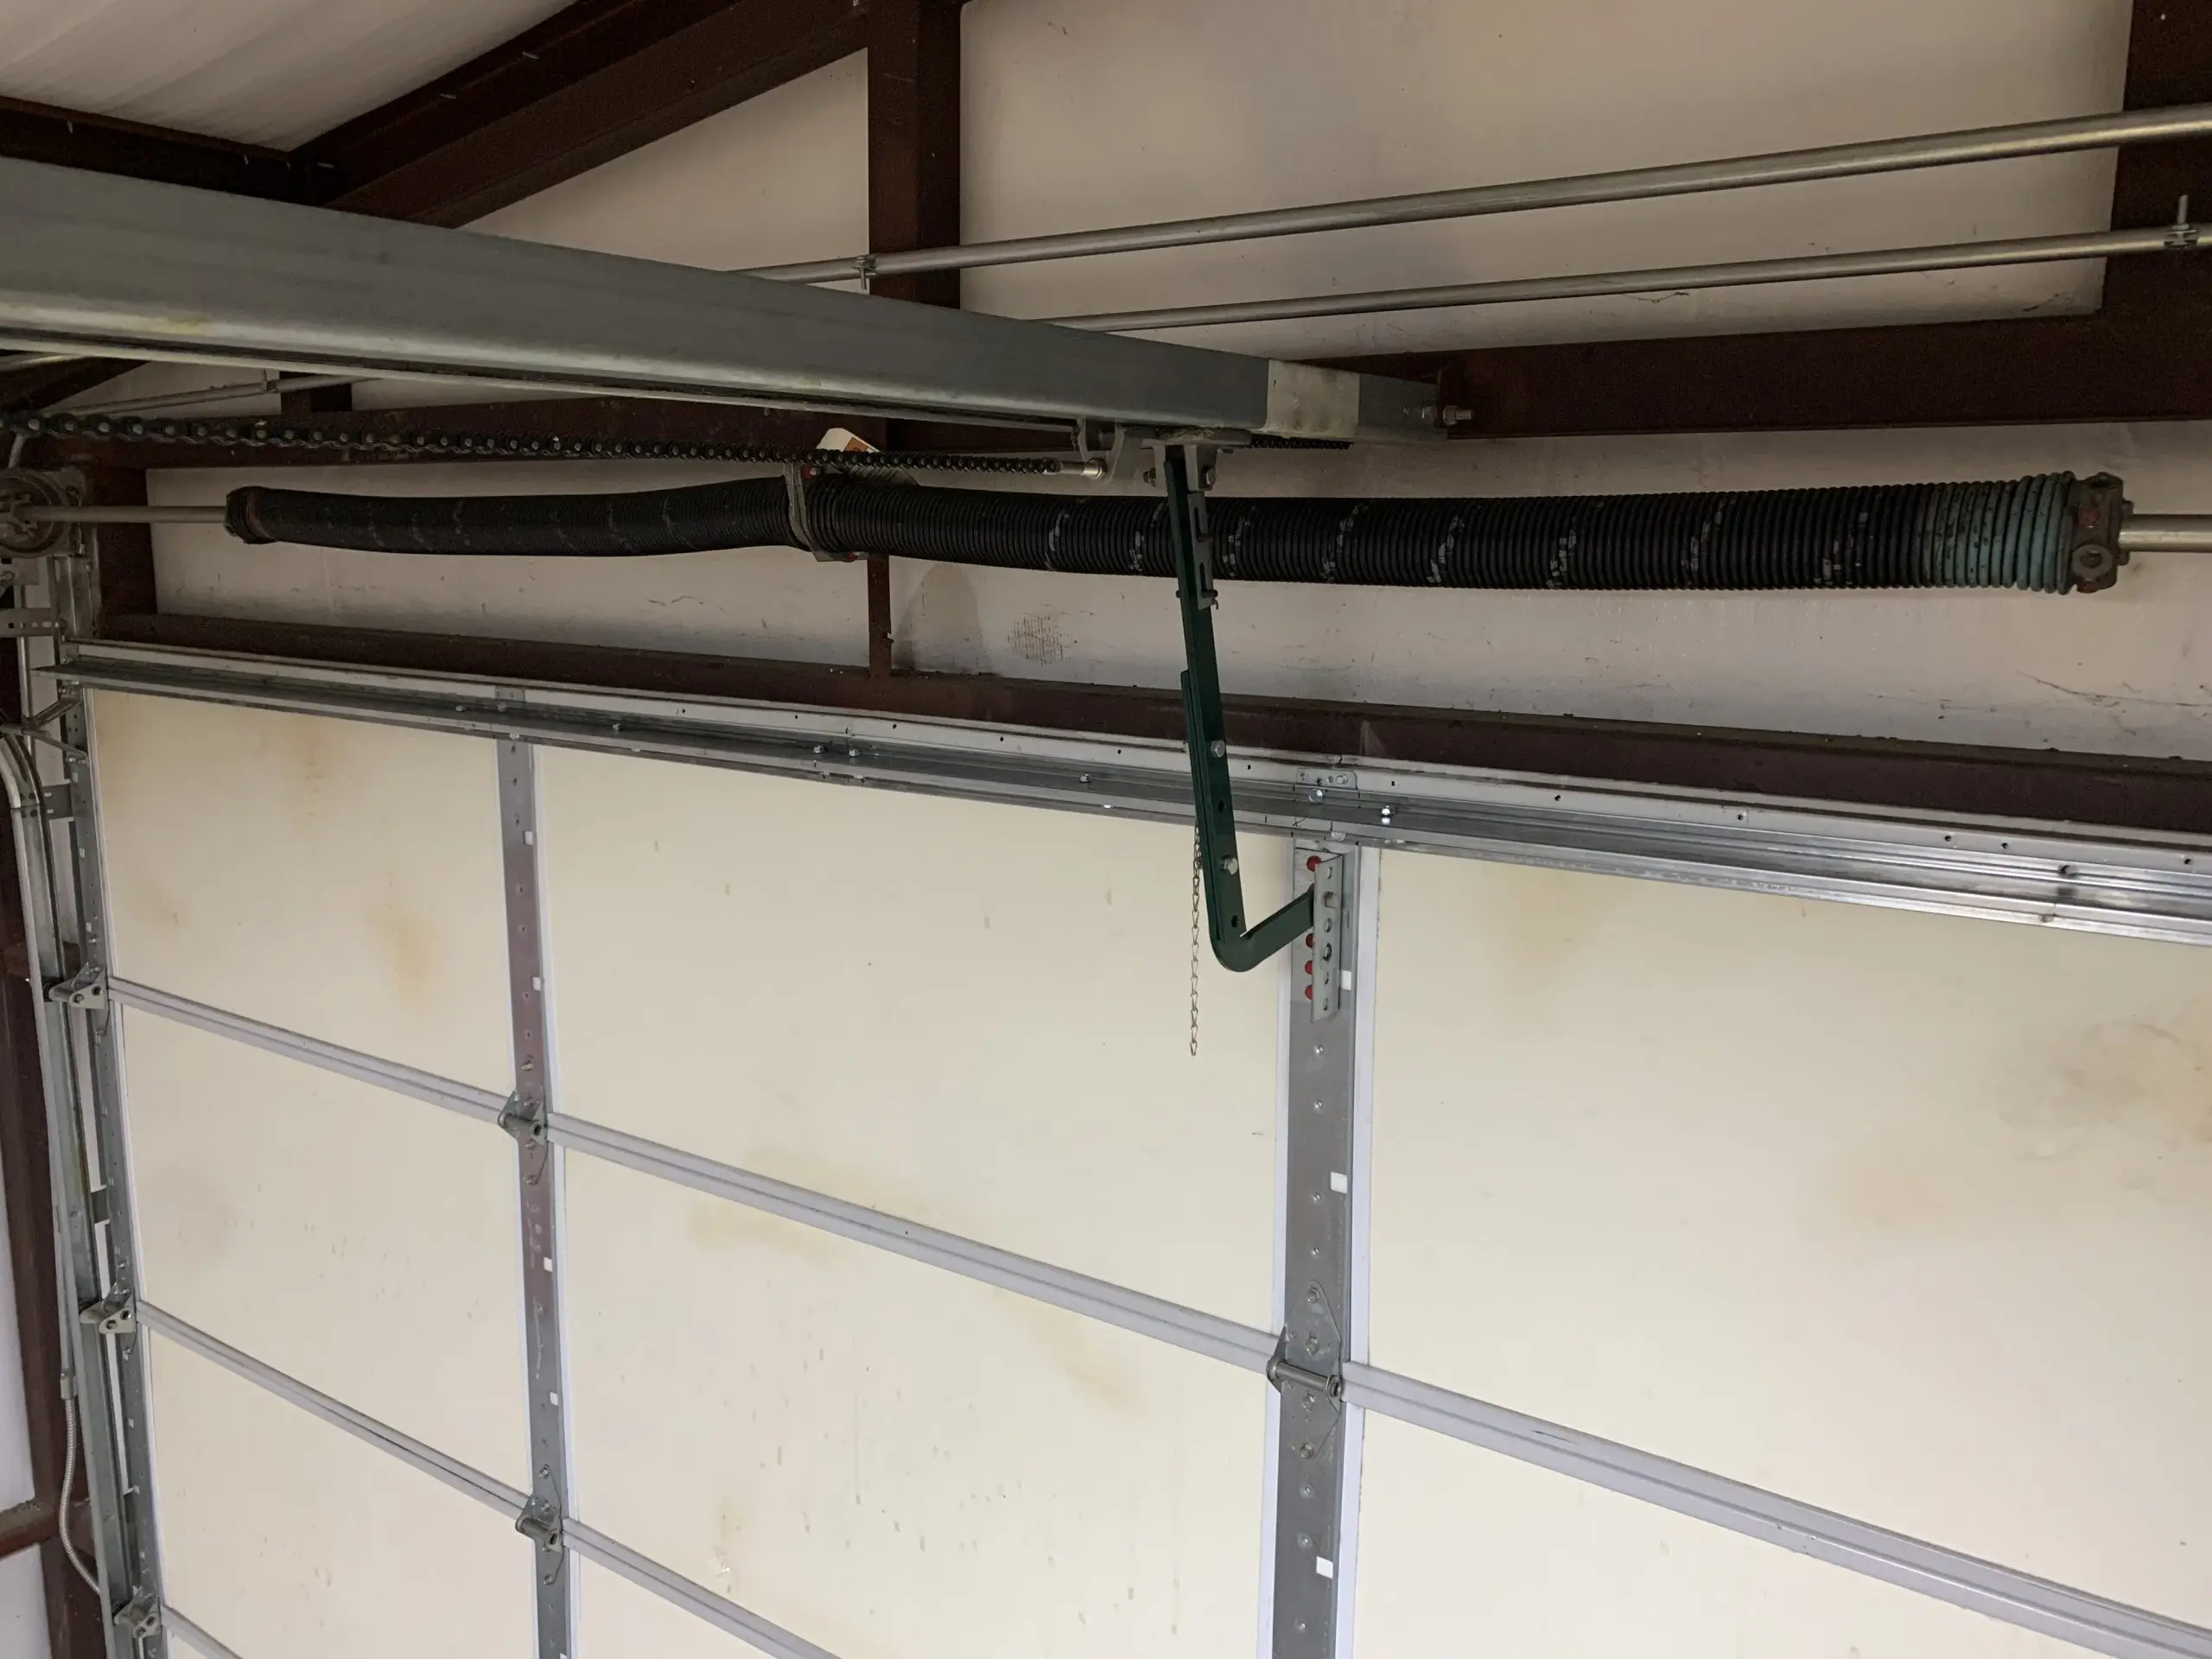
Step 4: Detach the Torsion Springs
Detaching the torsion springs is a crucial step in removing a garage door, as these springs hold tension and assist in the smooth operation of the door. It’s important to proceed with caution when working with torsion springs, as they can cause serious injury if mishandled. Follow these steps to safely detach the torsion springs:
- Before you begin, ensure that you have released any tension in the torsion springs. This can be done by raising the garage door slightly and then securing it in place with clamps or locking pliers.
- Using a socket wrench or adjustable wrench, loosen and remove the set screws that secure the torsion springs to the torsion bar.
- Carefully slide the torsion springs off the torsion bar, taking note of their orientation for reinstallation.
- Once the torsion springs are detached, loosen and remove any additional hardware, such as center brackets or support brackets, that may be connected to the torsion assembly.
- As you remove any hardware or components, be vigilant and ensure that you have a secure grip on them to prevent any accidents or injuries.
It’s worth mentioning that torsion springs are under high tension and can be dangerous if mishandled. If you’re uncertain or uncomfortable working with torsion springs, it’s best to seek assistance from a professional garage door technician.
By completing this step, you have successfully detached the torsion springs, allowing you to move on to the final step of actually removing the garage door itself.
Step 5: Remove the Garage Door
Now that you have disconnected the garage door opener, removed the door panels, taken out the door tracks, and detached the torsion springs, it’s time to remove the garage door itself. Follow these steps to safely and effectively remove the garage door:
- Enlist the help of a friend or family member for this step, as the garage door can be heavy and requires steady support.
- Starting from one side of the door, lift the garage door slightly off the ground, ensuring it is balanced and not putting too much strain on any one side.
- Carefully slide the bottom rollers out of the door tracks, allowing the door to be completely detached from the opening.
- Lower the garage door gently onto the ground, ensuring that it is stable and supported on a level surface.
- Once the garage door is safely on the ground, move it to a designated storage area or dispose of it as per local regulations.
When handling the garage door, be cautious of any sharp or protruding parts that could cause injury. Use proper lifting techniques and avoid straining your back or muscles.
With the garage door removed, you have completed the main steps of removing a garage door. Congratulations!
Step 6: Clean and Organize
After successfully removing the garage door, it’s important to take some time to clean and organize the area. This not only ensures a tidy workspace but also prepares the space for any future installations or renovations. Here are some steps you can follow:
- Sweep or vacuum the garage floor to remove any debris or dirt that may have accumulated during the removal process.
- Inspect the door tracks, hinges, and other hardware for any signs of wear or damage. Replace any worn-out or broken parts as necessary.
- Organize and store any hardware, such as screws, bolts, and hinges, in labeled containers or bags for future use.
- Dispose of the removed garage door responsibly, following local regulations and guidelines. Consider recycling any materials that can be recycled.
- Take the opportunity to clean and maintain any other components in the garage, such as the garage door opener or lighting fixtures.
- If you plan to install a new garage door, measure the opening and consult with a professional or refer to manufacturer instructions to determine the appropriate size and specifications for the door.
By cleaning and organizing after removing the garage door, you are ensuring a safe and clutter-free environment for any future projects or installations.
Congratulations! You have successfully completed the process of removing a garage door. Whether you’re replacing it with a new door or making changes to the space, you can now proceed with confidence knowing that you have followed the proper steps for a smooth removal.
Conclusion
Removing a garage door may initially seem like a daunting task, but with the right preparations and approach, it can be accomplished smoothly and safely. By following the step-by-step process outlined in this article, you can successfully remove your garage door and prepare the space for any future changes or installations.
Remember to always prioritize safety when working on your garage door. Take the necessary precautions, such as disconnecting the opener and wearing protective gear, to minimize the risk of injuries. If you’re unsure about any steps in the process or encounter any difficulties, it’s always wise to consult the manufacturer’s instructions or seek professional assistance.
Throughout the removal process, it’s crucial to handle the door panels, tracks, and hardware with care. Proper lifting techniques and enlisting the help of a friend or family member can make the process smoother and easier. Additionally, taking the time to clean and organize the area after removing the garage door will create a tidy and well-prepared space for any future projects.
Whether you’re replacing an old garage door, renovating your garage, or making room for other purposes, knowing how to remove a garage door is an essential skill. By following the steps outlined in this article, you can confidently undertake the removal process and achieve the desired results.
Remember, if you’re uncertain or uncomfortable with any aspect of removing a garage door, it’s always best to seek professional assistance. They have the knowledge and experience to ensure a safe and efficient removal process.
Now that you have the necessary knowledge, it’s time to roll up your sleeves and start removing that garage door. Good luck!
Frequently Asked Questions about How To Remove A Garage Door
Was this page helpful?
At Storables.com, we guarantee accurate and reliable information. Our content, validated by Expert Board Contributors, is crafted following stringent Editorial Policies. We're committed to providing you with well-researched, expert-backed insights for all your informational needs.


0 thoughts on “How To Remove A Garage Door”