
Articles
How To Install A Garage Door Track
Modified: August 22, 2024
Learn how to install a garage door track with our informative articles. Discover step-by-step instructions and expert tips for a successful installation.
(Many of the links in this article redirect to a specific reviewed product. Your purchase of these products through affiliate links helps to generate commission for Storables.com, at no extra cost. Learn more)
Introduction
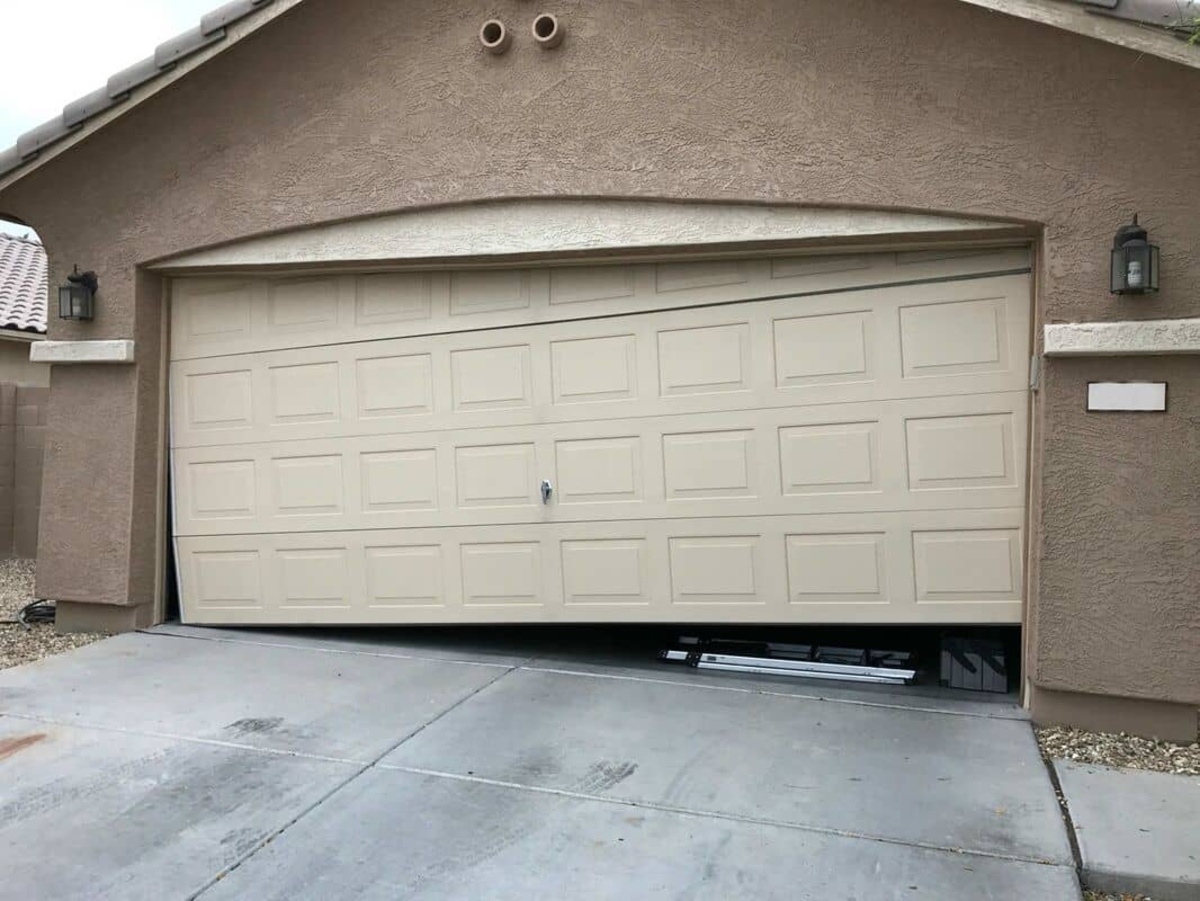
Installing a garage door track is an essential part of setting up a functional and reliable garage door system. The track system allows for smooth and seamless operation of the garage door, ensuring it opens and closes securely. Whether you are replacing an old garage door track or installing a new one, this guide will provide you with a step-by-step process to help you get the job done efficiently and effectively.
Before diving into the installation process, it’s important to gather all the necessary tools and materials. This will ensure that you have everything you need at hand, minimizing any interruptions or delays during the installation. In addition, having a clear understanding of the measurements and placement for the garage door track is crucial for a successful installation.
Once you have the necessary tools and measurements, you can proceed with the installation. This involves attaching mounting brackets, securing the garage door track, and making any necessary adjustments to ensure smooth operation. By following the steps outlined in this guide, you will be able to install a garage door track with ease and confidence.
It is essential to emphasize the importance of safety during the installation process. Garage doors are heavy and can cause serious injury if not handled properly. Always take precautions, such as wearing protective gear and having someone assist you when dealing with heavy parts. If you are unsure or uncomfortable with any step, it is always best to consult with a professional garage door installer.
Now, let’s dive into the step-by-step process of installing a garage door track, starting with gathering the necessary tools and materials.
Key Takeaways:
- Proper installation of a garage door track requires precise measurements, secure mounting brackets, and careful alignment. Prioritize safety, gather the right tools, and follow step-by-step instructions for a smooth and reliable garage door system.
- Regular maintenance, inspection, and lubrication are essential for the longevity and optimal performance of a garage door track. Safety should always be a priority, and seeking professional assistance when unsure is recommended for a successful installation.
Read more: How To Oil Garage Door Tracks
Step 1: Gather Necessary Tools and Materials
Before you begin the installation process, make sure you have all the necessary tools and materials ready. Having everything prepared in advance will streamline the installation and prevent unnecessary delays. Here are the tools and materials you will need:
- Measuring tape
- Pencil or marker
- Power drill with various drill bits
- Screwdriver (both flathead and Phillips)
- Wrenches
- 4-foot level
- Garage door track kit (make sure it includes the necessary tracks, brackets, and necessary hardware)
- Ladder or step stool
- Safety goggles
- Gloves
Once you have gathered all the required tools and materials, you will be fully prepared to efficiently carry out the installation process. It’s important to note that the specific tools and materials required may vary depending on the type and brand of the garage door track kit you are using. Always refer to the manufacturer’s instructions for any specific requirements.
Additionally, it’s a good idea to have a clear workspace that allows you to move freely and safely. Clear any clutter or obstacles from the area around the garage door to ensure a smooth installation process.
Now that you have all the necessary tools and materials, you are ready to proceed to the next step: measuring and marking the placement for the garage door track.
Step 2: Measure and Mark Placement for the Garage Door Track
Before you start installing the garage door track, it’s crucial to accurately measure and mark the placement for proper alignment and functionality. Follow these steps to ensure precise measurements:
- Measure the height of the garage door opening from the floor to the top of the opening. This will determine the length of the vertical track.
- Measure the width of the garage door opening to determine the length of the horizontal track.
- Using a measuring tape, find the midpoint of the top of the garage door opening. Mark this point with a pencil or marker. This will serve as the starting point for the installation of the horizontal track.
- Next, measure the distance from the top of the garage door opening to the ceiling. Subtract the height of the vertical track from this measurement to determine the length of the mounting bracket. Mark this measurement on the wall above the garage door opening for each side.
- Measure and mark the remaining points where the vertical and horizontal tracks will be installed. The manufacturer’s instructions should provide specific guidelines for these measurements.
Ensuring precise measurements will ensure that the tracks are installed at the correct height and alignment. This is essential for the smooth operation of the garage door. Taking the time to measure and mark accurately will help avoid any issues during the installation process.
Once you have measured and marked the placement for the garage door track, you can move on to the next step: installing the mounting brackets.
Step 3: Install Mounting Brackets
Now that you have measured and marked the placement for the garage door track, it’s time to install the mounting brackets. These brackets provide the necessary support for the tracks and ensure a secure installation. Follow these steps to install the mounting brackets:
- Start by positioning the vertical track against the wall, aligning it with the markings you made in the previous step.
- Hold the track in place and mark the location of the mounting holes on the wall using a pencil or marker.
- Using a power drill and the appropriate drill bit, create pilot holes at the marked locations.
- Align the mounting holes of the vertical track with the pilot holes on the wall.
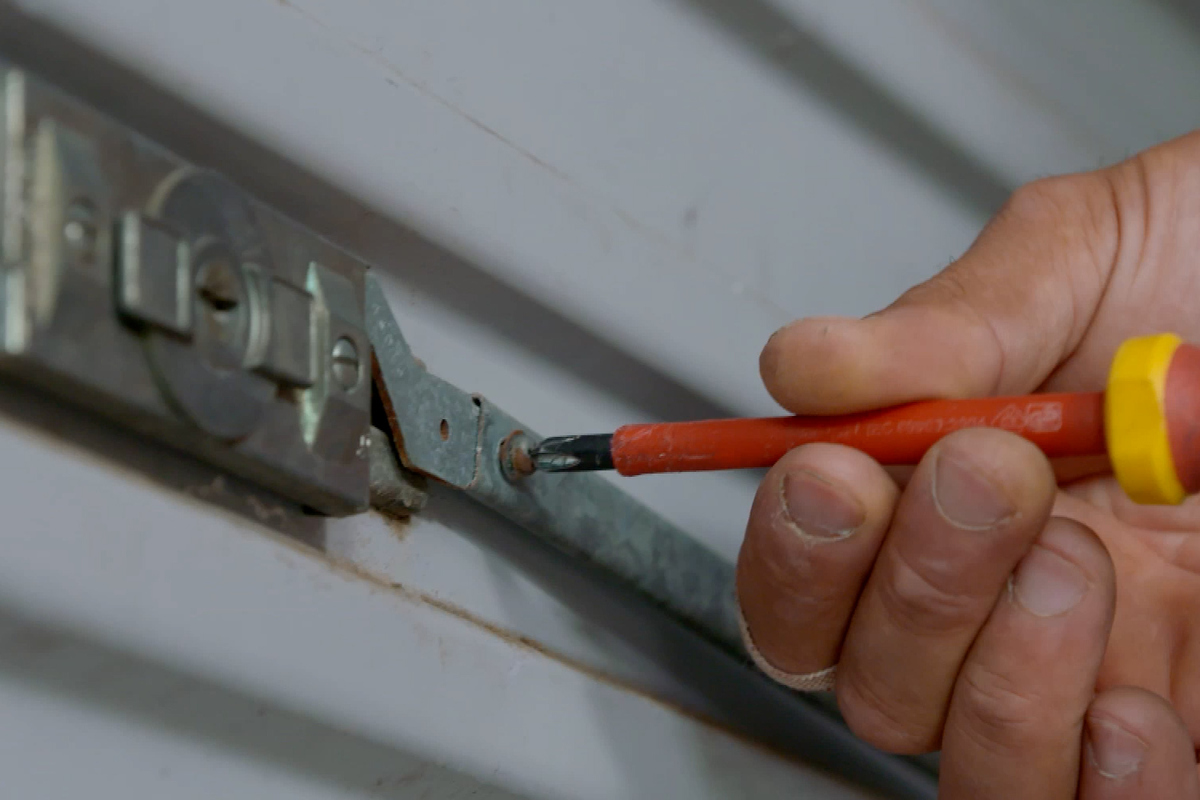
- Insert the screws or bolts provided with the track kit into the pilot holes and tighten them using a screwdriver or wrench.
- Repeat the above steps to install the mounting brackets for the other side of the garage door track.
Ensure that the mounting brackets are securely attached to the wall, as they will bear the weight of the garage door track. It’s important to follow the manufacturer’s instructions regarding the specific size and type of screws or bolts to use for the installation.
After installing the mounting brackets, ensure that they are level and aligned by using a 4-foot level. Adjust them if necessary to ensure proper alignment and functionality of the garage door track.
With the mounting brackets securely in place, you are ready to move on to the next step: attaching the garage door track to the brackets.
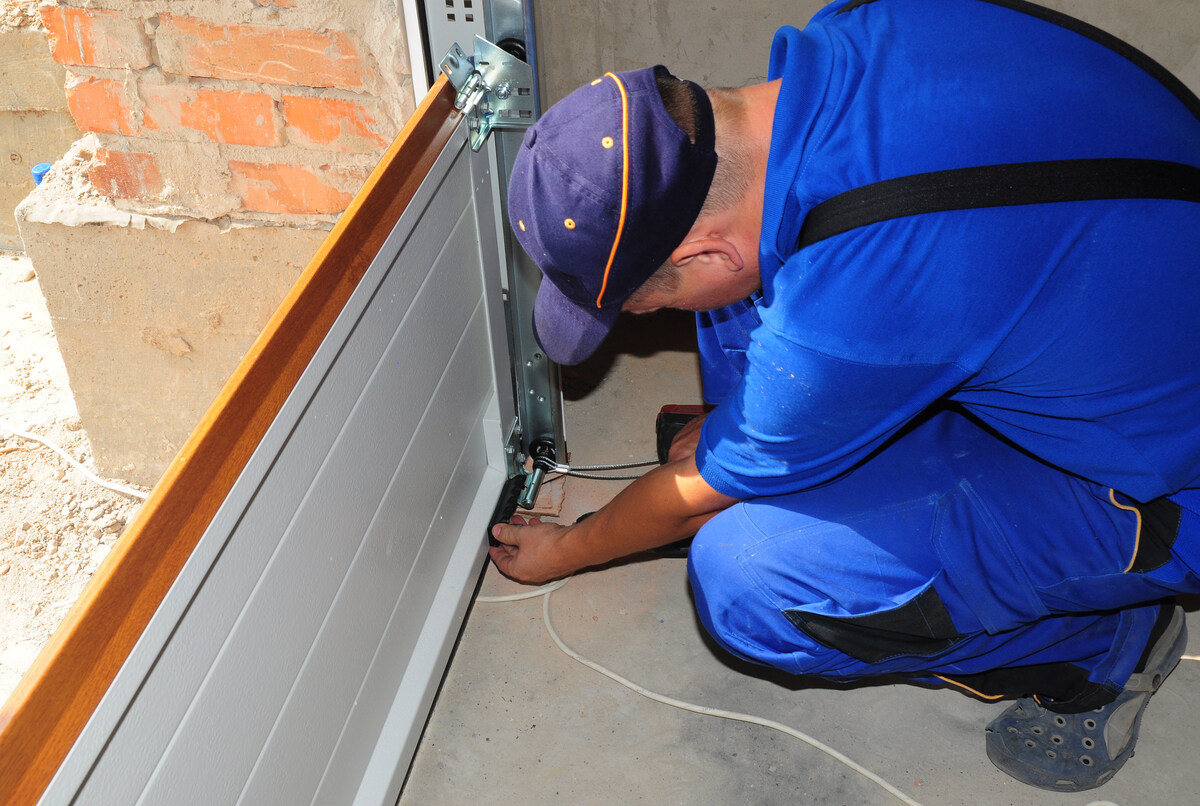
Step 4: Attach the Garage Door Track to the Brackets
Now that you have installed the mounting brackets, it’s time to attach the garage door track to the brackets. This step will secure the track in place and ensure proper alignment. Follow these steps to attach the garage door track:
- Align the holes at the end of the garage door track with the holes in the mounting brackets.
- Insert the screws or bolts provided with the track kit into the aligned holes.
- Tighten the screws or bolts using a screwdriver or wrench, ensuring that the track is securely attached to the brackets.
- Repeat the above steps for the other end of the garage door track.
It’s important to note that each section of the garage door track may consist of multiple pieces that need to be connected. Follow the manufacturer’s instructions for proper alignment and connection of the track sections.
Once the garage door track is securely attached to the brackets, ensure that it is level and aligned by using a 4-foot level. Adjust if necessary to maintain proper alignment and functionality.
With the garage door track successfully attached to the brackets, you are now ready to move on to the next step: installing the vertical track.
When installing a garage door track, make sure to carefully measure and level the track before securing it in place. This will ensure smooth and efficient operation of the garage door.
Read more: How To Adjust Garage Door Tracks
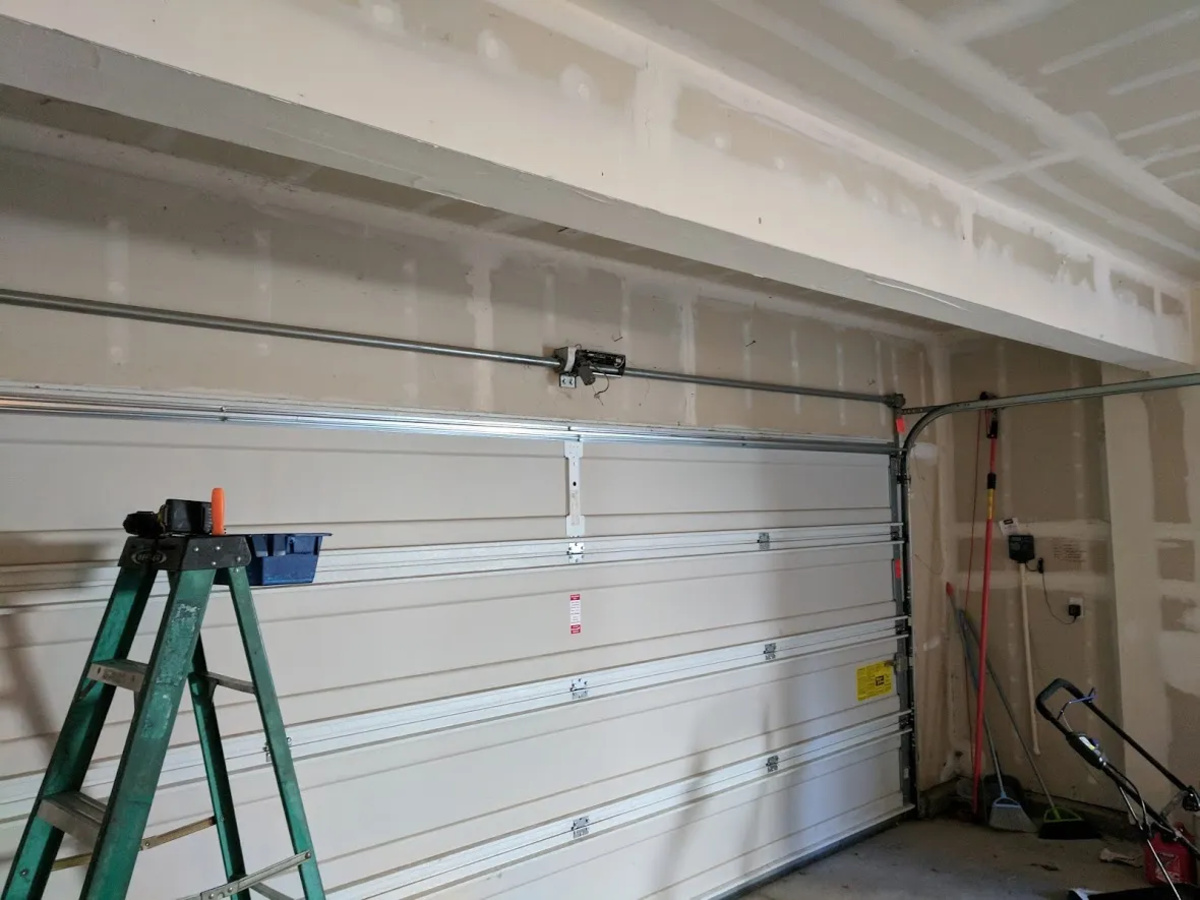
Step 5: Install the Vertical Track
Now that the garage door track is securely attached to the brackets, it’s time to install the vertical track. The vertical track runs from the bottom of the garage door to the upper part of the track system. Follow these steps to install the vertical track:
- Take the vertical track and position it against the wall, aligning it with the mounting bracket.
- Hold the track in place and mark the location of the mounting holes on the wall using a pencil or marker.
- Using a power drill and the appropriate drill bit, create pilot holes at the marked locations.
- Align the mounting holes of the vertical track with the pilot holes on the wall.
- Insert the screws or bolts provided with the track kit into the pilot holes and tighten them using a screwdriver or wrench.
- Repeat the above steps for the other side of the garage door track.
Ensure that the vertical track is securely attached to the wall, as it will bear the weight of the garage door. Double-check that the track is level and aligned using a 4-foot level. Make any necessary adjustments to ensure proper alignment.
With the vertical track installed, you can now move on to the next step: installing the horizontal track.
Step 6: Install the Horizontal Track
With the vertical track in place, it’s time to install the horizontal track. The horizontal track connects to the vertical track and runs parallel to the ceiling. Follow these steps to install the horizontal track:
- Position the horizontal track against the wall, aligning it with the marked midpoint on the top of the garage door opening.
- Hold the track in place and mark the location of the mounting holes on the wall using a pencil or marker.
- Using a power drill and the appropriate drill bit, create pilot holes at the marked locations.
- Align the mounting holes of the horizontal track with the pilot holes on the wall.
- Insert the screws or bolts provided with the track kit into the pilot holes and tighten them using a screwdriver or wrench.
Ensure that the horizontal track is securely attached to the wall, as it will support the movement of the garage door. Check for proper alignment and levelness using a 4-foot level. Make any necessary adjustments to ensure the track is aligned correctly.
It’s important to note that some garage door track systems may require the use of additional brackets or connectors to secure the horizontal track properly. Refer to the manufacturer’s instructions for any specific instructions or additional hardware required.
With the horizontal track installed, you are now ready to move on to the next step: securing and adjusting the garage door track.
Step 7: Secure and Adjust the Garage Door Track
Now that the garage door track is installed, it’s time to secure it properly and make any necessary adjustments. This step will ensure that the garage door operates smoothly and safely. Follow these steps to secure and adjust the garage door track:
- Tighten all screws or bolts that secure the track and mounting brackets. Ensure that they are securely fastened to maintain the stability of the track system.
- Check the alignment of the tracks using a level. The vertical and horizontal tracks should be level, straight, and parallel to each other. Make any adjustments as needed to achieve proper alignment.
- Inspect the track system for any obstructions or debris that may hinder the movement of the garage door. Remove any debris and clean the tracks if necessary.
- Test the movement of the garage door up and down the track system. If there are any issues, such as binding or uneven movement, make necessary adjustments to ensure smooth operation.
- Lubricate the track system using a silicone-based garage door lubricant. Apply a thin, even coat along the length of the tracks to reduce friction and enhance the door’s movement.
It’s important to regularly check and maintain the garage door track system to ensure its optimal performance. Inspect the tracks for any signs of wear or damage and address any issues promptly.
Finally, it is crucial to follow the manufacturer’s instructions and safety guidelines when working on a garage door track. If you are uncertain about any aspect of the installation or adjustment, it is recommended to consult a professional garage door installer.
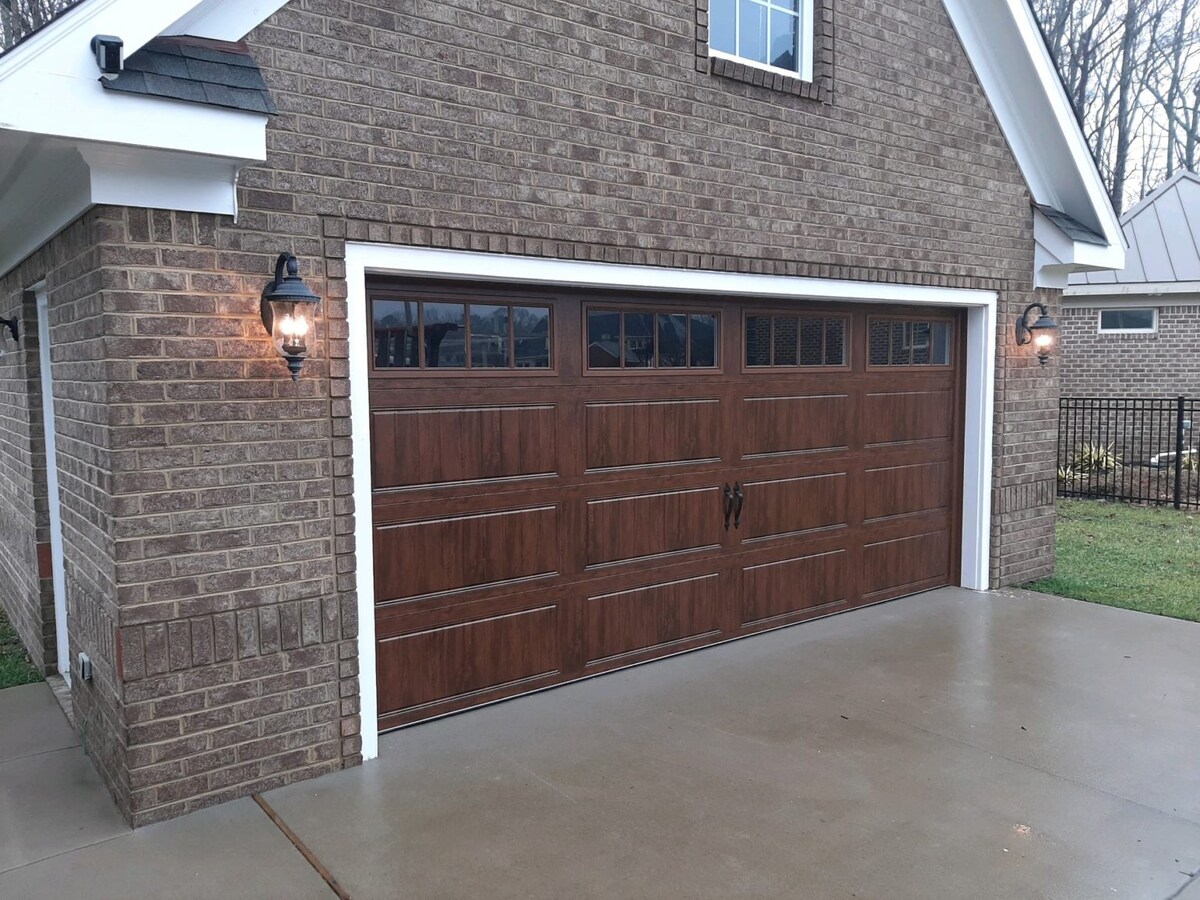
With the garage door track securely installed, aligned, and adjusted, your garage door system is now ready for use. Enjoy the smooth and reliable operation of your garage door!
Following these steps will help you successfully install a garage door track. However, it’s essential to refer to the specific instructions provided by your garage door track kit manufacturer, as installation processes may vary slightly. Remember to prioritize safety during the entire installation process!
Do you need any further assistance with installing your garage door track?
Conclusion
Installing a garage door track may seem like a daunting task, but with the right tools, materials, and step-by-step guidance, you can successfully complete the installation and enjoy the benefits of a functional garage door system. By following the steps outlined in this guide, you can ensure a smooth and secure installation.
From gathering the necessary tools and materials to measuring and marking the placement of the track, installing the mounting brackets, attaching the track, and adjusting for proper alignment, each step plays a vital role in the overall functionality and safety of your garage door.
Remember, safety should always be a priority throughout the installation process. Wear protective gear, use caution when handling heavy parts, and don’t hesitate to contact a professional if you feel unsure or uncomfortable with any step.
Regular maintenance and inspection of your garage door track system are crucial for its longevity and optimal performance. Keep an eye out for any signs of wear, clean the tracks periodically, and lubricate the system to reduce friction.
With a properly installed and maintained garage door track, you can enjoy the convenience and security of a reliable garage door system. A smooth-operating garage door not only provides easy access to your garage but also enhances the overall aesthetics of your home.
Now that you have a comprehensive understanding of how to install a garage door track, you can confidently tackle this project and enjoy the results. Follow the steps outlined in this guide, refer to the manufacturer’s instructions, and always prioritize safety.
If you have any further questions or need additional assistance, don’t hesitate to reach out to a professional garage door installer. They can offer expert guidance and ensure your garage door track installation is done with precision and efficiency.
Good luck with your garage door track installation, and enjoy the benefits of a properly functioning garage door!
Frequently Asked Questions about How To Install A Garage Door Track
Was this page helpful?
At Storables.com, we guarantee accurate and reliable information. Our content, validated by Expert Board Contributors, is crafted following stringent Editorial Policies. We're committed to providing you with well-researched, expert-backed insights for all your informational needs.


0 thoughts on “How To Install A Garage Door Track”