Articles
How To Adjust Garage Door Tracks
Modified: October 28, 2024
Learn how to adjust garage door tracks with our informative articles. Find step-by-step guides and expert tips to ensure smooth operation of your garage door.
(Many of the links in this article redirect to a specific reviewed product. Your purchase of these products through affiliate links helps to generate commission for Storables.com, at no extra cost. Learn more)
Introduction
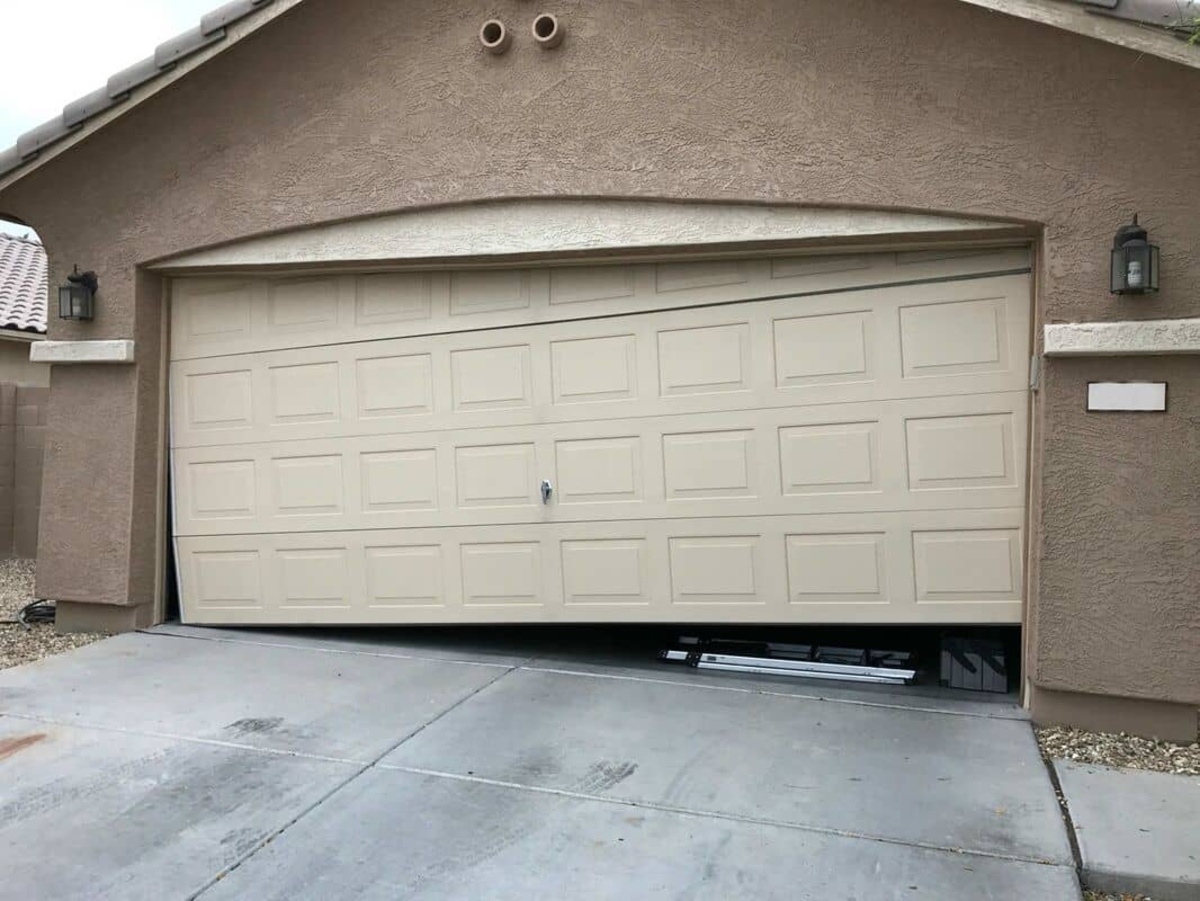
Garage doors are an essential part of every home, providing convenience, security, and protection for your vehicles and belongings. However, over time, the tracks that guide the garage door may become misaligned or damaged, causing the door to function improperly.
Misaligned or damaged garage door tracks can lead to issues such as the door sticking or getting stuck halfway, making loud noises during operation, or even completely refusing to open or close. Thankfully, adjusting the garage door tracks is a relatively simple task that can be done with just a few tools and some basic knowledge.
In this article, we will guide you through the step-by-step process of adjusting garage door tracks to ensure smooth and efficient operation. So, let’s dive right in and get your garage door back on track!
Key Takeaways:
- Properly aligning and adjusting garage door tracks is crucial for smooth operation. Thoroughly inspect, realign, and secure the tracks to ensure your garage door functions efficiently and without issues.
- Testing the functionality of your garage door after adjustments is essential. Address any remaining issues promptly to guarantee proper functioning and longevity of your garage door.
Read more: How To Oil Garage Door Tracks
Step 1: Gather the necessary tools and materials
Before you begin adjusting the garage door tracks, it’s important to gather all the necessary tools and materials. Having everything you need at hand will ensure a smooth and efficient process. Here are the tools and materials you will need:
- Measuring tape
- Adjustable wrench
- Screwdriver
- Level
- Pliers
- Socket set
- Ladder
- Safety goggles
- Gloves
Make sure you have the appropriate sizes of wrenches and sockets, as different garage doors may require different sizes. Additionally, always prioritize safety by wearing goggles and gloves to protect your eyes and hands during the adjustment process.
By having all the necessary tools and materials prepared, you will be well-equipped to tackle the task of adjusting your garage door tracks effectively.
Step 2: Inspect the tracks for misalignment or damage
Before making any adjustments to the garage door tracks, it’s important to thoroughly inspect them for any signs of misalignment or damage. This will help you identify the root cause of the problem and determine the appropriate course of action.
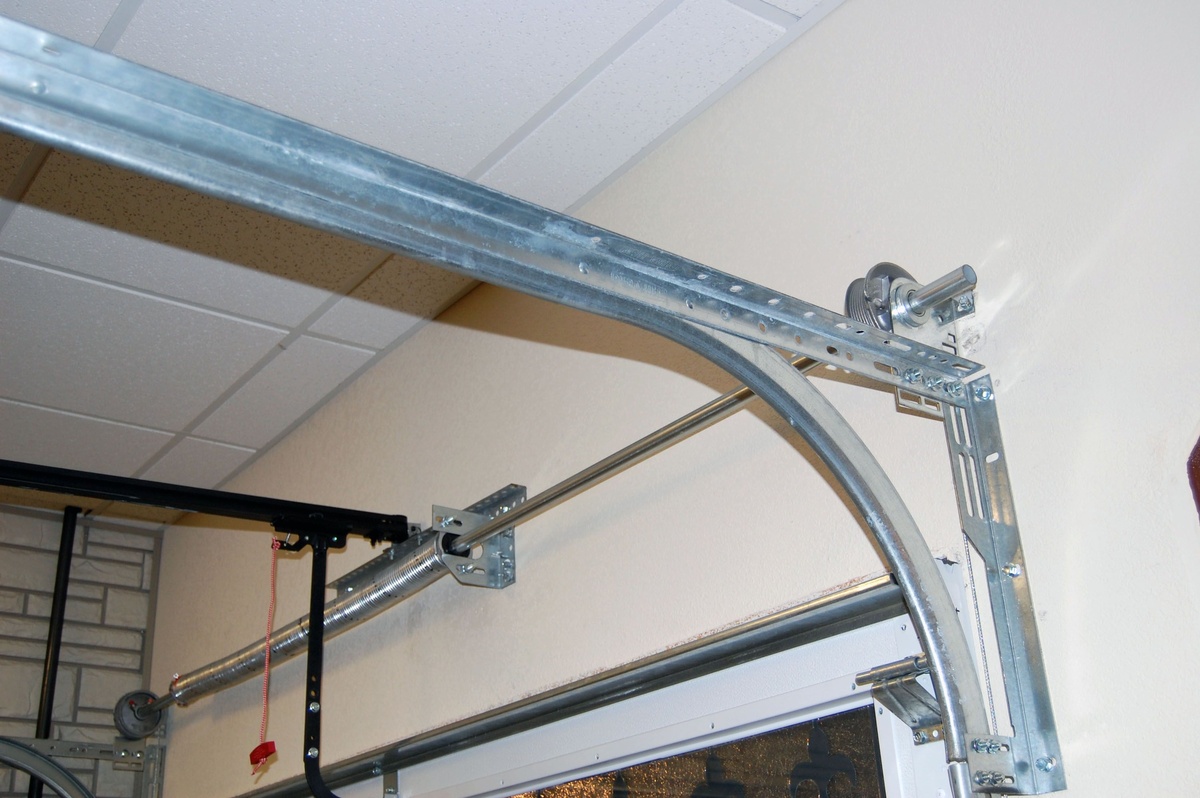
Start by visually inspecting the tracks for any obvious signs of misalignment or damage. Look for gaps between the tracks and the door, bends or twists in the tracks, or any debris that may be obstructing the smooth movement of the garage door.
Next, using your hands or a small tool, carefully run along the tracks to check for any dents, kinks, or other damage that may be affecting the door’s operation. Pay special attention to areas near the rollers and hinges, as they are more prone to wear and tear.
If you notice any misalignment or damage, it’s important to address it before proceeding with the adjustment. Misaligned tracks can cause the door to operate unevenly, while damaged tracks can compromise the safety and functionality of the door.
For minor misalignments, you may be able to gently tap the tracks back into place using a rubber mallet or a block of wood. However, major misalignments or extensive damage may require professional assistance to ensure proper repair and functionality.
By thoroughly inspecting the tracks for misalignment or damage, you will be able to identify any underlying issues that need to be addressed before proceeding with the adjustment process. This will help ensure a successful and long-lasting fix for your garage door tracks.
Step 3: Loosen the mounting brackets and adjust the track position
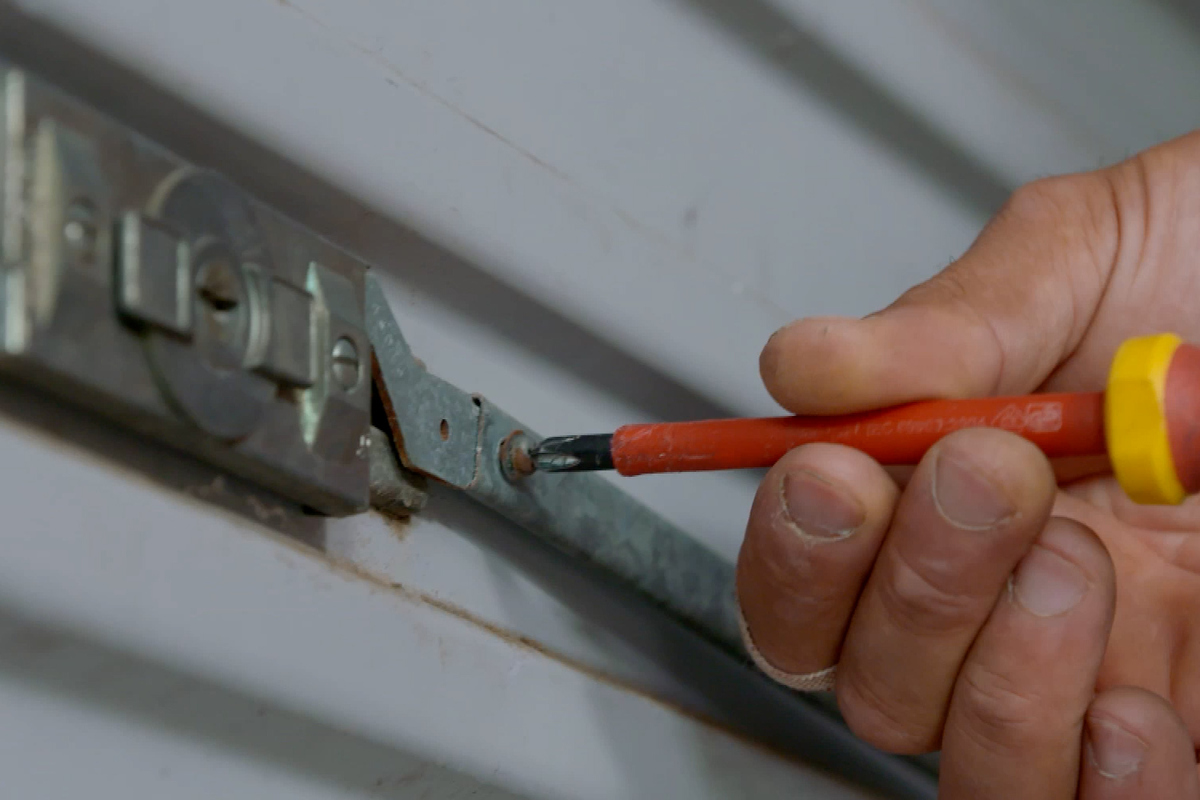
Now that you’ve inspected the tracks and identified any misalignment or damage, it’s time to begin adjusting the garage door tracks. Start by locating the mounting brackets that secure the tracks to the wall.
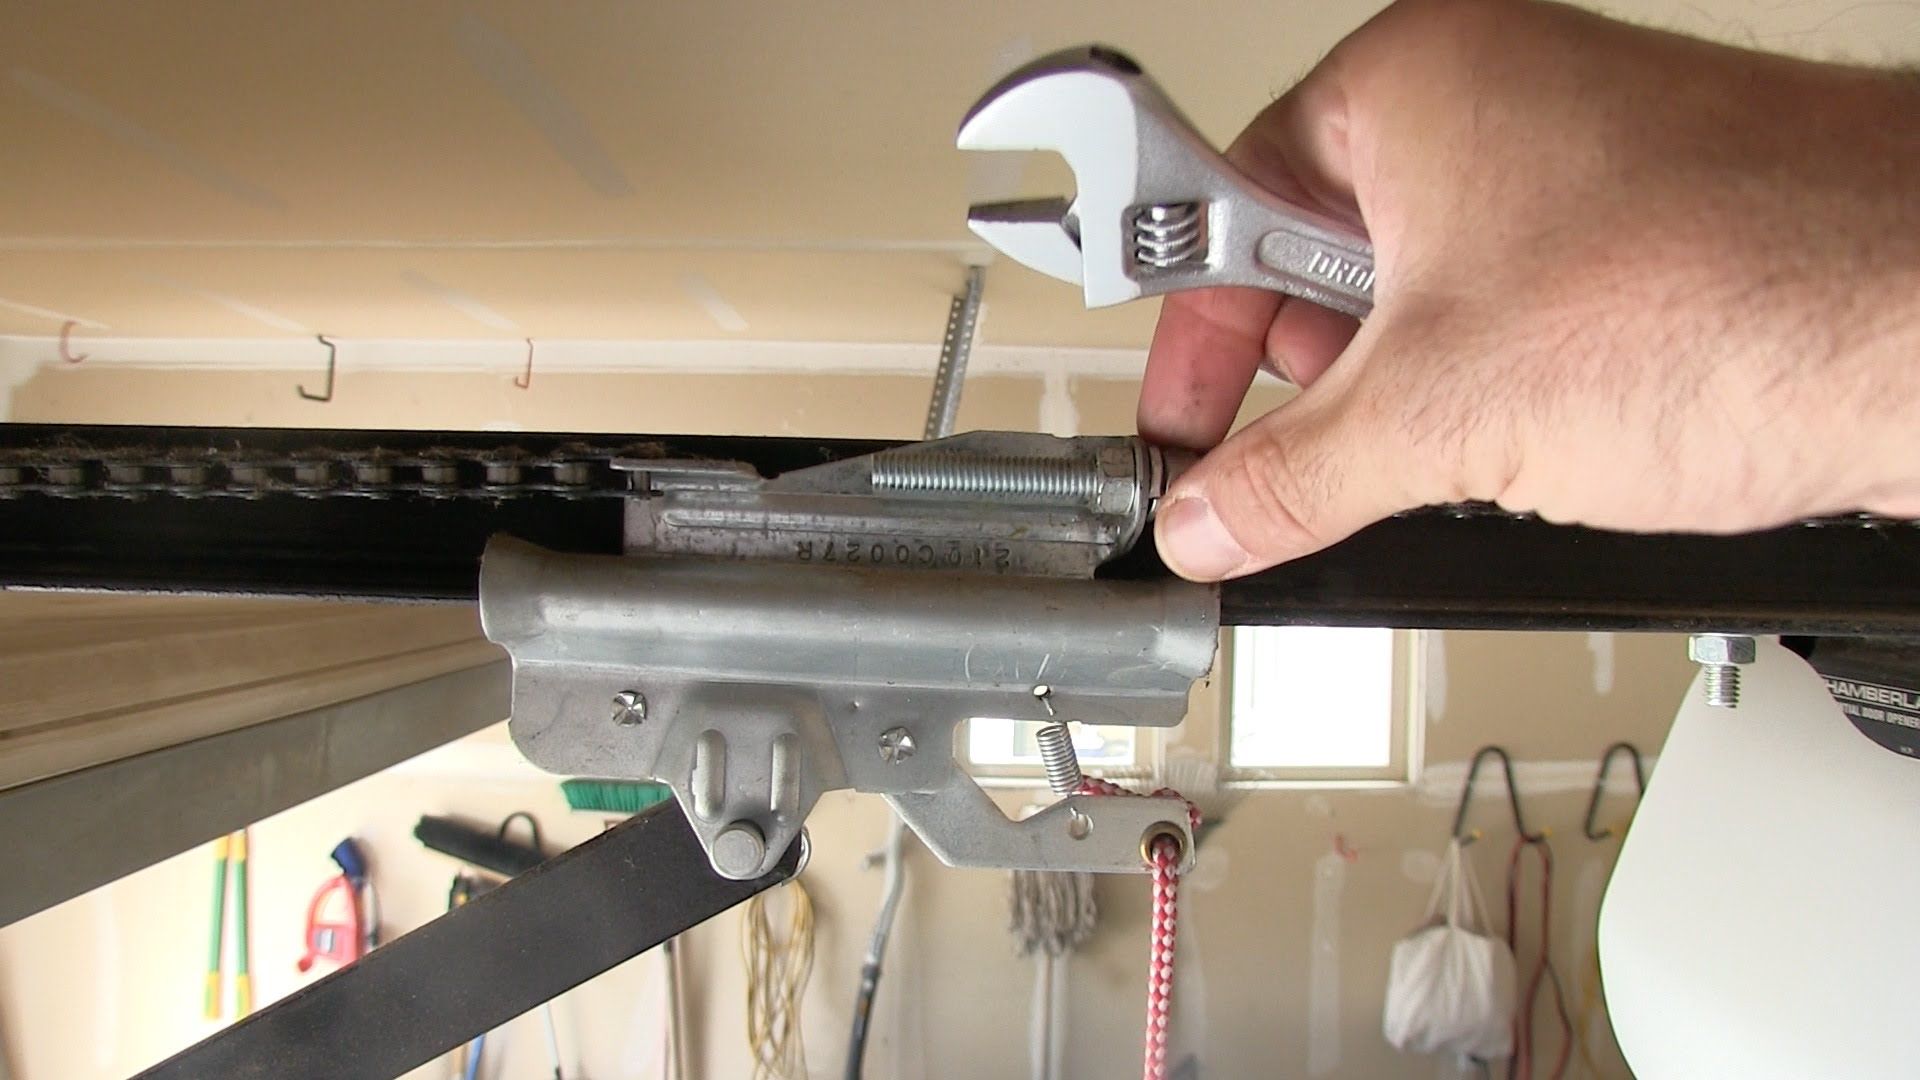
Using an adjustable wrench or a socket set, carefully loosen the bolts or screws that hold the mounting brackets in place. Be sure to only loosen them enough to allow for adjustment, as completely removing the mounting brackets may cause the tracks to fall.
Next, with the mounting brackets loosened, carefully move the tracks to the desired position. If the tracks are misaligned, gently push or pull them to ensure they are parallel and properly aligned with each other. Use a measuring tape to ensure an even distance between the tracks and the door along the entire length.
It’s important to take your time during this step to ensure precise adjustments. Small movements can make a big difference in the overall alignment of the tracks and the smooth operation of the garage door.
If the tracks are damaged and cannot be adjusted properly, it may be necessary to replace them altogether. Consult with a professional to determine the best course of action in such cases.
Once you are satisfied with the position of the tracks, tighten the bolts or screws on the mounting brackets to secure them in place. Make sure they are tightened firmly, but be cautious not to overtighten, as it may cause the tracks to become misaligned.
By loosening the mounting brackets and adjusting the track position, you will be able to ensure proper alignment and a smooth functioning of your garage door.
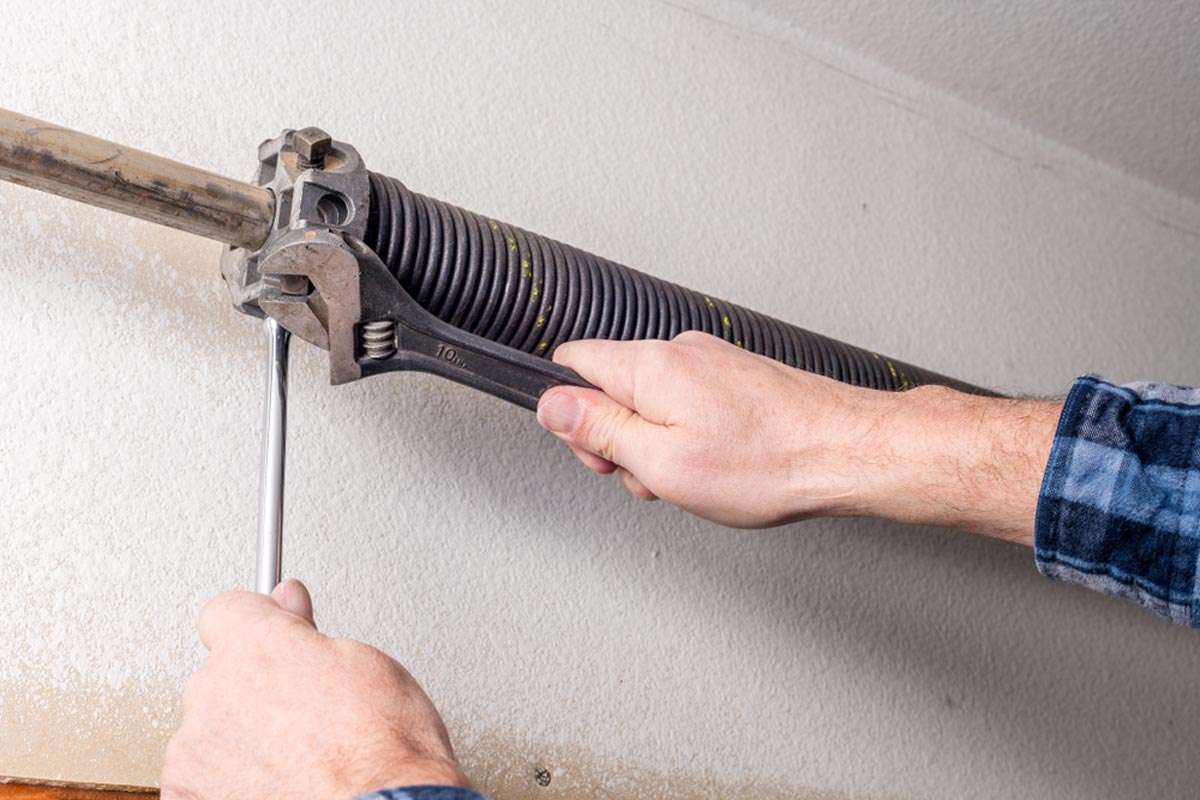
Make sure the tracks are properly aligned and level. Use a level to check and adjust as needed. Tighten any loose bolts and lubricate the tracks for smooth operation.
Step 4: Realign the track using a level
After adjusting the position of the tracks, it’s essential to ensure they are properly aligned. This will help the garage door operate smoothly and prevent any unnecessary strain on the system. To achieve this, you’ll need to use a level.
Start by placing a level vertically against the inside edge of one of the tracks. The level should extend from the bottom to the top of the track. Adjust the track’s position, if necessary, until the bubble in the level is perfectly centered.
Next, move the level horizontally and place it against the inside edge of the other track. Again, adjust the track’s position until the bubble in the level is centered. This will ensure that both tracks are aligned vertically and horizontally.
It’s important to double-check the alignment at multiple points along the tracks, especially near the areas where the rollers and hinges are located. This will help ensure uniform alignment throughout the entire track system.
If you find any areas that are still misaligned, use a rubber mallet or a block of wood to gently tap the tracks into the correct position. Be careful not to use excessive force, as it may cause damage to the tracks or other components.
Continue checking and adjusting the alignment until the tracks are perfectly aligned according to the level. This step is crucial for proper garage door operation and will help prevent any future issues.
Once you are satisfied with the alignment, proceed to the next step to secure the tracks in place.
Read more: How To Install A Garage Door Track
Step 5: Tighten the mounting brackets and secure the track in place
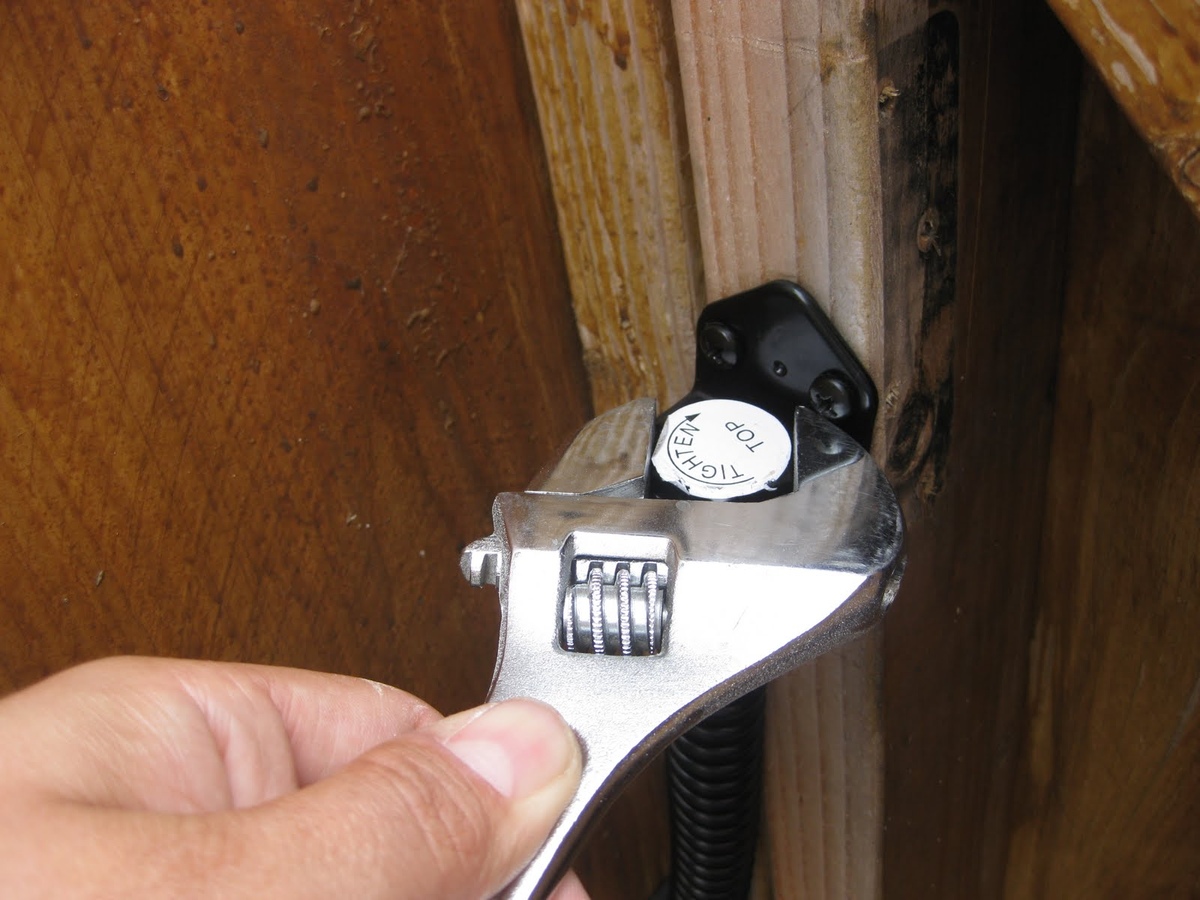
Now that you have adjusted and aligned the tracks, it’s time to secure them in place by tightening the mounting brackets. This will ensure that the tracks remain stable and properly aligned for smooth garage door operation.
Using an adjustable wrench or a socket set, carefully tighten the bolts or screws on the mounting brackets. Start with one bracket at a time, gradually tightening each one until they are snug against the wall.
As you tighten the bolts, pay attention to any movement or shifting of the tracks. If you notice any misalignment occurring during the tightening process, stop immediately and readjust the tracks before proceeding.
It’s important to strike a balance when tightening the mounting brackets. You want them to be secure enough to hold the tracks in place, but be cautious not to overtighten, as it may cause the tracks to become misaligned or damaged.
After tightening all the mounting brackets, give the tracks a gentle shake to ensure they are securely fastened. If there is any noticeable movement or looseness, go back and double-check the tightness of the bolts.
Additionally, take a few moments to inspect the surrounding area and remove any debris or obstructions that may interfere with the smooth operation of the garage door. Clearing the track of dirt, leaves, or other objects will help prevent future issues.
By properly tightening the mounting brackets and securing the tracks in place, you will ensure a stable and aligned track system for your garage door.
Step 6: Test the garage door functionality
After completing the adjustments and securing the tracks in place, it’s essential to test the functionality of your garage door. This will help ensure that the door operates smoothly and without any issues.
With caution, manually open and close the garage door to check for any signs of sticking, rubbing, or resistance. Pay attention to any strange noises or irregular movements as well.
If the door moves smoothly and operates as expected, congratulations! You have successfully adjusted the garage door tracks, and your door should now function properly.
However, if you notice any issues during the test, such as the door getting stuck, making excessive noise, or not closing or opening smoothly, further adjustments may be required.
Refer back to the previous steps and reinspect the tracks, mounting brackets, and alignment. Carefully review your adjustments to see if any fine-tuning or additional tweaks are needed.
Remember, adjusting garage door tracks can sometimes be a trial-and-error process. It may require a few iterations to achieve the optimal alignment and smooth operation.
Once you are satisfied with the functionality of your garage door, close it completely and conduct a final inspection for any signs of misalignment or issues. Address any remaining problems promptly to ensure proper functioning and longevity of your garage door.
By thoroughly testing the garage door functionality, you will have peace of mind knowing that your door is in good working condition and ready for daily use.
Conclusion
Adjusting garage door tracks is a straightforward process that can be done with the right tools and a basic understanding of the steps involved. By carefully following the steps outlined in this guide, you can ensure that your garage door operates smoothly, efficiently, and without any issues.
Remember to start by gathering all the necessary tools and materials, and then thoroughly inspect the tracks for misalignment or damage. If you encounter any issues, it’s important to address them before proceeding with the adjustments.
Loosening the mounting brackets and adjusting the track position is the next step. Take your time to make precise adjustments and ensure that the tracks are parallel and evenly aligned throughout their length.
Using a level, realign the tracks to guarantee proper vertical and horizontal alignment. This step will contribute to the smooth operation of the garage door and prevent unnecessary strain on the system.
Finally, tighten the mounting brackets securely and test the functionality of the garage door. A smooth operation, without any sticking or noises, indicates a successful adjustment.
If further issues arise or you are unsure about any aspect of the adjustment process, it’s always a good idea to seek professional assistance. They can provide expert guidance and ensure that your garage door is in optimal condition.
With proper adjustment and regular maintenance, your garage door will continue to provide convenience, security, and protection for years to come. So, take the time to give your garage door tracks the attention they deserve and enjoy the benefits of a smoothly operating door.
Frequently Asked Questions about How To Adjust Garage Door Tracks
Was this page helpful?
At Storables.com, we guarantee accurate and reliable information. Our content, validated by Expert Board Contributors, is crafted following stringent Editorial Policies. We're committed to providing you with well-researched, expert-backed insights for all your informational needs.


0 thoughts on “How To Adjust Garage Door Tracks”