Home>Articles>How To Get The Hard Water Deposits Off Of A Showerhead
Articles
How To Get The Hard Water Deposits Off Of A Showerhead
Modified: August 28, 2024
Learn effective techniques for removing hard water deposits from your showerhead with these helpful articles.
(Many of the links in this article redirect to a specific reviewed product. Your purchase of these products through affiliate links helps to generate commission for Storables.com, at no extra cost. Learn more)
Introduction
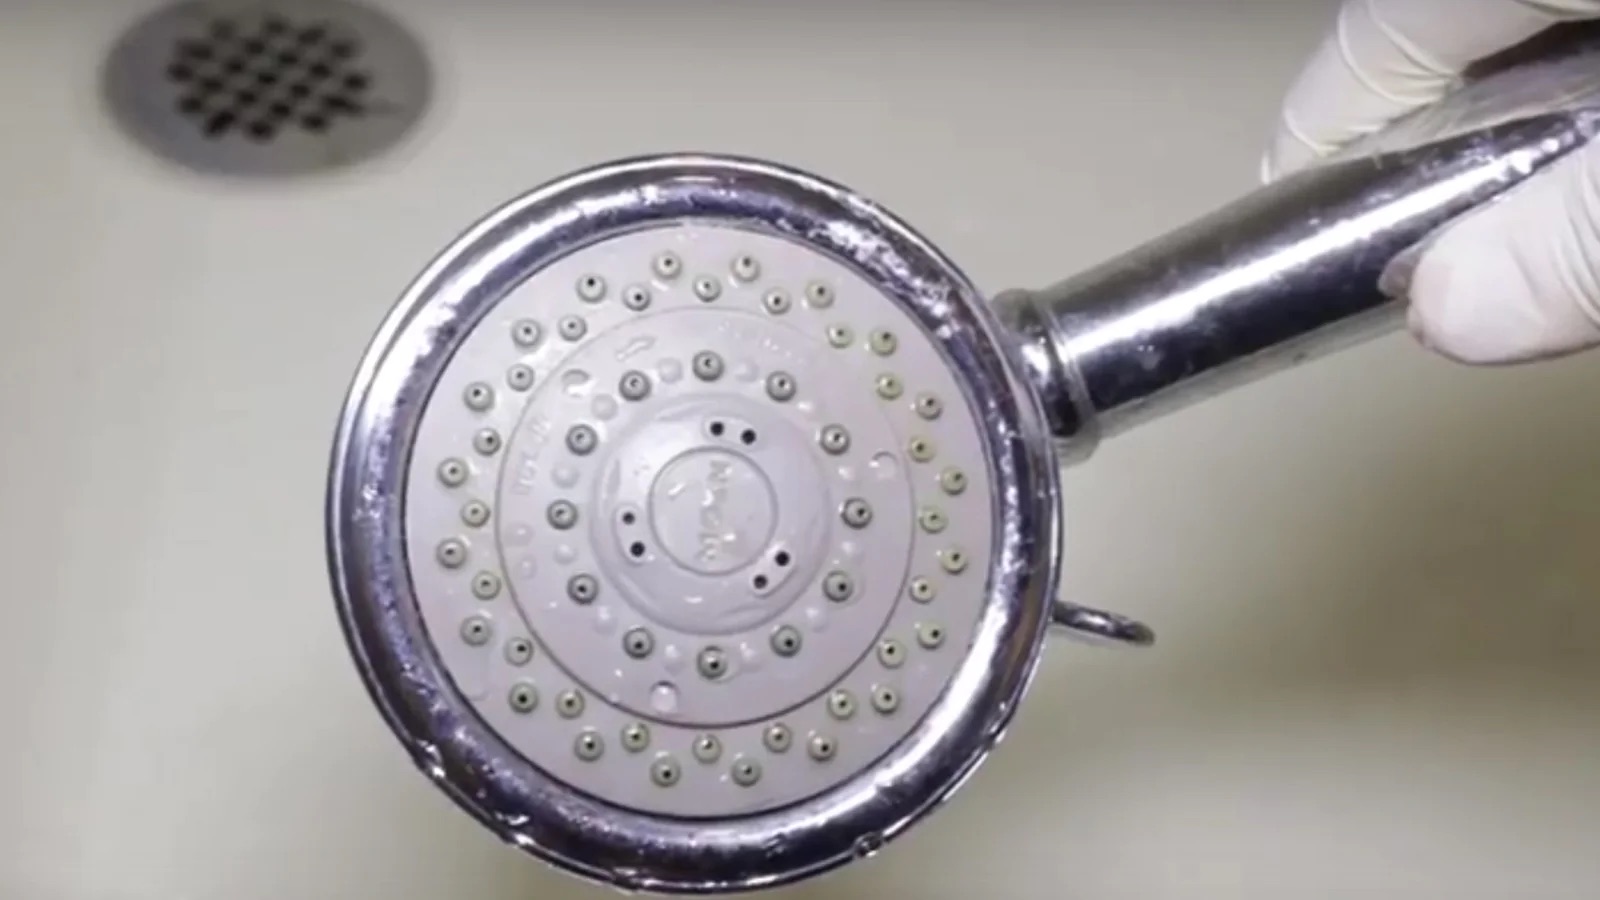
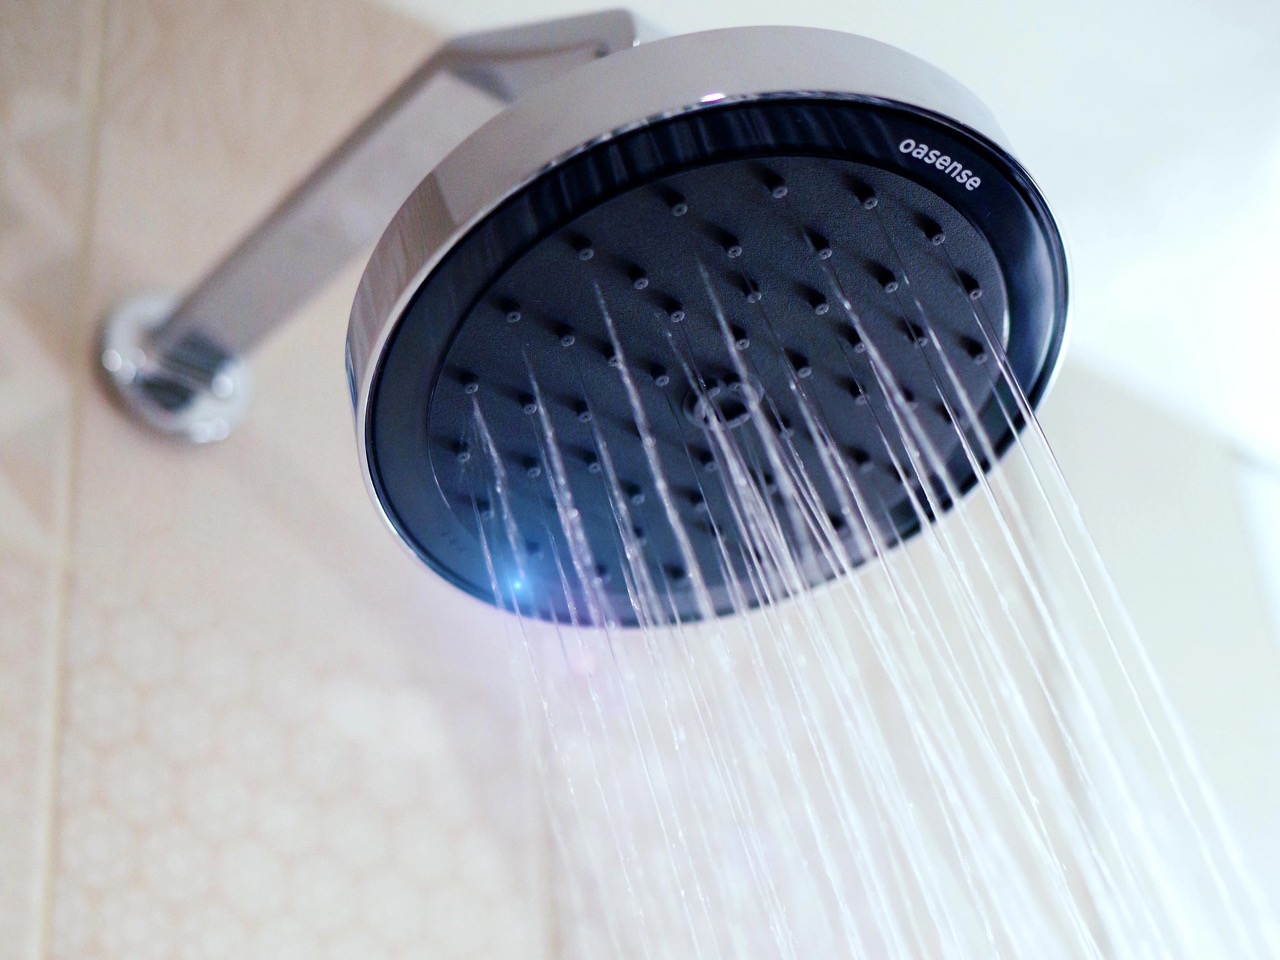
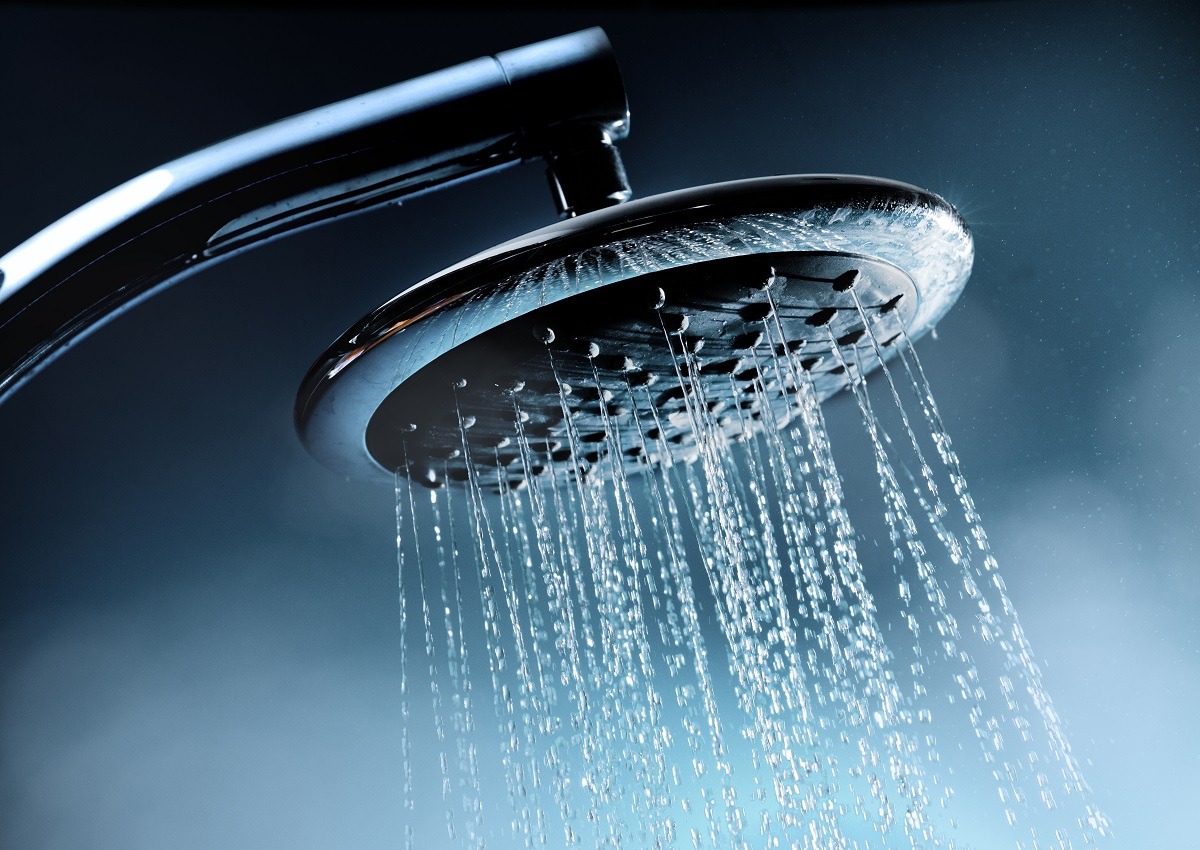
Having a clean and functional showerhead is essential for a refreshing and enjoyable shower experience. However, over time, mineral deposits from hard water can accumulate on the showerhead, causing it to become clogged and less efficient. These unsightly deposits can not only affect the water flow but also reduce the effectiveness of cleaning products and even lead to bacterial growth.
Fortunately, removing hard water deposits from a showerhead is a relatively simple and cost-effective process that can be done at home with just a few tools and some common household ingredients. In this article, we will guide you through the step-by-step process of getting rid of hard water deposits and restoring the functionality of your showerhead.
Before we dive into the details, let’s first understand what hard water deposits are and why they form on showerheads. Hard water contains high levels of minerals, such as calcium and magnesium, which are harmless but can leave behind stubborn residues when the water evaporates. These deposits form as a result of the minerals crystallizing and adhering to the surface of the showerhead. Over time, they can build up and restrict the flow of water, leading to reduced water pressure and an uneven spray pattern.
To tackle this issue, you will need a few basic tools and materials. Here’s a list of items you will need:
- Adjustable wrench
- White vinegar
- Plastic bag or container
- Plastic brush or toothbrush
- Clean cloth or sponge
Now that you have gathered all the necessary tools and materials, let’s move on to the step-by-step process of removing hard water deposits from your showerhead. Remember to turn off the water supply to the shower before starting the cleaning process to avoid any accidental spillage or water damage.
Key Takeaways:
- Say goodbye to clogged showerheads and uneven water flow by easily removing hard water deposits with just a few household items and a simple step-by-step process.
- Keep your showerhead clean and functional by incorporating regular cleaning into your routine, ensuring a consistent and refreshing shower experience for years to come.
Understanding Hard Water Deposits
Before we dive into the cleaning process, it’s important to have a deeper understanding of hard water deposits and why they can be troublesome for your showerhead.
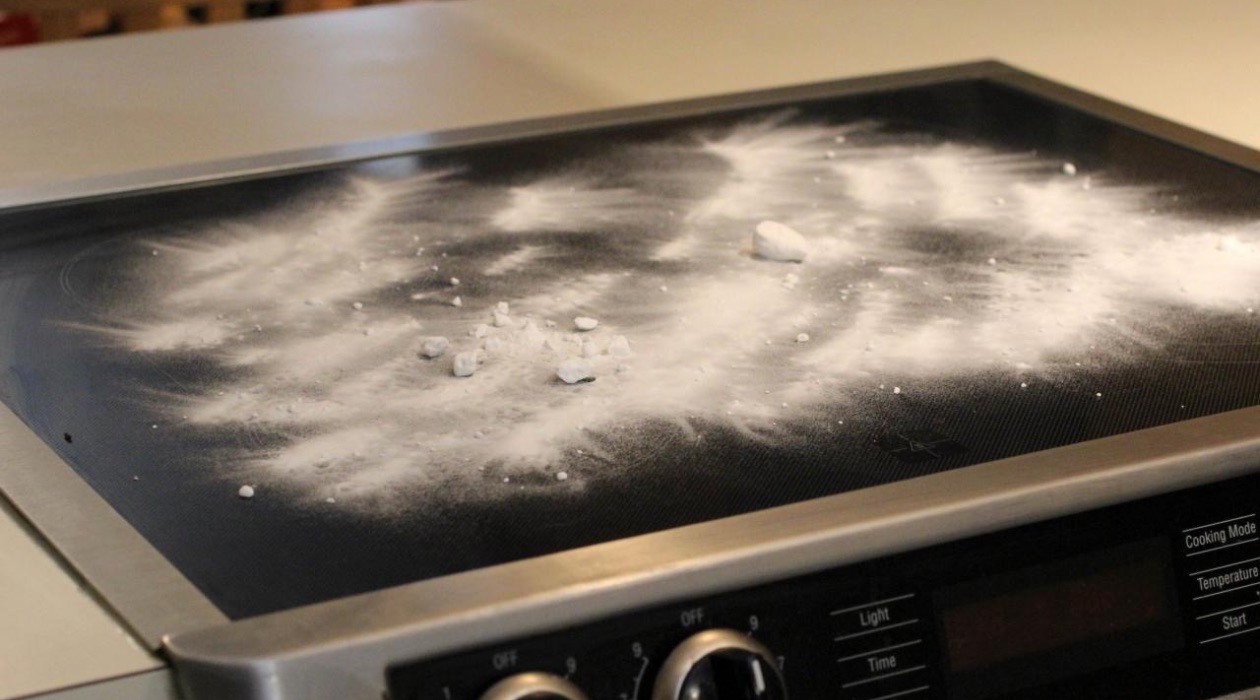
As mentioned earlier, hard water contains high levels of minerals like calcium and magnesium. When the water evaporates, these minerals are left behind and can accumulate on surfaces, including your showerhead. The deposition of these minerals forms hard water deposits, also known as limescale or mineral buildup.
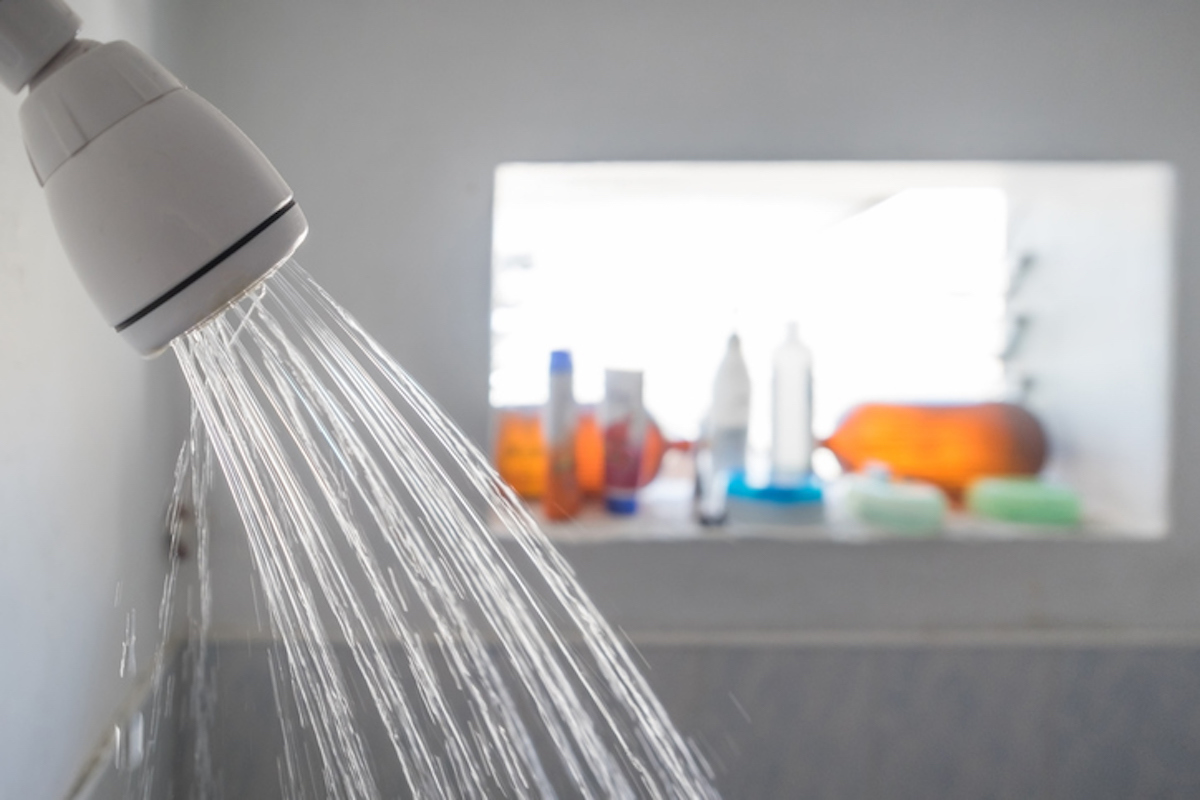
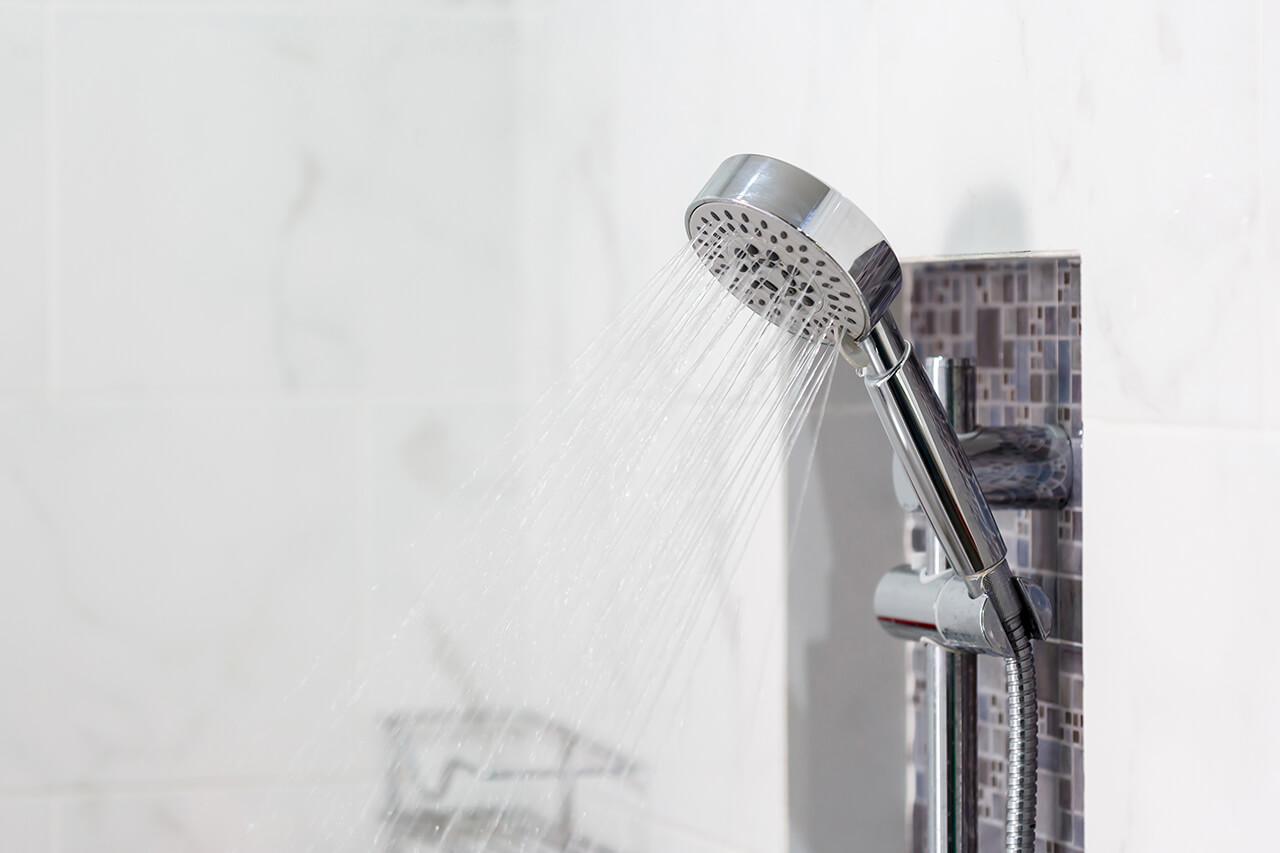
Hard water deposits can cause several issues with your showerhead. Firstly, they can restrict the flow of water by clogging the small openings in the showerhead. This results in reduced water pressure and a less enjoyable shower experience. Additionally, the buildup can disrupt the water flow, leading to an uneven spray pattern and potential water wastage.
Furthermore, hard water deposits can affect the effectiveness of cleaning products. The minerals in the deposits can react with the chemicals in cleaning solutions, rendering them less effective in removing soap scum, dirt, and other residues from the showerhead surface.
Another concern with hard water deposits is the potential for bacterial growth. The surface of the deposits can provide a breeding ground for bacteria, leading to unpleasant odors and potential health risks. Keeping your showerhead clean and free from mineral buildup is essential for maintaining a hygienic bathing environment.
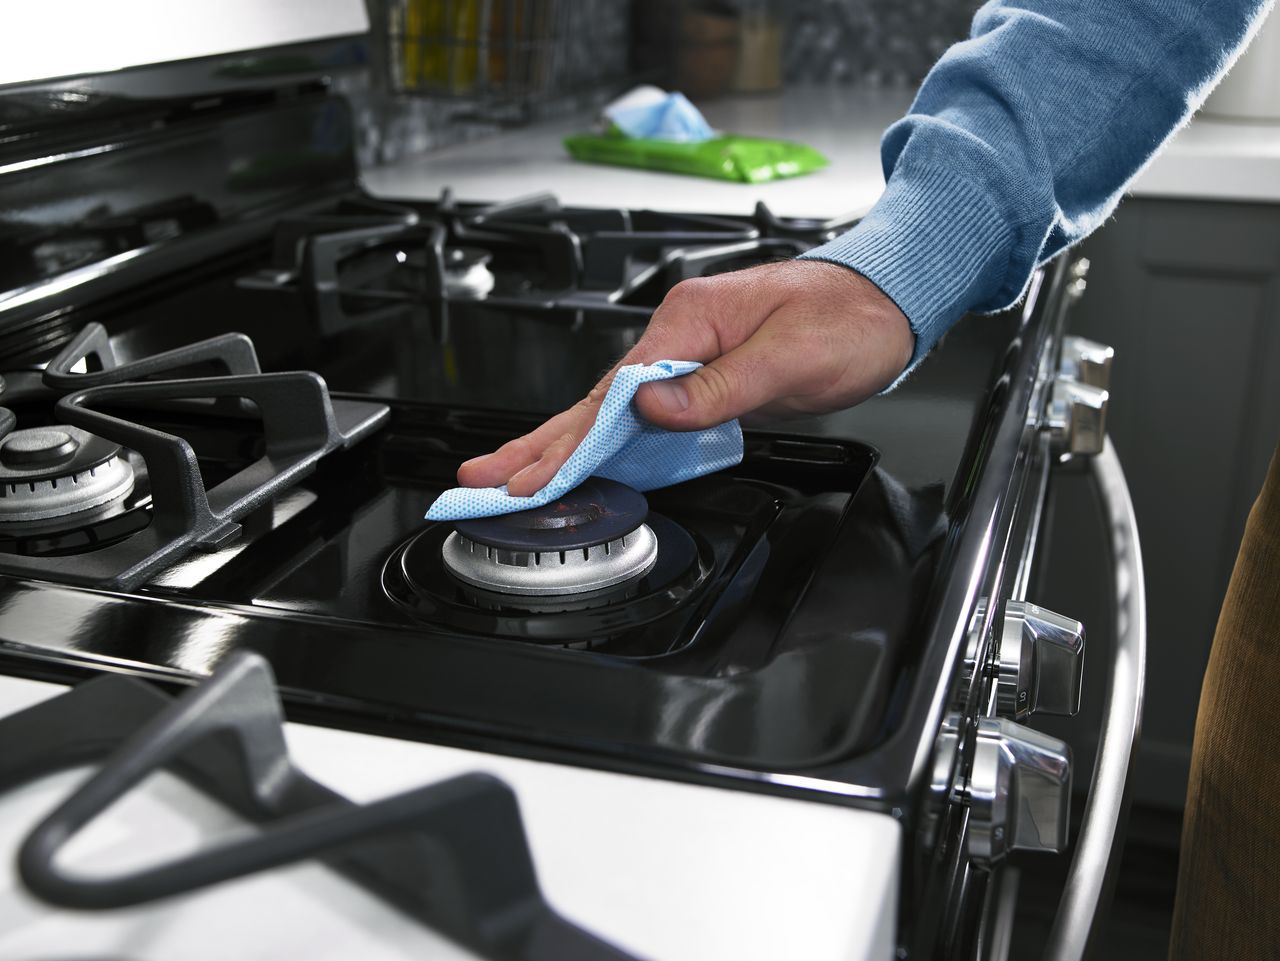
It’s worth noting that hard water deposits are not limited to showerheads alone. They can also affect other bathroom fixtures, such as faucets, taps, and bathtub drains. Regular cleaning and maintenance are necessary to prevent the buildup of deposits and ensure optimal performance of your bathroom fittings.
Now that we have a better understanding of the challenges posed by hard water deposits, let’s move on to the step-by-step process of removing them from your showerhead.
Tools and Materials Needed
Before you begin the process of removing hard water deposits from your showerhead, it’s important to gather all the necessary tools and materials. Here’s a list of items you will need:
- Adjustable wrench: This will be used to loosen and remove the showerhead from the water pipe.
- White vinegar: Vinegar is a powerful natural cleaning agent that helps dissolve the hard water deposits.
- Plastic bag or container: You’ll need something to hold the vinegar solution and soak the showerhead in.
- Plastic brush or toothbrush: A soft-bristled brush or toothbrush will be used to scrub away the loosened deposits from the showerhead.
- Clean cloth or sponge: This will be handy for wiping down the showerhead and removing any remaining residue after cleaning.
These tools and materials are readily available in most households, making the cleaning process convenient and cost-effective. Once you have gathered all the necessary items, you’re ready to begin the cleaning process.
Before proceeding, it’s essential to turn off the water supply to your shower. This will prevent any accidental water leakage or damage while you work on removing the hard water deposits.
Now that you have everything you need, let’s move on to the step-by-step process of getting those pesky deposits off your showerhead and restoring its functionality.
Step 1: Preparation
Before diving into the cleaning process, it’s important to properly prepare the area and ensure you have all the necessary tools and materials at hand. By taking a few minutes to prepare, you can make the cleaning process smoother and more efficient.
Here are the steps to follow for preparation:
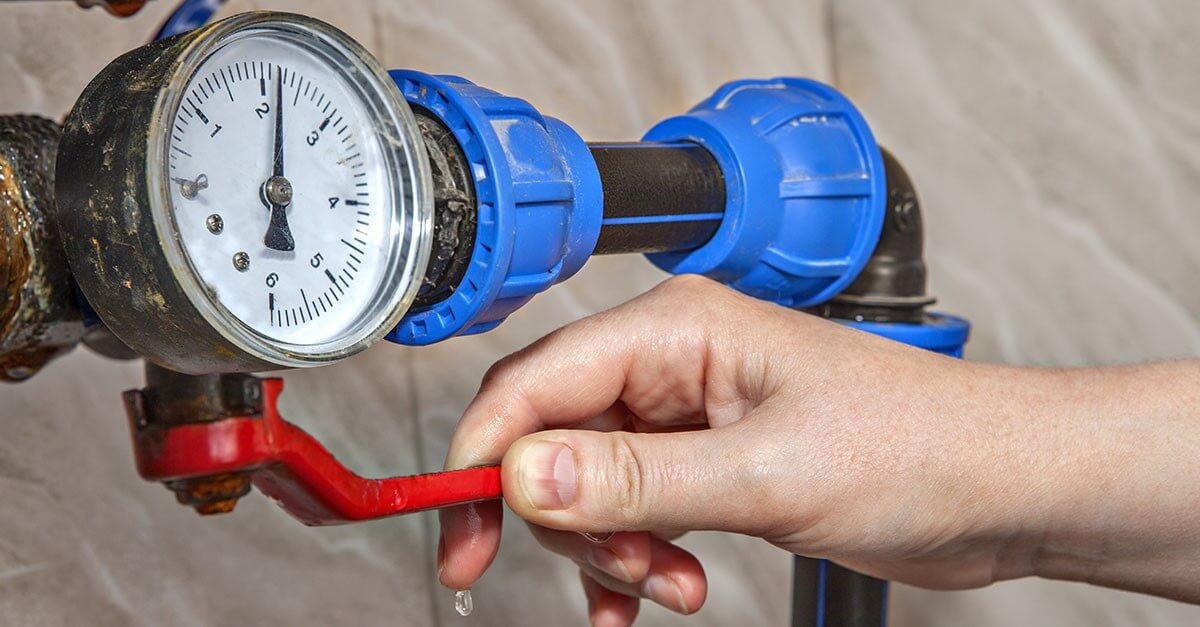
- Turn off the water supply: Before you start cleaning, it’s crucial to turn off the water supply to your shower. This will prevent any accidental water leakage or splashing while you work on removing the hard water deposits.
- Gather your tools and materials: Make sure you have all the required tools and materials listed earlier in the article. Having everything ready and easily accessible will save you time and effort during the cleaning process.
- Protect the surrounding area: Cover the shower floor with a towel or plastic sheet to catch any drips or splatters that may occur during the cleaning process. This will help prevent any damage or staining to the shower area.
Once you have completed the preparation steps, you’re now ready to move on to the next step: removing the showerhead from the water pipe. This will allow for easier cleaning and ensure thorough removal of the hard water deposits.
Keep reading to learn how to safely remove the showerhead and continue with the cleaning process.
Step 2: Removing the Showerhead
Now that you have prepared the area and gathered all the necessary tools and materials, it’s time to remove the showerhead from the water pipe. This step is necessary to ensure thorough cleaning of the showerhead and effective removal of the hard water deposits.
Follow these steps to safely remove the showerhead:
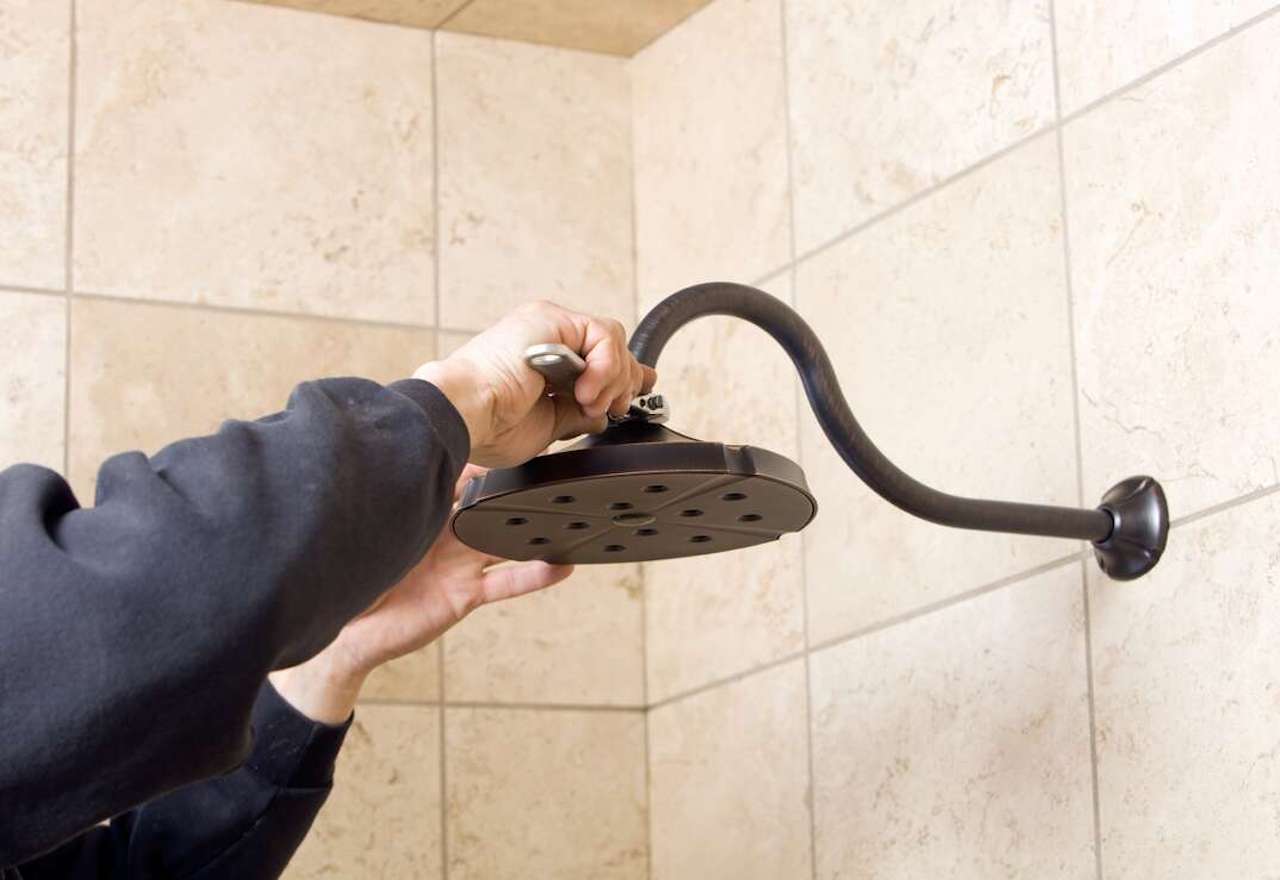
- Locate the showerhead: Depending on the type of showerhead you have, you may find a small nut or collar connecting it to the water pipe. This can usually be found at the shower arm, the part that extends from the wall. It is often hexagonal or round in shape.
- Protect the finish: To prevent the showerhead or plumbing fittings from getting scratched or damaged during the removal process, use a cloth or towel to wrap the adjustable wrench or pliers before applying any force.
- Loosen the connection: Using the adjustable wrench, grip the nut or collar connecting the showerhead to the water pipe. Turn it counterclockwise to loosen it. Apply gentle but firm pressure to avoid stripping or damaging the threads.
- Unscrew the showerhead: Once the nut or collar is loose, continue turning it by hand until you can unscrew the showerhead completely. Be careful not to drop any small parts as you remove it.
- Inspect the connection: While the showerhead is removed, take a moment to inspect the connection for any signs of damage, such as worn threads or cracks. If you notice any issues, it may be necessary to replace the showerhead or seek professional assistance.
Now that you have successfully removed the showerhead, you’re ready to move on to the next step: soaking it in a vinegar solution to dissolve the hard water deposits. Continue reading to learn how to effectively clean the showerhead and restore its functionality.
Soak the showerhead in a mixture of equal parts water and white vinegar for at least 30 minutes. Then scrub the deposits off with a brush or toothbrush.
Read more: How To Get Hard Water Stains Off Bathtub
Step 3: Soaking in Vinegar Solution
Now that you have removed the showerhead, it’s time to tackle those stubborn hard water deposits. One effective way to dissolve and remove these deposits is by soaking the showerhead in a vinegar solution.
Here’s how you can do this:
- Prepare the vinegar solution: Fill a plastic bag or container with white vinegar. You’ll need enough vinegar to fully submerge the showerhead. The acidity of the vinegar helps to break down and dissolve the mineral deposits.
- Place the showerhead in the vinegar solution: Immerse the showerhead in the vinegar solution, ensuring that it is fully submerged. If the showerhead has a large face or multiple spray nozzles, you can use a twist tie or rubber band to secure the bag of vinegar to the showerhead. This will allow the solution to remain in contact with the deposits.
- Allow it to soak: Leave the showerhead to soak in the vinegar solution for at least 1-2 hours, or even overnight for heavily clogged showerheads. The vinegar will work its magic to dissolve the hard water deposits.
While the showerhead is soaking, you can take a break and attend to other tasks. The acidity of the vinegar will help to break down the mineral deposits and make them easier to remove in the next steps.
Once the soaking time is up, it’s time to move on to the next step: scrubbing the showerhead to remove the loosened deposits. Keep reading to learn how to effectively clean the showerhead and restore its functionality.
Step 4: Scrubbing the Showerhead
After soaking the showerhead in the vinegar solution to dissolve the hard water deposits, it’s time to scrub away the loosened residues and restore its cleanliness and functionality.
Follow these steps to effectively scrub the showerhead:
- Remove the showerhead from the vinegar solution: Carefully take the showerhead out of the vinegar solution, making sure to drain any excess vinegar. Set the bag or container aside for disposal later.
- Rinse the showerhead: Thoroughly rinse the showerhead under running water to remove any residual vinegar and loosened deposits. Use your fingers to scrub away any visible residue.
- Inspect the showerhead: With the showerhead now free from the vinegar solution, take the opportunity to inspect it for any remaining deposits. If you notice any stubborn spots, proceed to the next step.
- Scrub with a plastic brush or toothbrush: Using a plastic brush or toothbrush, gently scrub the showerhead to remove any remaining mineral deposits. Pay special attention to the small openings and spray nozzles. If necessary, dip the brush or toothbrush in vinegar or soapy water for added cleaning power.
- Rinse again: Thoroughly rinse the showerhead under running water to remove any loosened debris. Ensure that all the deposits and cleaning residue have been completely washed away.
By scrubbing the showerhead, you will remove any remaining hard water deposits and ensure optimal water flow. The vinegar solution softens and loosens the deposits, making them easier to scrub away.
After completing the scrubbing step, it’s time to move on to the final step: rinsing the showerhead and reattaching it to the water pipe. Keep reading to learn how to complete the cleaning process and enjoy a revitalized shower experience.
Step 5: Rinse and Reattach the Showerhead
After successfully scrubbing the showerhead to remove the hard water deposits, it’s time to rinse it thoroughly and reattach it to the water pipe. This final step will ensure that any remaining residue is washed away and that the showerhead is properly secured for optimal functionality.
Here’s how you can complete the process:
- Rinse the showerhead: Once you’ve finished scrubbing the showerhead, thoroughly rinse it under running water to remove any remaining debris or cleaning residue. This step is important to ensure that your shower remains free from any lingering substances.
- Inspect the showerhead again: Take a moment to inspect the cleaned showerhead for any overlooked deposits or residue. If you spot any stubborn spots, repeat the scrubbing process for those areas until the showerhead is completely clean.
- Reattach the showerhead: Carefully screw the showerhead back onto the water pipe, using your hands to tighten it securely. Be careful not to overtighten and damage the threads or plumbing fittings.
- Turn on the water supply: Once the showerhead is securely reattached, turn on the water supply and run water through the showerhead for a few minutes. This will help flush out any remaining debris or vinegar solution, ensuring a clean and clear water flow.
- Check for leaks: Monitor the area around the showerhead connection to ensure there are no leaks after turning on the water supply. If you notice any leaks, use an adjustable wrench or pliers to tighten the connection slightly until the leak stops.
Congratulations! You have successfully cleaned and reattached your showerhead, removing the hard water deposits and restoring its functionality. It’s now time to enjoy a revitalizing and efficient shower experience.
For optimal performance, it’s recommended to clean your showerhead regularly to prevent the buildup of hard water deposits. This will ensure a consistent water flow and maintain the cleanliness of your shower.
By following these steps, you can keep your showerhead in excellent condition and enjoy a refreshing shower every time.
Additional Tips and Precautions
While the step-by-step process outlined above should effectively remove hard water deposits from your showerhead, there are some additional tips and precautions to keep in mind for a successful cleaning experience:
- Wear protective gloves: When handling vinegar or any cleaning solutions, it’s a good idea to wear protective gloves to prevent skin irritation or dryness.
- Use a plastic brush or toothbrush: To avoid scratching the surface of the showerhead, it’s important to use a plastic brush or toothbrush with soft bristles for scrubbing.
- Test the vinegar solution: If you have a showerhead with a special finish or coating, test the vinegar solution on a small, discreet area first to ensure it doesn’t cause any damage or discoloration.
- Consider a descaling agent: In cases where the hard water deposits are severe or stubborn, you may need to use a commercial descaling agent specifically formulated for showerheads. Follow the manufacturer’s instructions for best results.
- Clean the showerhead regularly: To prevent future buildup, make it a habit to clean your showerhead at least once every few months or as needed. Regular cleaning will help maintain its performance and prolong its lifespan.
- Inspect the water pipe: While the showerhead is removed, take a moment to inspect the water pipe for any signs of damage or blockages. If you notice any issues, it’s advisable to contact a professional plumber for assistance.
Following these additional tips and precautions will ensure that you clean your showerhead effectively and safely, while minimizing the risk of damage or complications.
By maintaining a clean and functioning showerhead, you can enjoy a refreshing and satisfying shower experience every time. Now that you have the knowledge and tools to remove hard water deposits, it’s time to put them into action and enjoy the benefits of a revitalized showerhead.
Remember, a clean showerhead is not only aesthetically pleasing but also essential for maintaining optimal water flow and hygiene. Happy cleaning!
Read more: How To Clean Hard Water Off Glass
Conclusion
Cleaning hard water deposits off of your showerhead is an important maintenance task that will keep your bathroom fixtures functioning effectively and maintain the quality of your showers. By following the step-by-step process outlined in this article, you can easily remove these stubborn deposits and enjoy a revitalized shower experience.
Understanding the nature of hard water deposits and the challenges they pose to your showerhead is the first step in effectively addressing the issue. Armed with this knowledge, you can gather the necessary tools and materials, such as an adjustable wrench, white vinegar, a plastic bag or container, a plastic brush or toothbrush, and a clean cloth or sponge.
The step-by-step process involves preparation, removing the showerhead, soaking it in a vinegar solution, scrubbing away the loosened deposits, and rinsing and reattaching the showerhead to the water pipe. Additionally, we provided additional tips and precautions to ensure a successful cleaning experience.
Regularly cleaning your showerhead will prevent the buildup of hard water deposits and maintain optimal water flow. By incorporating this task into your regular cleaning routine, you can enjoy a consistent and refreshing shower experience for years to come.
Remember to take precautions, such as wearing protective gloves and using a plastic brush or toothbrush, to avoid any damage during the cleaning process. It’s also important to follow any specific instructions provided by the manufacturer or consider using a descaling agent for severe or stubborn deposits.
With the knowledge and tools at your disposal, maintaining a clean and functional showerhead is easily achievable. Say goodbye to clogged showerheads and uneven water flow, and say hello to invigorating showers that leave you feeling refreshed and rejuvenated.
Now that you have the know-how, it’s time to put it into practice and give your showerhead the cleaning it deserves. Enjoy the benefits of a clean showerhead and make your bathing experience a truly enjoyable one.
Frequently Asked Questions about How To Get The Hard Water Deposits Off Of A Showerhead
Was this page helpful?
At Storables.com, we guarantee accurate and reliable information. Our content, validated by Expert Board Contributors, is crafted following stringent Editorial Policies. We're committed to providing you with well-researched, expert-backed insights for all your informational needs.


0 thoughts on “How To Get The Hard Water Deposits Off Of A Showerhead”