Home>Furniture & Design>Outdoor Furniture>How To Make An Outdoor Bathtub
Outdoor Furniture
How To Make An Outdoor Bathtub
Modified: August 28, 2024
Learn how to create a relaxing outdoor bathtub with our expert tips and ideas for outdoor furniture and design. Transform your outdoor space into a luxurious retreat.
(Many of the links in this article redirect to a specific reviewed product. Your purchase of these products through affiliate links helps to generate commission for Storables.com, at no extra cost. Learn more)
Introduction
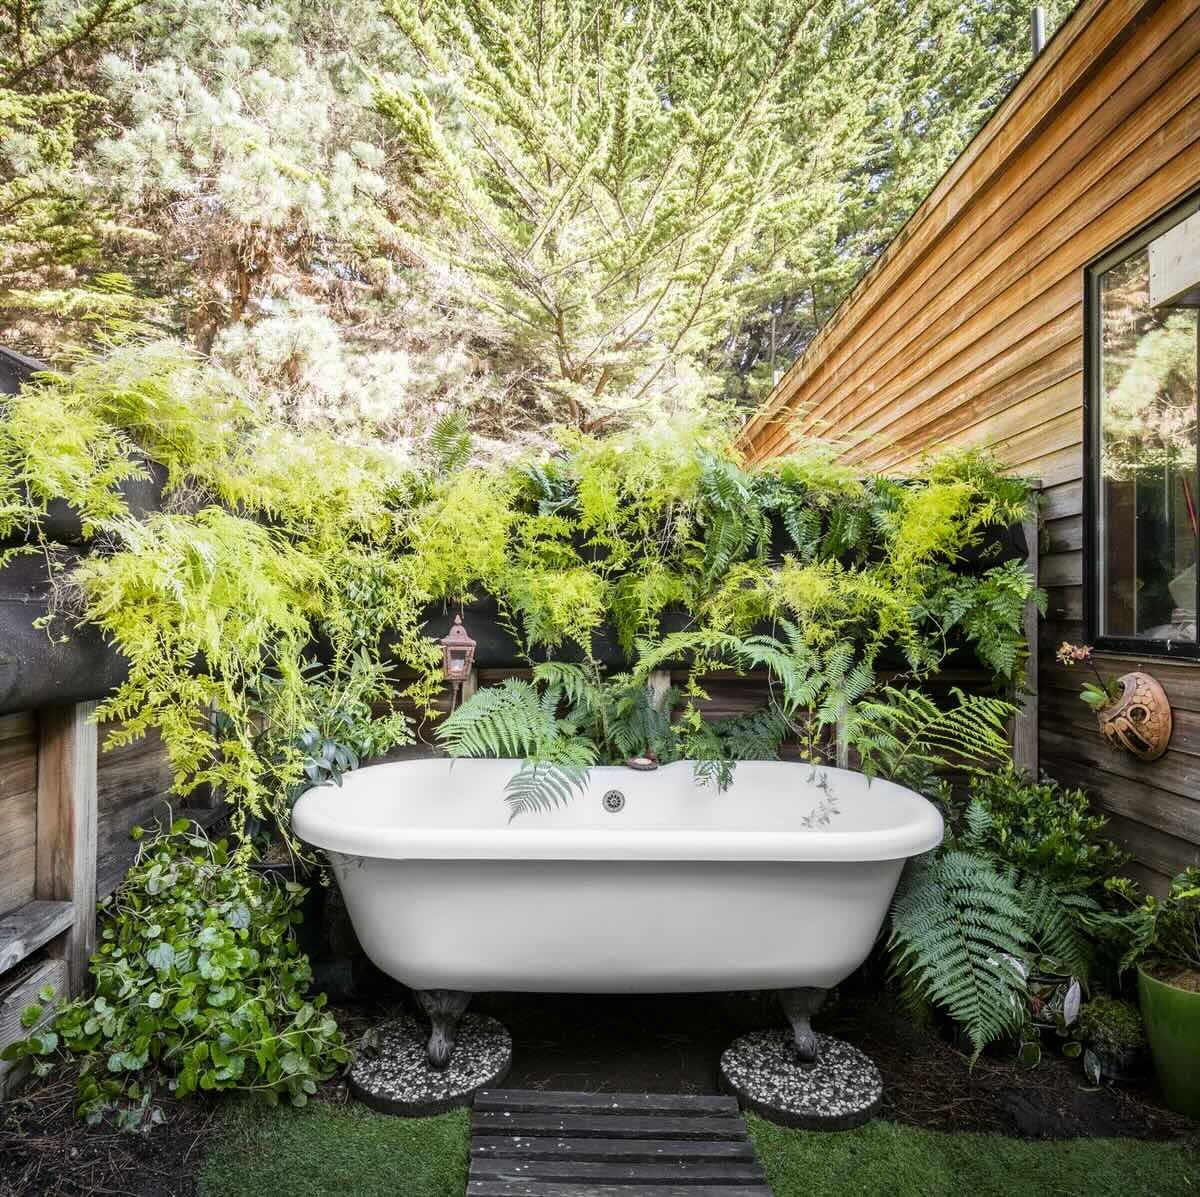
Are you dreaming of a luxurious outdoor retreat where you can unwind and rejuvenate in the soothing embrace of nature? Imagine soaking in a warm, fragrant bath under the open sky, surrounded by the serene beauty of your backyard. Creating an outdoor bathtub can transform your outdoor space into a tranquil oasis, offering a unique and indulgent experience.
In this comprehensive guide, we will explore the step-by-step process of creating your own outdoor bathtub. Whether you seek a rustic, nature-inspired design or a sleek, modern aesthetic, this project allows for endless customization to suit your personal style and preferences. From selecting the ideal location to adding the finishing touches, you will learn how to bring your vision to life with practical tips and creative inspiration.
Embarking on this endeavor not only elevates your outdoor living space but also provides an opportunity to craft a stunning focal point that seamlessly integrates with the natural environment. As we delve into the details, you will discover that with the right materials, tools, and a dash of creativity, constructing an outdoor bathtub is an achievable and immensely rewarding project.
Join us on this journey as we delve into the art of creating an outdoor bathtub, where innovation meets relaxation, and nature becomes an integral part of your self-care routine. Let's begin this adventure of transforming your outdoor space into a haven of tranquility and luxury.
Key Takeaways:
- Create your own outdoor bathtub oasis by following these steps to transform your space into a luxurious retreat that seamlessly blends comfort, style, and natural beauty.
- From selecting the ideal location to adding personalized finishing touches, every aspect of this project contributes to the creation of a captivating and rejuvenating outdoor sanctuary.
Read more: How To Make A Bathtub Caddy
Materials and Tools
Before embarking on the construction of your outdoor bathtub, it’s essential to gather the necessary materials and tools. Ensuring that you have everything at your disposal will streamline the building process and contribute to a successful outcome. Here’s a comprehensive list to guide you through this stage:
Materials:
- Wood or composite decking boards for the bathtub base
- Waterproof sealant or marine-grade varnish
- Galvanized steel or copper tub for a rustic look, or a modern acrylic tub for a sleek finish
- Stainless steel screws and nails
- Gravel or sand for leveling the base
- Plumbing pipes and fittings
- Waterproof membrane to protect the bathtub base
- Decorative stones or tiles for the surrounding area
- Plants or greenery to enhance the natural ambiance
- Outdoor-friendly lighting for evening use
Tools:
- Measuring tape and level
- Saw for cutting the decking boards to size
- Drill and drill bits
- Adjustable wrench for plumbing installation
- Paintbrushes for applying sealant or varnish
- Shovel for preparing the base area
- Trowel for spreading gravel or sand
- Rubber mallet for securing the tub in place
- Utility knife for cutting the waterproof membrane
By ensuring that you have all the required materials and tools on hand, you can proceed with confidence and efficiency, bringing you one step closer to enjoying your own outdoor bathtub oasis.
Choosing the Location
When selecting the perfect spot for your outdoor bathtub, consider factors such as privacy, accessibility, and aesthetic appeal. The location should offer a harmonious blend of convenience and natural beauty, enhancing the overall experience of indulging in an outdoor bath. Here are some key considerations to guide your decision:
Read more: How To Make Bathtub Not Slippery
Privacy:
Choose an area that provides a sense of seclusion, shielding the bathtub from direct view. This could be a secluded corner of your garden, a shaded alcove, or a strategically positioned pergola or trellis. Privacy can significantly enhance the relaxation and comfort of your outdoor bathing experience.
Accessibility to Water Source:
Ensure that the chosen location is within reasonable proximity to a water source for filling the bathtub. This could be a nearby outdoor faucet or a dedicated plumbing line. Easy access to water simplifies the filling process and contributes to the overall functionality of the outdoor bathtub.
Natural Surroundings:
Embrace the natural elements of your outdoor space when choosing the location. Consider views of lush foliage, a serene pond, or a captivating landscape feature. Integrating the bathtub into the natural surroundings enhances the ambiance and creates a truly immersive experience.
Drainage:
Select a location where drainage can be effectively managed. This is essential for emptying the bathtub after use and preventing water accumulation in the surrounding area. Ensuring proper drainage safeguards the longevity of the outdoor bathtub and maintains the integrity of the outdoor space.
Read more: How To Make Bubbles In Bathtub
Structural Support:
Evaluate the ground and ensure that it can support the weight of the bathtub, especially when filled with water and occupied. If placing the bathtub on a deck or platform, verify that the structure is sturdy and level to prevent any instability or safety concerns.
By carefully considering these aspects, you can identify the ideal location for your outdoor bathtub, setting the stage for a captivating and rejuvenating addition to your outdoor living space.
Building the Bathtub Base
Constructing a stable and durable base for your outdoor bathtub is crucial for its long-term functionality and aesthetic appeal. The bathtub base serves as the foundation for the tub and provides essential support. Here’s a step-by-step guide to building the bathtub base:
1. Site Preparation:
Begin by clearing and leveling the chosen area for the bathtub base. Remove any debris, rocks, or vegetation, and ensure that the ground is even and compact. This step is essential for creating a stable foundation.
2. Positioning the Base Frame:
Use wood or composite decking boards to construct a frame that outlines the shape and dimensions of the bathtub base. Secure the boards together using stainless steel screws, creating a sturdy and level structure to support the bathtub.
Read more: How To Make A Bathtub Tray
3. Waterproofing the Base:
Apply a waterproof sealant or marine-grade varnish to the interior and exterior surfaces of the base frame. This protective coating guards against moisture damage and prolongs the lifespan of the base, especially when exposed to outdoor elements.
4. Adding Support and Stability:
Reinforce the base frame with additional cross beams or supports to distribute the weight of the bathtub evenly. This step is crucial for preventing sagging or warping over time, ensuring that the base remains structurally sound.
5. Installing a Waterproof Membrane:
Lay a waterproof membrane over the prepared base, extending it to cover the interior walls of the frame. The membrane acts as a barrier, safeguarding the base against water penetration and protecting the surrounding area from moisture.
6. Leveling and Finishing Touches:
Use a level to ensure that the base is perfectly even and balanced. This step is essential for the proper installation of the bathtub and contributes to its overall stability. Once leveled, add a final coat of waterproof sealant to the base for added protection.
By meticulously following these steps, you can create a robust and resilient base for your outdoor bathtub, laying the groundwork for a stunning and enduring addition to your outdoor sanctuary.
Read more: How To Make A Bathtub Taller
Installing the Bathtub
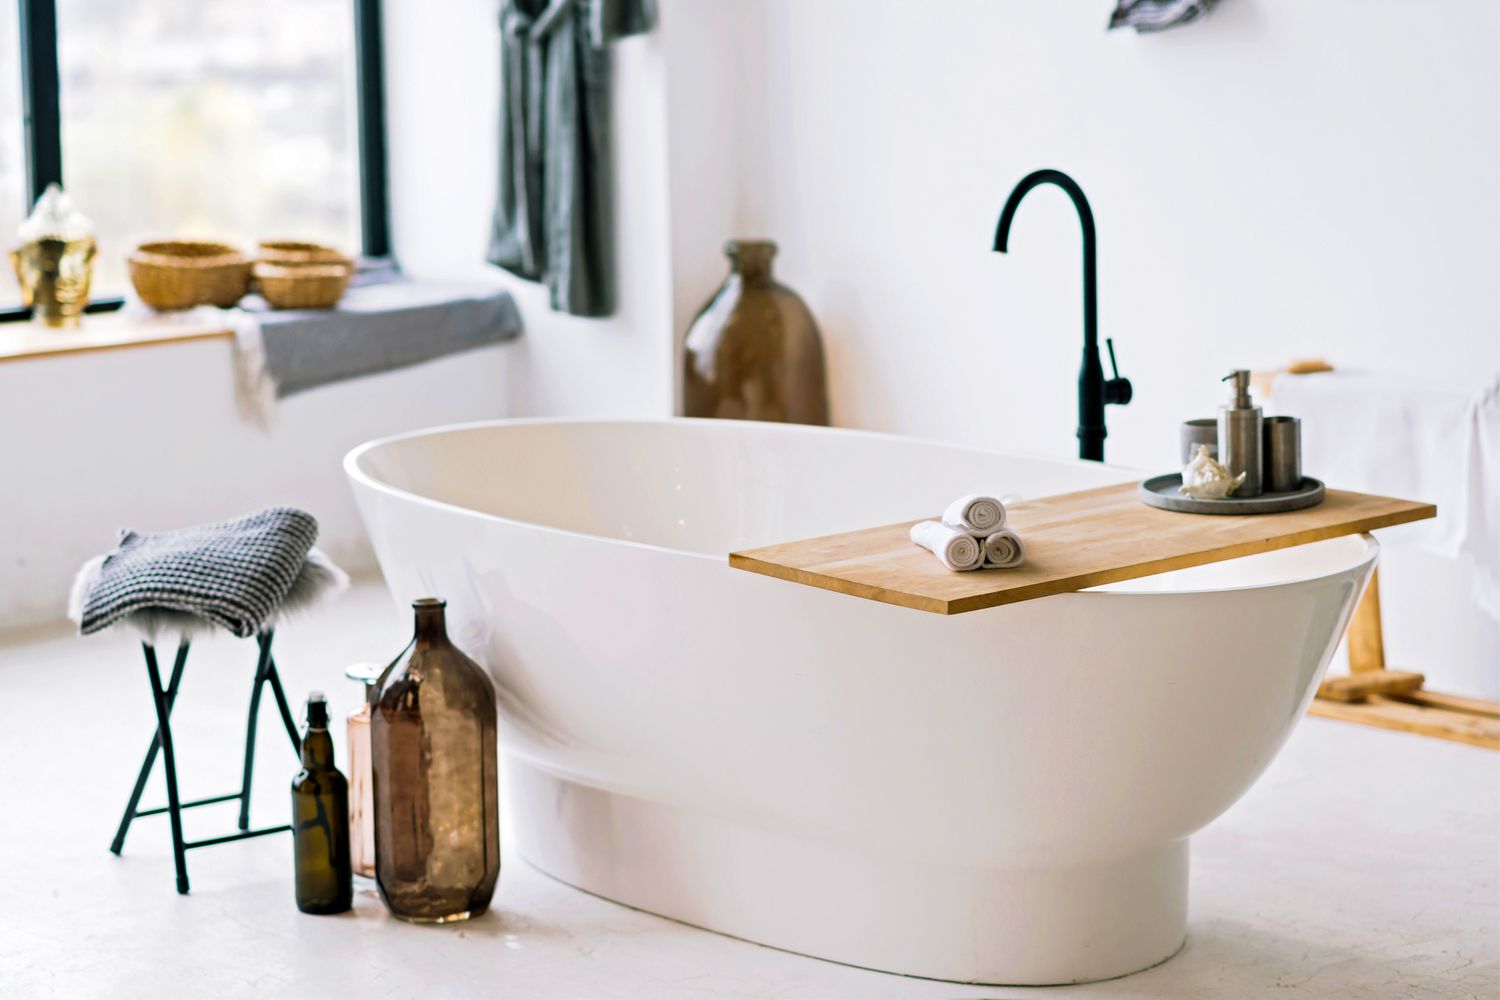
With the bathtub base meticulously constructed, it’s time to proceed with the installation of the bathtub itself. Whether you’ve opted for a rustic metal tub or a modern acrylic design, the installation process requires careful attention to detail to ensure a secure and visually appealing result. Here’s a comprehensive guide to installing the bathtub:
1. Positioning the Tub:
Carefully place the bathtub onto the prepared base, ensuring that it rests securely and evenly. If the bathtub is heavy or cumbersome, consider enlisting the assistance of others to safely maneuver and position it in place.
2. Securing the Tub:
Once the tub is in position, use shims or rubber pads to stabilize and level it as needed. This step is crucial for preventing any wobbling or unevenness, providing a solid foundation for the bathtub.
3. Attaching the Tub to the Base:
Secure the bathtub to the base frame using stainless steel screws or fasteners, anchoring it firmly in place. This step ensures that the tub remains stable and stationary, withstanding the weight of water and occupants.
Read more: How To Make A Portable Bathtub
4. Sealing the Edges:
Apply a waterproof sealant or caulk around the edges of the bathtub where it meets the base. This additional sealant provides extra protection against water intrusion and reinforces the integrity of the installation.
5. Verifying Stability:
Test the stability of the installed bathtub by gently applying pressure to different areas. Ensure that it remains firmly anchored and level, making any necessary adjustments to guarantee its solidity.
6. Final Inspections:
Conduct a thorough visual inspection of the installed bathtub, checking for any signs of instability or gaps. Address any issues promptly, and confirm that the installation meets your expectations in terms of appearance and functionality.
By meticulously following these steps, you can successfully install the bathtub, bringing you one step closer to enjoying the luxurious experience of an outdoor soak in your meticulously crafted oasis.
Adding Plumbing
Integrating plumbing into your outdoor bathtub allows for a convenient and efficient water supply, enhancing the functionality and comfort of the bathing experience. Whether you opt for a simple setup or a more elaborate system, careful planning and execution are essential for a seamless plumbing installation. Here’s a detailed guide to adding plumbing to your outdoor bathtub:
Read more: How To Make A Bathtub Into A Jacuzzi
1. Water Source Connection:
Begin by connecting the outdoor bathtub to a water source, such as an existing outdoor faucet or a dedicated plumbing line. Use durable, weather-resistant hoses or pipes to establish the connection, ensuring a secure and reliable water supply.
2. Faucet Installation:
Install a weatherproof outdoor faucet near the bathtub to facilitate easy access to water. Choose a faucet that complements the design of your outdoor space and provides the desired water flow and control options.
3. Drainage System:
Implement an effective drainage system to manage the water discharge from the bathtub. This may involve connecting the bathtub to an existing drainage system or creating a separate drainage solution that directs the water away from the surrounding area.
4. Waterproof Sealing:
Apply waterproof sealant or caulk around the areas where the plumbing fixtures meet the bathtub and base. This sealing prevents water leakage and protects the structural integrity of the installation.
Read more: How To Make A Bathtub Deeper
5. Testing and Adjustments:
Once the plumbing components are in place, conduct thorough testing to ensure that the water supply and drainage function as intended. Make any necessary adjustments to optimize the performance and reliability of the plumbing system.
6. Concealment and Aesthetics:
Consider creative ways to conceal and integrate the plumbing components into the overall design of the outdoor bathtub. Concealing pipes and hoses with decorative elements or strategic landscaping can enhance the visual appeal of the space.
7. Weather Protection:
Implement measures to protect the plumbing components from inclement weather and temperature fluctuations. Insulate exposed pipes and fixtures, and consider installing protective covers or enclosures to shield the plumbing from the elements.
By following these steps and paying attention to the details, you can seamlessly incorporate plumbing into your outdoor bathtub, ensuring a reliable and enjoyable bathing experience amidst the natural beauty of your outdoor retreat.
Decorating and Finishing Touches
Adding thoughtful decor and finishing touches to your outdoor bathtub area elevates the ambiance and creates a captivating, inviting space for relaxation and rejuvenation. From enhancing comfort to infusing personal style, these details contribute to a truly immersive and luxurious outdoor bathing experience. Here’s a guide to decorating and adding finishing touches to your outdoor bathtub oasis:
Read more: How To Make Concrete Bathtub
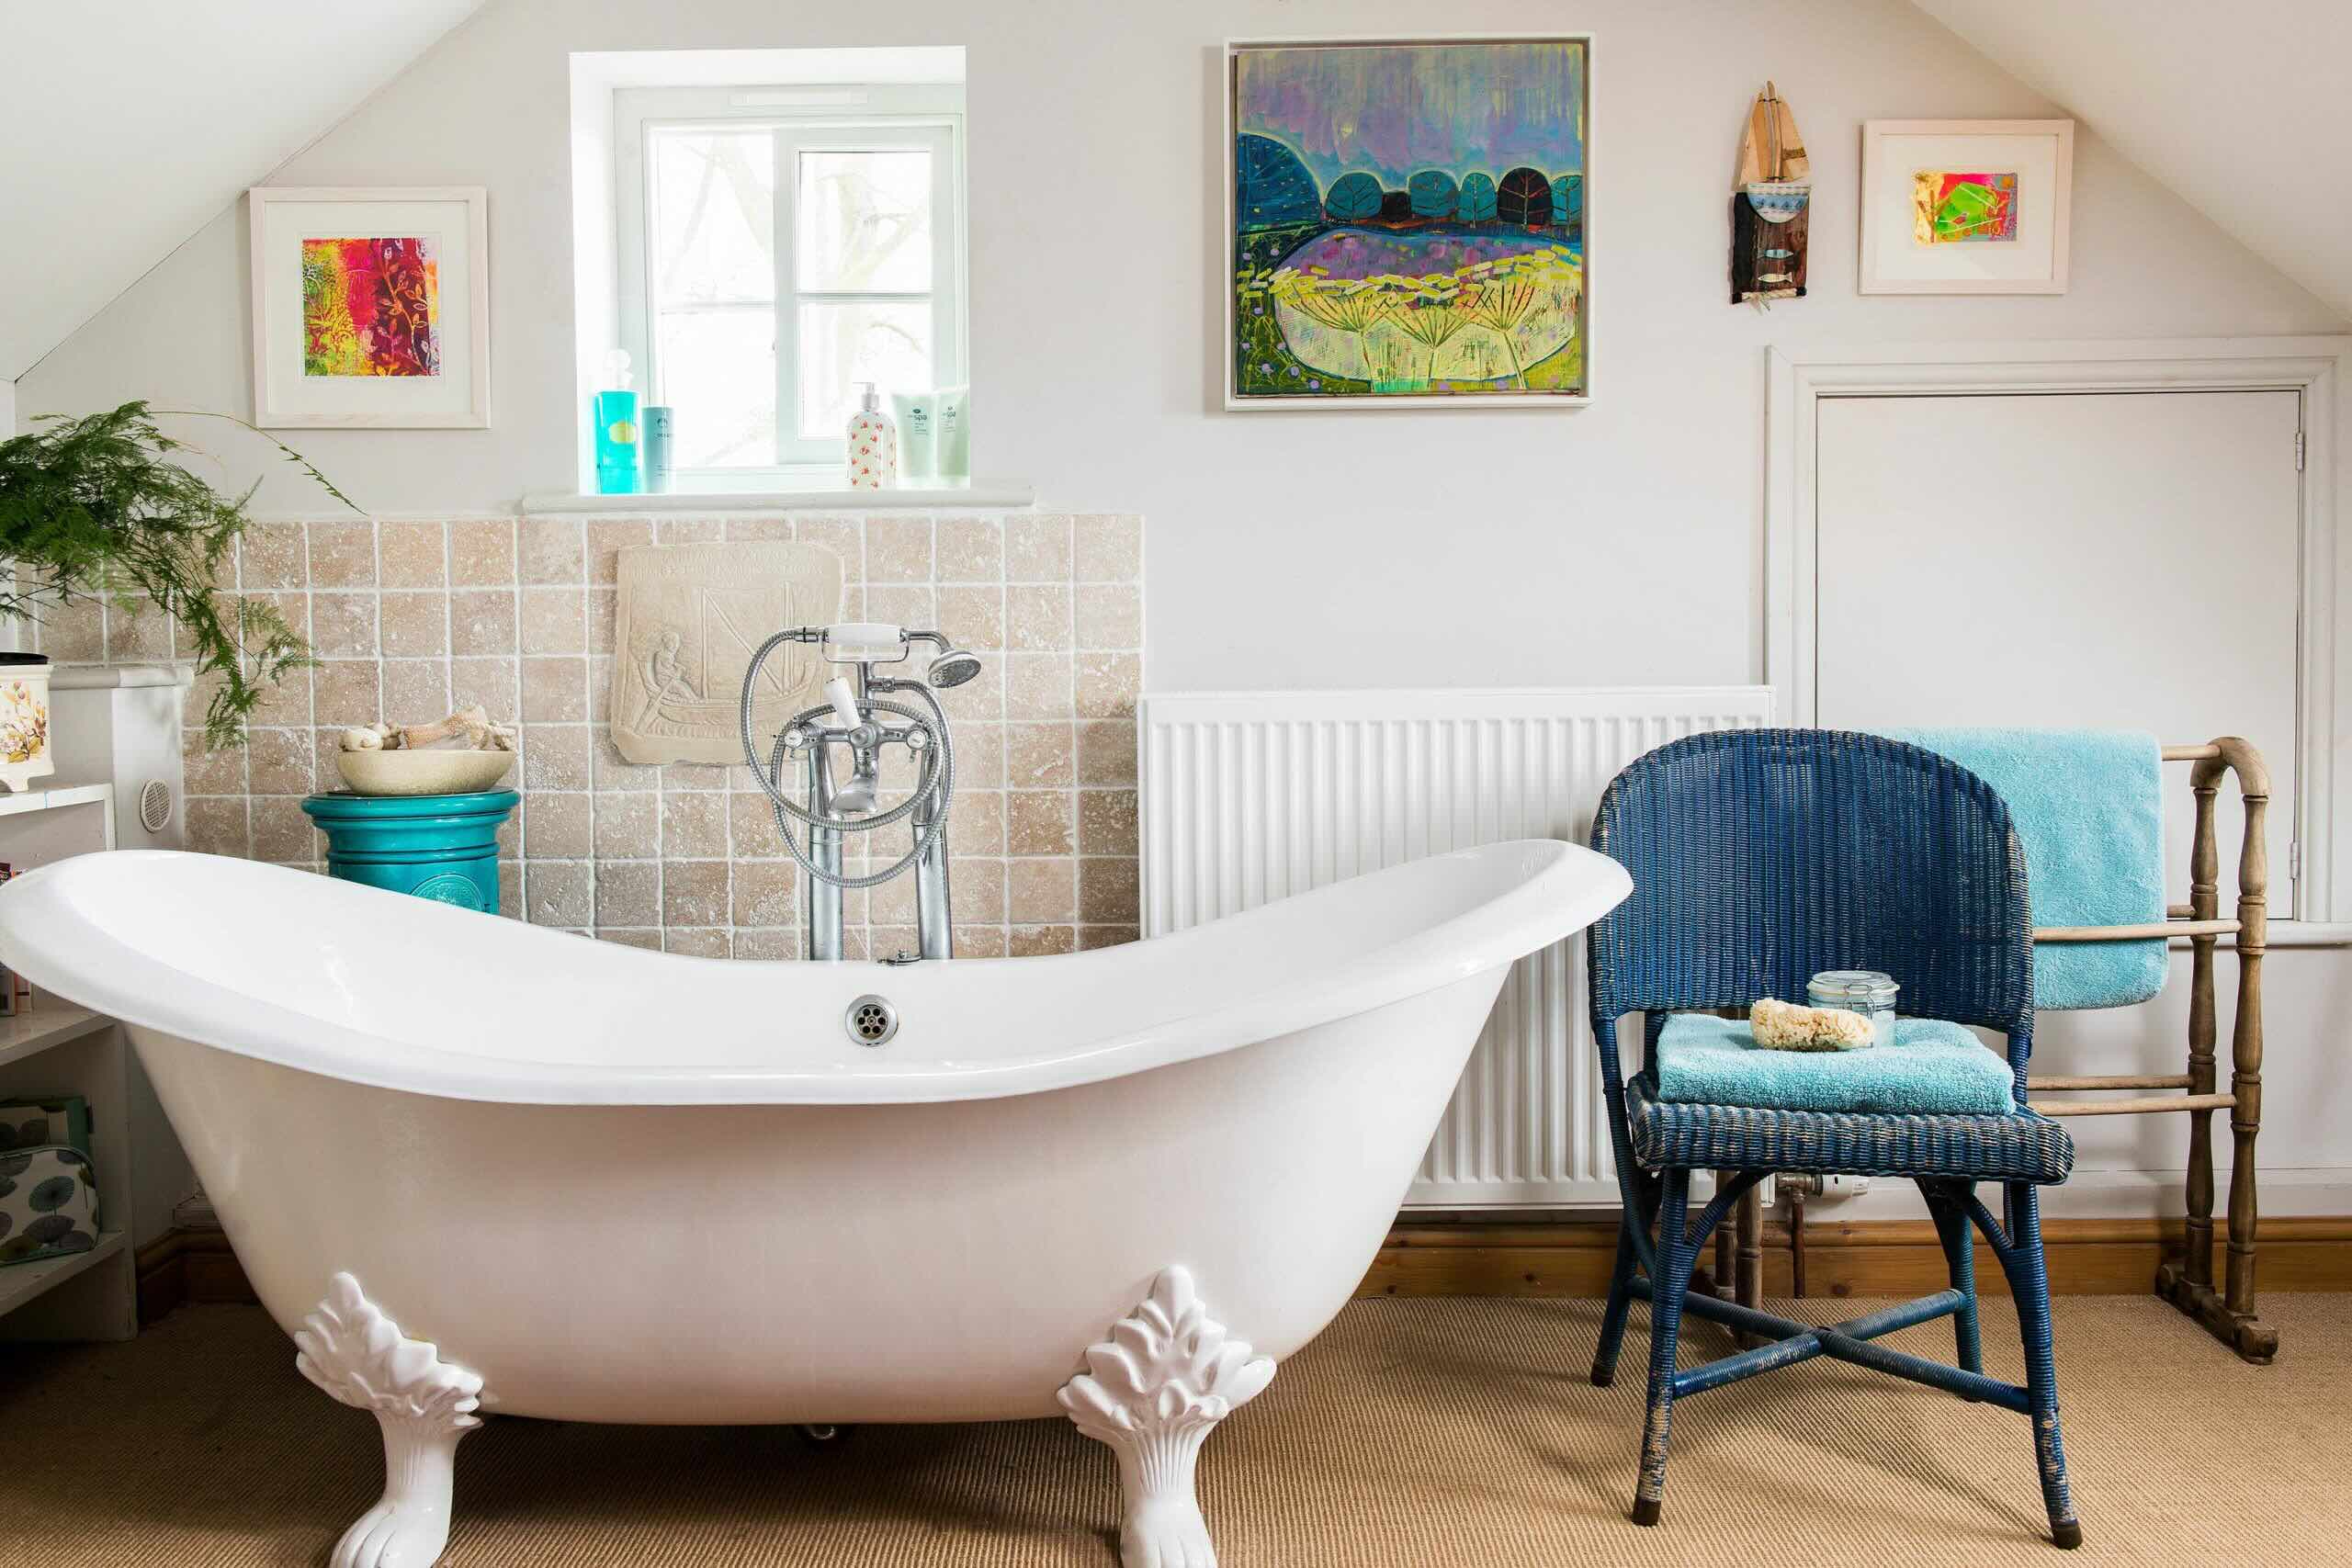
1. Comfortable Seating:
Integrate comfortable seating options near the bathtub, such as weather-resistant chairs or benches. This provides a convenient place to relax before and after bathing, enhancing the overall comfort and functionality of the space.
2. Soft Textiles and Cushions:
Incorporate plush, water-resistant cushions and towels to enhance comfort and add a touch of luxury. Choose textiles in soothing colors and textures that complement the natural surroundings, creating a cozy and inviting atmosphere.
3. Greenery and Plants:
Introduce potted plants, fragrant herbs, or lush greenery around the bathtub area to infuse a natural, tranquil ambiance. Select plants that thrive in outdoor conditions and complement the aesthetic of your outdoor retreat.
4. Ambient Lighting:
Install outdoor-friendly lighting options to illuminate the bathtub area for evening use. Consider string lights, solar-powered lanterns, or discreet LED fixtures to create a warm and inviting atmosphere after sunset.
Read more: How To Make Bathtub Shine Again
5. Personalized Accents:
Add personalized accents such as decorative stones, pebbles, or mosaic tiles around the bathtub to infuse character and visual interest. These elements can reflect your unique style and create a visually captivating focal point.
6. Relaxing Soundscape:
Incorporate a soothing soundscape with the gentle trickle of a nearby water feature or the melodic chirping of birds. Nature-inspired audio elements further enhance the tranquil ambiance, promoting relaxation and mindfulness.
7. Aromatherapy and Fragrances:
Explore the use of aromatherapy with fragrant candles, essential oil diffusers, or natural incense to create a sensory experience that heightens relaxation and rejuvenation during the outdoor bathing ritual.
8. Privacy Screens or Curtains:
Consider adding privacy screens, curtains, or trellises adorned with climbing plants to create a secluded and intimate space around the bathtub. These elements offer privacy while adding a touch of elegance to the outdoor retreat.
By incorporating these thoughtful details and finishing touches, you can transform your outdoor bathtub area into a captivating sanctuary that invites you to unwind, indulge, and connect with the beauty of nature.
Read more: How To Make A Homemade Bathtub Stopper
Conclusion
Congratulations on embarking on the journey of creating your own outdoor bathtub oasis. By following the steps outlined in this guide, you have gained the knowledge and inspiration to transform your outdoor space into a luxurious retreat that seamlessly blends comfort, style, and natural beauty. As you bring your vision to life, remember that the process of crafting an outdoor bathtub is an opportunity for creativity, relaxation, and self-expression.
From carefully selecting the ideal location to adding personalized finishing touches, every aspect of this project contributes to the creation of a captivating and rejuvenating outdoor sanctuary. The fusion of practical considerations with aesthetic enhancements ensures that your outdoor bathtub not only functions seamlessly but also becomes a captivating focal point within your outdoor living space.
As you immerse yourself in the process, allow your creativity to flourish, and let the natural elements of your outdoor environment guide your design choices. Embrace the soothing embrace of warm water, the gentle rustle of foliage, and the open expanse of the sky as you indulge in the luxurious experience of an outdoor soak.
Whether you seek solace in the tranquility of a secluded garden or the panoramic views of a sprawling landscape, your outdoor bathtub serves as a testament to your ingenuity and appreciation for the harmonious coexistence of nature and modern comfort.
As you revel in the serenity and luxury of your outdoor bathtub oasis, may it become a cherished haven for relaxation, contemplation, and the simple joy of being immersed in the beauty of the outdoors. Embrace the transformative power of this project and savor the moments of tranquility and rejuvenation that it brings to your daily life.
With each soothing soak, may your outdoor bathtub serve as a reminder of the harmonious connection between human creativity and the timeless allure of nature, offering a sanctuary that rejuvenates both body and spirit.
Frequently Asked Questions about How To Make An Outdoor Bathtub
Was this page helpful?
At Storables.com, we guarantee accurate and reliable information. Our content, validated by Expert Board Contributors, is crafted following stringent Editorial Policies. We're committed to providing you with well-researched, expert-backed insights for all your informational needs.

0 thoughts on “How To Make An Outdoor Bathtub”