Articles
How To Find Bad Christmas Light Bulb
Modified: March 1, 2024
Learn how to easily find and replace bad Christmas light bulbs with this informative article. Discover the best tips and tricks to keep your holiday lights shining bright all season long.
(Many of the links in this article redirect to a specific reviewed product. Your purchase of these products through affiliate links helps to generate commission for Storables.com, at no extra cost. Learn more)
Introduction
Every year, when the holiday season approaches, many of us are excited to decorate our homes with beautiful Christmas lights. The flickering bulbs create a magical ambiance, filling our hearts with joy and wonder. However, nothing can dampen that holiday spirit quite like a string of malfunctioning Christmas lights.
Whether it’s a single bulb that refuses to light up or a whole section of the string that remains dim, finding the bad Christmas light bulb can be a frustrating task. It’s like searching for a needle in a haystack. But fear not! With a little patience and the right tools, you can easily identify and replace the faulty bulbs, bringing your Christmas lights back to their former glory.
In this article, we’ll guide you through the process of finding a bad Christmas light bulb. We’ll cover the tools you’ll need, as well as step-by-step instructions on inspecting the light bulbs, checking for loose connections, and using a light bulb tester. So, let’s get started and make your Christmas lights shine bright once again!
Key Takeaways:
- Easily identify and replace bad Christmas light bulbs by inspecting for visible damage, checking for loose connections, and using a light bulb tester. Ensure a magical holiday display with these simple steps.
- Gather the right tools, including replacement bulbs and a light bulb tester, to efficiently find and replace faulty Christmas light bulbs. Prioritize safety, patience, and attention to detail for a stress-free decorating experience.
Read more: How To Find Bad LED Bulb In Christmas Lights
Identifying a Bad Christmas Light Bulb
When it comes to identifying a bad Christmas light bulb, there are a few telltale signs to look out for. Here’s what you should keep an eye on:
- Non-functioning bulb: If a bulb is completely non-functional and the surrounding bulbs are lit, it’s likely that the bulb is faulty.
- Flickering bulb: A bulb that constantly flickers or sporadically turns on and off indicates a loose connection or a damaged filament.
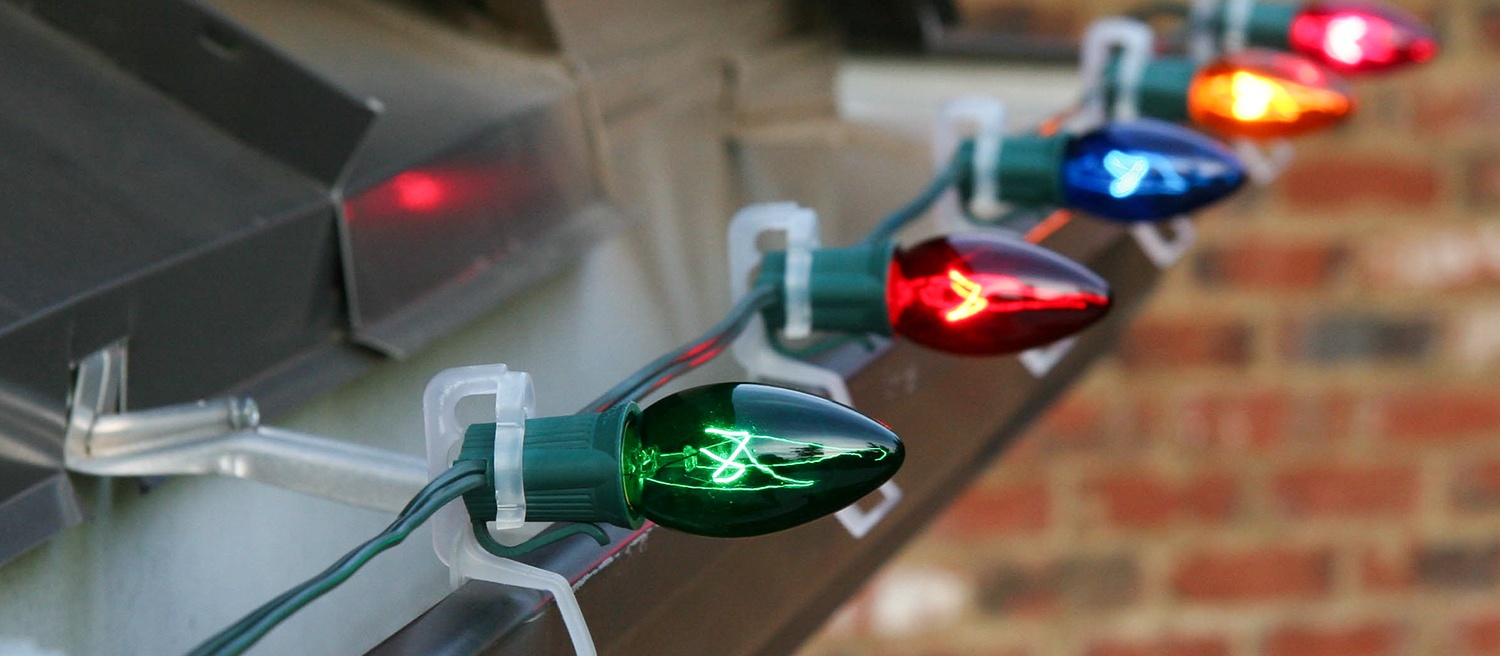
- Dim bulb: If a bulb appears significantly dimmer than the other bulbs in the strand, it may be close to burning out or already faulty.
- Visible damage: Look for any visible signs of damage, such as a cracked or broken bulb, blackened areas, or melted plastic around the base. These are clear indicators of a bad bulb.
By carefully inspecting each bulb and identifying these signs, you’ll be able to pinpoint the problematic bulbs in your Christmas light string.
Tools needed for Finding Bad Christmas Light Bulb
Before you embark on your quest to find the bad Christmas light bulb, it’s essential to gather the necessary tools. Having the right tools at hand will make the process easier and more efficient. Here are the tools you’ll need:
- Replacement bulbs: Make sure you have a set of replacement bulbs readily available. This will save you time and effort when it comes to replacing the faulty bulbs.
- Light bulb tester: A light bulb tester is a handy device specifically designed to help you identify faulty bulbs. It allows you to quickly test each bulb and determine if it’s working properly.
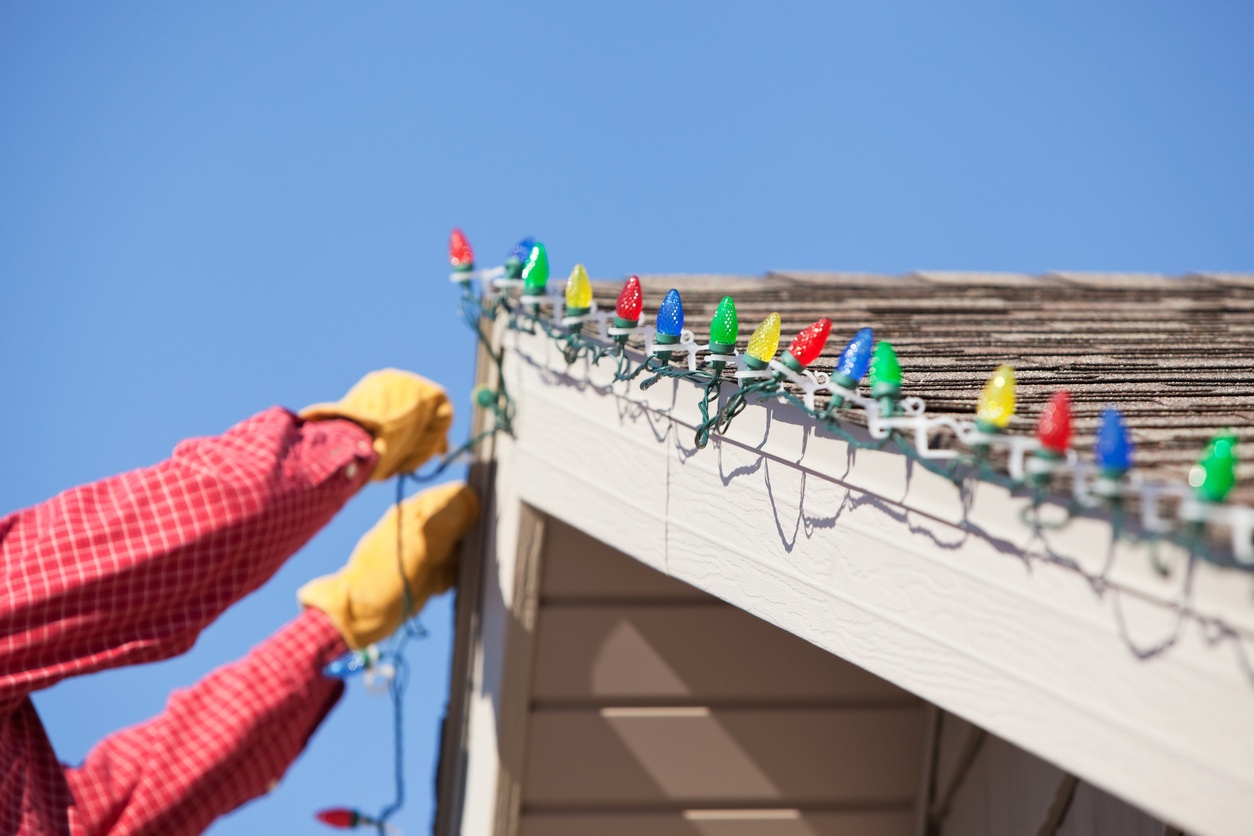
- Ladder or step stool: Depending on the height of your light display, you may need a ladder or step stool to reach the bulbs comfortably.
- Protective gloves: It’s always a good idea to wear protective gloves when handling light bulbs. This will prevent any injuries or damage caused by broken bulbs or sharp edges.
With these tools in hand, you’ll be well-equipped to tackle the task of finding and replacing bad Christmas light bulbs.
Step 1: Inspect the Light Bulbs
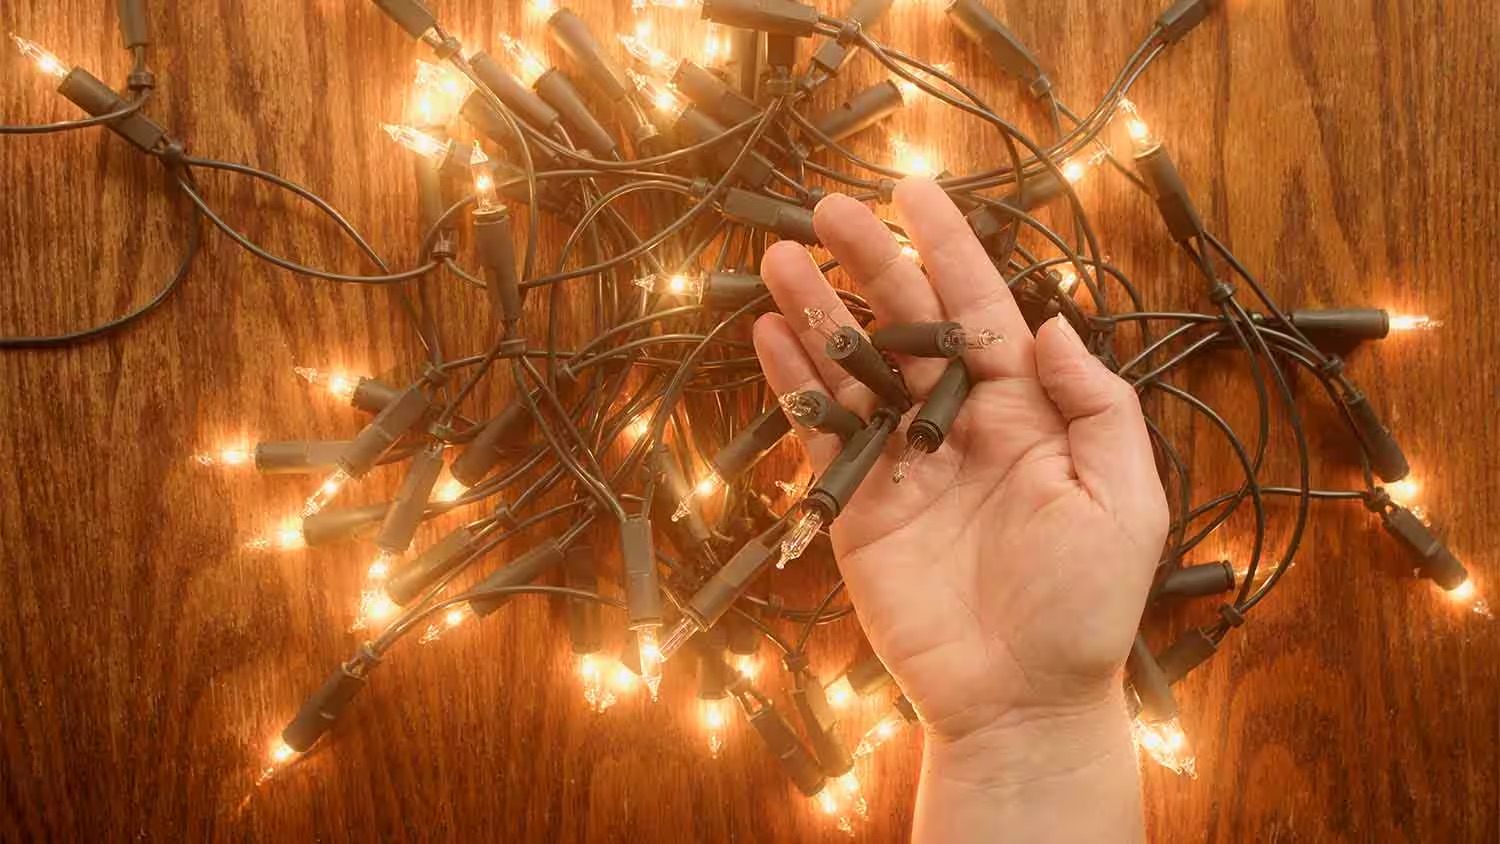
The first step in finding a bad Christmas light bulb is to thoroughly inspect each bulb in the string. Here’s how to do it:
- Disconnect the lights: Before you begin inspecting the bulbs, unplug the Christmas lights from the power source to ensure your safety.
- Check for visible damage: Examine each bulb for any visible signs of damage, such as cracks, broken filaments, or melted plastic around the base. These are indications of a bad bulb that needs to be replaced.
- Look for loose connections: Gently wiggle each bulb to check if there are any loose connections. Loose bulbs can cause flickering or complete malfunction of the entire string. Tighten any loose bulbs to ensure a secure connection.
- Compare brightness: Pay attention to the brightness of each bulb. If you notice a significant difference in brightness between bulbs, it could be a sign of a faulty bulb that needs to be replaced.
- Take notes: Keep a record of the bulbs that exhibit any signs of damage or abnormalities. This will help you remember which bulbs need to be replaced once you proceed with the next steps.
By thoroughly inspecting each light bulb, you’ll be able to identify any visible damage or loose connections that may be causing issues with your Christmas lights. Remember to handle the bulbs with care and avoid applying excessive force that could further damage them.
Use a non-contact voltage tester to check each bulb in the string. If the tester beeps or lights up, that indicates a bad bulb. Replace it to restore the light string.
Step 2: Check for Loose or Corroded Connections
Once you have inspected the light bulbs and identified any visibly damaged or faulty bulbs, the next step is to check for loose or corroded connections. Here’s how to do it:
- Disconnect the lights: Just like in the previous step, ensure that the Christmas lights are unplugged before proceeding.
- Inspect the sockets: Take a close look at each socket in the light string. Look for any signs of corrosion, rust, or dirt that may be obstructing the connection.
- Clean the sockets: If you notice any debris or corrosion, use a small brush or a cotton swab to gently clean the socket. Be careful not to apply too much pressure or damage the delicate components.
- Check the wiring: Follow the wire from the socket to the next socket in the string. Ensure that there are no loose or frayed wires that could interrupt the flow of electricity.
- Secure loose connections: If you come across any loose connections, carefully tighten them using your fingers. Avoid using excessive force, as this could lead to damage.
By checking for loose or corroded connections, you can often resolve issues with dim or non-functioning bulbs. Sometimes, a simple adjustment or cleaning of the sockets is all it takes to restore the functionality of the affected bulbs.
Note that if you find extensive corrosion or damage to the sockets or wiring, it may be necessary to replace the entire light string or consult a professional for further assistance.
Read more: How To Change A Christmas Light Bulb
Step 3: Use a Light Bulb Tester
If you have identified faulty bulbs and checked for loose connections but still have issues with your Christmas lights, it’s time to use a light bulb tester. A light bulb tester is a simple and effective tool that can help you pinpoint which bulbs are causing the problem. Here’s how to use it:
- Make sure the lights are unplugged: Before proceeding, ensure that the Christmas lights are disconnected from the power source to avoid any accidents.
- Prepare the light bulb tester: Follow the instructions provided with your light bulb tester to prepare it for use. This may involve inserting batteries or plugging it into an outlet, depending on the type of tester you have.
- Remove each bulb: Begin by removing one bulb at a time from the light string.
- Test the bulb: Place the removed bulb into the light bulb tester and activate the tester according to the instructions. The tester will indicate whether the bulb is functioning properly or not.
- Repeat the process: Continue removing and testing each bulb individually until you have tested all the bulbs in the string.
- Identify the faulty bulbs: Take note of the bulbs that the tester identifies as faulty. These are the bulbs that need to be replaced.
A light bulb tester is a valuable tool for quickly and accurately identifying bad Christmas light bulbs. It takes the guesswork out of the process and allows you to pinpoint the exact bulbs that need to be replaced, saving you time and effort.
Once you have identified the faulty bulbs using the tester, proceed to the next step to replace them and restore your Christmas lights to their full glory.
Step 4: Replace the Faulty Bulbs
After identifying the faulty bulbs through inspection, checking for loose connections, and using a light bulb tester, it’s time to replace the problematic bulbs. Here’s how to do it:
- Make sure the lights are unplugged: As always, ensure that the Christmas lights are disconnected from the power source to avoid any electrical mishaps.
- Prepare replacement bulbs: Take out the replacement bulbs that you gathered earlier. Make sure they are the correct size and type for your specific light string.
- Remove the faulty bulbs: Carefully unscrew or detach the faulty bulbs from the light string. Be gentle to avoid damaging surrounding bulbs or the socket.
- Insert the replacement bulbs: Take the replacement bulbs and insert them into the empty sockets. Ensure a secure fit but avoid overtightening.
- Test the light string: Once all the faulty bulbs have been replaced, plug in the Christmas lights and test the entire string. Ensure that the newly installed bulbs are functioning properly.
- Make additional replacements if necessary: If you still notice any issues or non-functioning bulbs, repeat the process for those specific bulbs, replacing them with spare bulbs.
By systematically replacing the faulty bulbs with new ones, you’ll be able to restore the functionality and uniform glow of your Christmas lights. Take your time during this step, ensuring that each replacement bulb is correctly inserted and tightly secured.
After completing this step, your Christmas lights should be back in working order, spreading warmth and cheer throughout your holiday decorations.
Conclusion
Decking your home with beautiful Christmas lights is a beloved holiday tradition, but dealing with a bad Christmas light bulb can quickly dampen the festive spirit. However, with the right approach and tools, finding and replacing faulty bulbs can be a manageable task.
In this article, we’ve discussed the step-by-step process of identifying and resolving issues with bad Christmas light bulbs. We began by inspecting the bulbs for visible damage and loose connections, followed by checking for corrosion or dirt in the sockets. We then introduced the use of a light bulb tester, a handy tool that helps pinpoint faulty bulbs quickly and accurately. Finally, we covered the importance of replacing the faulty bulbs to restore your Christmas lights back to their full shine.
Remember to prioritize safety throughout the process. Always unplug the lights before inspecting or replacing bulbs, and consider wearing protective gloves to avoid accidental cuts or injuries. Take your time, be patient, and enjoy the process of bringing back the magic of your Christmas light display.
With a little effort and attention to detail, you can overcome the challenge of finding bad Christmas light bulbs and ensure that your holiday decorations shine bright for all to enjoy. Happy decorating!
Frequently Asked Questions about How To Find Bad Christmas Light Bulb
Was this page helpful?
At Storables.com, we guarantee accurate and reliable information. Our content, validated by Expert Board Contributors, is crafted following stringent Editorial Policies. We're committed to providing you with well-researched, expert-backed insights for all your informational needs.


0 thoughts on “How To Find Bad Christmas Light Bulb”