
Articles
How To Hang Curtains In Kitchen
Modified: August 17, 2024
Learn how to hang curtains in your kitchen with these helpful articles. Discover tips and tricks for choosing the right curtain rods, measuring correctly, and achieving the perfect look.
(Many of the links in this article redirect to a specific reviewed product. Your purchase of these products through affiliate links helps to generate commission for Storables.com, at no extra cost. Learn more)
Introduction
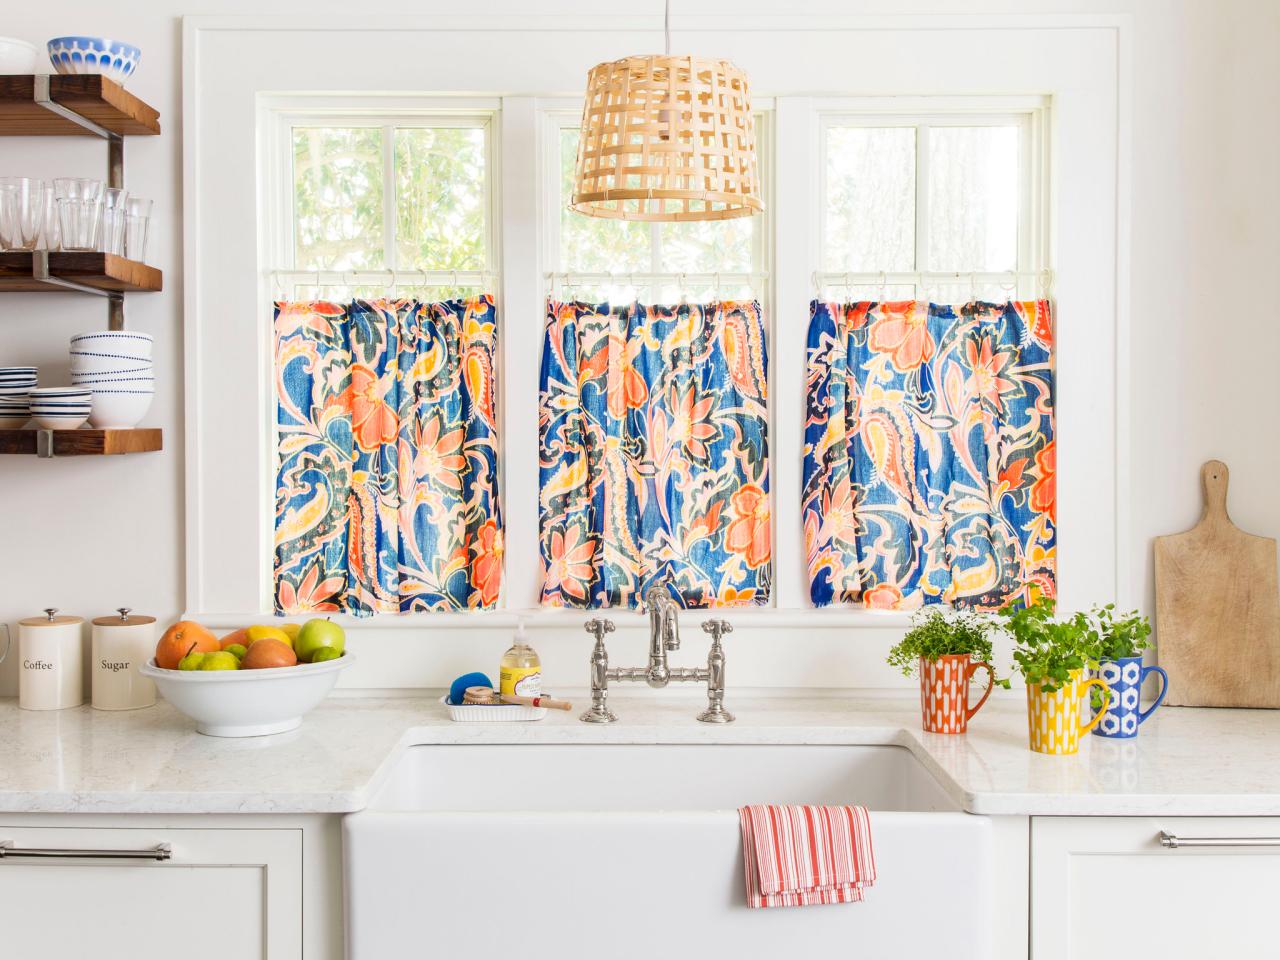
When it comes to kitchen decor, curtains are not only a functional addition but also a stylish way to enhance the overall look and feel of the space. Hanging curtains in the kitchen can provide privacy, regulate sunlight, and add a touch of personality to the room.
However, figuring out how to hang curtains in the kitchen can be a bit challenging for some. The process involves measuring the window, selecting the right curtain rod and hardware, and properly installing and adjusting the curtains.
In this article, we will guide you through the step-by-step process of hanging curtains in your kitchen. By following these simple instructions, you’ll be able to achieve a professional-looking result that complements your kitchen’s style and elevates its ambiance.
Key Takeaways:
- Properly measuring the window, selecting the right curtain rod and hardware, and ensuring accurate installation are crucial for achieving a professional and stylish look when hanging curtains in the kitchen.
- Consider adding valances or layering curtains to further enhance the overall look and functionality of the window treatment in your kitchen. Regular cleaning and maintenance will ensure long-lasting appeal.
Read more: How To Hang Curtains With Sheers
Step 1: Measure the Window
The first and most important step in hanging curtains in your kitchen is to accurately measure the window. Taking precise measurements will ensure that you purchase the right size of curtain and curtain rod.
Start by measuring the width of the window frame. Use a tape measure and take the measurement from the inside of the frame on one side to the inside of the frame on the other side. Write down this measurement.
Next, measure the height of the window frame. Again, use a tape measure and measure from the top inside of the frame to the bottom inside of the frame. Make sure to measure at various points along the height of the window to account for any variances. Write down this measurement as well.
Once you have the width and height measurements, you can determine the size of the curtains you need. It’s important to consider the desired length and fullness of the curtains when making your decision. If you want your curtains to hang all the way to the floor, add a few extra inches to the height measurement. For a more tailored look, you can opt for shorter curtains that end at or slightly below the window sill.
Additionally, if you want your curtains to have a fuller appearance, you can double the width measurement. This will allow the curtains to have more volume when gathered or closed.
Keep in mind that these measurements are a guide, and ultimately, the style and look you desire will determine the specific curtain size you need. Once you have the measurements, you can move on to selecting the right curtain rod and hardware.
Step 2: Choose the Curtain Rod and Hardware
Choosing the right curtain rod and hardware is an important step in hanging curtains in your kitchen. It not only ensures the proper installation but also adds to the overall aesthetic appeal of your window treatment.
Start by considering the style and design of your kitchen. If you have a modern kitchen with clean lines and minimalistic decor, a sleek and simple curtain rod made of metal or acrylic would be a good choice. On the other hand, if your kitchen has a more traditional or rustic look, a curtain rod with decorative finials and a warm, natural finish like wood or wrought iron might be more suitable.
Next, consider the weight and fabric of the curtains you plan to hang. Heavier curtains will require a sturdier rod that can support the weight without sagging. Look for curtain rods with a higher weight capacity, usually indicated on the packaging.
Take into account the length and width of the curtains as well. If you have longer or wider curtains, ensure that the curtain rod is wide enough to accommodate them without hindering the opening and closing of the curtains.
There are various types of curtain rods to choose from, such as tension rods, single rods, double rods, and traverse rods. Tension rods are a popular option as they don’t require any drilling or hardware installation. Single rods are the simplest and most common type, suitable for basic curtain panels. Double rods allow you to hang two layers of curtains or a curtain and a valance. Traverse rods are ideal for heavy or long curtains and offer a smooth, cord-operated opening and closing mechanism.
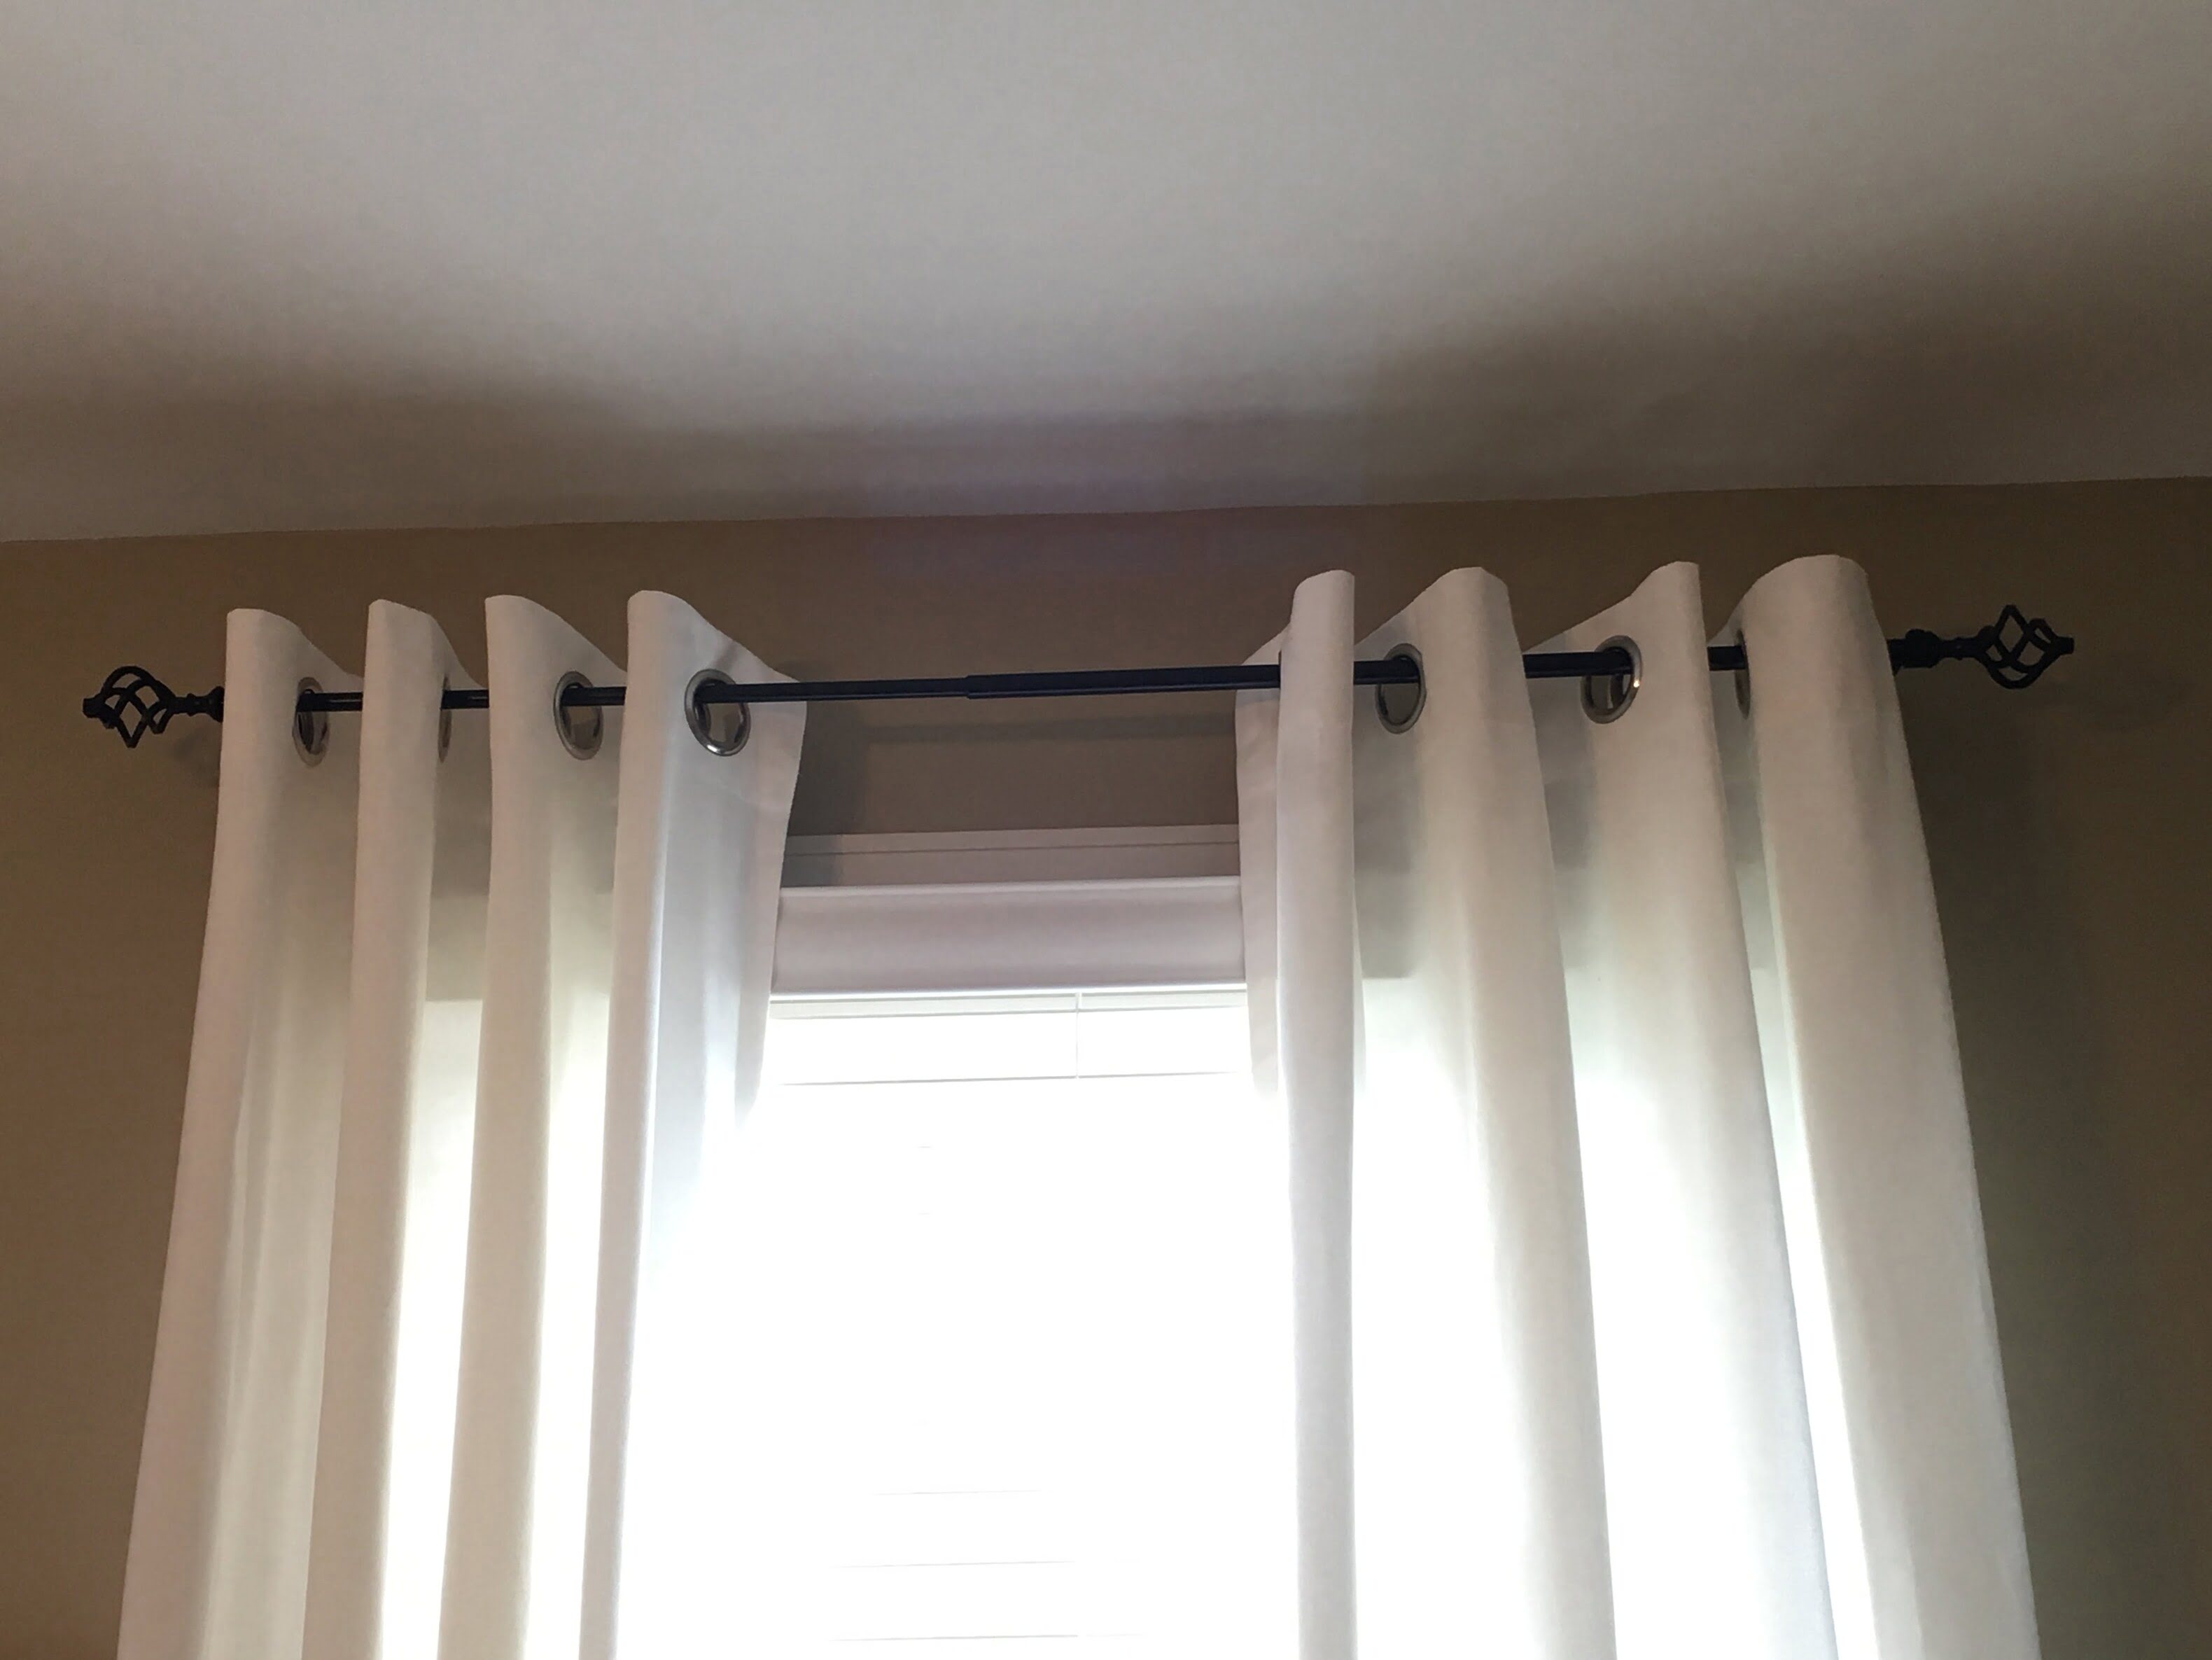
Once you have selected the curtain rod, you will also need to choose the appropriate hardware, such as brackets, finials, rings, or clips. Brackets are used to secure the curtain rod to the wall or window frame, while finials add a decorative touch to the ends of the rod. Rings or clips are used to attach the curtains to the rod.
Consider the color and finish of the hardware to ensure that it complements the overall color scheme and style of your kitchen. You can opt for hardware that matches your curtain rod for a cohesive look or choose contrasting colors or materials for a more eclectic or eclectic design.
With the curtain rod and hardware selected, you can now move on to the installation process in the next step.
Step 3: Install the Curtain Rod
Now that you have chosen the right curtain rod and hardware, it’s time to install it in your kitchen. Proper installation is crucial to ensure that your curtains are securely hung and will function properly.
Start by gathering all the necessary tools and materials for the installation. You will typically need a drill, screwdriver, level, pencil, measuring tape, and the included hardware for the curtain rod.
Before you begin installing the curtain rod, decide on the height at which you want it to be placed. This will depend on various factors such as the height of the window, the length of the curtains, and your personal preference. In general, it is recommended to hang the curtain rod 4 to 6 inches above the window frame for a visually appealing look.
Using a measuring tape, mark the desired height of the curtain rod on both sides of the window frame with a pencil. Ensure that the marks are level by using a level or by visually confirming that they are at the same height.
Next, hold one of the brackets up to the wall, aligning it with the pencil mark. Use a pencil to mark the screw holes where the bracket will be mounted. Repeat this process for the other bracket on the opposite side of the window.
Now, it’s time to screw the brackets into place. Using a drill or screwdriver, insert screws through the pre-drilled holes on the brackets and into the wall. Make sure the screws are snug, but be careful not to overtighten them to avoid damaging the wall. Repeat this process for the second bracket.
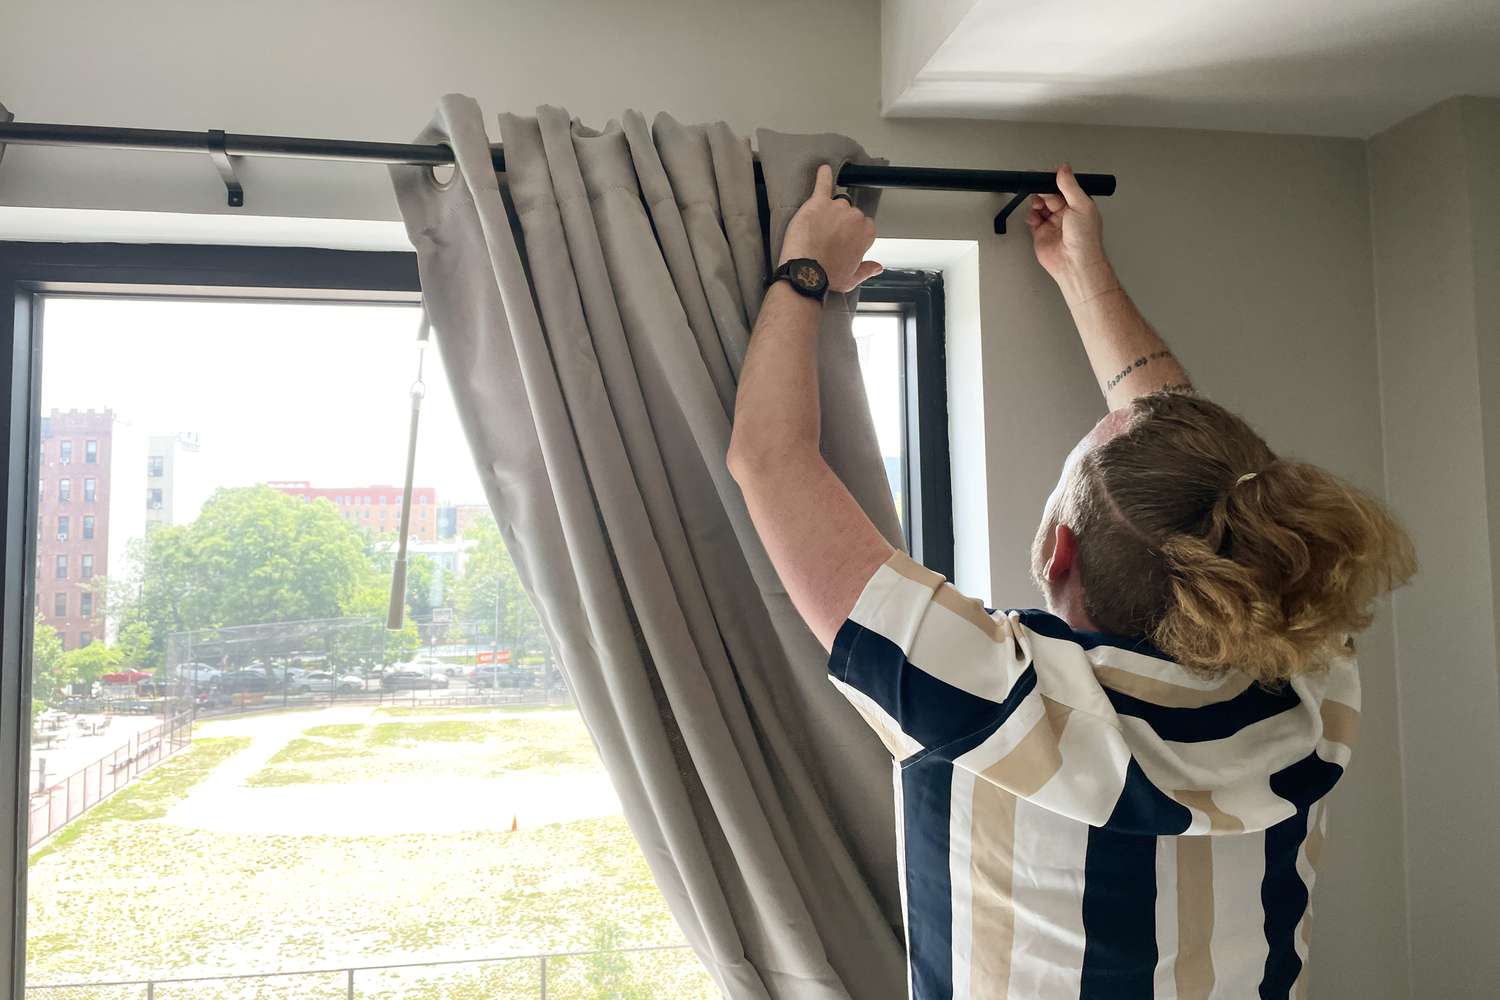
Once the brackets are securely mounted, it’s time to attach the curtain rod. Place the rod onto the brackets and ensure that it is level. Adjust the position of the brackets if necessary.
If your curtain rod comes with additional hardware, such as a center support bracket for longer rods, be sure to install it according to the manufacturer’s instructions. This will provide added stability and prevent sagging in the middle of the rod.
With the curtain rod installed, you are now ready to move on to the next step of attaching the curtain rings or clips.
Step 4: Attach Curtain Rings or Clips
Once the curtain rod is securely installed, it’s time to attach the curtain rings or clips. These will allow you to easily hang your curtains and create a beautiful and functional window treatment in your kitchen.
If you are using curtain rings, start by opening the rings and sliding them onto the curtain rod. Space them evenly along the rod’s length, keeping in mind the fullness and pleating you desire for your curtains.
For curtain clips, open each clip and attach it to the top edge of the curtain fabric. Space the clips evenly along the width of the curtain panel, ensuring that they are securely attached.
Make sure to follow the manufacturer’s recommendations for the number of rings or clips to use based on the width of your curtain panel. This will ensure that your curtains hang evenly and are properly supported.
Once you have attached the rings or clips, double-check that they are securely in place. Give the curtain fabric a gentle tug to ensure that it is securely held by the rings or clips.
With the rings or clips in place, your curtains are now ready to be hung on the curtain rod. Move on to the next step to learn how to properly hang the curtains in your kitchen.
When hanging curtains in the kitchen, make sure to choose a fabric that is easy to clean, such as cotton or polyester. This will help to keep your curtains looking fresh and clean in a high-traffic area like the kitchen.
Read more: How To Hang Curtains On Gazebo
Step 5: Hang the Curtains
Now that you have the curtain rod prepared with the attached rings or clips, it’s time to hang the curtains in your kitchen. This step will bring your window treatment to life and add a touch of style and charm to your space.
Start by gathering the curtains and determine the order in which you will hang them. If you have multiple curtain panels, you may want to hang the outermost panels first and work your way inward. This will create a layered and visually appealing look.
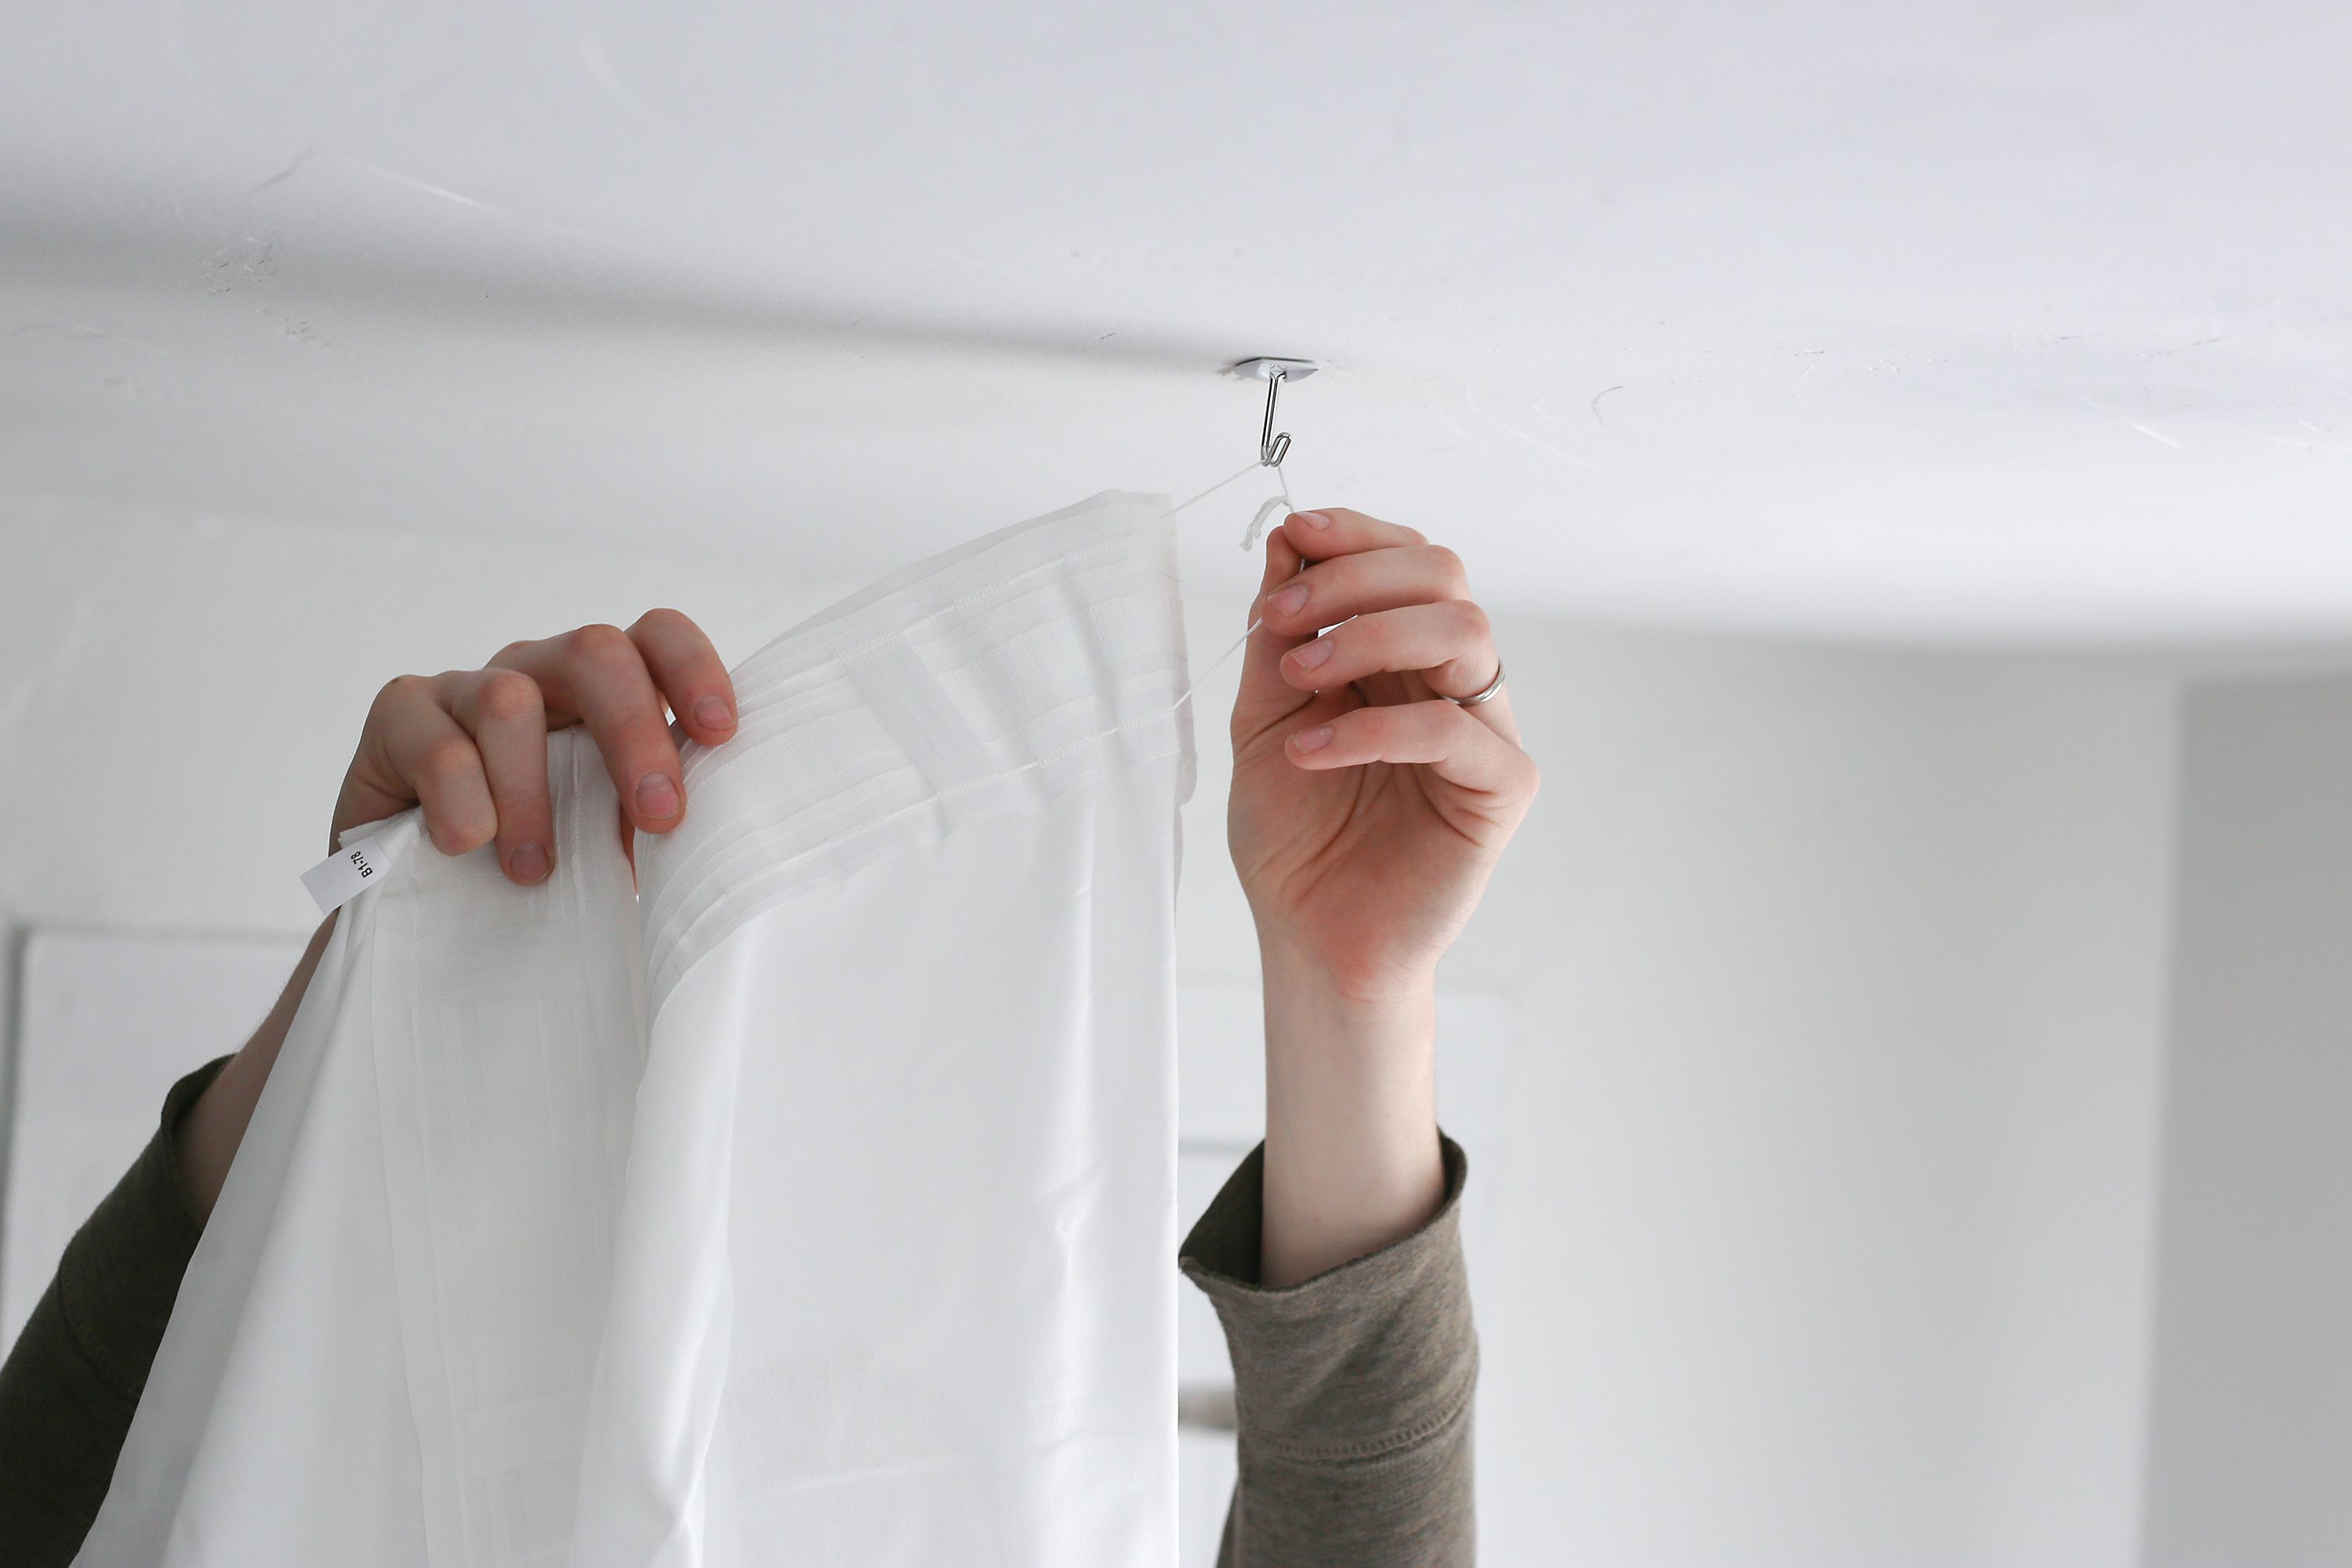
Take one curtain panel and carefully slide the rings or clips onto the curtain rod, starting from one side and moving towards the other. Ensure that each ring or clip securely holds the fabric.
If you have pleated curtains, make sure to evenly distribute the pleats along the rod for a uniform and balanced appearance. Adjust the spacing of the rings or clips as needed to achieve the desired pleating effect.
If you have multiple curtain panels, repeat this process for each panel, sliding the rings or clips onto the rod. Ensure that the panels are evenly spaced and that the fabric hangs straight and evenly.
Once all the curtain panels are hung, step back and assess the overall look. Make any necessary adjustments to the spacing or positioning of the panels to achieve a cohesive and visually pleasing arrangement.
Take a moment to admire your newly hung curtains and appreciate the transformation they bring to your kitchen. The curtains will not only provide privacy and light control but also add a decorative touch to the space.
With the curtains hung, you’re almost done. In the next step, we will discuss how to adjust and straighten the curtains for a polished and finished look in your kitchen.
Step 6: Adjust and Straighten the Curtains
After hanging the curtains in your kitchen, it’s important to take the time to adjust and straighten them for a polished and finished look. This step will ensure that your curtains hang evenly and create an aesthetically pleasing window treatment.
Start by stepping back and assessing the overall appearance of the curtains. Check for any unevenness or areas where the fabric may be bunched or sagging. Take note of any adjustments that need to be made.
If your curtains have gathered pleats, gently tug on the fabric to spread out and distribute the pleats evenly along the curtain rod. This will create a uniform and balanced look.
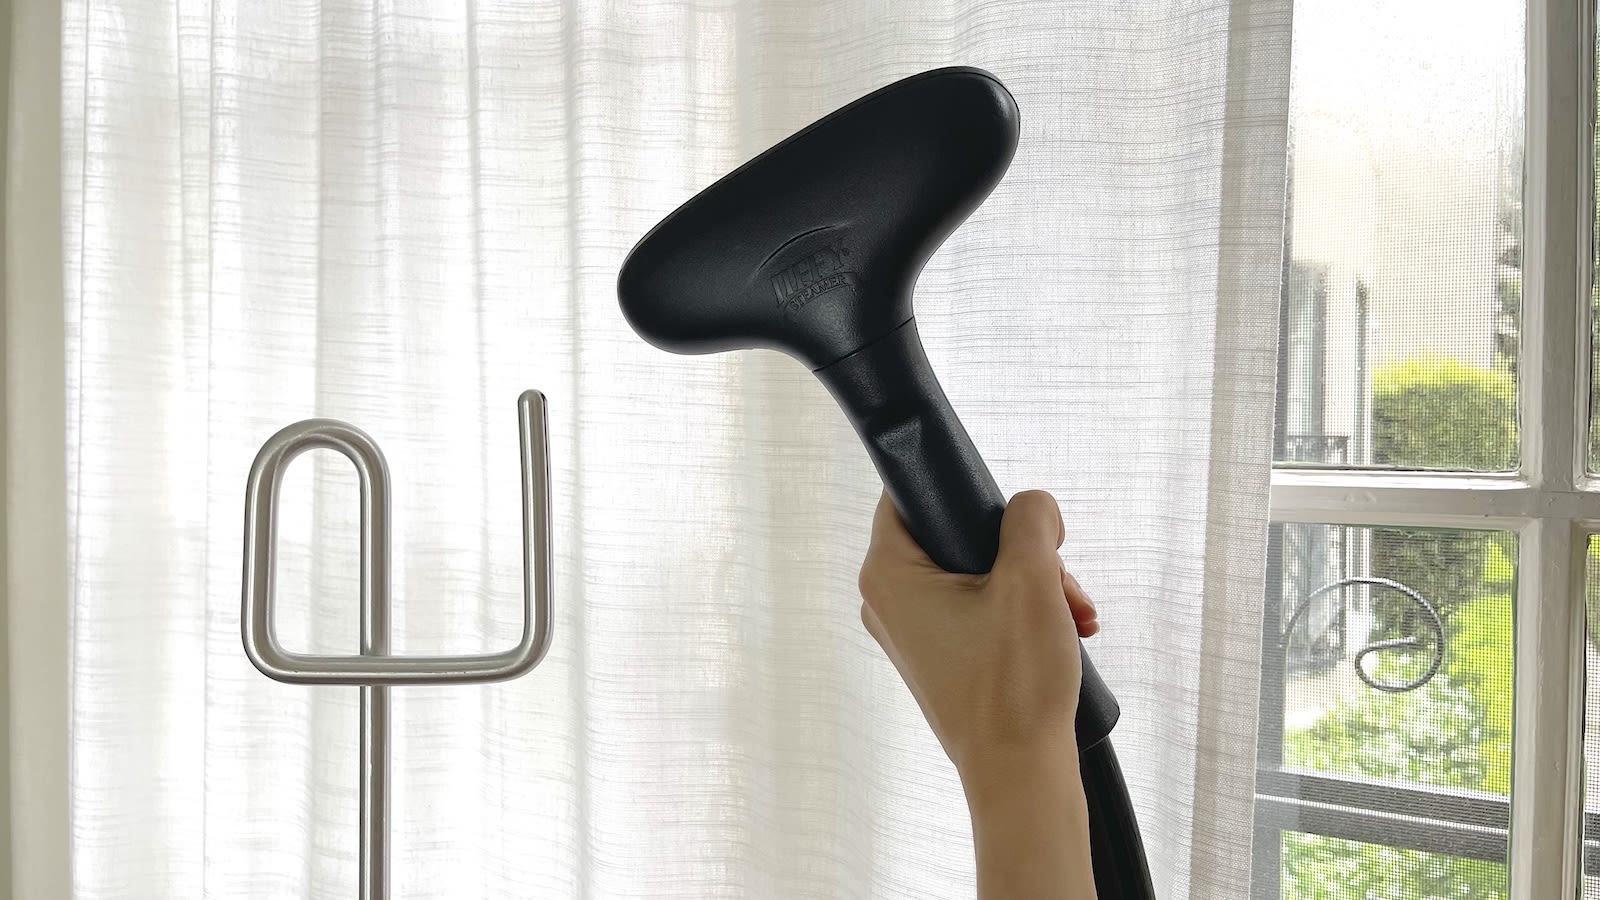
Smooth out any wrinkles or creases in the fabric by gently pulling and tugging on the curtains. Smooth them from top to bottom to ensure a neat and tidy appearance.
Check the length of the curtains and make any necessary adjustments. If the curtains are too long, you may need to hem or adjust them to the desired length. If they are too short, you may need to let them down or add a decorative valance or trim to the top to achieve the desired look.
Once you have made the necessary adjustments, step back and evaluate the curtains again. Ensure that they are hanging straight, without any noticeable slant or tilt. Use a level if needed to confirm that they are perfectly horizontal.
You can also consider using curtain weights or fabric weights to help keep the curtains in place and prevent them from shifting or moving with drafts or air circulation.
Take your time to fine-tune the positioning and appearance of the curtains. Pay attention to the smallest details, as these can make a significant difference in the overall look and feel of your kitchen space.
With the curtains now adjusted and straightened, you’re almost finished. In the next step, we will discuss considering additional curtains or valances to further enhance your kitchen decor.
Step 7: Consider Additional Curtains or Valances
As you near the end of the curtain hanging process in your kitchen, it’s worth considering if additional curtains or valances could further enhance the overall look and functionality of your window treatment.
Valances are an excellent addition that can add a decorative touch and provide a finished look to your curtains. They are typically a shorter piece of fabric that sits at the top of the window, covering the curtain rod and adding a decorative element. Valances come in various styles, such as tailored valances, swag valances, or scalloped valances, allowing you to choose the one that complements your kitchen’s aesthetic.
If you have a particularly large or wide window, you might consider using multiple curtain panels to achieve a fuller and more luxurious look. Layering curtains can add depth and dimension to your window treatment, creating an elegant and sophisticated atmosphere.
You can also experiment with different types of curtains or fabrics to add texture and visual interest. Sheer curtains, for example, can let in plenty of natural light while still providing a level of privacy. Thicker fabrics, on the other hand, can provide more insulation and light-blocking capabilities.
When considering additional curtains or valances, make sure they complement the existing curtain design and color scheme. Choose fabrics and patterns that coordinate well with the current curtains and the overall decor of your kitchen. This will ensure a cohesive and well-balanced look.
Before making any final decisions, take the time to visualize how the additional curtains or valances will look in your kitchen. Consider the impact they will have on the overall ambiance and functionality of the space. You might also seek inspiration from interior design magazines or online resources for ideas and inspiration.
By taking the time to consider additional curtains or valances, you can elevate your window treatment and create a unique and personalized look in your kitchen.
With this final step, you have successfully learned how to hang curtains in your kitchen, from measuring the window to considering additional embellishments. You can now enjoy the privacy, sunlight control, and decorative enhancement that curtains bring to your kitchen space.
Remember to regularly clean and maintain your curtains to keep them looking their best. By doing so, you can ensure that they continue to enhance the ambiance and functionality of your kitchen for many years to come.
Happy curtain hanging!
Conclusion
Hanging curtains in your kitchen is a wonderful way to add style, privacy, and functionality to the space. By following the step-by-step process outlined in this article, you can achieve a professional-looking result that enhances the overall ambiance of your kitchen.
From measuring the window to choosing the right curtain rod and hardware, each step plays a crucial role in the successful installation and appearance of your curtains. Taking accurate measurements ensures a proper fit, while selecting the right rod and hardware adds to the overall aesthetic appeal.
Properly installing the curtain rod and attaching the curtain rings or clips ensures that the curtains are securely hung and easy to open and close. Adjusting and straightening the curtains adds a polished look to your window treatment.
Consider adding additional curtains or valances as a final touch to further enhance the look of your kitchen. Valances provide a finished look, and layering curtains or selecting different fabrics can add depth and texture to the space.
Remember to regularly clean and maintain your curtains to keep them looking their best. This will ensure that they continue to enhance the ambiance and functionality of your kitchen for years to come.
Now that you have the knowledge and guidance to hang curtains in your kitchen, it’s time to transform your space. Enjoy the privacy, sunlight control, and decorative appeal that curtains bring to your kitchen, and bask in the welcoming atmosphere they create.
Happy curtain hanging and enjoy your newly adorned kitchen!
Frequently Asked Questions about How To Hang Curtains In Kitchen
Was this page helpful?
At Storables.com, we guarantee accurate and reliable information. Our content, validated by Expert Board Contributors, is crafted following stringent Editorial Policies. We're committed to providing you with well-researched, expert-backed insights for all your informational needs.










0 thoughts on “How To Hang Curtains In Kitchen”