
Articles
How To Hang Eyelet Curtains
Modified: September 1, 2024
Learn how to hang eyelet curtains with our informative articles. Find tips, tricks, and step-by-step guides to ensure your curtains are perfectly installed.
(Many of the links in this article redirect to a specific reviewed product. Your purchase of these products through affiliate links helps to generate commission for Storables.com, at no extra cost. Learn more)
Introduction
Choosing the right curtains can significantly enhance the aesthetics, functionality, and ambiance of any room. Eyelet curtains, also known as grommet curtains, have become a popular choice among homeowners due to their modern and streamlined appearance. They are easy to hang and operate, making them an ideal option for both novice and experienced DIY enthusiasts.
In this article, we will guide you through the process of hanging eyelet curtains, providing you with step-by-step instructions and valuable tips to ensure a successful installation. By following these guidelines, you can transform your windows and elevate the overall look of your space.
Before we dive into the installation process, it is important to mention that having the right measurements and tools will make the task much easier. Therefore, we recommend starting with accurate measurements and gathering the necessary tools beforehand. This will help you to proceed seamlessly and efficiently.
Now, let’s begin our journey of hanging eyelet curtains and making your windows a stunning focal point in your home!
Key Takeaways:
- Elevate your space with eyelet curtains by considering style, fabric, color, and functionality. Proper measurements, tools, and installation ensure a seamless and stylish transformation of your windows.
- Hang eyelet curtains with confidence using step-by-step instructions. From preparing the curtain rod to adjusting and maintaining the curtains, create a polished and visually appealing window treatment that reflects your unique style.
Read more: What Is Eyelet Curtains
Choosing the Right Curtains
When it comes to choosing the right curtains for your space, there are a few key factors to consider. These factors include the style, fabric, color, and functionality of the curtains. Each of these elements will play a role in determining how well the curtains complement your overall décor and meet your specific needs.
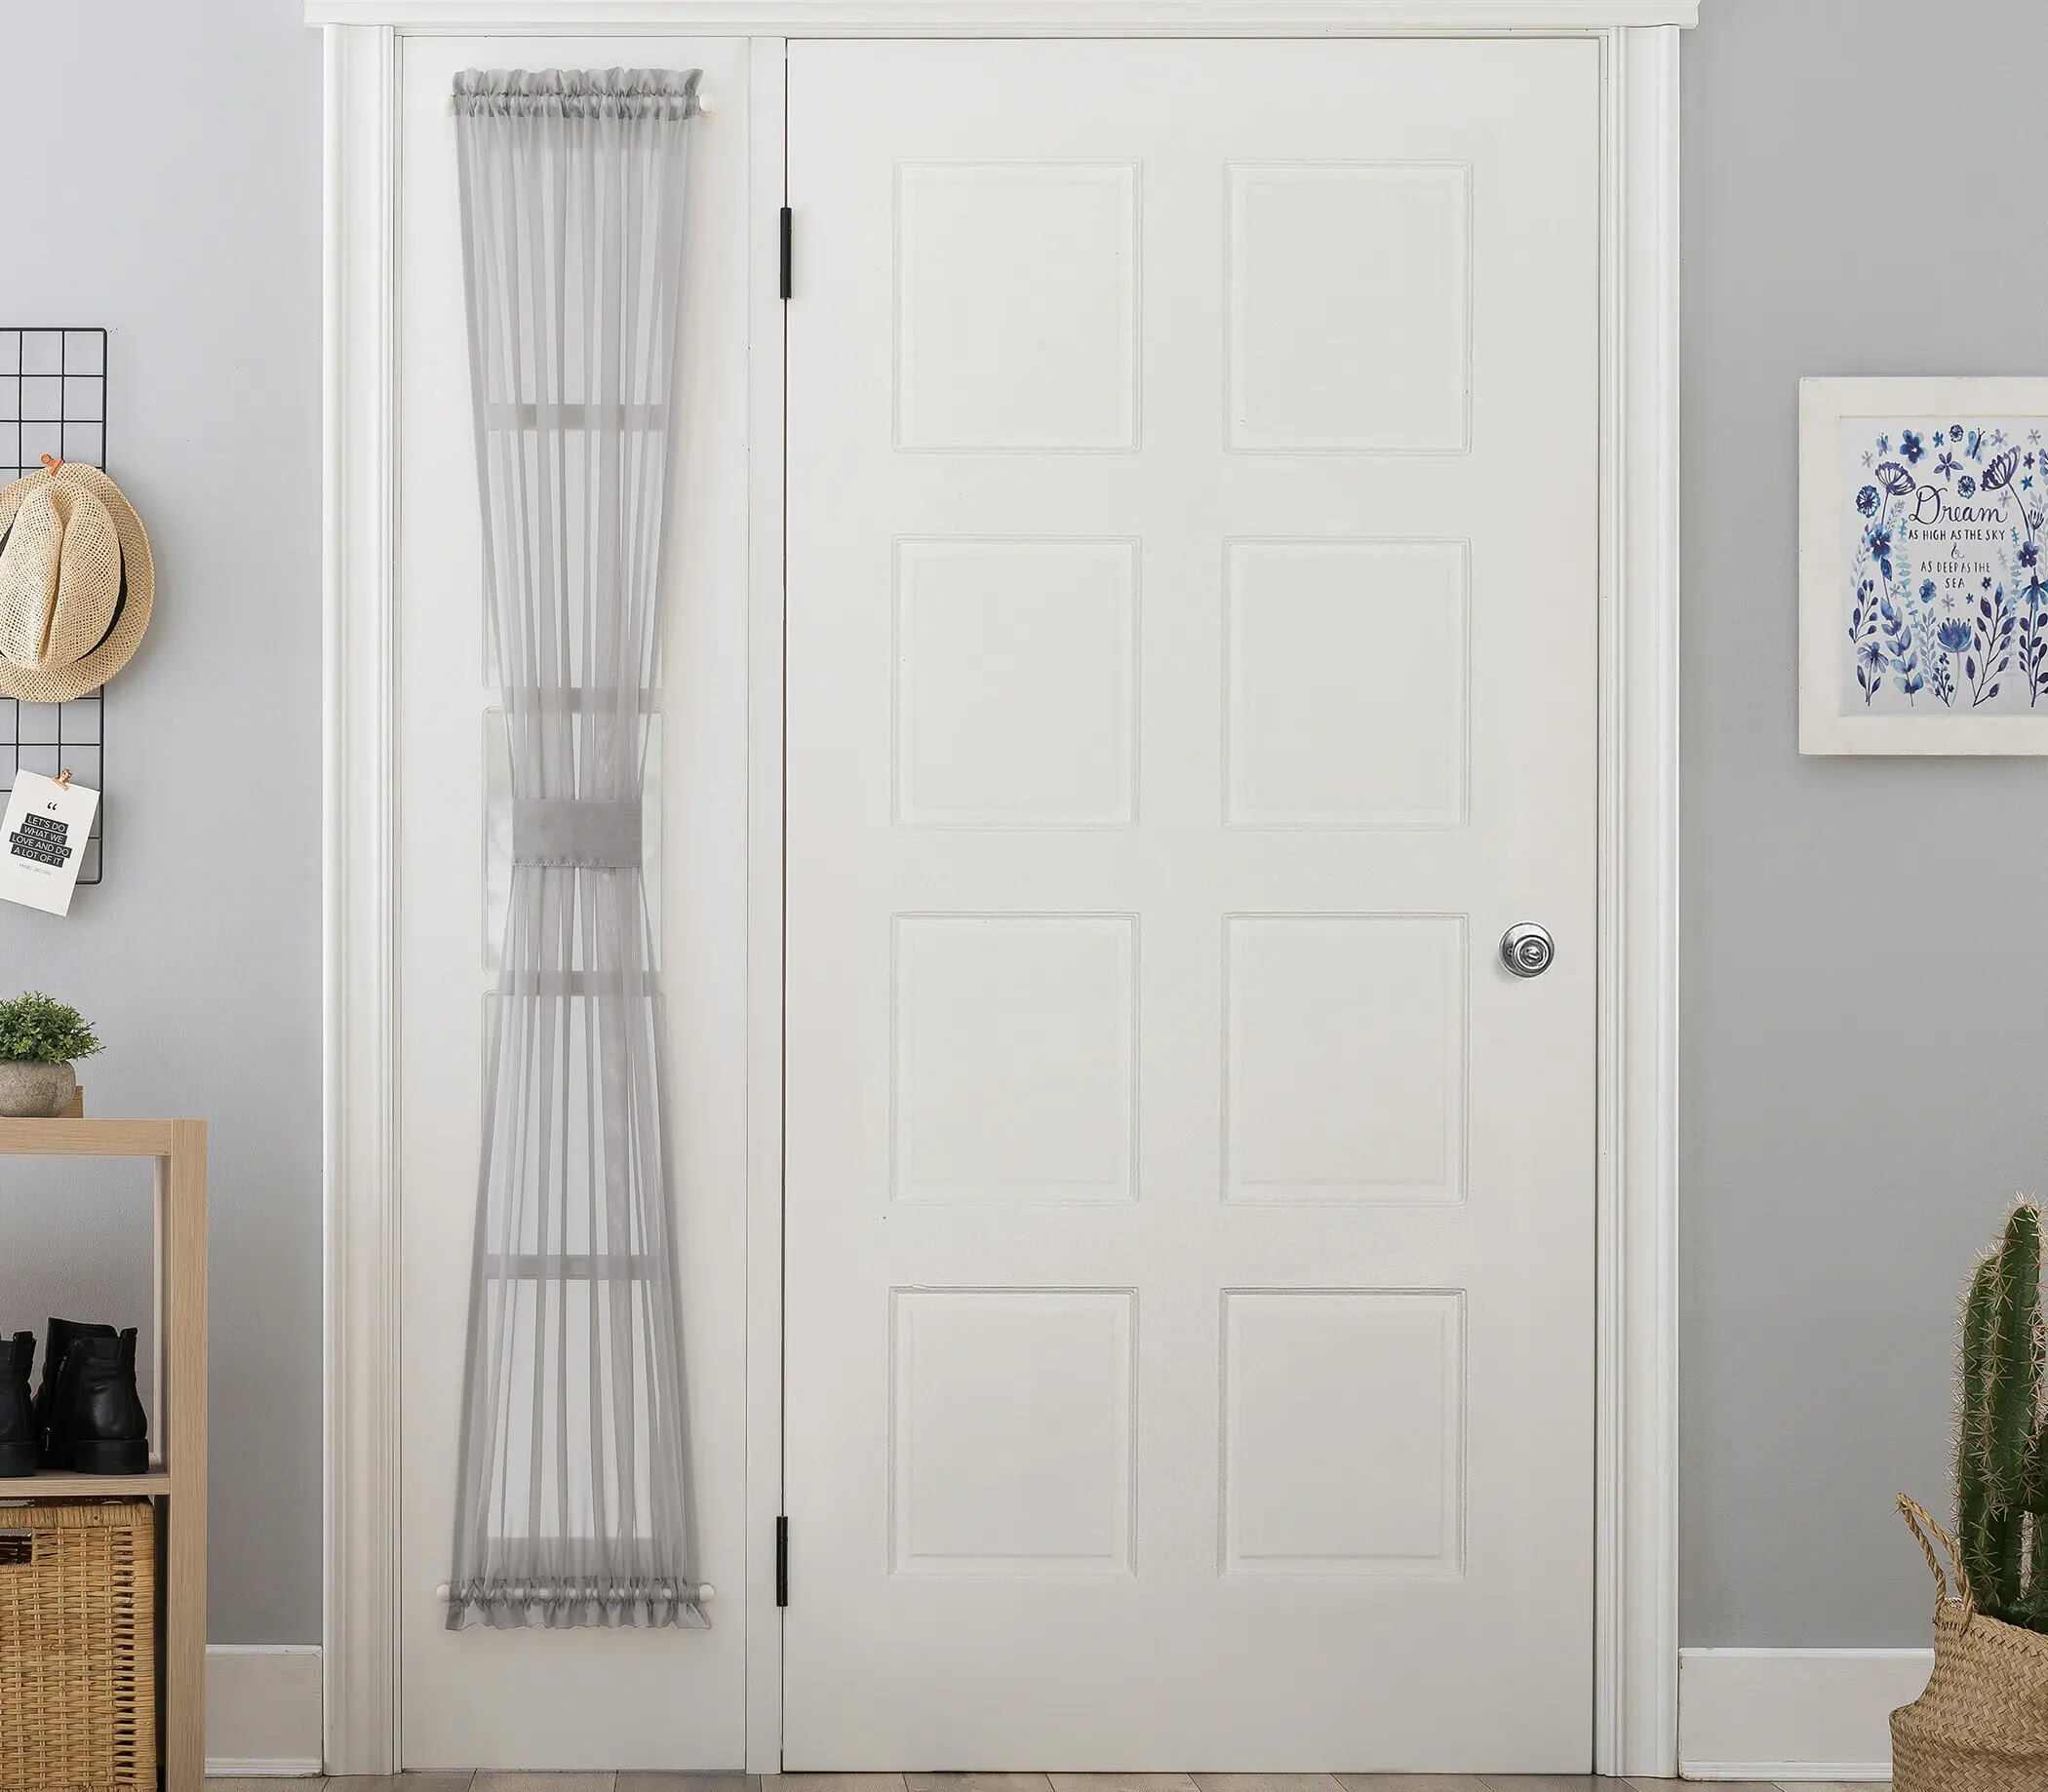
Style: Eyelet curtains offer a contemporary and sleek appearance, making them an ideal choice for modern or minimalist interiors. However, they can also work well in a variety of other design styles, depending on the fabric and pattern chosen. Take into consideration the existing style of your room and choose curtains that will complement it harmoniously.
Fabric: The fabric you select will not only affect the overall look of your curtains but also their functionality. Lighter fabrics such as linen, voile, or sheer materials allow more natural light to filter through, creating an airy and ethereal ambiance. Heavier fabrics like velvet or blackout curtains offer better privacy and light control. Consider the level of privacy and light blocking that you desire when choosing the fabric for your eyelet curtains.
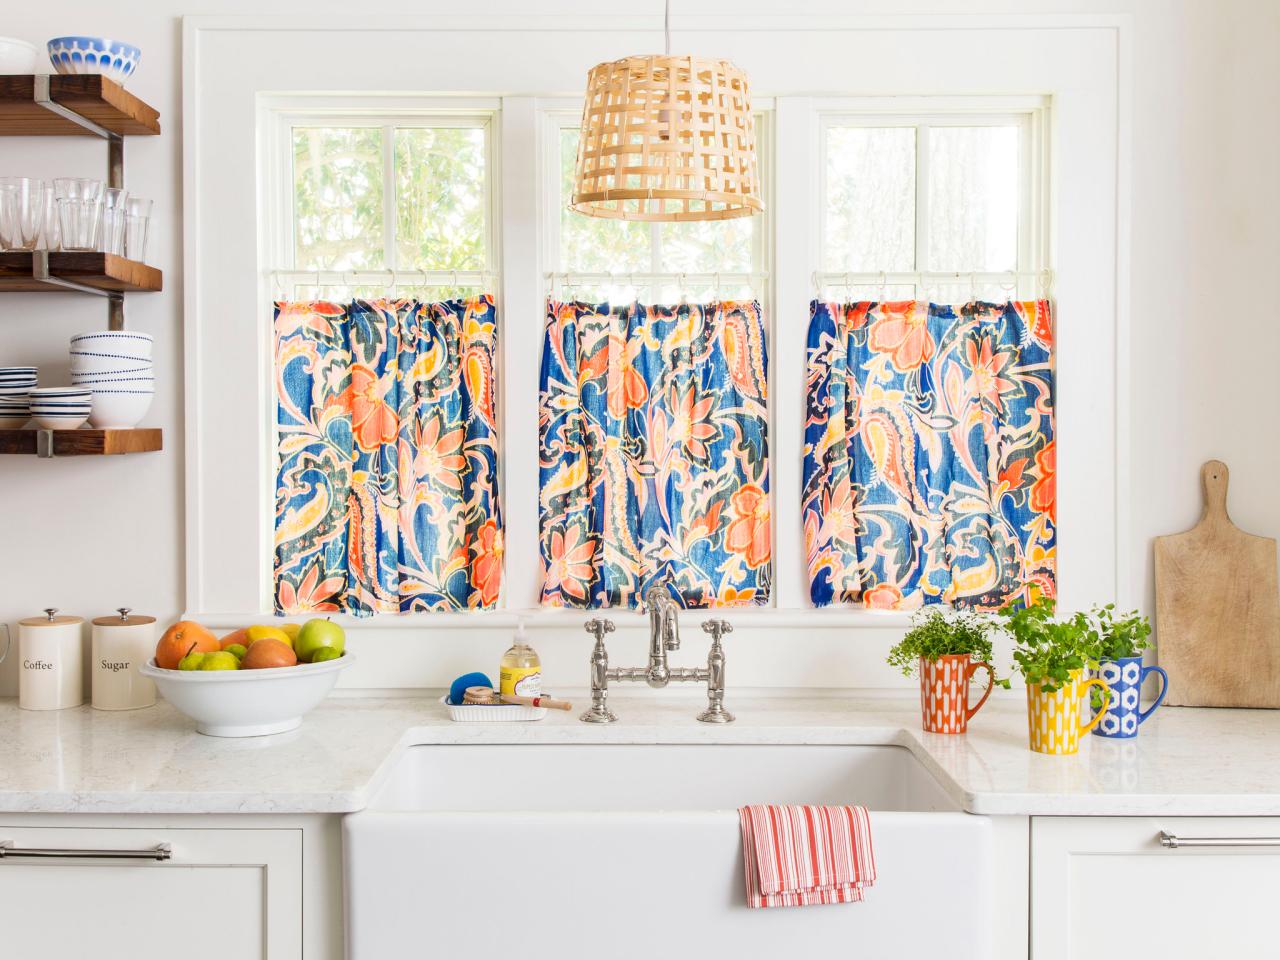
Color: The color of your curtains can greatly impact the overall mood and atmosphere in your room. Neutral colors such as white, beige, or gray can create a calm and serene ambiance, while bolder colors like blue, red, or yellow can add a pop of vibrancy and personality. Consider the existing color scheme in your room and choose curtains that will complement or contrast it effectively.
Functionality: Think about the specific functions you want your curtains to serve. If you’re looking for privacy and light control, opt for curtains with a blackout lining. Thermal curtains can help regulate temperature and reduce energy costs. If you want to enhance acoustics or reduce outside noise, consider soundproof curtains. Determine the functionalities you need and choose curtains that offer those features.
By considering these key factors and taking the time to browse different options, you can choose eyelet curtains that perfectly align with your style, needs, and preferences. This will ensure that your curtains not only enhance the aesthetics of your space but also serve the practical purposes you require.
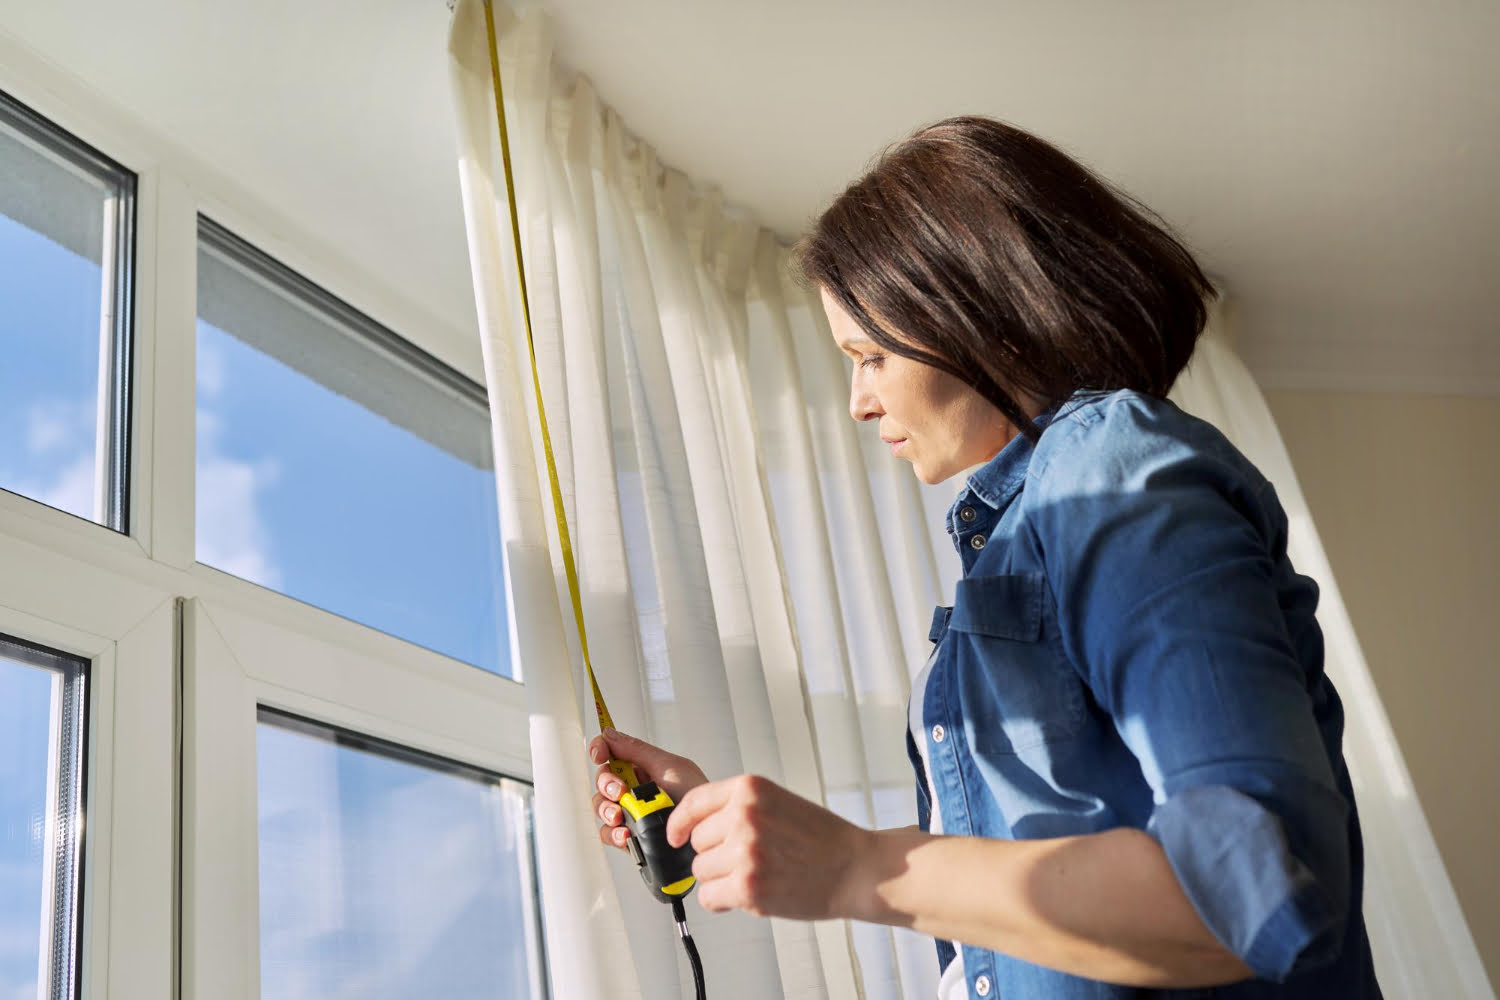
Measuring for the Curtains
Before you can hang your eyelet curtains, it’s crucial to measure your windows accurately. Proper measurements will ensure that the curtains fit perfectly and hang beautifully. Here’s a step-by-step guide to measuring for your curtains:
- Width: Measure the width of the curtain rod or track. For eyelet curtains, you’ll want the width to be around 1.5 to 2 times the width of your window. This extra fabric allows the curtains to gather nicely when they are open and creates an elegant drape when closed.
- Length: Determine where you want the curtains to fall. Common choices include just above the windowsill, to the floor, or even pooling on the floor for a luxurious look. Measure from the curtain rod or track down to your desired length. Add a few extra inches to account for the length of the eyelet header and any additional clearance you want.
- Overlap: If you have multiple curtain panels, measure the amount of overlap you want in the middle when the curtains are closed. Typically, an overlap of 2-3 inches is sufficient.
It’s worth mentioning that getting accurate measurements is crucial, especially if you plan to purchase ready-made eyelet curtains. If the measurements are incorrect, you may end up with curtains that are too short or too long for your windows.
Once you have the measurements, remember to double-check them before making any purchases. It’s better to be precise from the start rather than having to make adjustments later on.
By taking the time to measure your windows correctly, you can ensure that the eyelet curtains you choose will fit perfectly and create a polished and professional look when hung.
Gathering the Necessary Tools
Before you begin the process of hanging your eyelet curtains, it’s important to gather all the necessary tools. Having the right tools on hand will make the installation process much smoother and more efficient. Here are the essential tools you’ll need:
- Tape measure: A tape measure is crucial for accurately measuring your windows and determining the ideal length and width for your curtains.
- Pencil: A pencil will come in handy for marking the positions where you’ll mount the curtain rod brackets.
- Screwdriver: Depending on the type of brackets you’re using, you may need a screwdriver to securely mount them to the wall or window frame.
- Screws and wall anchors: Make sure you have the appropriate screws and wall anchors if needed to ensure a sturdy installation. Consider the weight of your curtains and the type of walls or window frames you have when choosing the right screws and wall anchors.
- Level: A level will help ensure that your curtain rod is straight and aligned properly.
- Step stool or ladder: If your windows are high or difficult to reach, you may need a step stool or ladder for safe and comfortable access when installing the curtains.
- Optional: Power drill: If you prefer using a power drill instead of a screwdriver, make sure you have it fully charged and have the appropriate drill bits for the screws and wall anchors you’ll be using.
Having these tools readily available before you start the installation process will save you time and frustration. It’s always better to be prepared so that you can proceed with confidence and complete the setup smoothly.
Keep in mind that the specific tools required may vary depending on the type of brackets and curtains you’re using, as well as the characteristics of your windows and walls. Be sure to check the instructions provided by the curtain rod manufacturer or consult with a professional if you have any doubts about the tools needed for your specific setup.
Preparing the Curtain Rod
Before you can hang your eyelet curtains, it’s important to properly prepare the curtain rod. Here are the steps to follow:
- Choose the appropriate curtain rod: Select a curtain rod that is suitable for the weight and length of your curtains. Ensure that it extends wide enough to cover the entire window opening for adequate coverage.
- Assemble the curtain rod: If your curtain rod comes in multiple pieces, carefully follow the manufacturer’s instructions to assemble it correctly. This usually involves inserting the rod sections together and securing them with screws or other connecting mechanisms.
- Attach the finials: Finials are decorative endpieces that are attached to the outer ends of the curtain rod. Depending on the design, they may screw on or slide onto the rod. Follow the instructions provided with your curtain rod to attach the finials securely.
It’s important to note that some curtain rods may have specific instructions or requirements for assembly and finial attachment. Always refer to the manufacturer’s guidelines to ensure proper installation and usage.
Before proceeding to install the curtain rod brackets, it’s a good idea to double-check the measurements and ensure that the rod is properly aligned with the window opening. Use a tape measure and level to confirm that everything is set correctly.
Once you have prepared the curtain rod, you’re ready to move on to the next step of installing the curtain rod brackets.
Stay tuned for the next section to learn how to install the brackets and hang your eyelet curtains with ease.
When hanging eyelet curtains, make sure to measure the height of the curtain rod and the distance from the rod to the floor to ensure the curtains hang evenly and at the desired length.
Read more: How To Hang Curtains With Sheers
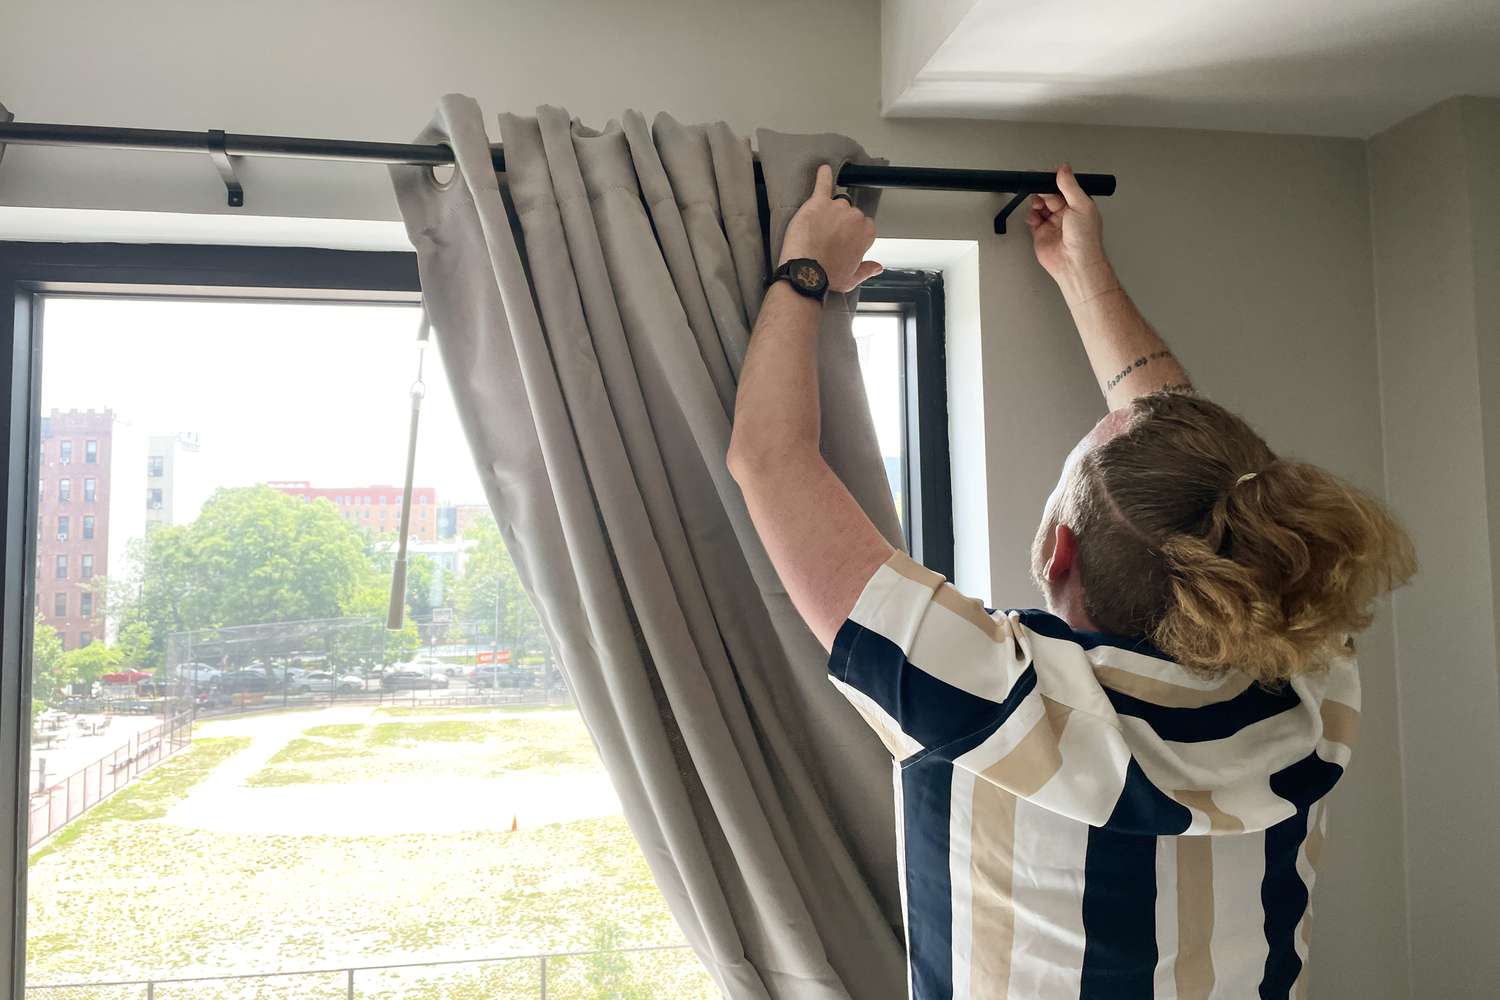
Installing the Curtain Rod Brackets
Installing the curtain rod brackets is a crucial step in hanging your eyelet curtains securely and ensuring proper support for the rod. Here’s a step-by-step guide to help you install the brackets:
- Locate the position: Use a tape measure and pencil to mark the desired position of the brackets on the wall or window frame. Ensure that the marks are level and evenly spaced.
- Check for stud placement: If possible, it is best to install the brackets into wall studs for maximum stability and support. Use a stud finder or knock on the wall to determine if there are studs behind the marked positions. If studs are present, mark the stud locations on the wall.
- Mount the brackets: If there are no studs directly behind the marked positions, you will need to use wall anchors. Follow the manufacturer’s instructions to install the wall anchors securely. Then, align the brackets over the marks and attach them to the wall or window frame using screws or the appropriate mounting hardware.
- Ensure level installation: Use a level to check that the brackets are aligned correctly and are level. Make any necessary adjustments to ensure a straight and even installation.
It’s worth noting that the specific installation process may vary depending on the type of curtain rod brackets you have. Some brackets may require additional steps or come with unique installation mechanisms. Always refer to the instructions provided with your brackets for the most accurate guidance.
Once the brackets are securely mounted, give them a slight tug to ensure they’re sturdy enough to support the weight of the curtains. This will help prevent any potential accidents or damage in the future.
With the curtain rod brackets installed, you’re now ready to move on to the next step of hanging the eyelet curtains.
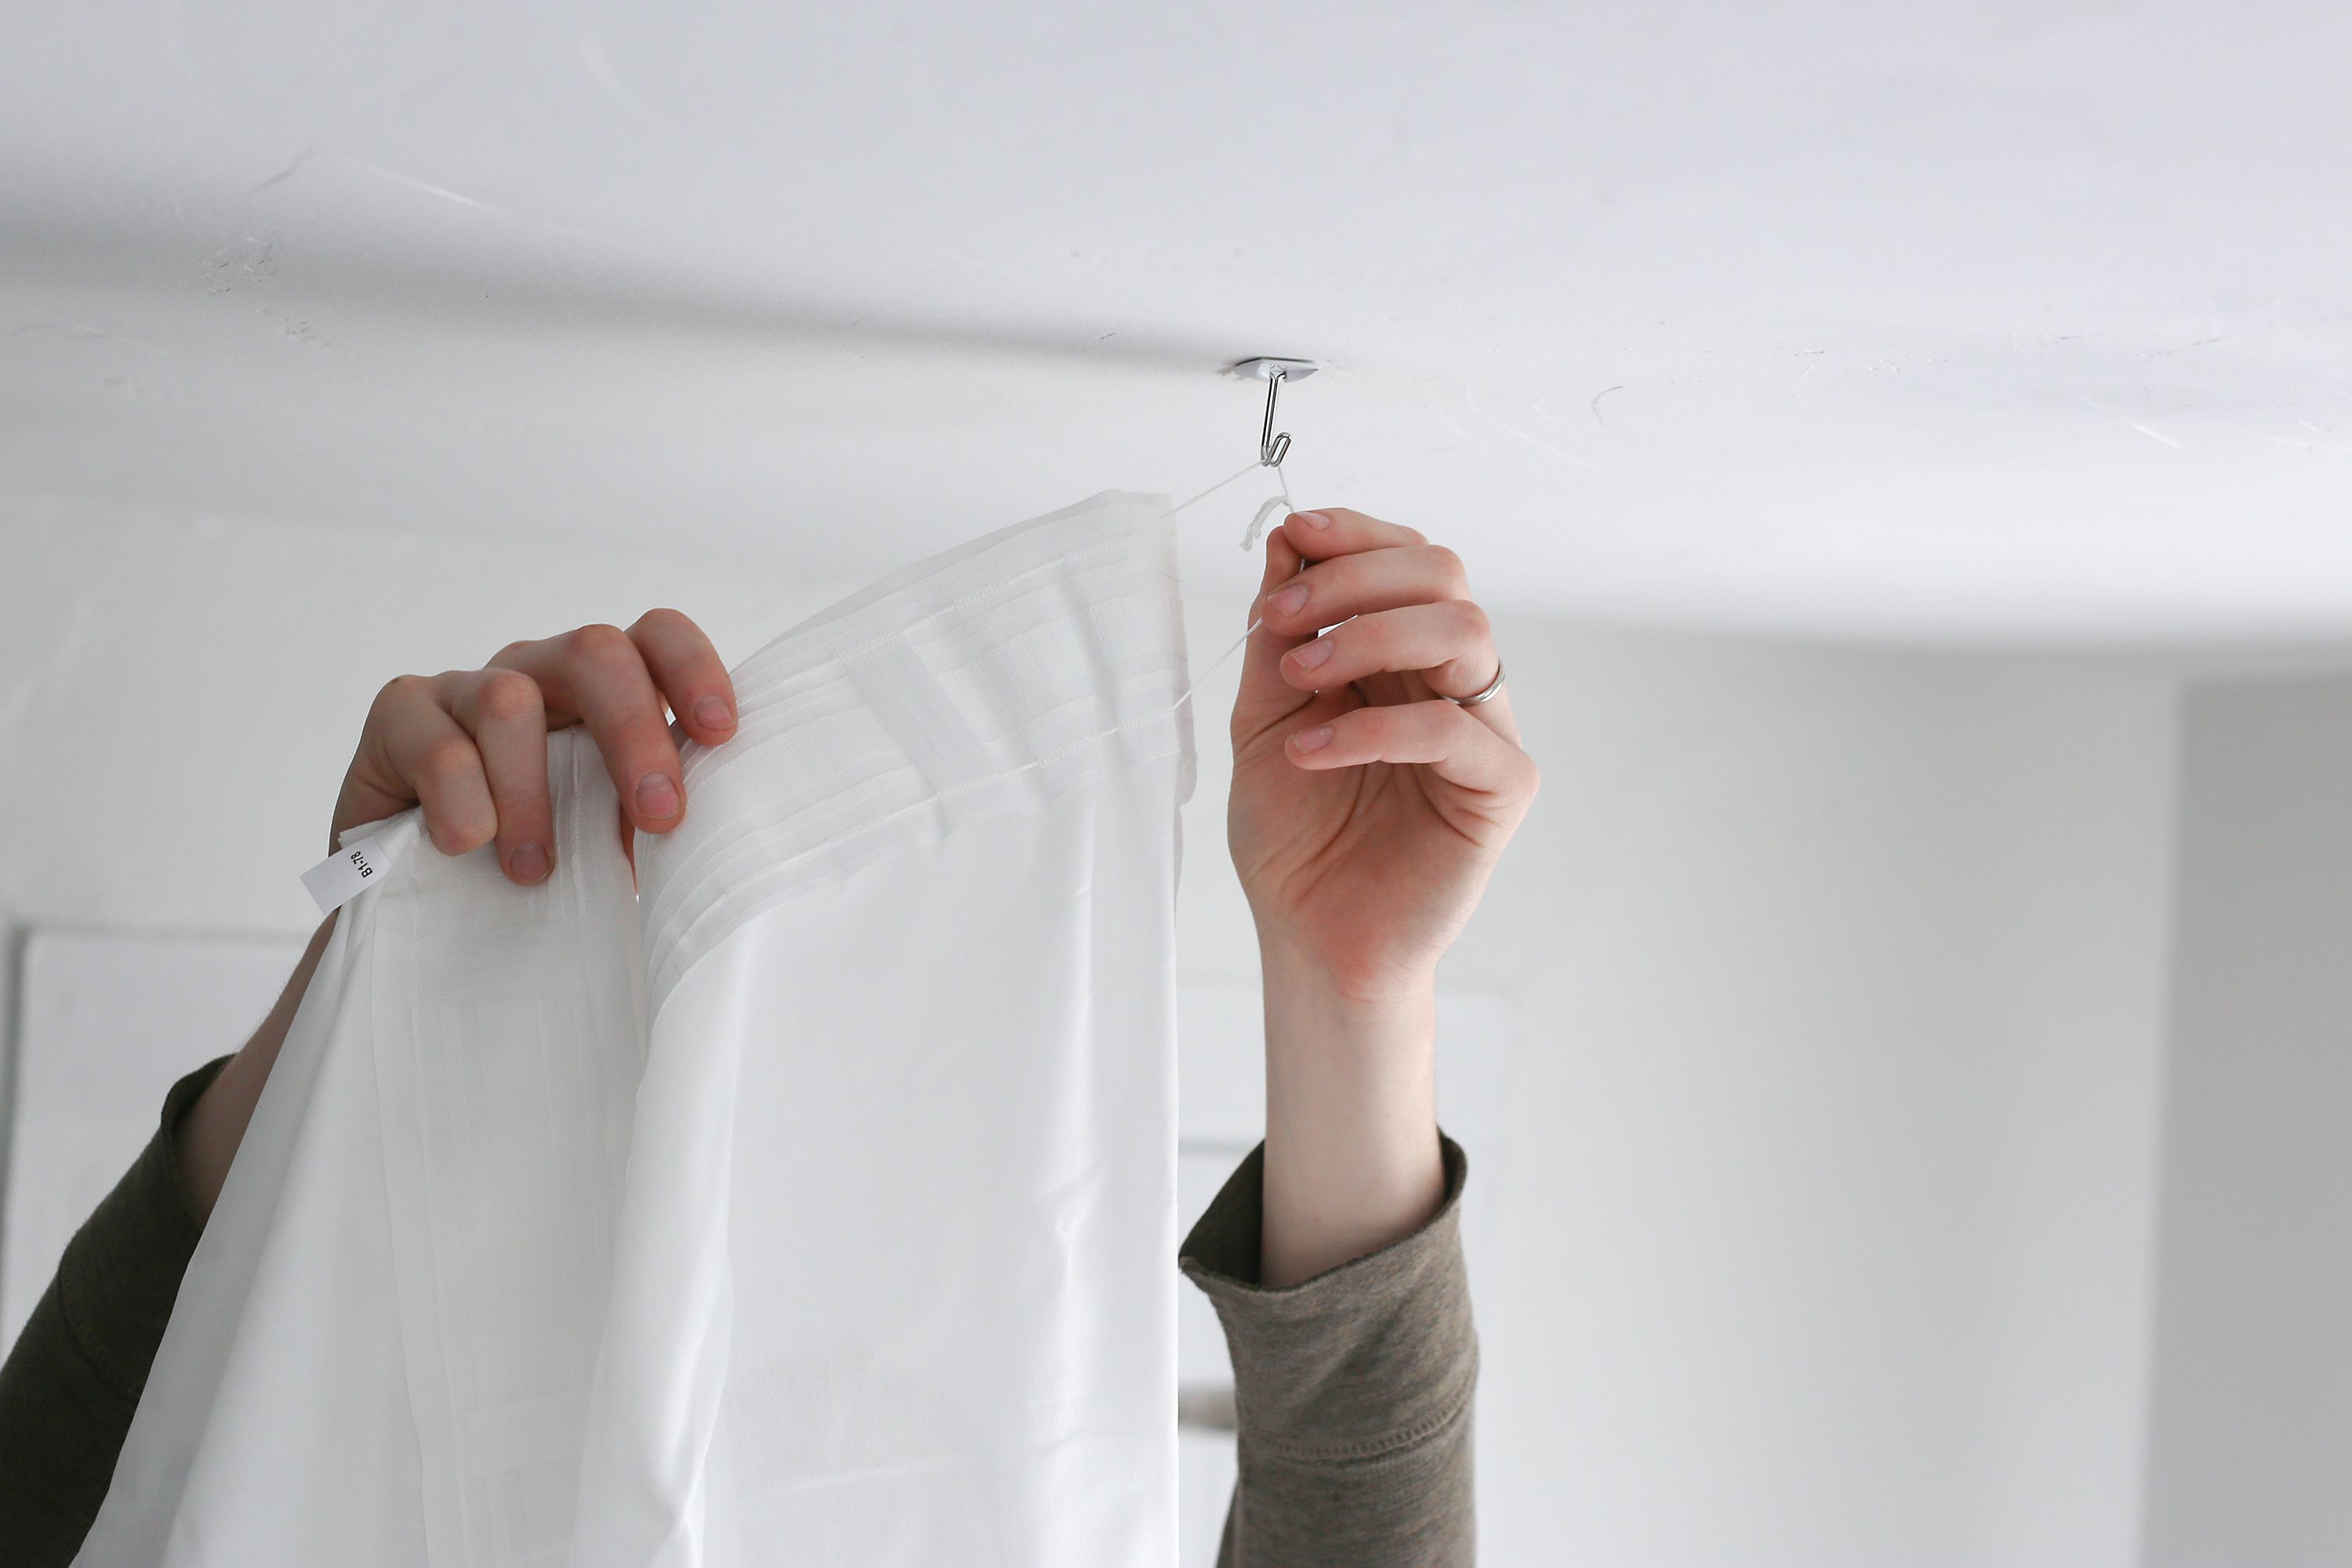
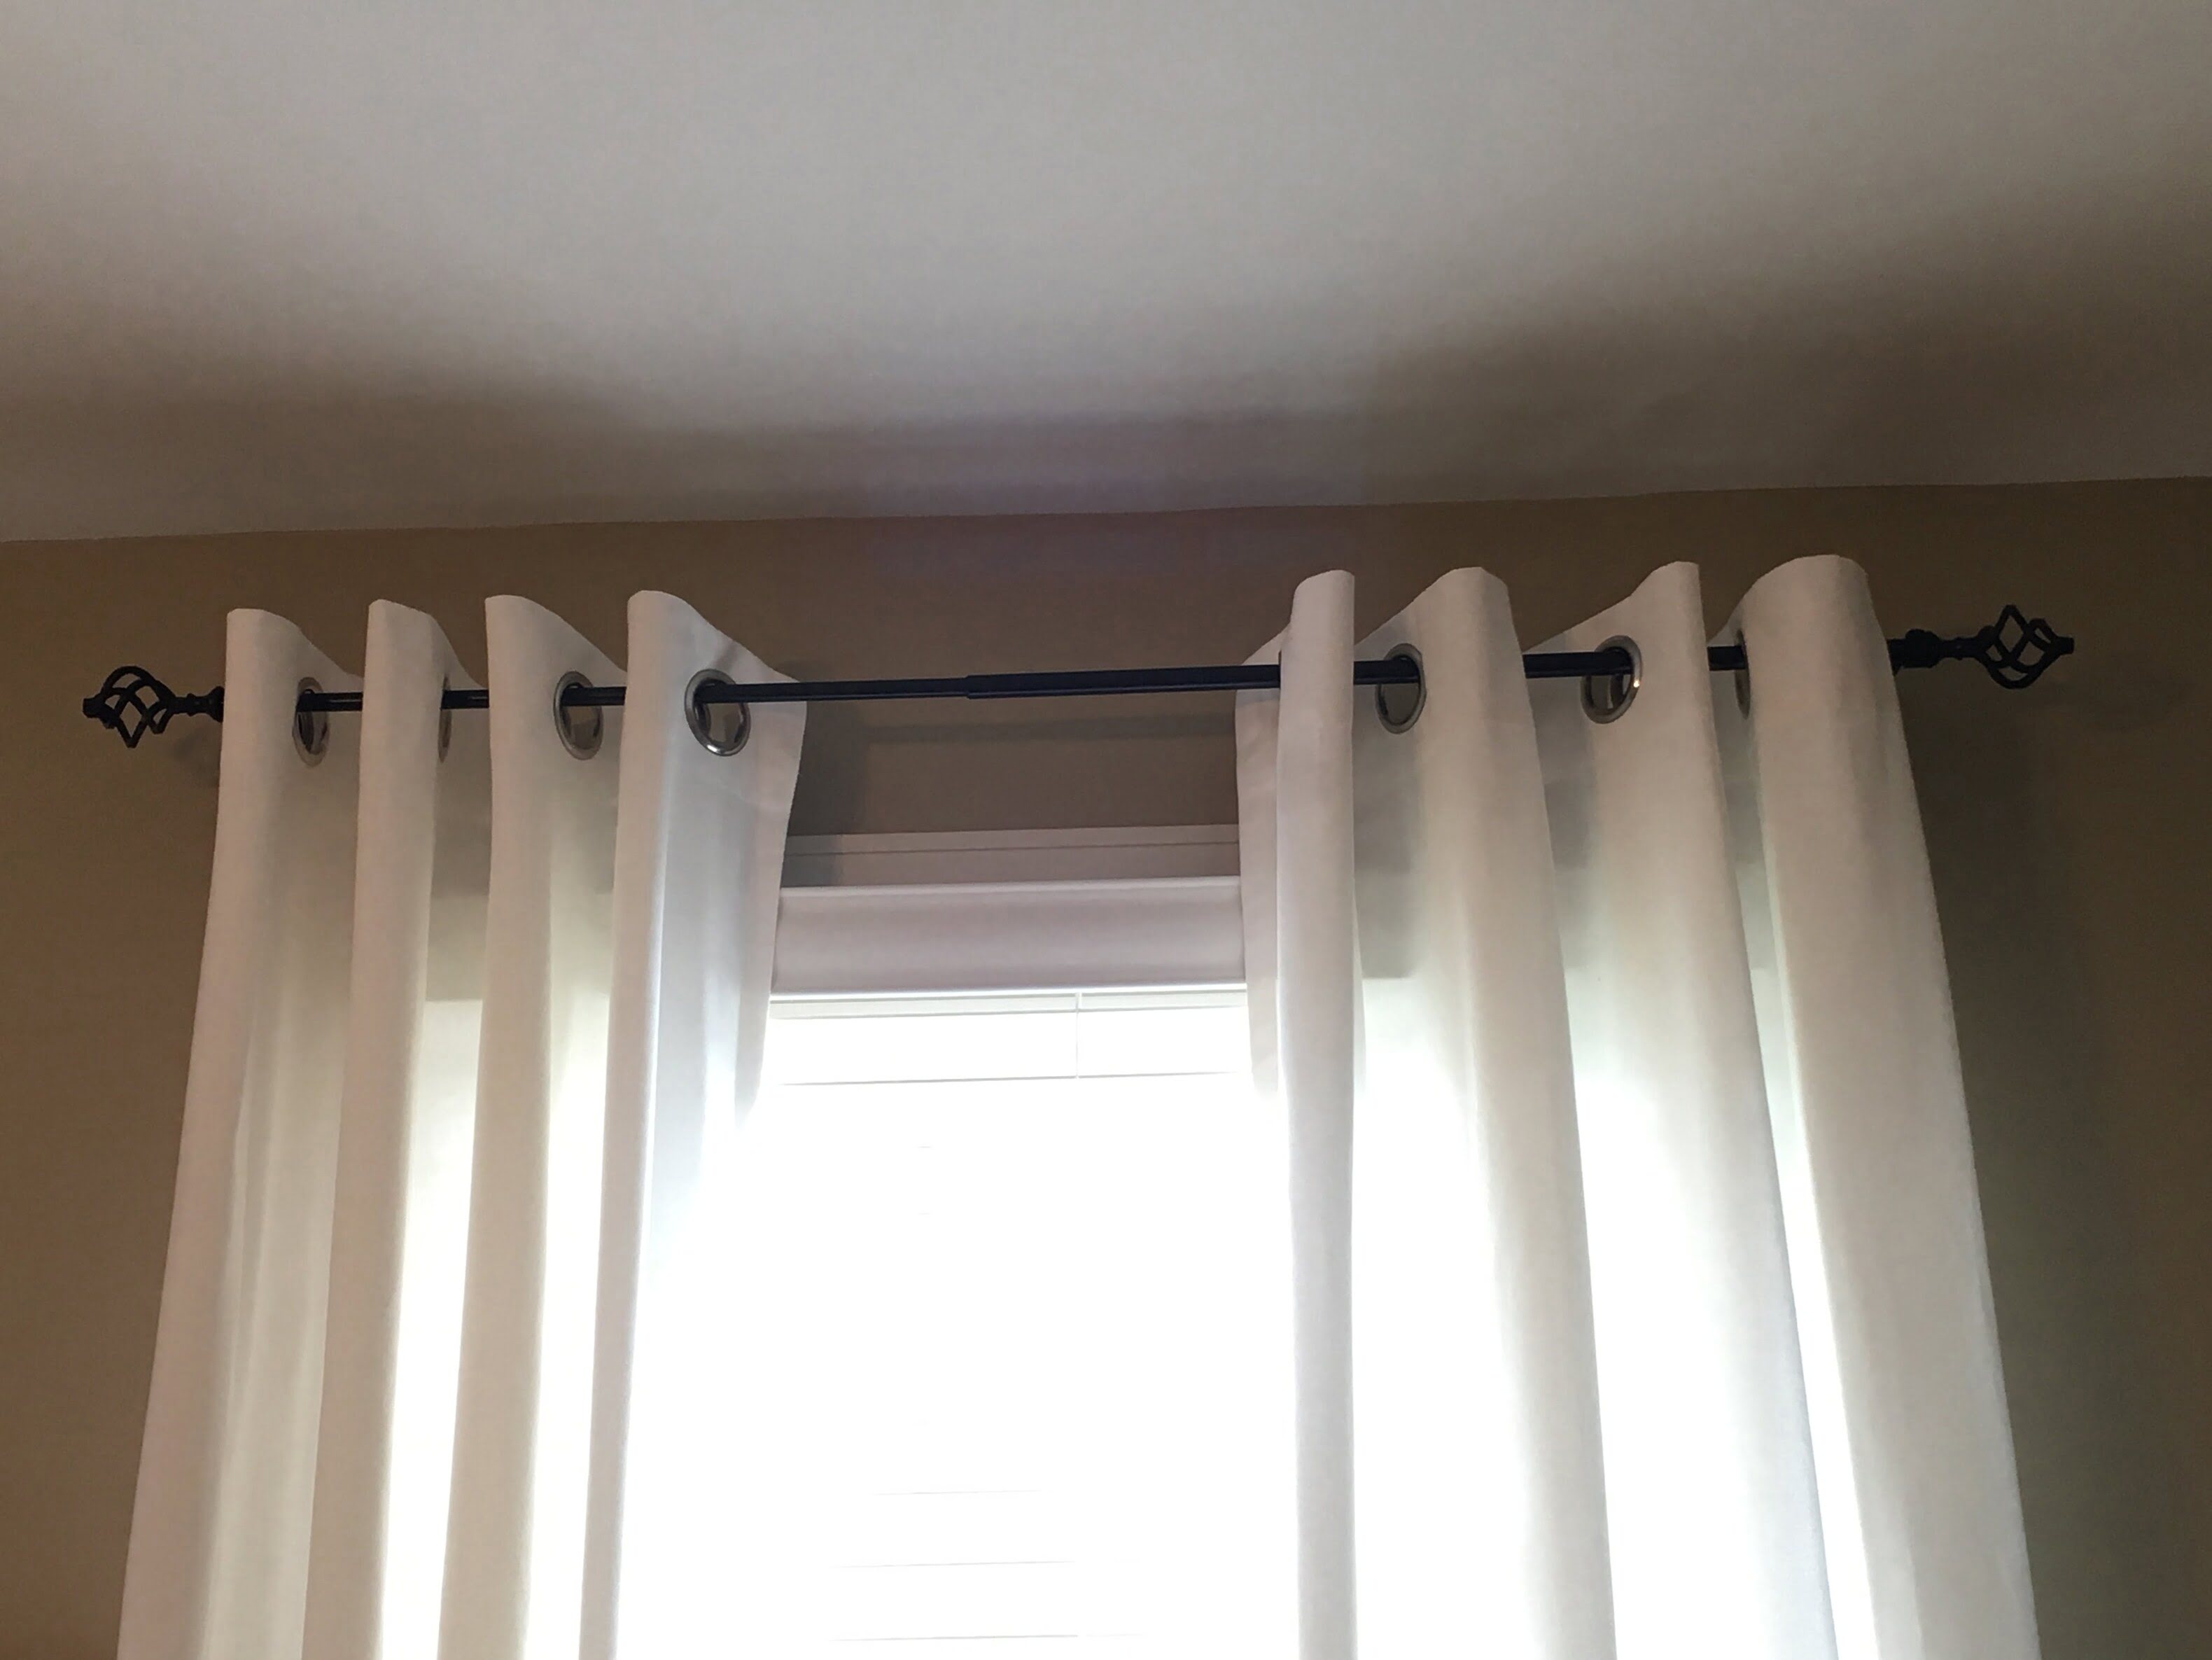
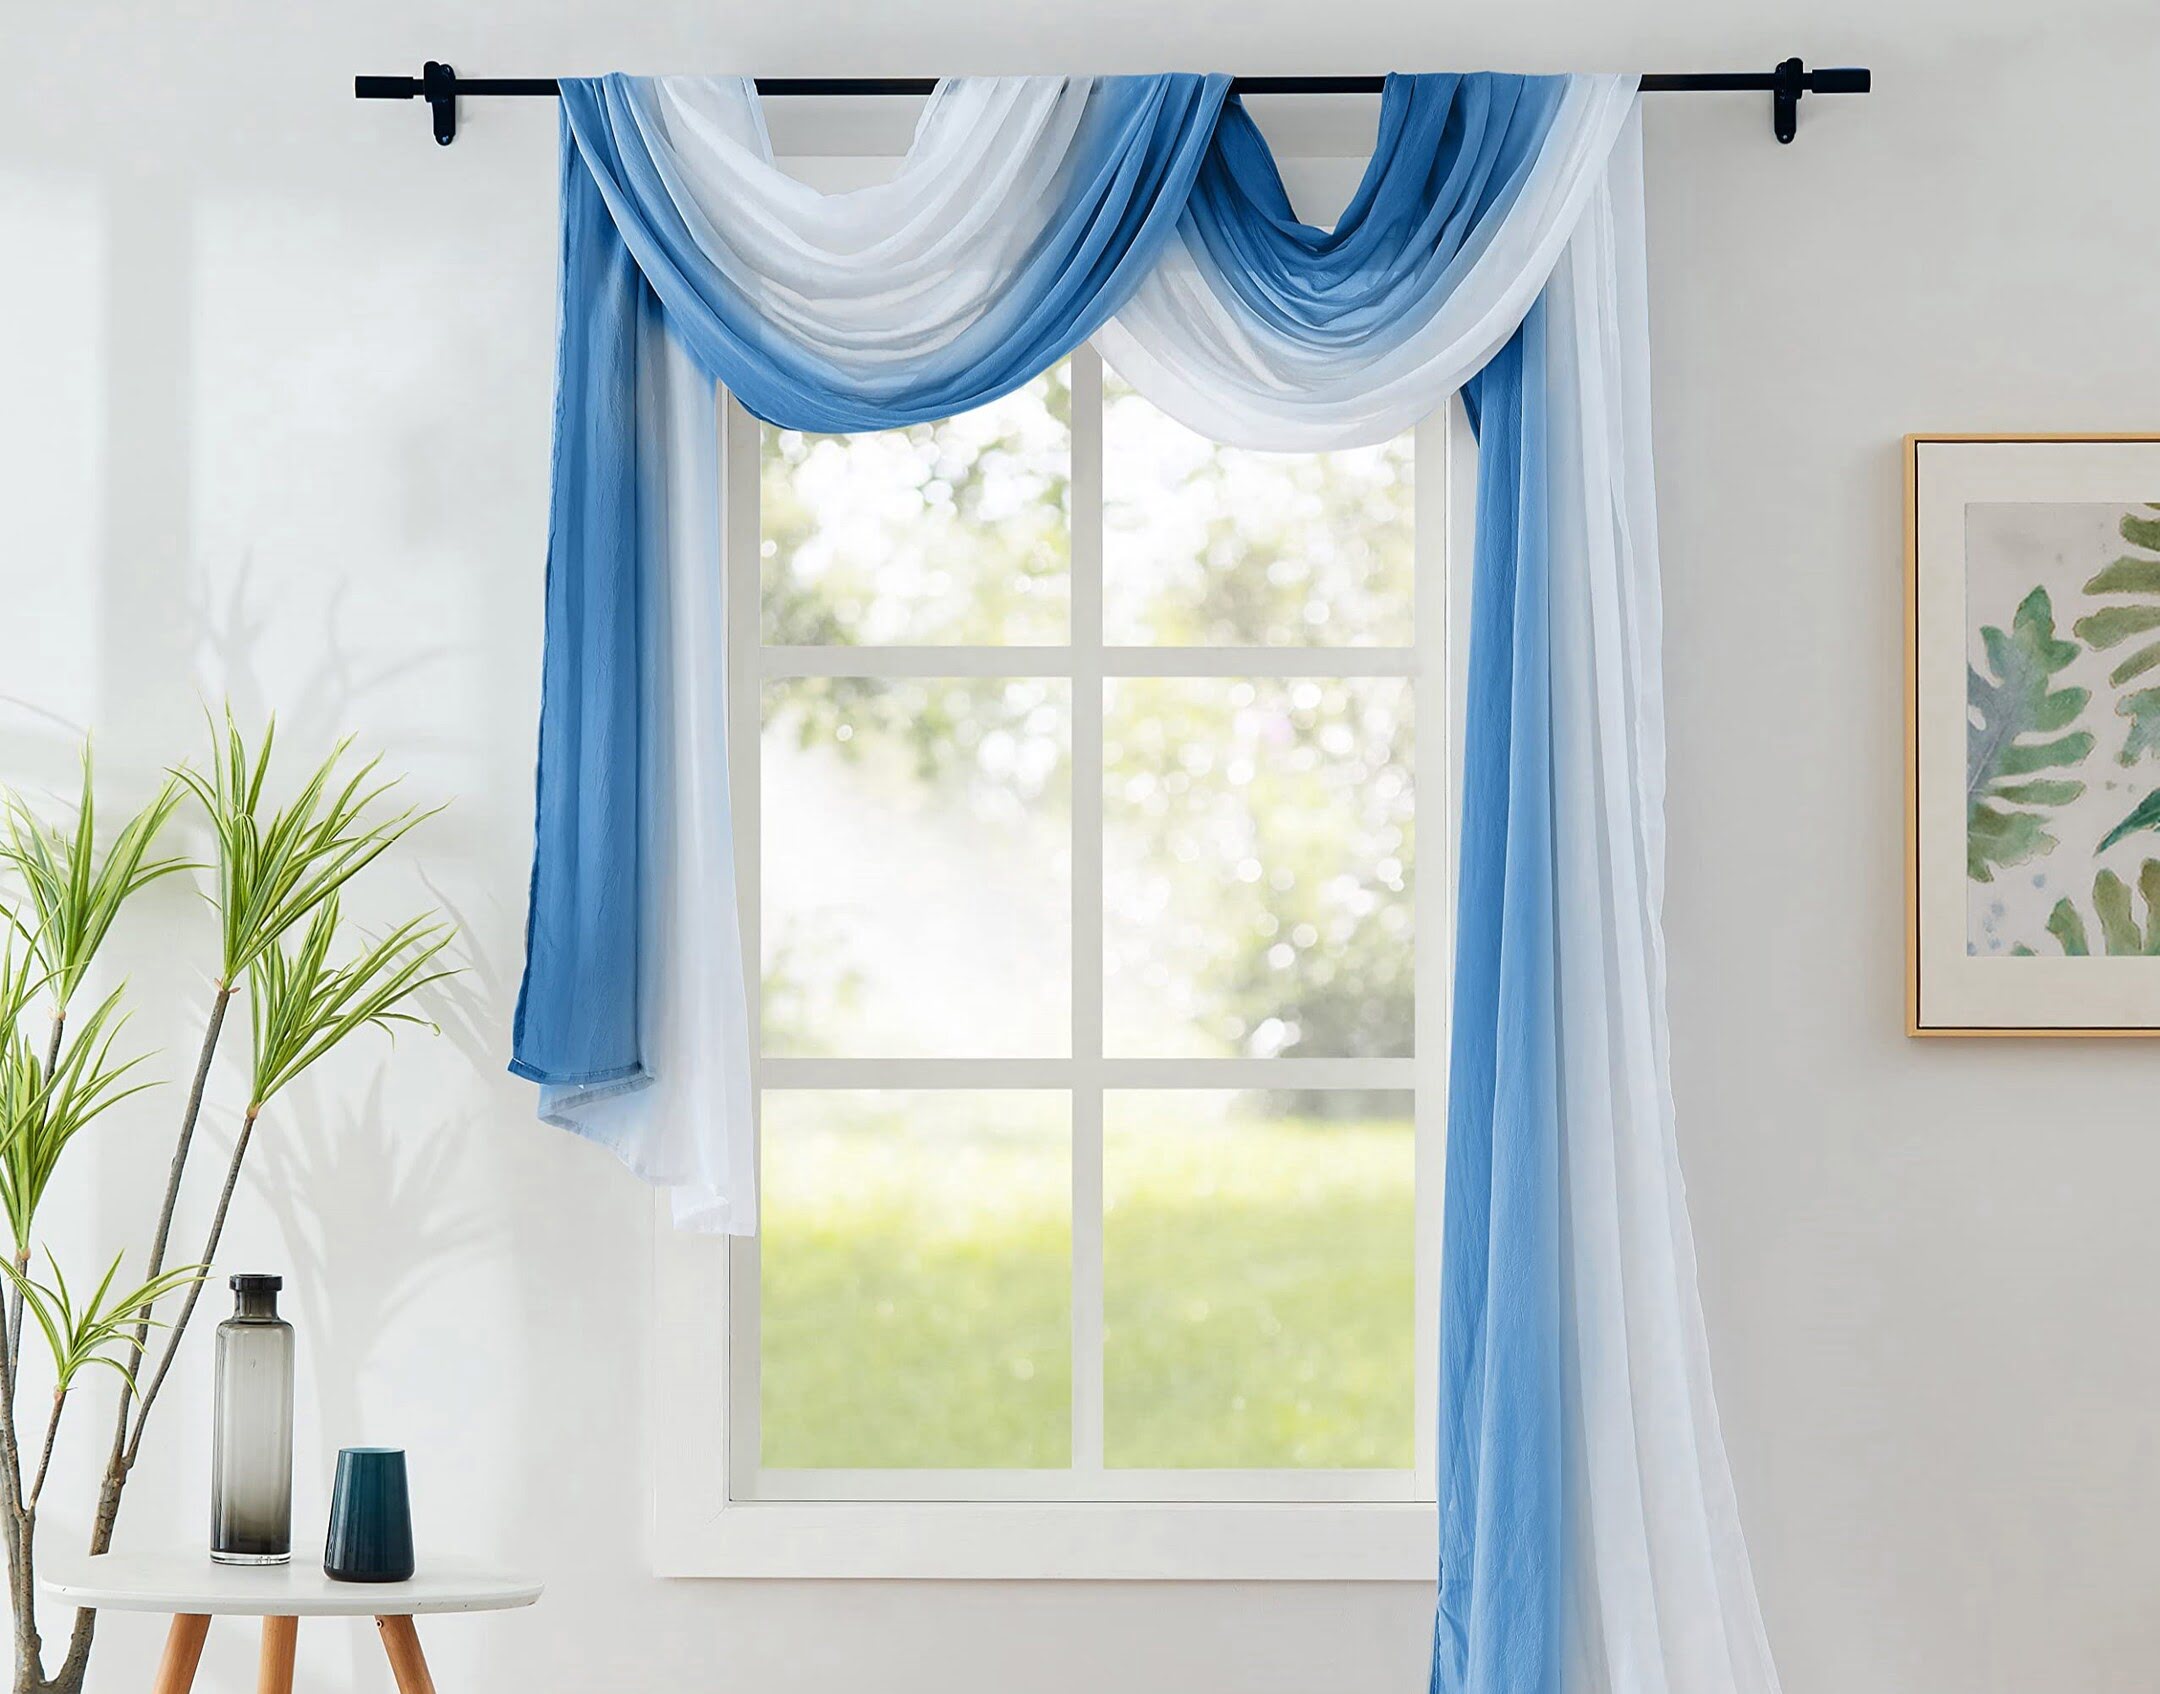
Hanging the Eyelet Curtains
With the curtain rod brackets in place, it’s time to hang your eyelet curtains. Follow these step-by-step instructions to ensure a smooth and successful installation:
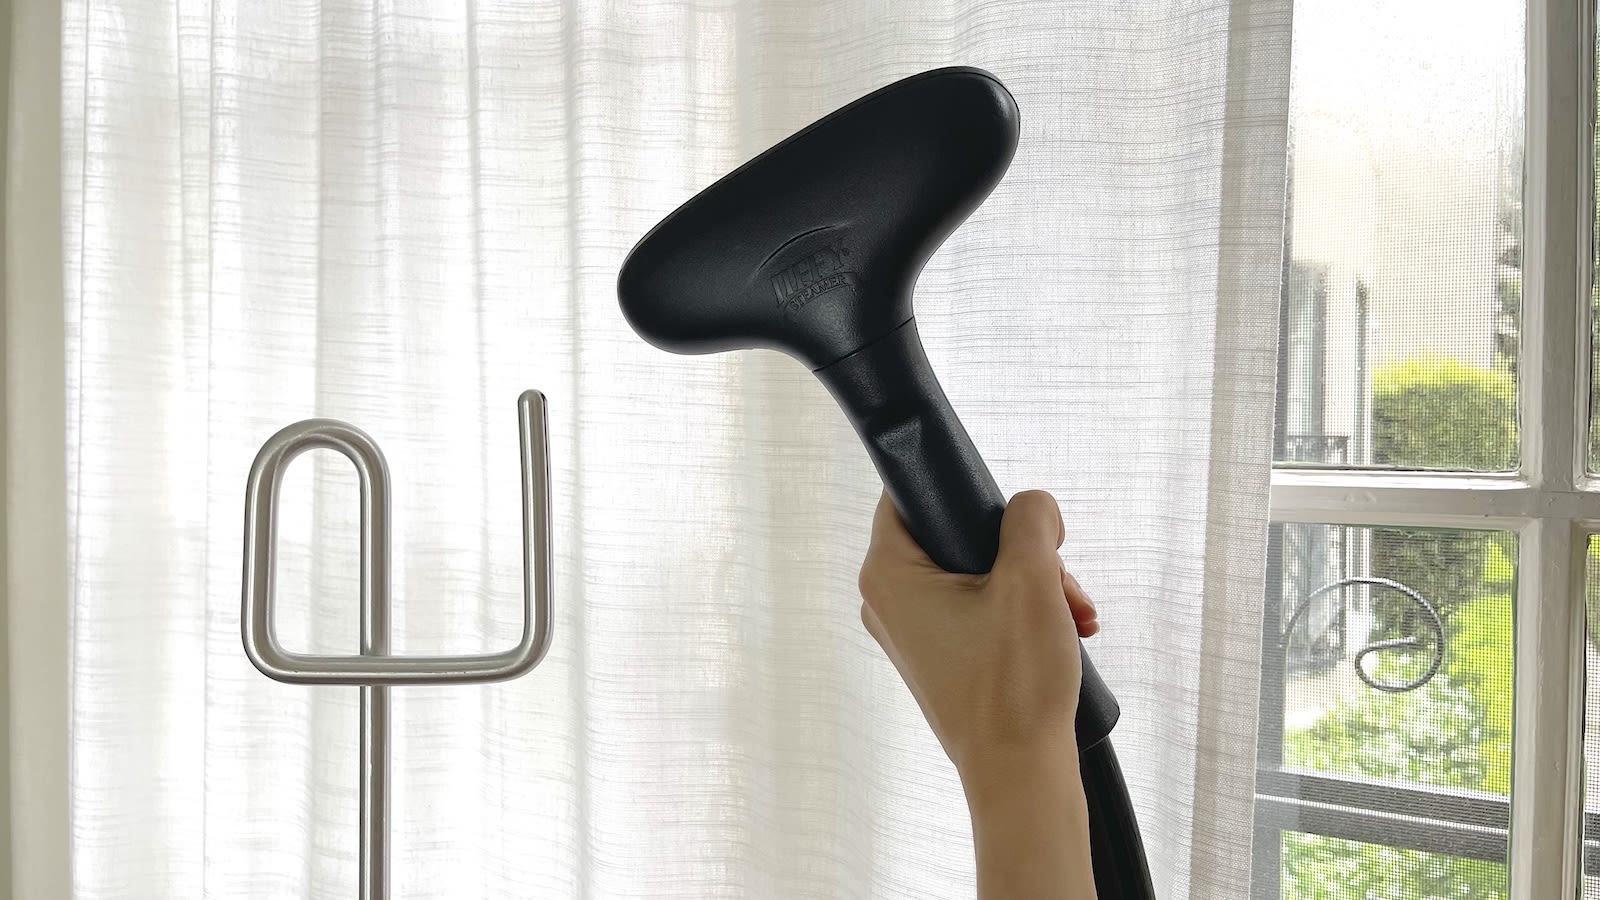
- Prepare the curtains: Start by gently ironing or steaming the curtains to remove any wrinkles or creases. This will help them hang neatly and enhance their appearance.
- Thread the curtains onto the rod: Hold the curtain rod and thread each eyelet of the curtain onto the rod one by one. Carefully slide the curtains along the rod until they are evenly distributed.
- Center the curtains: Once all the eyelets are on the rod, adjust the curtains so that they are evenly distributed and centered. This will help create a balanced and aesthetically pleasing look.
- Place the curtain rod on the brackets: Carefully lift the curtain rod with the attached curtains and place it onto the brackets. Ensure that the rod securely rests on the brackets and is properly balanced.
- Secure the curtains: Depending on the type of curtain rod you have, it may come with additional mechanisms to secure the curtains in place. Follow the manufacturer’s instructions to fasten the curtains, whether it’s using finials or other attachments provided.
As you hang the curtains, take a step back periodically to assess the overall appearance and adjust if necessary. Ensure that they hang evenly and align with the window frame for a polished and professional look.
Once the curtains are hung, give them a gentle tug to make sure they are securely in place. This will help prevent any accidental falling or displacement.
Congratulations! You have successfully hung your eyelet curtains. It’s time to step back, admire your work, and enjoy the new look they have brought to your space.
Adjusting and Aligning the Curtains
After hanging your eyelet curtains, it’s important to take the time to adjust and align them properly to achieve a polished and visually appealing result. Here are some steps to follow:
- Check the length: Stand back and assess the length of the curtains. Ensure that they are all hanging at the desired length and are even across the bottom. If any adjustments need to be made, take note of the areas that need attention.
- Align the panels: If you have multiple curtain panels, make sure they are aligned properly. Check that the panels are hanging at an equal height, without any noticeable gaps or overlaps. Adjust the position of the panels as needed to create a cohesive and balanced look.
- Even out the fullness: Eyelet curtains often have a soft and gathered appearance when closed. If you prefer a fuller look, gently pull or spread apart the fabric in between the eyelets to create more volume and depth. This will give the curtains a more luxurious and elegant appearance.
- Ensure proper coverage: Check that the curtains are covering the desired width of the window. Adjust the position of the curtain rod if needed to ensure that the curtains adequately cover the window opening, offering privacy and protection from sunlight.
Throughout this process, remember to step back frequently and assess the overall appearance. Pay attention to details such as symmetry, balance, and alignment. Take the time to make any necessary adjustments to achieve a visually pleasing and harmonious look.
It’s also important to note that personal preferences and the style of your space may influence some of these adjustments. Trust your instincts and make changes that align with your vision and the overall aesthetic of the room.
By taking the time to adjust and align your eyelet curtains, you ensure that they not only enhance the functionality of your windows but also contribute to the overall design and ambiance of your space.
Final Touches and Considerations
Once you have hung and adjusted your eyelet curtains, there are a few final touches and considerations to keep in mind to ensure that they are properly maintained and continue to enhance the beauty of your space:
- Finishing touches: Take a moment to step back and admire your newly hung curtains. Smooth out any wrinkles or creases that may have appeared during the installation process. Arrange the fabric to create a clean and polished appearance.
- Regular cleaning: Eyelet curtains, like any other type of curtains, require regular cleaning to keep them fresh and looking their best. Follow the manufacturer’s instructions for cleaning, whether it’s machine washing, dry cleaning, or spot cleaning. Proper care will help maintain the fabric’s quality and prolong the lifespan of your curtains.
- Consider additional window treatments: Depending on your needs and style preferences, you may want to pair your eyelet curtains with other window treatments such as sheer curtains, blinds, or valances. These additional layers can offer increased light control, privacy, or decorative elements to further enhance your windows.
- Save spare eyelets: Some eyelet curtains come with extra eyelets in case of damage or loss. Keep these spare eyelets in a safe place for future replacements if needed.
- Periodic adjustments: Over time, curtains may shift or settle. Periodically check the alignment and appearance of your eyelet curtains and make any necessary adjustments to maintain their desired look.
Remember that each curtain installation may have specific considerations based on the unique characteristics of your space and curtains. Follow the guidelines provided by the manufacturer or seek advice from a professional if you encounter any challenges or have specific concerns.
With your eyelet curtains hung and properly cared for, you can enjoy the added beauty, style, and functionality they bring to your home. Sit back and relish the cozy ambiance and privacy that your curtains provide, creating a warm and welcoming atmosphere in your space.
Read more: How To Hang Curtains On Gazebo
Conclusion
Hanging eyelet curtains can be a rewarding and fulfilling DIY project that can transform the look and feel of any room. By following the steps outlined in this guide, you can successfully install your eyelet curtains and create a stylish and functional window treatment.
From choosing the right curtains and measuring accurately to gathering the necessary tools and preparing the curtain rod, each step plays a crucial role in ensuring a seamless installation. Taking the time to adjust and align the curtains and considering the final touches will help create a polished and visually pleasing result.
Remember to infuse your own personal style and preferences into the process. Whether you opt for neutral colors and lightweight fabrics for a breezy and airy feel or bold colors and luxurious materials for a statement look, your eyelet curtains can reflect your unique taste and enhance the overall ambiance of your space.
Regular cleaning and periodic adjustments will help maintain the quality and appearance of your curtains over time. Don’t hesitate to consult the manufacturer’s instructions or seek professional advice if needed.
Now that you have the knowledge and confidence to hang your eyelet curtains, go ahead and bring a touch of elegance and sophistication to your windows. From enjoying privacy and light control to adding a decorative element to your home, your eyelet curtains will make a lasting impact.
So, roll up your sleeves and get ready to transform your space with beautiful eyelet curtains. Embrace the process, enjoy the journey, and revel in the stunning results!
Frequently Asked Questions about How To Hang Eyelet Curtains
Was this page helpful?
At Storables.com, we guarantee accurate and reliable information. Our content, validated by Expert Board Contributors, is crafted following stringent Editorial Policies. We're committed to providing you with well-researched, expert-backed insights for all your informational needs.


0 thoughts on “How To Hang Eyelet Curtains”